Old Collingwood
-
Posts
12,106 -
Joined
-
Last visited
Content Type
Profiles
Forums
Gallery
Events
Everything posted by Old Collingwood
-
 How about a knocked out Tiger mixed in also that would be super duper. OC.
 -
Bell UH-1H Huey By lmagna - Dragon - 1/35 - PLASTIC
Old Collingwood replied to lmagna's topic in Non-ship/categorised builds
I meant a nights suit of armour like they used to wear back in the 15th century.😉 OC. -
Bell UH-1H Huey By lmagna - Dragon - 1/35 - PLASTIC
Old Collingwood replied to lmagna's topic in Non-ship/categorised builds
I would have worn a bullet proof vest - nah scrub that a suit or armour but left the gaunlets off to fire the maching gun. OC. -
Sound very very very nice Mark. OC.
-
Looking super Tom, I so love the paint work. OC.
-
Sound s like a plan Tom.............Yummy. OC.
-
His on his way - he gotta push it its Hugeeeeee. OC.
-
We are your captive audience loads of pea nuts for us all as I could not get popcorn......carry on. OC.
-
I'm In love the Sherman. OC.
-
That is looking really nice - the black look so nice. OC.
-
I did mine after I had second planked - just small pieces of 1mm strip. OC.

-
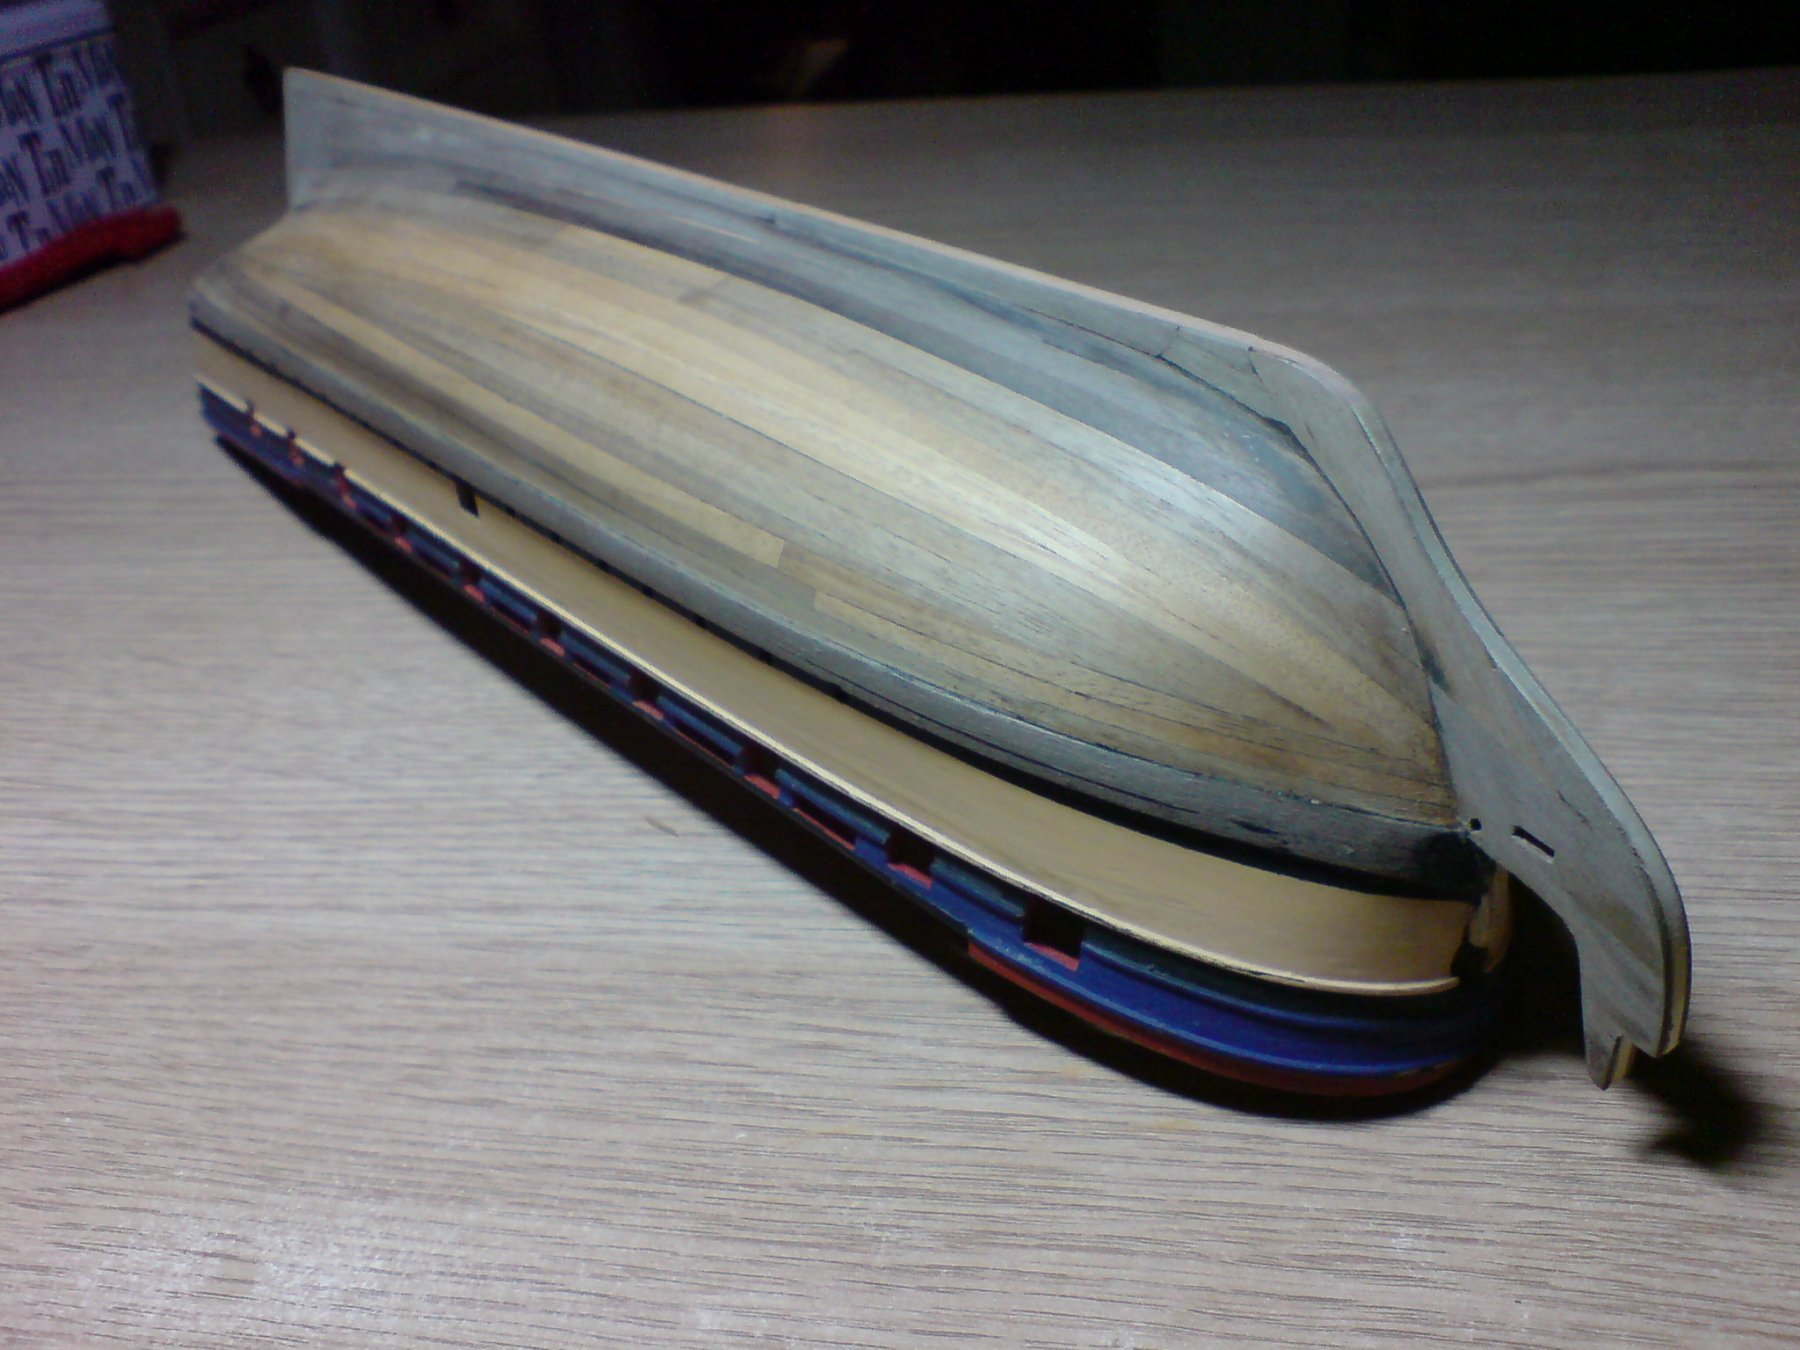
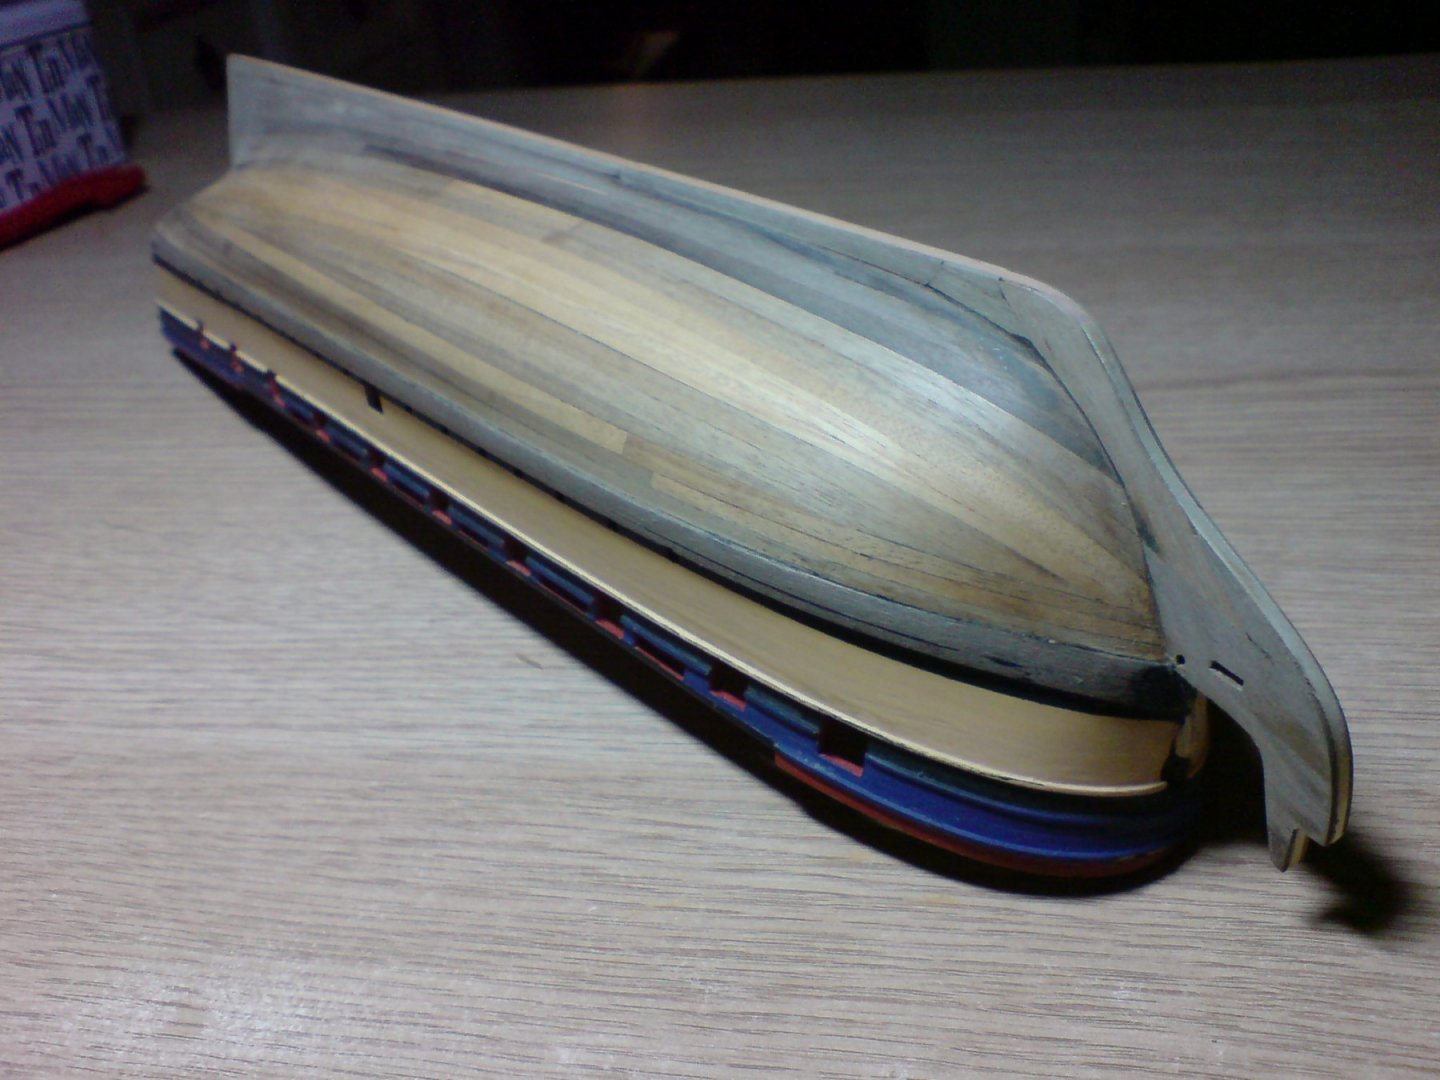
When I did my HMS Greyhound I planked ontop of my keel ans all the way up the beakhed and even the rudder post, I use 1mm strip (I think) OC.
-
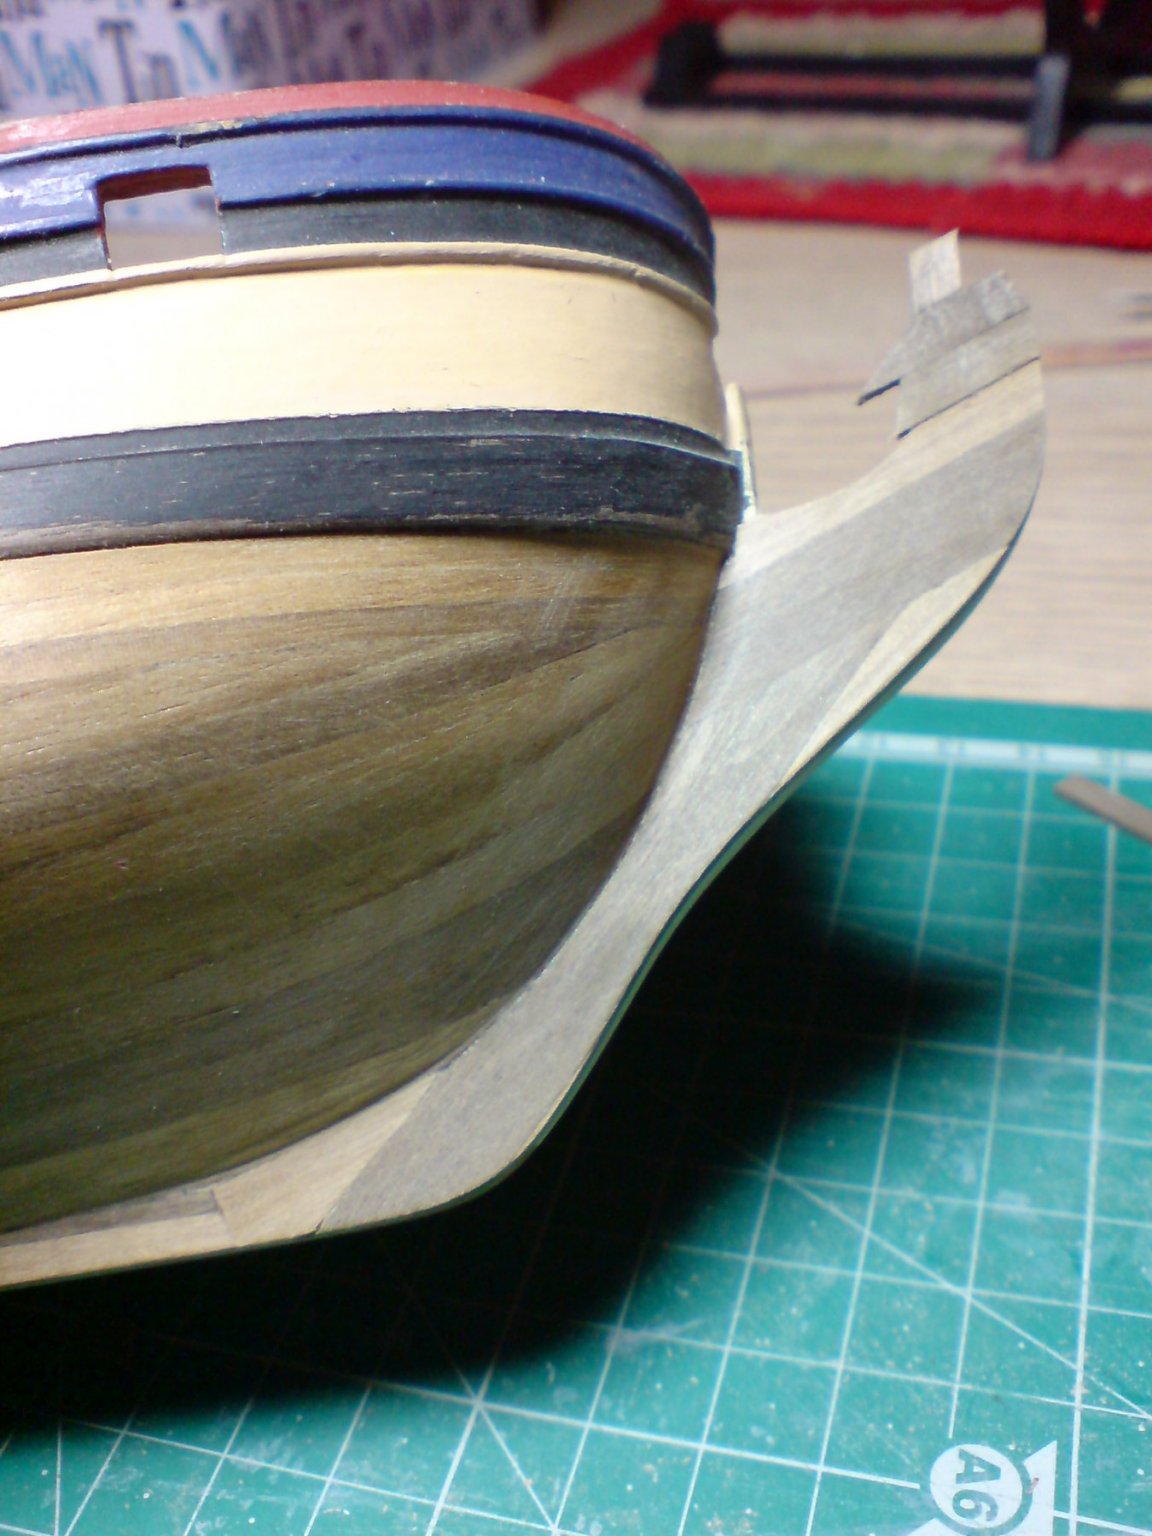
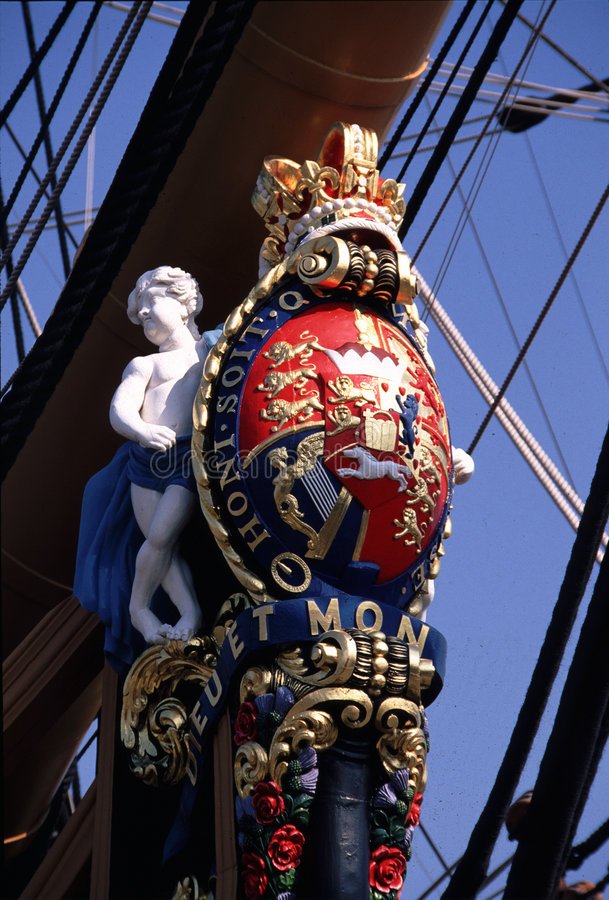
I think that piece just slots underneath the main figurehead working with the angle of the beakhead - OC.
-
Dont foreget you still have to plank the beakhead - that will alter the thickness. OC.
-
I am so chuffed and pleased that Still after all this time our family is still finding the build I did of interest. Thank You All. OC.
-
Thanks Mark, just shows how a few minutes loss of concentration can be monumental. Sorry for the de rail. OC.
-
So have to be careful with certain chemicals products - slightly off topic (sorry) my late farther aircraft engineer, decided to clean out a petrol paint stripper tool using petrol BUT he then decided to dry it out in front of an open fire..............(((((BANG))))) My dad ended up in hospital for Two weeks with First degree Burns and my nans cottage where it happened had to have the front wall rebuilt. OC.
-
Thank you so much, it was a real adventure to build I am so glad that I went with the figures, I am thrilled you both loved it. OC.
-
No problem at all Edward Im just glad you liked it - it was a very passionate build set out as special work for the admiral, it was spured on by us both loving Pirates of the Caribbean films, and also getting its blessing from one of the cast who I chat to. It proved to me what you can do with plastic as it can work along side wood. OC.
-
Thank you Joe, keep up the good work on yours. OC.
-
To my eyes that is looking fine - cant see anything wrong with that. OC.
-
Would your deck planks not lightly sand up to smooth them slightly? I know in real life they would have had a lot of abuse and wear and tear, I always wanted to achieve a bleached aged wood affect on mine uisng the wire wool/vinegar jar system, then a few coats of flat clear to seal it all in. Not sure if that helps my friend. OC.
-
Thank you James, she is a Beautiful kit very accurate and goes together so well. By the way Thank you for creating this section - it is becoming so popular with so many lovely builds. I mean - you should pass on to Chris. OC.
-
Thank you kindly EG. OC.
-
How about brushing onto the ends some PVA? OC.