Old Collingwood
-
Posts
12,106 -
Joined
-
Last visited
Content Type
Profiles
Forums
Gallery
Events
Everything posted by Old Collingwood
-
 Nice tidy work EG loving seeing so many armour projects on here at the mo. OC.
 -
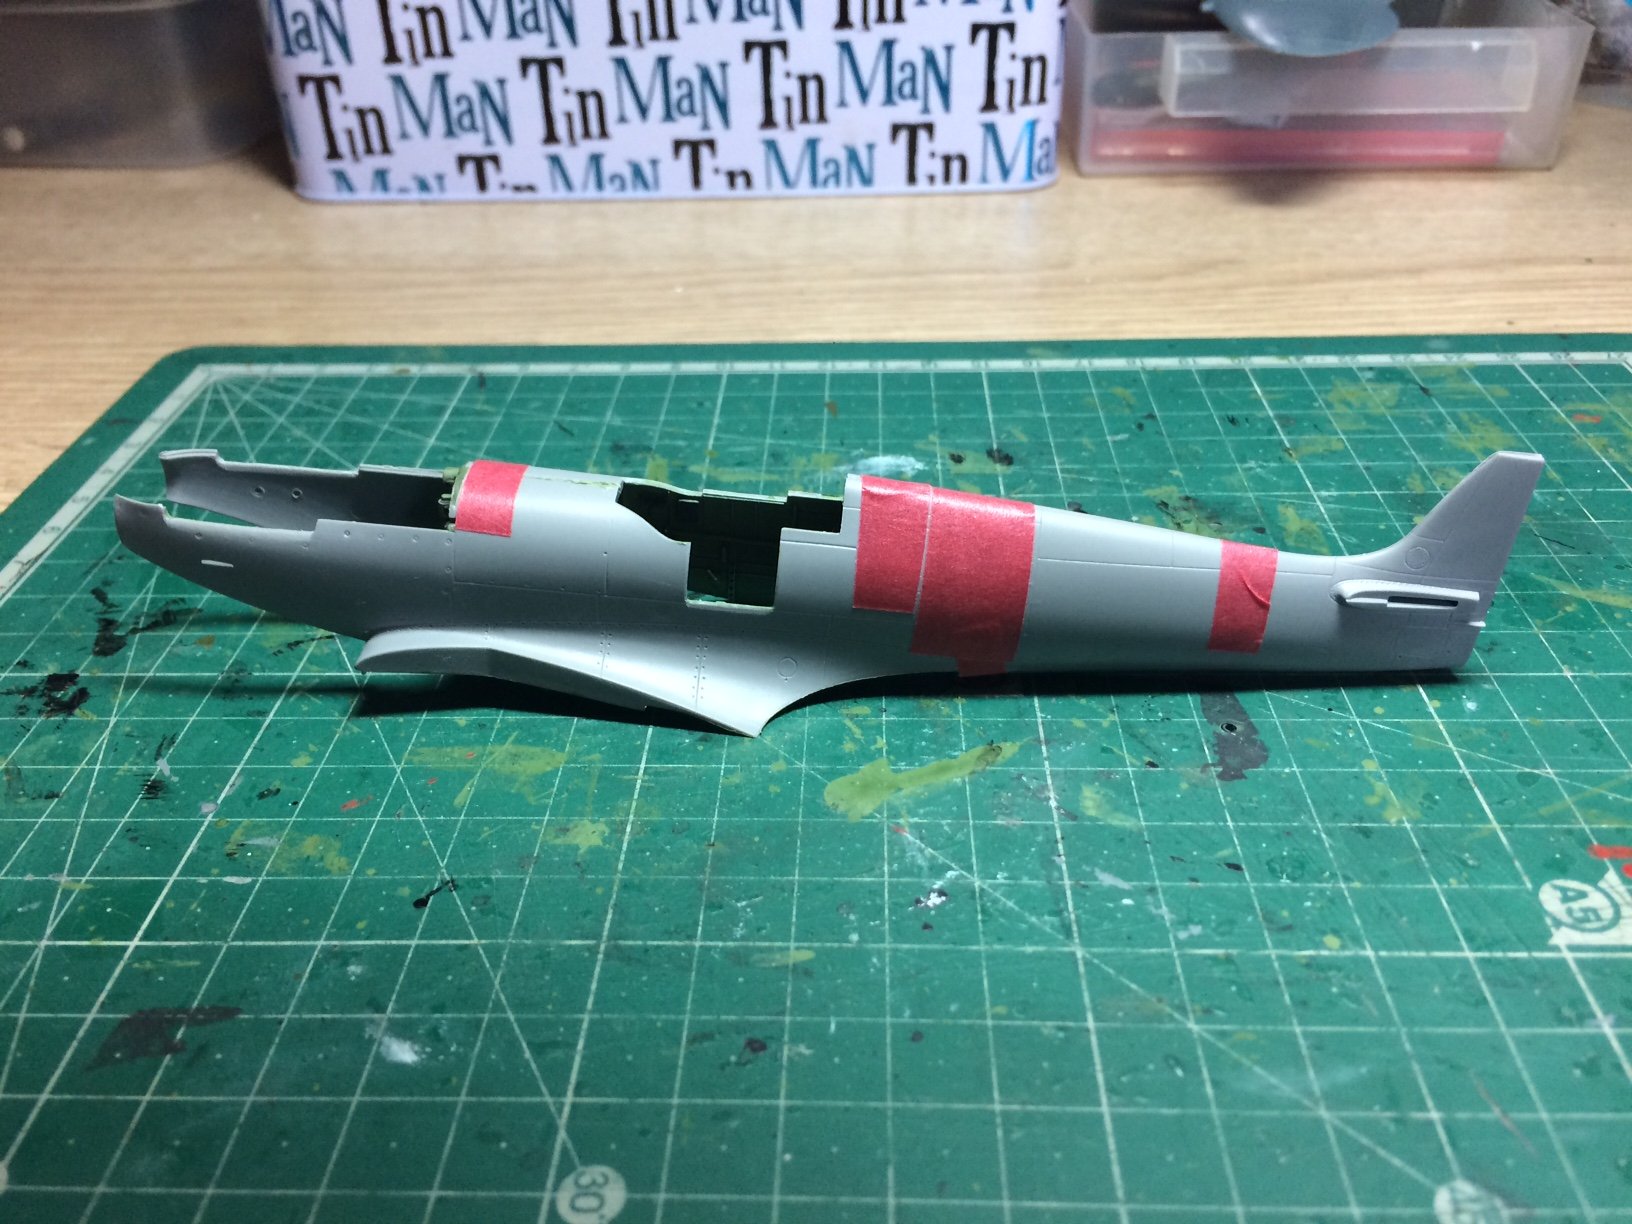
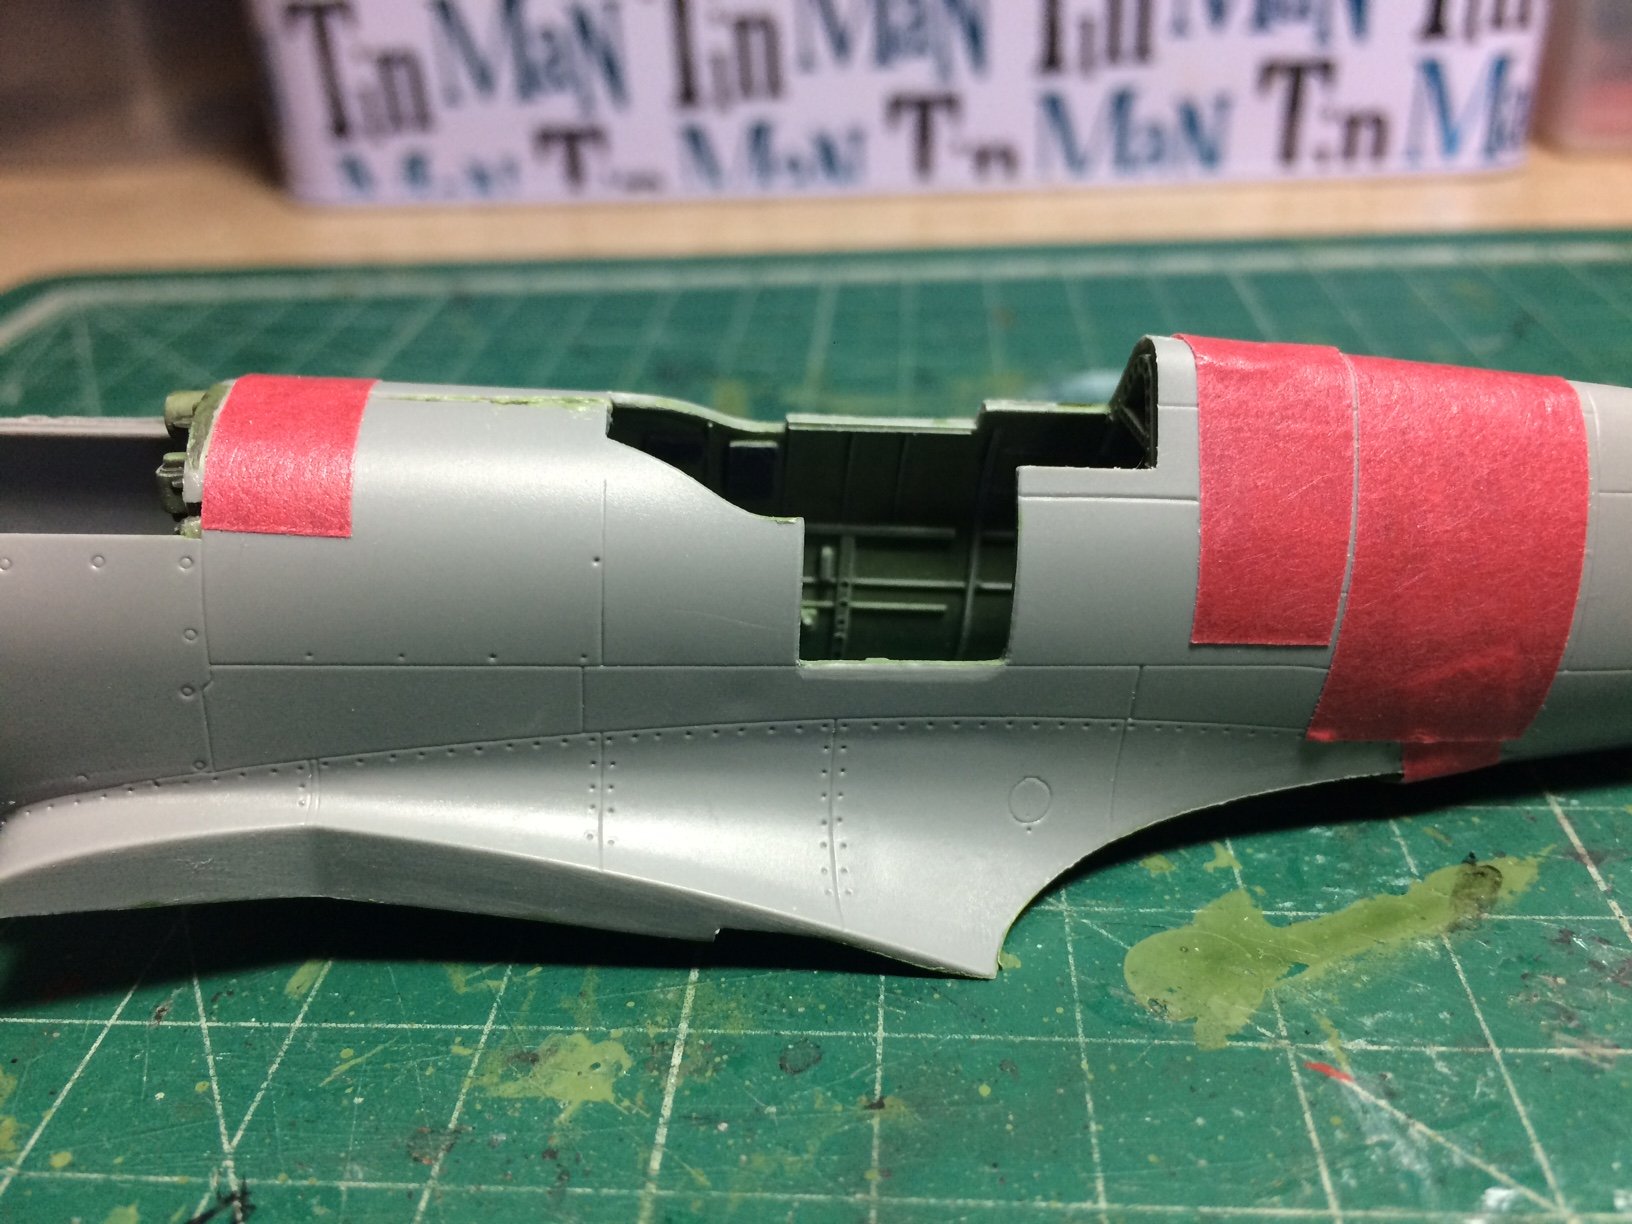
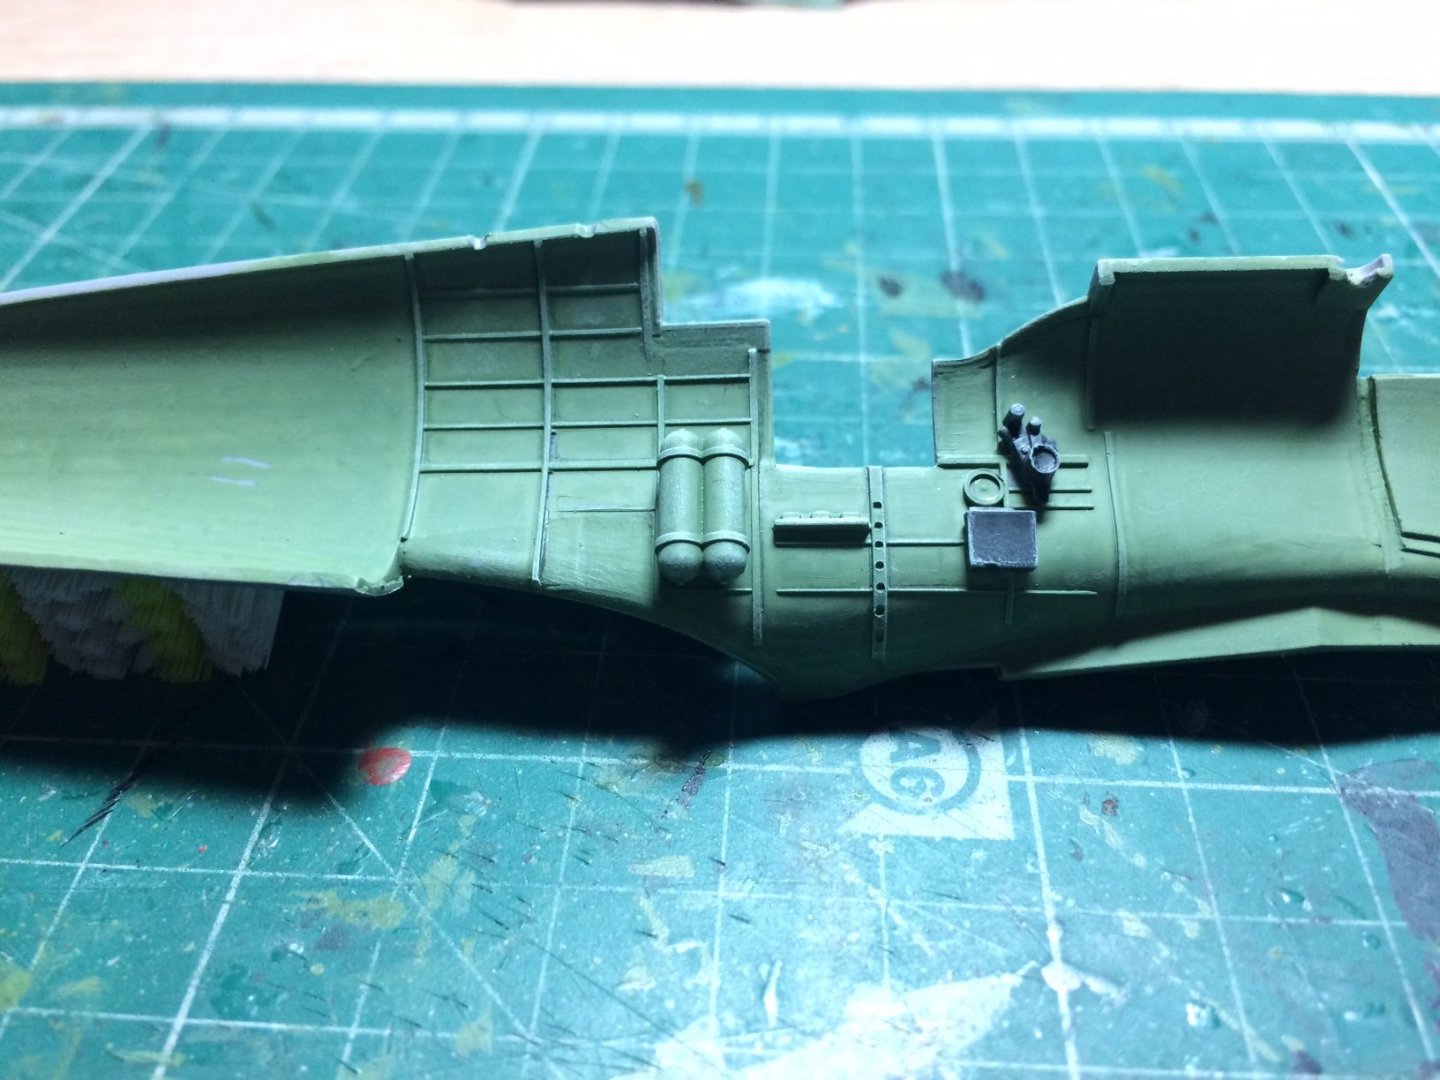
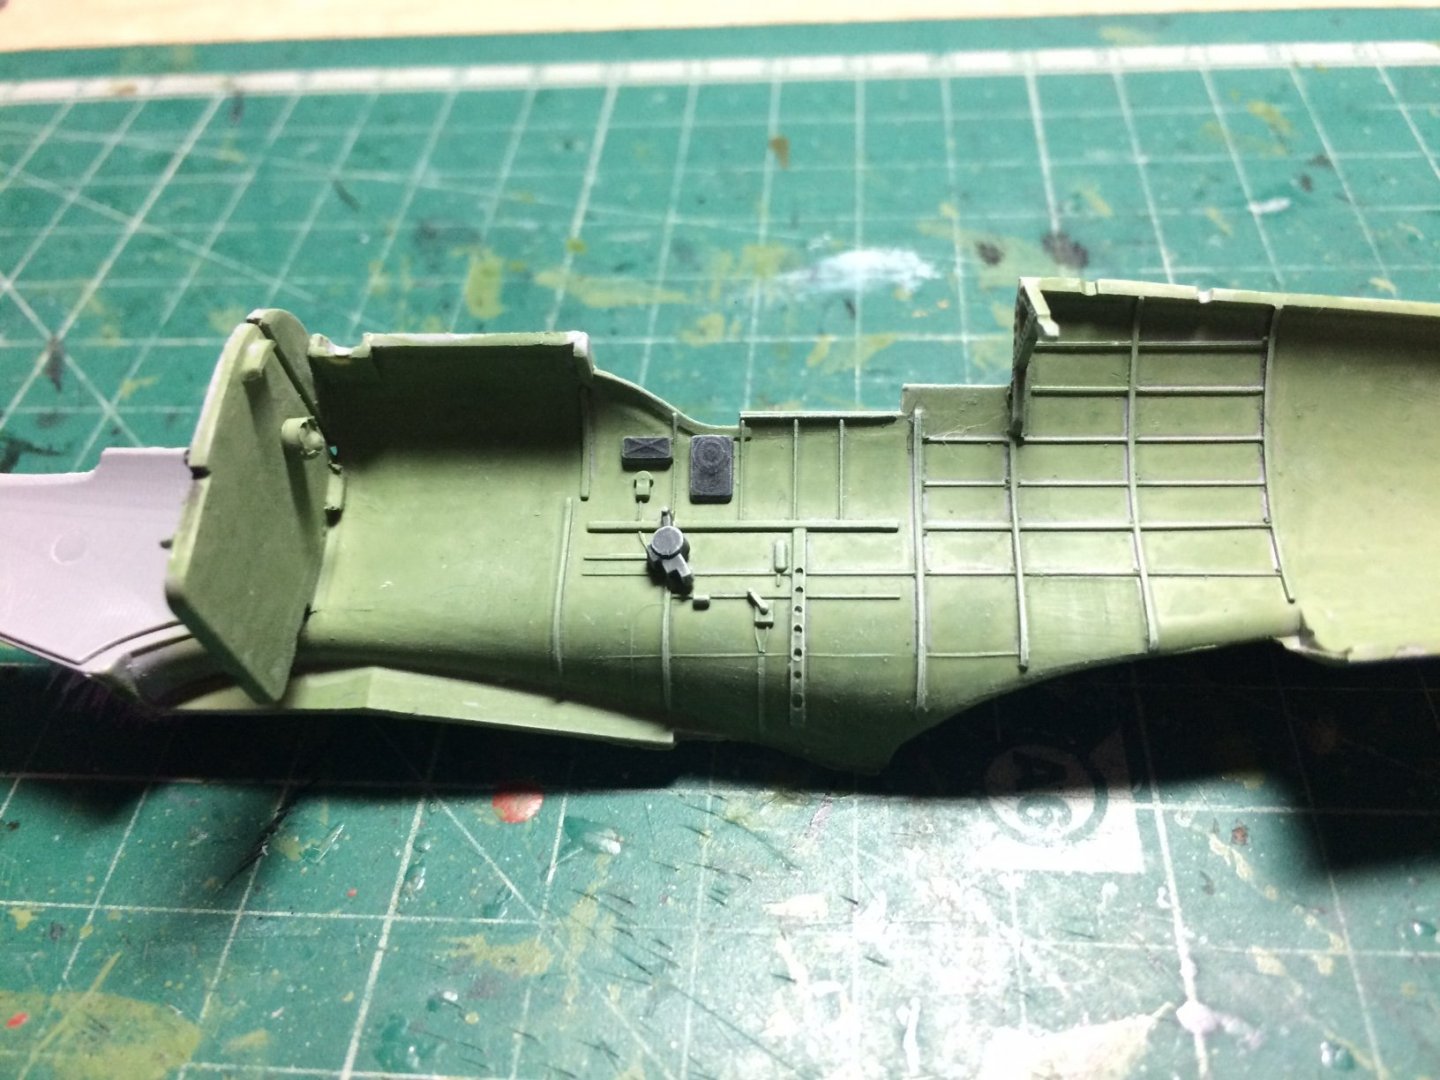
So another spit on the go - this time I am rescuing the ICM Spit IX kit and turning it into a Seafire Mk.111 as I believe they were basically the same apart from a few mods that I should be able to create - seam on the wing that would have been for the wing fold, and scribing under the bottom rear to simulate the cut out for the arester hook, I will also fashion a hook and fit it semi recessed, the rest is basically built as the kit IX. Reason I have chose to do this is during the war my father cut his teeth on Seafires before moving on to RAF types. So here it begins with the already fitted out cockpit wall - I added the paintwork (cockpit green) and picked out the details then my normal pencil for shading and white highlight, I then closed both sides together as the cockpit floor/seat/insrument consol are made as a unit and popped in from underneath. Here are the first pics. OC.


- 122 replies
-
- 13
-

-
Have you got a hair dryer in the house - that will speed up drying time no end? OC.
-
I have a pair of shorts like that.😊 OC.
-
I see, I didn't know Lou, chemo at school wasn't my strong subject - I knew water was known as "that wet stuff" lol OC.
-
How about Isopropyl alcohol would taht work at all I know its very good on metal contacts like camera and lens contacts. OC.
-
I have been cracking on with my spit (when its raining outdoors - must get me Vit D and see some planes (any planes) lol, I have been trying the same as others on here to do my bit to cheer our family on here up with my silly jokes and gags (not hard after writing nearly 1000) OC.
- 436 replies
-
- 2
-
-
- vanguard models
- alert
- (and 1 more)
-
This is an Amazing build but by looking at your beautiful planes in the background - no wonder you are so talented and building a beautiful Victory. OC.
-
Indeed dennis our best to you and yours, stay safe keep your immune system well fed. OC.
-
Firstly hope you are all safe and sound. Hiya mate, lovely work on the second planking - its always hard to get it nice and tidy, as frankly I really made a dogs dinner of mine, but yours has come out really well with nice tight joins between the planks. I know what you mean about different plank widths and even the overall quality - some can be terrible with rough saw cut jagged edges, splits in them and as you say different thickness. With the liquid poly I personaly would do it last after the wales are fitted and any fine tune sanding was done, I assume you are going for a clean wood look without paint (nice) Hope that helps my friend. OC.
- 436 replies
-
- 4
-
-
- vanguard models
- alert
- (and 1 more)
-
Another possiblity - re bomb band markings, how about those metal cut out things with different size round cut outs in them, could use two slightly different size round cut outs - slide them over the bomb just over the nose and the other one just forward of that then paint in between. OC.
-
Very very nice mate - that paint job is show room standard. OC.
-
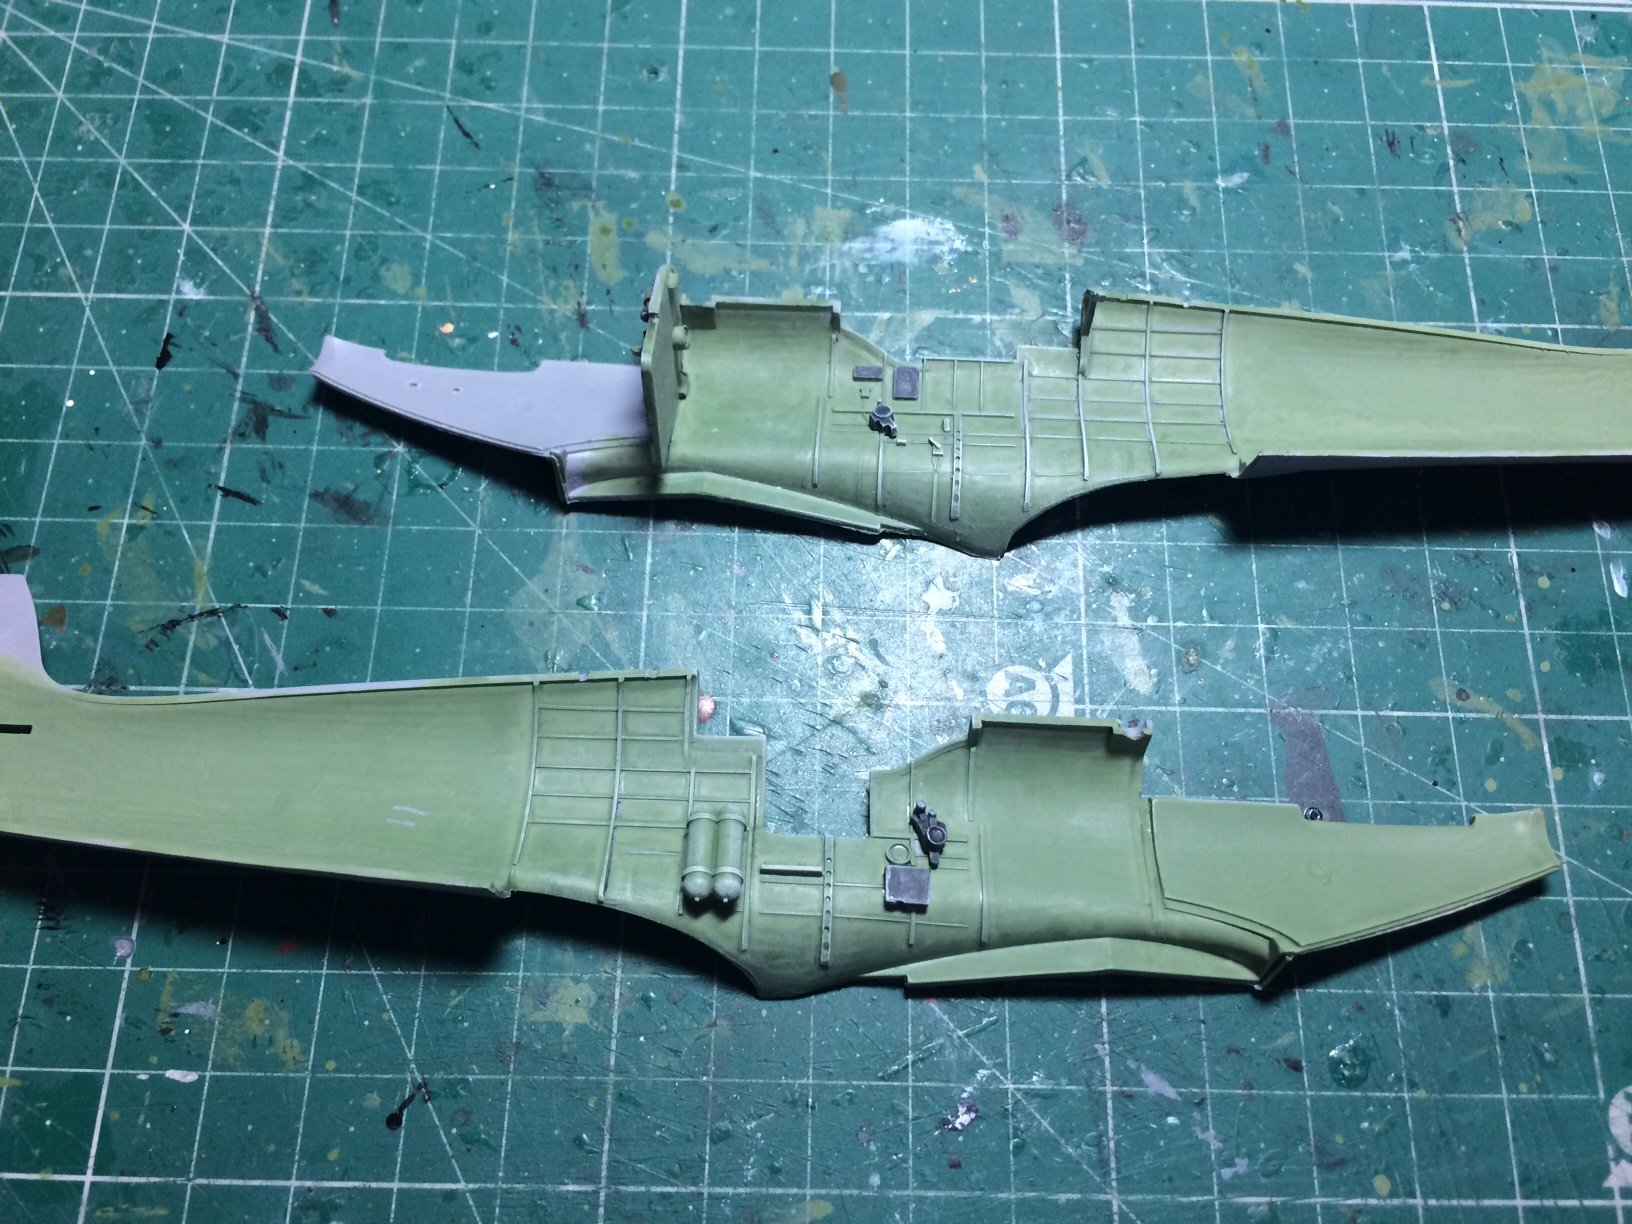
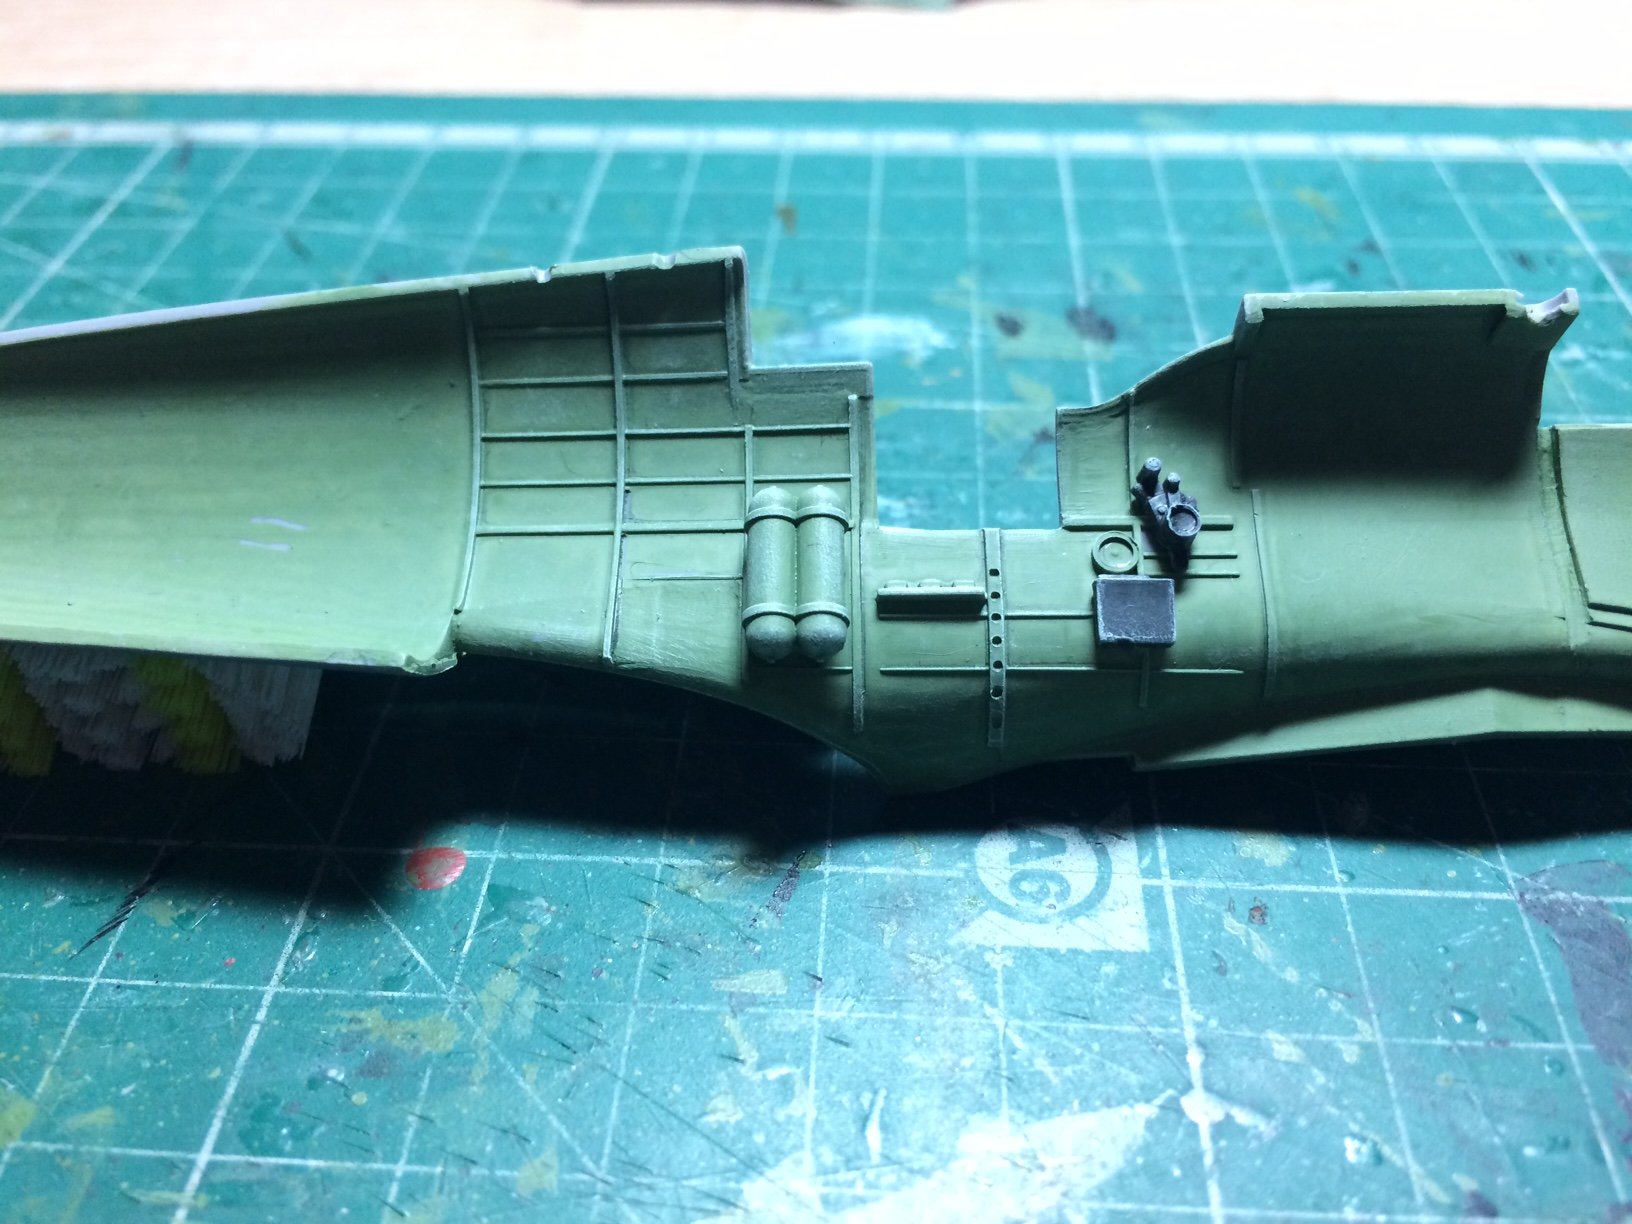
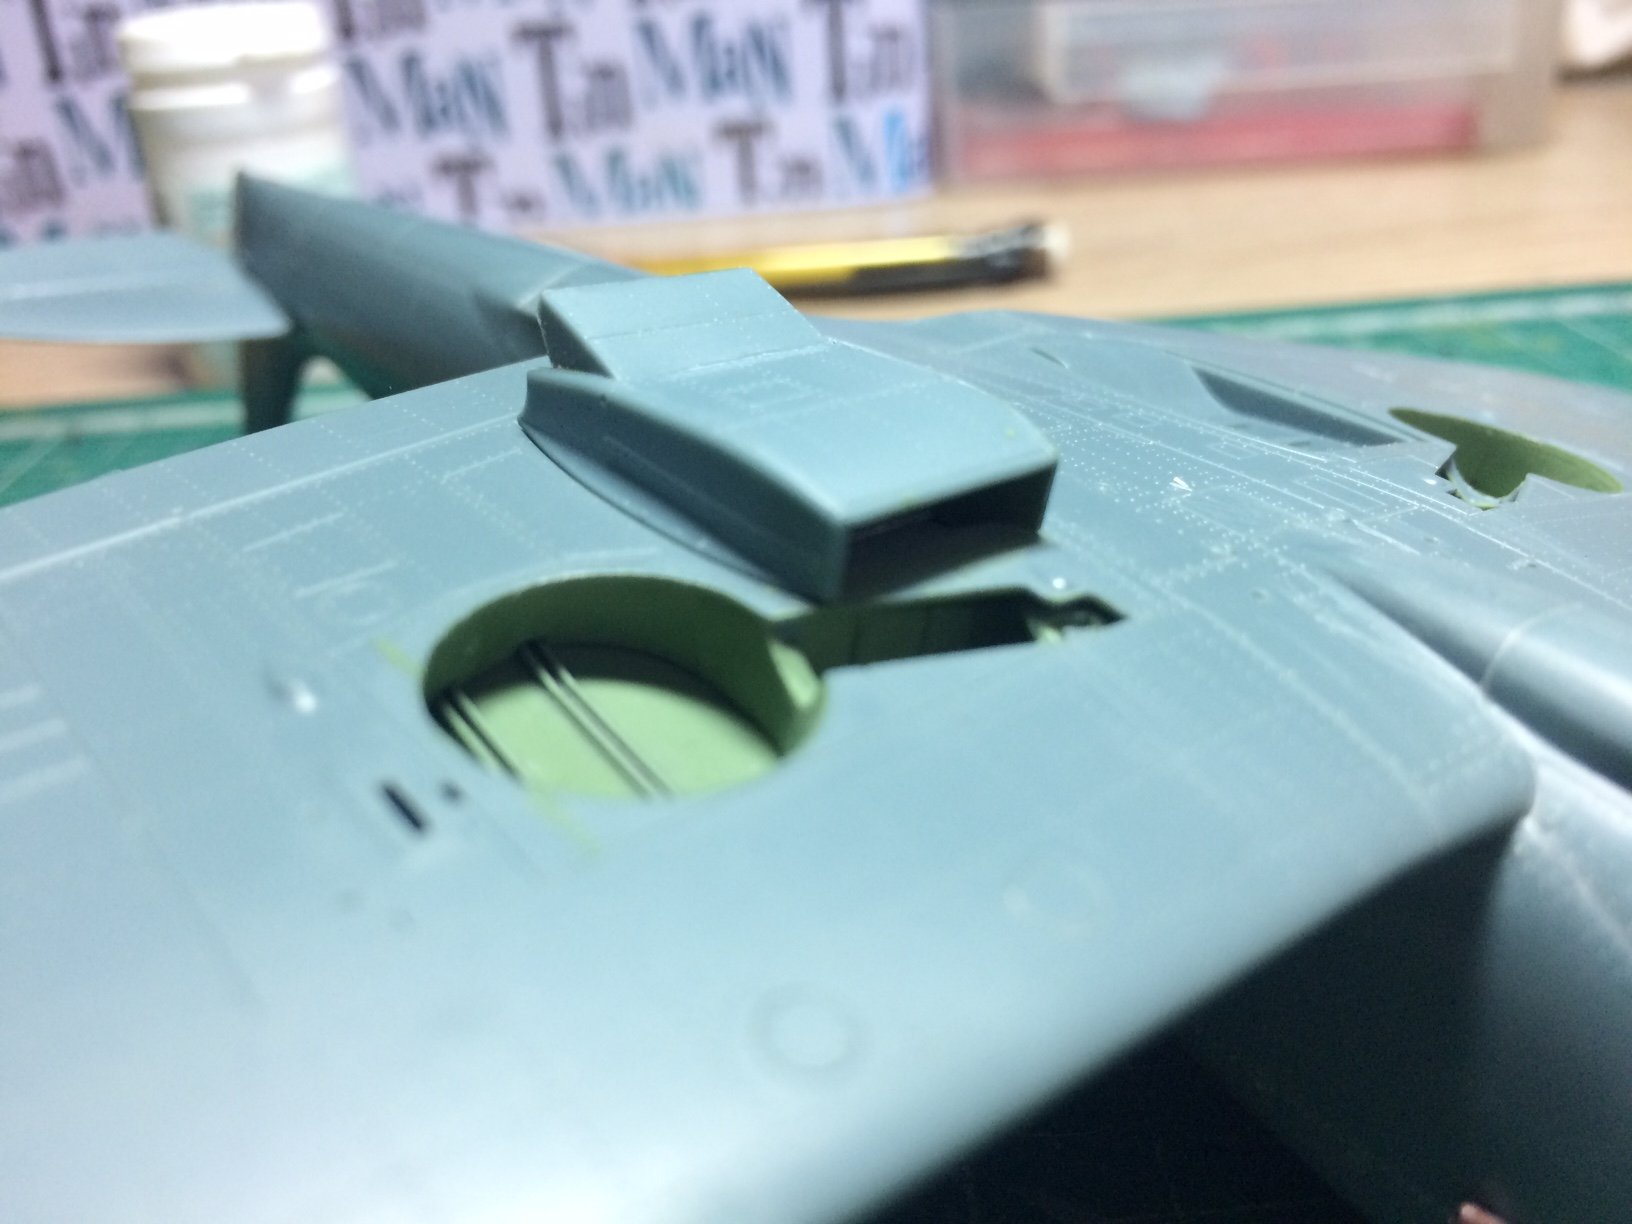
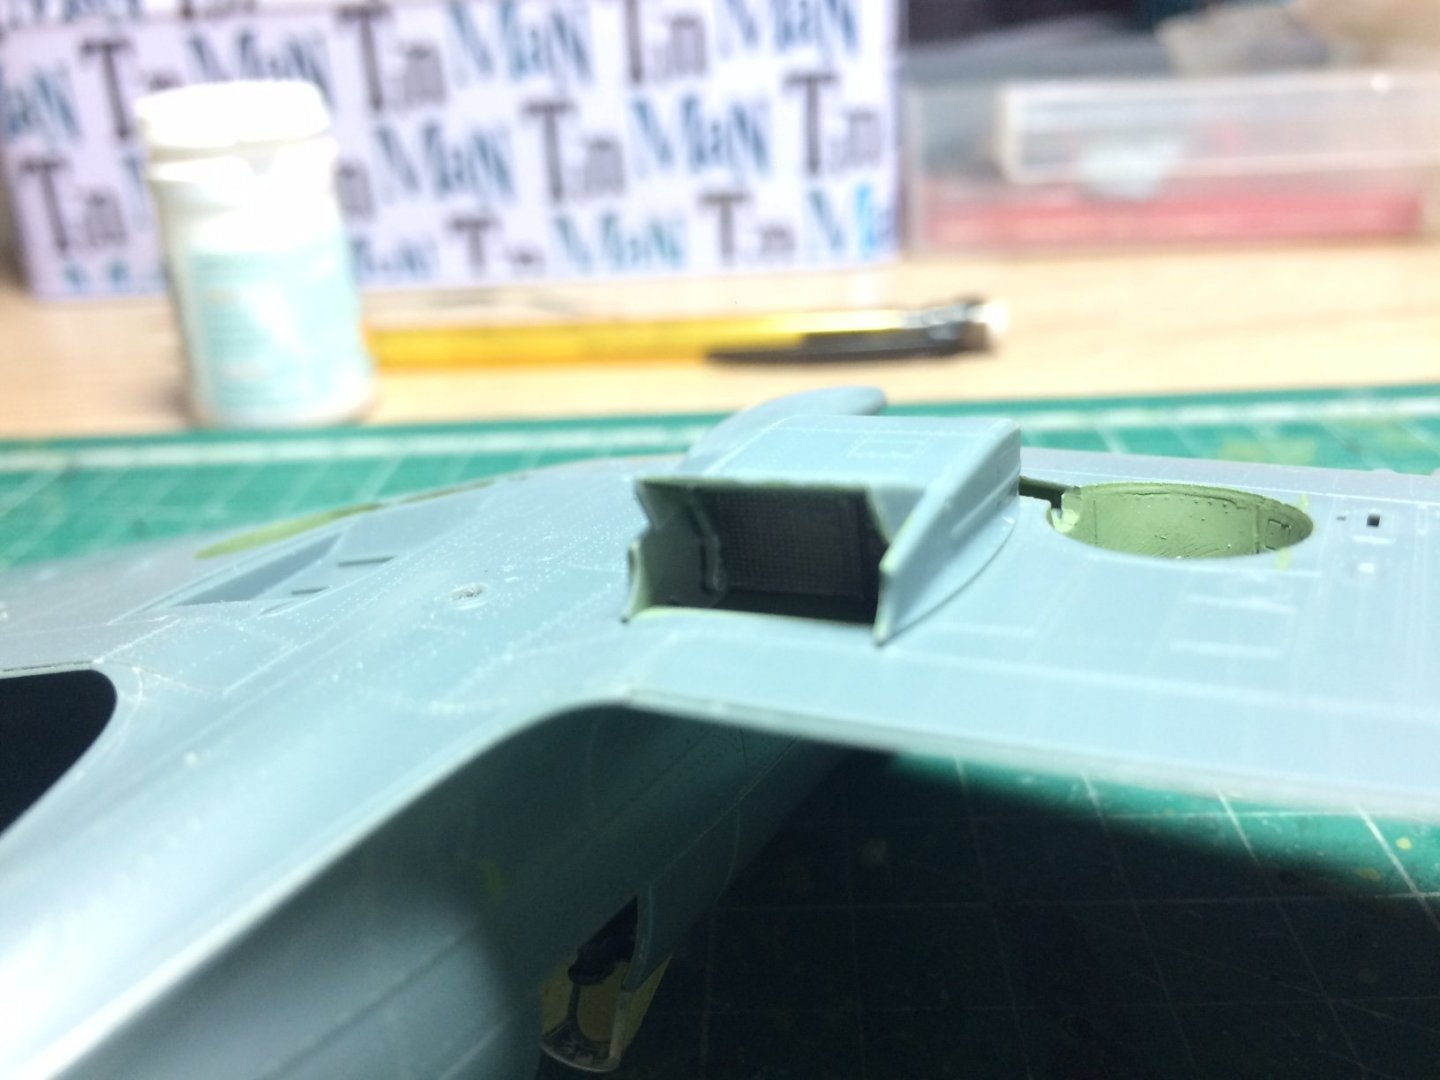
Hi all, I did a bit more on the spit today - next was to build the first of the two wings rads, these are five section units - they were assembled then the rad filters inside were painted flat alum, with the indside bodywork cockpit green, there is then a rear adjustable vent cover that was fitted with an actuation lever in the open position, this area was also painted. After I used my pencil for some shading and white for highlighting. Just dry fitted will keep them off and fit after spraying the bottom. OC.

- 298 replies
-
- 13
-
-
You are doing a fine job Mark.👍 OC.
-
I would also like to know the same as Lou. OC.
-
Loving those gratings Mark - really really nice they look perfectly to scale also (lots of kit ones are way over scale - not the ones you built)👍 OC.
-
I built this kit about 45years ago😲 after visiting a replica of it in Brixham Devon. OC.
- 24 replies
-
- 2
-
-
- golden hind
- airfix
- (and 1 more)
-
AMT Body Snatcher - 1:25 by Fright
Old Collingwood replied to Fright's topic in Non-ship/categorised builds
As Jack said - something really different so well made and painted. OC. -
Really tidy work looking really nice. OC.
-
Looking very nice Jack really looks the part now with all the bits and bobs. OC.
-
Very nice work Tom, that interior is really coming on. OC.
-
I know the G forces must have been incredible what an amazing plane. OC.
-
Interesting story my farther used to talk to me about now I have found a link to it - basically its a Spit IX that was pushed to over 600mph in a dive. https://sofrep.com/fightersweep/spitfire-nearly-broke-sound-barrier/ OC.