Old Collingwood
-
Posts
12,106 -
Joined
-
Last visited
Content Type
Profiles
Forums
Gallery
Events
Everything posted by Old Collingwood
-
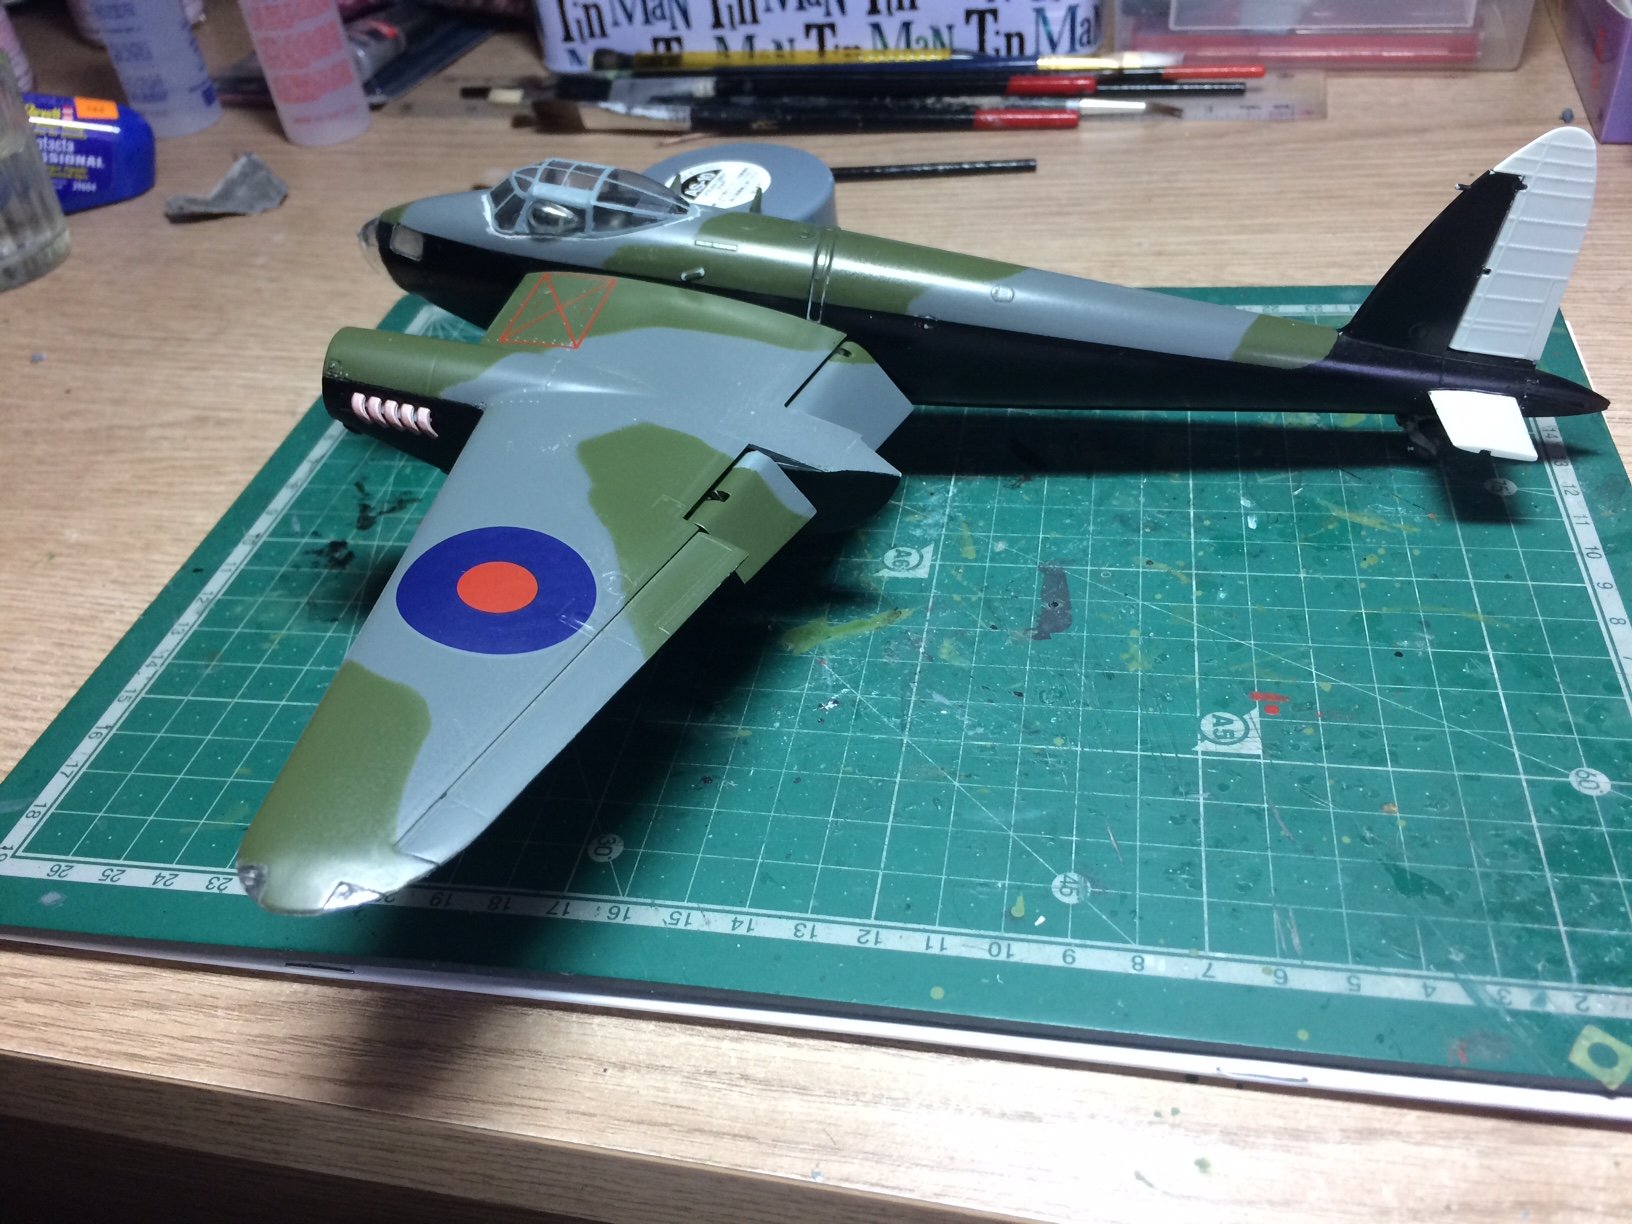
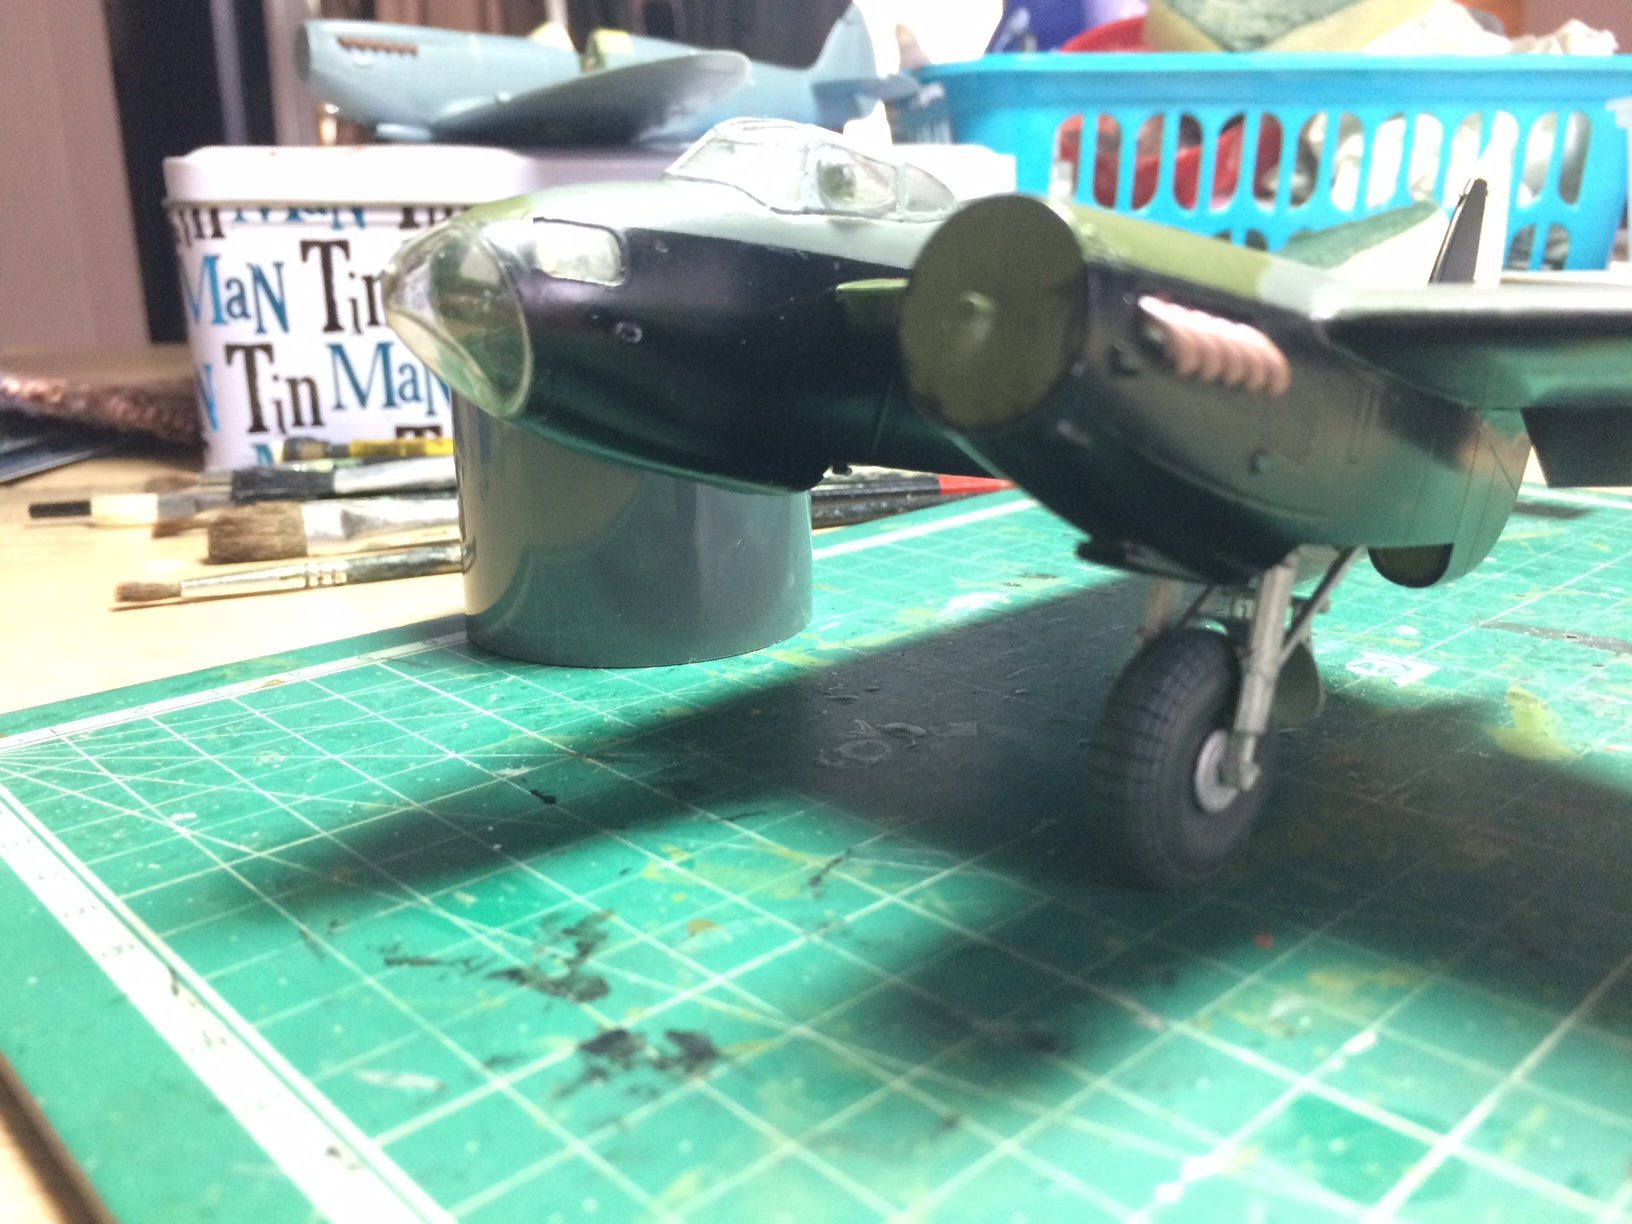
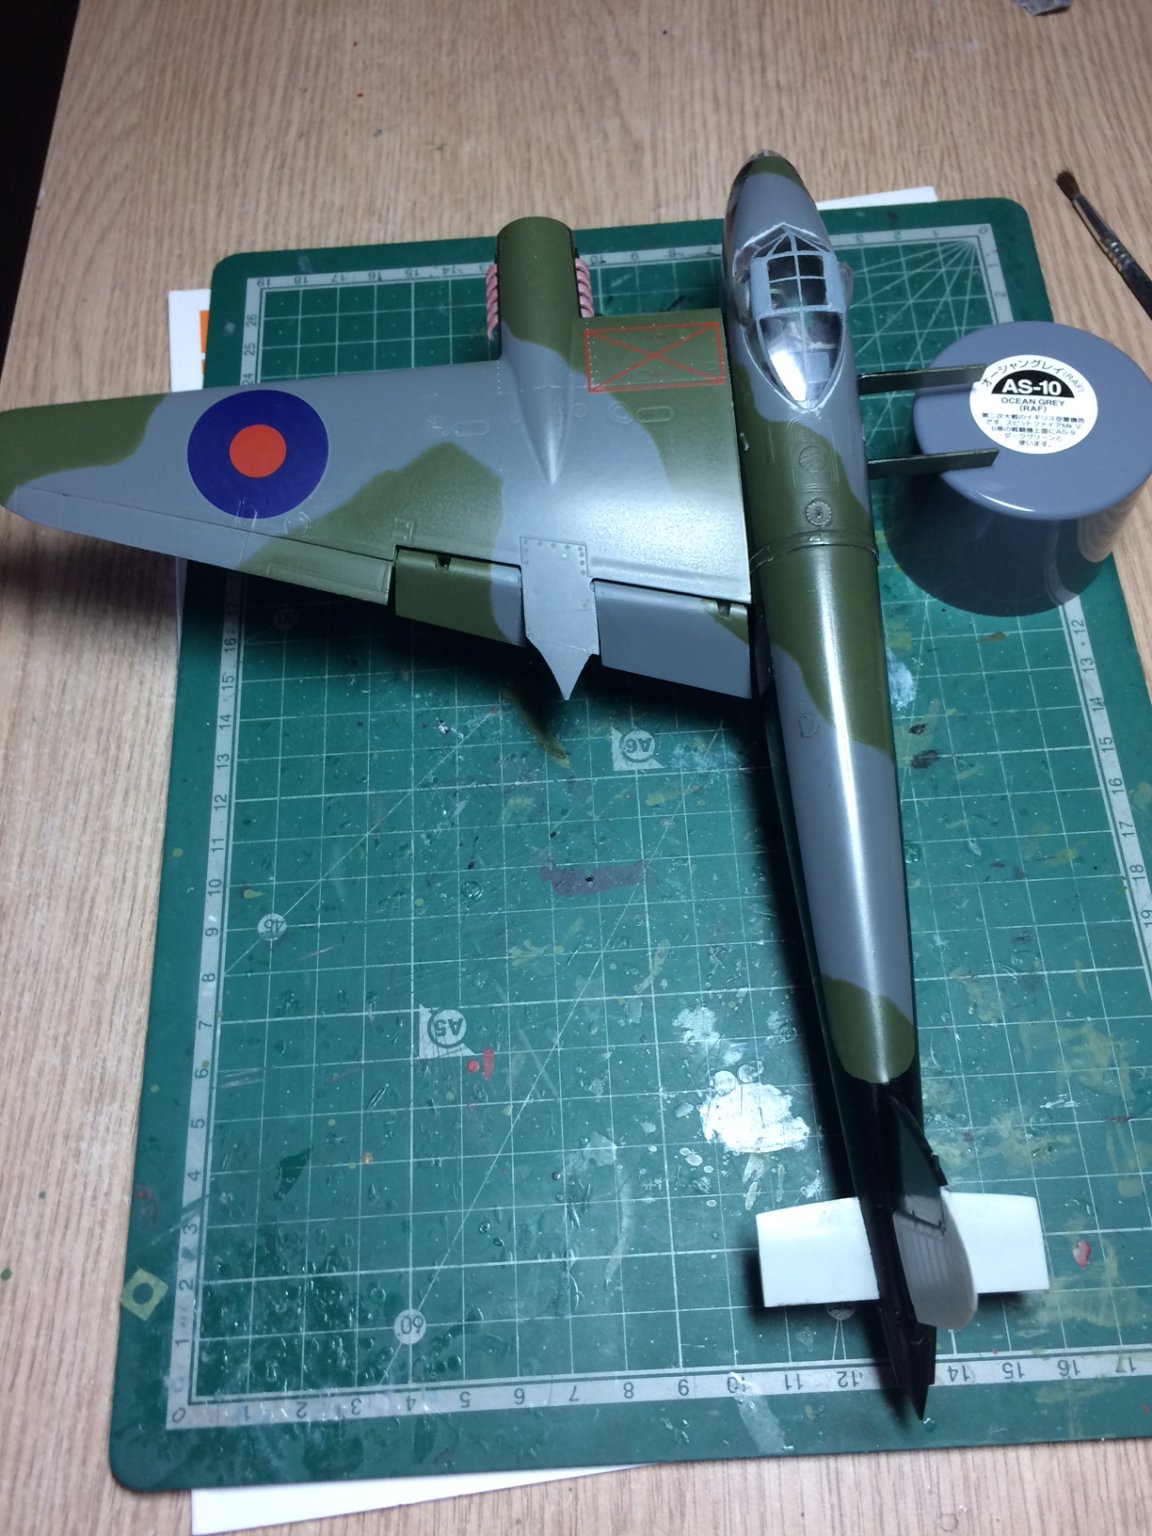
 After a good sleep I attacked the Mossie again I was able to gently rub off the splats on the wing (the stabs were ok) I then went in the back yard with my Dark grey rattle can (this was still ok - had not run out) so I sprayed the stabs - went ok, then I did the same in two coats on the main wing, again this looked ok - I put them away in the box to harden. I then came in doors and firstly decided to glue down the canopy (no fuss just used liquid poly) I also decided to have a look at how the main u/c fits inside the wing box - I decided to trim off the edges then It slotted straight in, so I glued the front main u/c section in with ca glue, followed by the rear support legs - these needed moving about then securing again using ca. I decided to do a dry fit with the wing temp placed to check for hight fit - looks ok I think? OC.


- 932 replies
-
- 14
-

-
The cupboard is too small EG its about 2 feet wide and extends back about 6 feet we keep out vacume and bin in there so no space to build in there. OC.
-
Really nice Joe, looks Superb. OC.
-
I will survey the "splot splot" paint job later today it can probably be rubbed down abit as I have some well used 1000 wet and dry thats nearly dead smooth now from frequent use, that should take some of the splats off (its my own fault I didn't check if the can was ok for paint). What I will be able to do is hand paint the rudder as its a small area and just black, same as under the stabs - I will then mask off the top of the wing ready for when I build up the courage to spray the two camo colours from my rattle cans (I think I have two cans of each colour). The top section of the fuselage will need a quick blast where the canopy sits as it was left rough when I took the canopy off, this means masking the area and inside the cockpit with paper. I think I was rushing and not thinking the best due to this mouth infection and pain killers I am on - kind of been making me drowsy. OC.
-
I looked into that but think it would be a noise issue with the admiral, it would have to be silent or I would start getting those "daggers looks" while she was watching her fave programs - and a money issue to be honest, our room is not very large about 14 feet so I have to work silently at the one end. As I say it aint the best situation, building the pearl or my greyhound boat builds was no a problem in the least, as I was had brushing everything that needed it, but I know to build and paint accurate model kits is another beast all together, if they aint sprayed you loose all the fine detail and battle to get a smooth finish. OC.
-
Absolutly nothing carl the place is like a shoe box one living room my work table at one end, and the admiral and tv the other, a tiny kitchin, stairs, one bedroom, showeroom, no front garden and just a 5 ft by 8 ft back yard, I was thinking if I had a large enough carboard box I could use as a spray booth but dont have one. It really is that situation of not being set up to be able to model properly. I used to hand paint all my models before (when I was a kid) but the results were of a different (poor) standard to what spraying can do, so even if I had the tin/jars and decent enough brushes I still wouldn't achieve a good enough job on them. I have all the Tamiya sprays aswell a box of them that I brought well back months ago before the Dark Ages fell on us, same with some kits I won on bids on ebay thay are in my cupboard waiting to be started. OC.
-
Evening all, I decided to drag this out the box and pick up where I had finshed at, the one main wing section and both stabs needed a blast from the surface primer by rattle can........"Oh dear" so I went into the back yard shut the back door and sprayed away - "Splurt splurt - splatter splatter" the rattle can was empty but had enough to leave a bad finish. So I let it dry collecting some flies along the way then put the parts back in the box and basically threw the box back in to cupboard. It seriously struck me that I have a few kits on the go building them up enjoying the small sections that can be painted by hand, but when it comes to painting the larger areas - camo etc. I am really struggling using rattle cans outside in the elements bugs flies and things - no way of spraying them indoors, really anoying. OC.
-
Your going from strength to strength with your builds - each one is just a real delight to follow. OC.
-
That is looking So good mate really really impressive. OC.
-
Bell UH-1H Huey By lmagna - Dragon - 1/35 - PLASTIC
Old Collingwood replied to lmagna's topic in Non-ship/categorised builds
Looking good Lou, its coming together now. OC. -
Looks really nice - as others have said that chrome looks the business. OC.
-
More progress later on today as I fell asleep again - must be the pain killers I am on for me gob. OC.
-
Indeed Joe, it helps having the fuselage buttoned up, glad the dry fit was ok after closing the halves together, OC.
-
This would make one Seriously Fantastic diorama, great work. OC.
-
I think they look fine Mark - the only one that you could move if you want is the very first middle deck opening as its not for a canon but a double door hatch for ventilation, you could try just moving it a touch more forward towards the beak (not a lot just a bit) I think that will help a lot. I do feel your pain as I had to do the exact same thing on my Corel HMS Greyhound Kit as they were interfering with the frames on several gun ports, I just did as you are doing and moved them. OC.
-
Looking good Kevin each part you do is adding to her. OC.
- 337 replies
-
- 3
-
-
- finished
- mountfleet models
- (and 1 more)
-
That looks ok to my eyes Mark, I think if you can go with the easyest option (if it looks good to you) or failing that you could go the more fiddly option to cut through the bulkheads causing the problem (I assume you are doing dummy guns in the lower decks, by making a box with a barrel sticking out) that would work then just fiddly. OC.
-
Curtiss P-40B Warhawk by Asat- Airfix- 1/48
Old Collingwood replied to ASAT's topic in Non-ship/categorised builds
Craig is the guy to go to for Plane builds on here CDW is his name here, if he cant help no one can. OC. -
Curtiss P-40B Warhawk by Asat- Airfix- 1/48
Old Collingwood replied to ASAT's topic in Non-ship/categorised builds
I dont know but know a man who does ..........".Craig " "Craig" OC. -
Hope you and the family are all good my friend. OC.
-
Great find craig, nice seeing you back on it wondered where you had been mate. OC.
-
Found this pic on the net - this is where my farther worked at the beginging of his service, also quite possibly doing the same kind of work. OC.

-
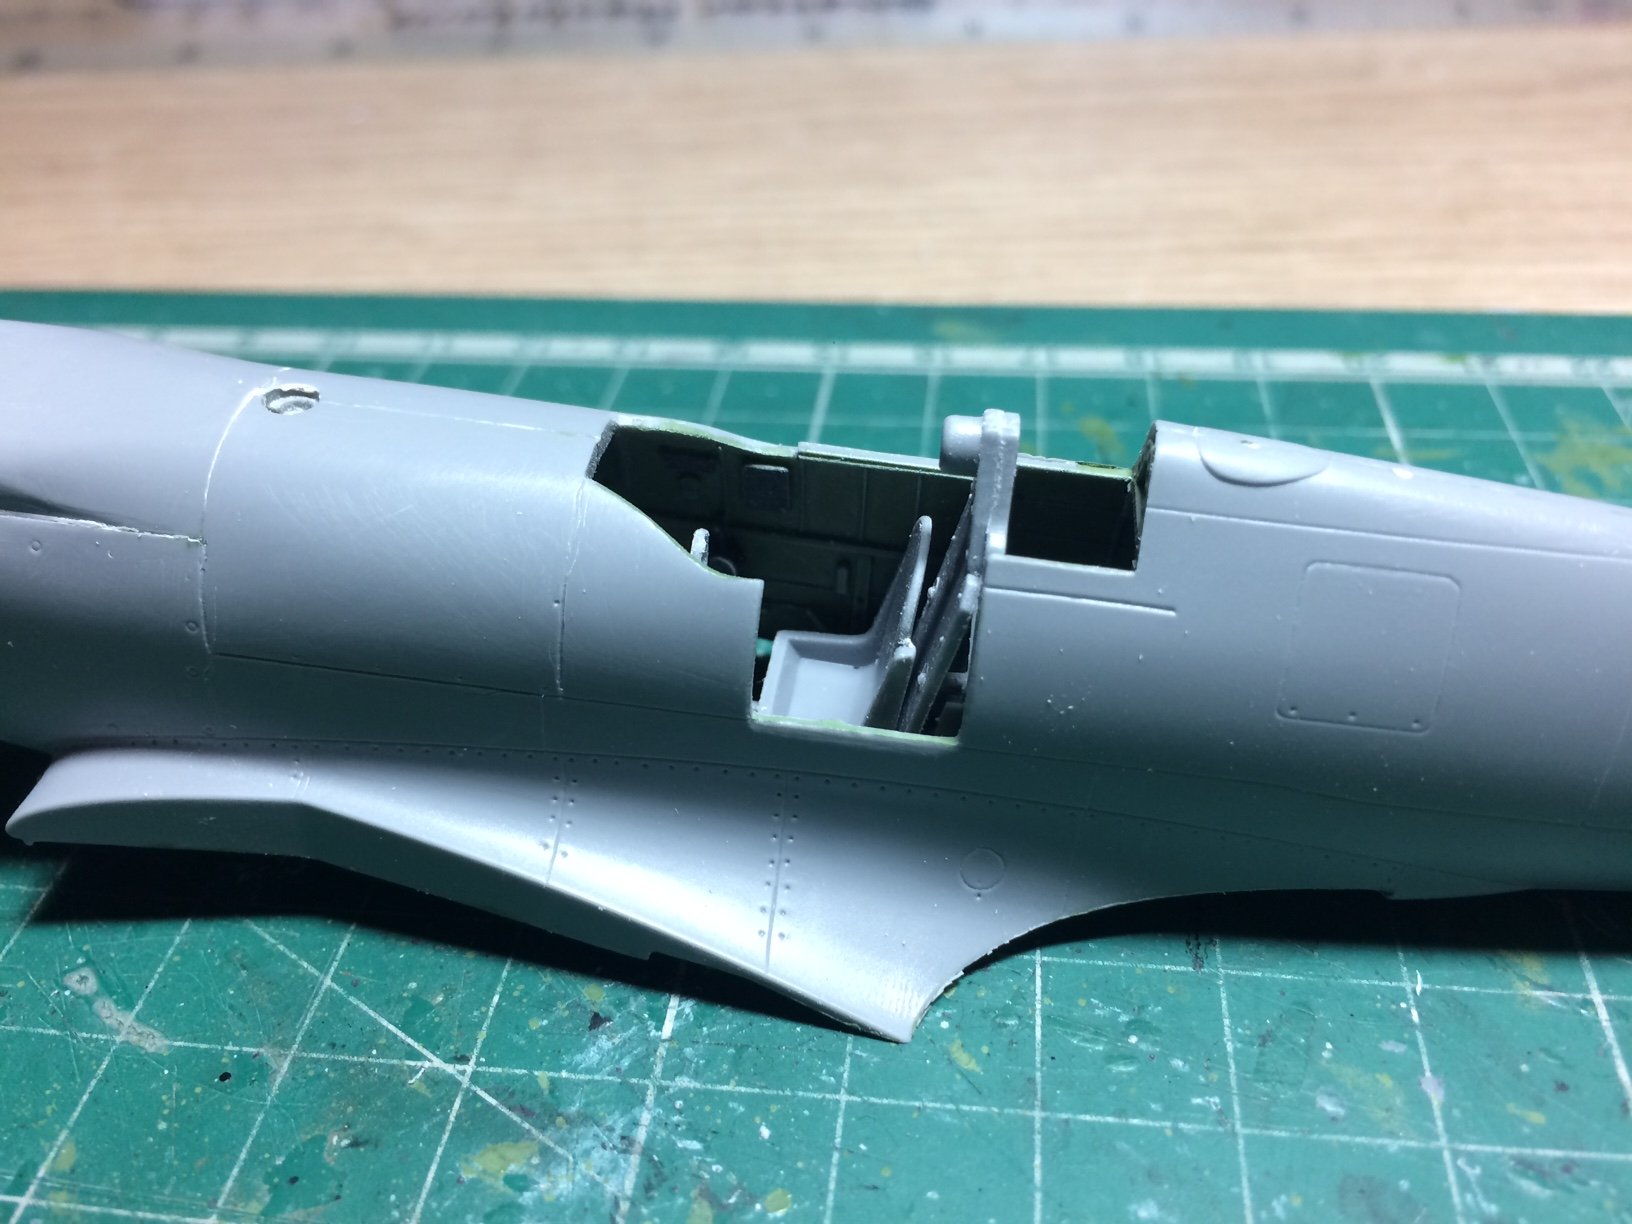
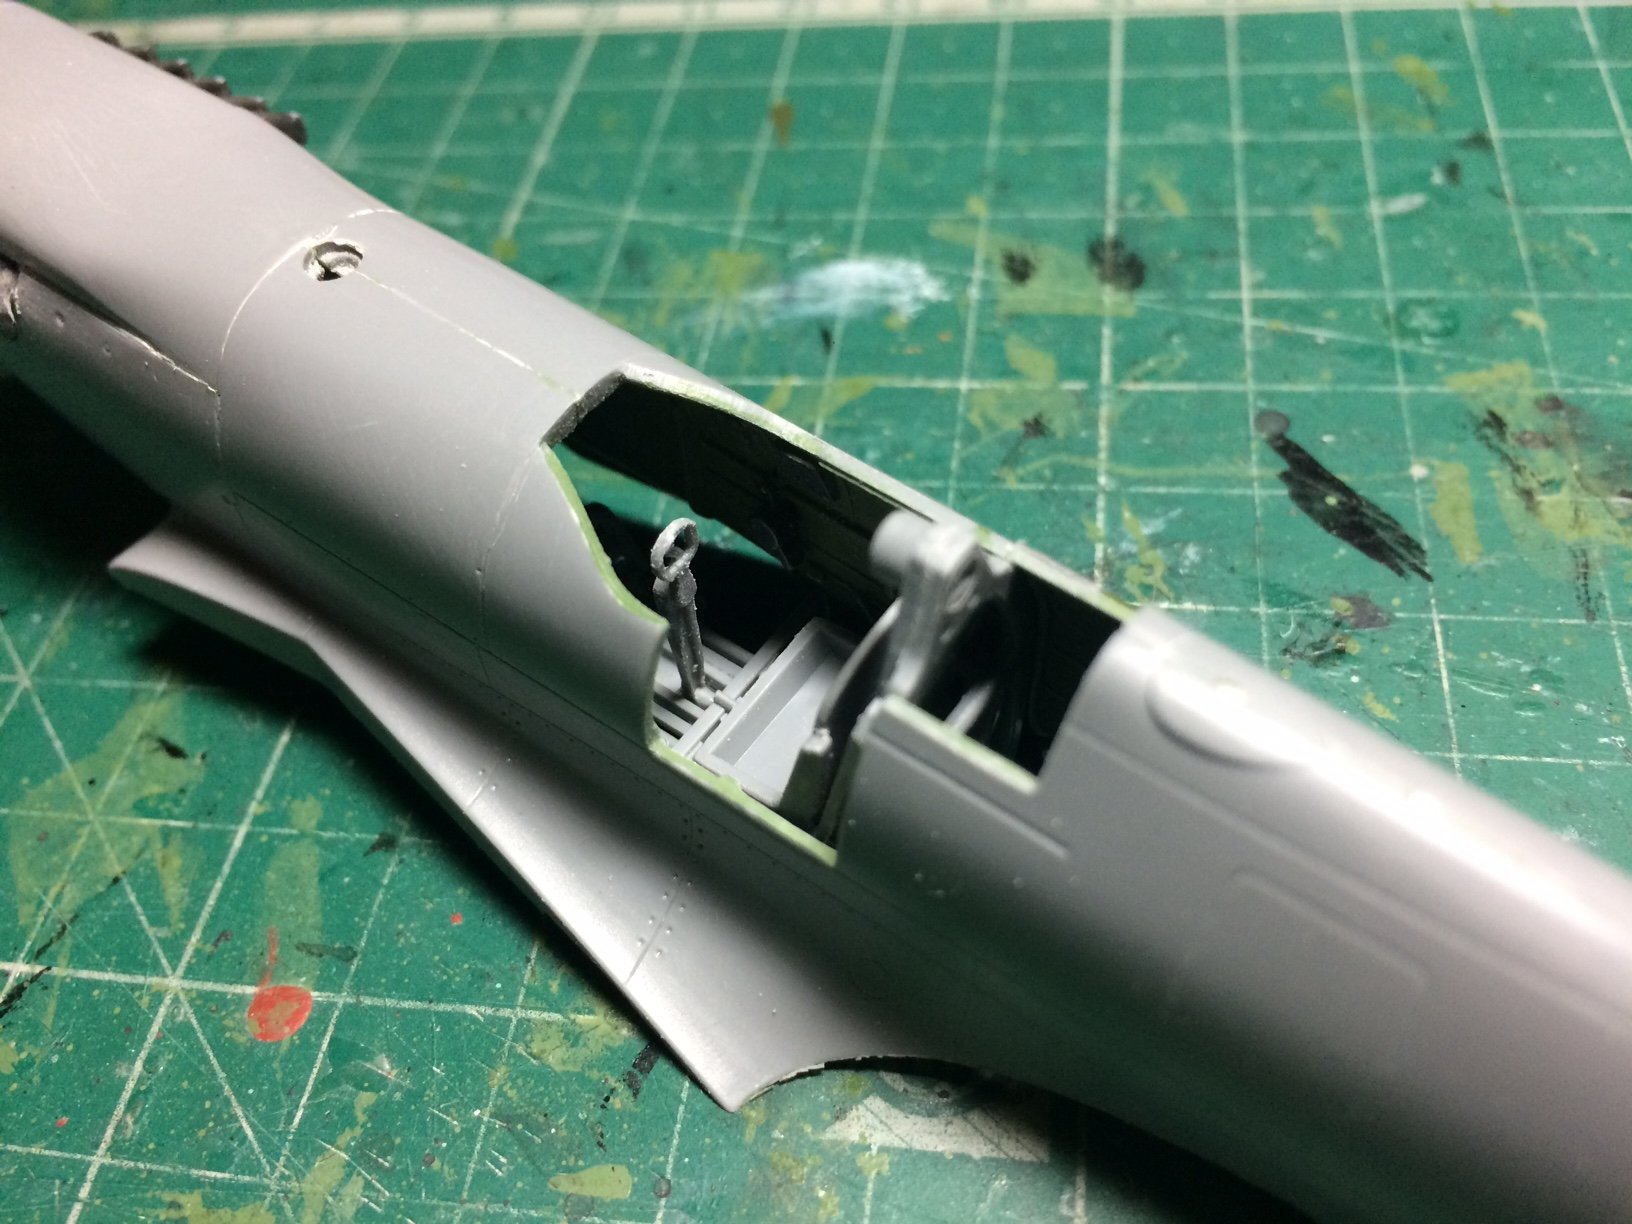
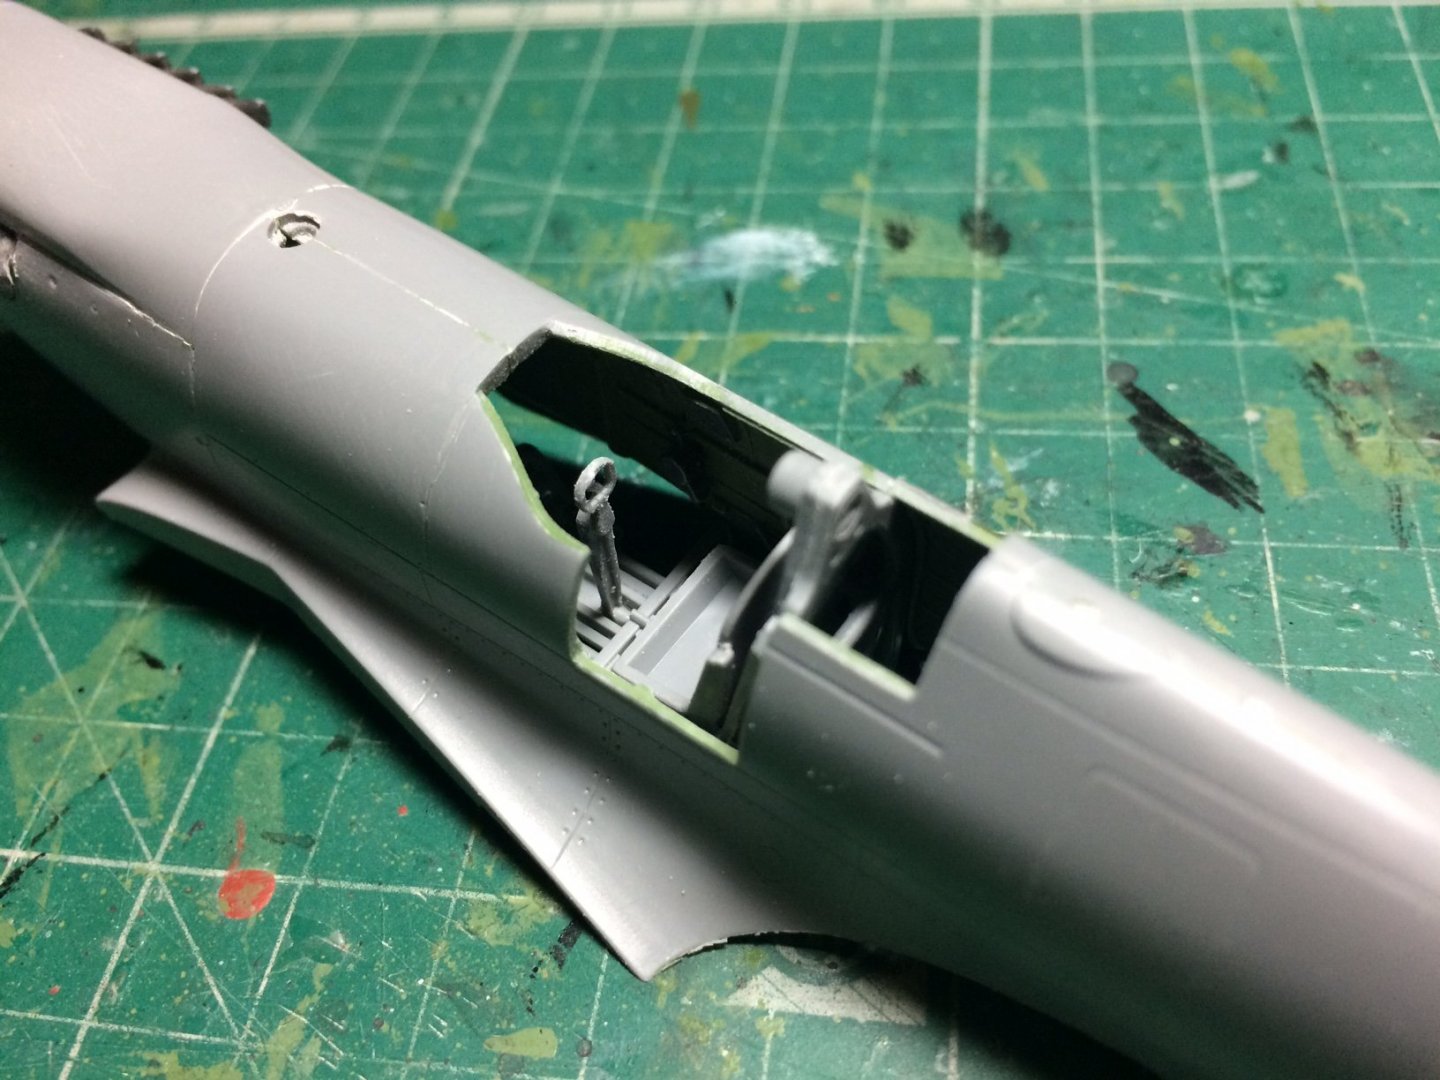
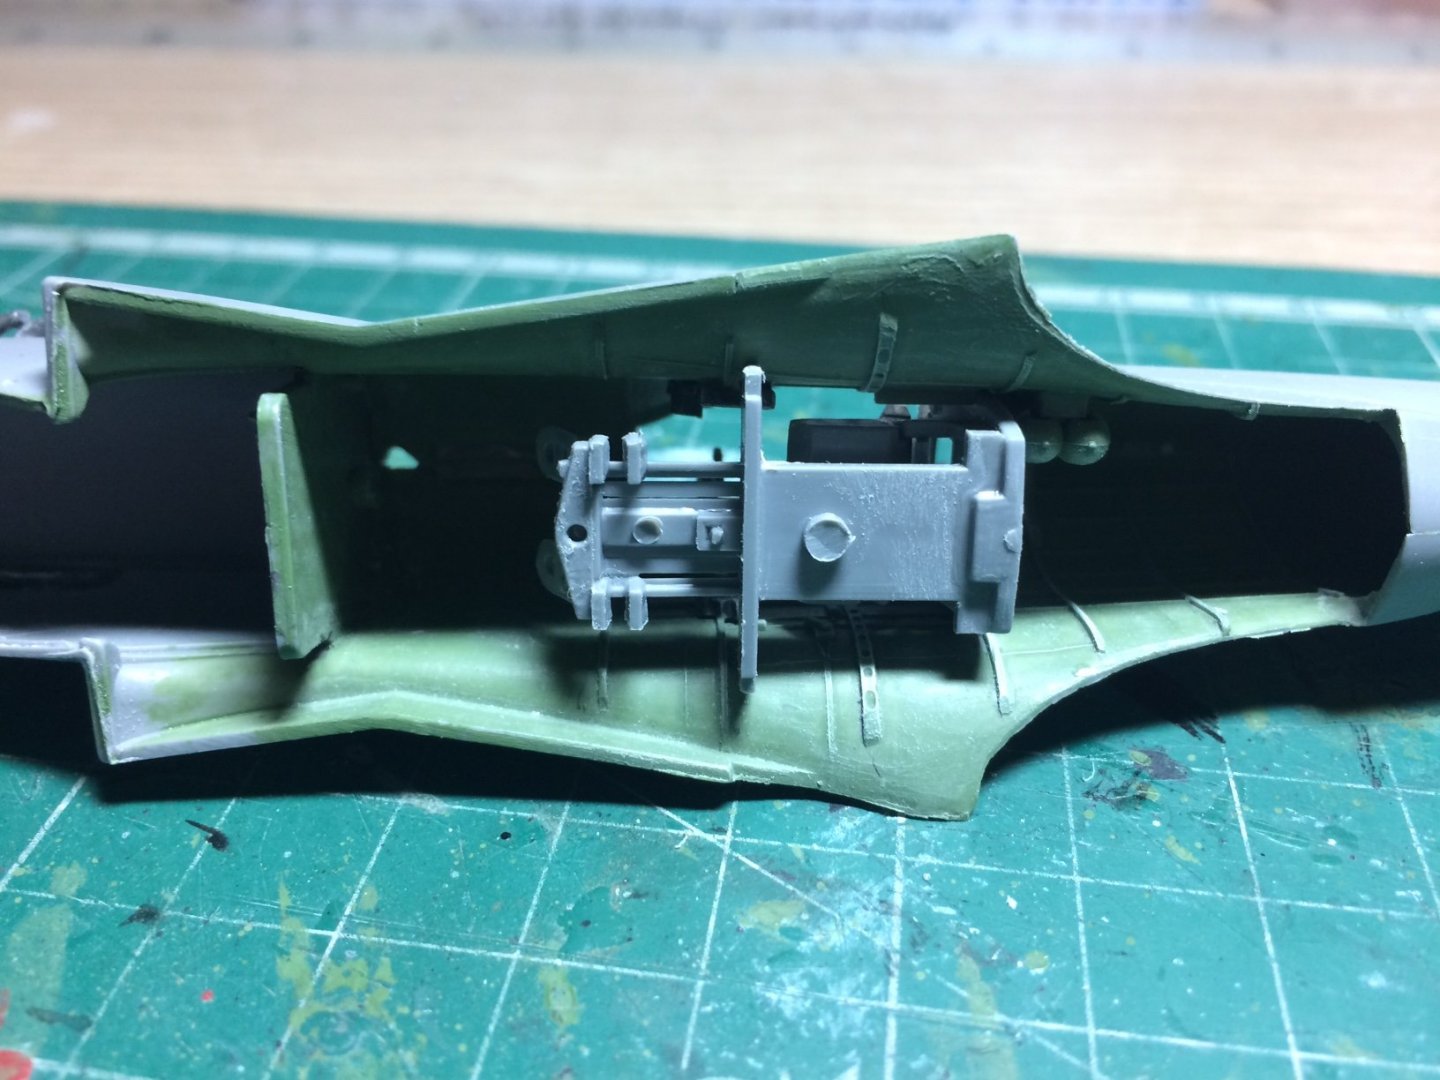
Evening all - hope everyone is ok, so it continues - next stage is the cockpit seat assembly, same build really as my other spit, rear bulkhead/armour plate/seat/base/pedals and columb, these were glued together then I did a bit of magic - dry fitted the assembly inside the fuselage. No secret it pops in from underneath. OC.

-
I will bring our garden bench with added sun. OC.