HOLIDAY DONATION DRIVE - SUPPORT MSW - DO YOUR PART TO KEEP THIS GREAT FORUM GOING! (Only 20 donations so far - C'mon guys!)
×


Old Collingwood
-
Posts
12,098 -
Joined
-
Last visited
Content Type
Profiles
Forums
Gallery
Events
Everything posted by Old Collingwood
-
 She is a Monster greg, as you point out about the seems (Why Tamiya) they could have constructed the hull in two halves like we are used to, but guess they wanted to make the part count as high as they could justifying the price?. Tell ya what - that tamiya putty in the syringe - What an excellent idea Looking good mate OC.
 -
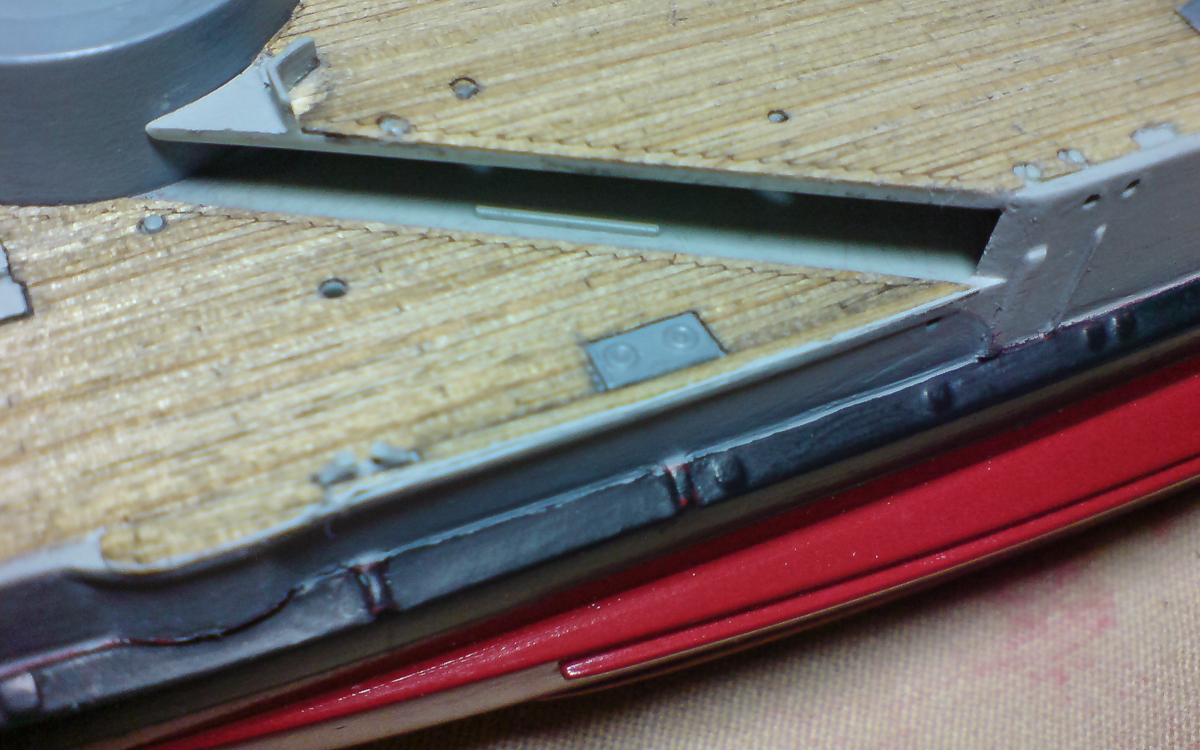
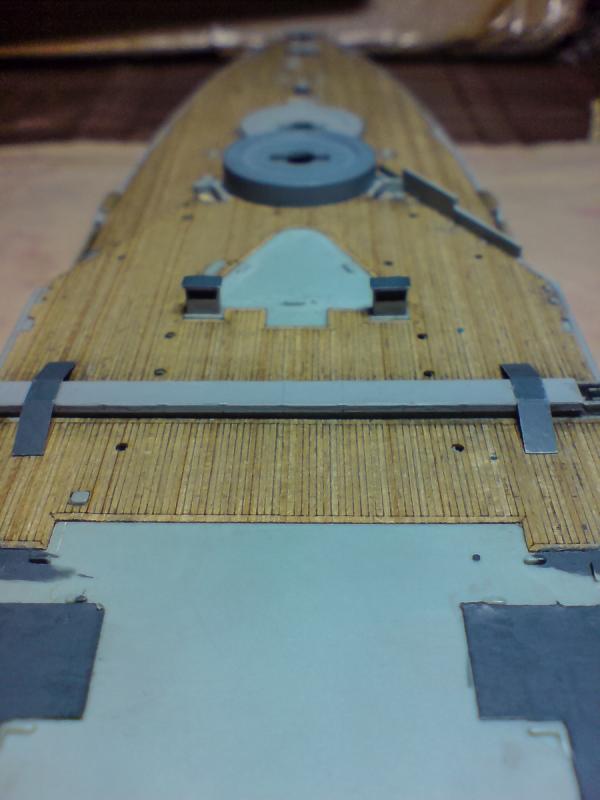
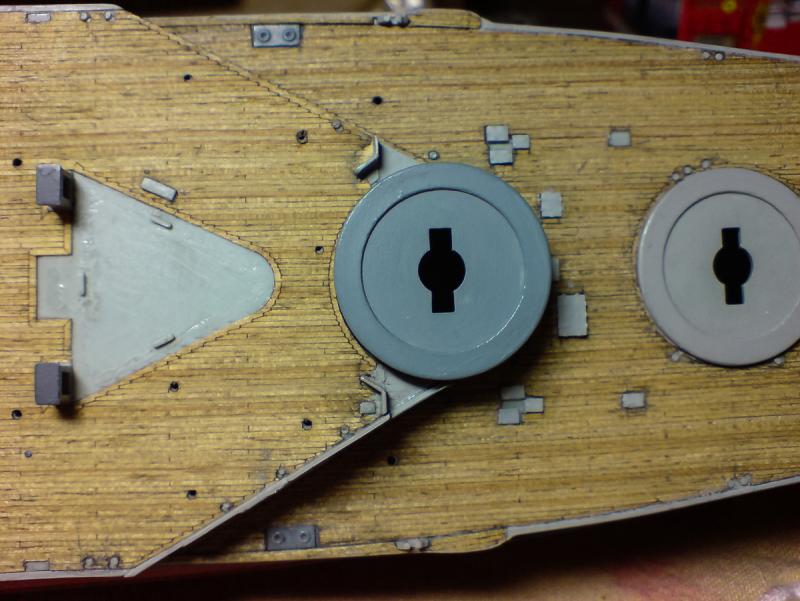
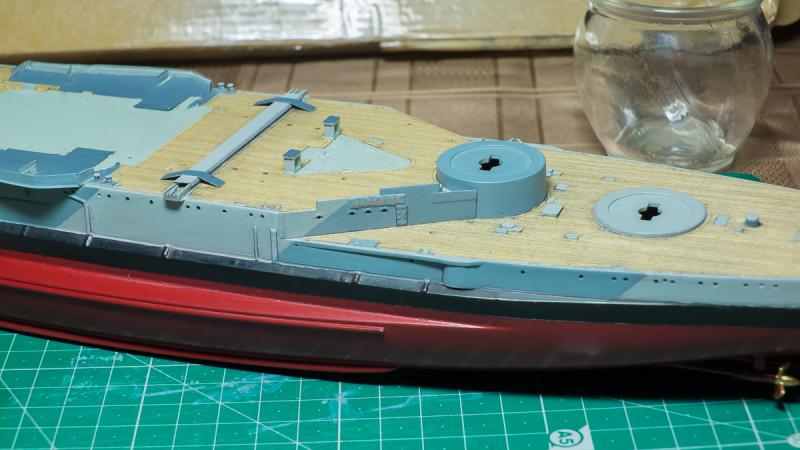
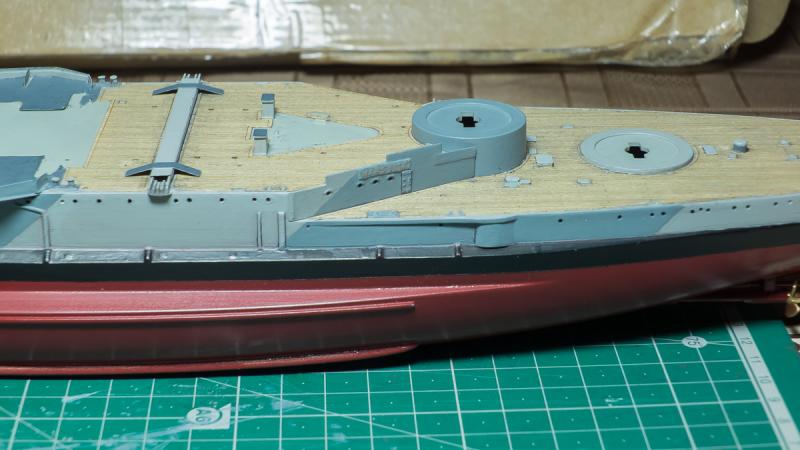
Hi folks - Evening, I got a bit more done on the ole girl this eve, I continued with the rear deck area creating some more decking over the extension above the old rear casemate, this again was done using some wood decking cut offs and required dry fitting and shaping, then when correct I fitted it down and added a bit of shading with a black wash - on and off with a rag. Here are a few pics folks again taken with my cam phone(over 10yr old model) OC.

-
Just got myself a cam phone from the old old days - a sony ericsson K800I, gonna use it as easy to use option, as the cam I lent needs to be returned soon, and I will have no cam available appart from my wifes pas cam, but its not fair incase I break it. Any way here are a few test pics from the K800i - what do you think? OC.

-
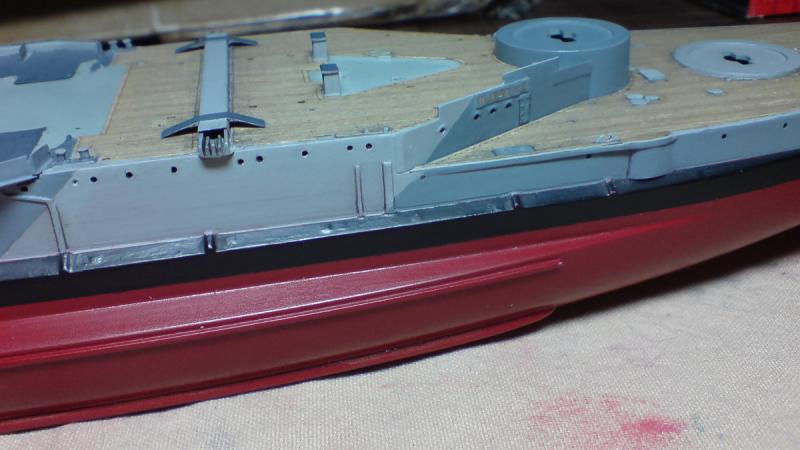
I tidied up the lettering a bit (best they going to be) then I glued the bulkhead to the deck, needs a bit of tidying up near the turrets, I also decided to add a bit more wood decking that should extend towards the edges over the old rear 6inch casemate, this is missing and not shown on many builds or even the pontos decking does not show this. So I basically cut the shape from left over decking and dry fitted a few times then after a few bits of cutting - I then pressed it down, it does need a bit of weathering to match the decking this I will do with a bit of a dark wash. OC.

-
Thanks for the suggestion re - the letter scraping, my concern is knocking the letters off, as they are only secured down before painting with PVA onto a sanded PE plate, so making them PE ontop of PE, I should have used super glue but the one I have at the moment is one of those thick brush in bottle fella's and I wouldn't have had enough working time for moving them around on the tiny PE plate. OC.
-
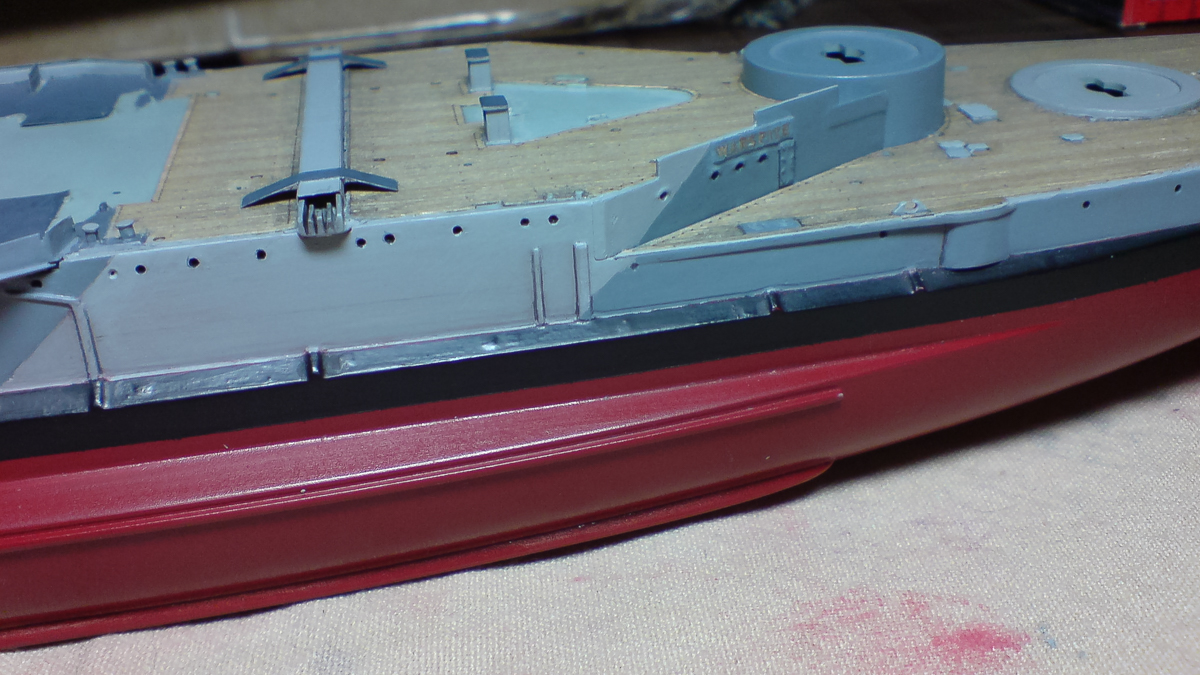
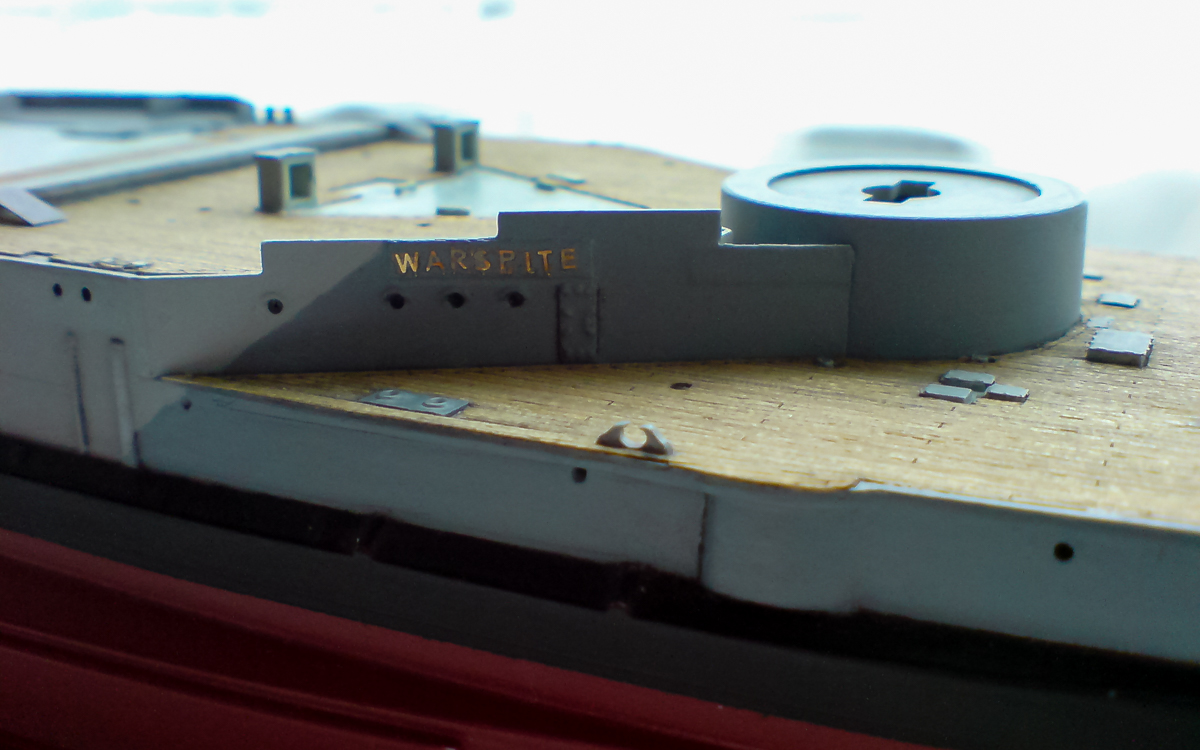
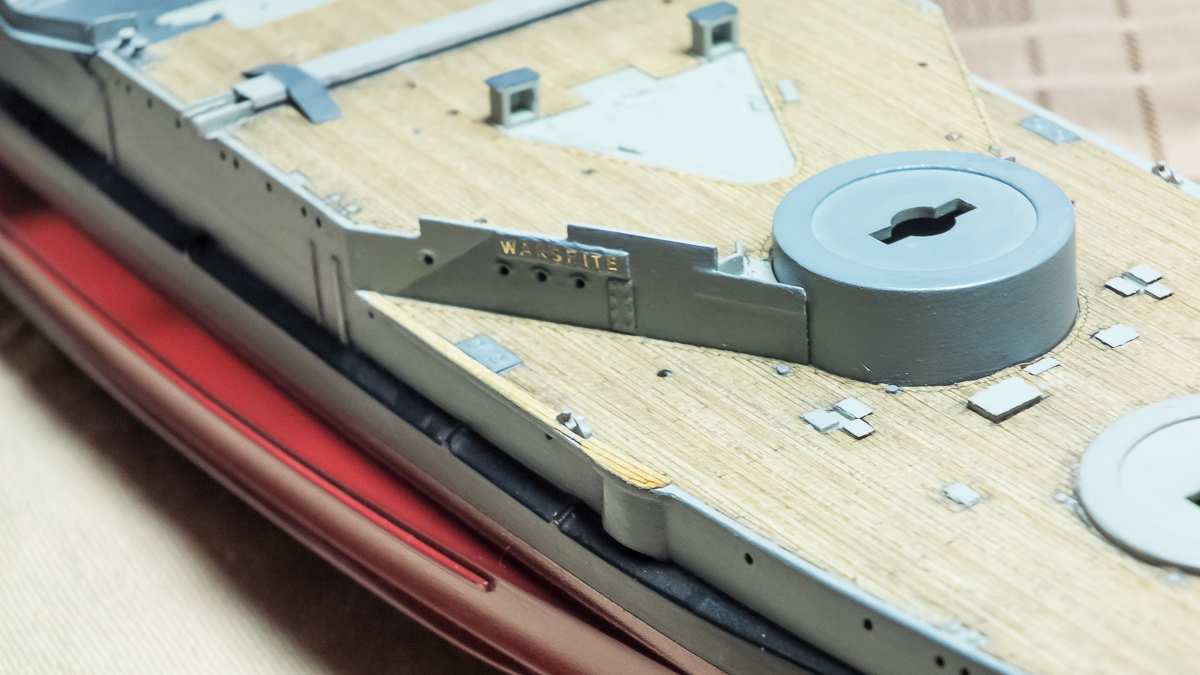
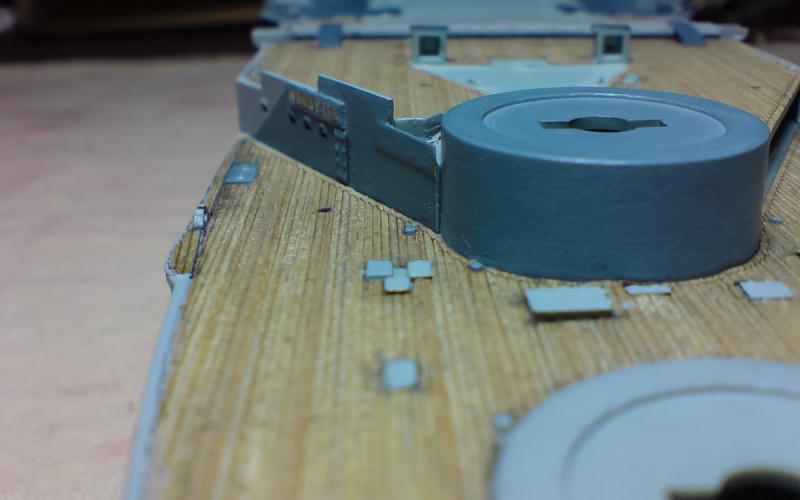
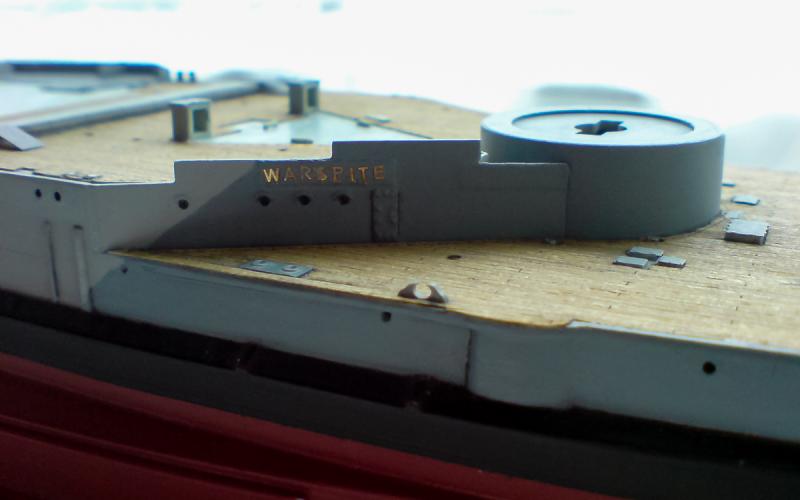
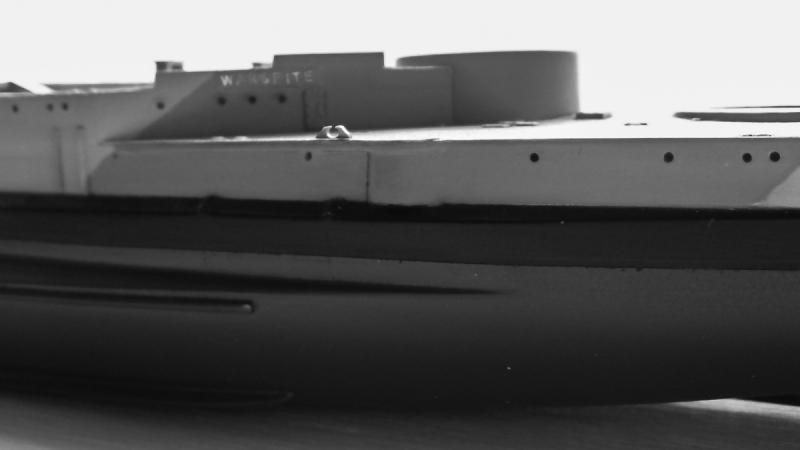
I carried on today with the rear starboard side bulkhead by generating a line for the camo break, I them painted the darker shade in a few coats and put it aside to dry, I then turned my attention to the name letters on the PE Fret, I attempted to remove these including the backing plate I had attached yesterday, but no luck they peeled away, so I had to remove them in a few groups of letters and place them on the backing plate, I was going goggled eyed due to the size of the letters, when set with the PVA I used I then attached the whole thing to the bulkhead. Next was to to give the plate and letters a light coat of brass colour, then when dry an over coat of bulkhead grey colour, then when that had dried I gently/lightly sanded over the letters with some fine wet n dry just to highlight the letters. Not as neat as I would like but best I could do. Here is a couple of pics folks showing the bulkhead in place on the rear deck. OC.
-
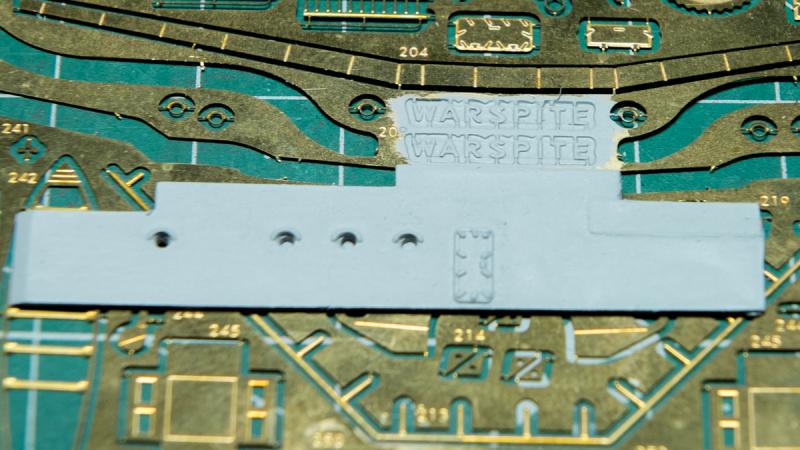
A bit more work folks - I attached the name plaque to two thin PE plates, I glued them down with PVA after giving the PE a slight sanding to help key it, I then placed a weight on it ald left for a few hours, when set I painted over both the letters and plate and gave that a coat of flat brushed on top coat. I will carefully cut these out tomorrow and either sand back the letters to a brass look or run over them with a white paint. I also added a few layers of 507C as a base coat on the wall secion(Bulkhead)?. The picture shows the letters attached to the backing plates still attached to the fret, and the bulkhead below it showing the relationship and scale between them. OC.
-
Not sure I understand this but what I was saying that in both mediums all the parts are attached to the frets by small stalks or as I called them pips, it just how they are made. OC.
-
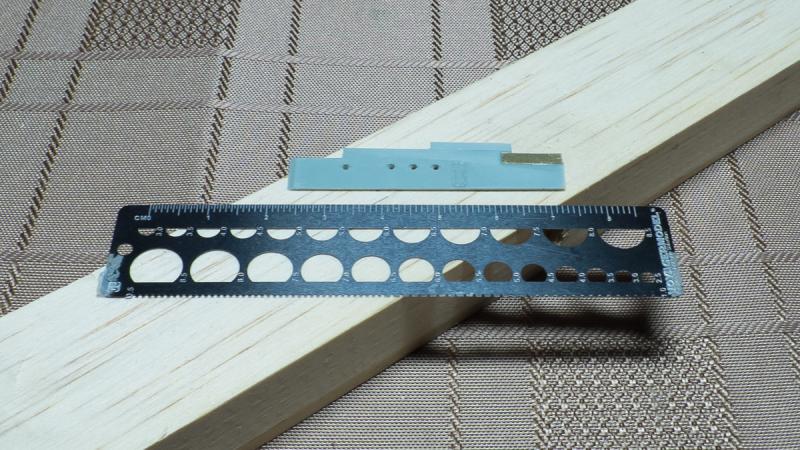
Started working on the rear walls not sure if that is the correct name for them? anyway I worked on the extension piece I added - this needed sanding down a bit to reduce its hight a bit more, then I fashioned some PE into a plate that goes on the wall and bridges a gap towards the turret. Here is a pic of it folks. OC.
-
The PE parts are attached to the fret via tiny strands of PE material - I call them pips abit like the plastic kits and how they are joined to the plastic frets, we all cut the parts Plastic or PE as close to the part as possible. Hope that makes semse? OC.
-
What you going to use as a top coat flat to blend it all togther when it done? OC.
- 68 replies
-
- 2
-

-
- Arleigh Burke
- BlueJacket Shipcrafters
- (and 1 more)
-
Looking really nice sharp bit of building OC.
- 68 replies
-
- 2
-
-
- Arleigh Burke
- BlueJacket Shipcrafters
- (and 1 more)
-
My night and day shifts are weird being at home carer for the wife, im up till silly o'clock most evenings - just cant sleep, I blame being born at a late hour made me a night howl. OC.
-
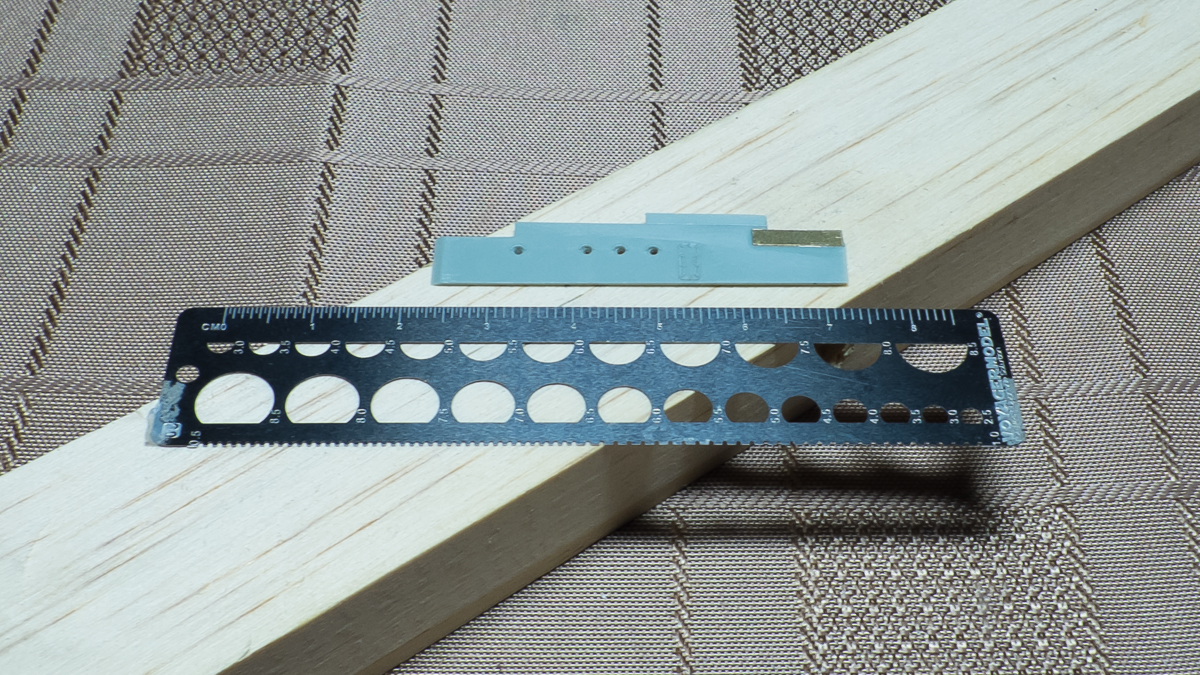
Right then folks now that I have overcome my little port hole wobble and just have the starboard side to do, my thoughts have turned to when I continue on the two rear deck wall sections that accomodate the name plaque. The name plaques are PE and on my fret (that arrived damaged not making work with it to easy) anyway they are indivual letters and secured by two pips on each letter, instead of trying to place each letter and spacing them on the plastic wall, I came up with the idea of creating a sheet that will be sat behind the latters while stil on the fret, then glued in place. When its fully stuck to the letters I will be able to cut the pips and remove the whole name with the backing plate attached underneath, then after a bit of sanding the edges I will paint the whole thing the correct camo colour, then after either rub off the paint on the latters leaving a brass name or paint the letters white. I will then be able to lign up and stick the nam eplate to the wall with better accuracy. Well thats the plan Here is a couple of tiny drawings of what i meen - the letters as they are attached to the fret, and the plate I will fix behind them. OC.


-
Thank you mark, and a Big thank you for all your likes of my build, It certainly keeps the inspiration going. OC.
-
Bridge cameras come into thier own right with close up work, I had a fuji X-S1 that died so I have been borrowing one from a friend to take my shots, I can get as close as a couple of cm's in the macro mode. OC.
-
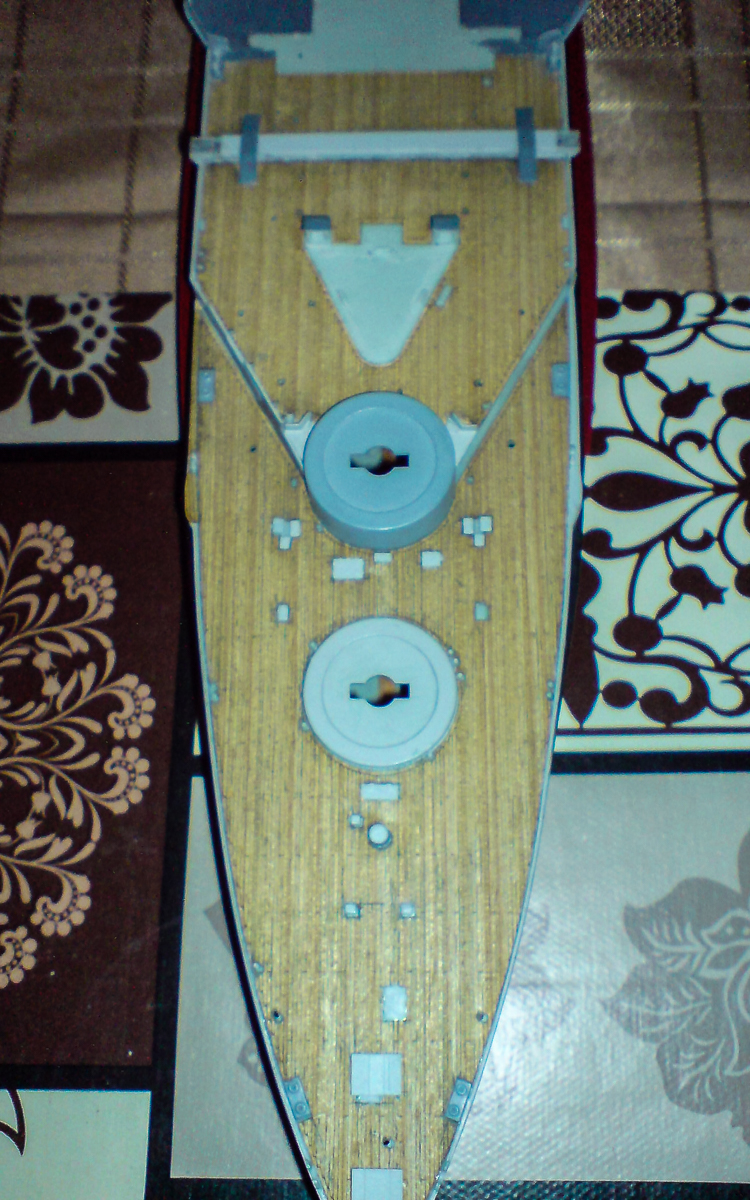
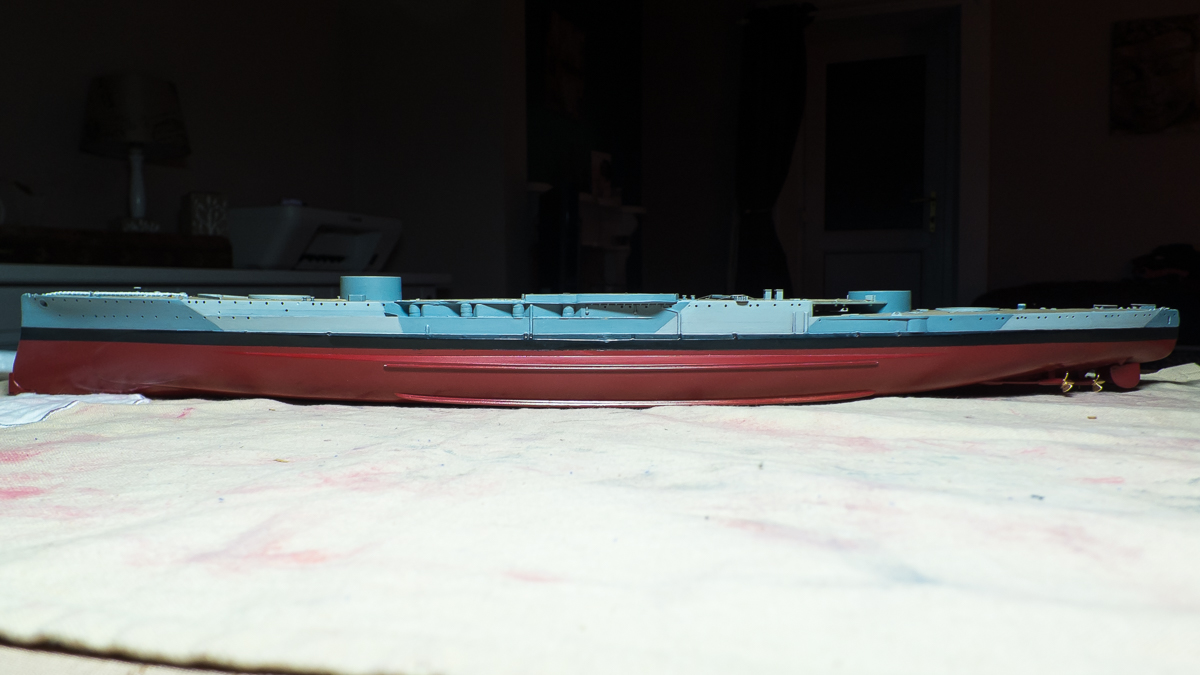
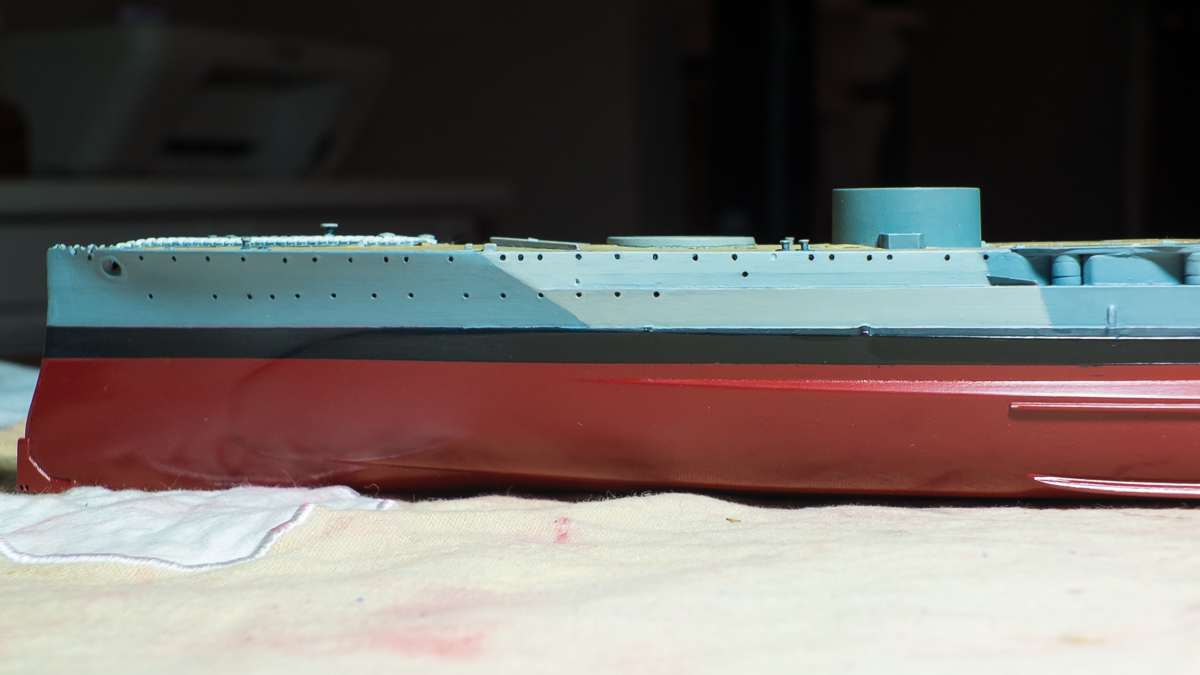
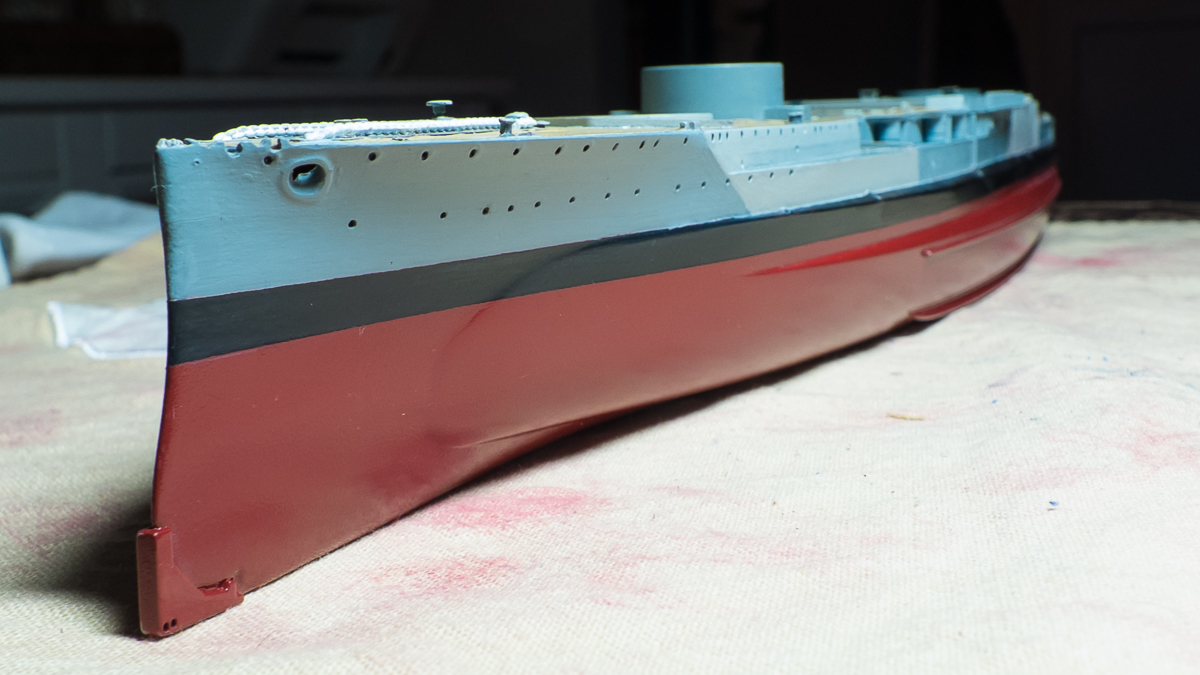
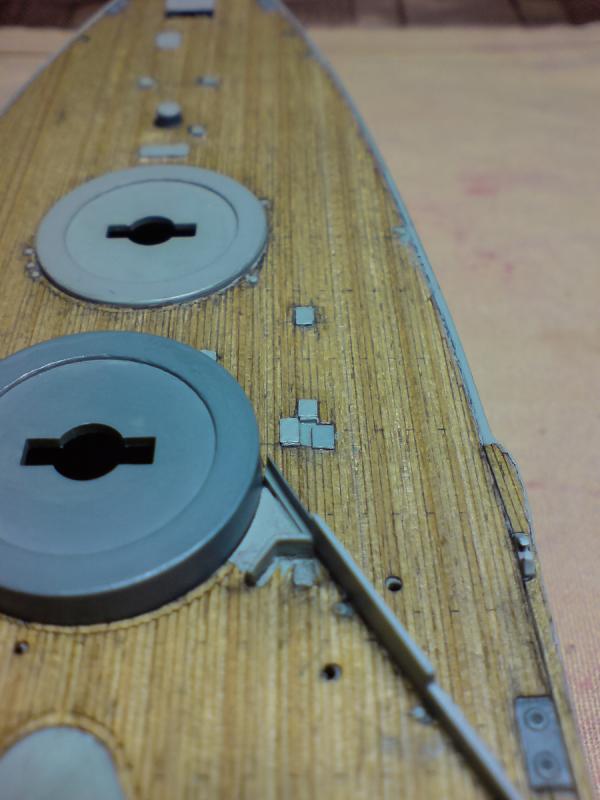
I could not resist the urge as the Ole Girl was calling me and wanted some attention, so back on the bench this evening, I went strait to the port holes and got some black acrylic in a jar - it was quite thick as I wanted it to fill the holes, I used a fine pointed paint brush then dabbed the paint into the port holes, I then wiped away any spillage. After all the ports where filled I diluted some hull colours and applied a light glancing brush - a few times just to cover the over spill and darkening from the black. It seems to have gone ok on the one side(the other side I will do tomorrow). Here are a few pics of the work folks.


-
Mite try that - the PVA bit not bed Im a night owl and dont sleep till gone 4 just how I am being a carer for my disabled wife. OC.
-
My brain is always on the go - even when Im sleeping, if Im not thinking about my build I am making up jokes and gags and writting them down. OC.
-
Im not on my build at the moment but the cogs are still turning in my head and I have an idea, tomorrow I am going to drop into the port hole openings some undiluted black acrylic, I will use a fine dabber like a wooden pin type device where I will pick up a blob of paint and drop it into the port hole, and also wipe off any drippage on the paintwork, this should sink down but fill in the port hole and give the impression of a open port hole, it may take a few re visits to each port hole - but it might look ok? OC.
-
I keep thinking the same - my next build will have all the experience from my Warspite build including early lessons learned and techniques and know how. OC.
-
Loving your work there and that Flory Wash looks excellent also love those tiny pegs that look like cloths washing pegs :) OC.