HOLIDAY DONATION DRIVE - SUPPORT MSW - DO YOUR PART TO KEEP THIS GREAT FORUM GOING!
×


Old Collingwood
-
Posts
12,097 -
Joined
-
Last visited
Content Type
Profiles
Forums
Gallery
Events
Everything posted by Old Collingwood
-
 So many kits just wouldn't be the same without pe. OC.
 -
Trully excellent work, what a masterpiece of enginering that plane was. OC.
-
That looks splendid. OC.
-
Thank you edward, was hit or miss when I saw the state of the fuselage after painting on that Acrylic gloss top coat I nearly cried, so glad I ahd not attached the wings and stabs and painted all over. OC.
-
Thank you Carl, yep slowly slowly catchy monkey means I can control what I am doing better. OC.
-
Upss didn't sound good kind of a rock and hardplace situation. OC.
-
Curtiss P-40B Warhawk by Asat- Airfix- 1/48
Old Collingwood replied to ASAT's topic in Non-ship/categorised builds
Hasegawa 1/48 F4E would be superb. what say you Ken. OC. -
And make sure if its out of a heli you are actually falling and not going the other way. OC.
-
My music background is - Have you heard of the the Band Duran Duran? the band I was in in the mid 80s my best mate and bass player was the cousin of John Taylor from DD, I played a Korg Synth in our band. OC.
-
Curtiss P-40B Warhawk by Asat- Airfix- 1/48
Old Collingwood replied to ASAT's topic in Non-ship/categorised builds
"Harrier" thats coming a long soon got one in the stash got it months ago before the mad max madness. OC. -
Thank you Denis, same to be done on the other wing with the u/c doors, then I will be back on the fuselage. OC.
-
Thanks Mark. OC.
-
A bit more done this eve, Next to be attached to the wings are the u/c doors, first I cut then off the fret then I gave them a paint and weather, then they were glued in place and touched up a bit after fitting. One wing done. OC.


-
Thers the challenge do all 110 same time😉🙂 OC.
-
Fokker Dr.I triplane by cog - multiple - 1:72 - PLASTIC
Old Collingwood replied to cog's topic in Non-ship/categorised builds
That looks Stunning mate - the camo is really spot on. OC. -
Thank you kindly. OC.
-
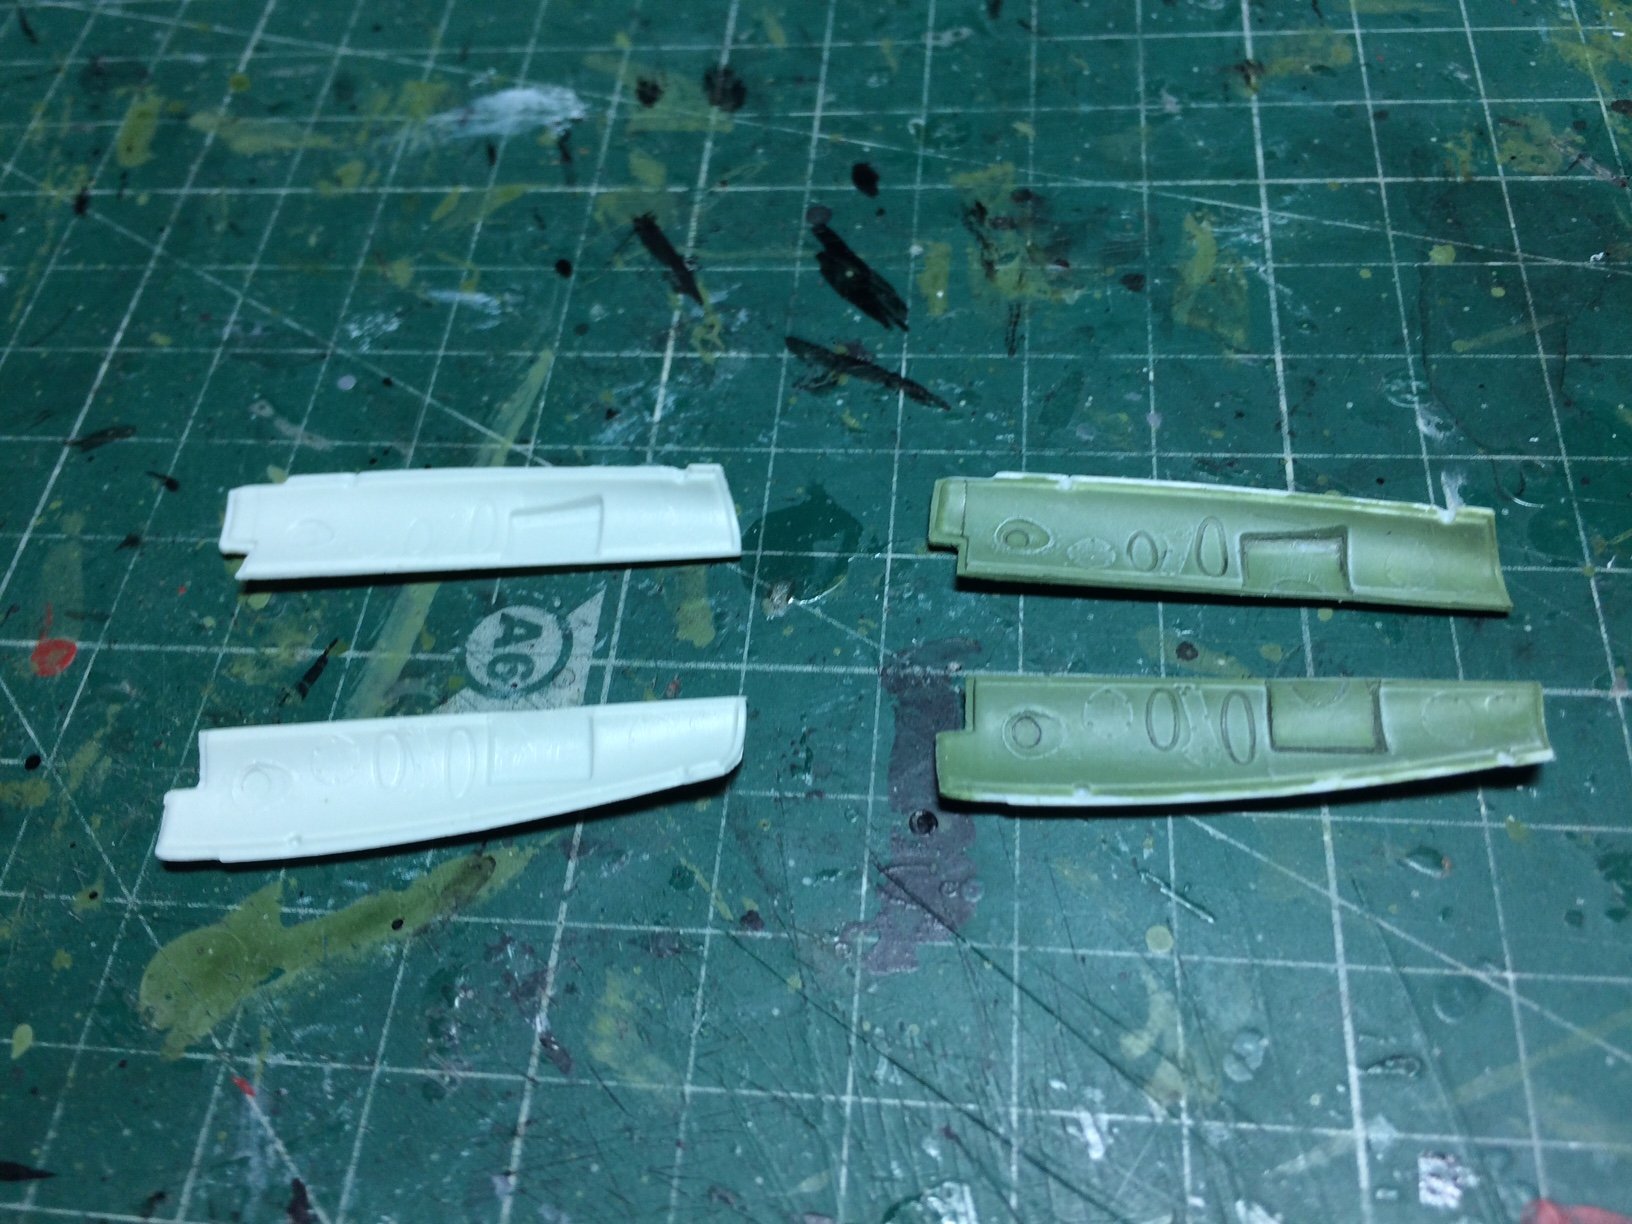
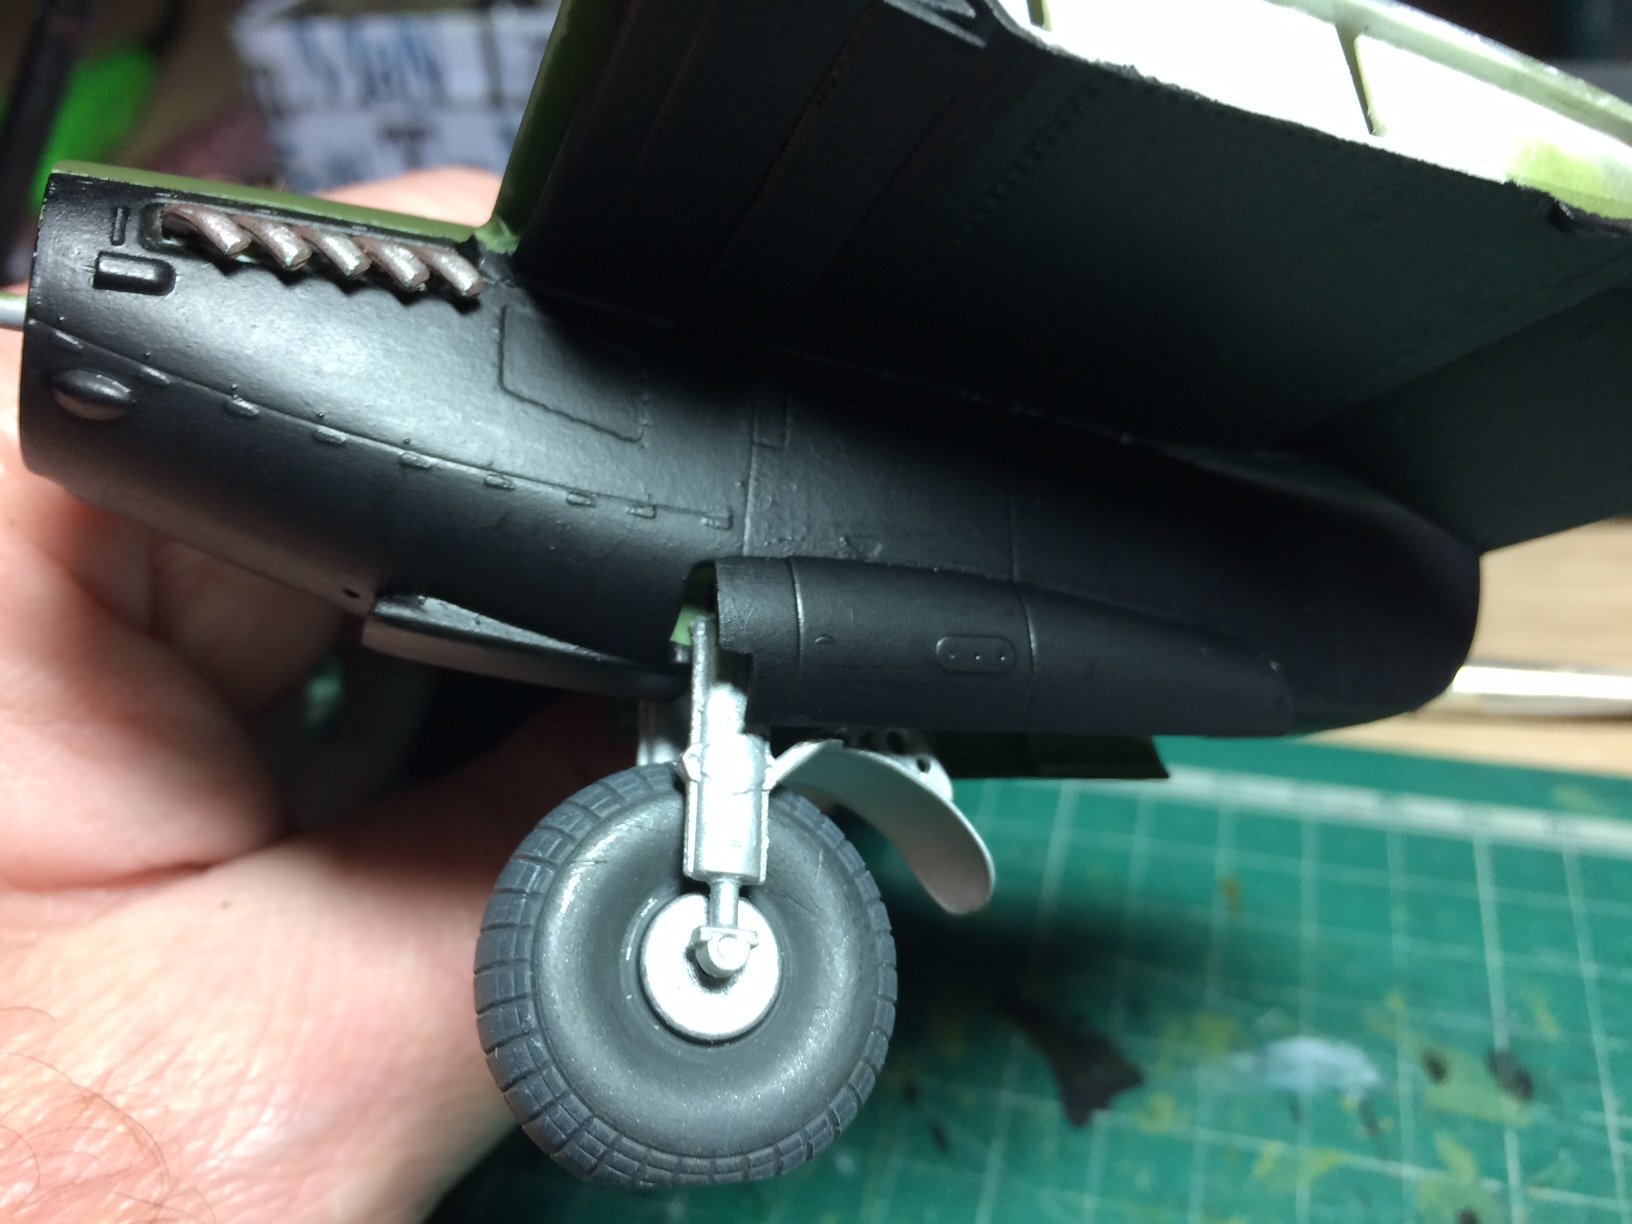
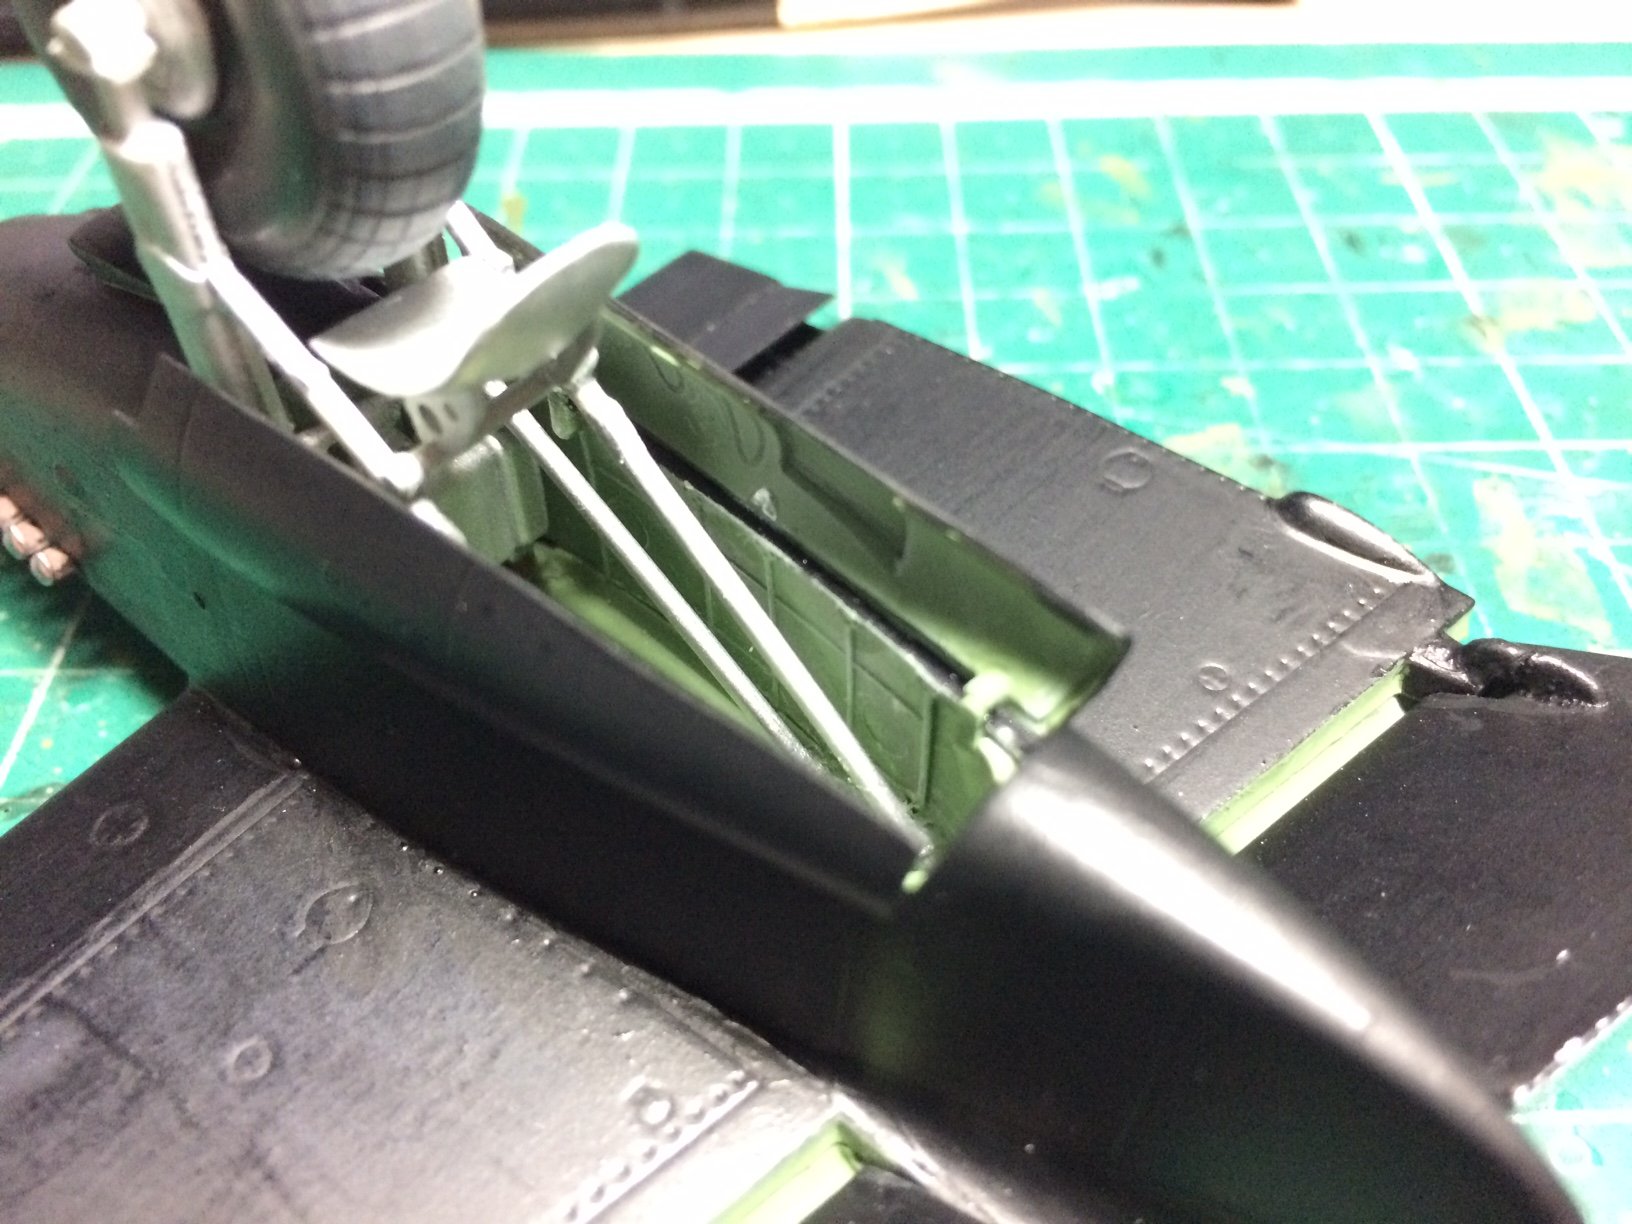
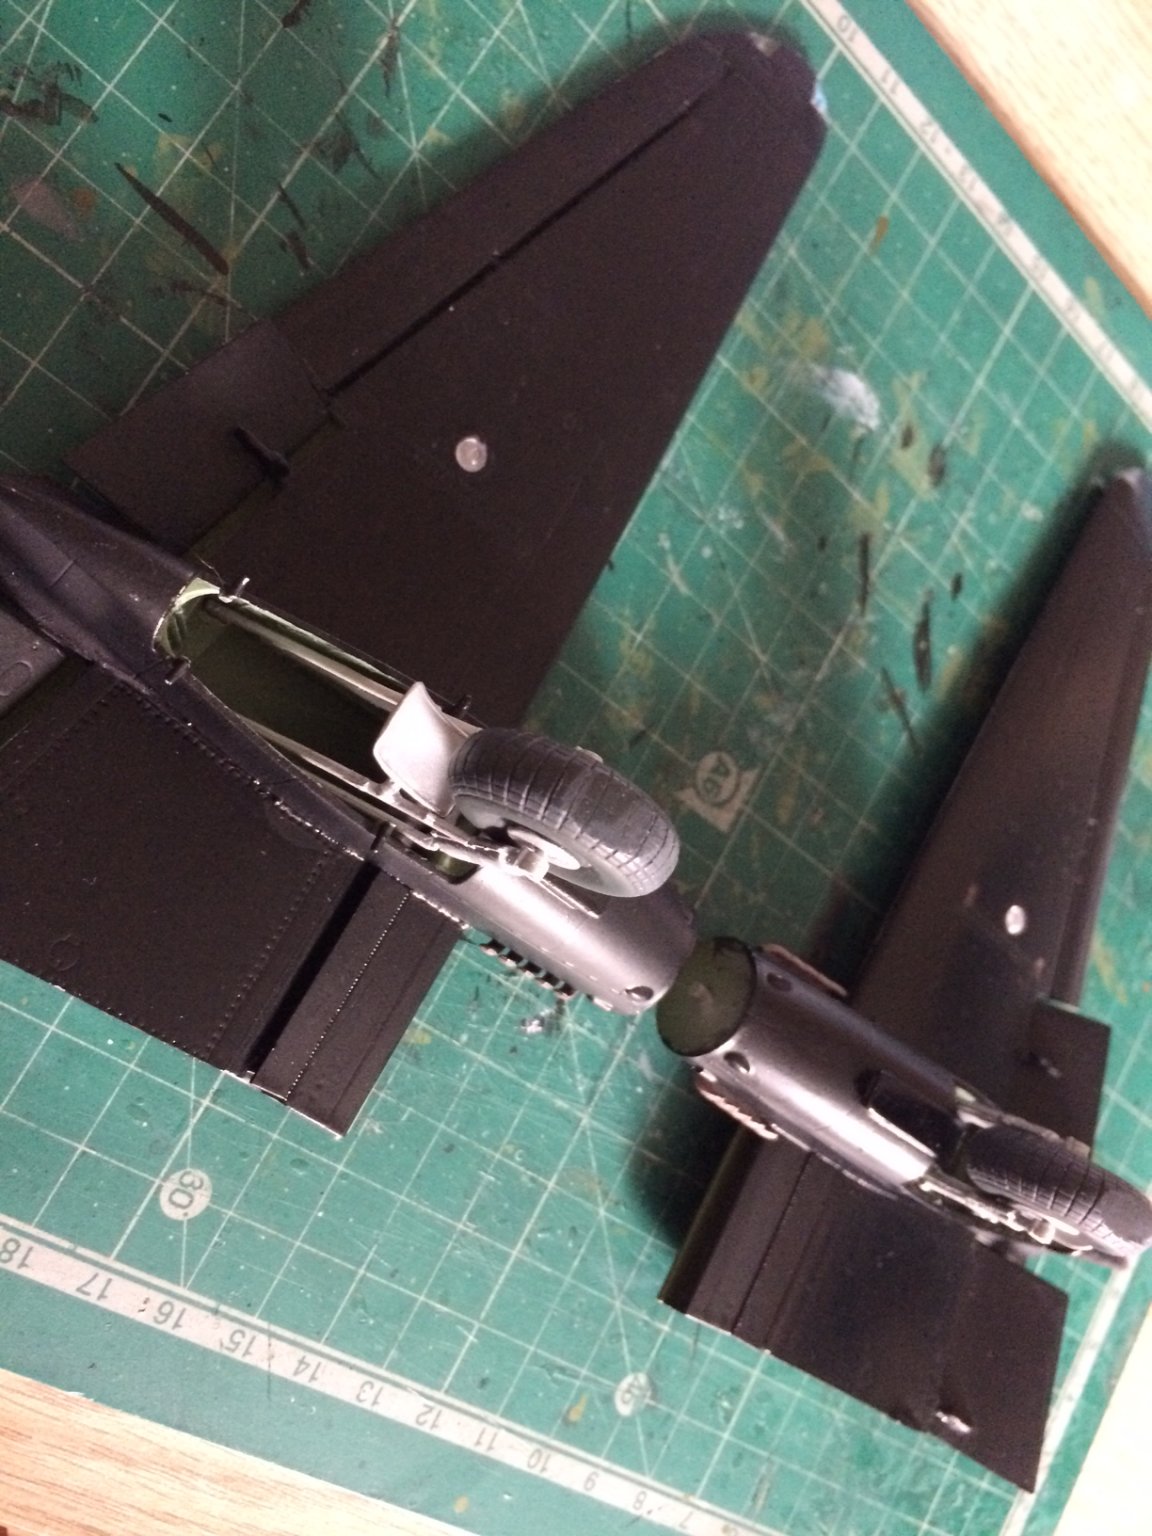
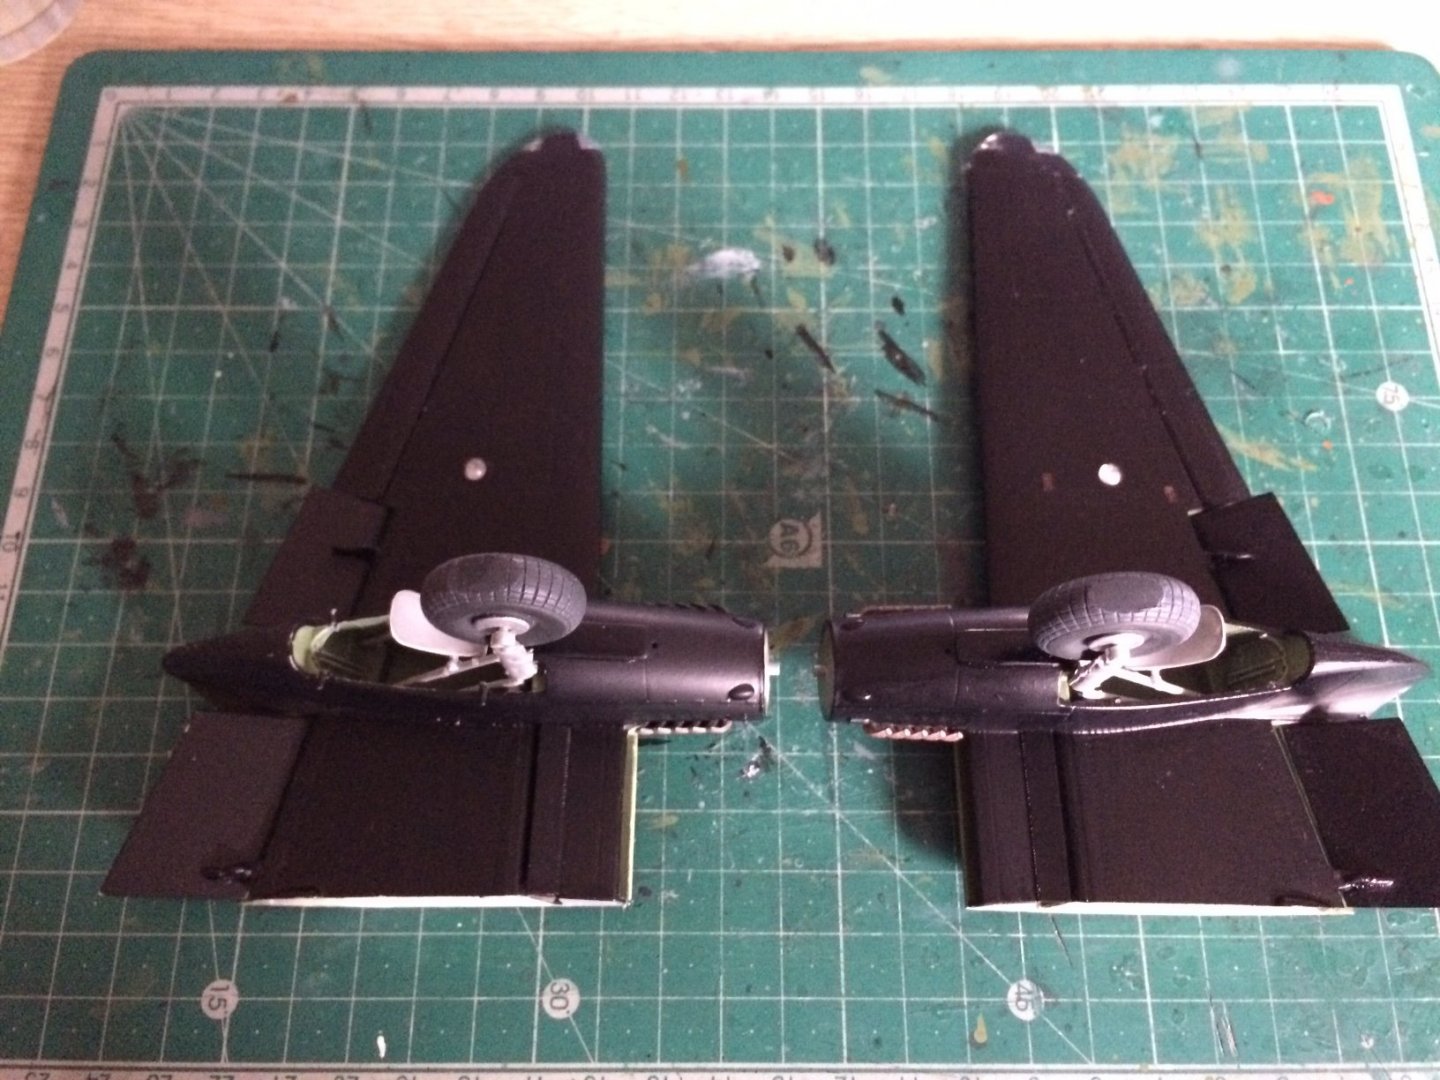
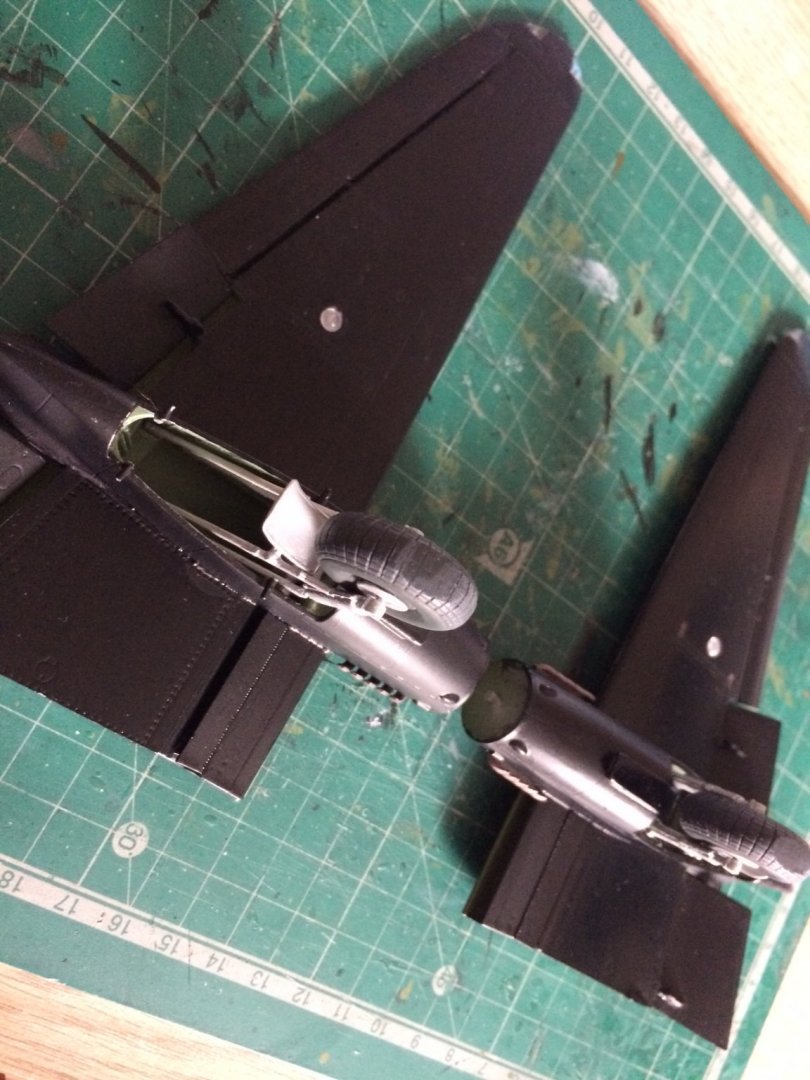
Some more good work today, first thing was to fit the Two lens units under the wings - these just popped in with a bit of ca run around the edge, next was to fit the Two radiator flow control vents under the wings, these were then painted same as the underside. Then the biggy - adjust and fit the other main u/c unit, again this needed some sanding then a good measure of ca to get a good bond, the tricky part was locating the adjustment leg struts (I had to keep pushing them in place as they had some flex). Also here is a pic showing the first stage of the re - paint. So this is the current situation. OC.
- 932 replies
-
- 10
-

-
Thank you Edward. OC.
-
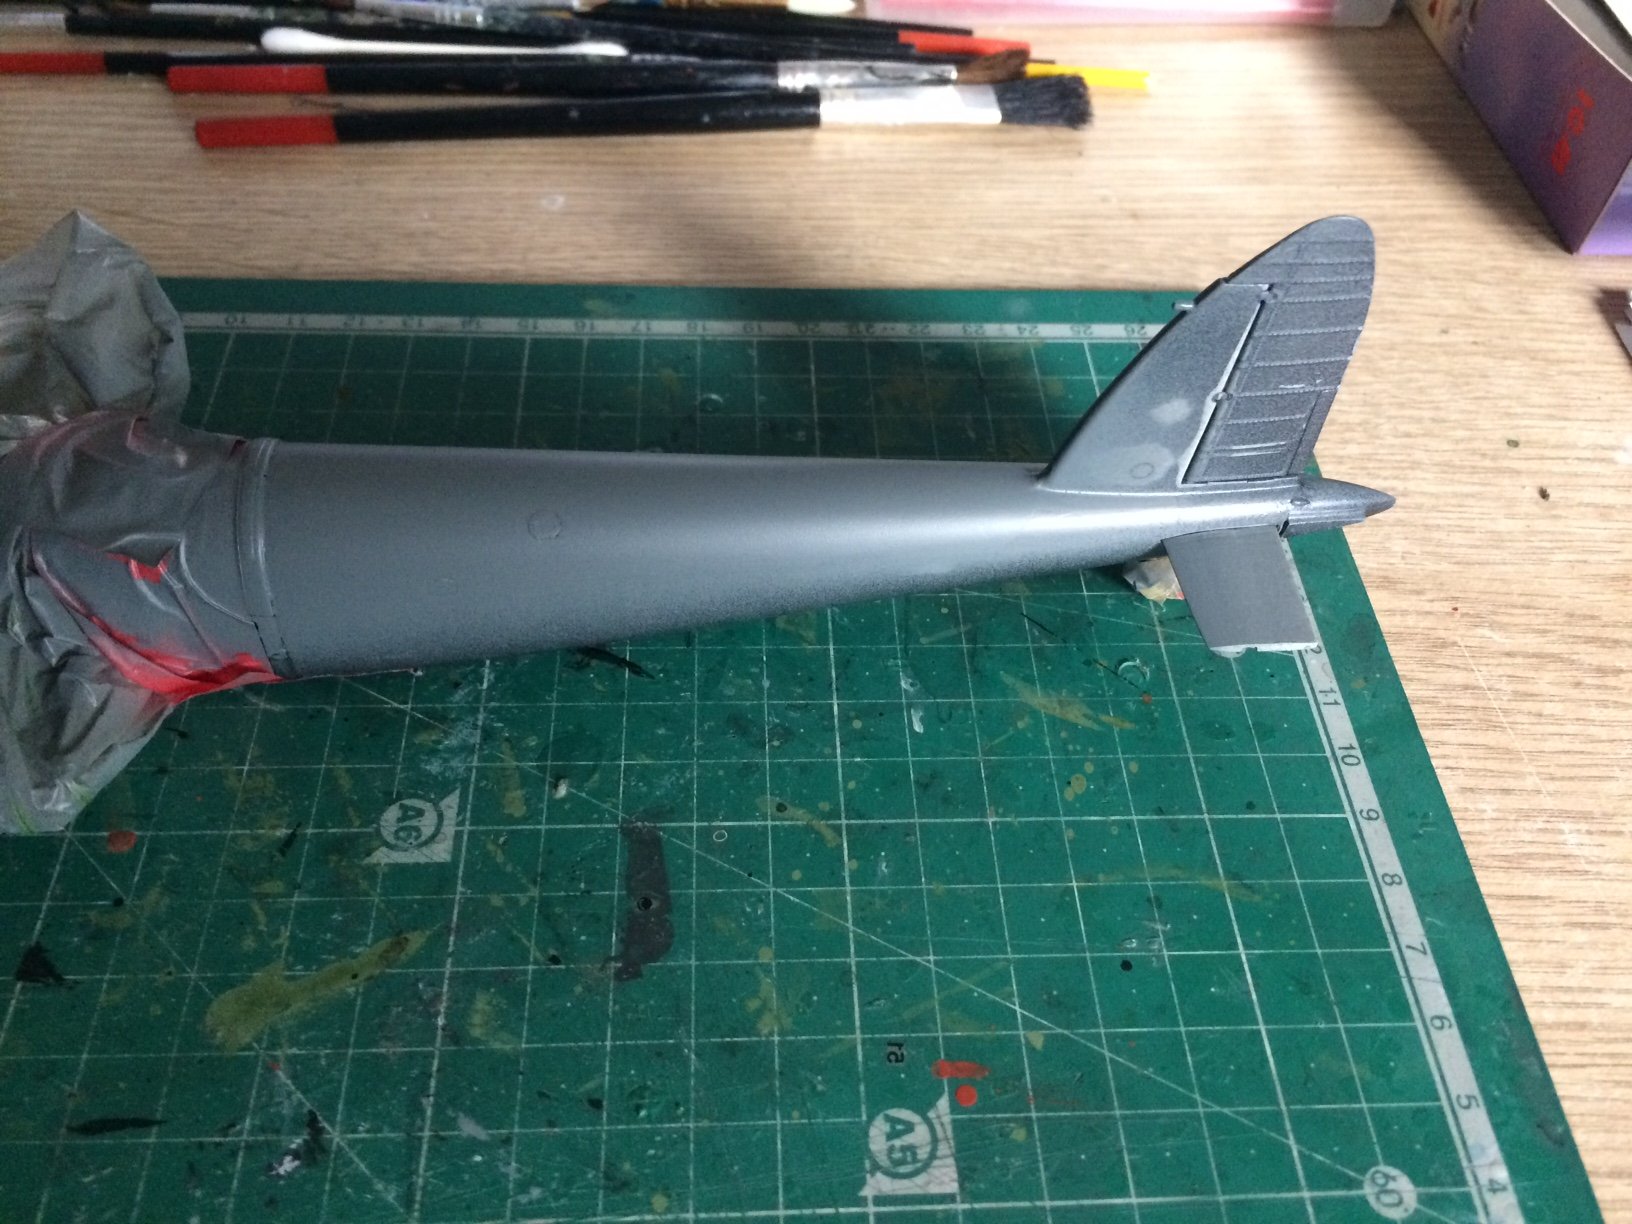
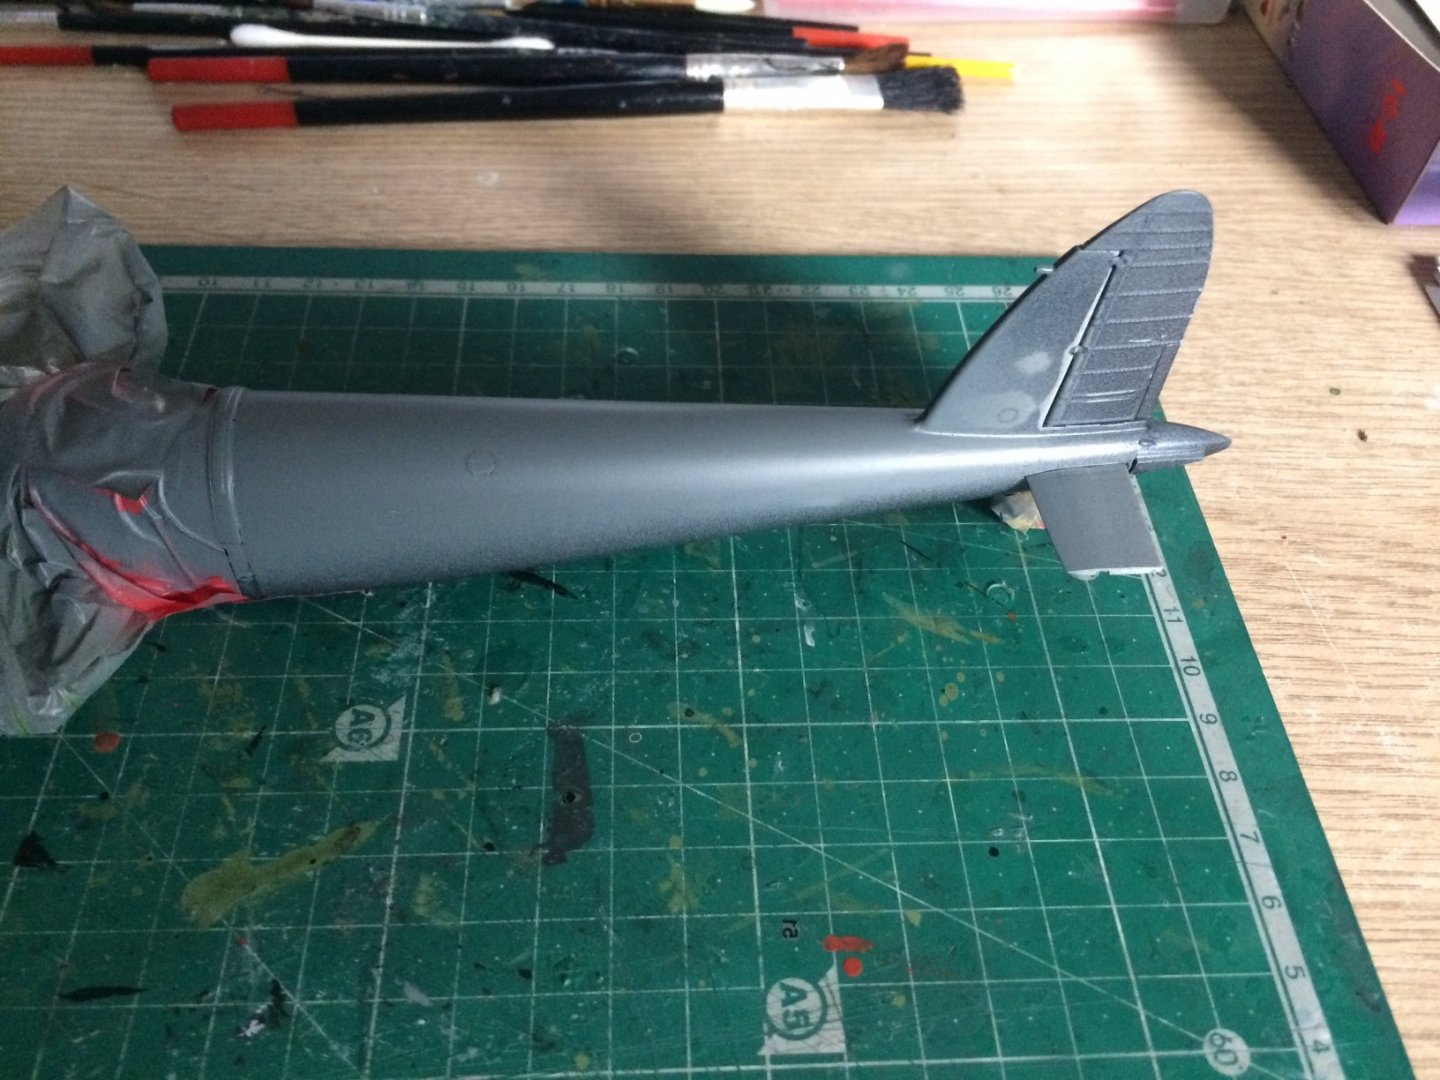
Here's the plan - My farther used to tell me things about his service one of those was about a Special version they were testing of a Seafire, basically it was a modiefied mk.III - the FAA where he was based had a small outfit there called the SSCU Special Seafire Conversin Unit, the idea was to see how far they could push a mk.III by improving the already established airframe and engine. They thought if they could make it breath better by putting the Two Rads under the wings same as the Spit IX this should increase the airflow, also they put on the pointed tail/rudder to give it more control, there was a few other mods done also. It was a sucess but a Griffen engine upgrade was coming online soon and this did a way with a few proto's that my dad worked on. OC.
-
Thanks mate. OC.
-
Fokker Dr.I triplane by cog - multiple - 1:72 - PLASTIC
Old Collingwood replied to cog's topic in Non-ship/categorised builds
No no more fun if you dont......... OC. -
Thats why I love this forum so much of different talents that come together "Priceless" OC.
-
Thank You ALL for taking the time to expalain this - its important info that will help avoid disastors like what happened to me - but also anyone else in a similar situation. This I why I Love this site and all who post here. OC.
-
Thank you for looking into that for me EG, I was thinking - I have hand painted the bottom wings on my Mossie and hasn't turned out too bad, so I should be able to hand paint the Bottom of the Seafire to the same standard - cheaper as well just a few quid (UK pounds). I have the Dark Grey rattke can I need I brought that months ago as I wasn't sure about the color on my mossie. So I will order a tin of XF21 off flea bay. OC.
-
B-25 Mitchell "Meet Miss Runyon" by Javlin-HK-1/32
Old Collingwood replied to Javlin's topic in Non-ship/categorised builds
"Where gonna need a Bigger Website" OC.