Old Collingwood
-
Posts
12,106 -
Joined
-
Last visited
Content Type
Profiles
Forums
Gallery
Events
Everything posted by Old Collingwood
-
 I think Denis has summed it up perfectly no more words to add - just jaw dropping gorgeous. OC.
 -
This will be good Im bringing a bed far more comfy for the journey. OC.
-
Doesn't that just look the business - lovely work. OC.
-
Fokker Dr.I triplane by cog - multiple - 1:72 - PLASTIC
Old Collingwood replied to cog's topic in Non-ship/categorised builds
Count me in mate love these eduard kits - is it my imagination or do they feel a bit more solid than other makes (my spit feels more solid than the ICM version). OC. -
Cant wait to see more of your armour even without dio's. OC.
-
B-25 Mitchell "Meet Miss Runyon" by Javlin-HK-1/32
Old Collingwood replied to Javlin's topic in Non-ship/categorised builds
Looking good - that paint job is top notch. Take care. OC. -
"We want more - we want more - we want more" OC.
-
Those colours really compliment each other and make a lovely made kit rather more special. OC.
-
That is why I love our forum as we are all not affraid to push our individual building skills, and try to put our own stamp on what we are building - giving it a bit of life in any way we wish to. OC.
-
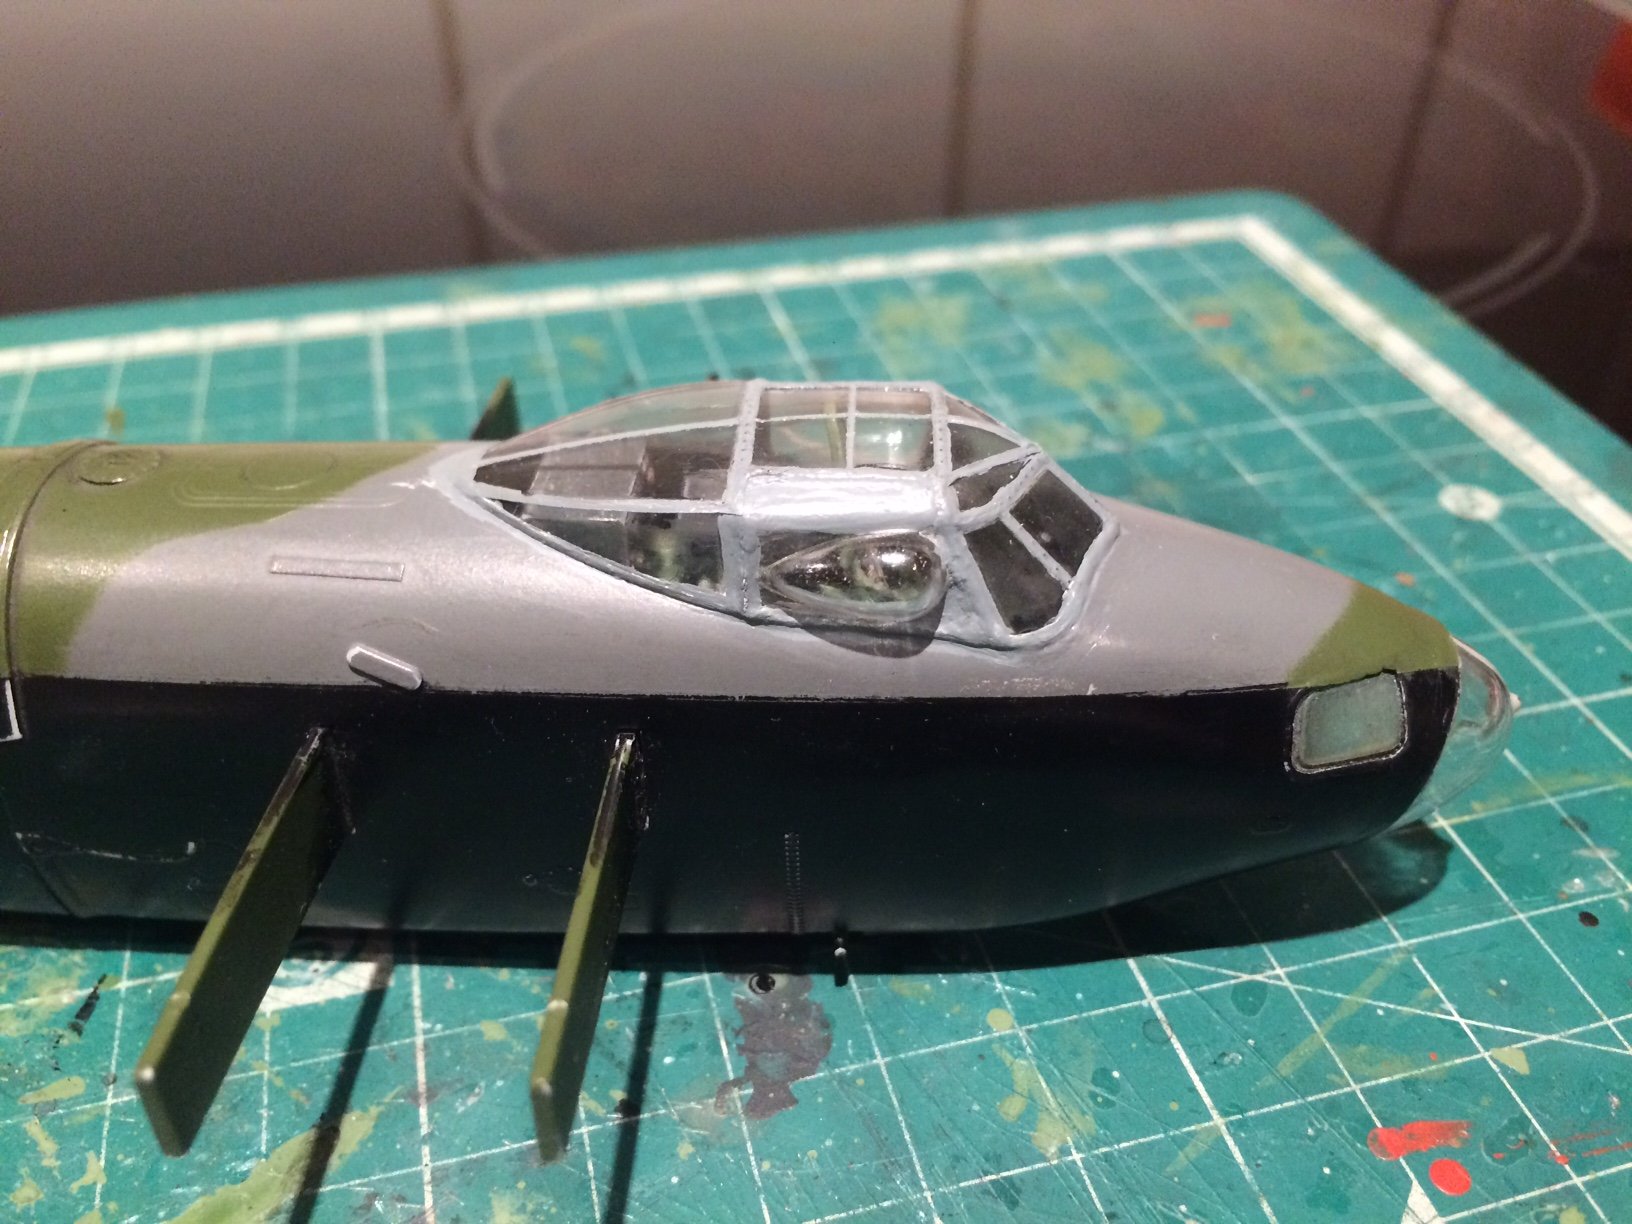
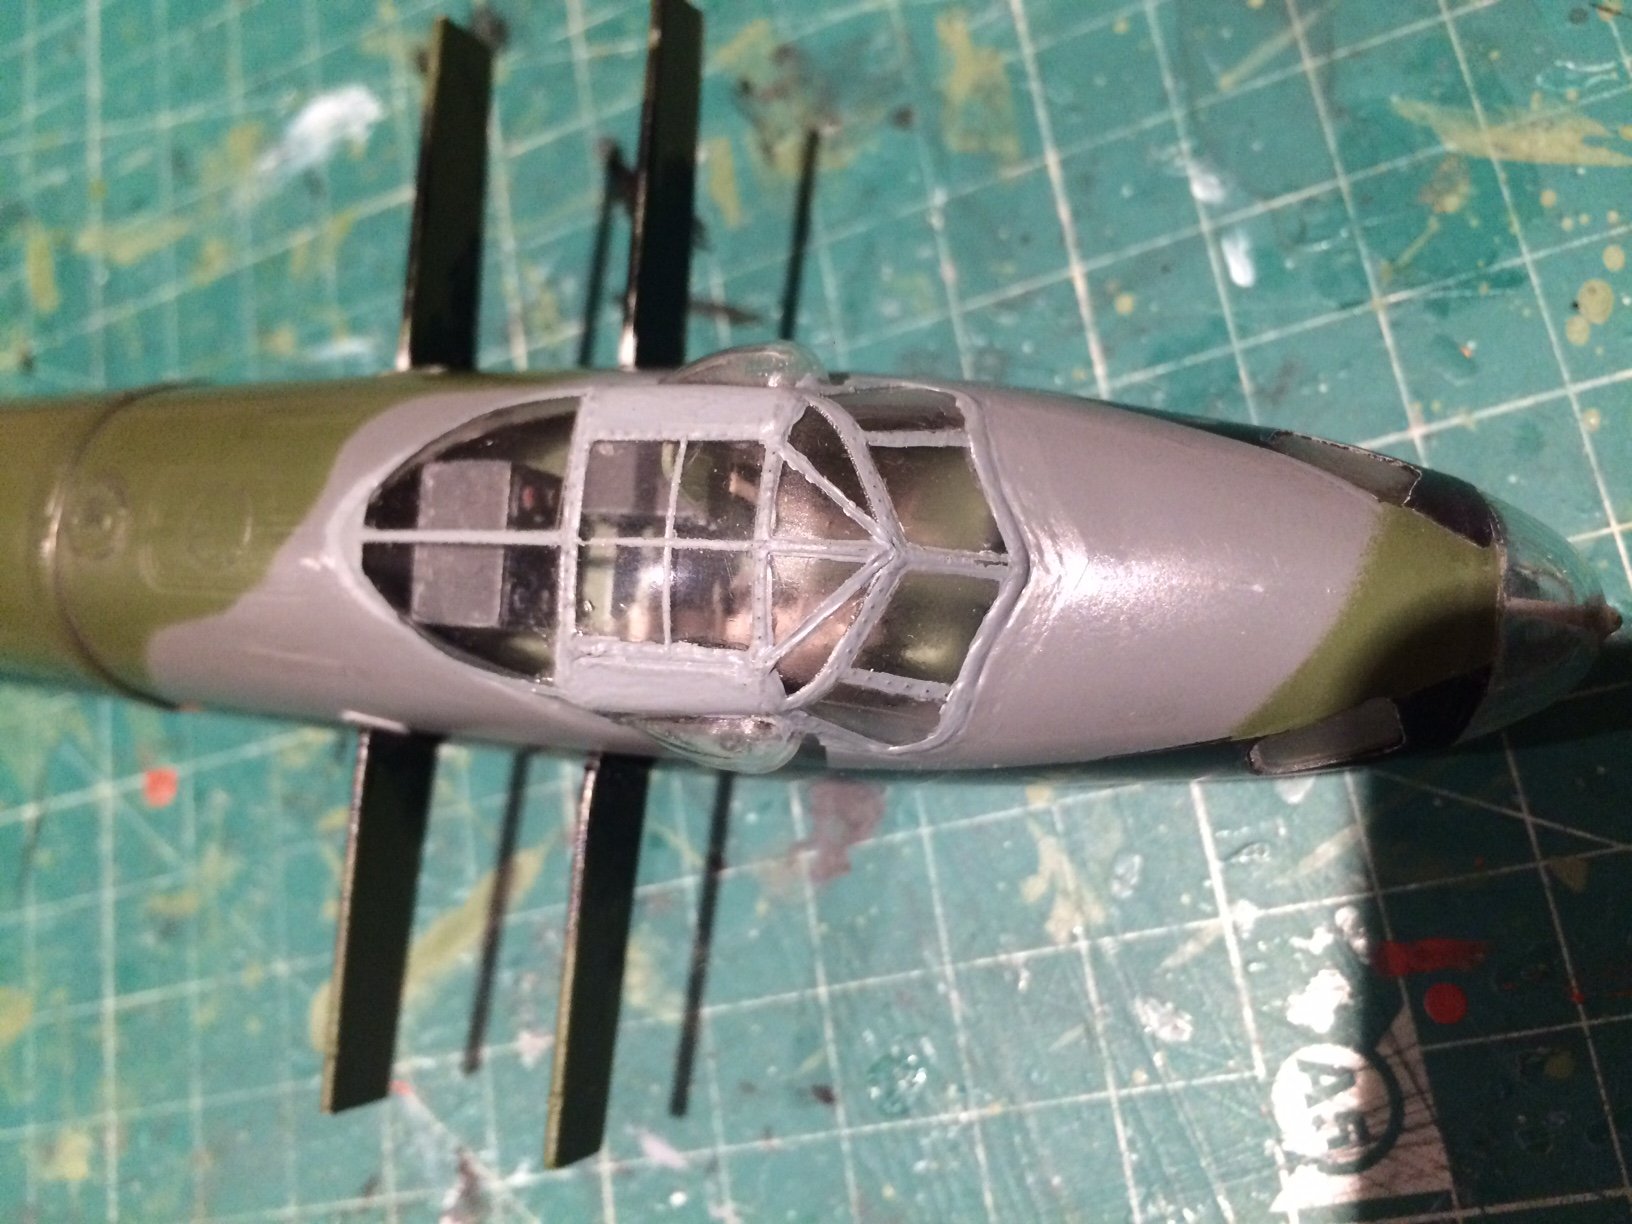
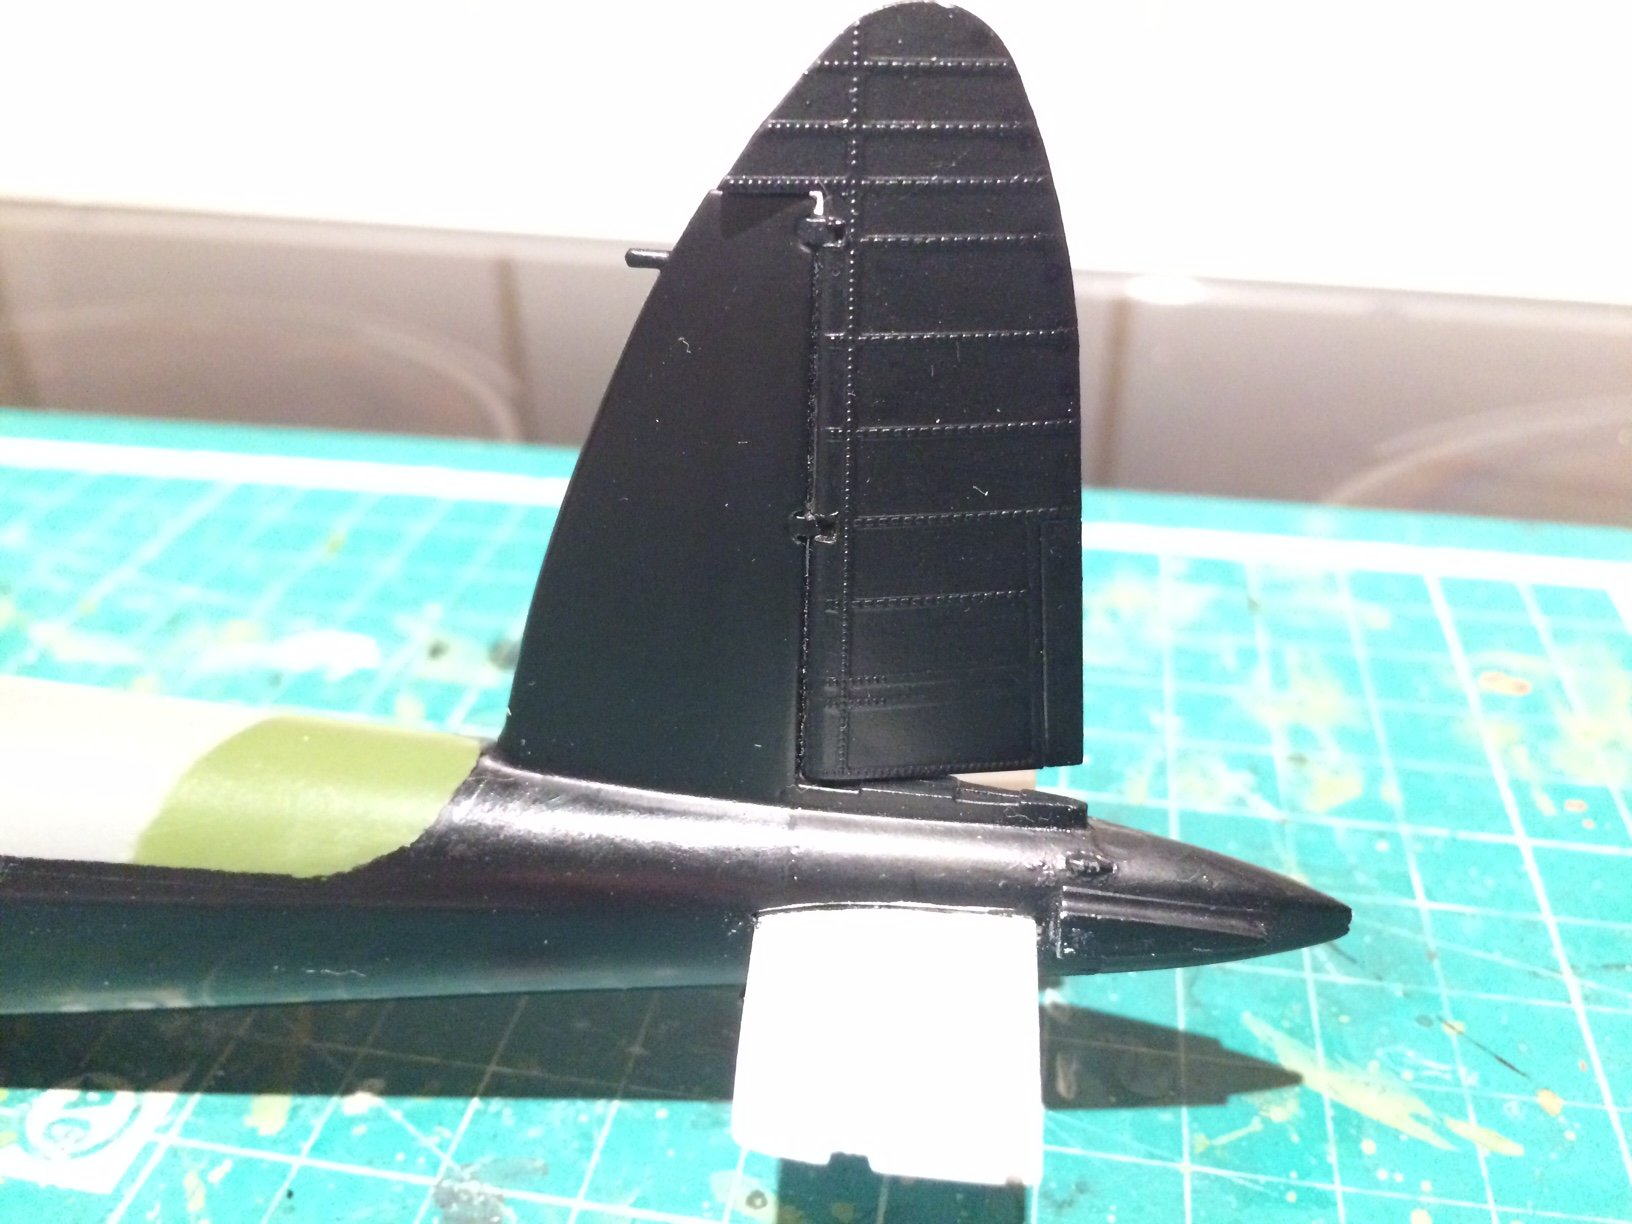
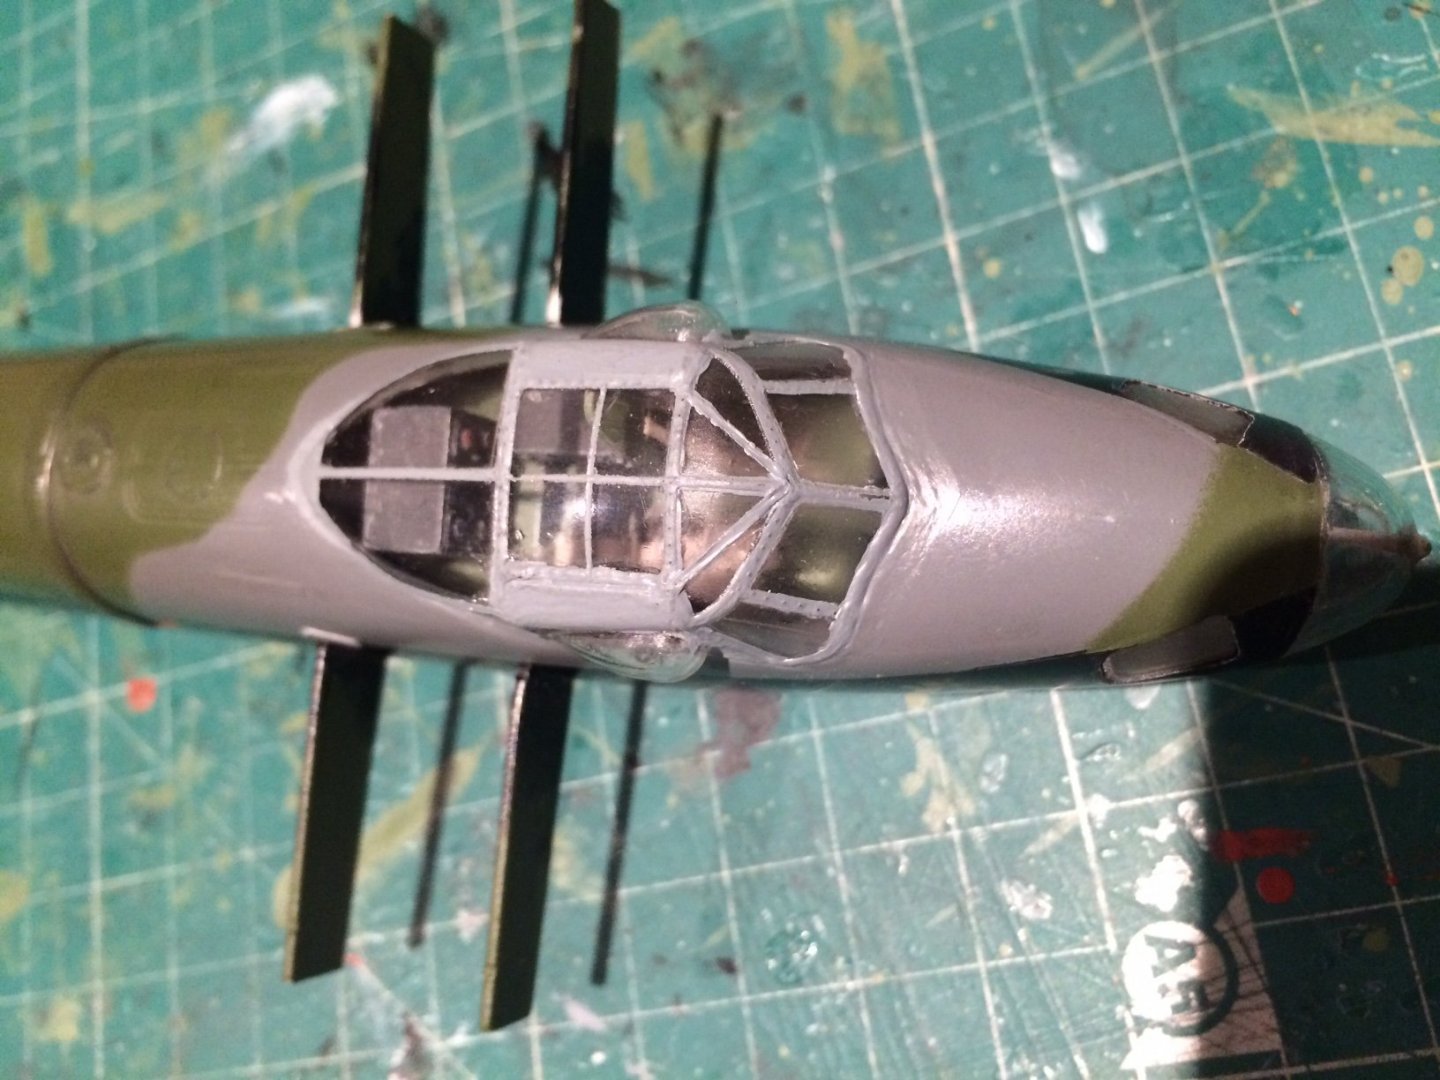
Hi all, I have been having a little play at painting the nose cone glazing frame black, it went ok even by hand, then I decided to start the fuselage decal application starting with the tail, this area has the square fin flash and a couple of warning labels on each side, they went down with micro set then a couple of layers of micro sol, they will need more applications as I can still see the edge around the fin flash even with the micro sol. OC.
-
That looks Awsome truly beautiful job, the whole thing comes alive now. OC.
-
Thank you Edward. OC.
-
Sounds like my earlier kits.... OC.
-
Was it Alexandru who created that early version of Vic? you sir have crated a masterpiece of here more frequent and most known ship. Thank you. OC.
-
Thank you Kevin, they had the fresh lakey ERK's give it a quick touch up then it did a few flights and roughed it a bit.😉 OC.
-
Just took these - they show the canopy glued down and touched up around the edges - also the rudder in place and hand painted. OC.


- 932 replies
-
- 13
-

-
Thank you Craig. OC.
-
I appreciate you checking it out Lou, I think I will just be glad to see it done now, so it can go in the display unit, so I can move onto the spits. Like I said thank you for having a look at those pieces. OC.
-
Wowser - did you check out the price on tha bottom two the ebay one wanted something like £40 including delivery over here and the second one was from japan quoting £400 odd "Gulp" I had looked into it when my canopy first broke but didn't like the look of vacforms as they are very thin and look to flex a lot also lack any scale. I am fairly happy with the recovery of the canopy now, it went down fine no gaps that a little putty couldn't hide, I had to touch up around the canopy but my tin/jars of actylic (the closest match) is slightly different to the rattle can, but "hey ho" its close enough. Next will be to mask up the other wing ready for the green - same on the tops of the two stabs. OC.
-
I know I said it before - but that is very nice decking just the right colour I think. OC.
-
What an amazing level of workmanship - really first class. OC.
-
Thanks Lou, certainly a trial and error build - its a bit like cooking - somedays you get the meal "bang on" and its gorgeous other times you just cant get it the same, I have been learning a few lessons, rattle can and out doors = sttuck insects, you cant very well do touch ups using the rattle can paint sprayed into the lid then touched up on model using a brush (as the paint dries quicker than you can paint it on with said brush, lastly the revell canopy is real pants - rubbish - pitta. OC.
-
Thanks Ken. OC.
-
Thank you Denis. OC.
-
Thank you kindly Kevin. OC.