Old Collingwood
-
Posts
12,106 -
Joined
-
Last visited
Content Type
Profiles
Forums
Gallery
Events
Everything posted by Old Collingwood
-
 No problem at all Mark - truly glad to help.👍 OC.
 -
Found a couple of links Mark - http://www.shipmodelsocietyofnewjersey.org/resources/Downloads_page/Lining Off your hull for planking.pdf https://www.syrenshipmodelcompany.com/resources/PartTwo.pdf And from our very own - OC.
-
Same as what everyone has said - a really nice build of an interesting subject, also great to here the discussion on it. OC.
-
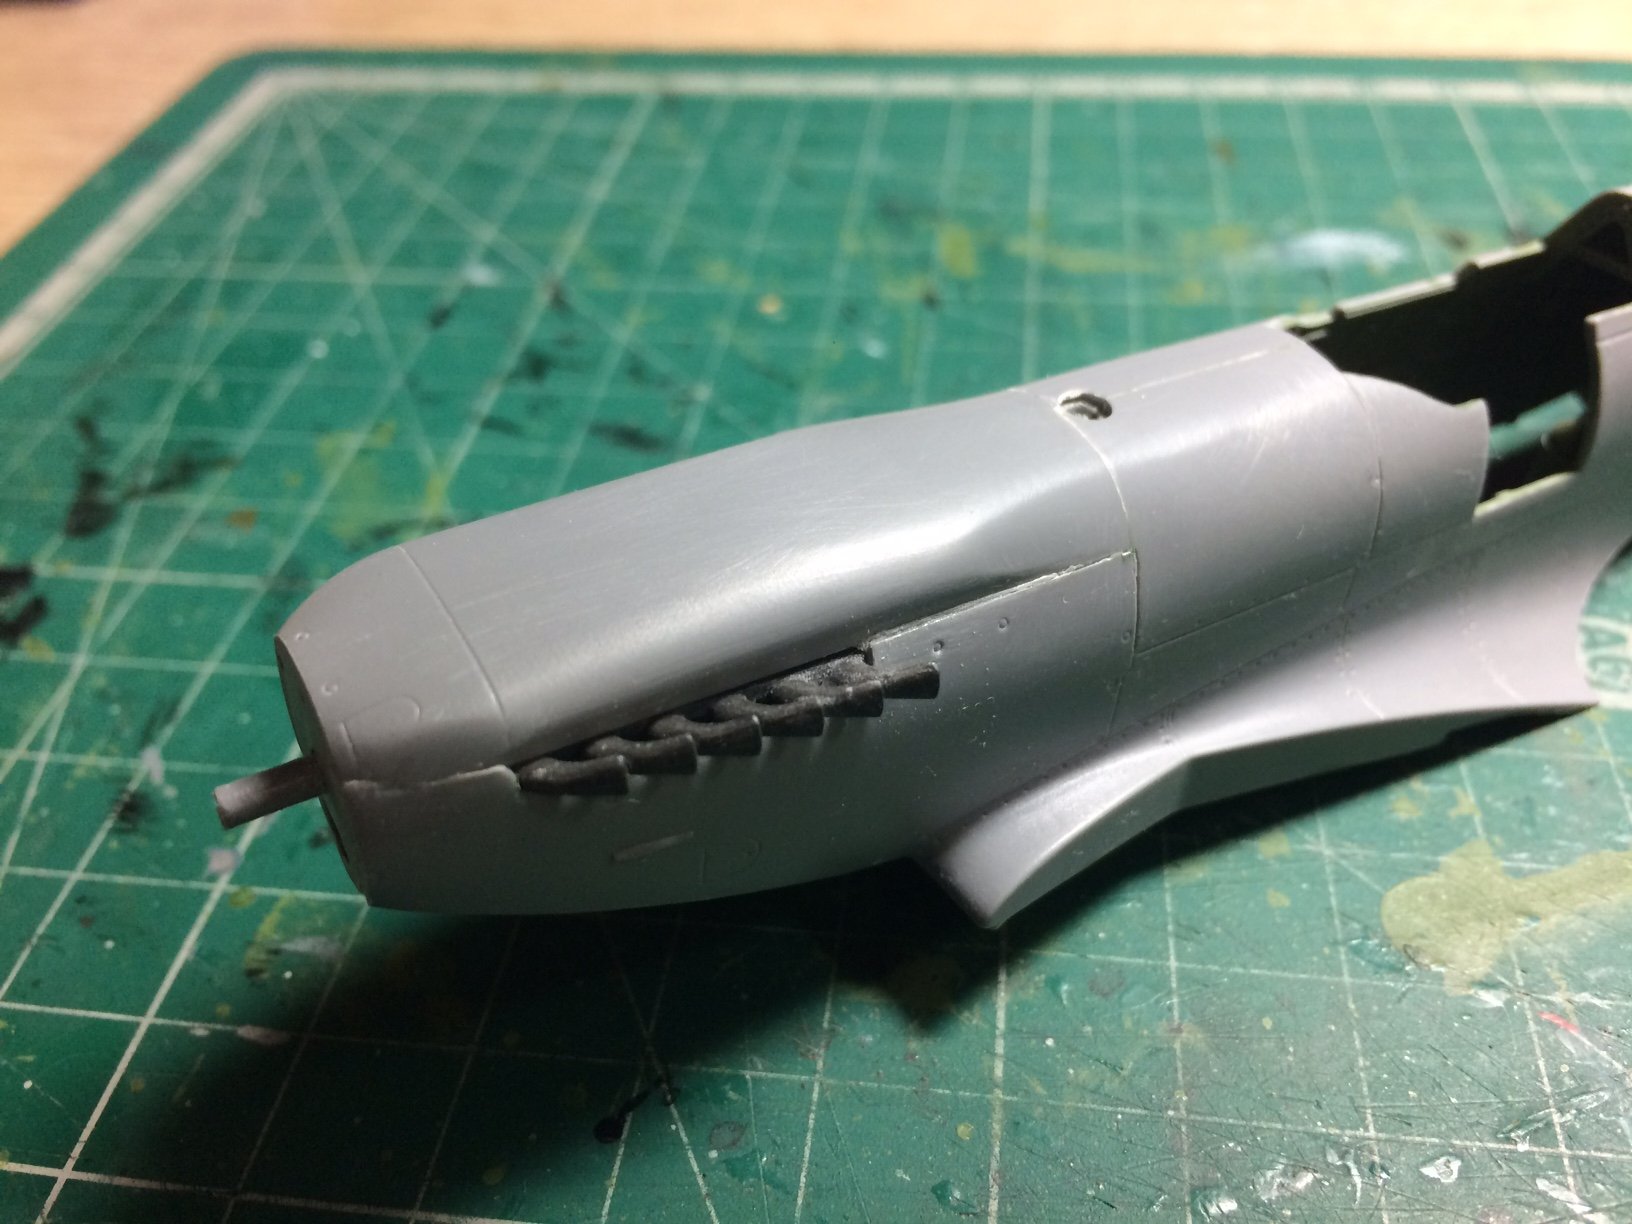
Hi all, a little more progress - just cleaning up the front engine cowl seams, also added the smallest amout of putty. OC.

- 122 replies
-
- 11
-

-
HMS GREYHOUND by fukui
Old Collingwood replied to fukui's topic in - Kit build logs for subjects built from 1501 - 1750
Hi and welcome, is this the Corel kit? I part built one in the forum. OC. -
Great seeing you back hope your in good health, in your absence I completed a build of The Black Pearl from Piarates of the Carribean. OC.
-
Thats good progress Mark - nice tidy work. OC.
-
Yep KP as Edward said despite the pit falls of the kit you are getting there, some kits certainly test of skills and patience. OC.
-
My first ever kit age about 7 (me not the kit) was a Red Arrows Gnat aircraft I only glued the wings on back to front and got the canopy glued to my finger - so I guess it happened to us all. OC.
-
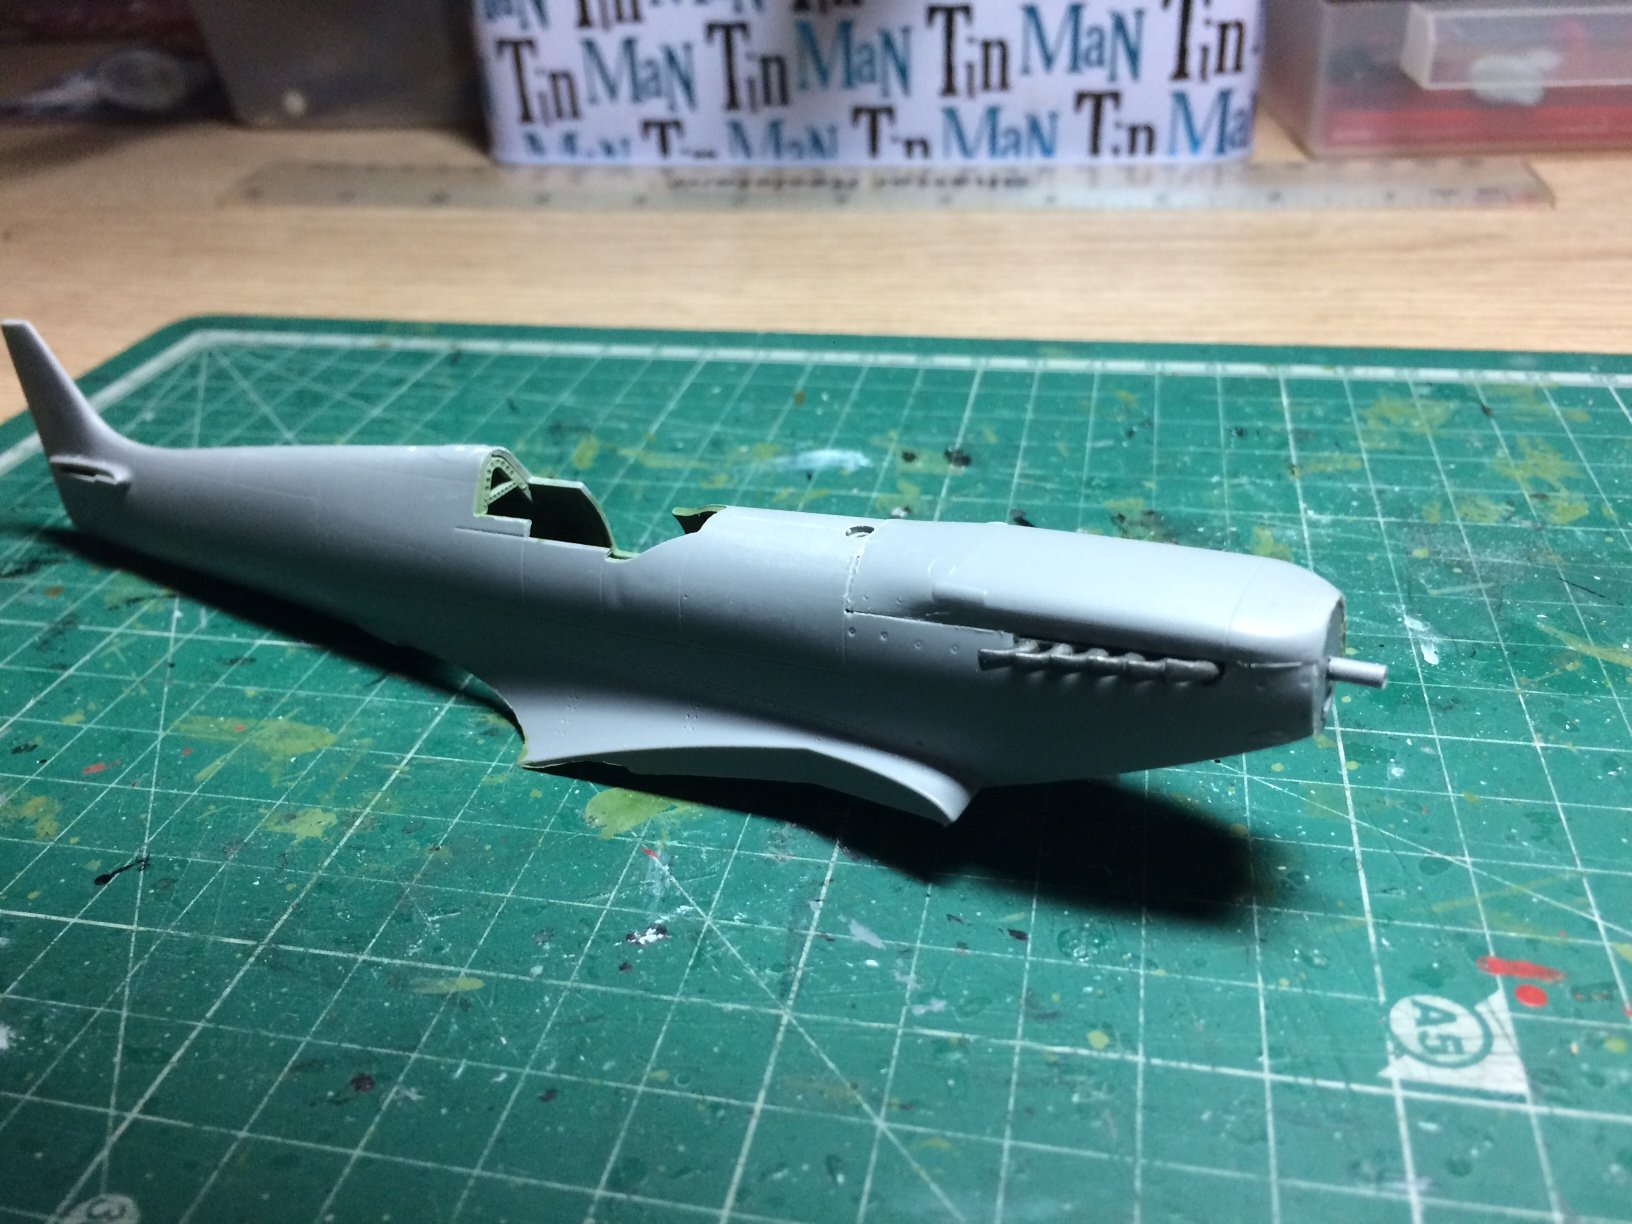
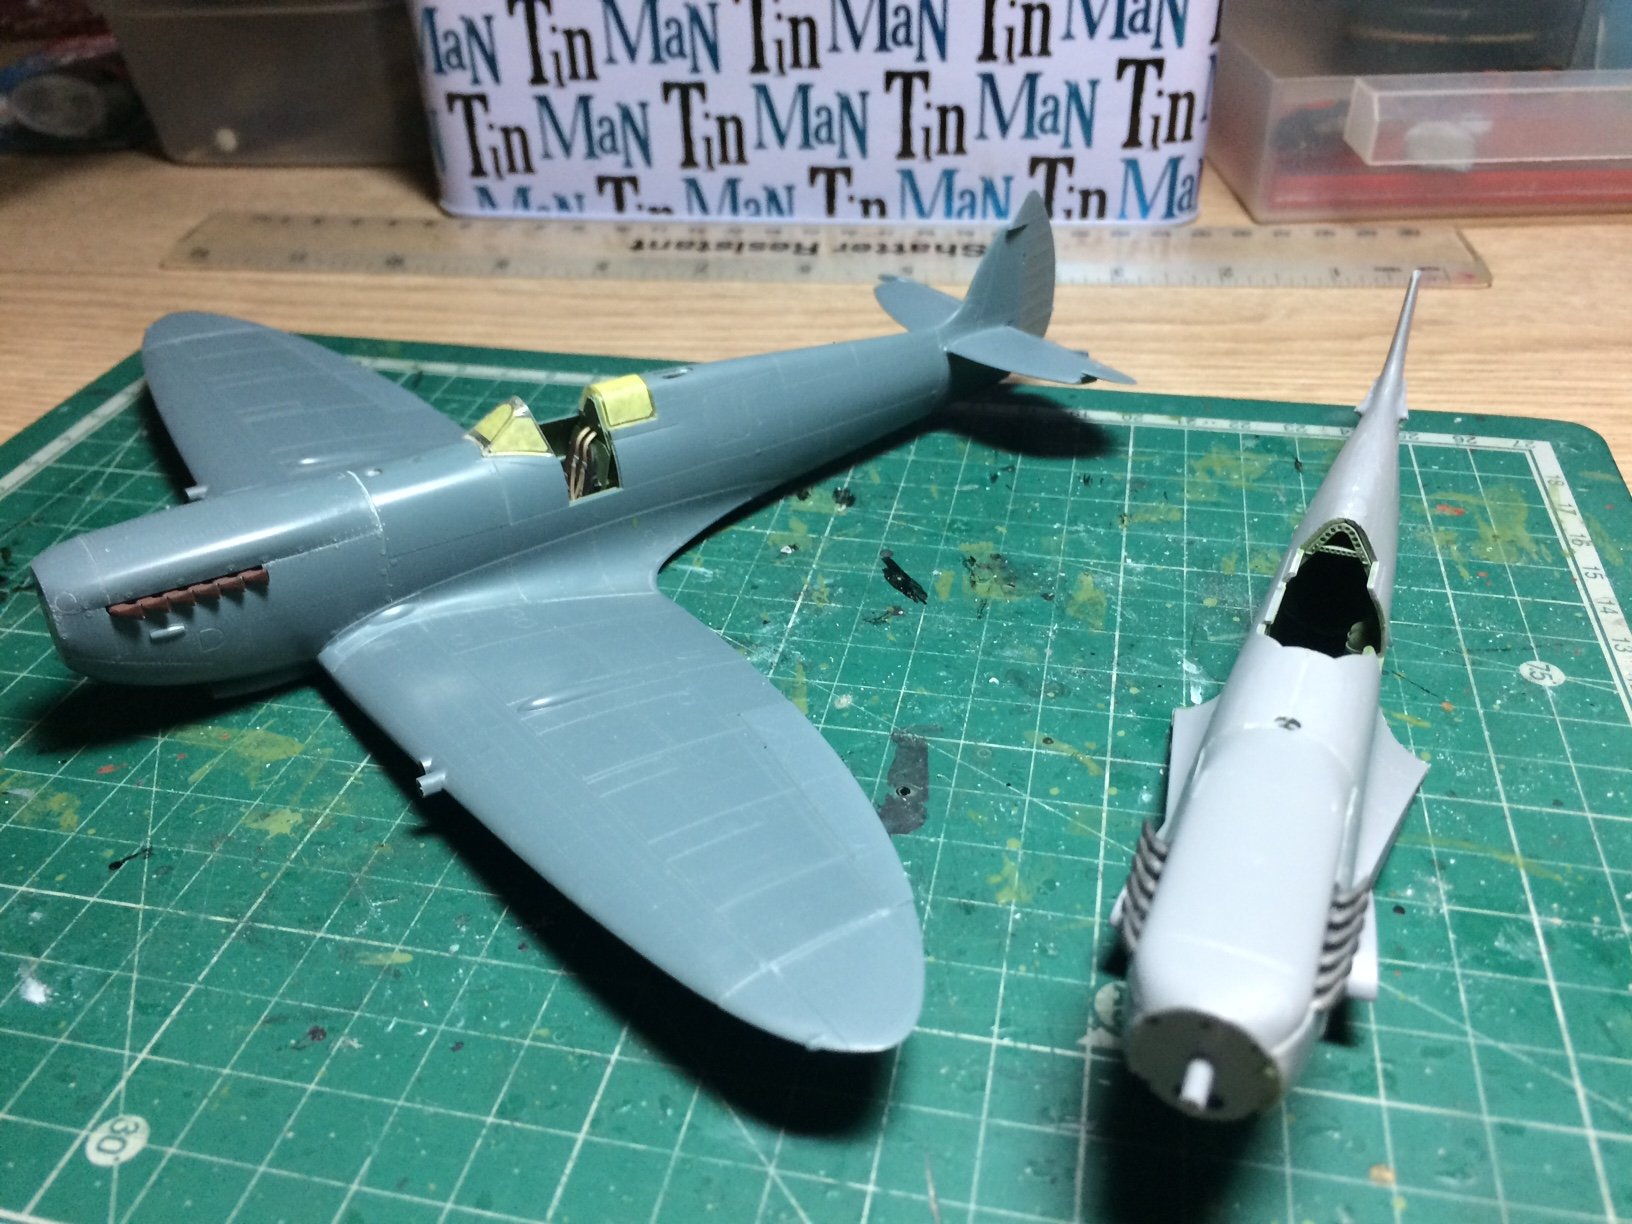
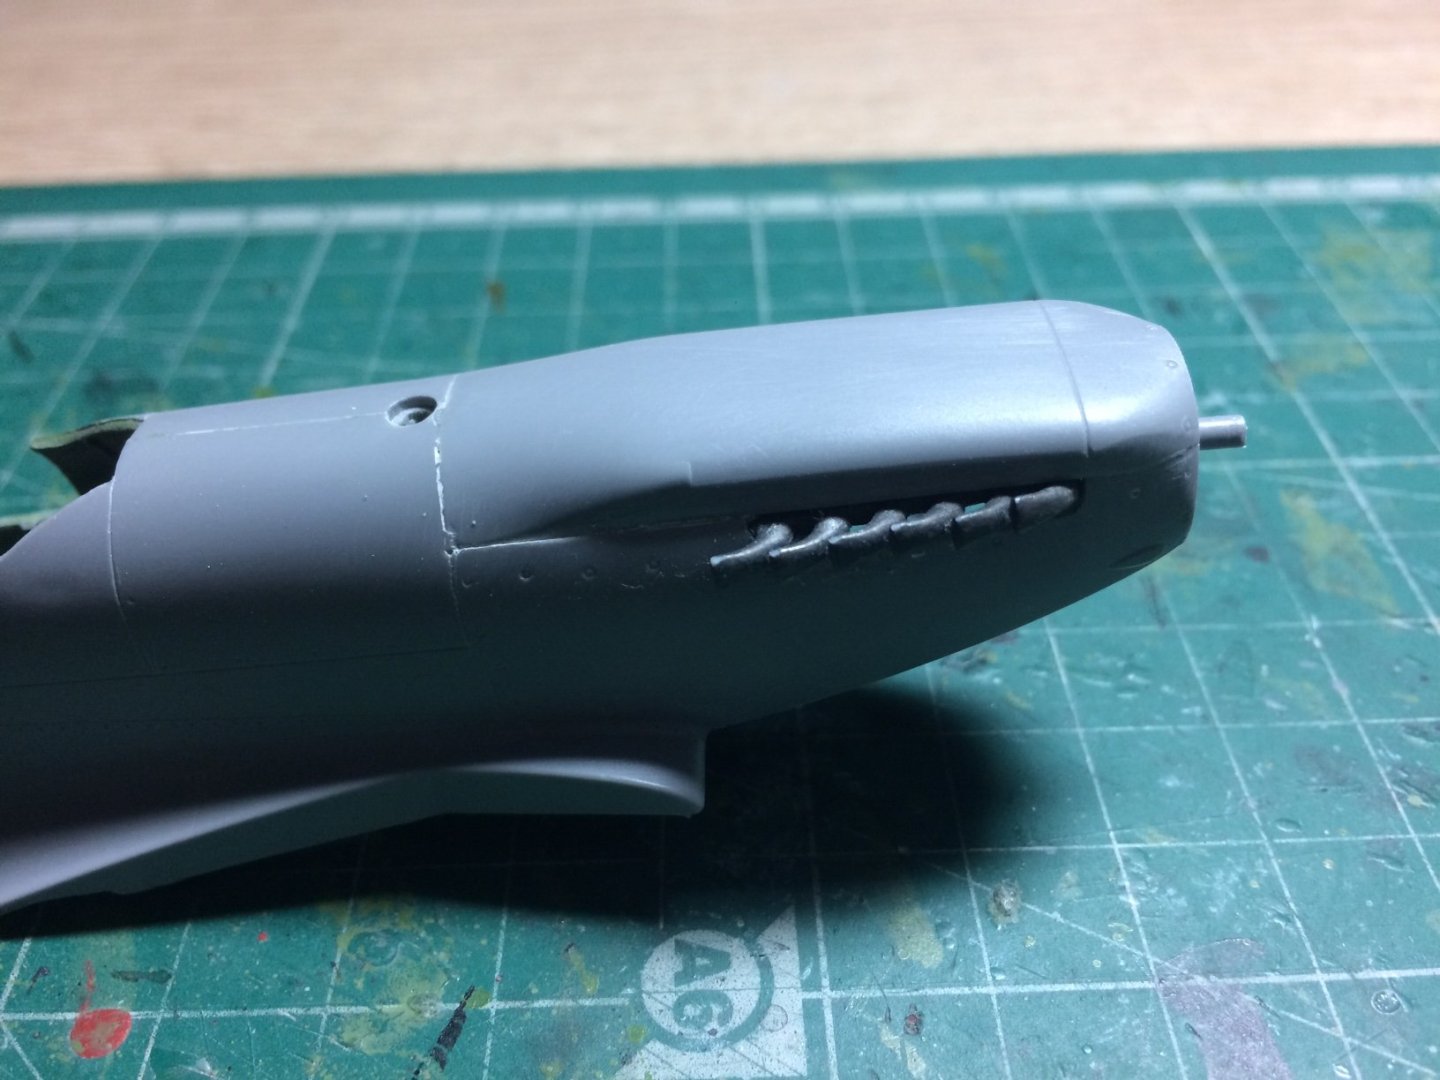
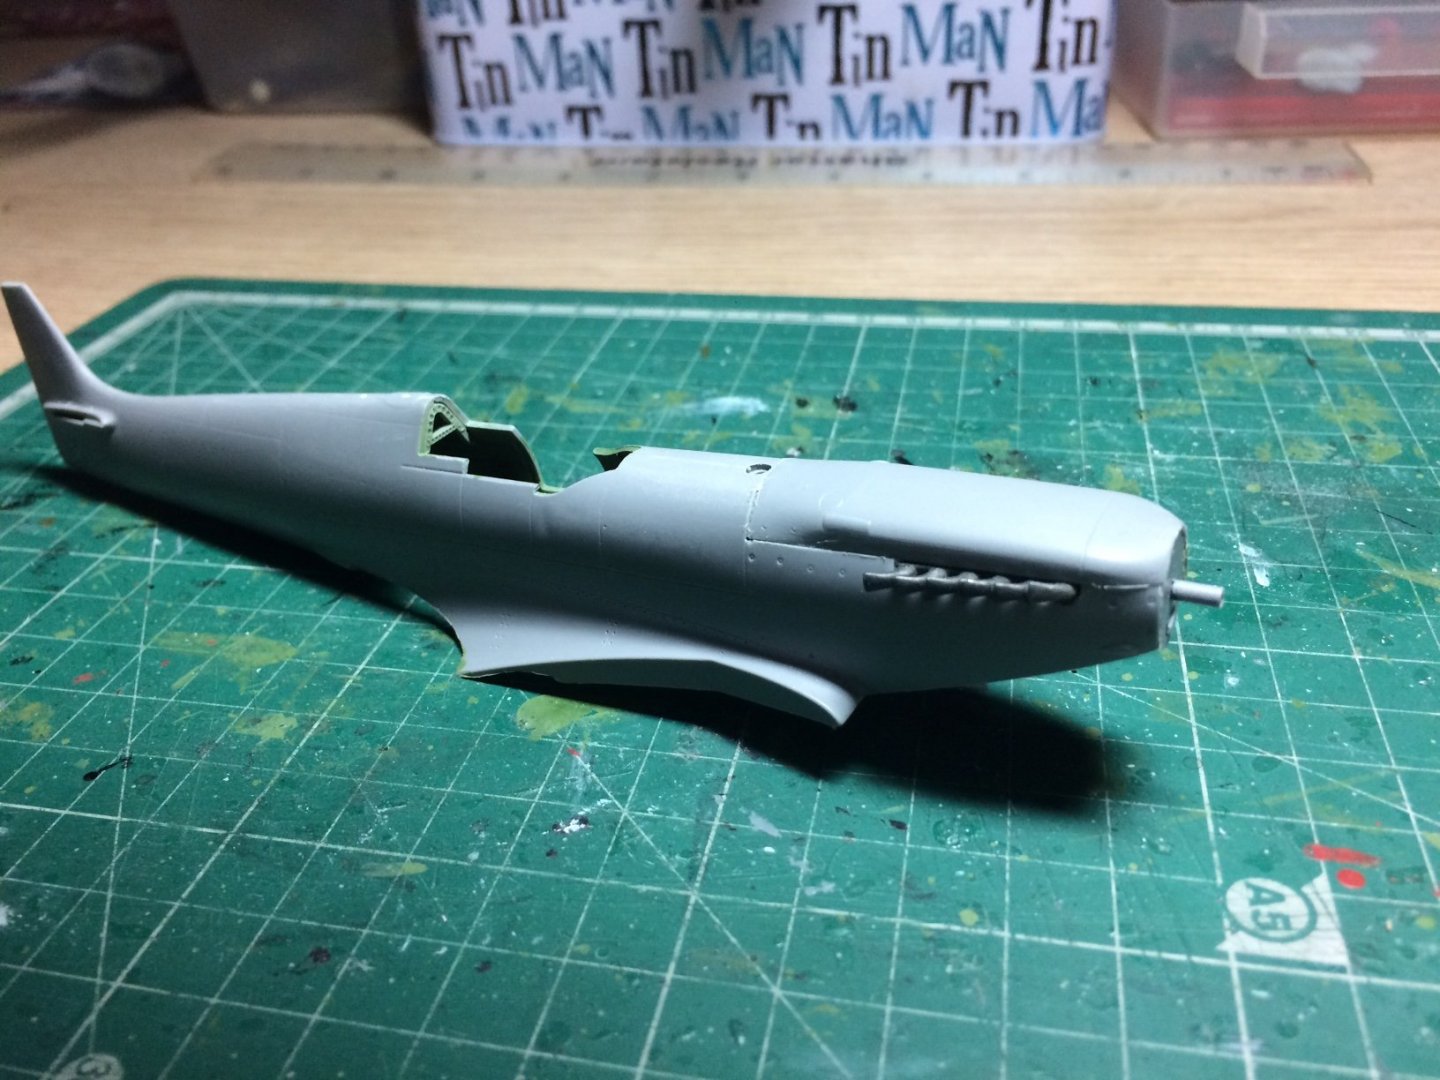
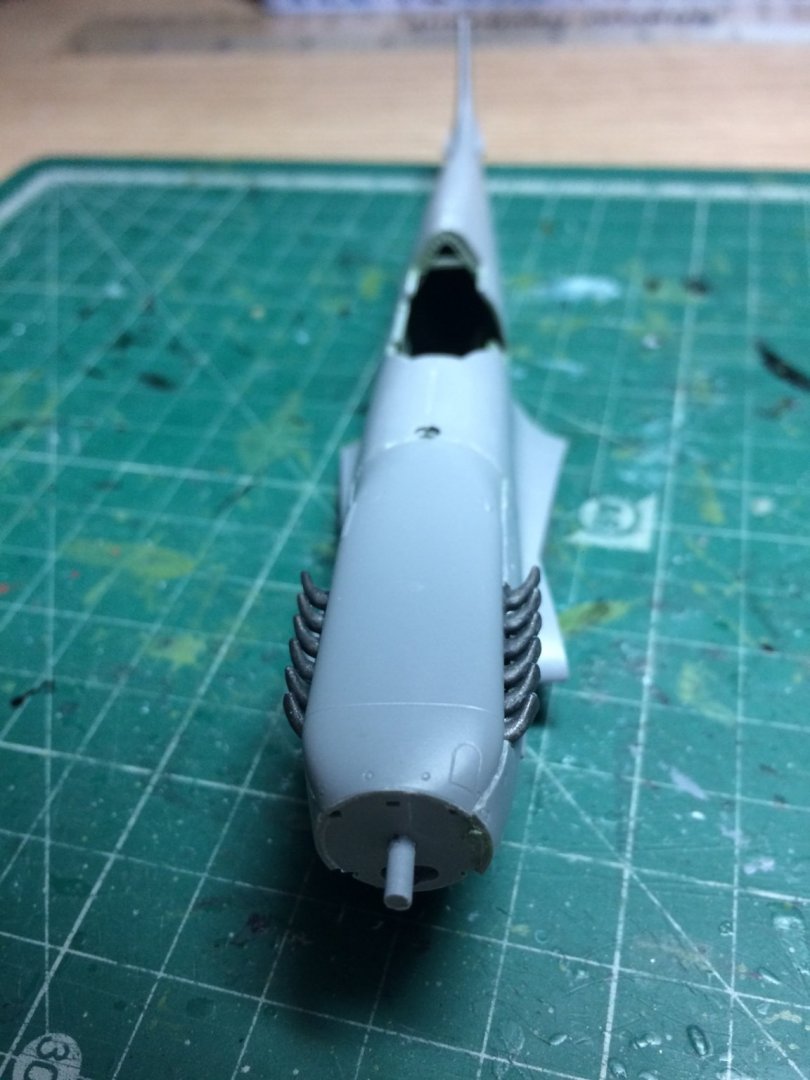
Evening all, I did a bit more work this evening - firstly I removed the tape and checked the seams, these needed just a bit of sanding (but no filler I dont think) this was a supprise to find two companies who manage to build kits with quite high build standards - it also makes my first observations what I first started to build this kist (in my earlier build log - Not Eduard one) as being incorect. Anyway next off was to fit the prop cone bulkhead, then when set I had to fix one of the exhausts stcks that had broken in two, this was fixed then glued in place in the recess - same the other side, then I got the engine cover and test fitted it, quite a bit of scraping and sanding was needed to get a good fit - then this was glued down. It needs sanding and cleaning up whne its set. So here are a couple of pics including one of my Supermarine prod line. OC.

-
Thanks Lou. OC.
-
Thank you for your interest Kurt, and your very kind word, I havn't seen that vid but I do pay a lot of inteest in the BoB flight as I have a friend who is one of there pilots. OC.
-
Like I do on my plane builds in the forum - its a great way of showing raised detail also. Still loving what you are creating Mark. OC.
-
There is an old saying - "Keep calm and carry on" you are a fitting example of that saying phil, your work is just pure lovely to watch unfold. OC.
-
No worries mate - more than welcome. OC.
-
Nice tidy paitwork Joe I like that paint scheme. OC.
-
Looking good Mark. OC.
-
No problem Mark. OC.
-
Thanks Joe, yep it was my original one that I had scrapped due to me messing the engine up, but I was able to rescue it and build it as Seafire. OC.
-
Welcome Jack. OC.
-
Welcome EG. OC.
-
Welcome Ken. OC.