HOLIDAY DONATION DRIVE - SUPPORT MSW - DO YOUR PART TO KEEP THIS GREAT FORUM GOING!
×


Old Collingwood
-
Posts
12,097 -
Joined
-
Last visited
Content Type
Profiles
Forums
Gallery
Events
Everything posted by Old Collingwood
-
 Thanks Ken, its a clear canvas again ready for masking and spraying. OC.
 -
Curtiss P-40B Warhawk by Asat- Airfix- 1/48
Old Collingwood replied to ASAT's topic in Non-ship/categorised builds
I know in the European theater the Spit IX was introduced with the more poweful engine, this made it a match for the rather excellent FW190 of the Germans, I assume more poweful spits were shiped out over seas but not sure. OC. -
That is looking very nice my friend - very tidy work. OC.
- 436 replies
-
- 2
-

-
- vanguard models
- alert
- (and 1 more)
-
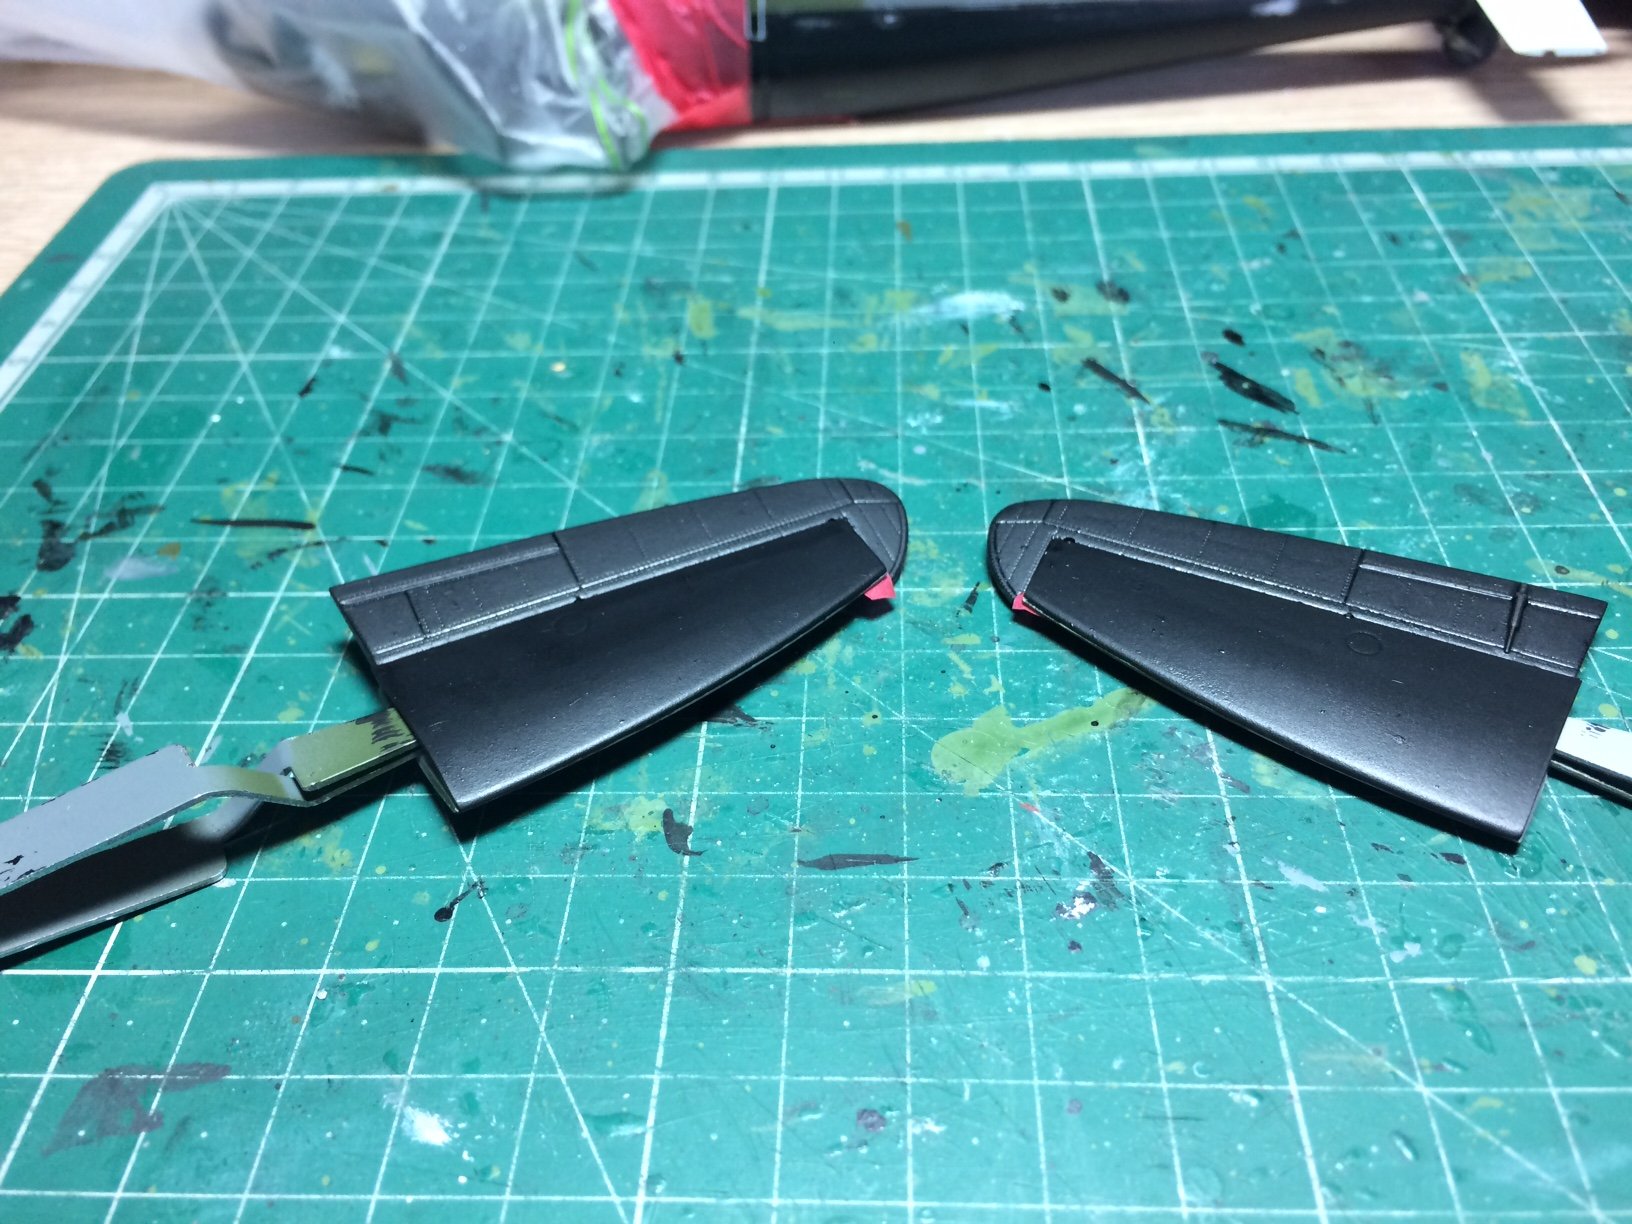
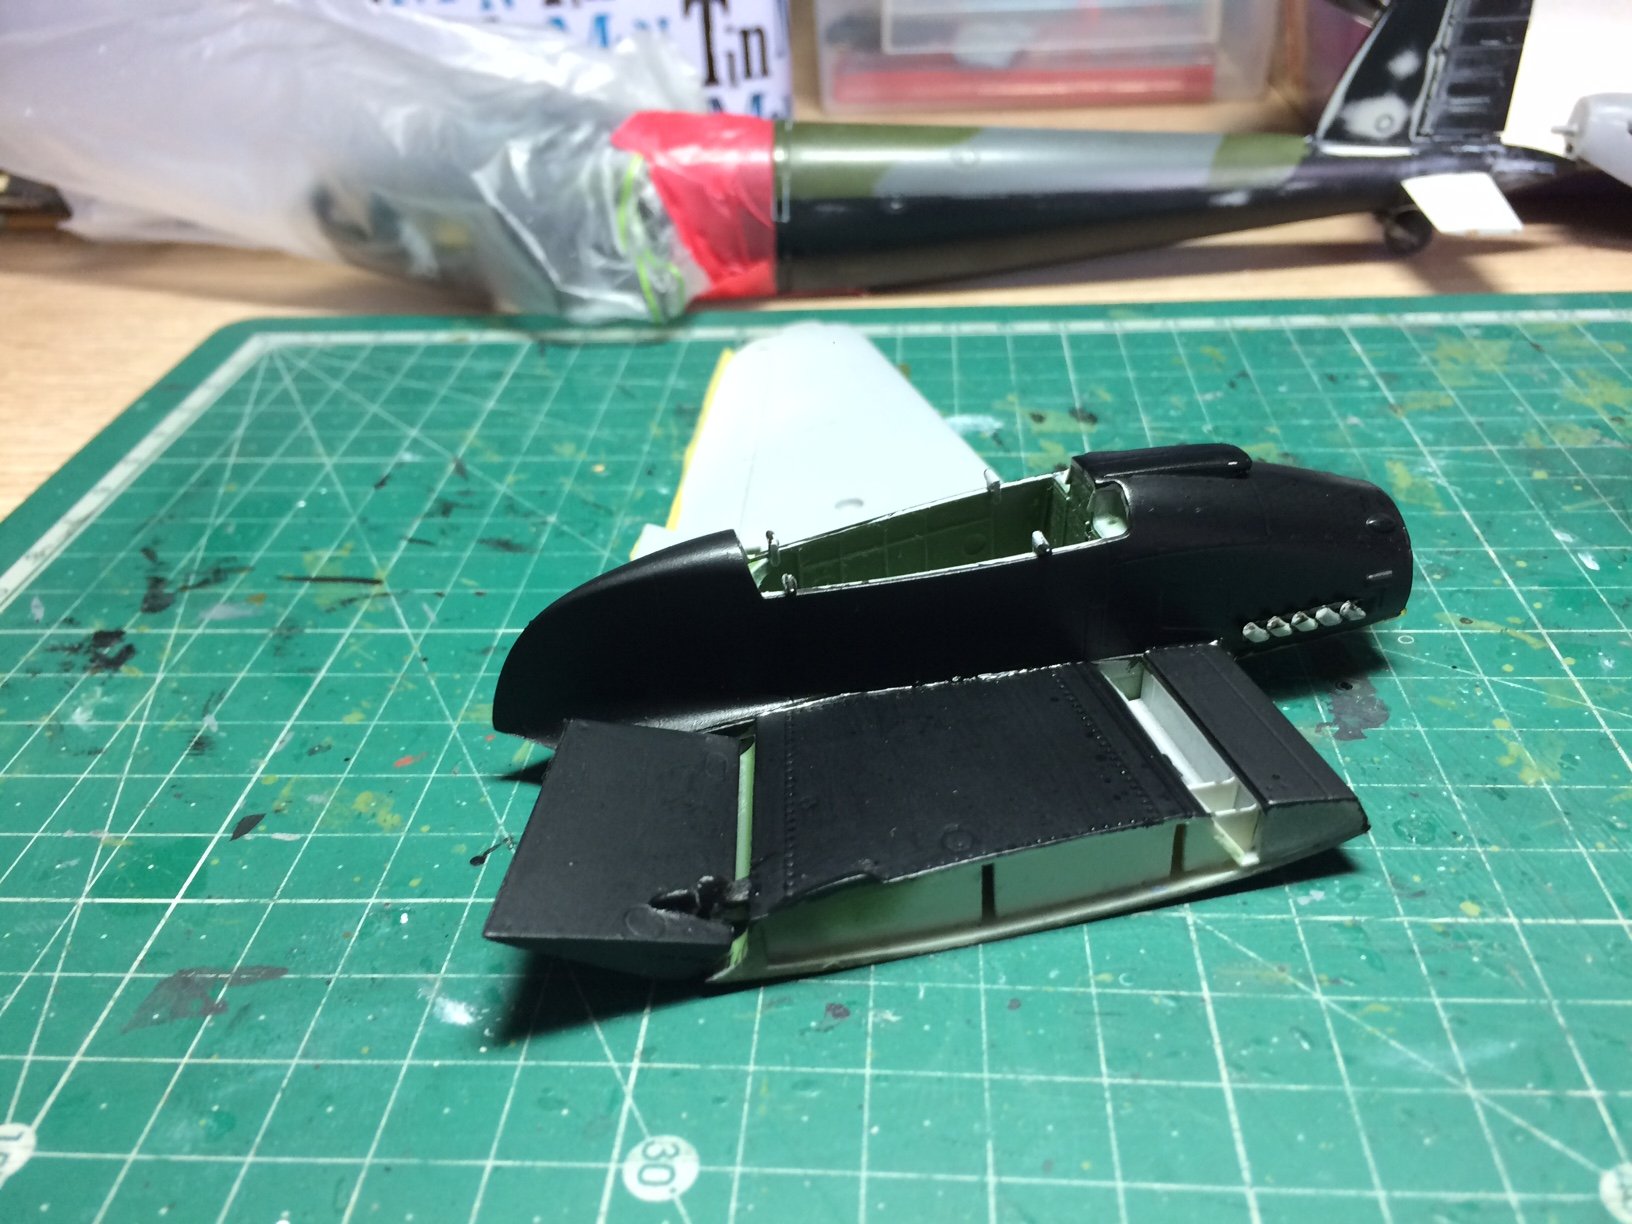
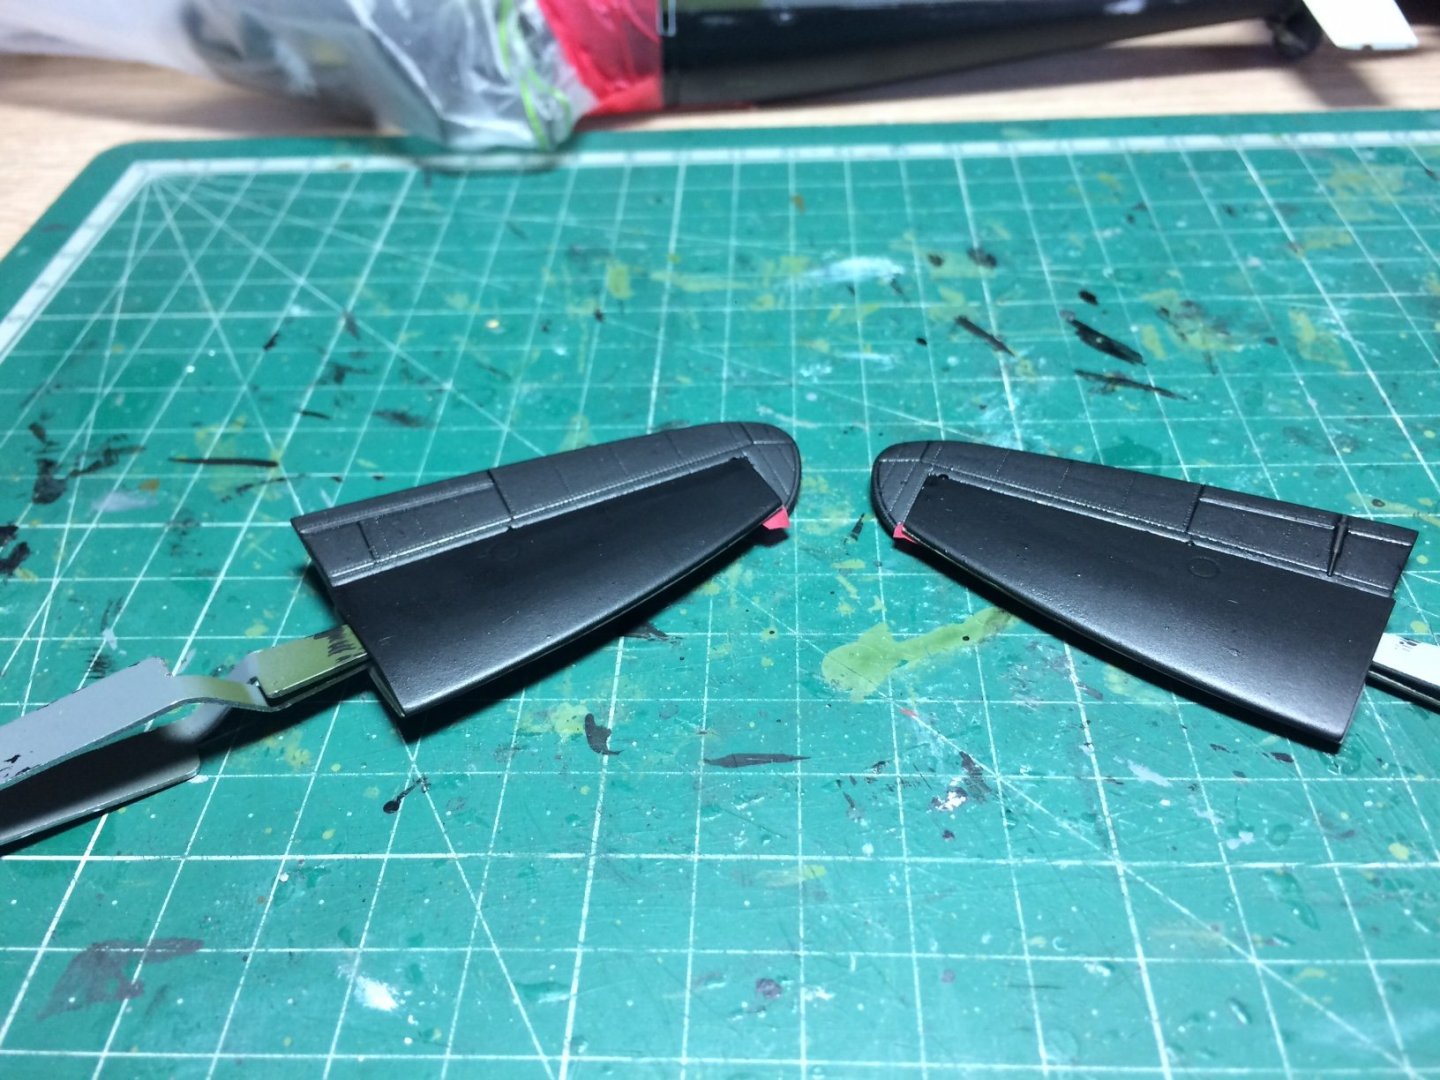
I put the fuselage aside and tuned my attention to the Black paint underneath both stabs and main wing, this was straight forward as they had already been primed, I decided to hand paint these same as I hand painted the other wing, I masked up a few areas on the wing near the flaps - then painted away. I have the stabs done and part of the main wing - I will finish the rest when the paint is dry and hardened. OC.

- 932 replies
-
- 11
-
-
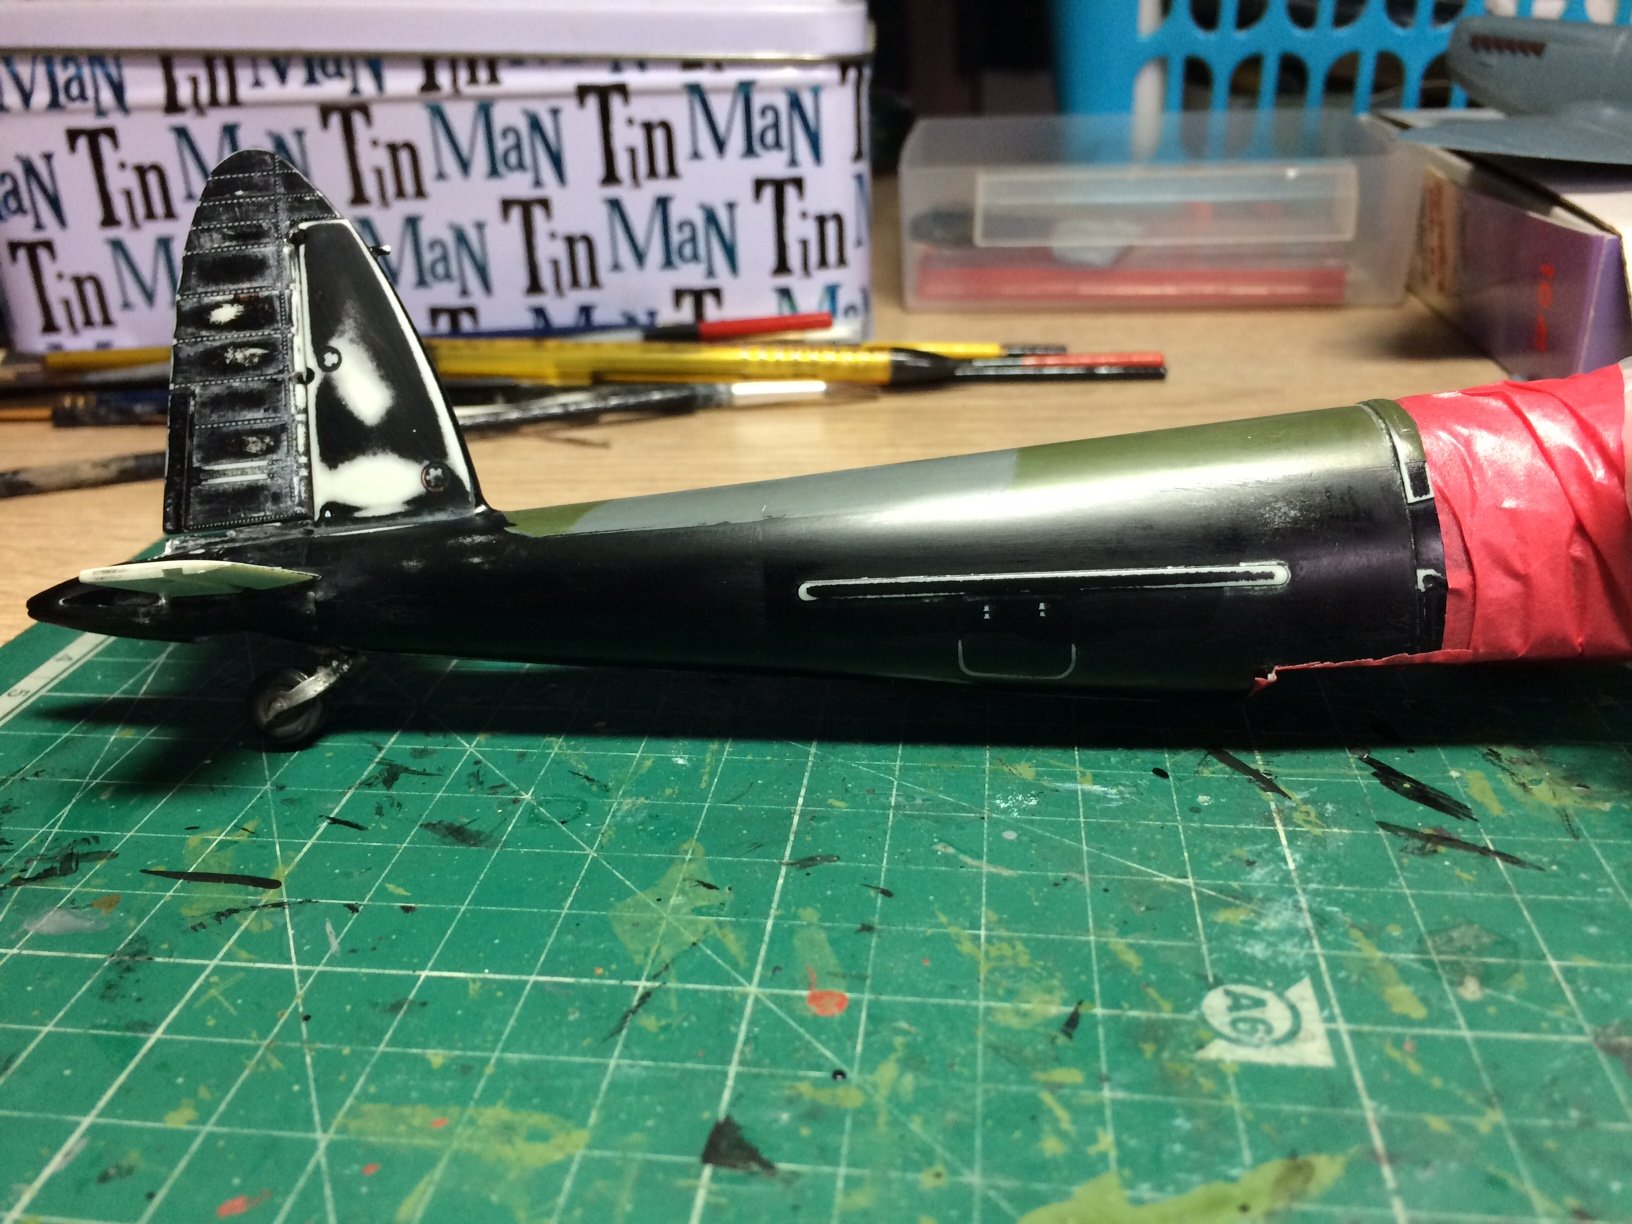
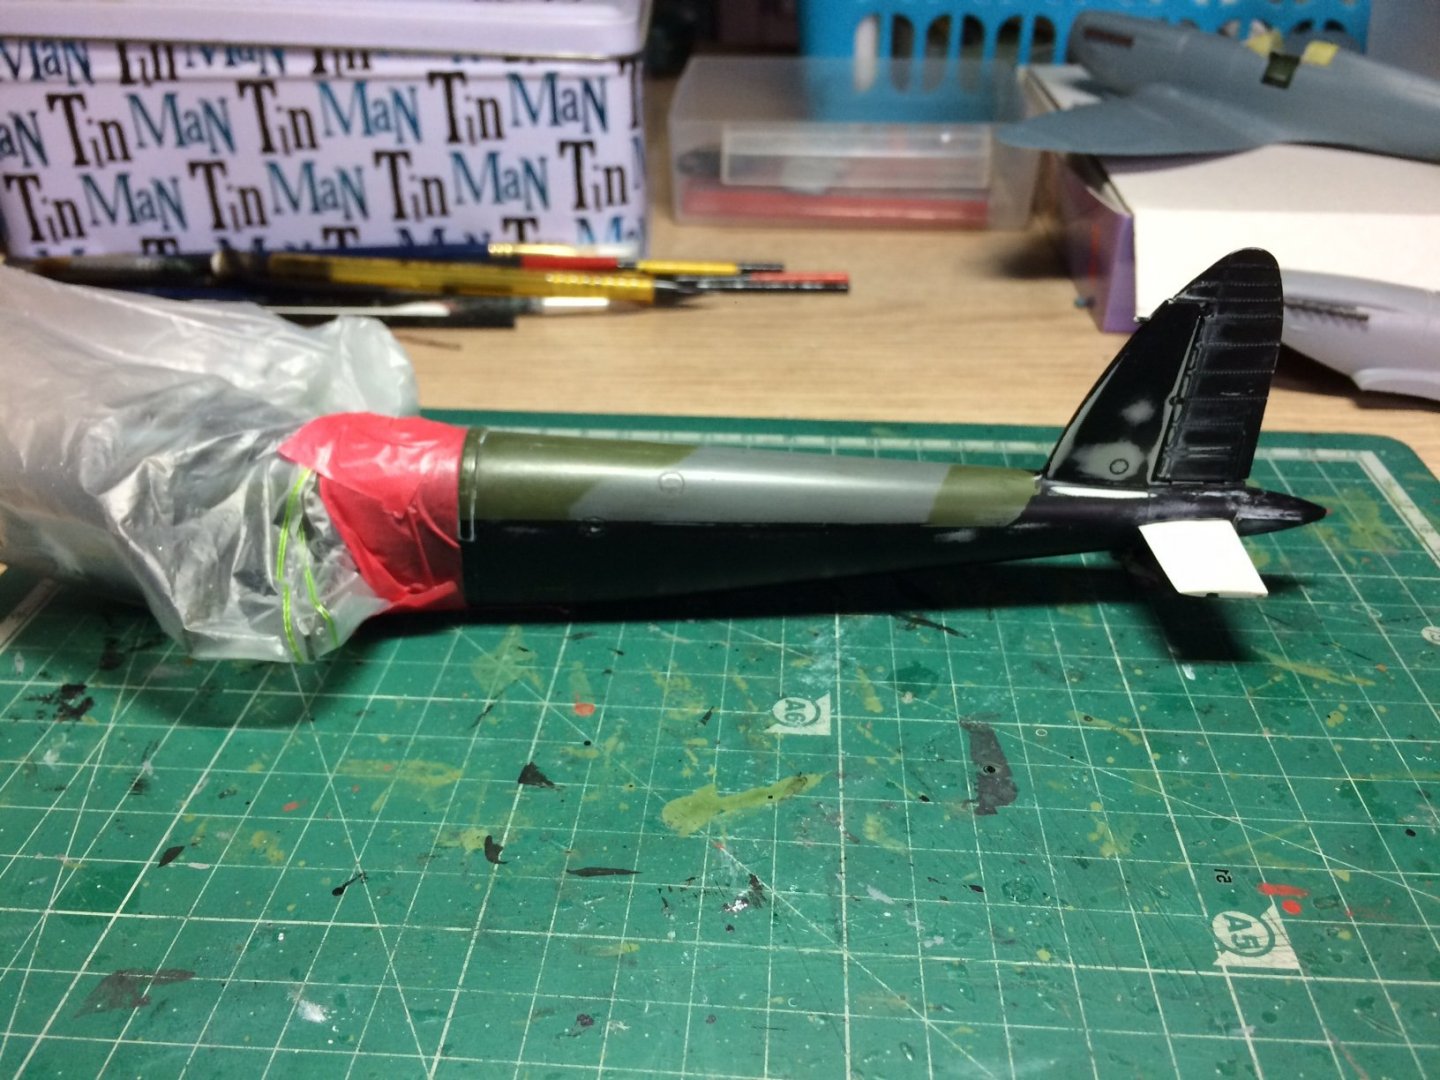
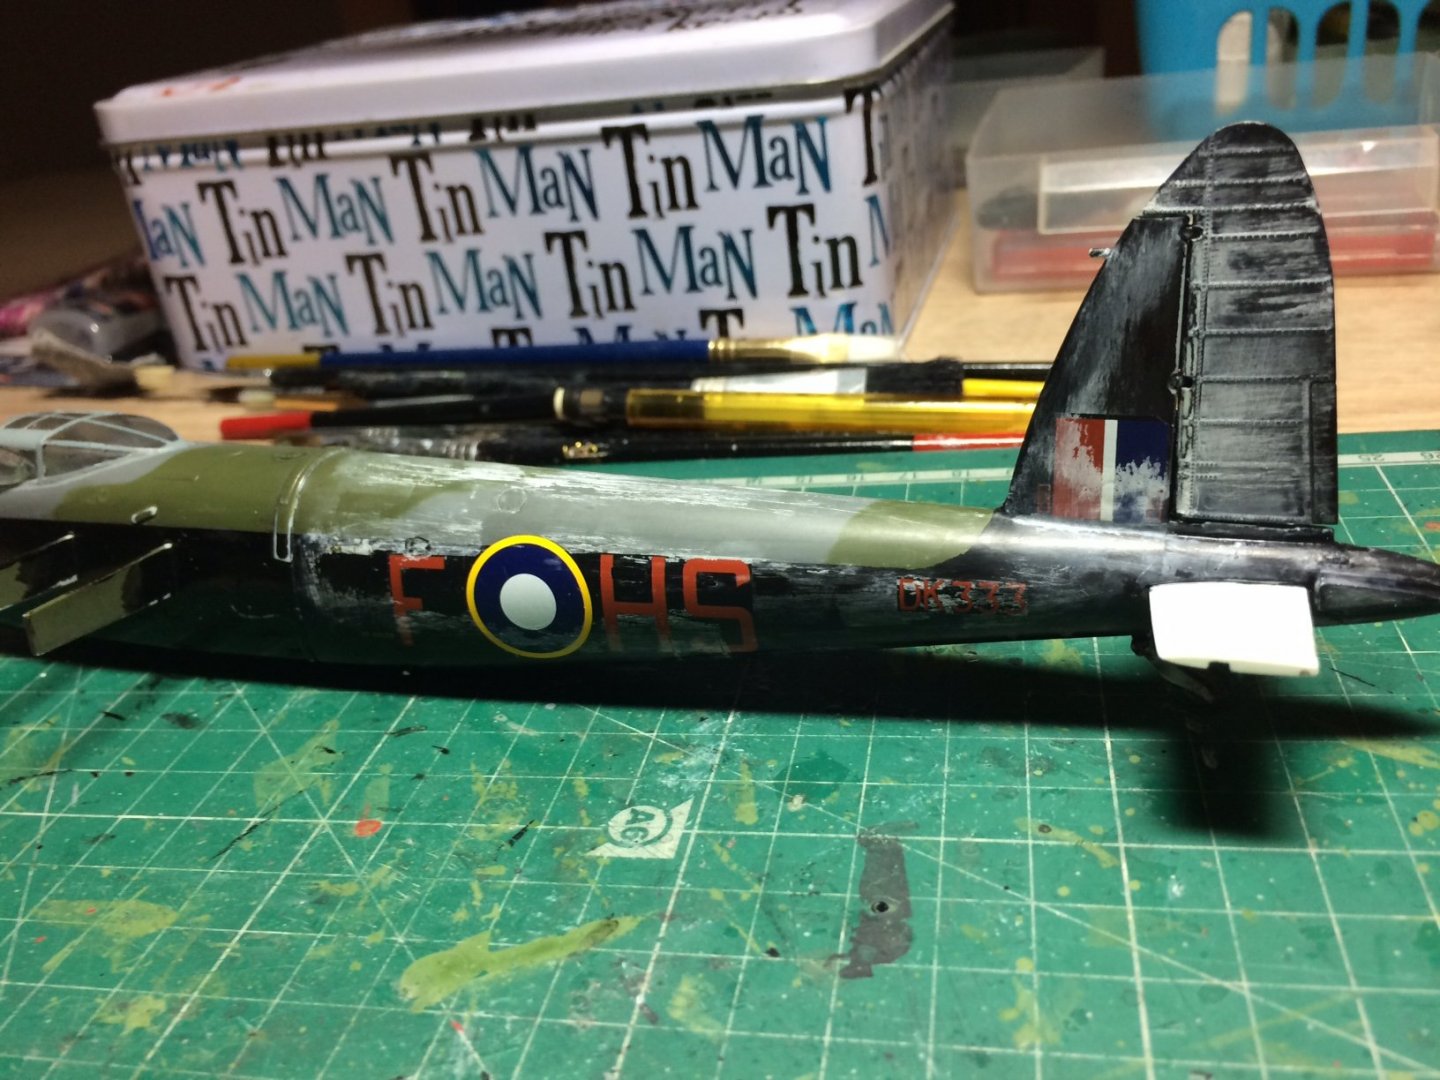
So after the disaster, the process to try to turn it around started last night by me trying the old trick of using masking tape to pull the damaged decals off, several tries and to my amazement the worst culprits came away without damaging the paint work underneath. So today after a good sleep, I got some fine wet and dry and soapy warm water, and proceded to work on the areas affected, this worked out quite well as the tamiya laquar layers that had been sprayed on with the rattle cans, had actually formed quite a hard layer - so I carried on. When I was happy with the finish the next stage was to mask off and isolate (thas a good word these days) the front section as that was not affected, so with the aid of a plastic bag and tape - it did the job. So this is the fuslage ready to be masked up for the camo colours. OC.

-
Thank you Edward, I think I have it in hand, read lower....... OC.
-
Thank you so much for checking that out, like I said to Lou - the restoration is in place, I will explain more lower...... OC.
-
Thanks Lou, the restoration begins ....... OC.
-
Thanks mate, reasurance knowing you would do it that way, kind of a busy head at the moment working it out. OC.
-
Painting wise - what do you guys think is best - paint the camo first by letting a small amount of over spray then mask up and do the Black meaning just the one demarcation line needed. OC.
-
I think it makes it more interesting to paint seperate assemblies - like mini jobs. OC.
-
Just a small update - I was able to pull the (now) damaged decals off using masking tape, I was lucky it didn't pull any layers of paint off underneath, so I should now have a fairly good surface (after a light wet n dry) to re paint. OC.
-
Thank you EG, I will have a go latter today. OC.
-
Truly a lesson for future builds - painting with laquars keep it just laquars, painting with Acrylics keep it Just Acrylics , I never use Enamels anymore. OC.
-
I assumed the Tamiya Rattle cans (I was told they are laquars but for kits) and Acrylic would have been ok, I was told and read to be careful spraying Tamiya rattle can clear coat laquars over decals as they can carck them if to much is sprayed in one go. OC.
-
If I decide to re paint the rear section - any thoughts on prepping the surface as I dont have any solutions for taking the paint back, would it work just fine wet and drying just to flatten the decs back so fresh paint Tamiya rattle laquar cans can go over the top? OC.
-
Gutted as I got the wings close to perfect. OC.
-
I have just this minute had a got on the tail, I re - applied the X35 by wide brush I worked it in well but smoothly and started to see the cloudyness smoothout and show the dark Black underneath and same in the decal (that is damaged from rubbing) But, after a few minutes letting it dry on its own the cloudyness is coming back only difference is its a gloss cloudyness not flat. OC.
-
Thanks EG, I will try on the tail first as its a controled area Its Tamiya X35 Semi Gloss Clear it a bit on the thick side but I have no way apart from distilled water to dilute it. OC.
-
Thank you EG, the problem is the sponge I used has scratched the paintwork now (I tried wetting it to see if it would clean up but no good) I think the paintwork is no good now. But thank you for your thoughts mate. OC.
-
Shouln't have been any - was indoors no heating on and about 18deg I keep telling myself "should have just sprayed the Tamiya rattle can flat over it and not tried to even up the gloss coat first, perhaps you can not apply acrylic over the top of Tamiya rattle cans as they are laquar and not acrylic. To try to rescue it would mean trying to get a smooth surface then re masking the entire rear section from the fuselage joining section, meaning fresh black and on the tail/rudder, fresh camo on the top, I have found in the box and alternative large code with side roundel and registration code, but no spare tail decals (that would have to be left blanc. Just the thought of having to re do it again - a third time - this kit is becoming a real knitmare. OC. OC.
-
Dont understand why it happened reaction between tamiya rattle can and acrylic? Still keep looking at it with diss-belief. OC.
-
Think I have Wrecked it, I decided to apply the Tamiya Acrylic Semi Gloss top coat from a Bottle by brush, I brushed it on as well as I could, when covered I used the hairdryer and the result A Cloudy Mess just Horendous. So I thought as its Acrylic it should wipe off using soapy water and a sponge - "Wrong Wrong Idea" Dont know what I am gonna do now, even if I could re paint the whole things (so dont want to have to do all that again) I dont have any replacement decals. Disspaointed dont cut it to be honest. OC.

-
Thank you EG. OC.
-
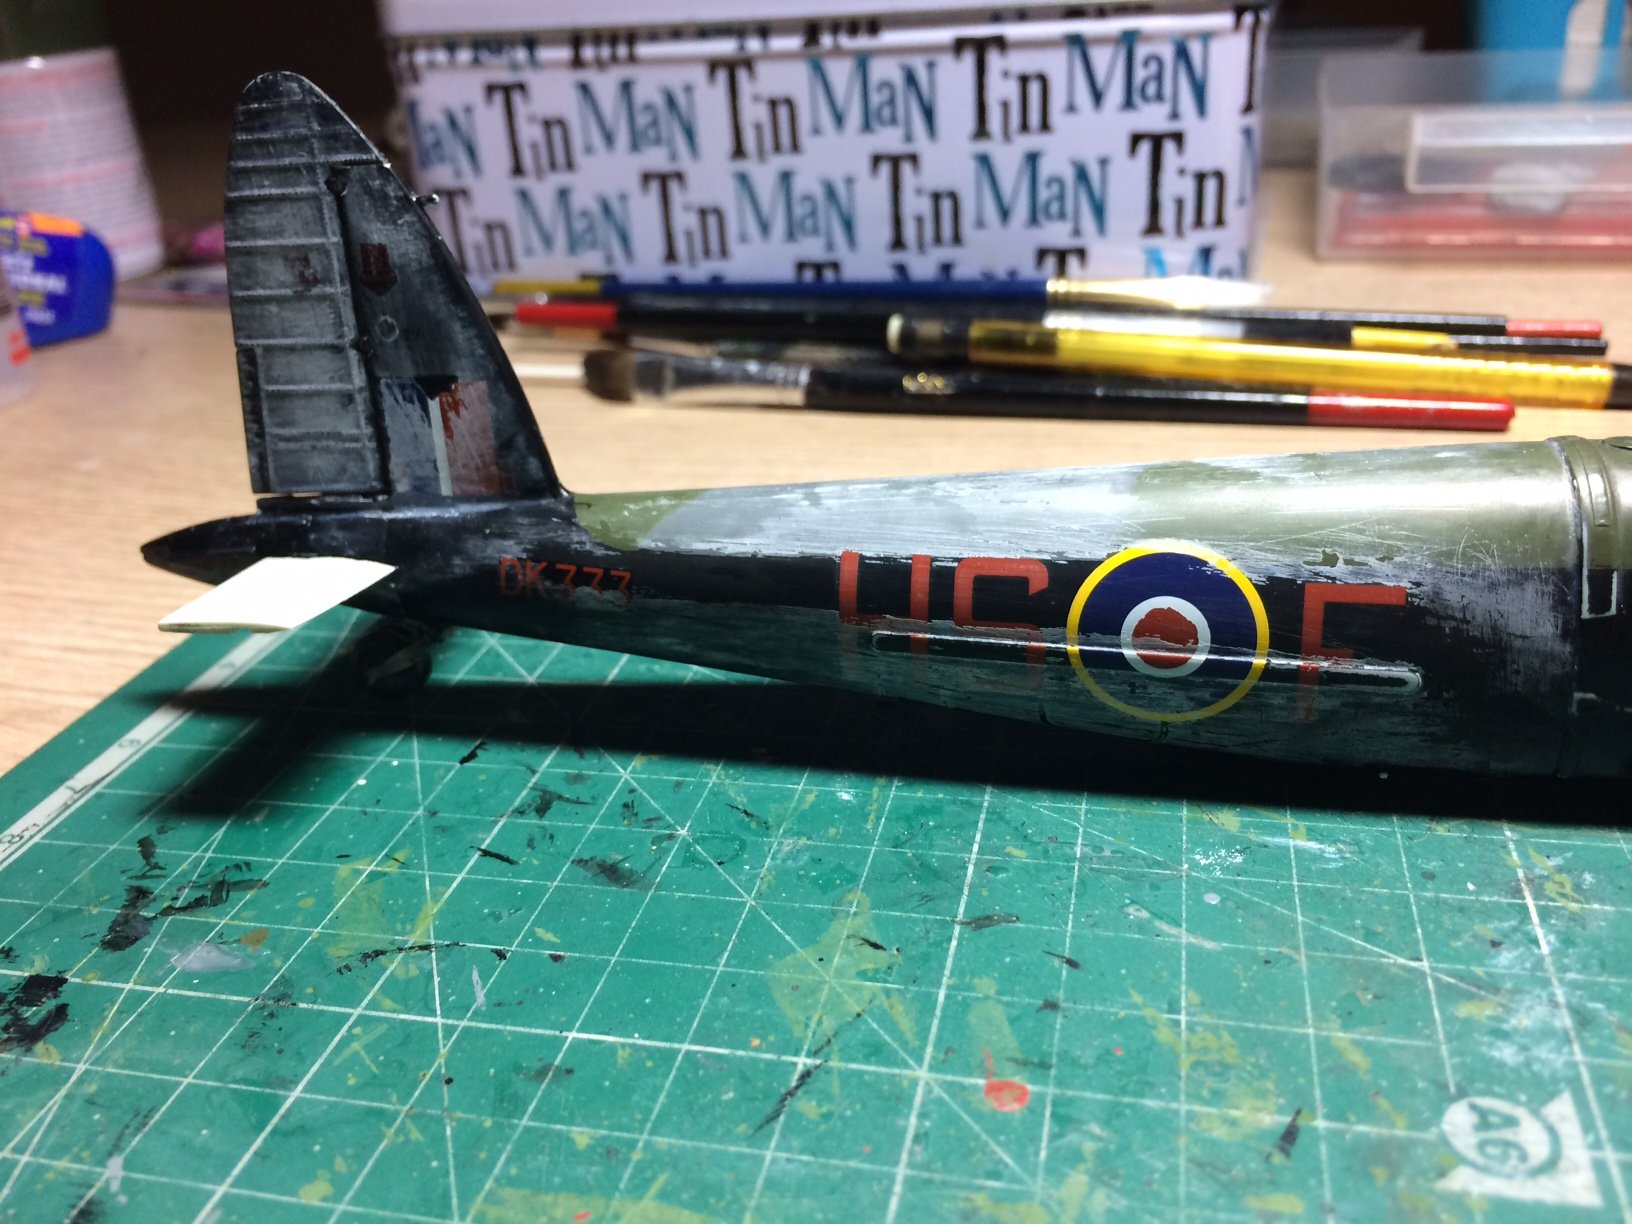
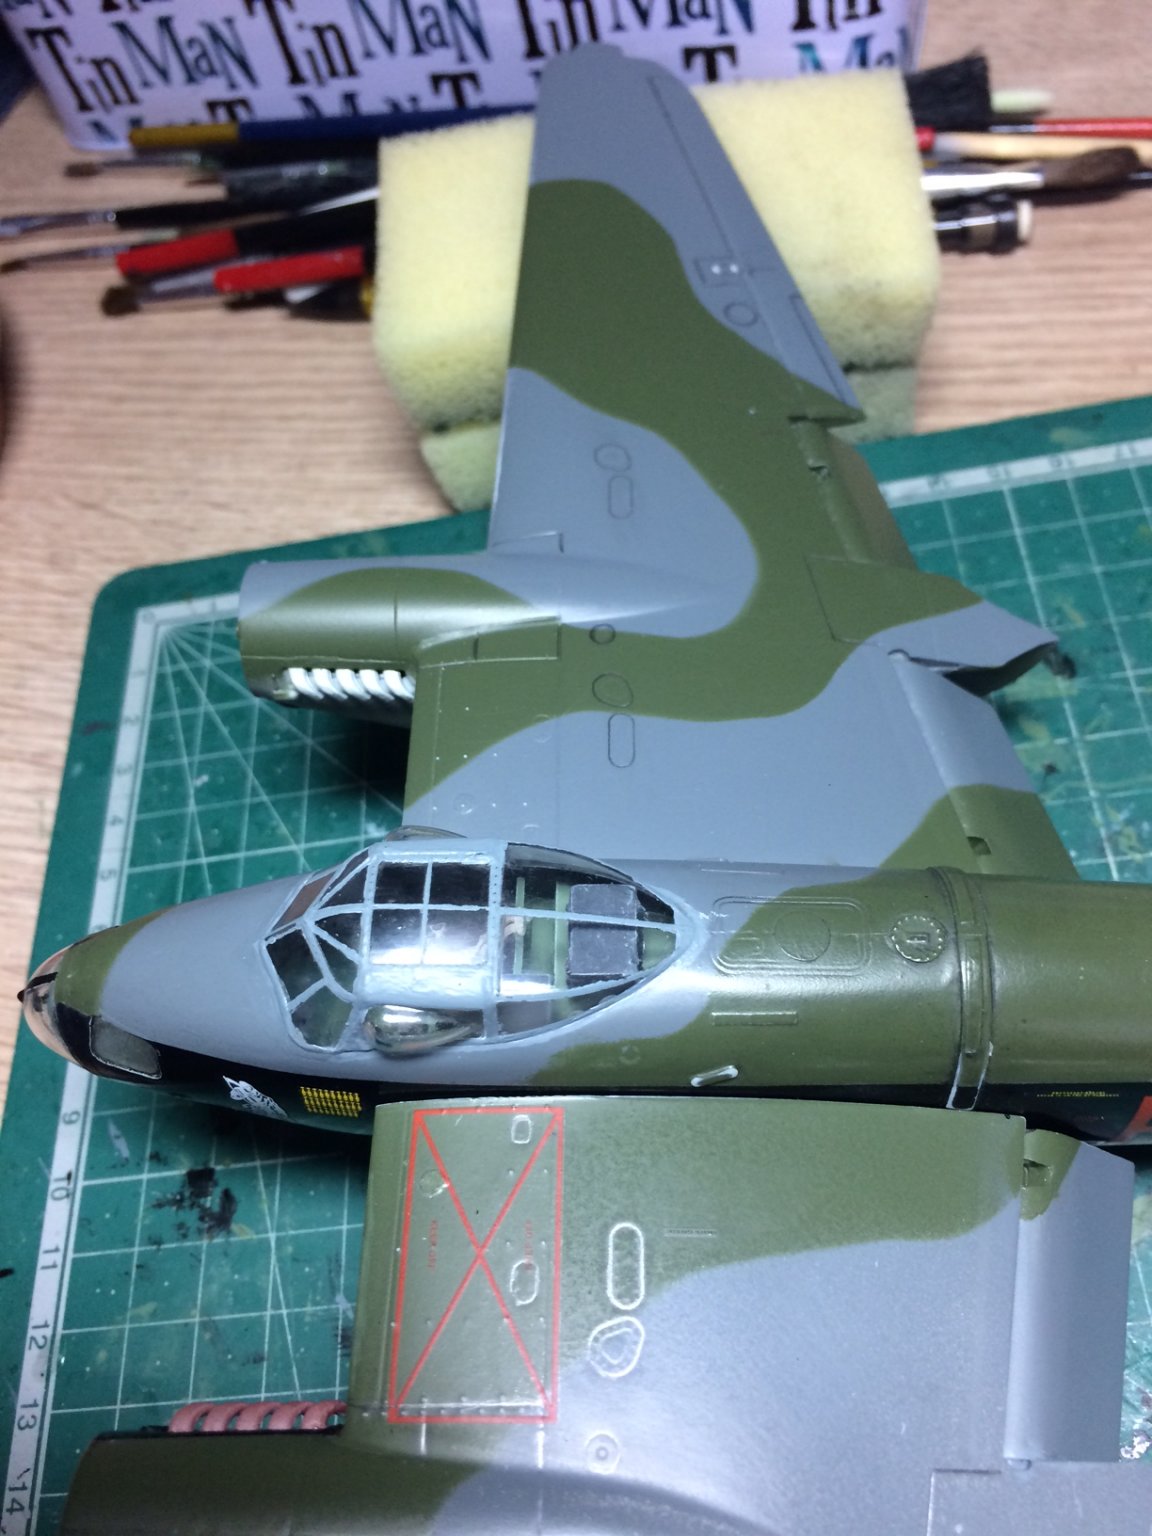
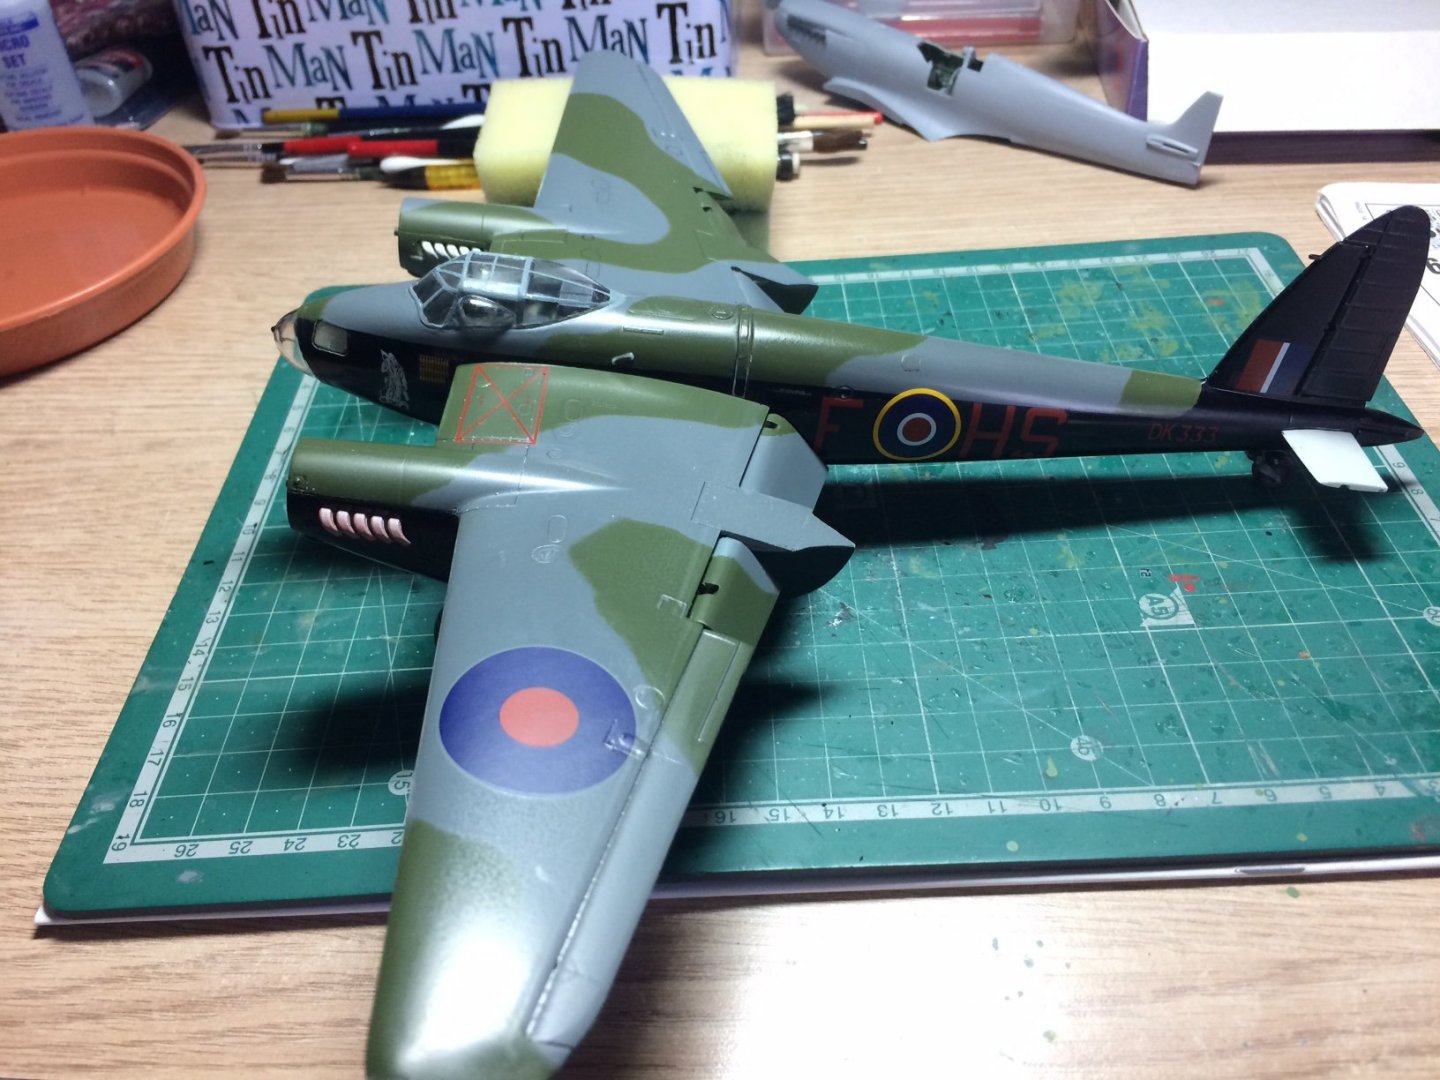
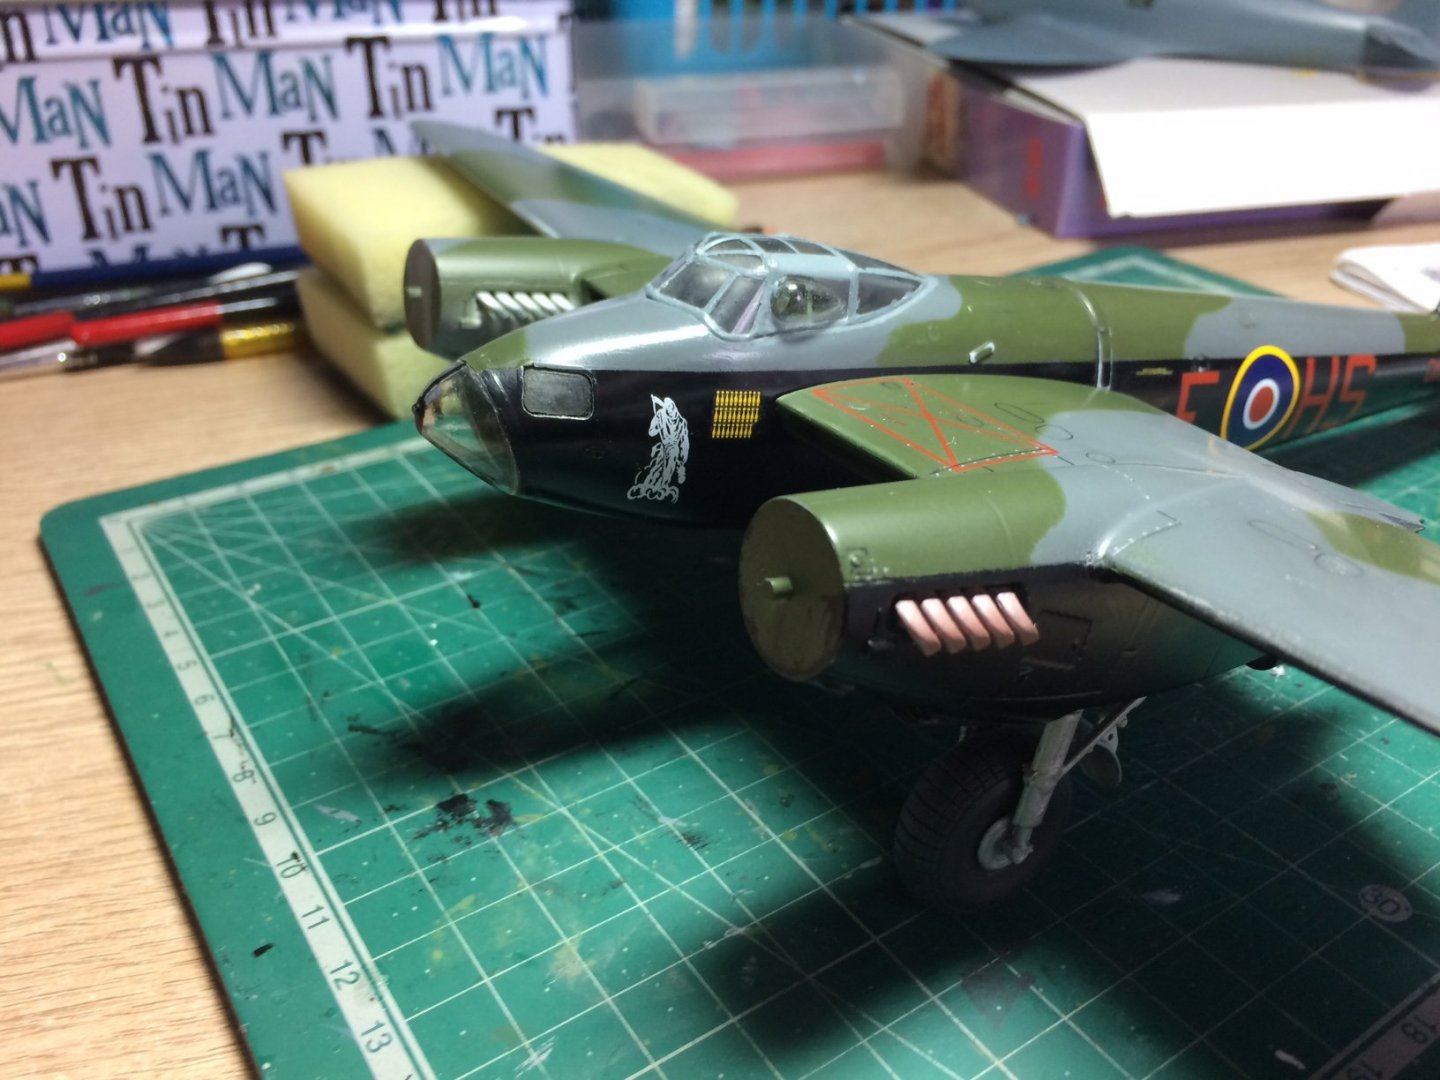
More progress today - my building has a pattern - you can tell waht the weather is like by what time I spend at the table, anyway more progress on mossie, I carried on attaching the various decals on the fuselage including the bomb drop count and grin reaper, I then put a first coat of micro sol, and put it aside, then it was time to have a llok at the wing and stabs that had been sprayed - I gently removed the paper/blue tak masks and gave them a wipe down with soapy water, then I gave then a gentle rub over with fine wet and dry (as I have been trying to age the paintwork slightly to show fadded/rubbed areas from use. I also used my pencil and worked along some of the panel lines/around obstructions, the wing still needs the roundel and other decs. Here is a few pics showing a dry run with wings attached not glued o yet. OC.

- 932 replies
-
- 11
-