.jpg.f4fa790b1fa2f0e00e3d149ed7bdd37c.jpg)

shipaholic
-
Posts
540 -
Joined
-
Last visited
Content Type
Profiles
Forums
Gallery
Events
Everything posted by shipaholic
-
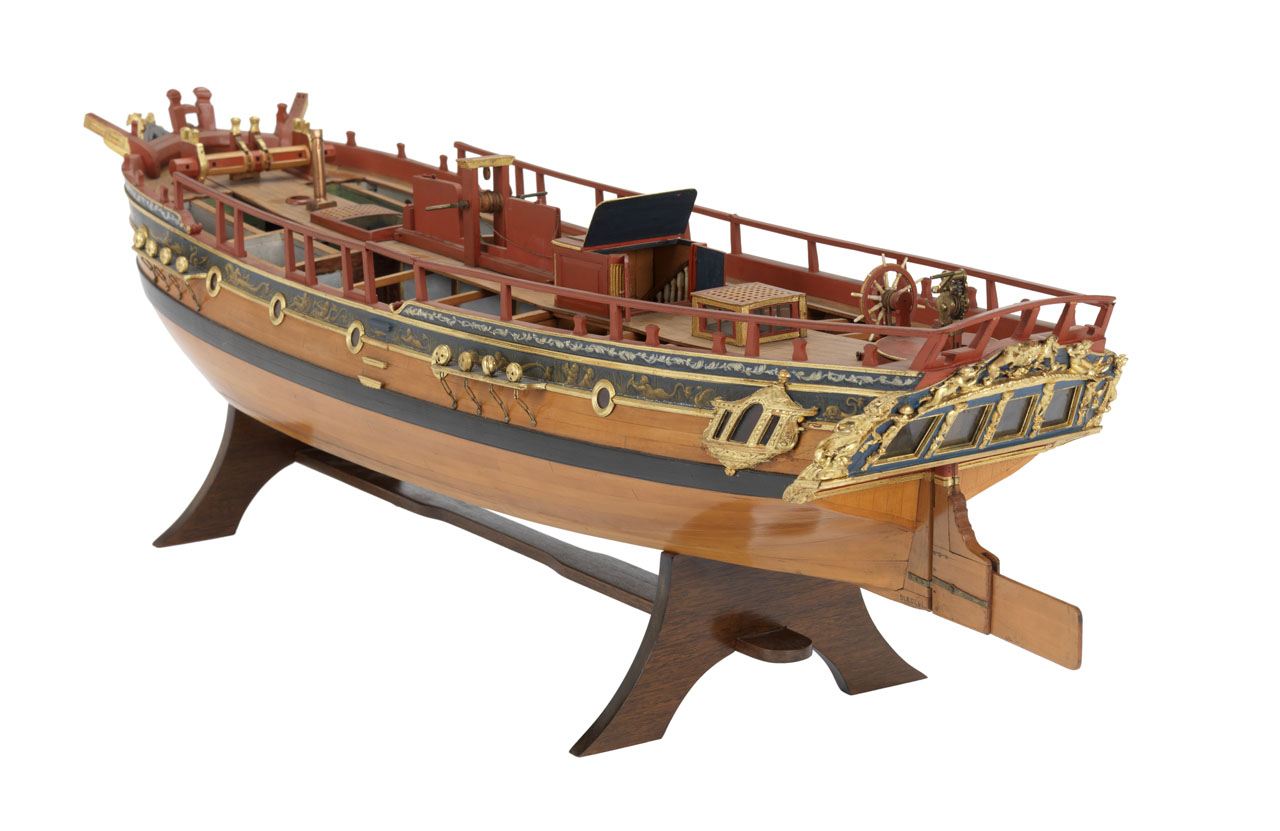
 Hi Mike Yes I think the skylight would have been like the one on the Victory but the top sash may have been covered with a grating to protect it during sailing. That's the way I have built it, just like yours but with the grating on top. Here's a pic of an 18th century model showing a grating on top of the skylight. Also on the replica vessel they put a grating on top of the skylight when at sea.
-
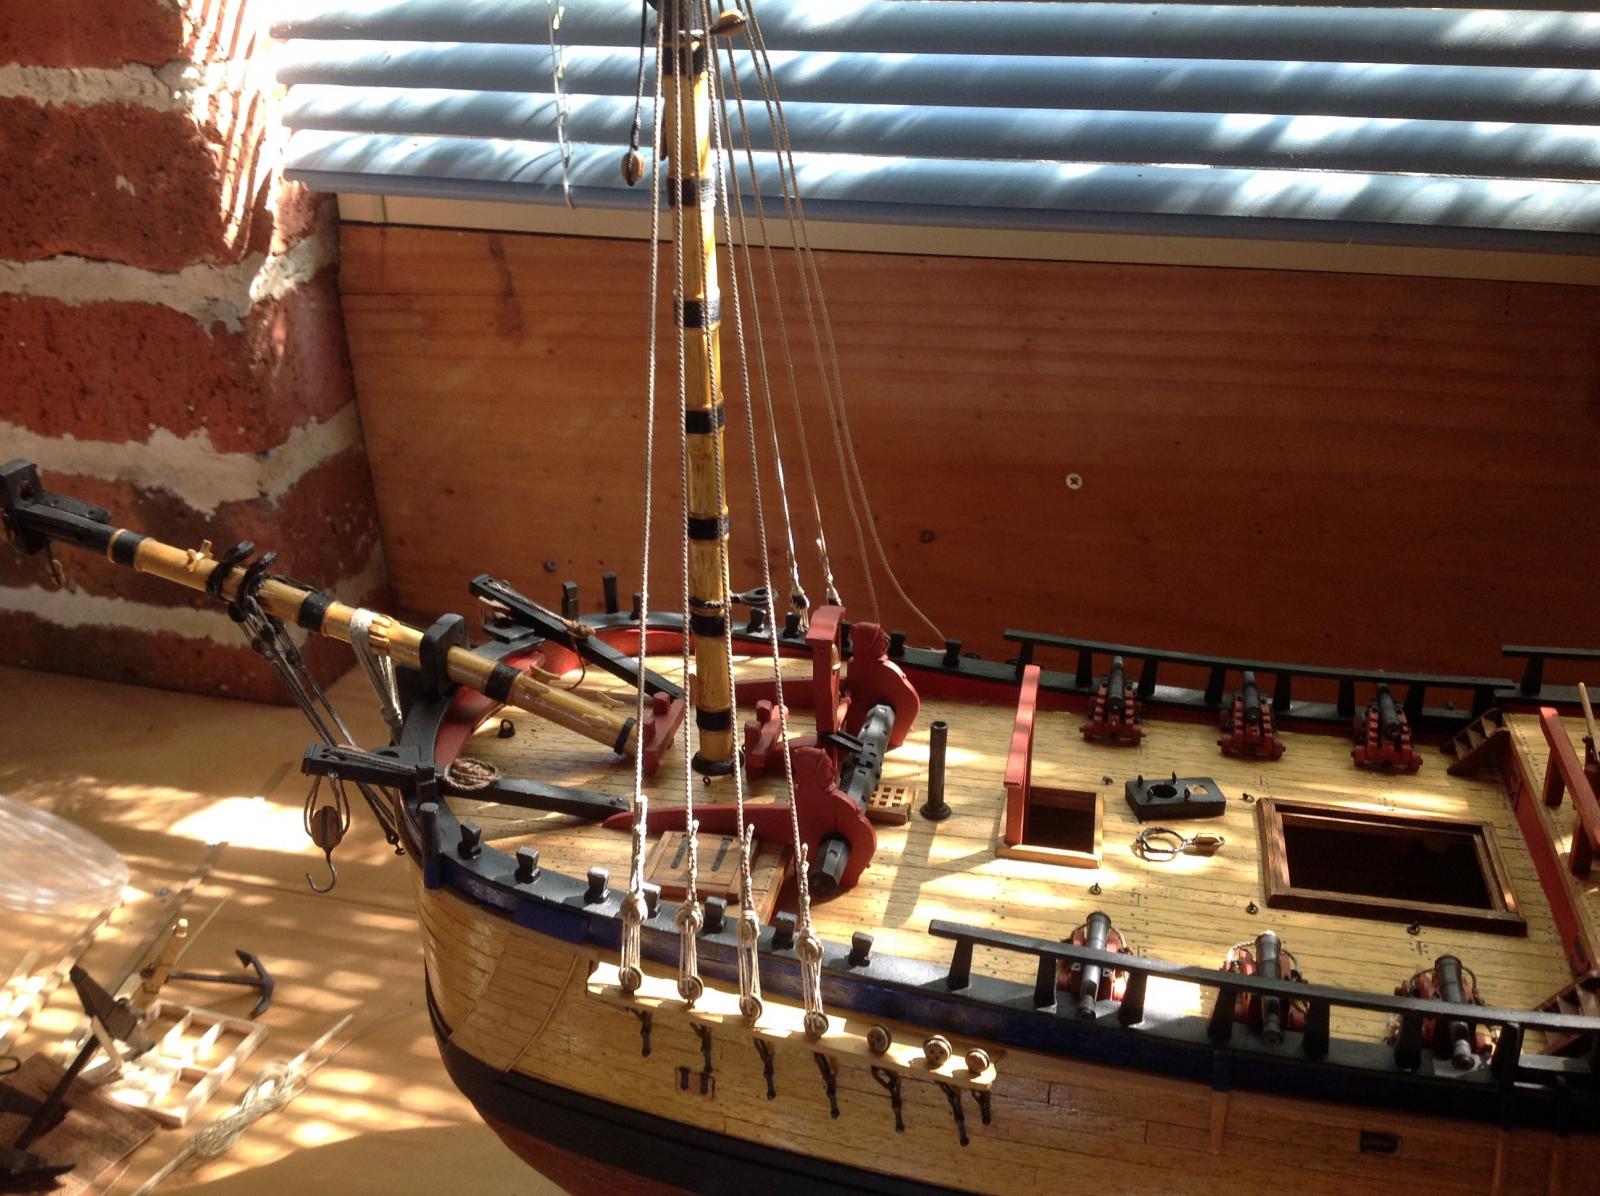
I built another skylight (companion as it was called) because the previous one didn't look right, and didn't fit with the description given in the refit in 1768 - "Companion on the quarter deck to be framed with sash light all round & sash & grating on the top" I am still trying to sort out what to do about the binnacle, whether to use the one I built or go with one like in the AOTS that arches over the skylight. I have never seen any photo or drawing or any other ship model that has a binnacle that resembles the one in AOTS.


-
Dave, It would be a shame to wreck your Dremel by overloading it. Why not do what I did and just buy a cheap electric drill from Kmart for about $20. I purchased a fairly cheap lathe from the UK that is designed to use a drill as the motor. Cheers Steve
-
Hi Pat It was me that first picked up the mistake, I posted it on my build log yesterday. I can understand your anger, but I agree with Keith at least you didn't get much further with your rigging. Steve
-
Rigging Conundrum Caldercraft H.M.S Supply
shipaholic replied to hornet's topic in Masting, rigging and sails
Hello Hornet Have you seen these pics of a museum model, they may be helpful; http://www.powerhousemuseum.com/collection/database/?irn=238338 Cheers Steve -
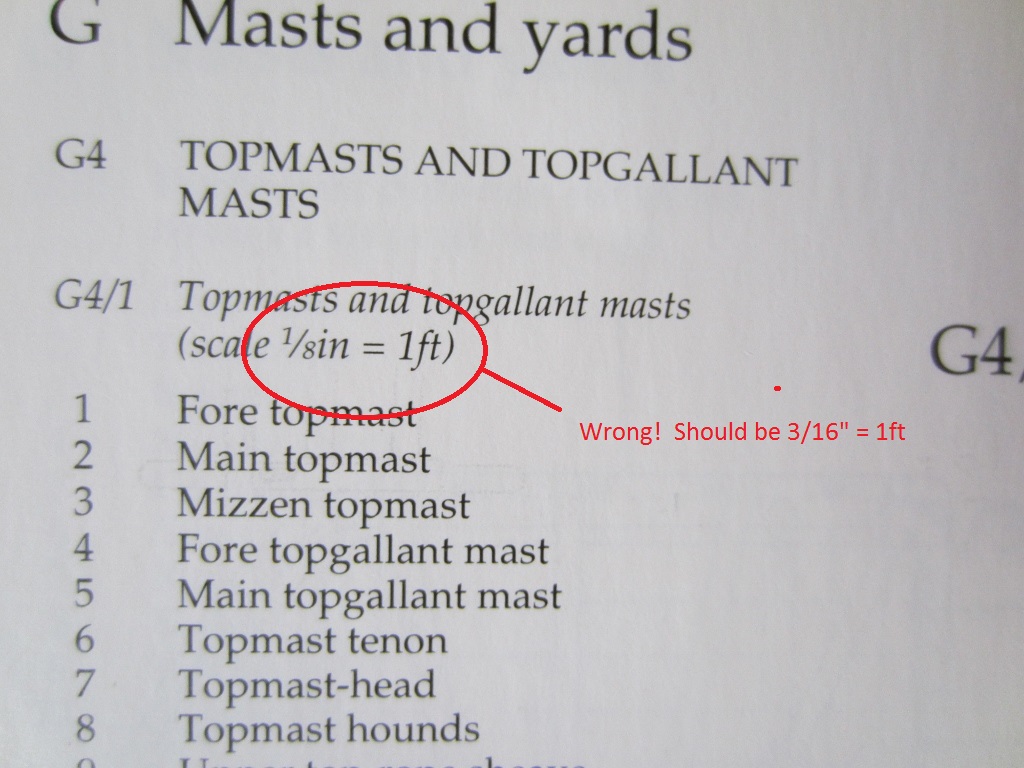
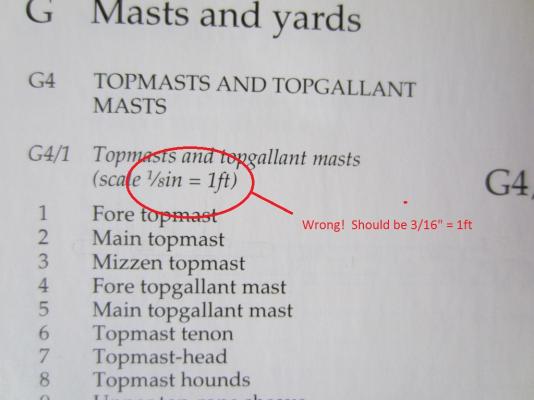
Hi everyone I am just looking to start making the topmasts and just discovered a mistake in the AOTS. On page 88 there are the drawings of the topmasts and they are labelled as 1/8" = 1ft. The topmast drawings are actually 3/16 = 1ft. If you measure the main topmast length on page 83 at 1/16" scale it is about 64mm So at 1/8" scale it should be twice as long ie 128mm. The main topmast in the drawing on page 88 is 194mm long - three times as long so it must be 3/16" scale I double checked by measuring the topmast on my AL Endeavour (which is 3/16" scale) and it is indeed 194mm long Cheers Steve
-
Thanks Mike
-
Mike, now I need your advice, can you give me the size of the hooks and barrels you used for your swivel guns
-
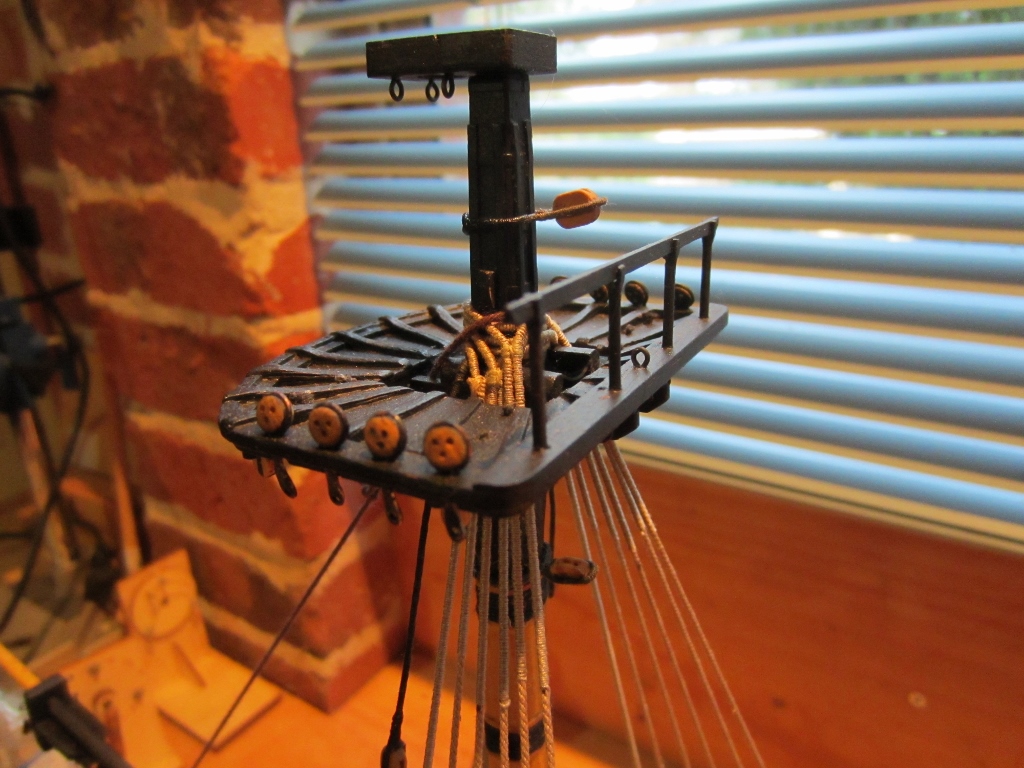
Mike the tops and swivel guns look fantastic, good work
-
Hi Mike The thread is 1.18mm (from Chuck Passaro). I worked it out thus; ships of 300 tonnes had shrouds 7 inch circumference 7 x 25.4 is 177.8 mm divided by pi to give diameter is 56.6 mm. Divide by 51 (scale) gives 1.11mm Chucks thread is good for shrouds, it's cable laid Cheers Steve
-
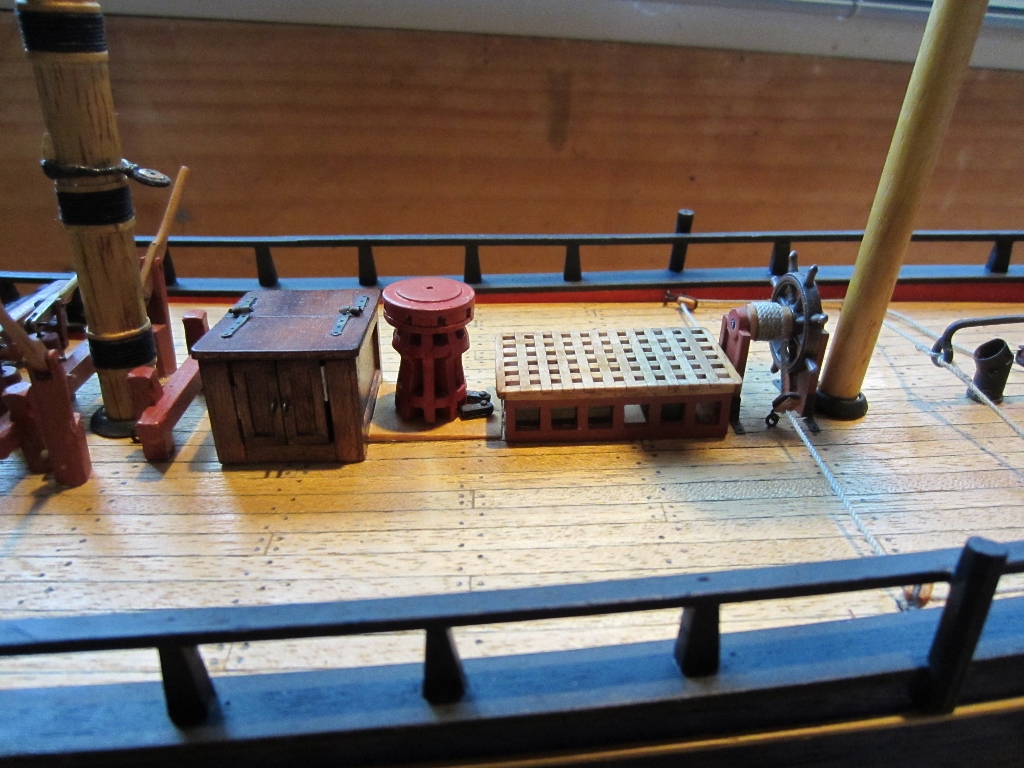
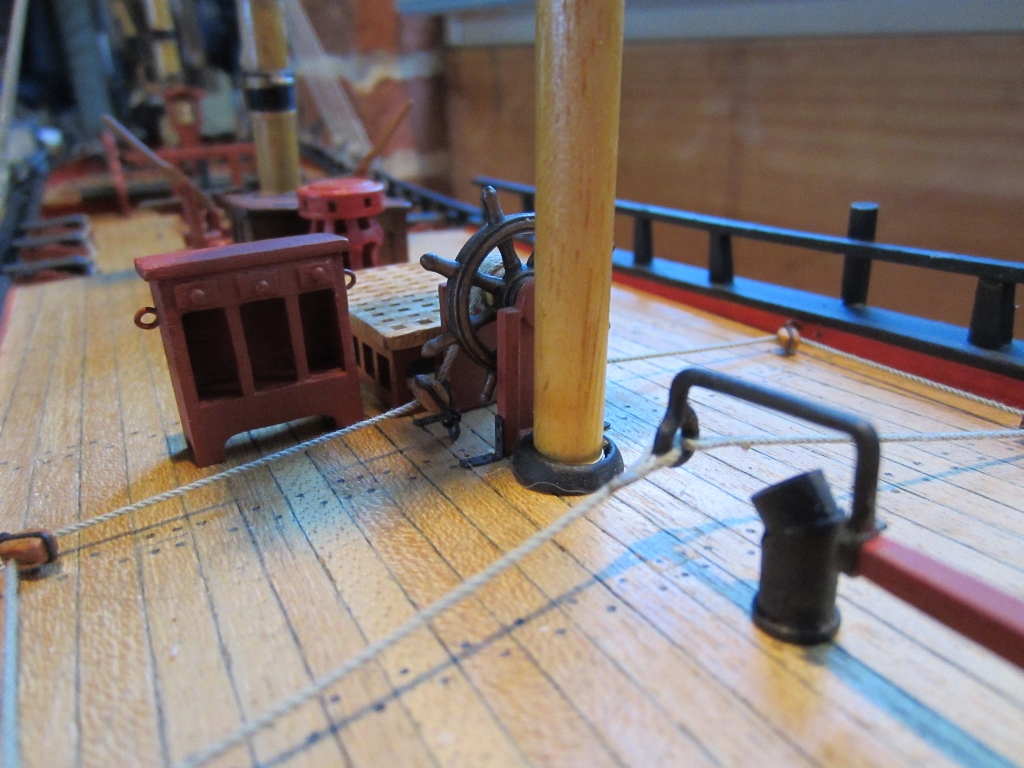
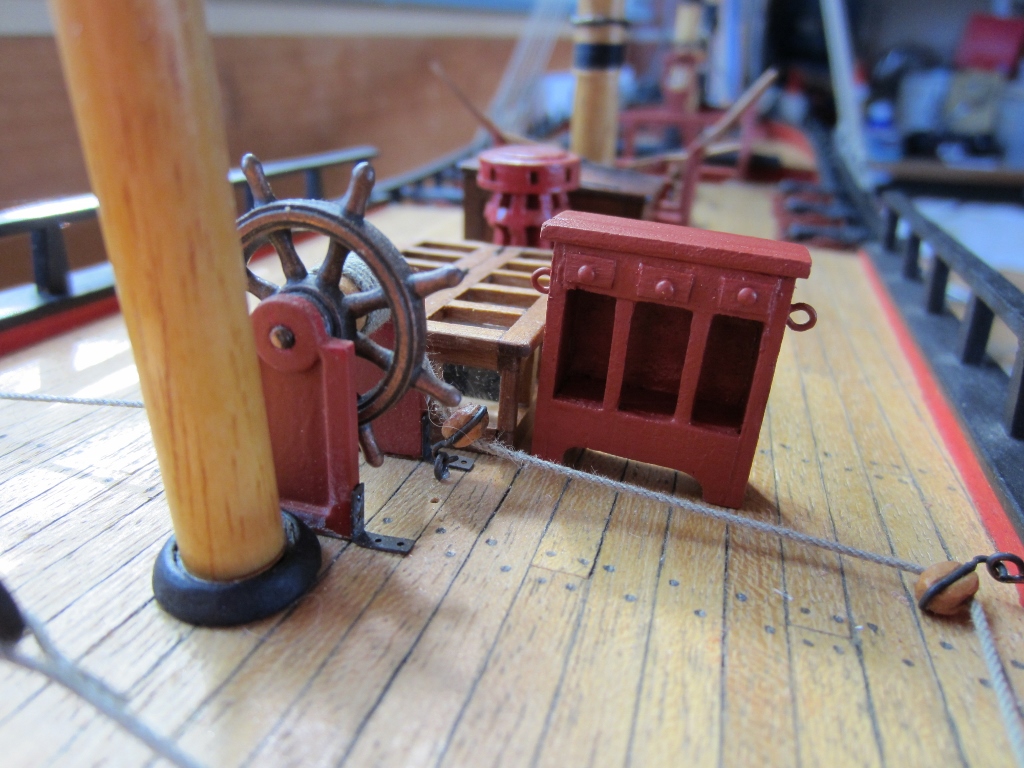
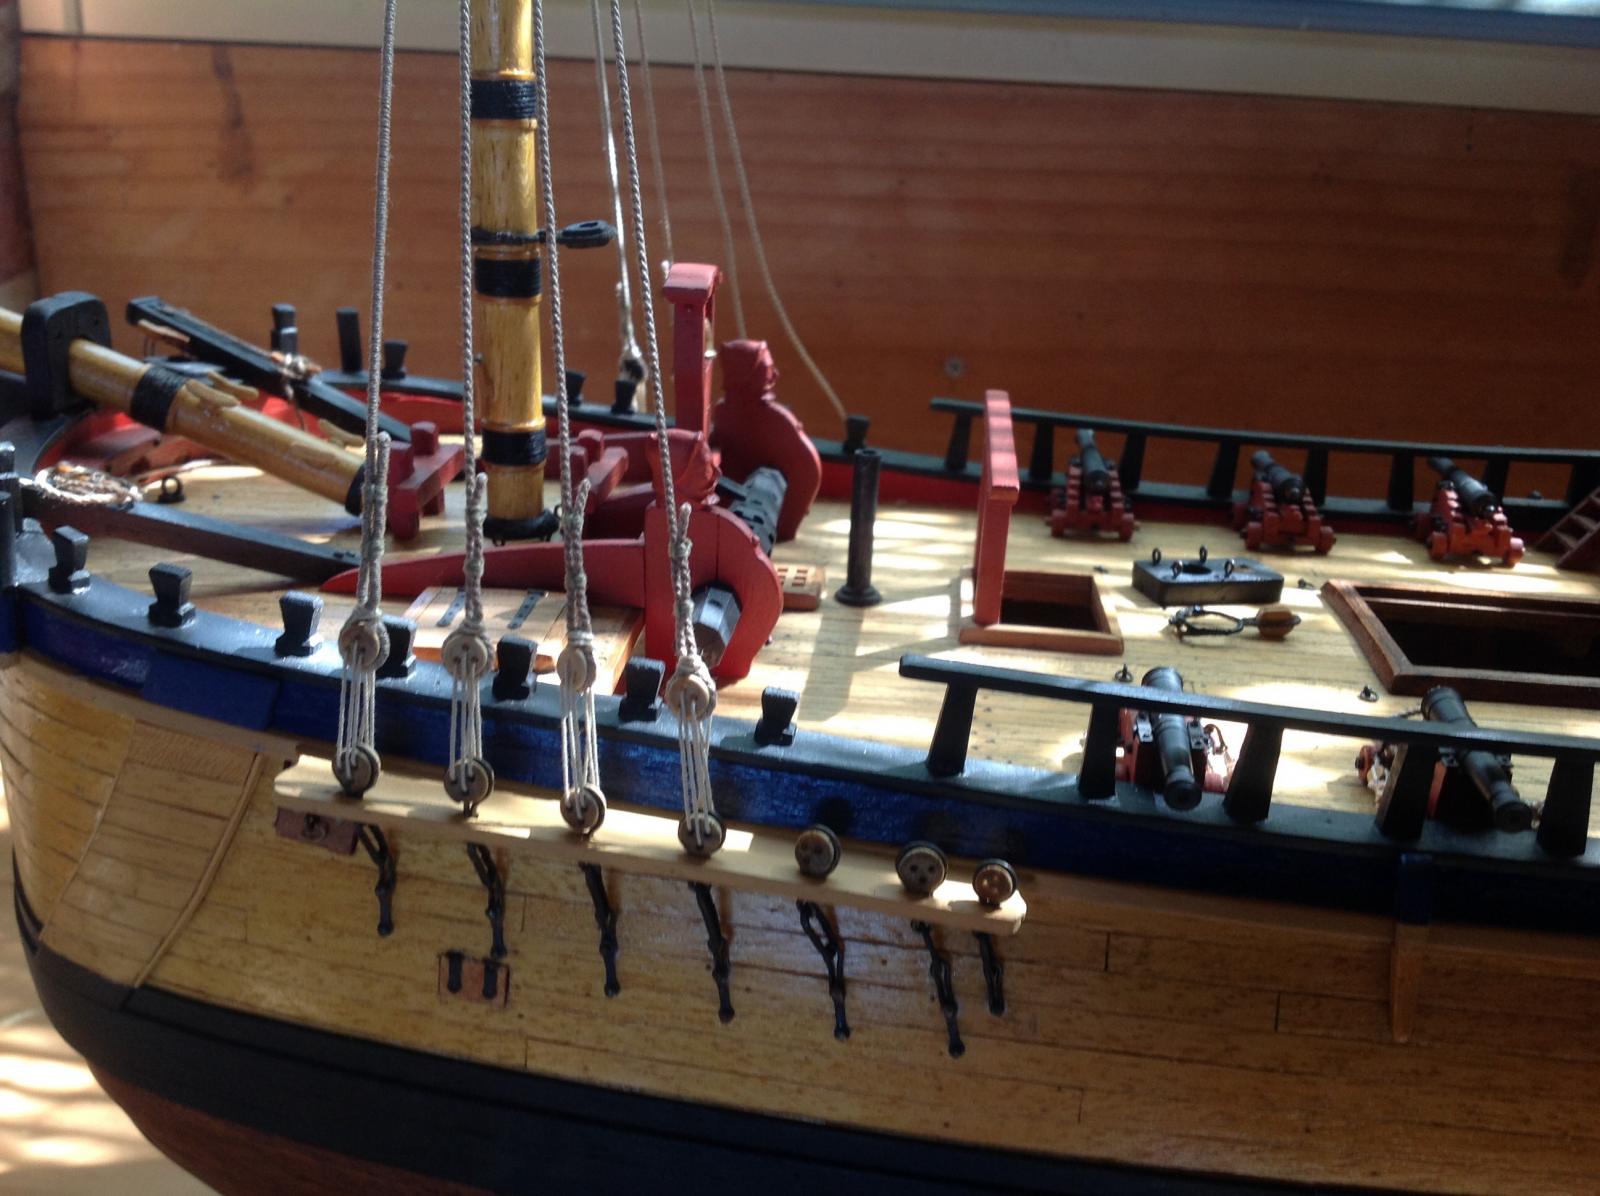
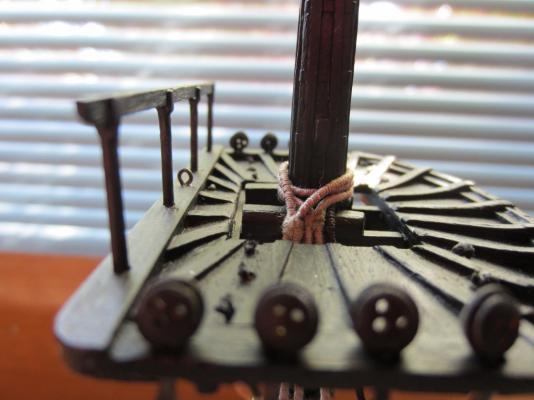
A bit of a diversion from doing the shrouds today. I built a binnacle. Just a simple one like the one they use for display purposes on the replica vessel

-
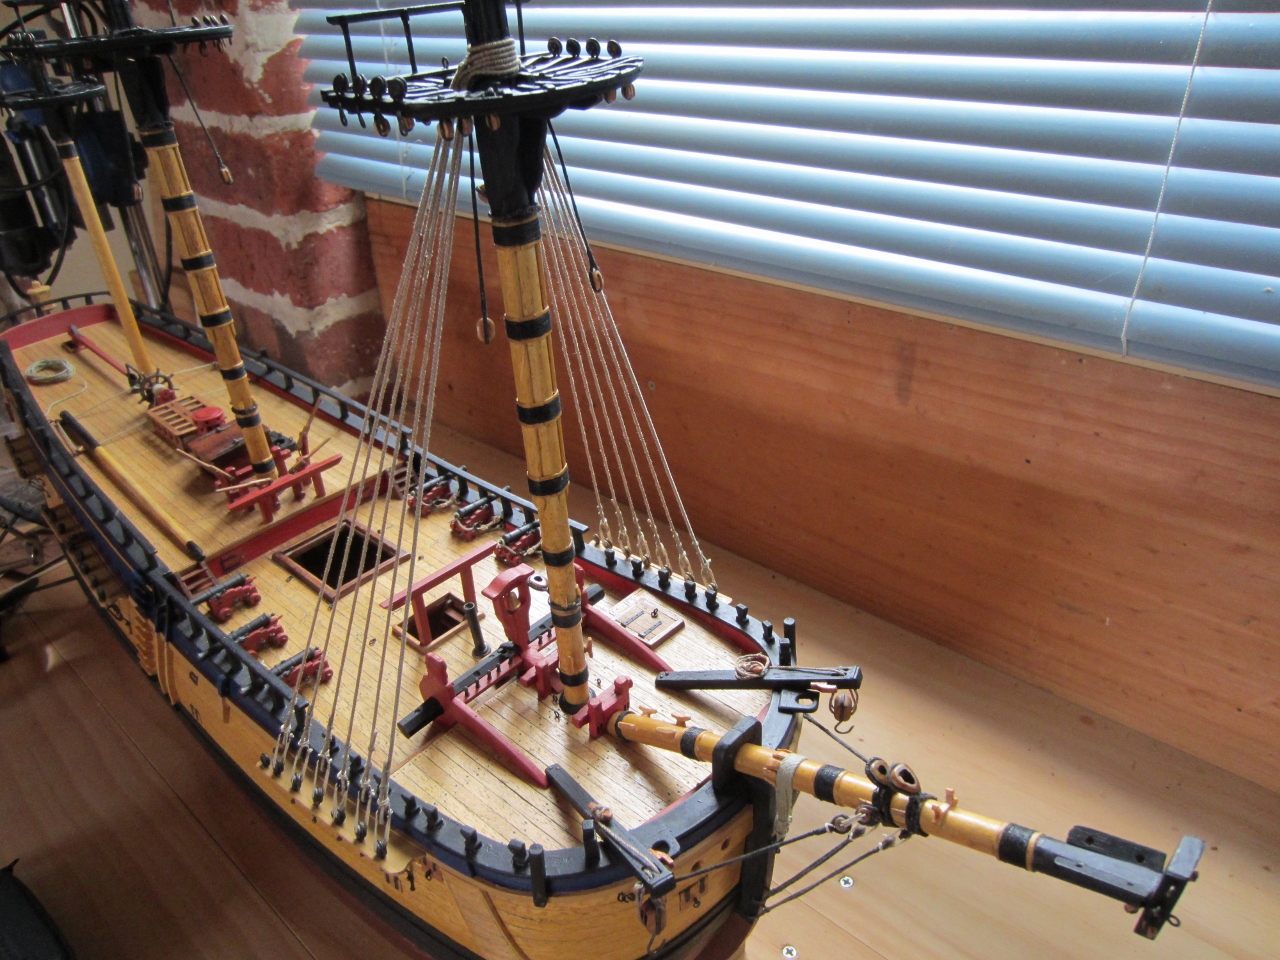
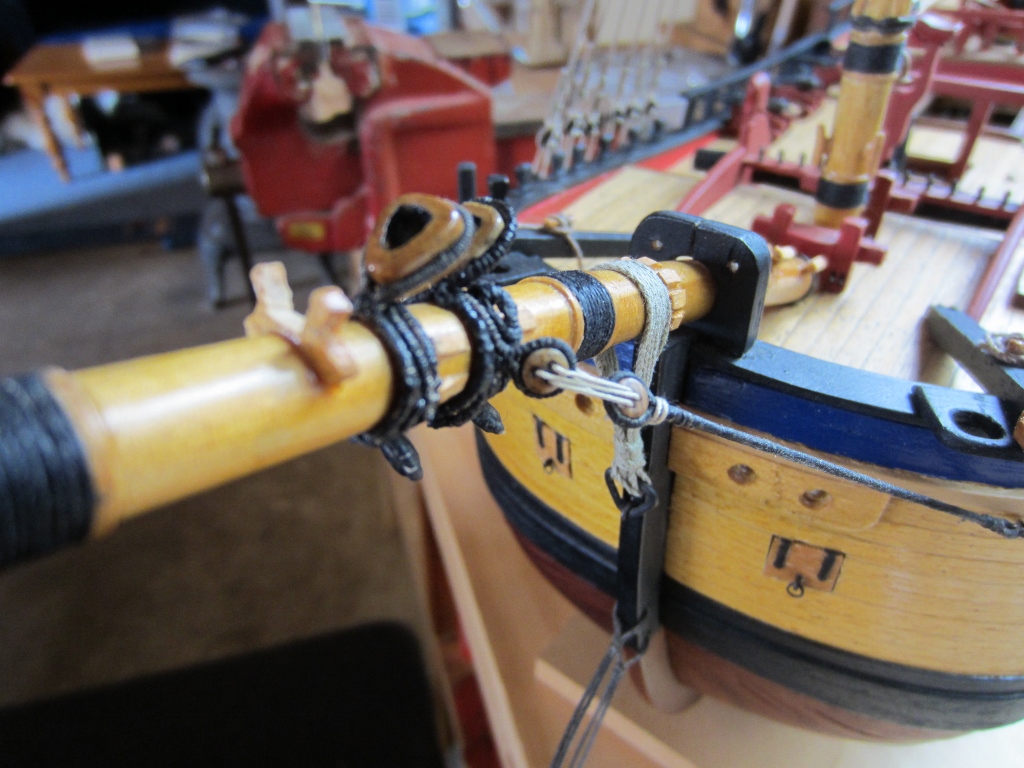
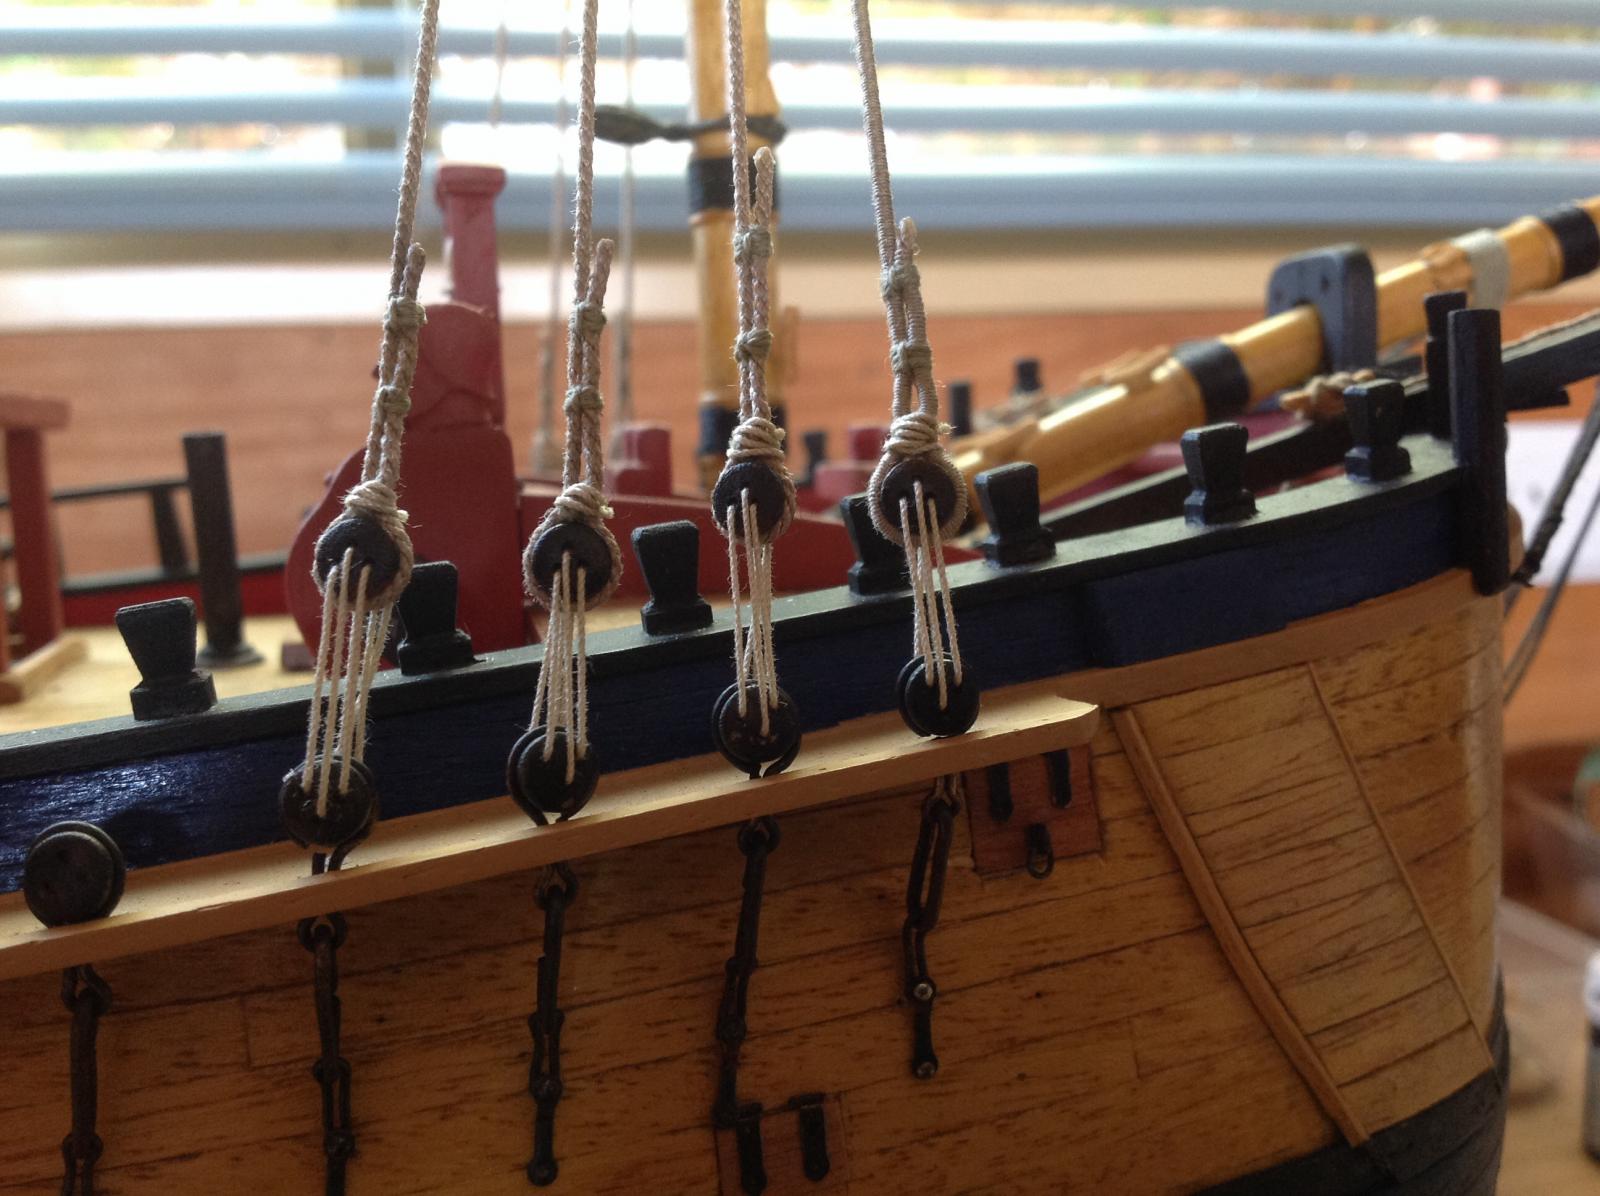
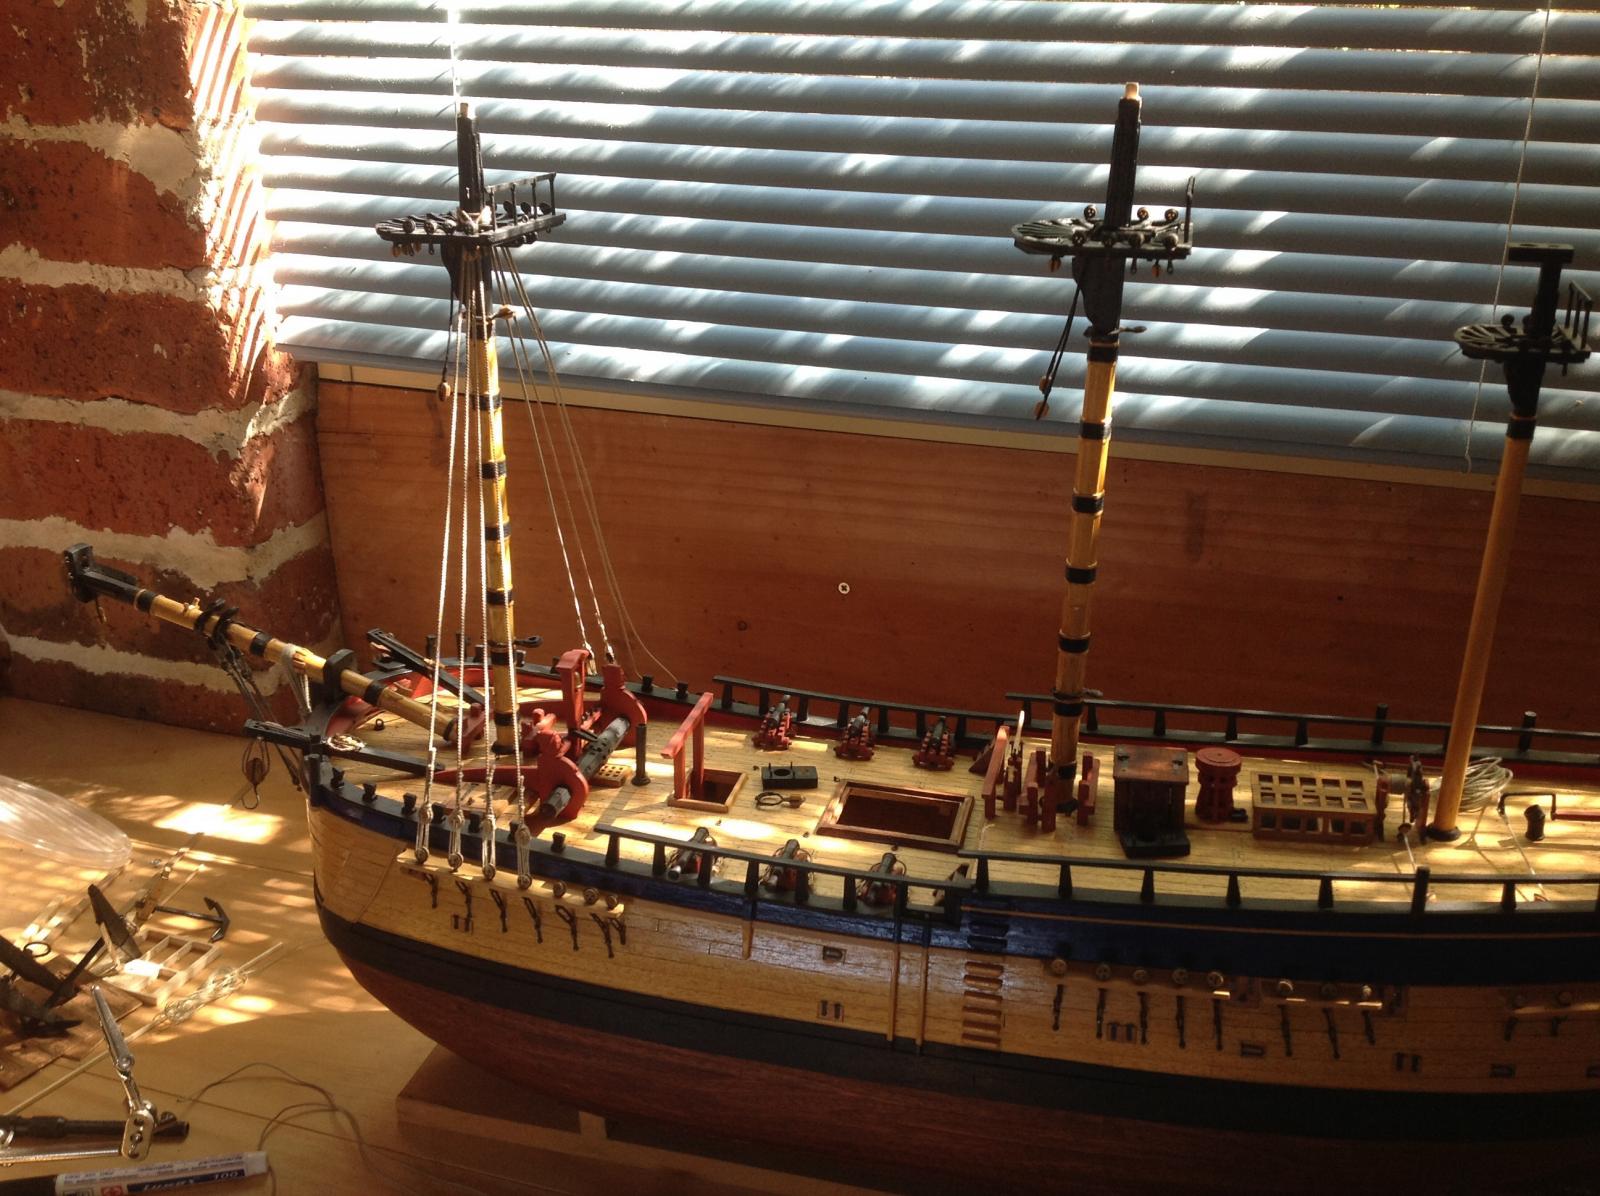
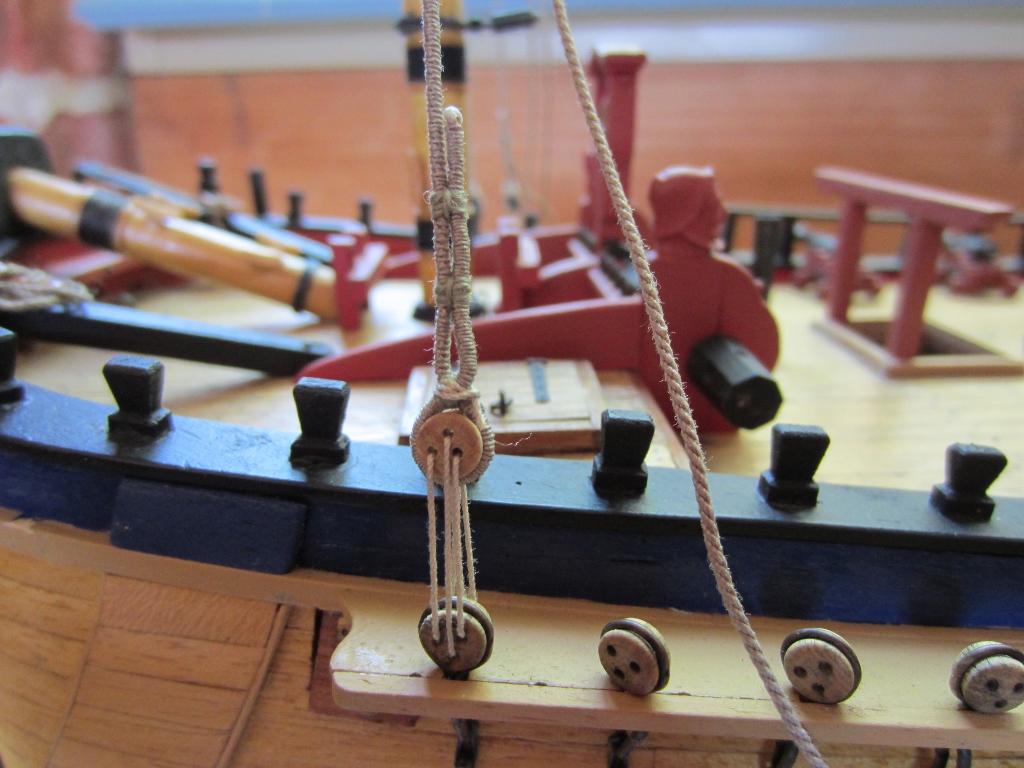
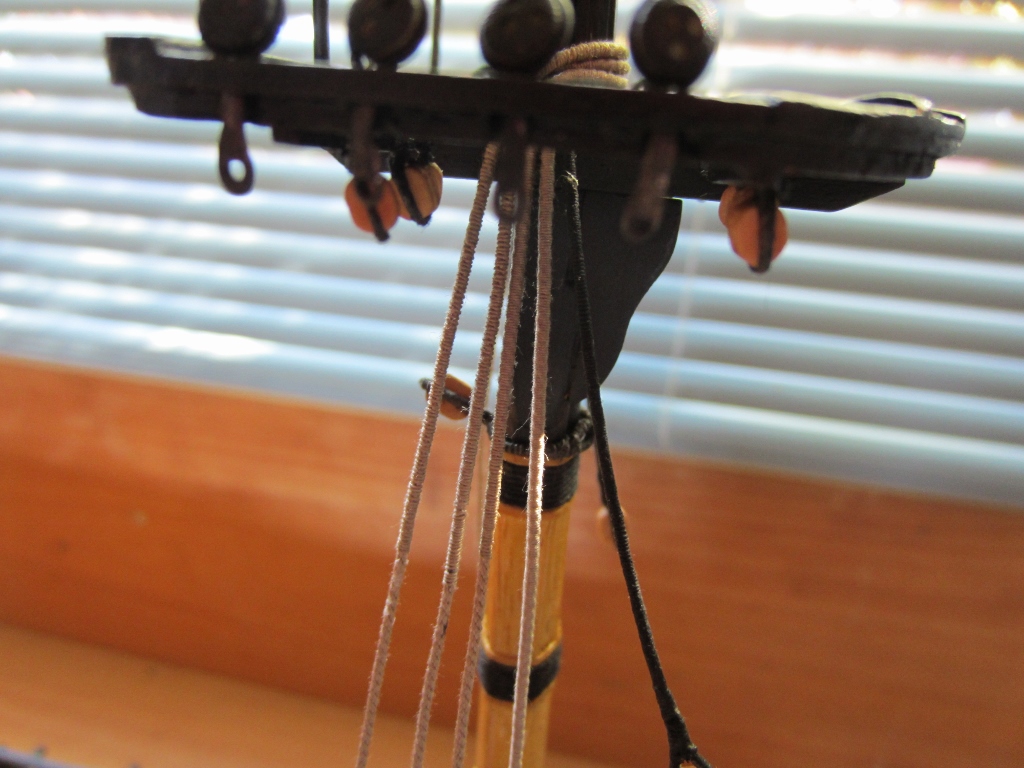
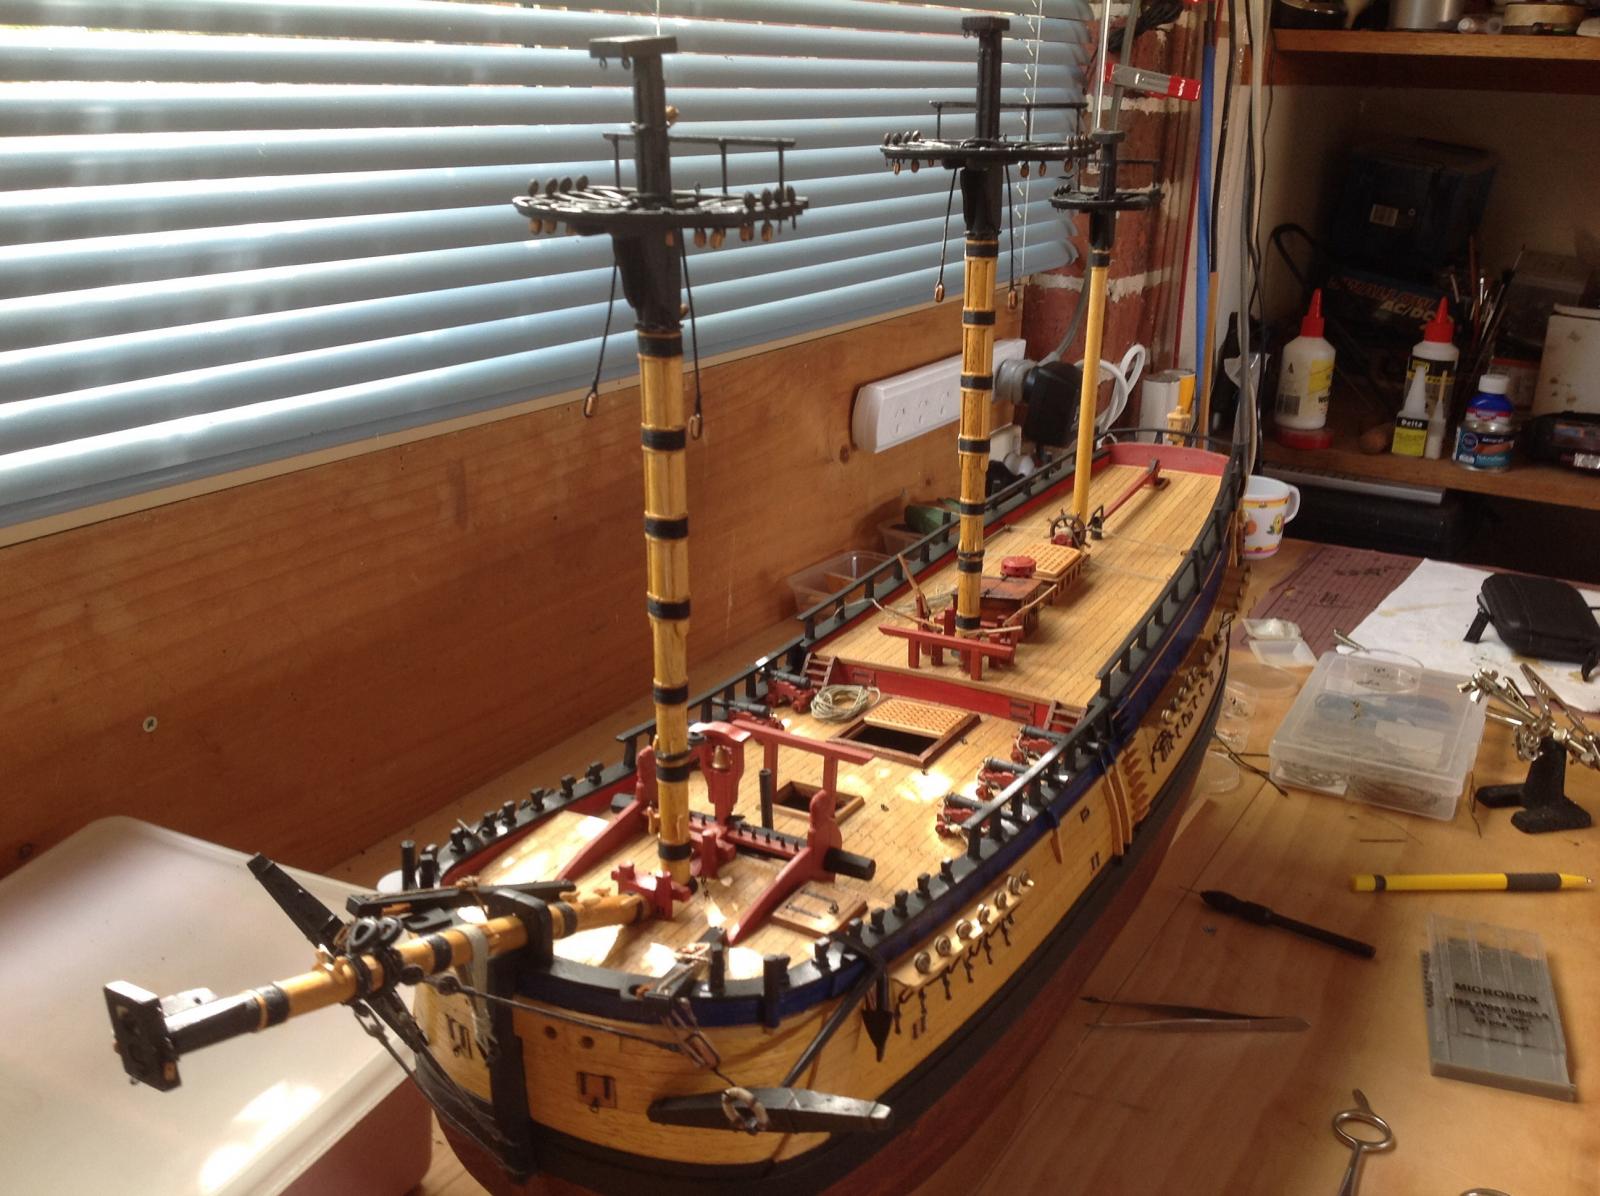
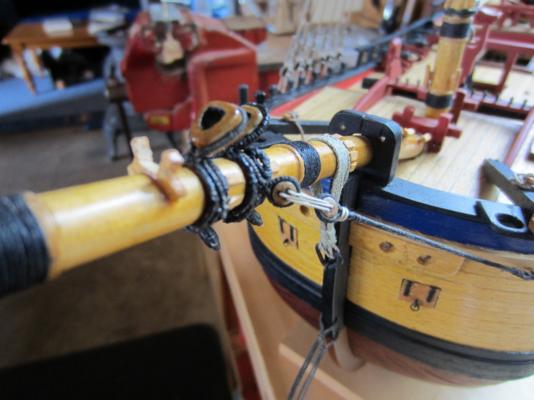
I wasn't happy with the angle of the bowsprit, it wasn't quite steep enough. So I unshipped it and sanded a bit off the heel where it sits on the deck. While I was at it I also sanded the black paint off the deadeyes and hearts and varnished them. Many contemporary models built in the 18th century have deadeyes that are lacquered instead of painted black. I think that when you have everything to do with the standing rigging painted black you can't see the detail very well. I might sand all the deadeyes that I have already painted and lacquer them. I want this ship to look more like a contemporary model. Very happy with how the fore shrouds look at the mast head.


-
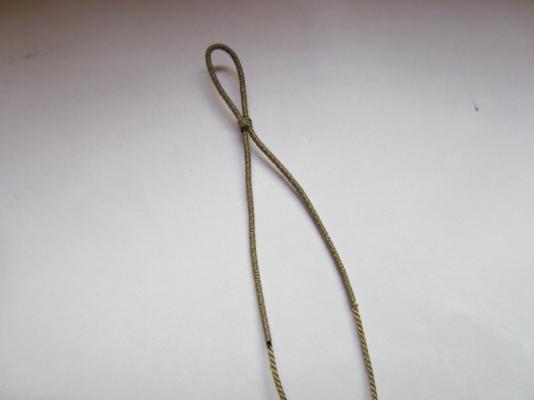
Truly awful question (thread from kits)
shipaholic replied to achuck49's topic in Masting, rigging and sails
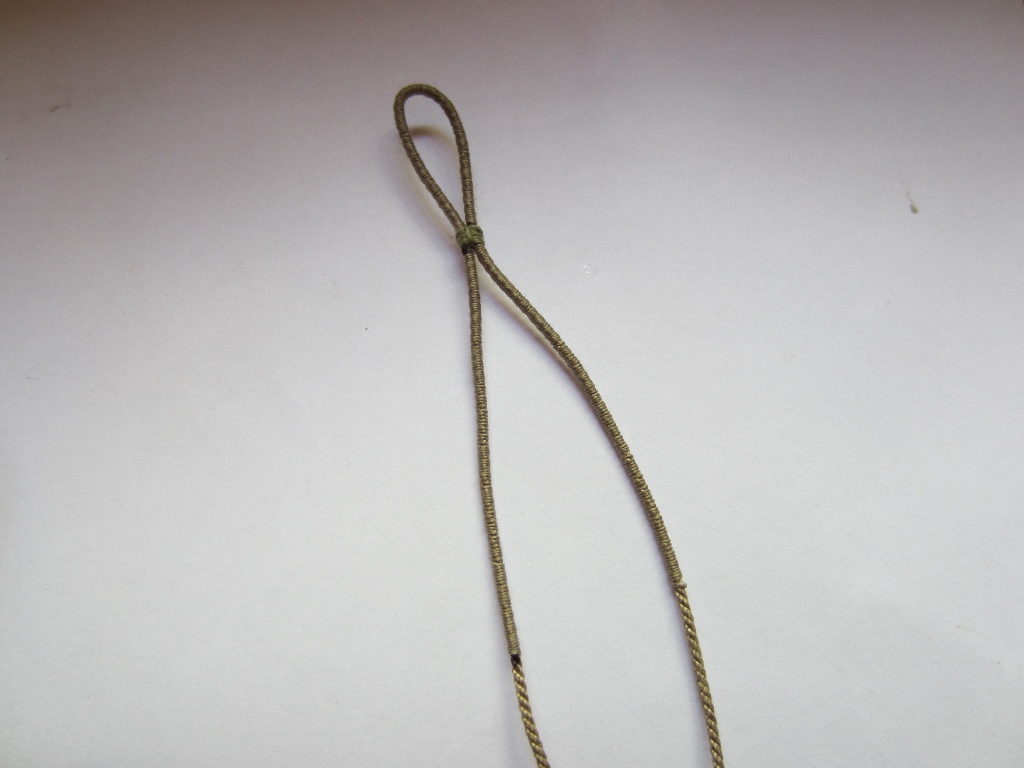
I untangled one of these about a month ago, it took about an hour and a bit of teamwork between me and the missus, and a lot of patience but we got it all untangled, one loop at a time. -
Hi Mike I'm just wondering how you came upon the hat elastic discovery, was it wearing a party hat at Christmas? The pics look great, I might investigate this idea too, good work. Cheers Steve
-
Thanks Slog, yes I'm trying to make the rigging as accurate as possible - the first shroud was always served.
-
Thanks Mike. I'm using the 5mm deadeyes supplied with the partwork
-
Thanks Mike, yeah I'm using a cigarette lighter on the fuzzy rope, works okay. I'm continuing on with the shrouds today, turning in the deadeyes.
-
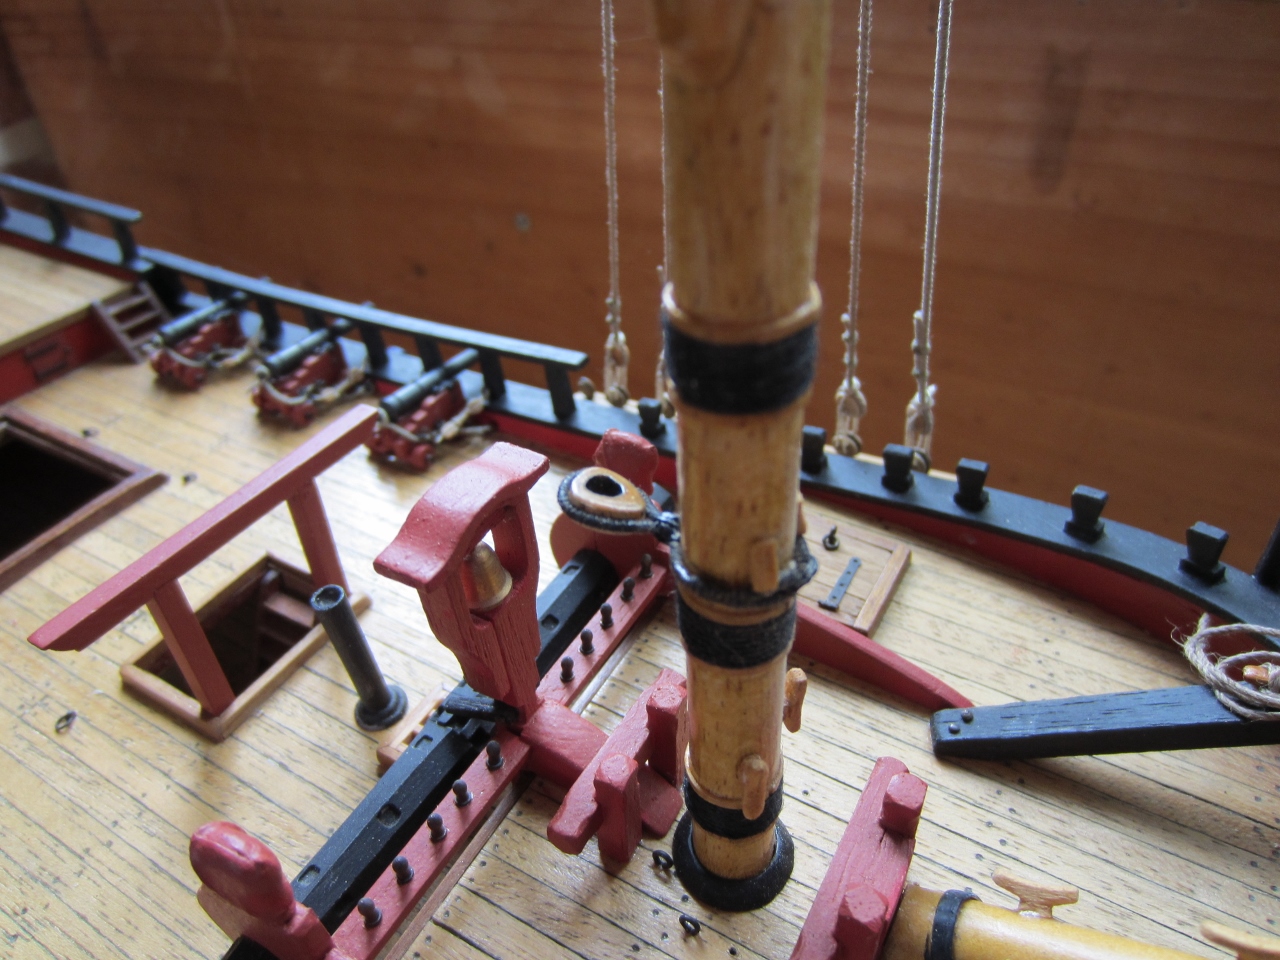
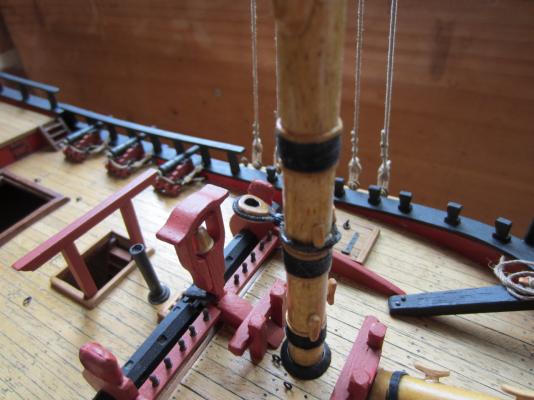
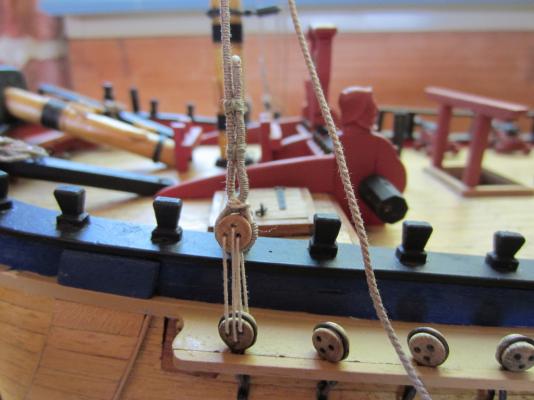
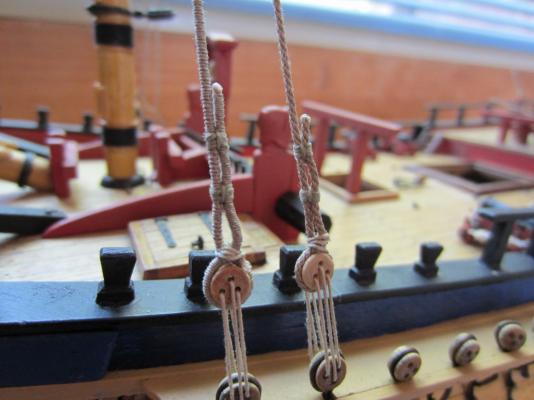
I'm currently doing the foremast shrouds. The foremost shroud is served all the way to the end and all the others are served one-fourth the way from the centre. I'm using Syren rope for the shrouds, its cable-laid and its nice and fuzz free. I put a round siezing on using some of the thread supplied with the partwork, not that happy with it - very fuzzy finish.

-
Mike I wouldn't bother with an eyebolt. Anything that needs to be fastened there could be done to the collar of that stay block. Are you fitting sails? Steve
-
Hi Mike I assume you mean the main Topmast preventer stay. Not sure where you are looking on page 114 but I can't see it. The correct way is a block lashed at the bottom of the hounds as shown on page 101. I did check other references such as Lees when I did mine because I don't trust the AOTS. Cheers Steve PS I looked further and I see now, you were looking at page 117 not 114, the drawing appears to show the block lashed to the ring, but the ring is for the sail rigging not the stay
-
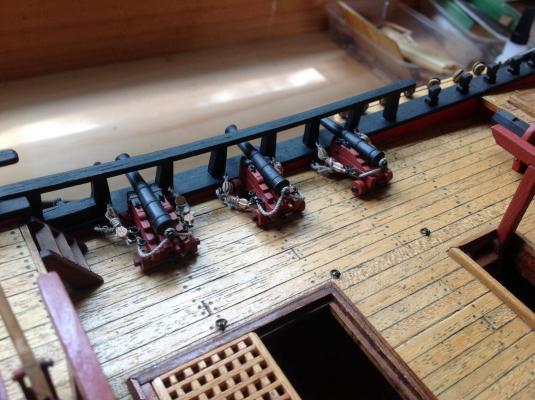
Three down three to go, I keep putting off the gun rigging because it's such small fiddly work, but isn't it all fiddly work?