.jpg.f4fa790b1fa2f0e00e3d149ed7bdd37c.jpg)

shipaholic
-
Posts
540 -
Joined
-
Last visited
Content Type
Profiles
Forums
Gallery
Events
Everything posted by shipaholic
-
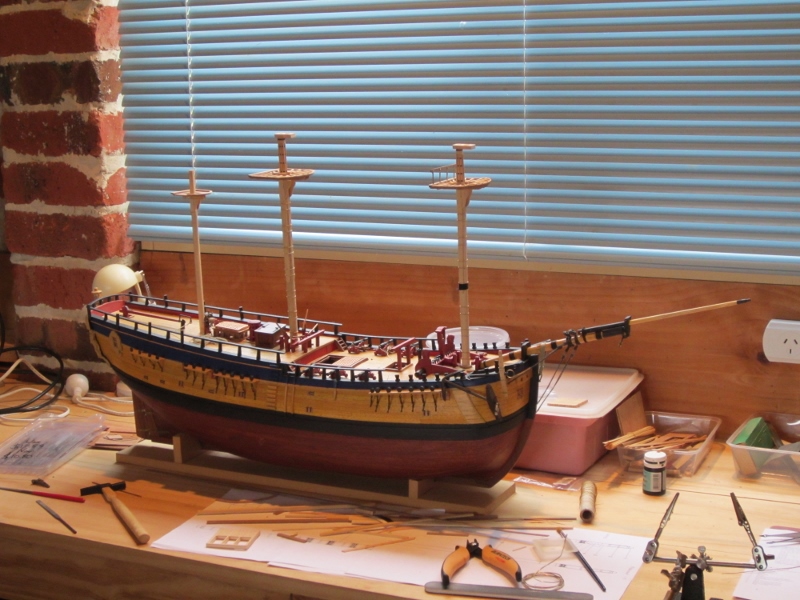
 Hi Ollie I built the exact same kit about 20 years ago (pics in the completed gallery here), the box artwork on mine was exactly the same so probably a similar vintage (I still have the box). When I built mine I did minimal painting because I wanted to produce more an ornamental piece rather than an exact scale model but I also did a few modifications to make it look more realistic and more like the Endeavour than it would have if I had just used the parts supplied and followed the AL instructions. I only used the wood supplied and the final outcome was pretty good, the deck planks and hull outer planking look okay. I mostly followed the instructions as there was no other reference material available to me at the time, so there a few things that are not quite right that annoy me now - the mast tops look too chunky, the line of the main wale isn't quite right and the stern doesn't look that good. The rigging blocks are fairly rough and chunky, so I individually sanded and lacquered each one which gave them a more accurate look. Every kit has its bad points but I'm sure you can make a good model from this one. Cheers Steve
 -
HMB Endeavour 1768 3D Model
shipaholic replied to ODemuth's topic in CAD and 3D Modelling/Drafting Plans with Software
Fantastic work. It's great to see Marquardt's work translated to 3D. -
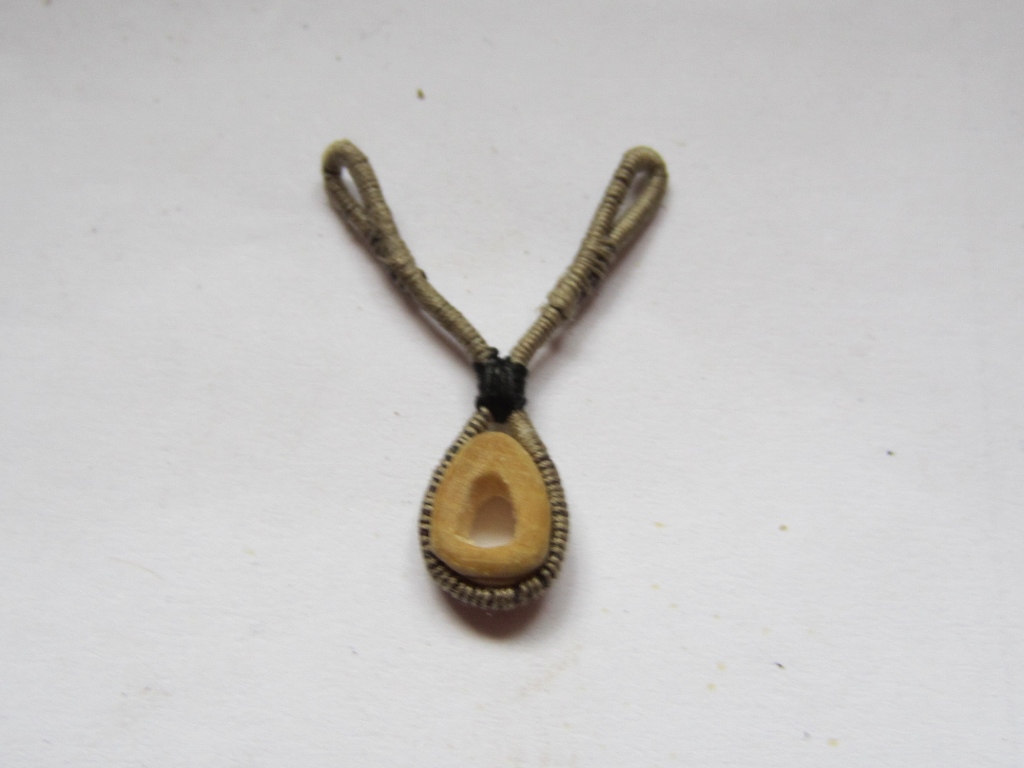
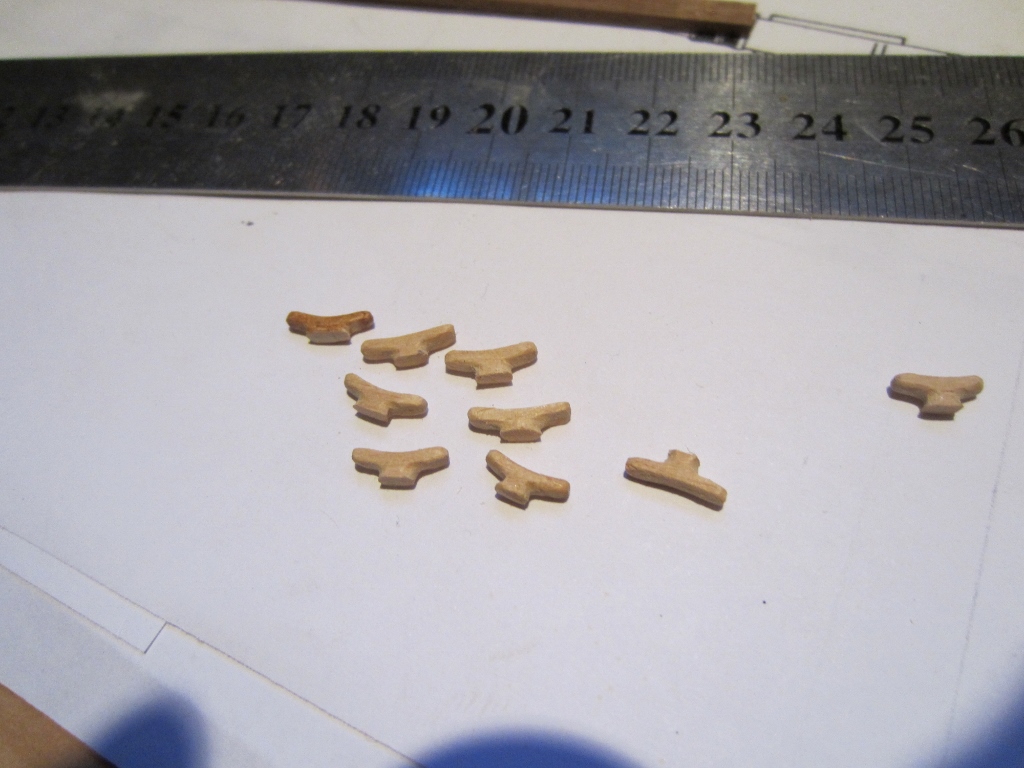
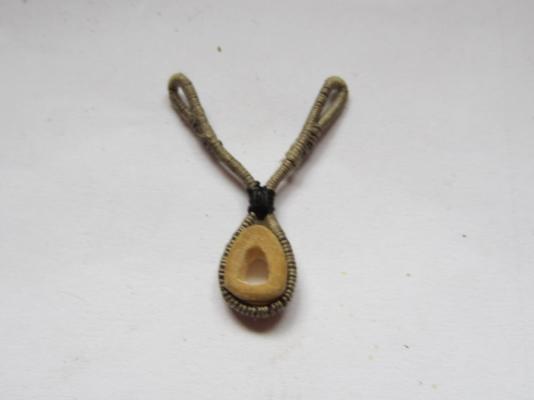
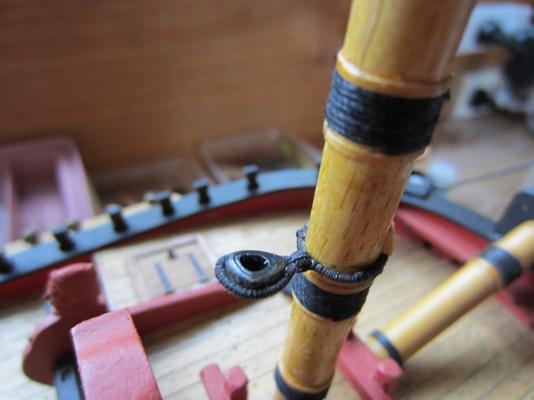
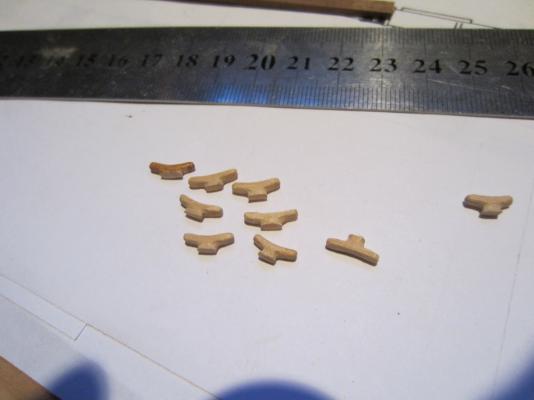
Today I fitted the heart and collar for the main preventer stay on the foremast. I have started making cleats, pretty fiddly because they are so small and I need about twenty four of them
-
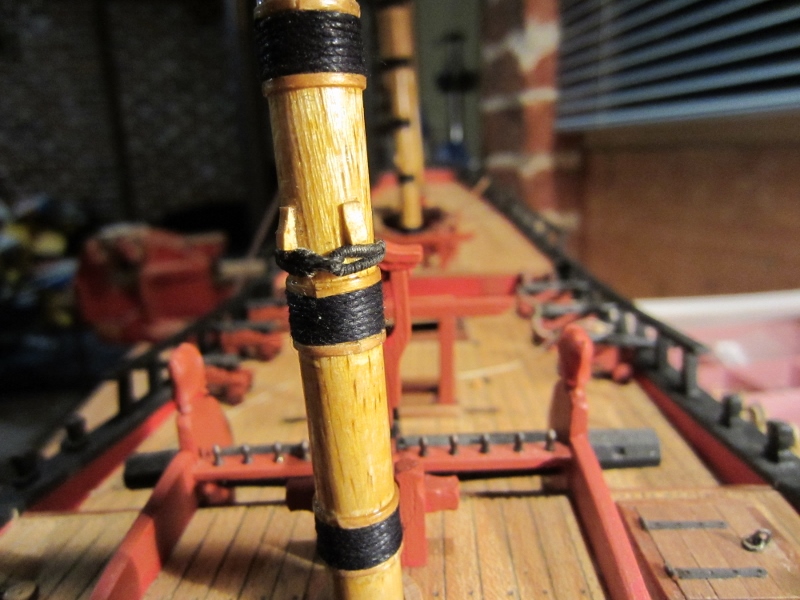
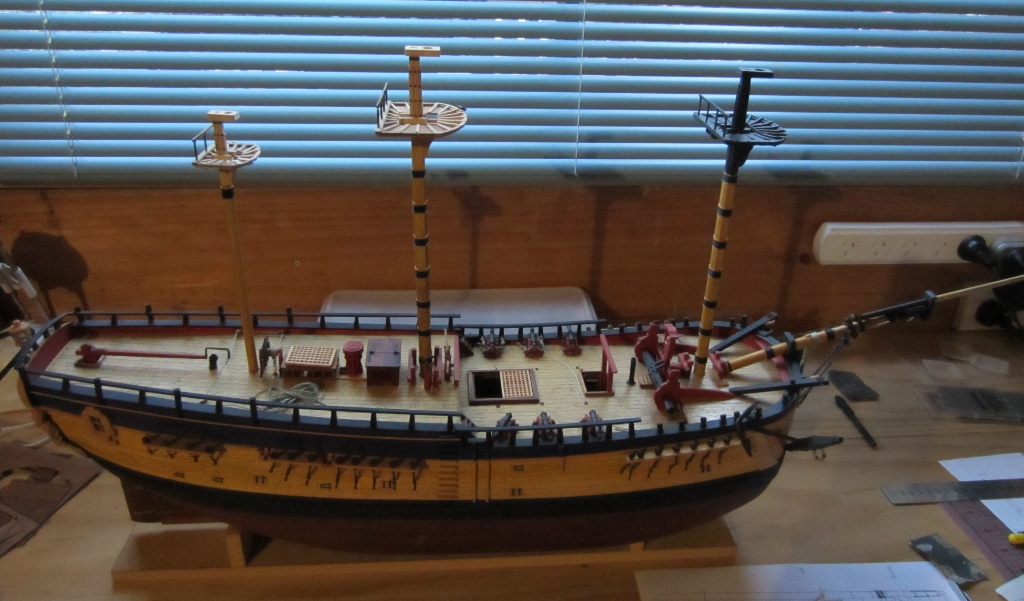
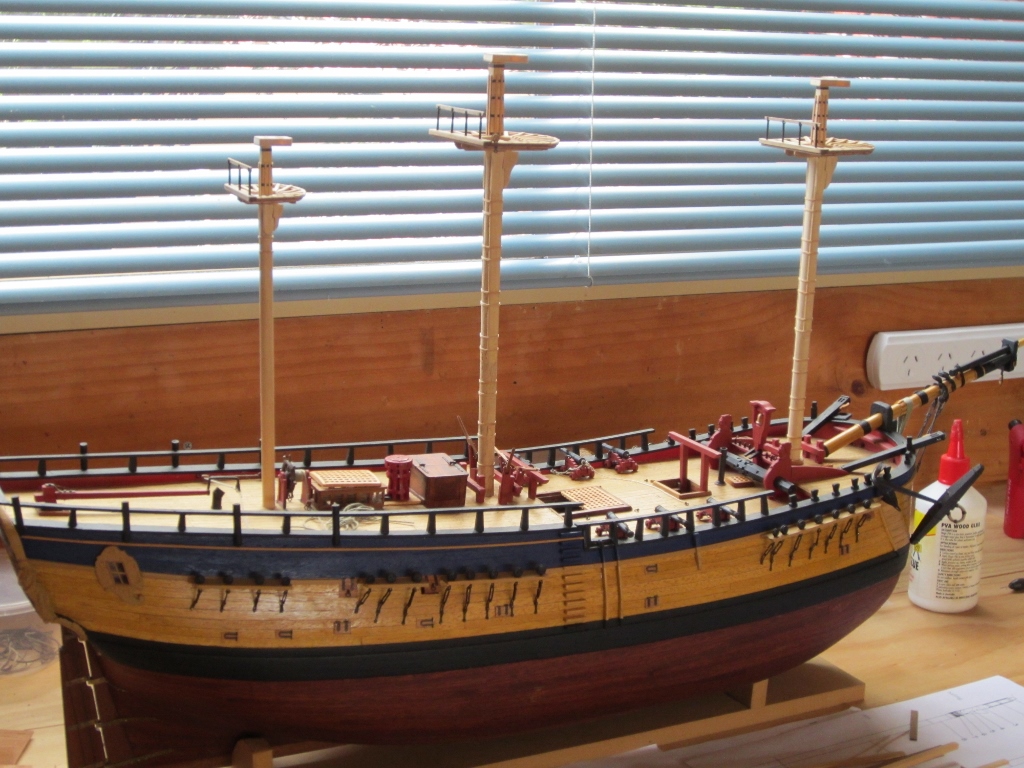
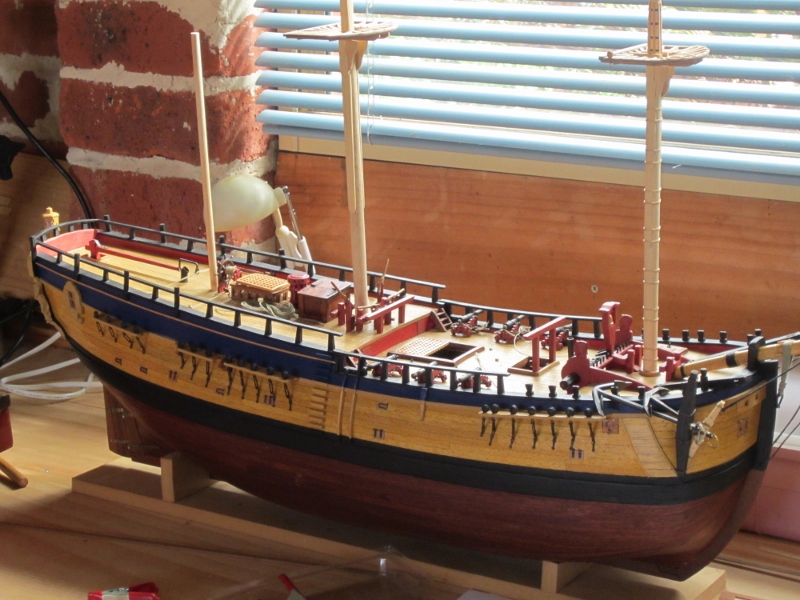
Fitting the woolding onto the masts, got the foremast top painted before running out of black paint.

-
Thanks Rowan
-
Thanks Mike, can't wait till you restart your Endeavour build
-
Thanks Bindy
-
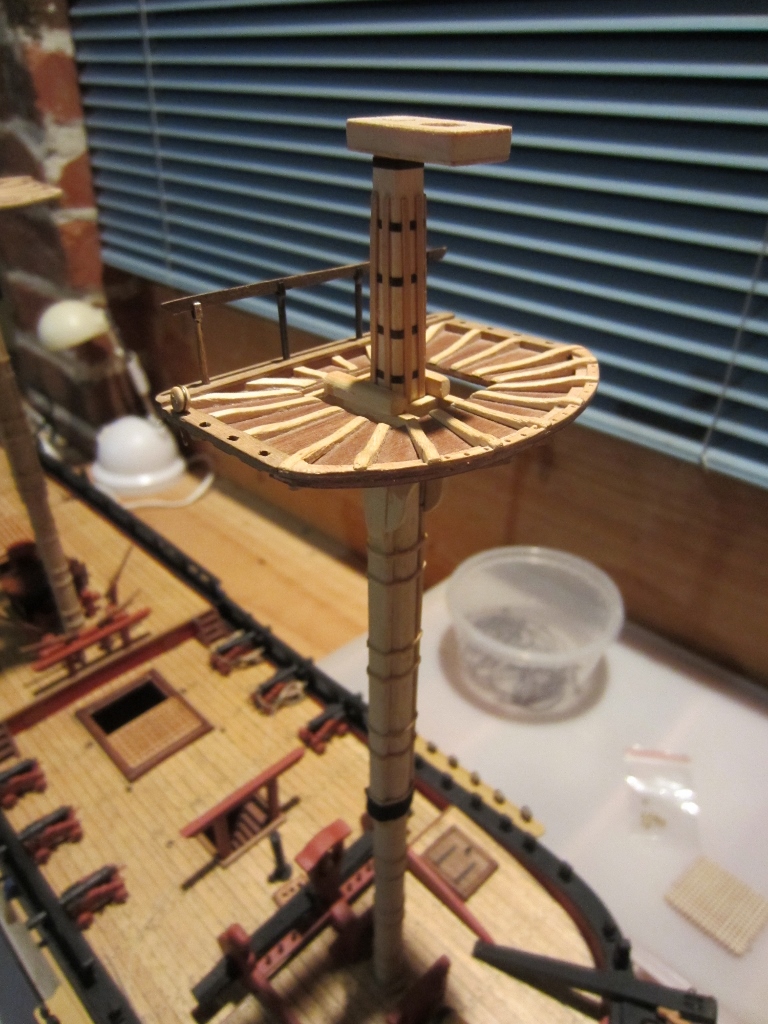
I finished the fore and main top rails today, just need to complete the mizzen top then I can paint/varnish the masts and put on the woolding rope


- 557 replies
-
- 13
-

-
Thanks Alistaire
-
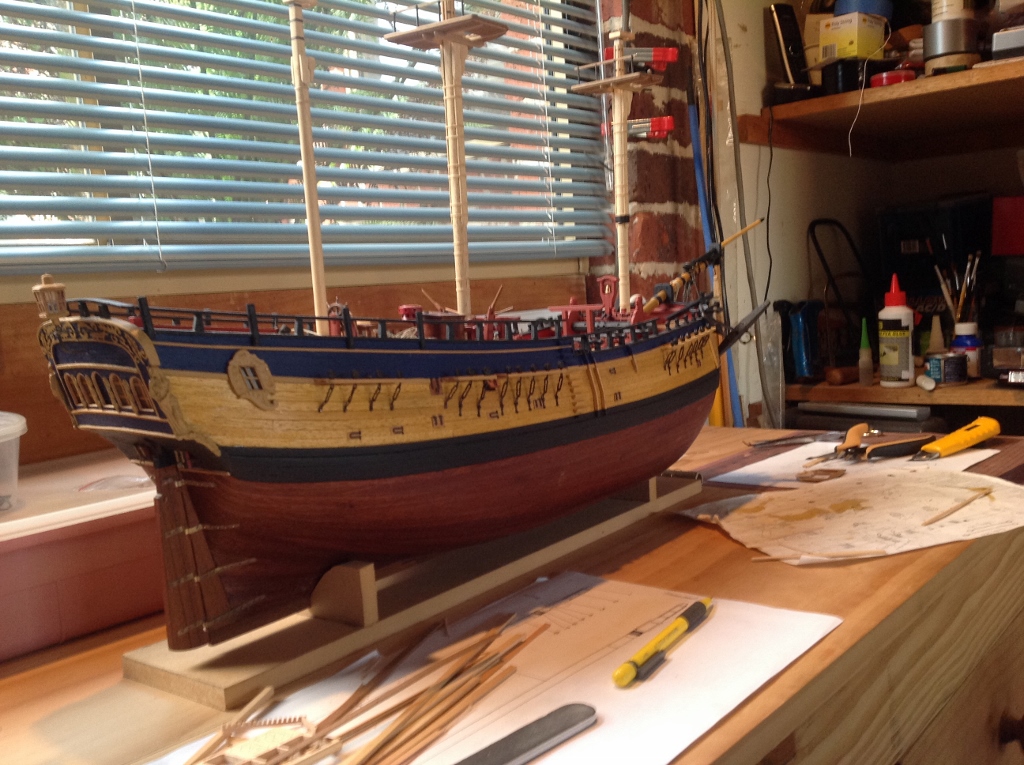
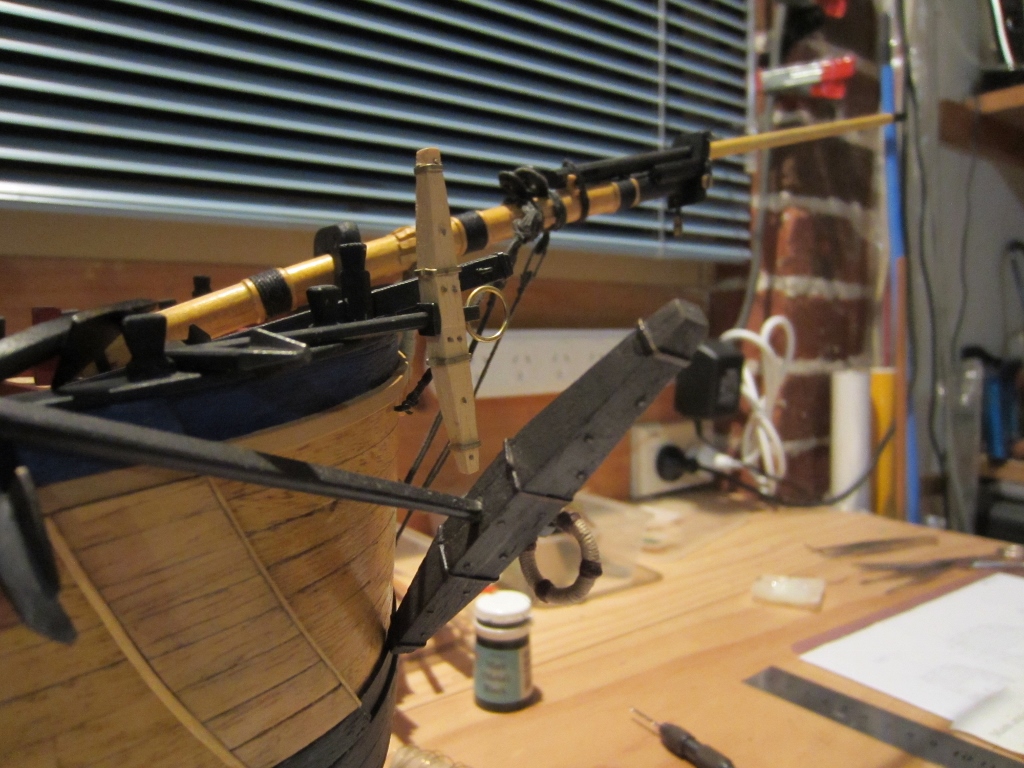
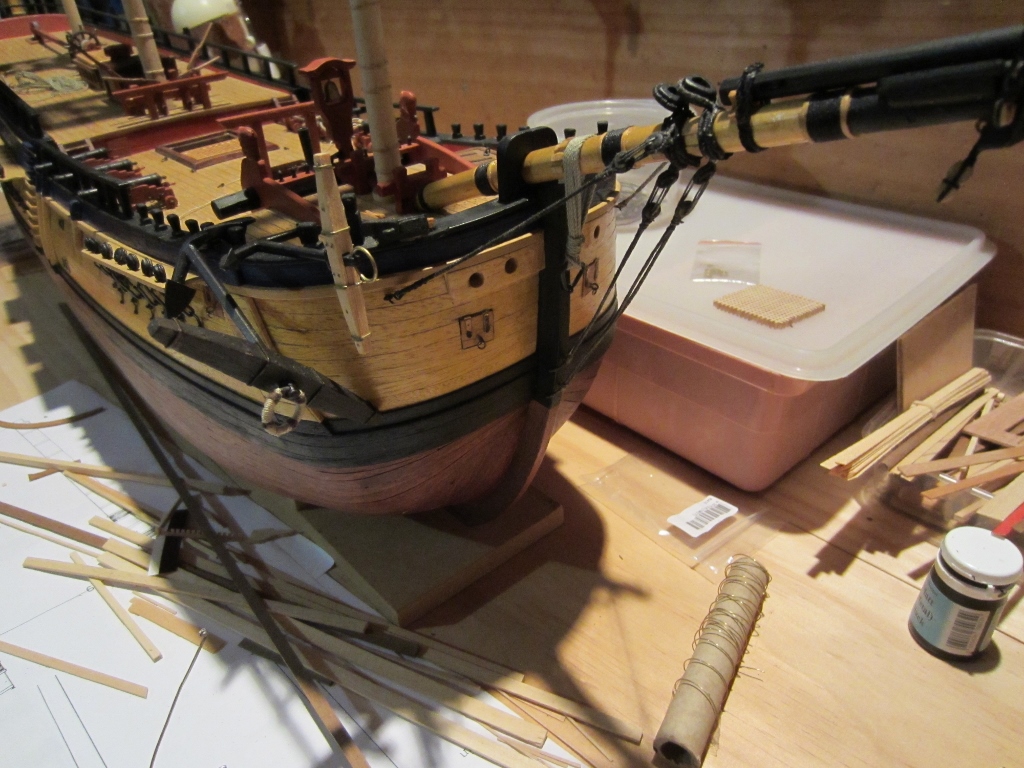
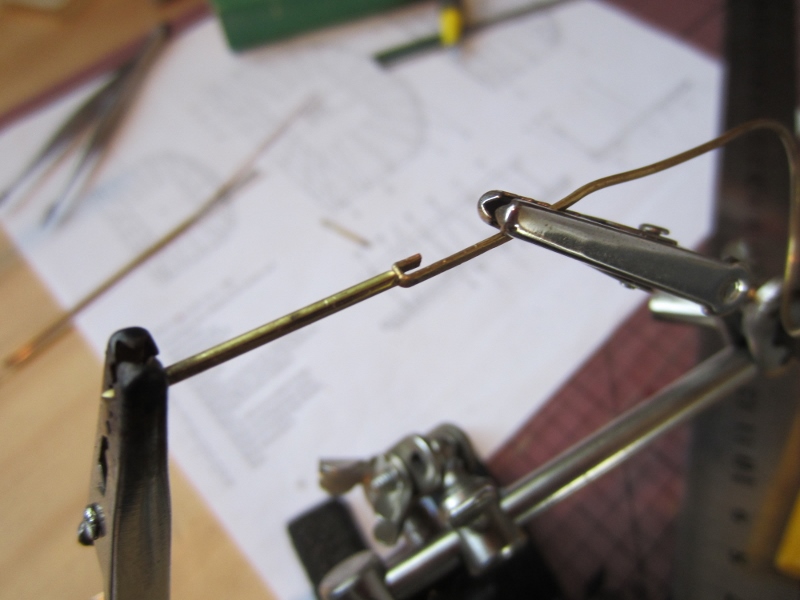
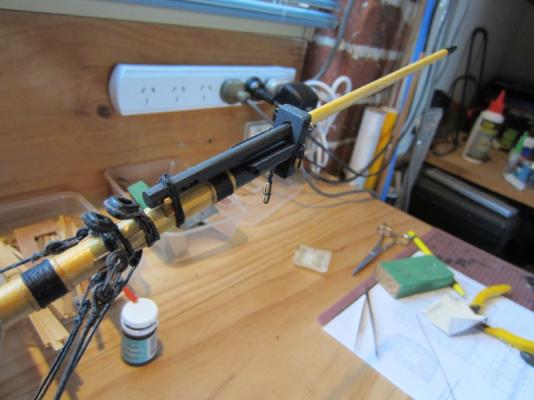
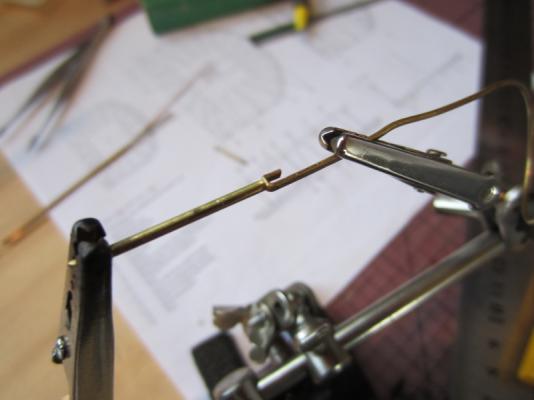
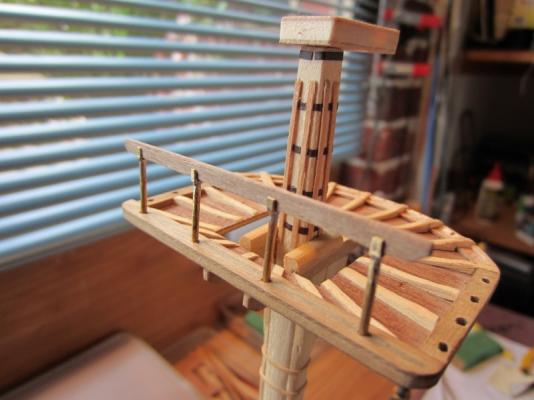
I've only been doing a few bits and pieces on the ship lately, Last week I made the jib boom, its just temporarily tied in place. Today I made the first set of four stanchions for the handrail on the fore top. I might need to make some sort of jig because they are a bit tricky to keep lined up properly during soldering using these alligator clips. I'm open to suggestions.


-
Oh no! That's terrible Greg. Bloody cats. Hope you can fix it. A cat knocked my AL Endeavour off the shelf, luckily the damage was easily fixed.
-
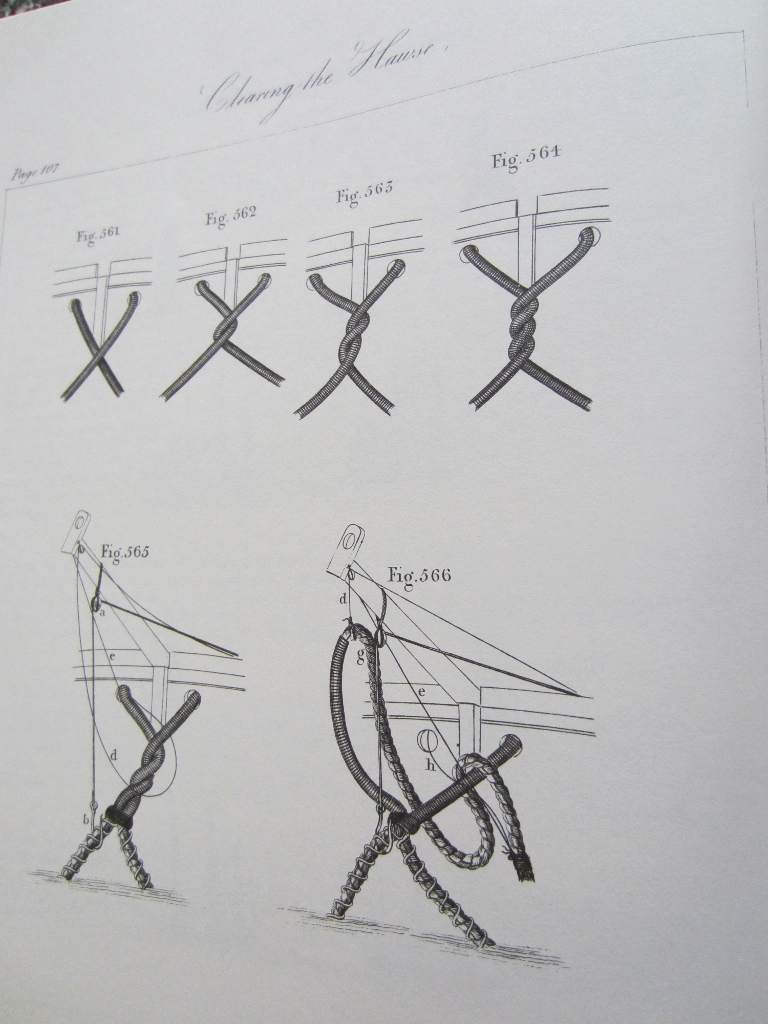
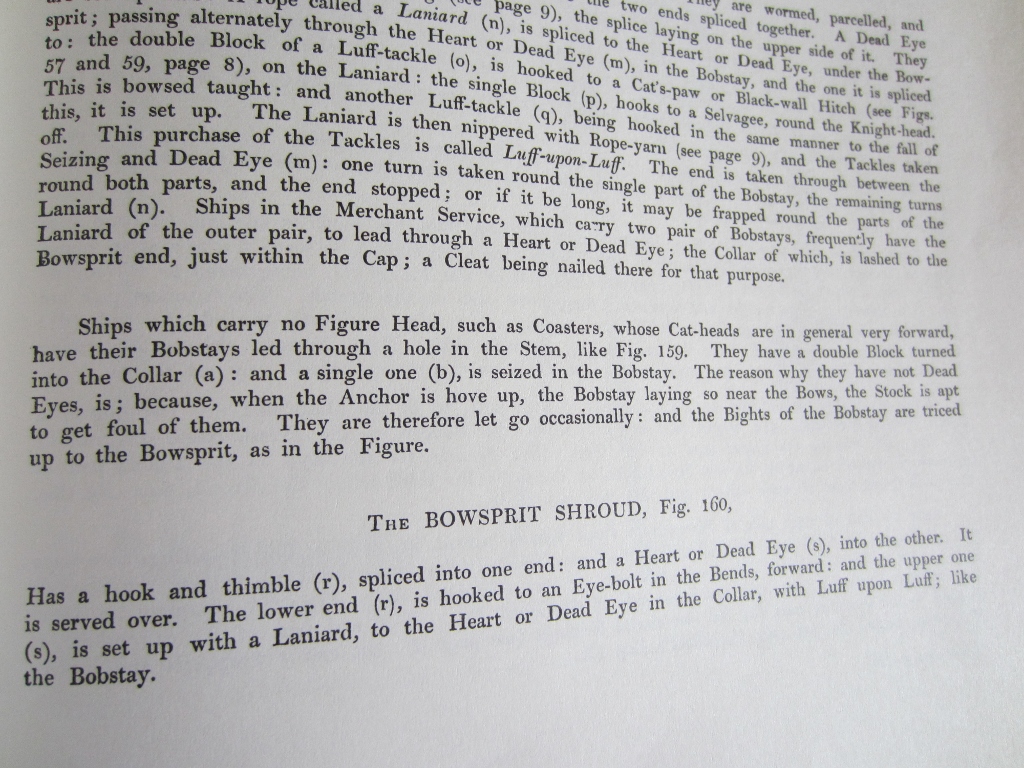
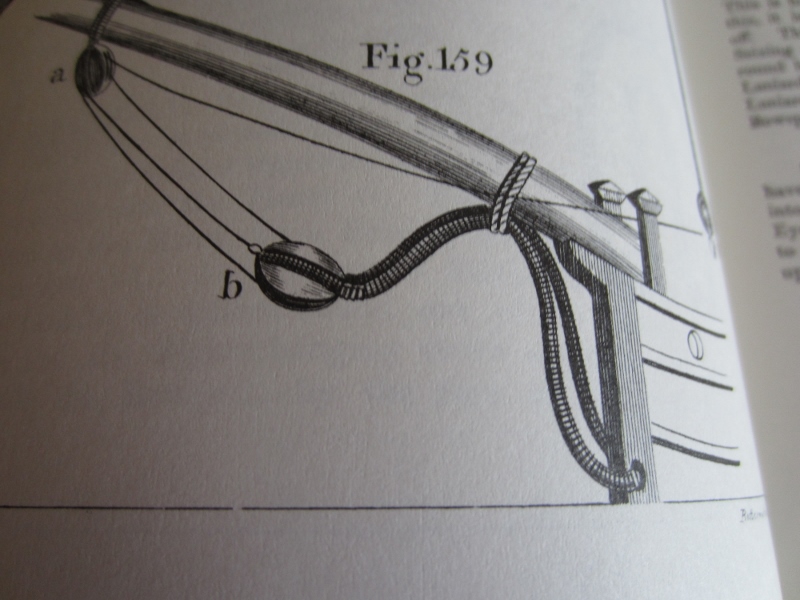
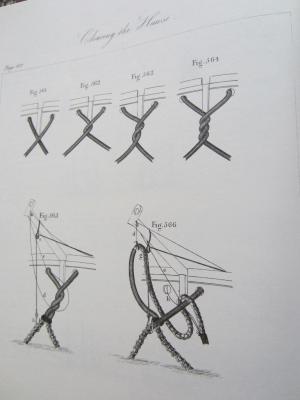
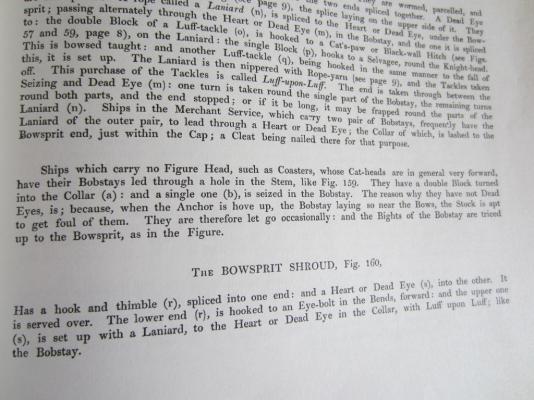
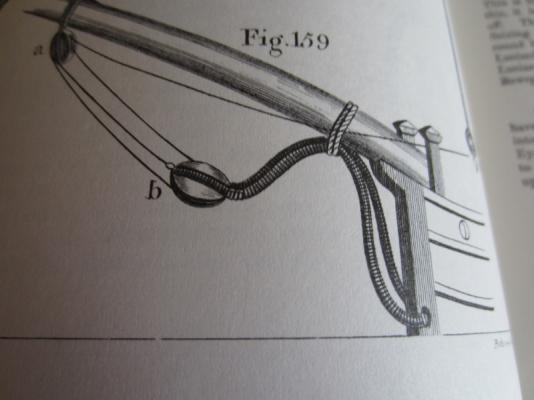
Hi Pat Can I weigh in on this one (excuse the pun) on the bumpkins Ships at anchor were very much at the mercy of the wind blowing the ship around, and it wasn't just a matter of dropping the anchor and then hauling it straight up again when weighing anchor. These diagrams from the book "The Young Sea Officer's Sheet Anchor" illustrate that fact. It seems anchor cables easily became tangled due to the ships moving around when at anchor, they even made the bobstay more adjustable on small ships like Endeavour that didn't have a figurehead so that it didn't foul the anchor cable. I cant imagine how the anchors on Endeavour would have been managed AT ALL with bumpkins fitted as shown in the AOTS. Cheers Steve
-
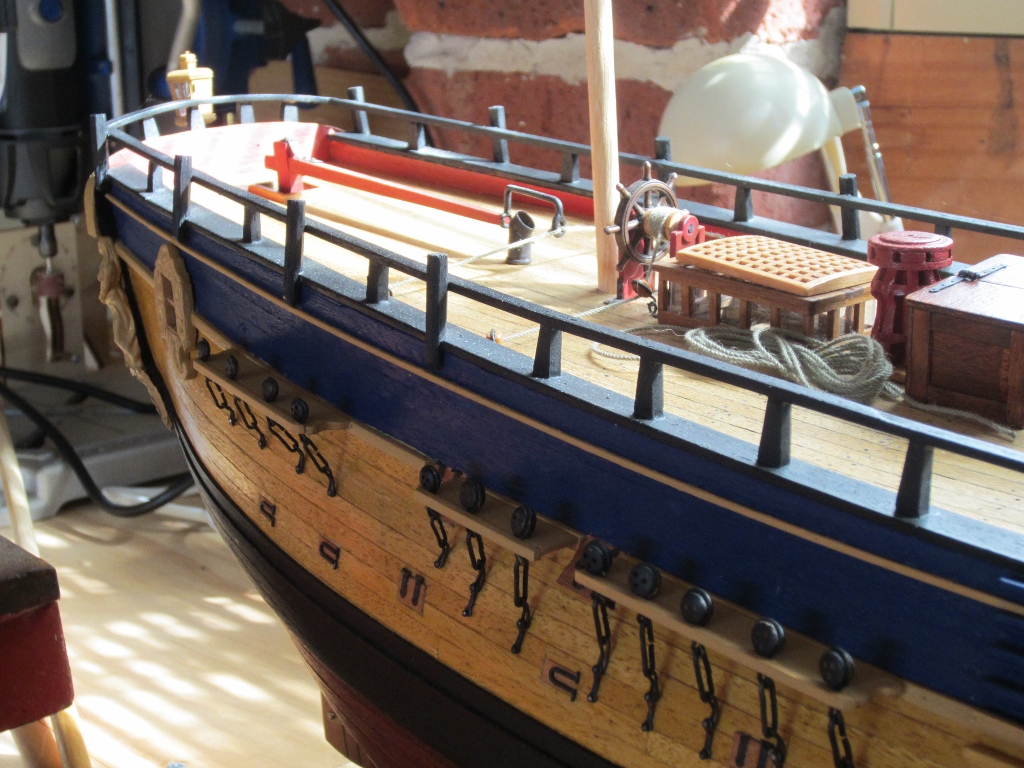
Hi Ron Do your instructions say to fit the main wales before the top layer of planks? the main wale should be fitted afer the second layer of planks. This is a pic of the first three top planks fitted where the main wale will go on my hull. Steve

-
Thanks Mike, yeah I saw the pics of your Victory, nice piece of work. I built a Corel Victory about 20 years ago but its nowhere near as good as yours.
-
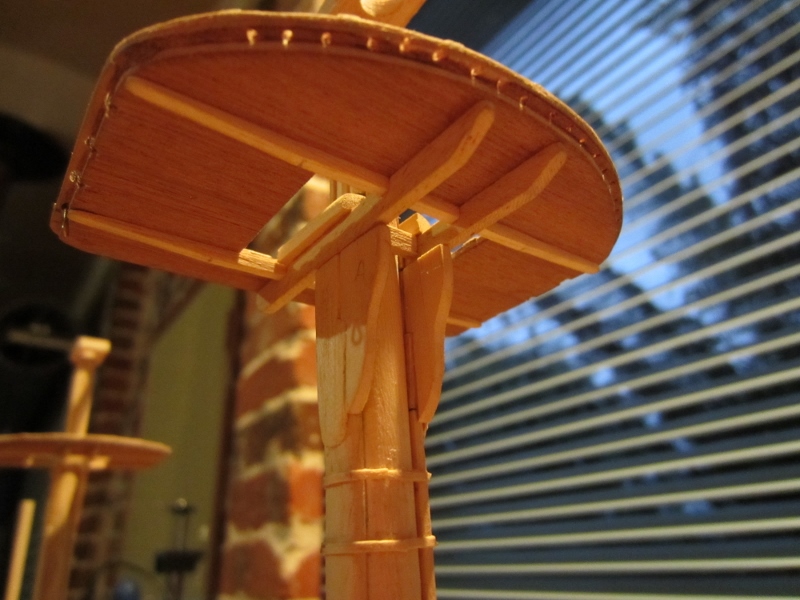
Hi Slog The hoops on the masthead are made from plastic pinstriping for cars, just cut it to width and stick it on. The battens just sit on top, no notches. Cheers Steve
-
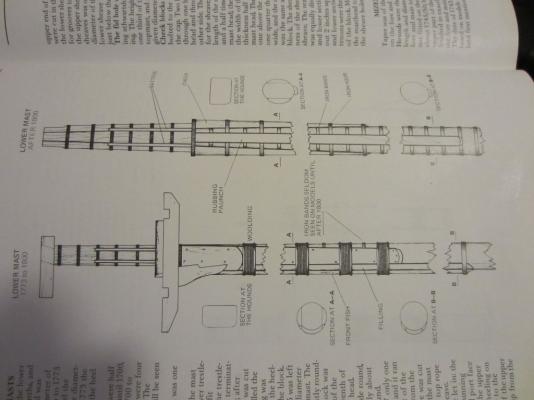
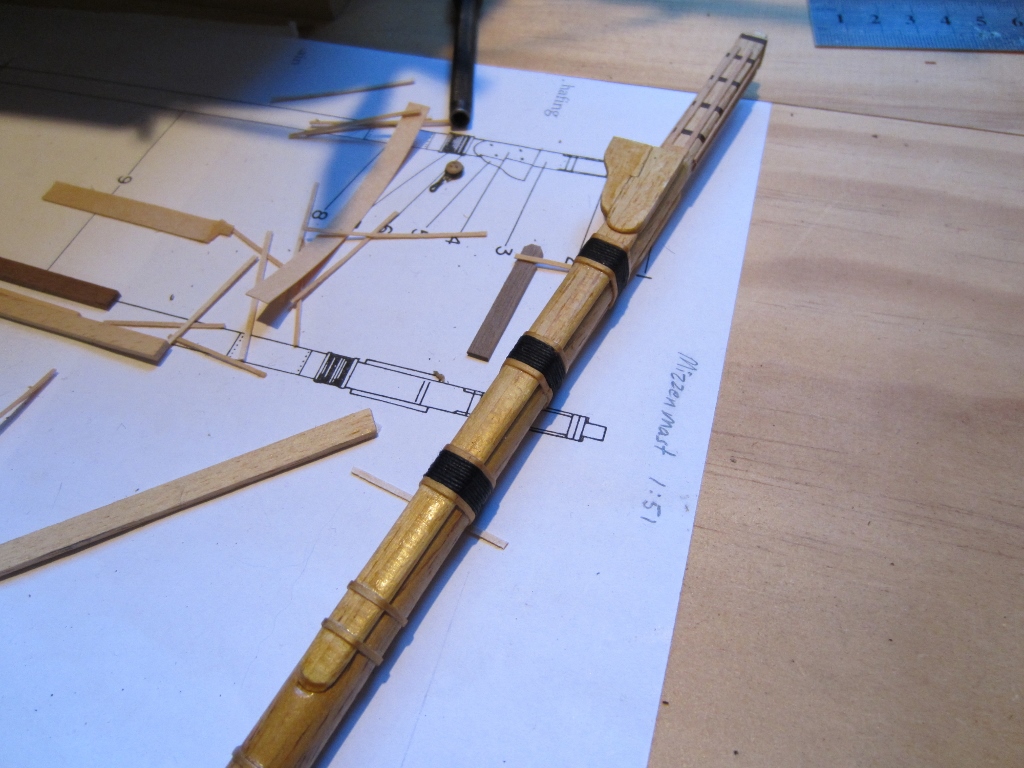
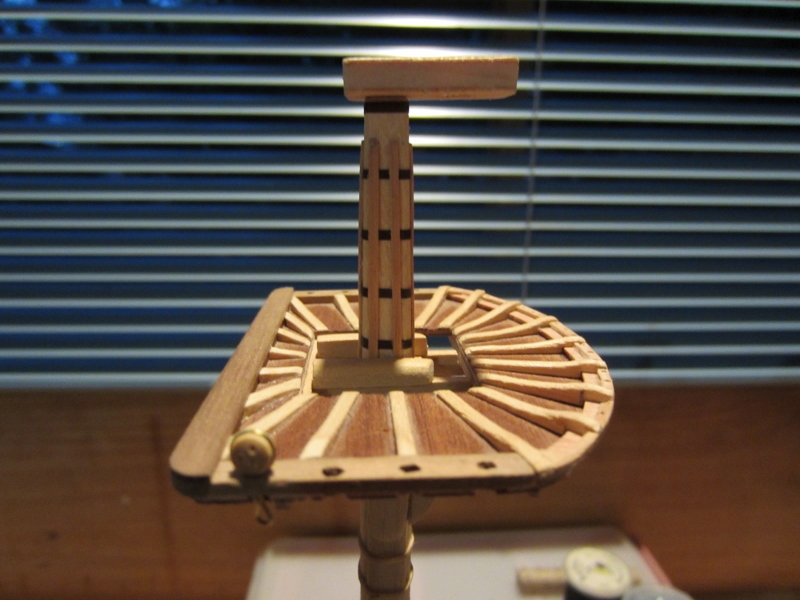
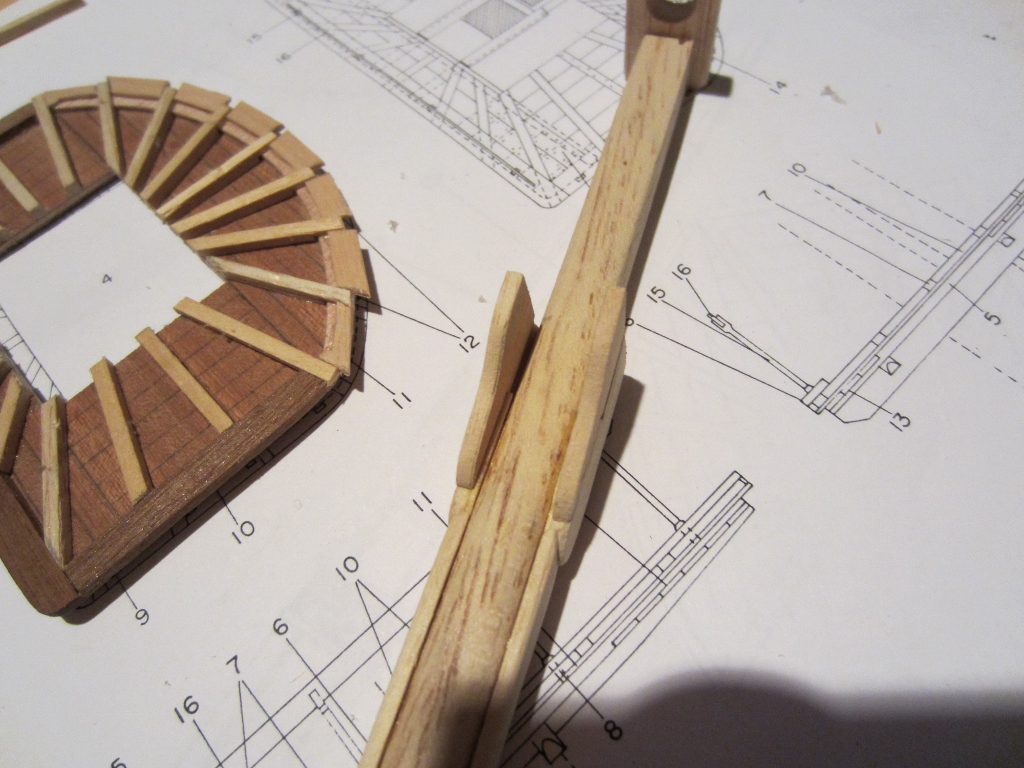
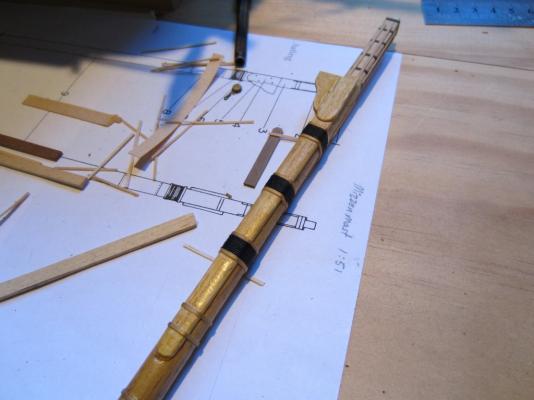
I've been working on the mainmast this weekend. For the masting I'm using the AOTS drawings which I enlarged to 1:51 scale


-
Hi Slog No the flattend areas arent quite as wide as the bibs. It has to be a bit of a trade-off because you are starting with kit supplied round section. I compromised with mine a bit hoping that it won't be noticed once its painted/laquered and hidden under the top. Steve
-
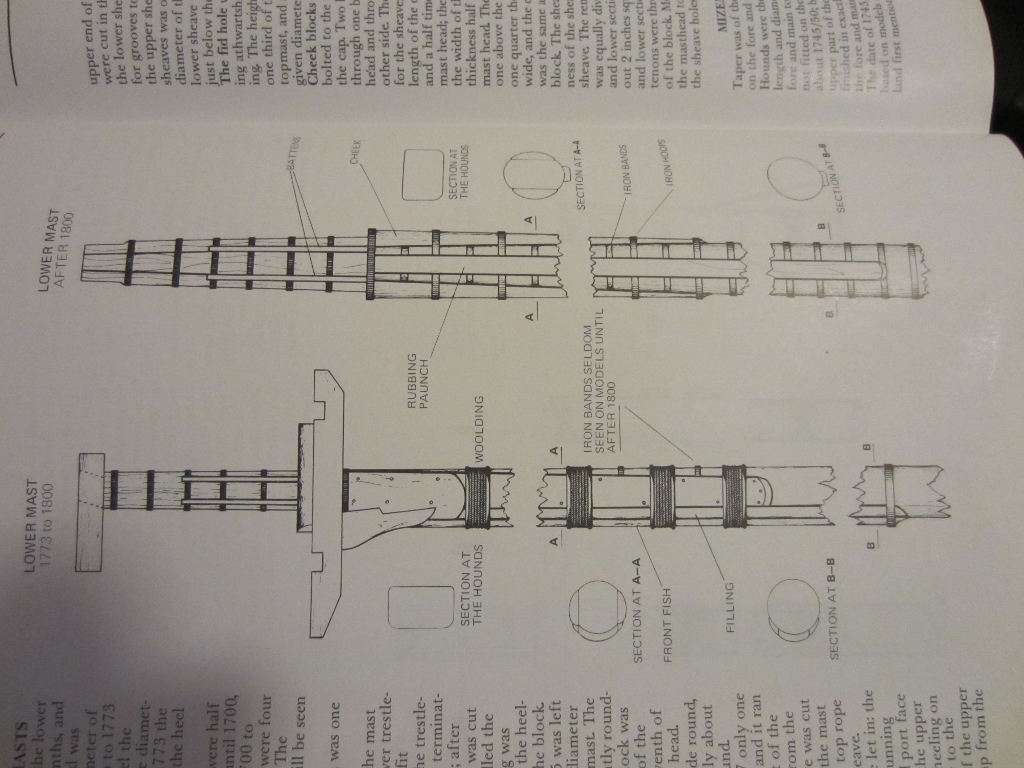
Hi again Slog, Your new post appeared whilst I was still posting mine. Here is a pic from Lees' masting and rigging of English ships of war that shows sections, the Endeavour didn't have a front fish. Hope it helps. Steve