HOLIDAY DONATION DRIVE - SUPPORT MSW - DO YOUR PART TO KEEP THIS GREAT FORUM GOING! (Only 13 donations so far - C'mon guys!)
×


Stuntflyer
-
Posts
1,197 -
Joined
-
Last visited
Content Type
Profiles
Forums
Gallery
Events
Everything posted by Stuntflyer
-
 There is a lot to be said for "peace of mind". Well done, Thomas. Mike
 -
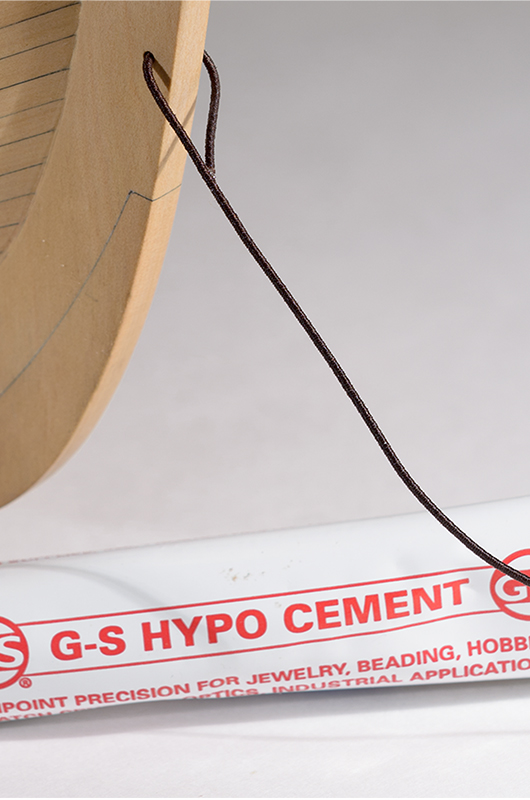
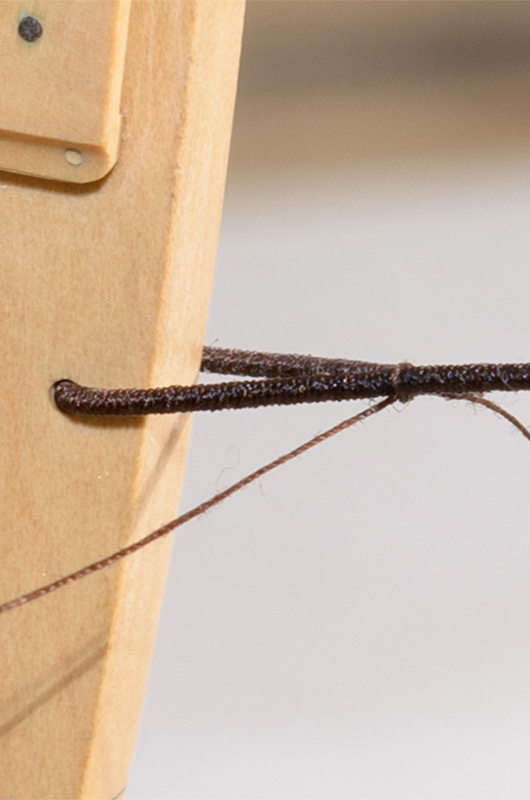
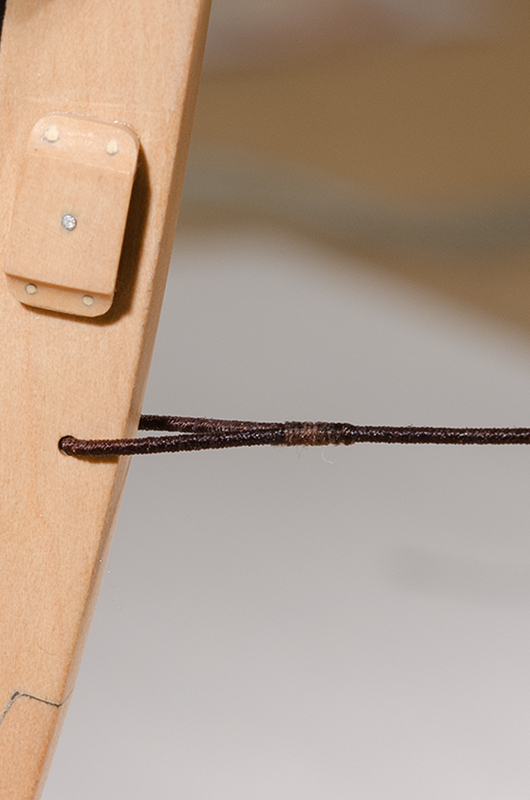
While looking at some photos today, I realized that I forgot to mention a technique that I used for seizing the served rope shown in my post #279. The idea was passed onto me during a Saturday get together at Chuck's. With the heavier served rope a typical seizing might look too heavy. Here is how I did it while maintaining a thinner profile. Before gluing, the end of the rope is cut to an angle similar to what is shown here. I like using the G-S Hypo Cement because it grabs and sets quickly. A single overhand knot starts things off The thread is wrapped to the end of the glue joint and finished off. Mike
- 452 replies
-
- 24
-

-
- cheerful
- Syren Ship Model Company
- (and 1 more)
-
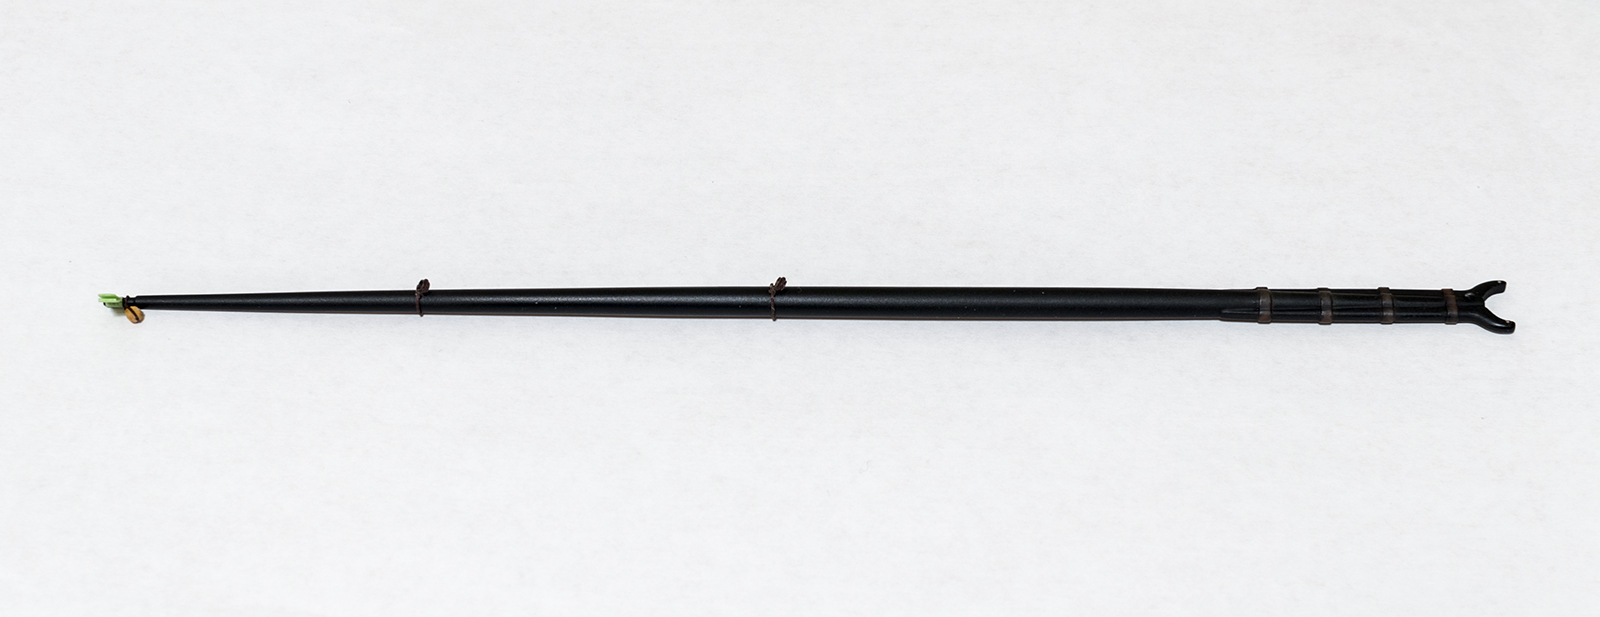
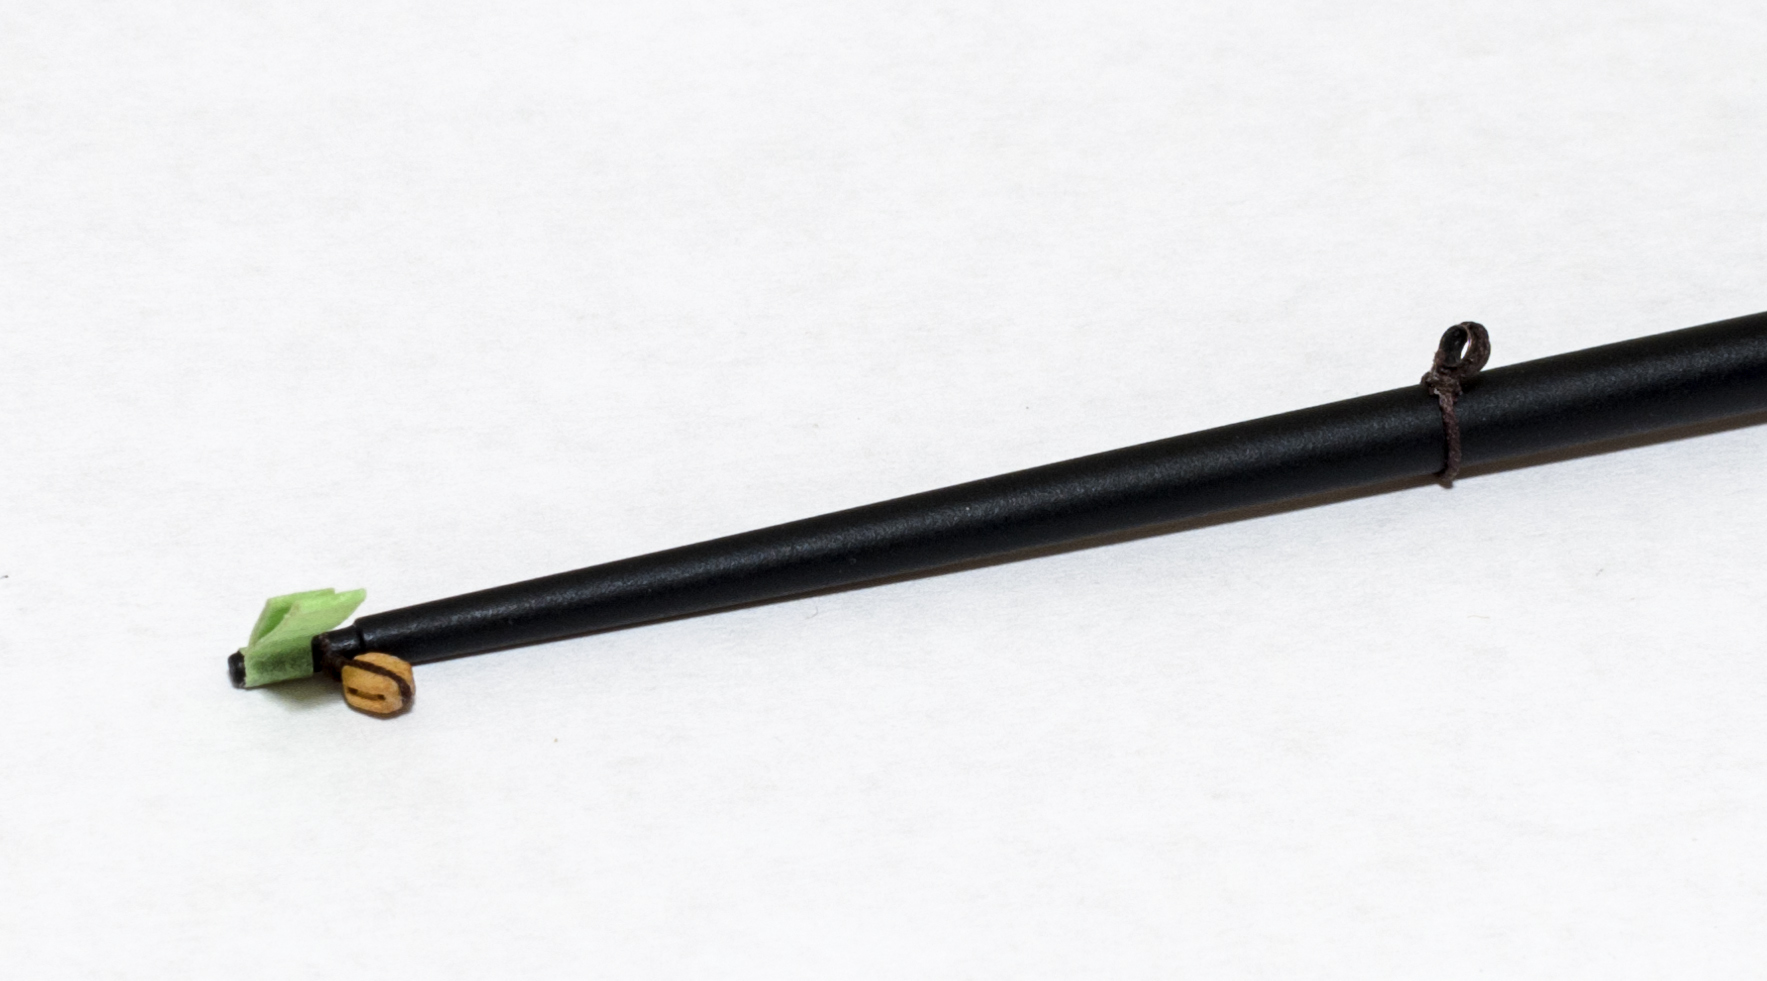
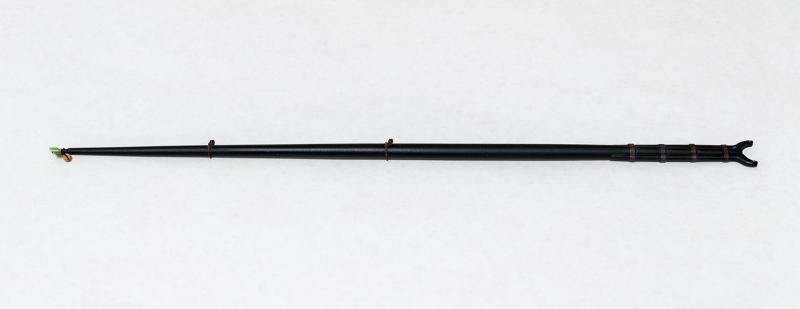
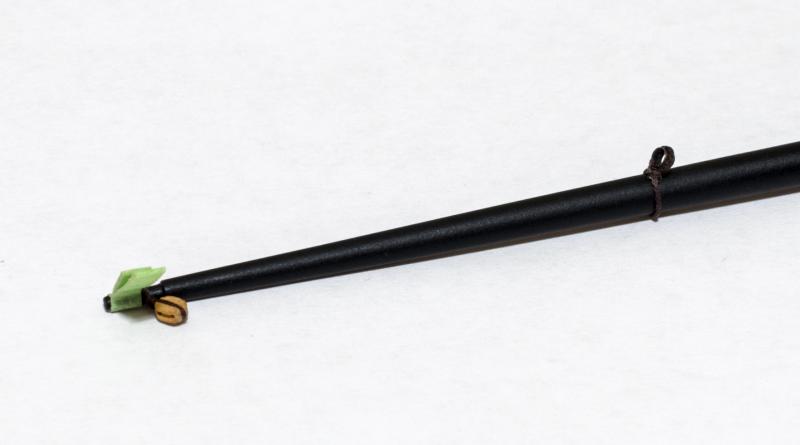
Hello everyone! I just wanted to post this small update as I prepare to complete the gaff and its halliard work. The strops on the gaff are done using thimbles and .018 Brown rope. The flag halliard tackle uses a 1/8" single block. Mike
- 452 replies
-
- 17
-
-
- cheerful
- Syren Ship Model Company
- (and 1 more)
-
druxey: Thanks for pointing that out. I couldn't adjust the lift without redoing the main sheet. I'm surprised just how much rope is needed for this, almost 18", to play it safe. Afterwards I had to shorten the lift where it meets the tackle. While I was at it, I corrected the tackle by crossing the rope as shown in Chuck's post. A small but noticeable change. Mike


- 452 replies
-
- 25
-
-
- cheerful
- Syren Ship Model Company
- (and 1 more)
-
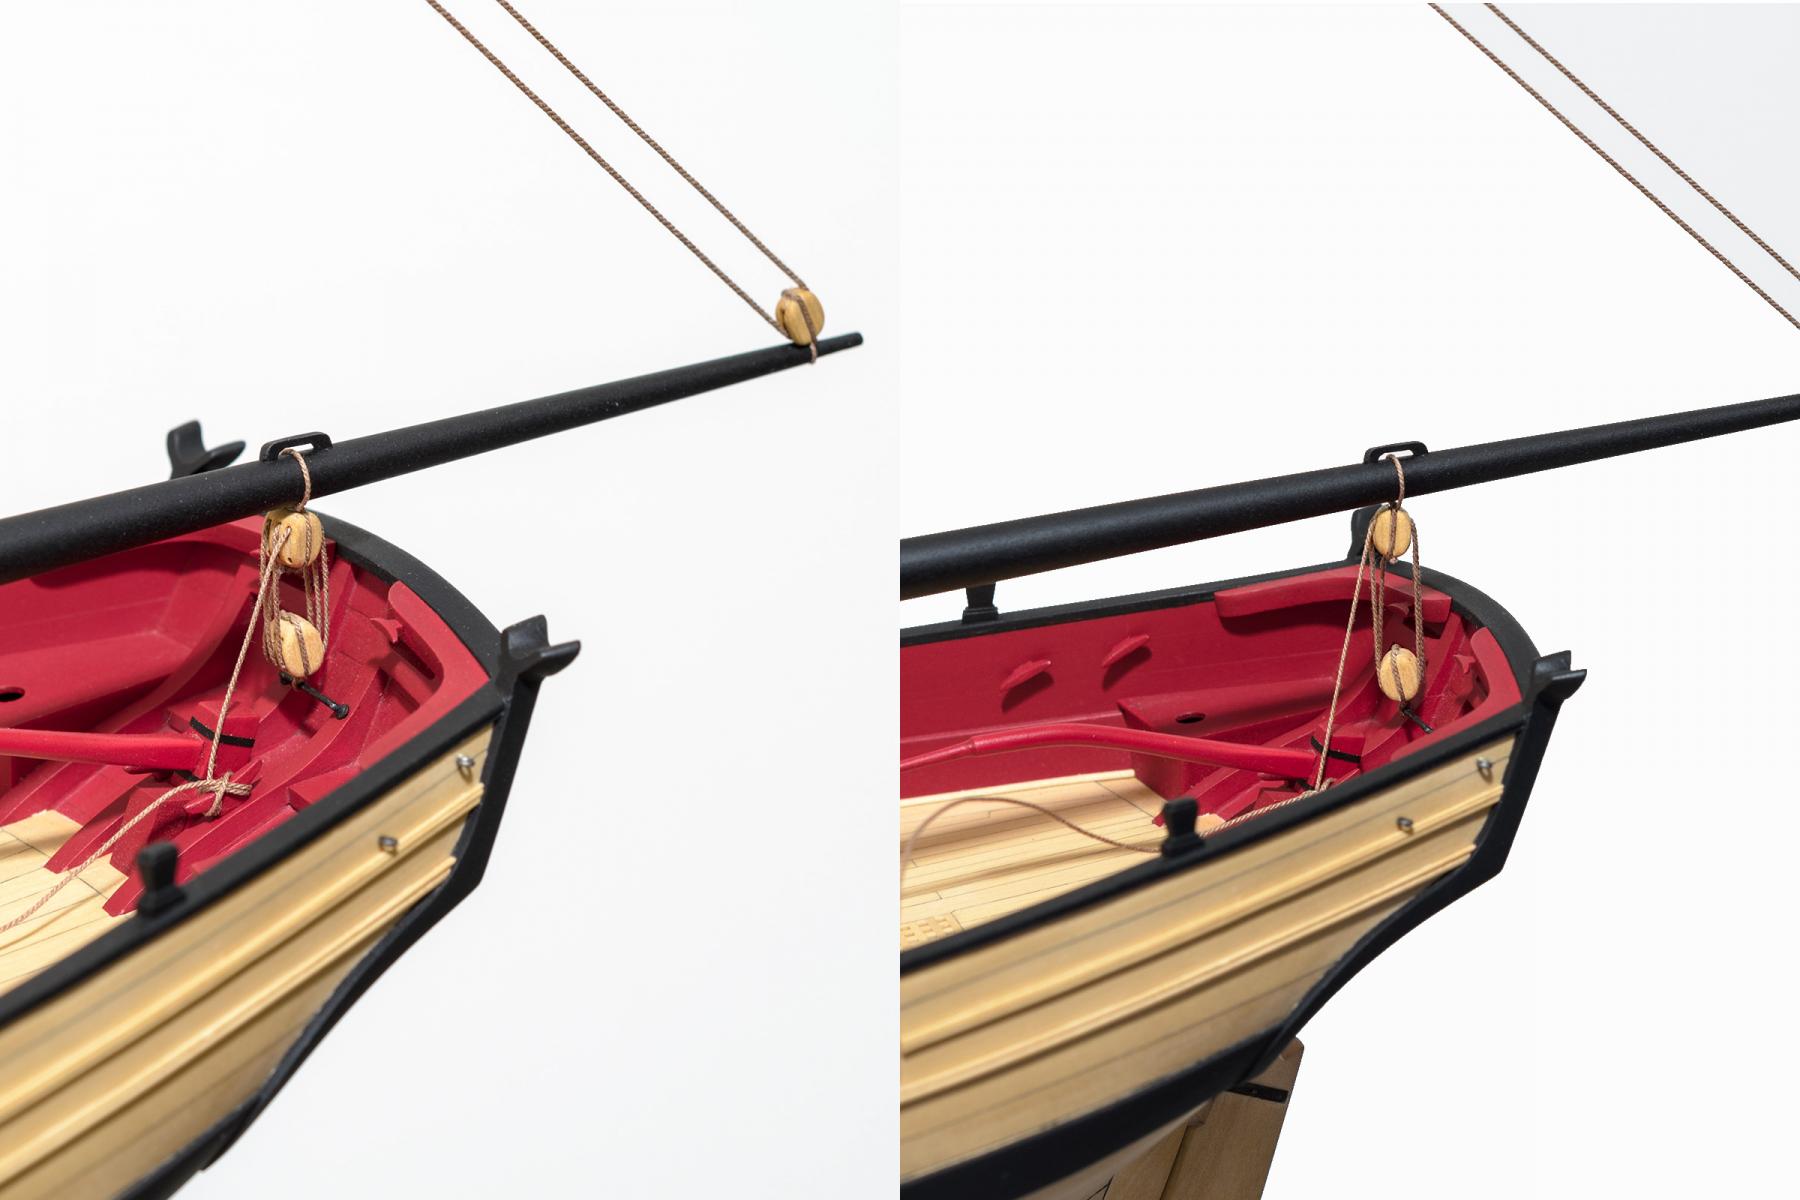
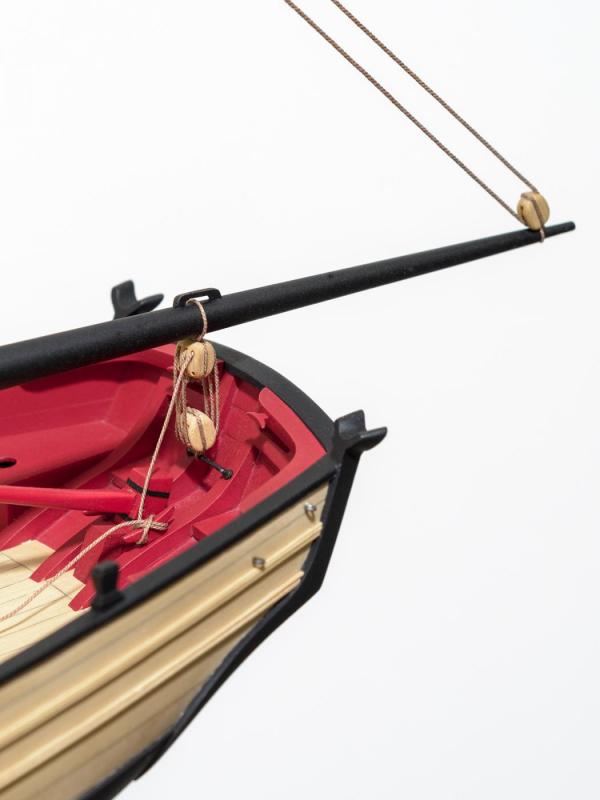
My girlfriend Ofelia and I had a chance to visit the model ship exhibit at the Morris County Library today. http://mclib.info/Lots of interesting models to see and admire. The exhibit extends sometime into January for those that might be interested. The rigging work continues after fitting the boom, with the topping lift and its tackle. The topping lift is .025 Light Brown and the tackle is .018 Light brown. All of the blocks are 1/4" As you can see from the photo, the main sheet needs some tightening up. Mike
- 452 replies
-
- 32
-
-
- cheerful
- Syren Ship Model Company
- (and 1 more)
-
Yes indeed, Thomas. Its looking wonderful. Mike
-
If not Michaels then there is a Joann store, I think, at 2440 Arapahoe Ave, Boulder, CO 80302-6709. They should have a complete selection. Mike
- 452 replies
-
- 4
-
-
- cheerful
- Syren Ship Model Company
- (and 1 more)
-
Erik: I'm using Chuck's Light Brown instead of Tan. I'm seizing with Gutermann #3880 100% cotton thread. It's about 50wt as well. If you decide to go with Tan you can use their #3756. I got mine from a Michaels store near by. I'm waiting for Superior threads to re-stock 60wt and 80wt Dark Brown. I would like to try these for seizing or serving thinner rope. Mike
- 452 replies
-
- 5
-
-
- cheerful
- Syren Ship Model Company
- (and 1 more)
-
Thank you all for the comments and "Likes" Erik: That's interesting. I hadn't thought about comparing the Longboat rigging to Cheerful. What I do know is how bad the MS rope was to work with compared to using Chuck's rope now. I'm sometimes tempted to shoot farther away though these hi-res photos do allow you to see mistakes that otherwise might be missed. Here is the thread link. https://www.superiorthreads.com/shop/product/so-fine-50-467-buffalo-550-yds-polyester-thread/ Mike
- 452 replies
-
- 4
-
-
- cheerful
- Syren Ship Model Company
- (and 1 more)
-
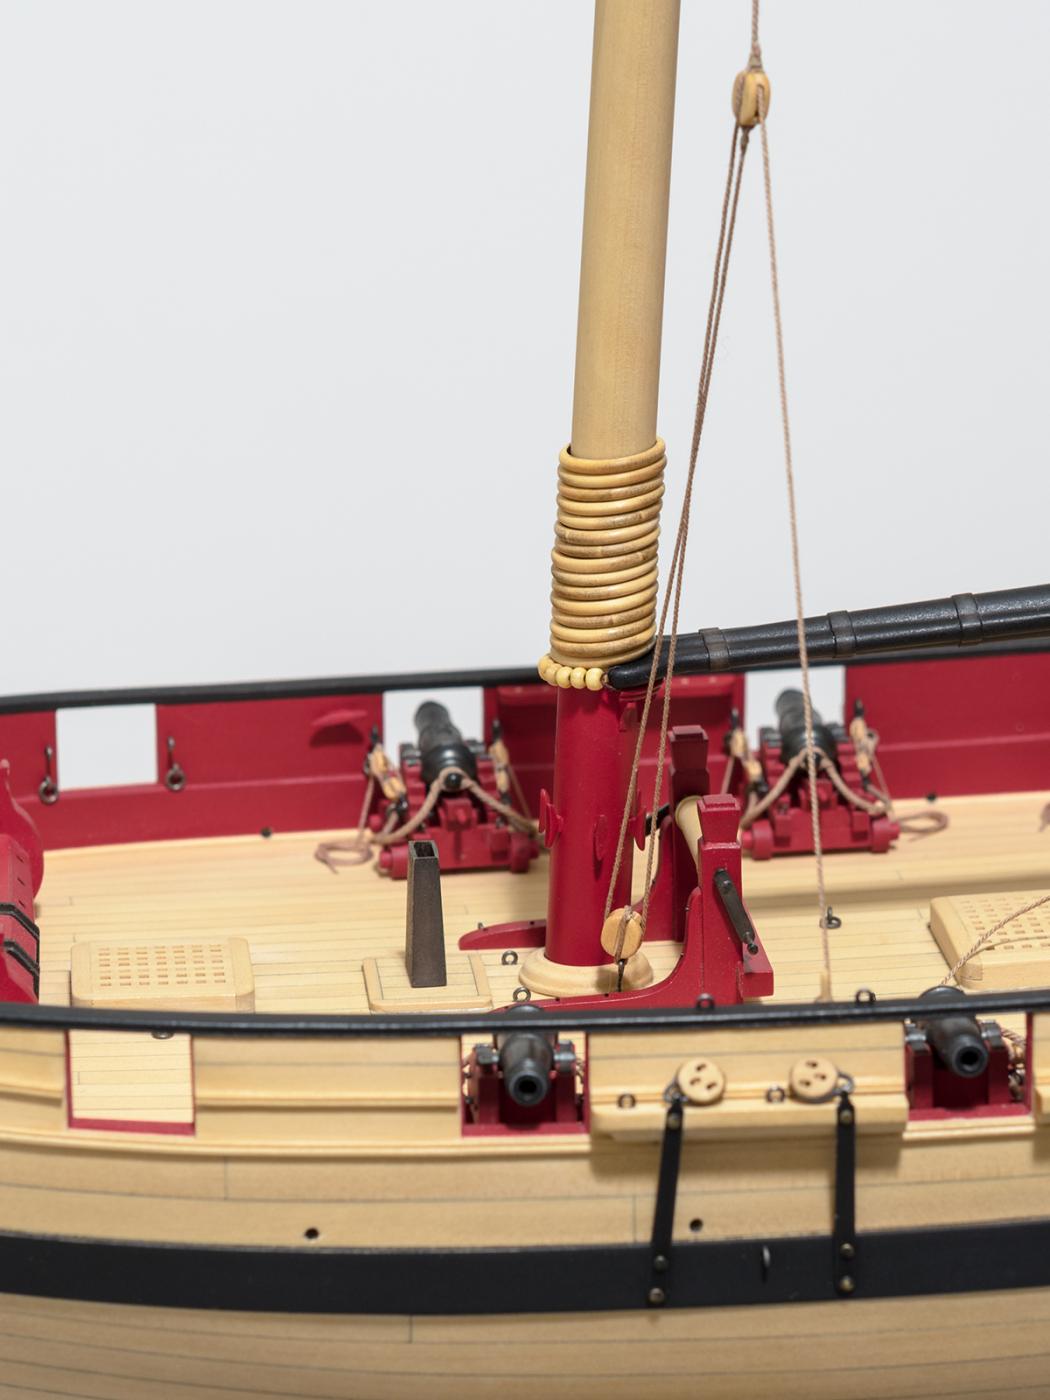
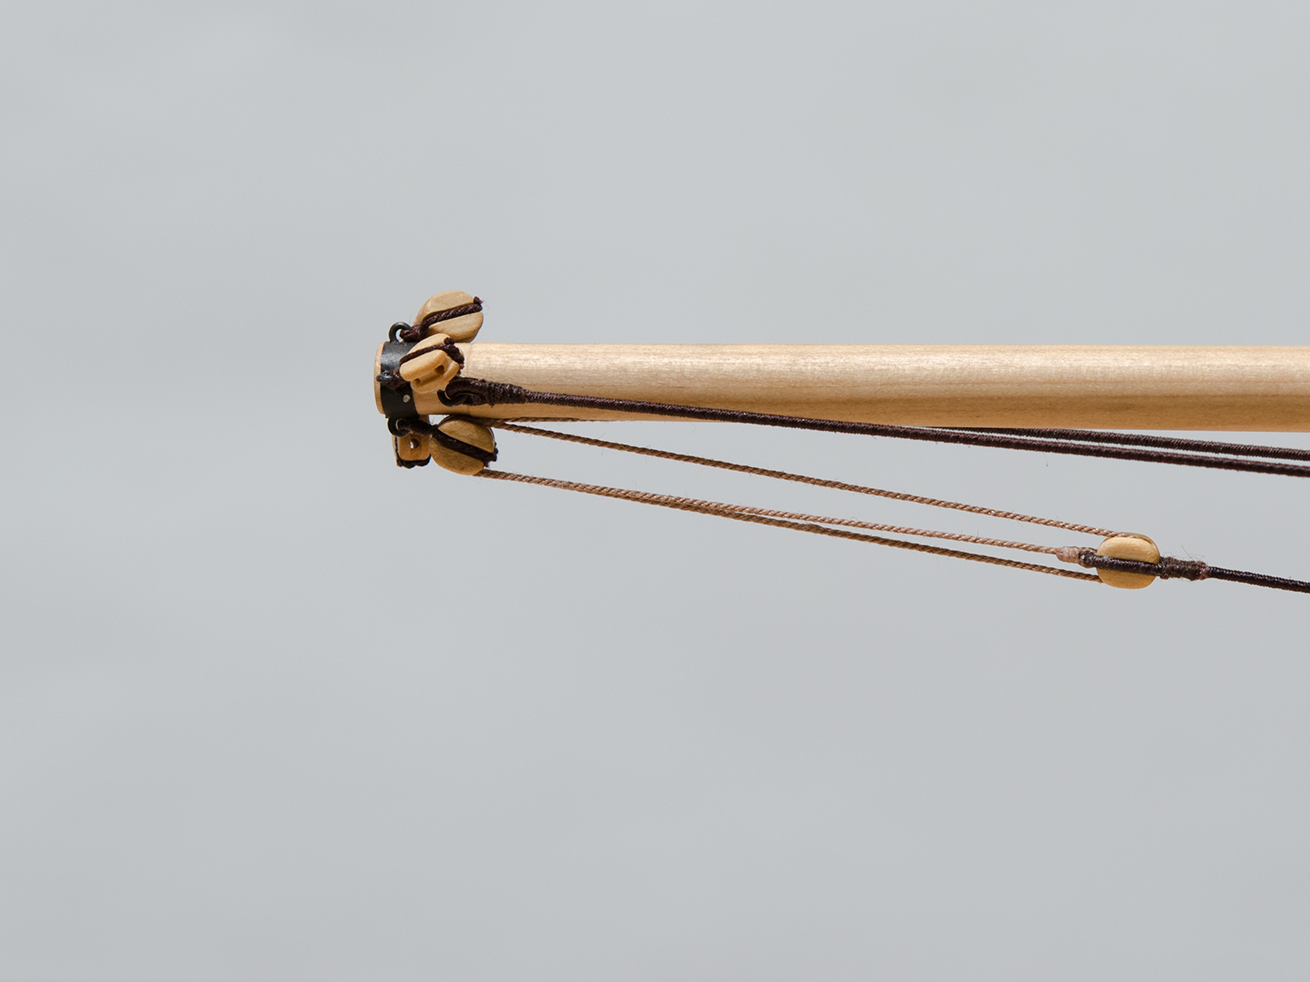
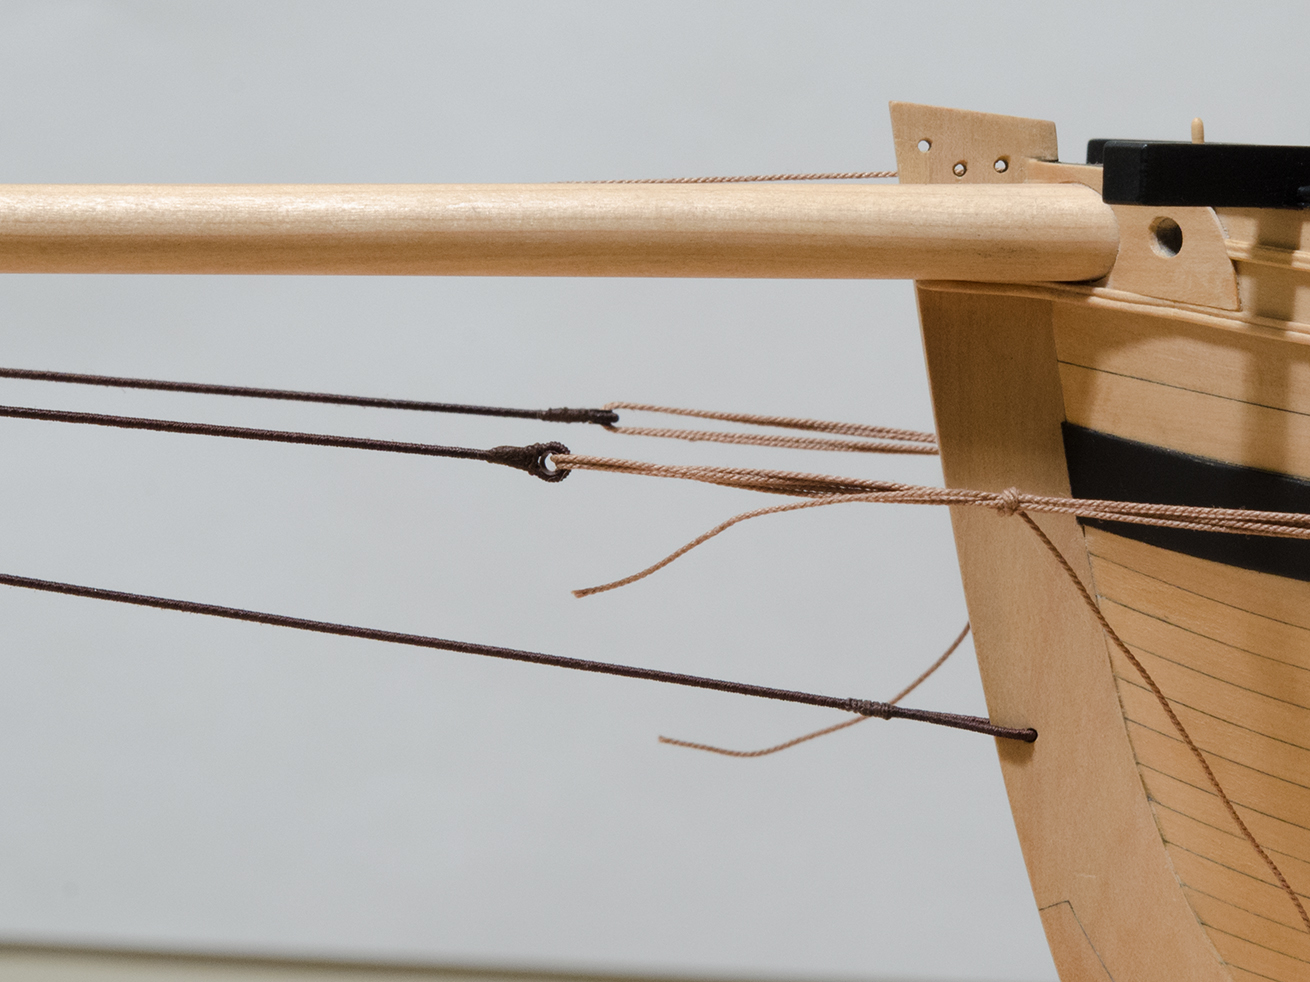
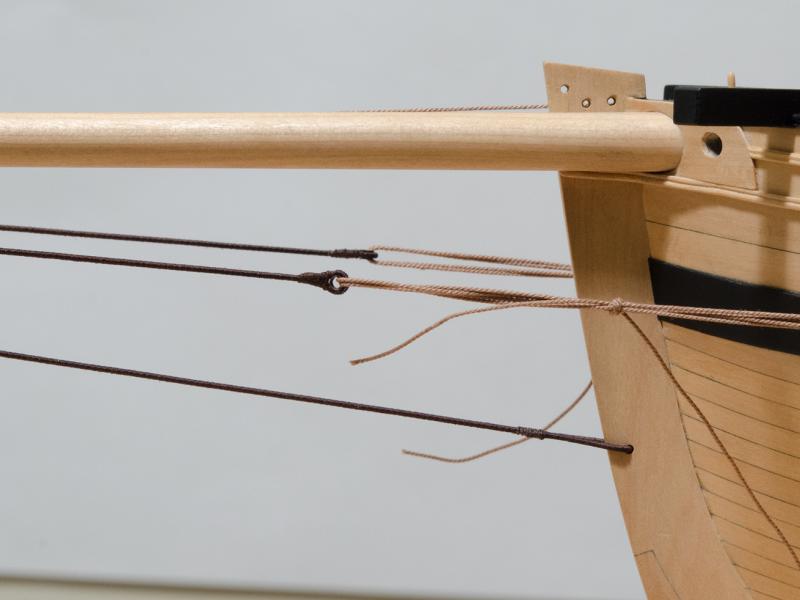
I've been doing a lot of experimentation over the past week trying to learn how to get clean looking rigging that doesn't look bulky and out of scale. With some mentoring along the way, I think that I have something that looks close to what I had envisioned. The bobstay was made with .025 brown rope served with 50wt thread. http://www.syrenshipmodelcompany.com/serving-machine.php. 1.5mm thin wall brass tubing was used to make thimbles which were blackened and used at the end of each. http://store.spruebrothers.com/product_p/albmbt15.htm. I had to remove and replace the two eyebolts from the bowsprit as they were just too small to share a hook and block. The bowsprit guys were made with .025 brown rope served with 50wt thread. I needed more room for the multiple wraps of the lanyard (.018 light brown), so those eyebolts were removed and replaced as well. I will be leaving all of the rope ends long for now should I need to change the tension later.


- 452 replies
-
- 23
-
-
- cheerful
- Syren Ship Model Company
- (and 1 more)
-
Avi: I did twenty-three years of controline aerobatics competition before switching to model ship building. It was a great hobby but very demanding on ones time in order to stay ahead. Model ship building is a world apart yet I enjoy it even more. Mike
- 452 replies
-
- 13
-
-
- cheerful
- Syren Ship Model Company
- (and 1 more)
-
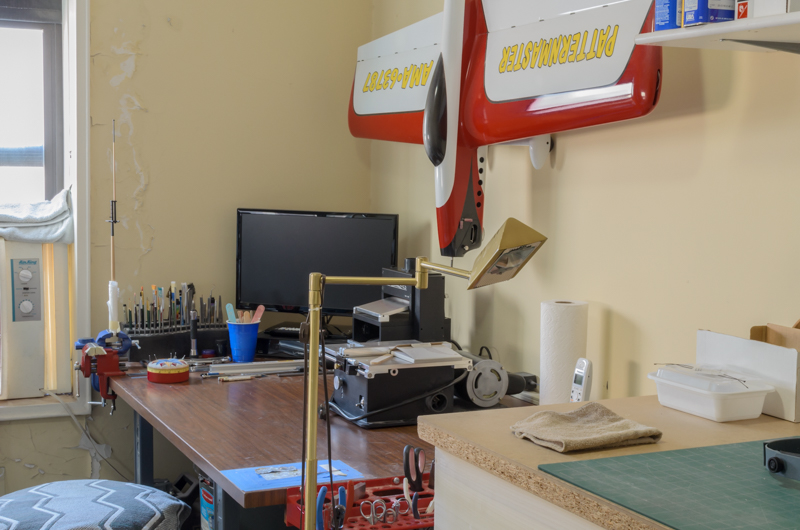
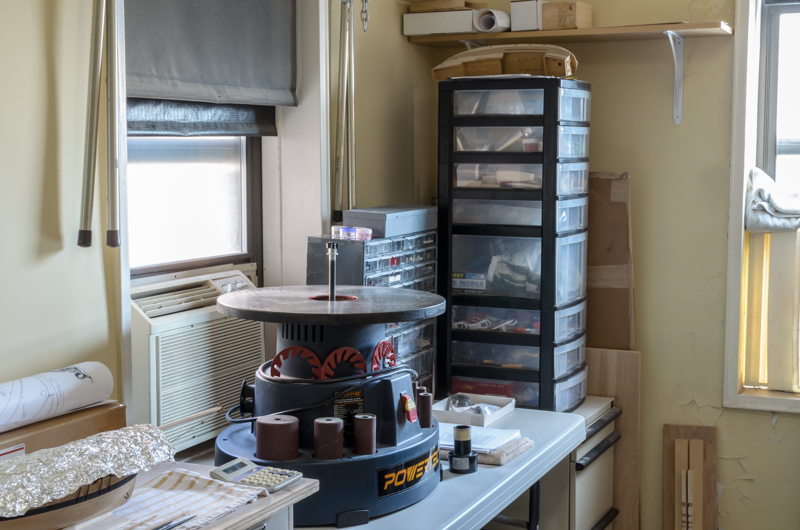
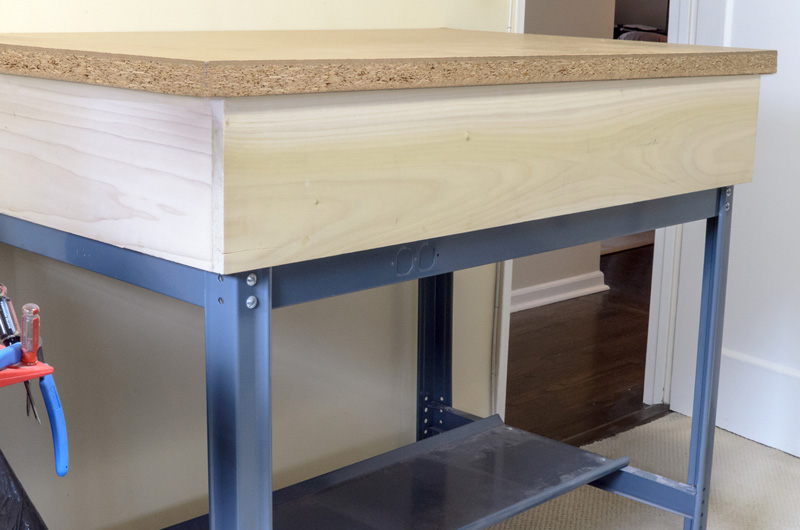
Thanks, John! The room is only 10' x13'. Next week the floor lighting will be replaced with overhead LED strips. Mike


- 452 replies
-
- 19
-
-
- cheerful
- Syren Ship Model Company
- (and 1 more)
-
Thanks, Michael. I'm using a Nikon D5100 with the Nikor 60mm f/2.8 macro lens. Mike
- 452 replies
-
- 1
-
-
- cheerful
- Syren Ship Model Company
- (and 1 more)
-
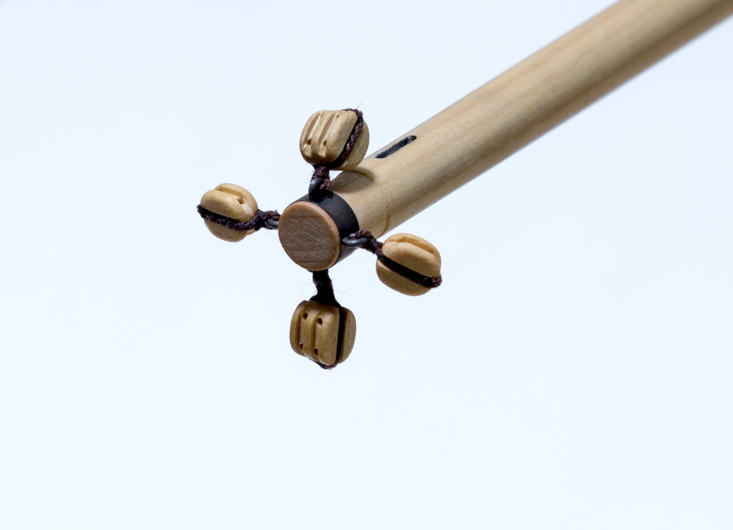
I started rigging tonight on the new table. What a difference! Anyway, I added four blocks on the bowsprit along with a little weathering of the black band. I used Chuck's .018 brown rope seized with 50wt dark brown thread. Mike
- 452 replies
-
- 20
-
-
- cheerful
- Syren Ship Model Company
- (and 1 more)
-
Welcome back, Erik! Stay focused and I'm sure that you will be rewarded. Mike
-
The main work table has been height adjusted to 41". Now I will be able to start the rigging process without having to bend over all the time. It's a real lower back saver for me.
- 452 replies
-
- 13
-
-
- cheerful
- Syren Ship Model Company
- (and 1 more)
-
Thanks, Tom Actually it depends on what I'm painting. For example, the caprail was done with a brush and the wales were sprayed using a small Badger airbrush. Most of the red, with the exception of some very small parts, were sprayed. I like using Testors Dull-Cote over the black paint to even out the finish. This isn't necessary for the red. On future builds, I'm still trying to decide if I should be doing a more aged or weathered look. Mike
- 452 replies
-
- 9
-
-
- cheerful
- Syren Ship Model Company
- (and 1 more)
-
Michael: Thanks so much for the kind words. druxey: I updated my "Shipwrights Terminology" document which I had downloaded from the internet. Probably not in anyway complete and I don't have a formal book on the subject. Mike
- 452 replies
-
- 6
-
-
- cheerful
- Syren Ship Model Company
- (and 1 more)
-
Ken, druxey, Thank you! Ken - You have made quite a bit of progress on your build. I hope to see you and the model on Tuesday. druxey - Interesting word choice "slewed". It wouldn't be the first time I used the dictionary after reading one of your posts. Mike
- 452 replies
-
- 3
-
-
- cheerful
- Syren Ship Model Company
- (and 1 more)
-
I'm using Grumbacher Academy Acrylic "Mars Black C134P" Mike
- 452 replies
-
- 2
-
-
- cheerful
- Syren Ship Model Company
- (and 1 more)
-
Thanks, Mike. I was unable to get the black looking the way I wanted it so I used Dull Cote to even out the finish. Mike
- 452 replies
-
- 6
-
-
- cheerful
- Syren Ship Model Company
- (and 1 more)
-
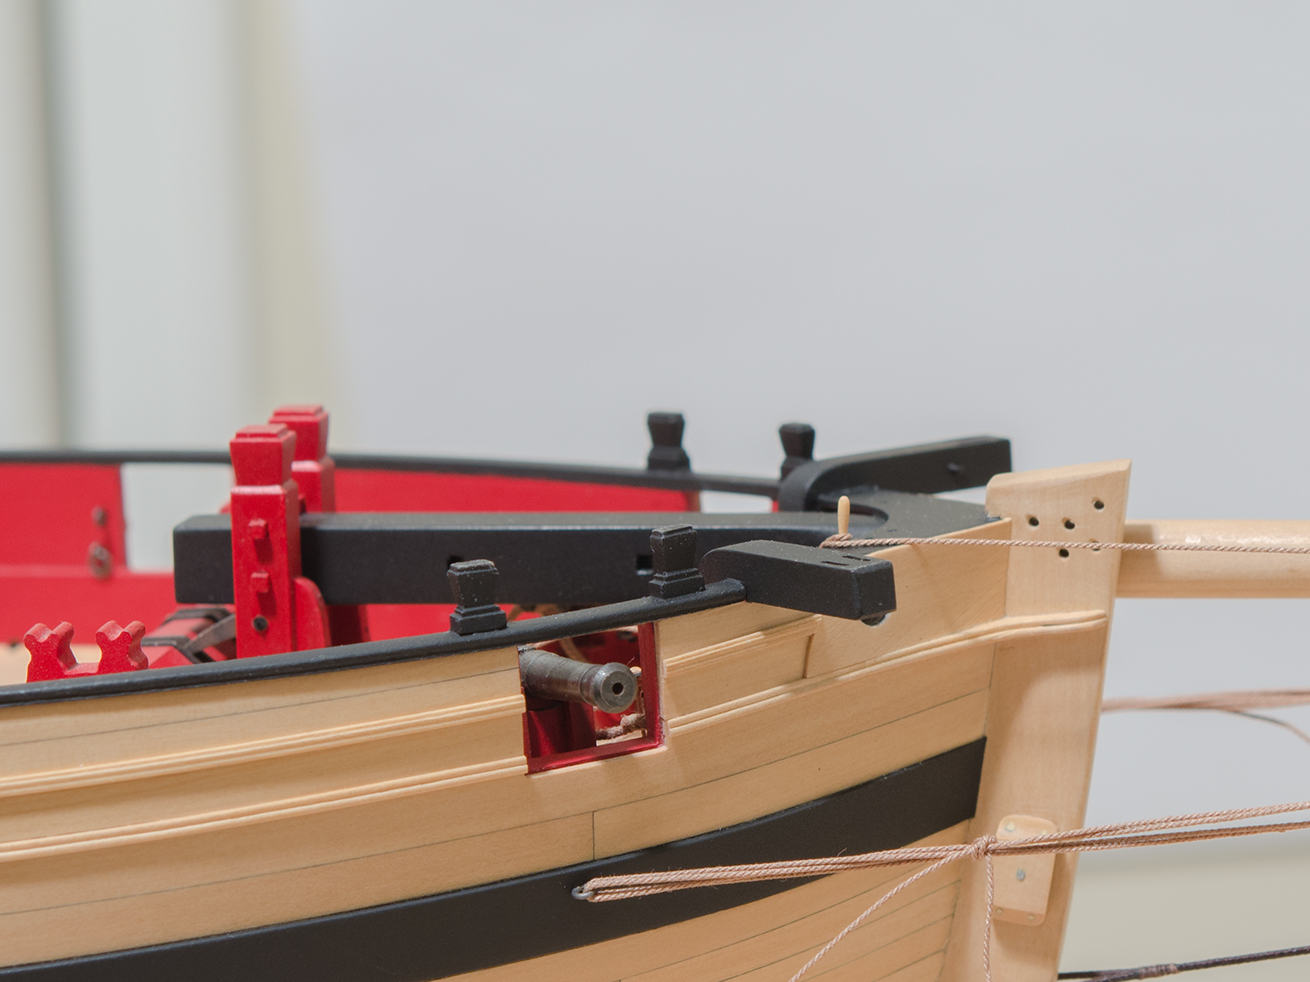
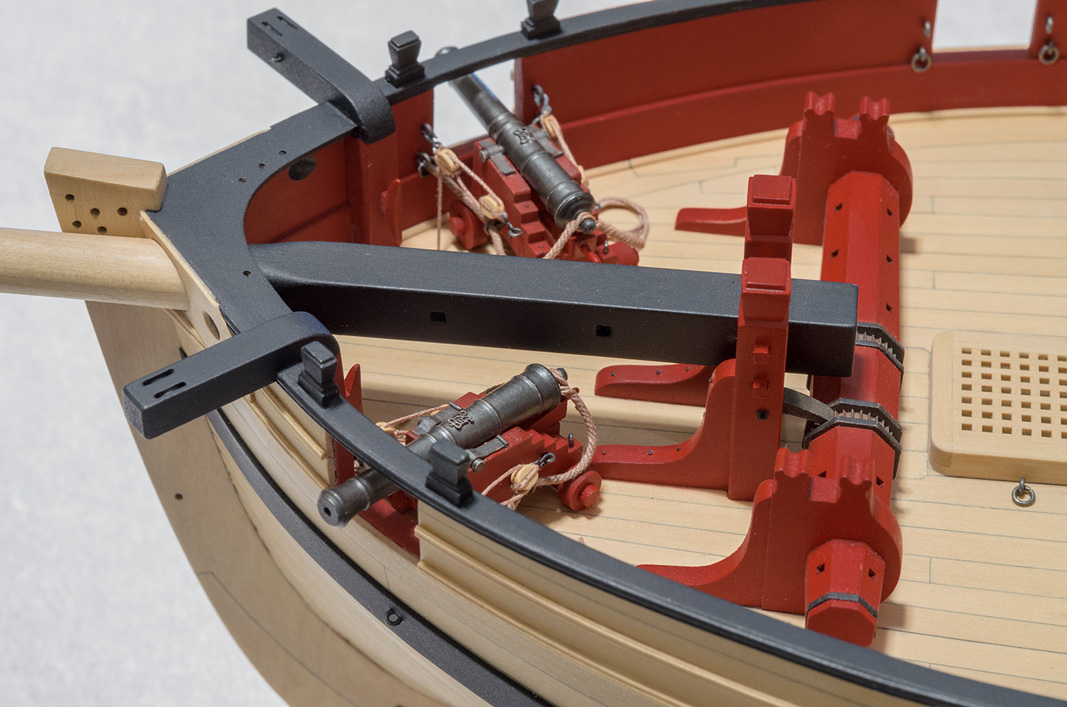
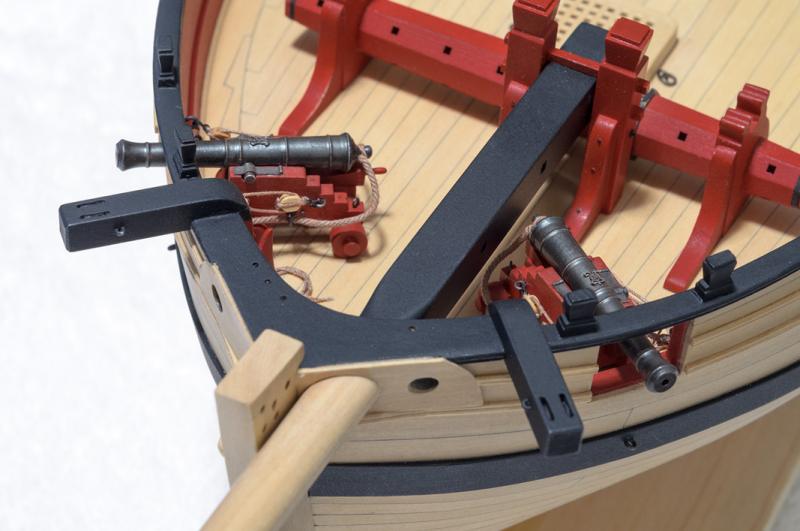
Completed the long guns today. Talk about working in tight spaces. . . Just noticed the lack of nails on the windlass brackets. I might add them, still not sure.

- 452 replies
-
- 25
-
-
- cheerful
- Syren Ship Model Company
- (and 1 more)
-
Wow! That would be greatly appreciated, Chuck. I have some leftover brass ones from MS, probably the wrong size anyway. I can't wait to see the model. Can we move the next meeting up by a few weeks? . Seriously, it looks fantastic. Mike
- 1,051 replies
-
- 6
-
-
- cheerful
- Syren Ship Model Company
- (and 1 more)
-
Thanks guys! Chuck, since the mast isn't permanently attached to the ship, I will bring Cheerful to the next meeting. Hopefully, you will bring yours too! Mike
- 452 replies
-
- 4
-
-
- cheerful
- Syren Ship Model Company
- (and 1 more)
-
Lovely work, Thomas! Mike