HOLIDAY DONATION DRIVE - SUPPORT MSW - DO YOUR PART TO KEEP THIS GREAT FORUM GOING! (Only 75 donations so far out of 49,000 members - C'mon guys!)
×


Kevin
-
Posts
7,012 -
Joined
-
Last visited
Content Type
Profiles
Forums
Gallery
Events
Everything posted by Kevin
-
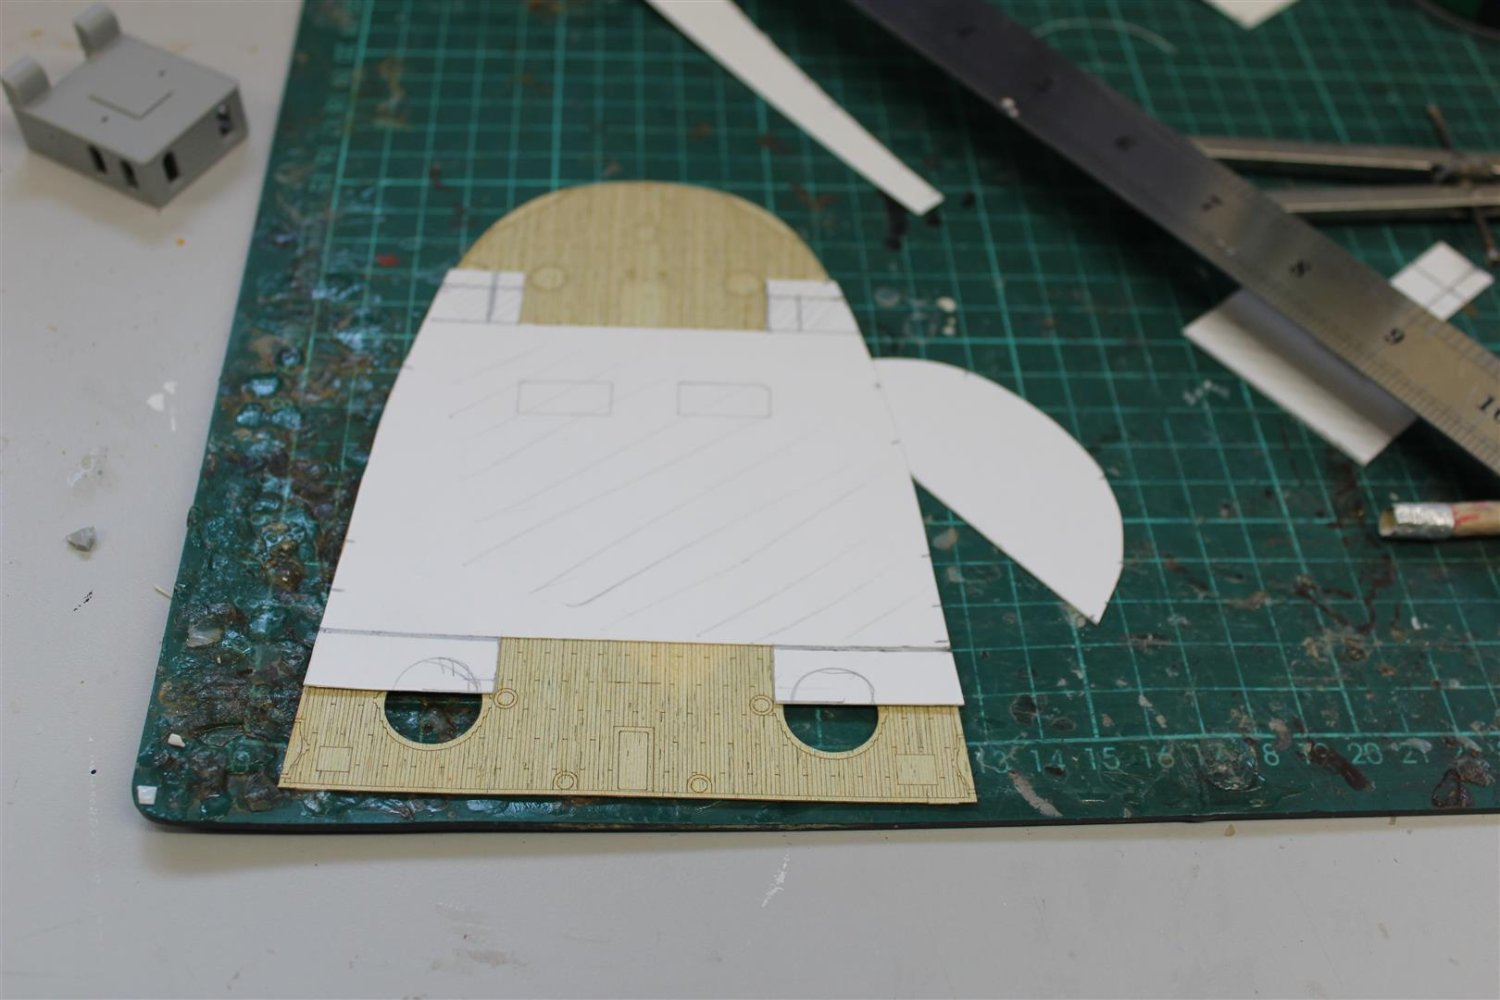
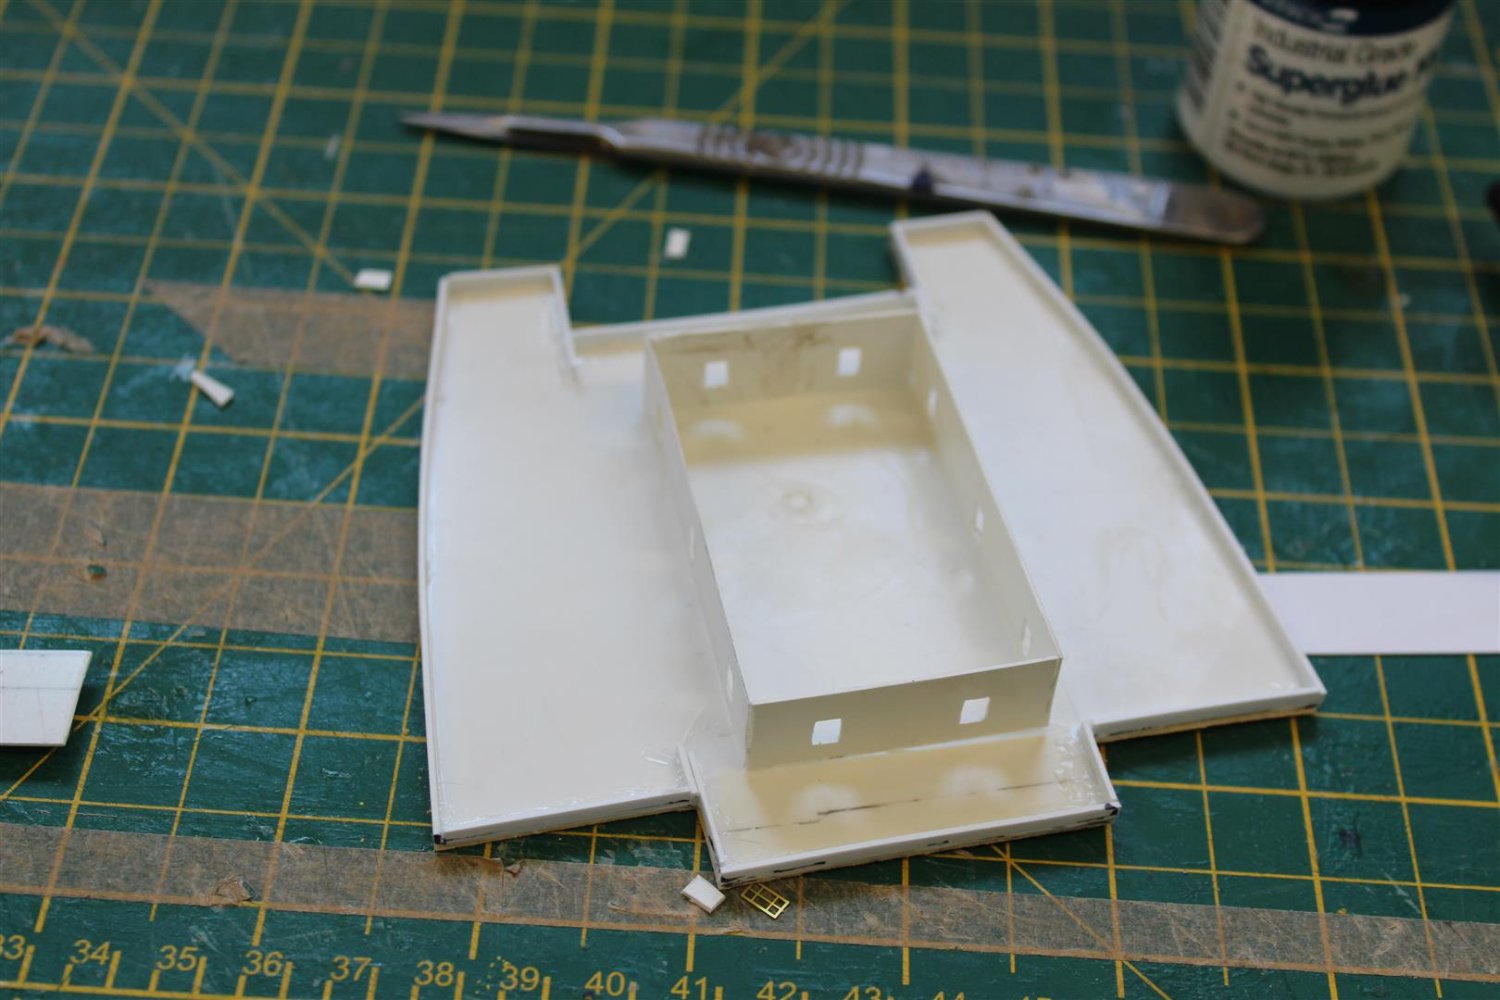
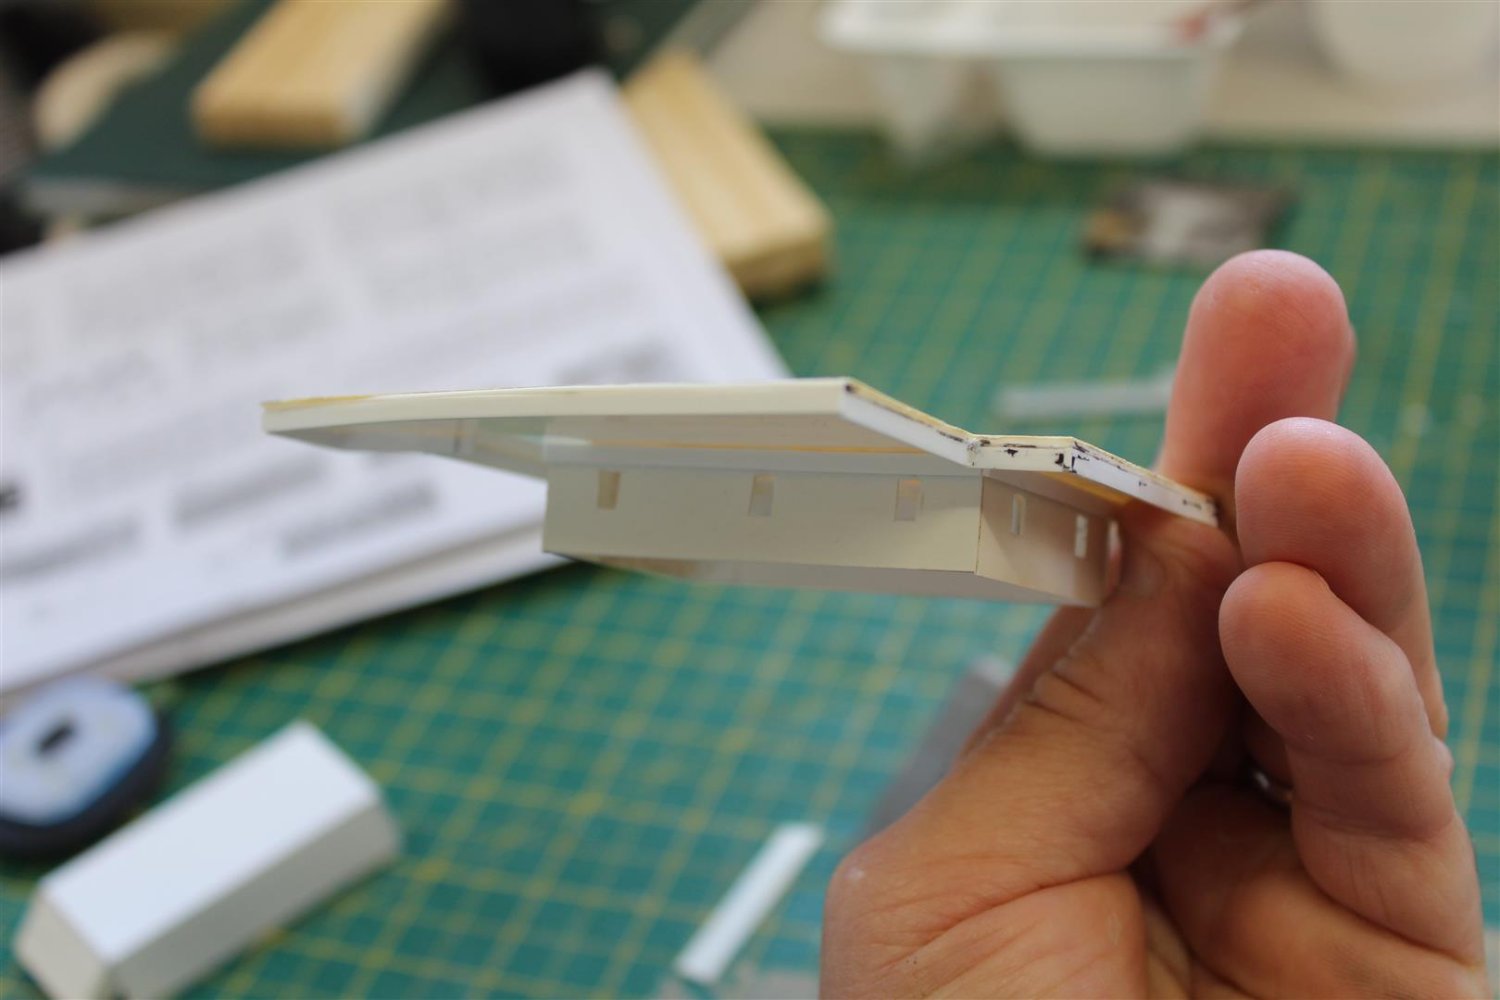
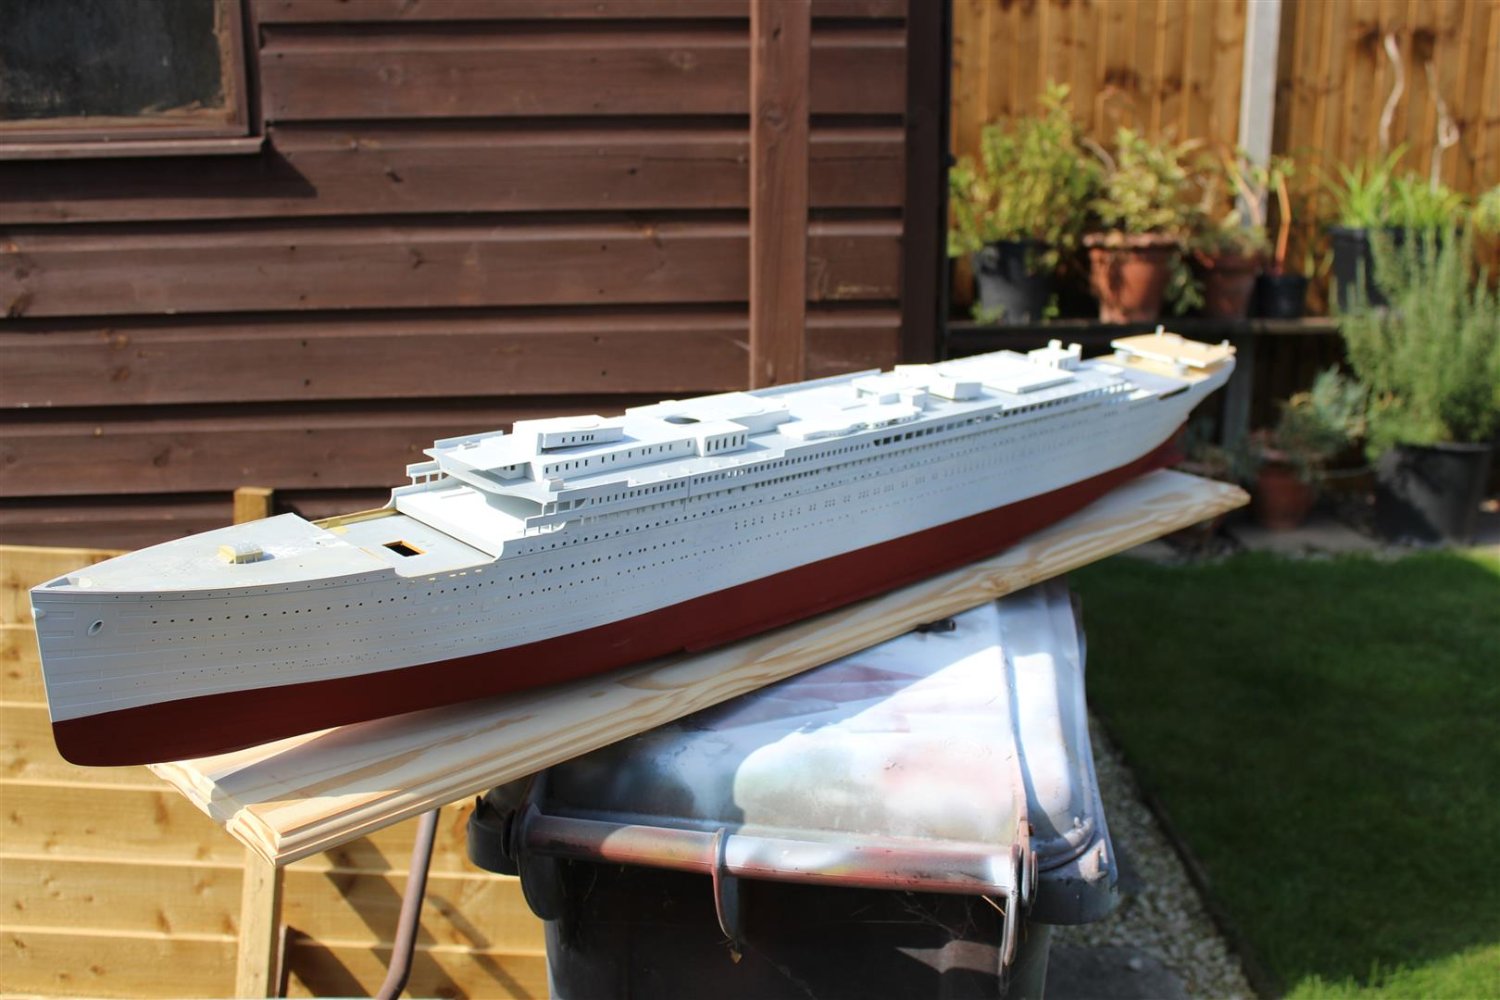
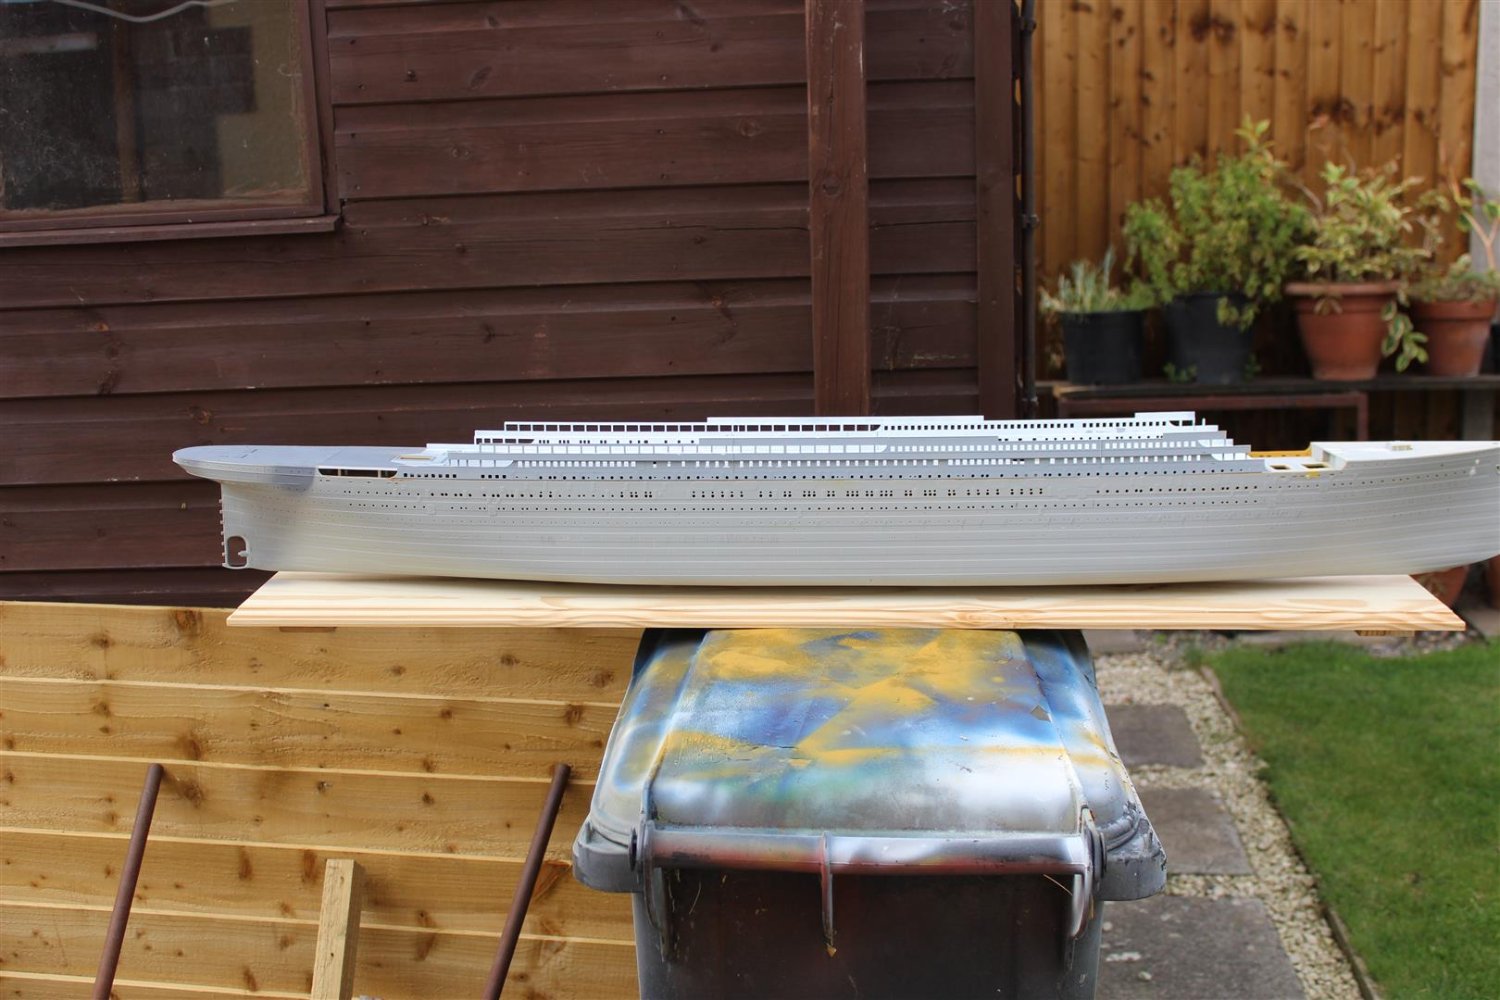
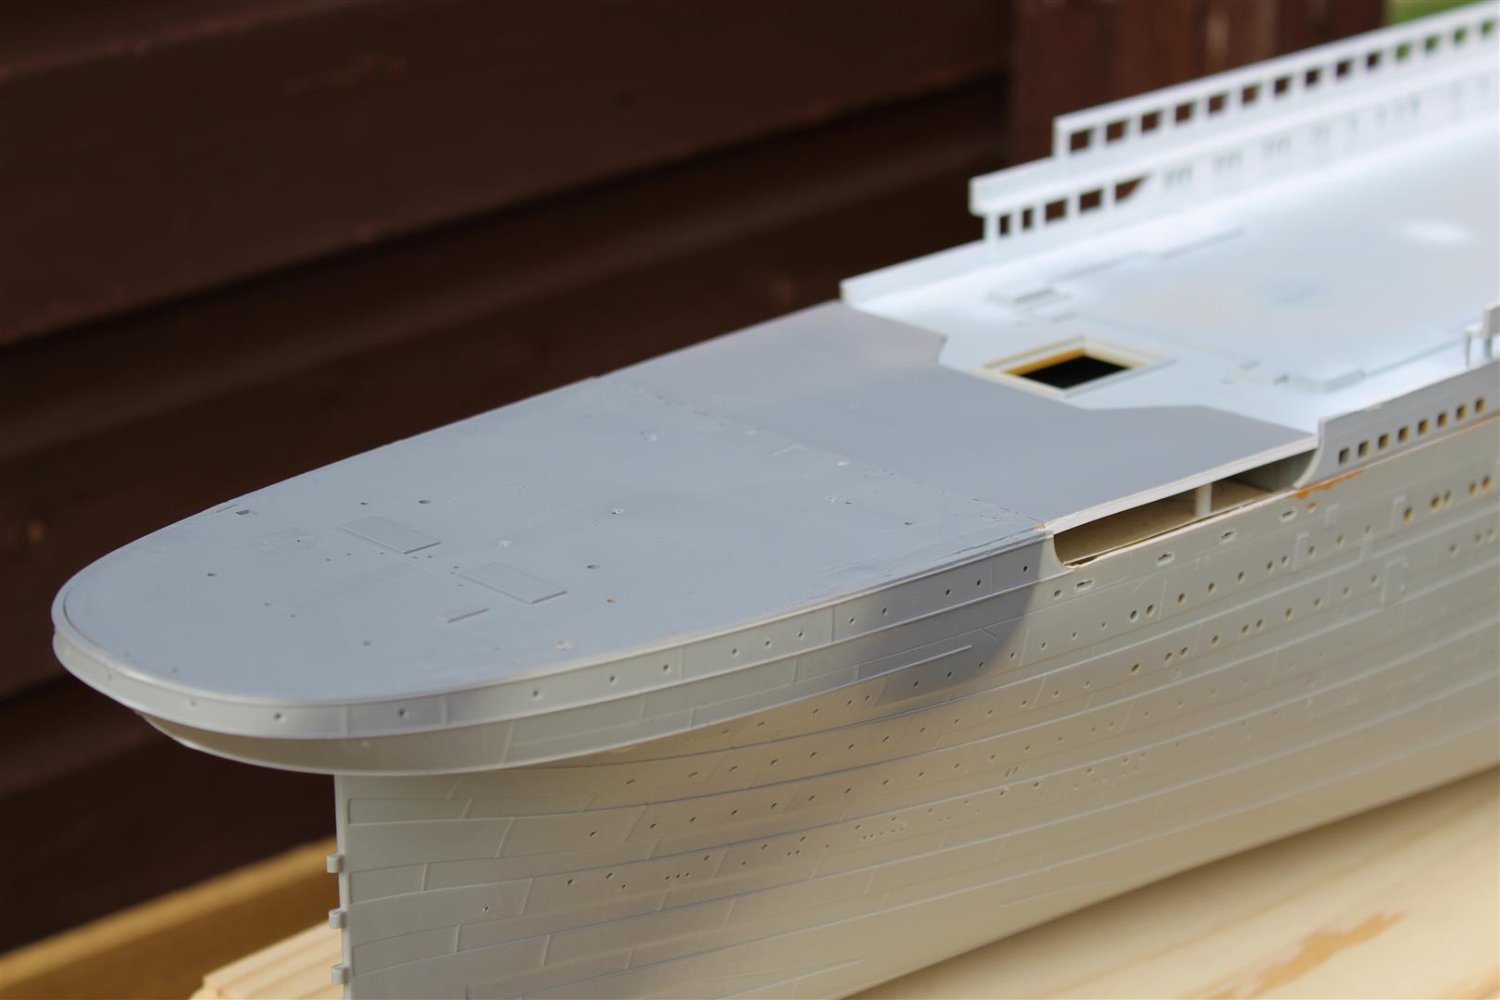
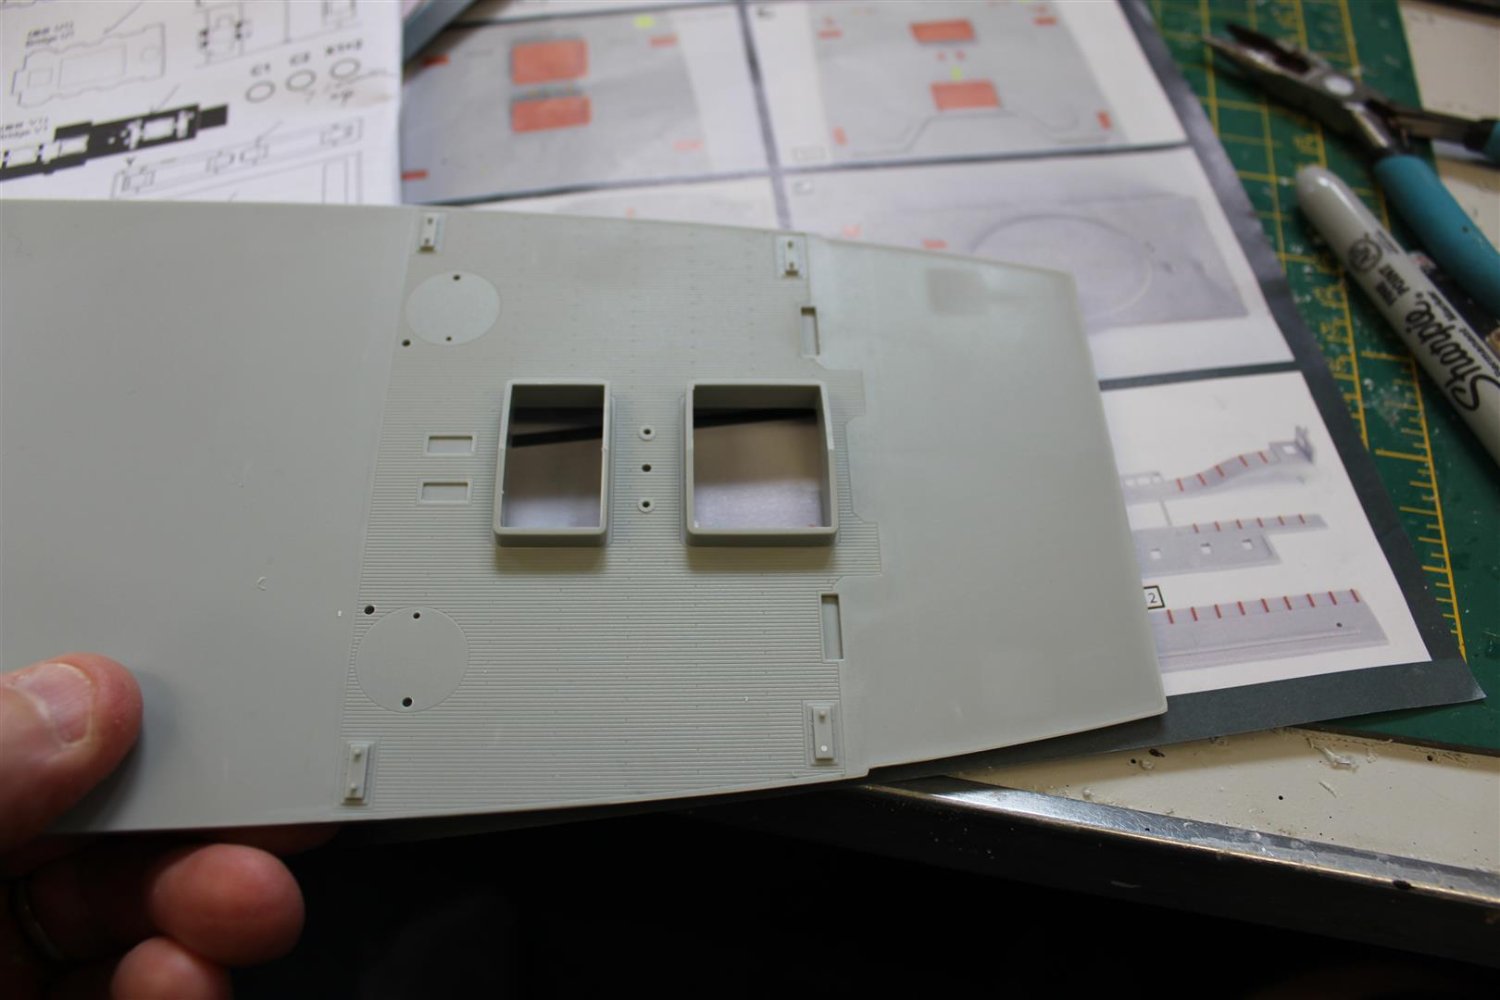
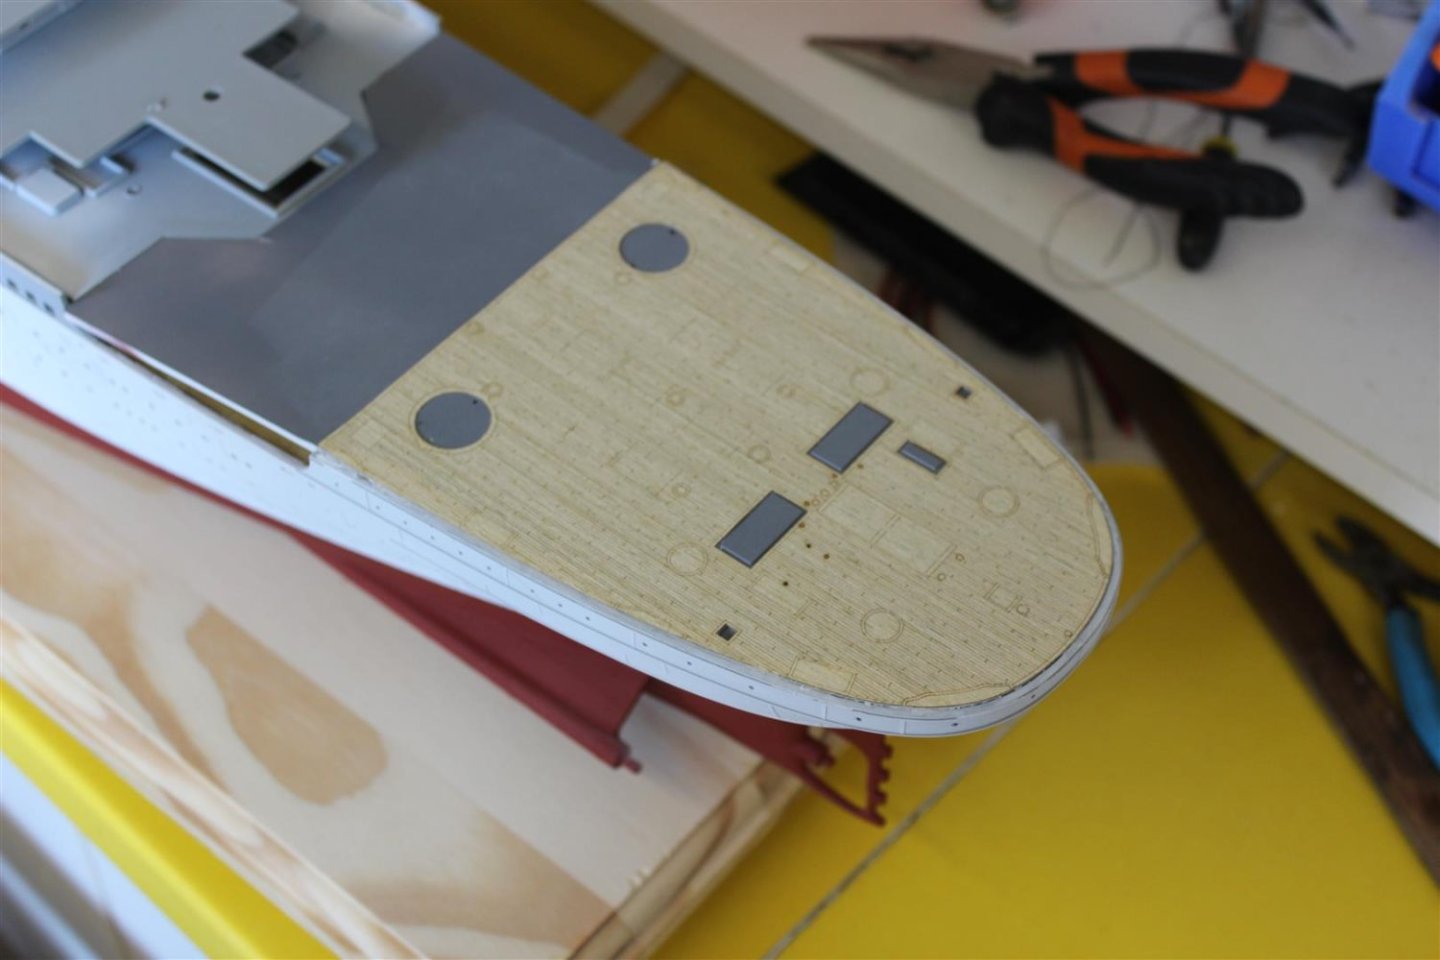
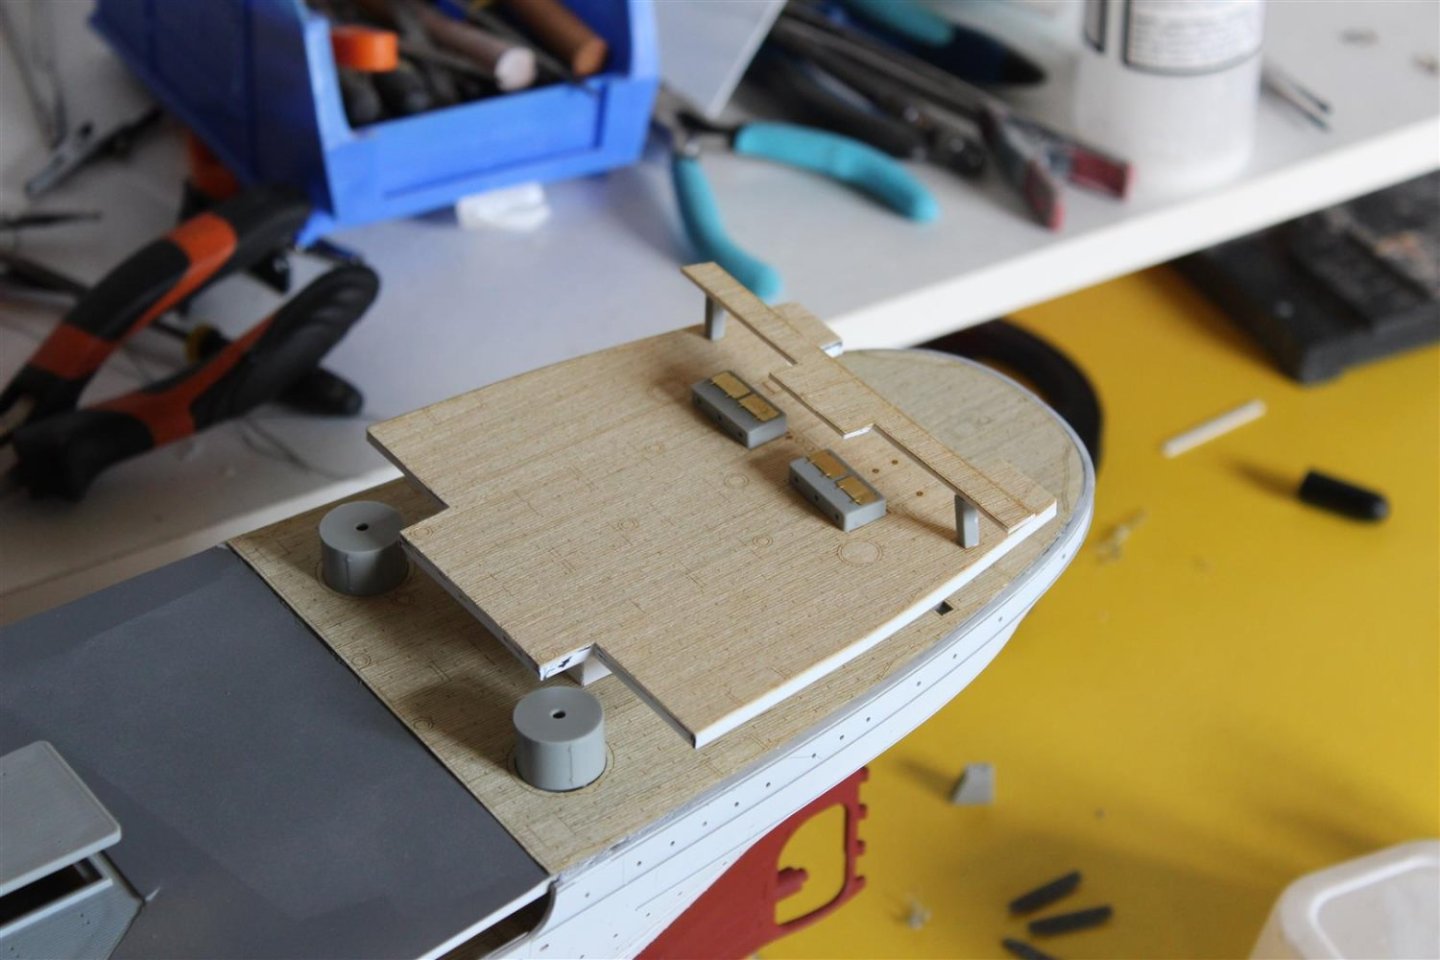
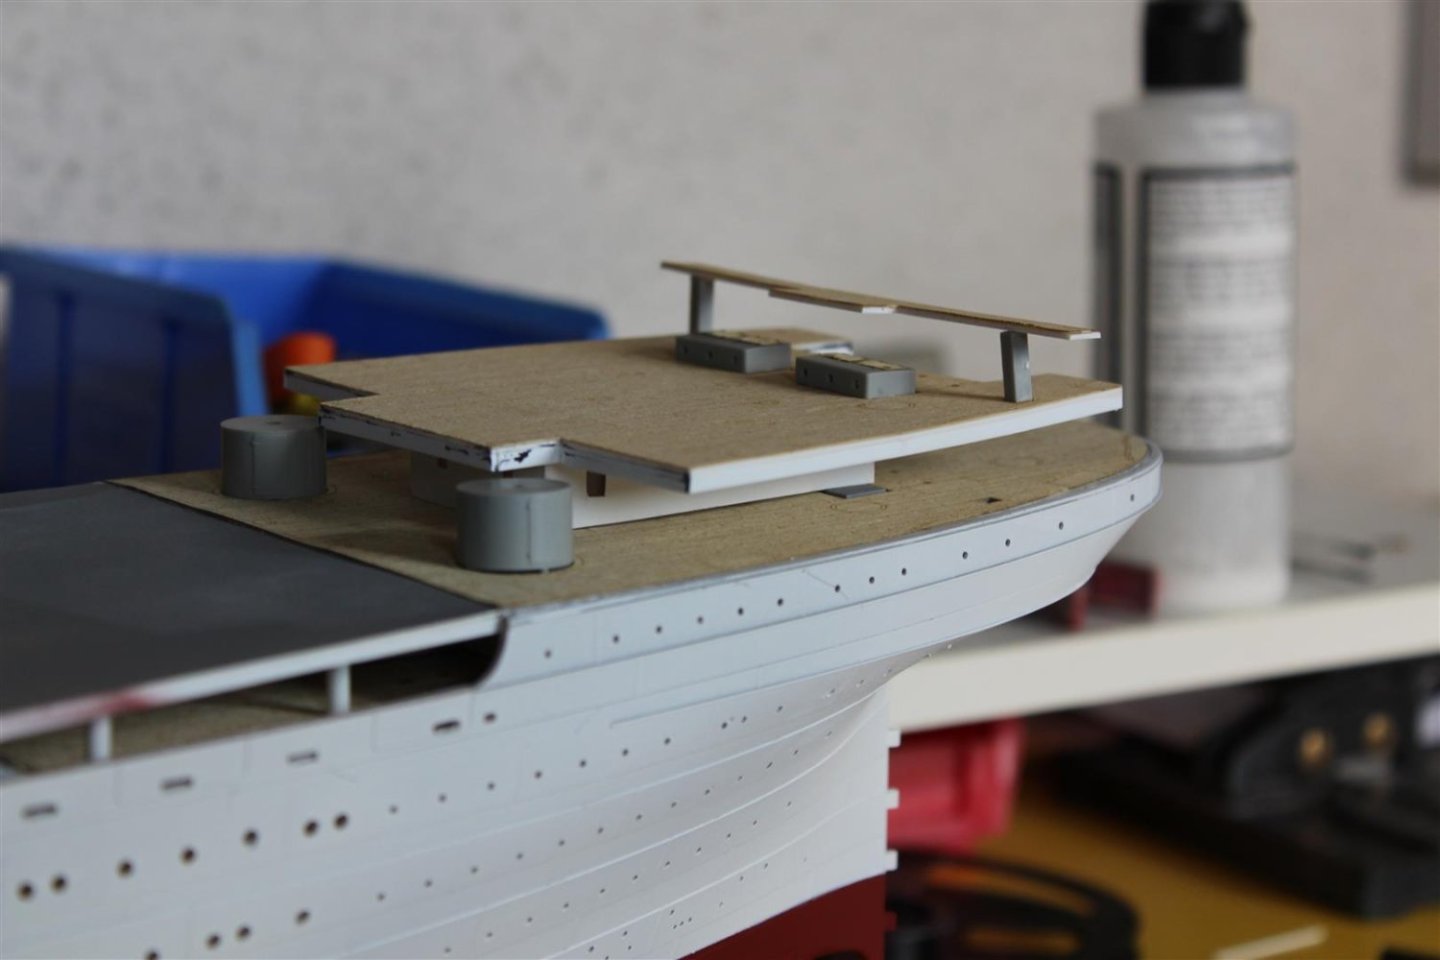
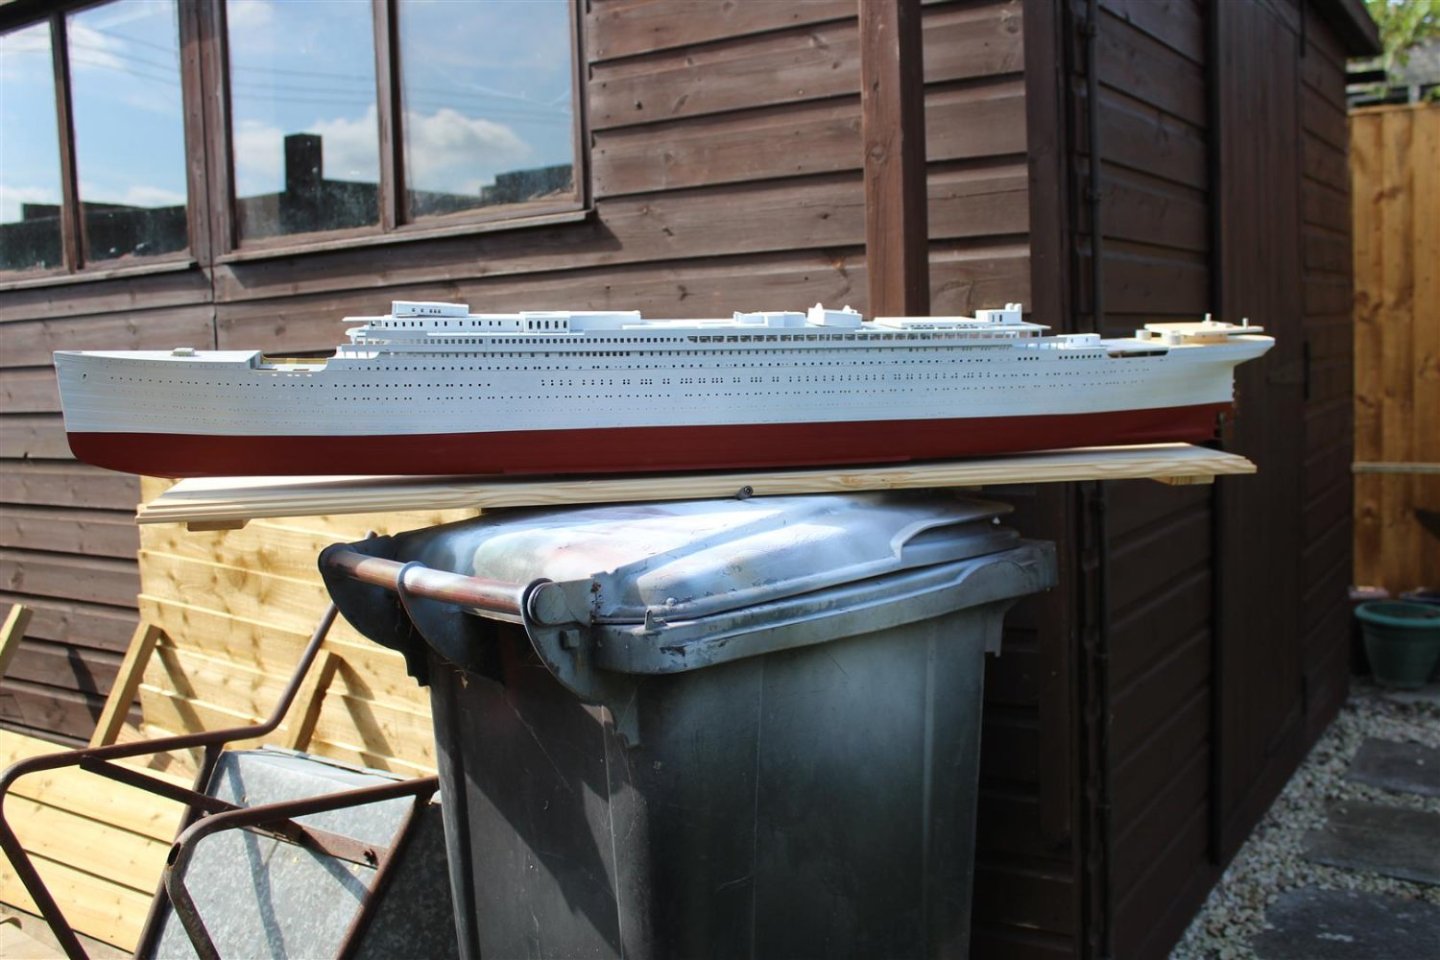
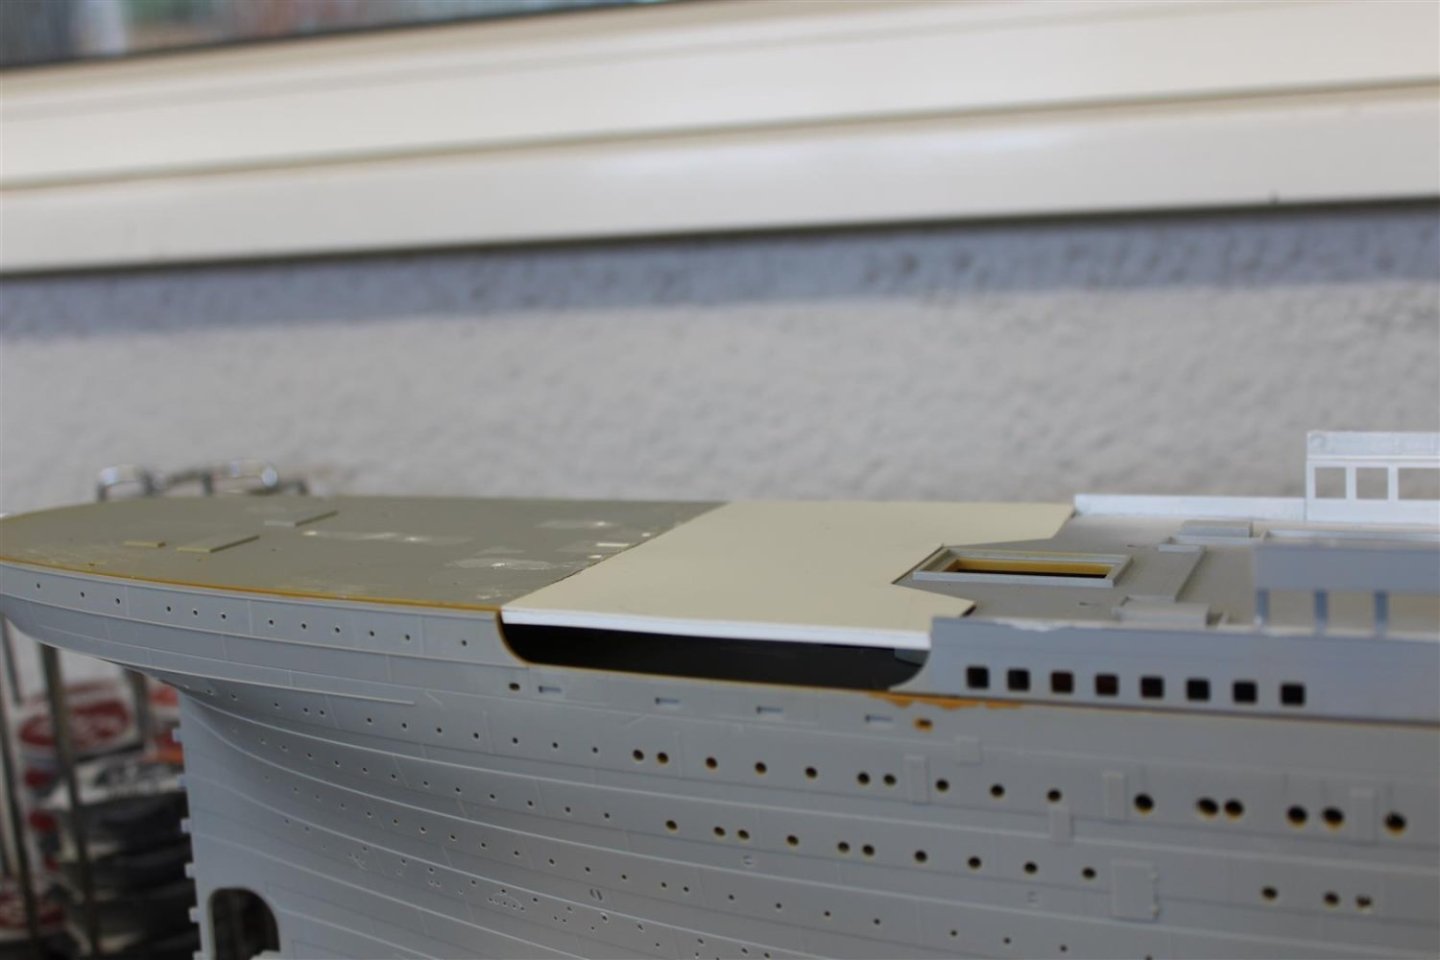
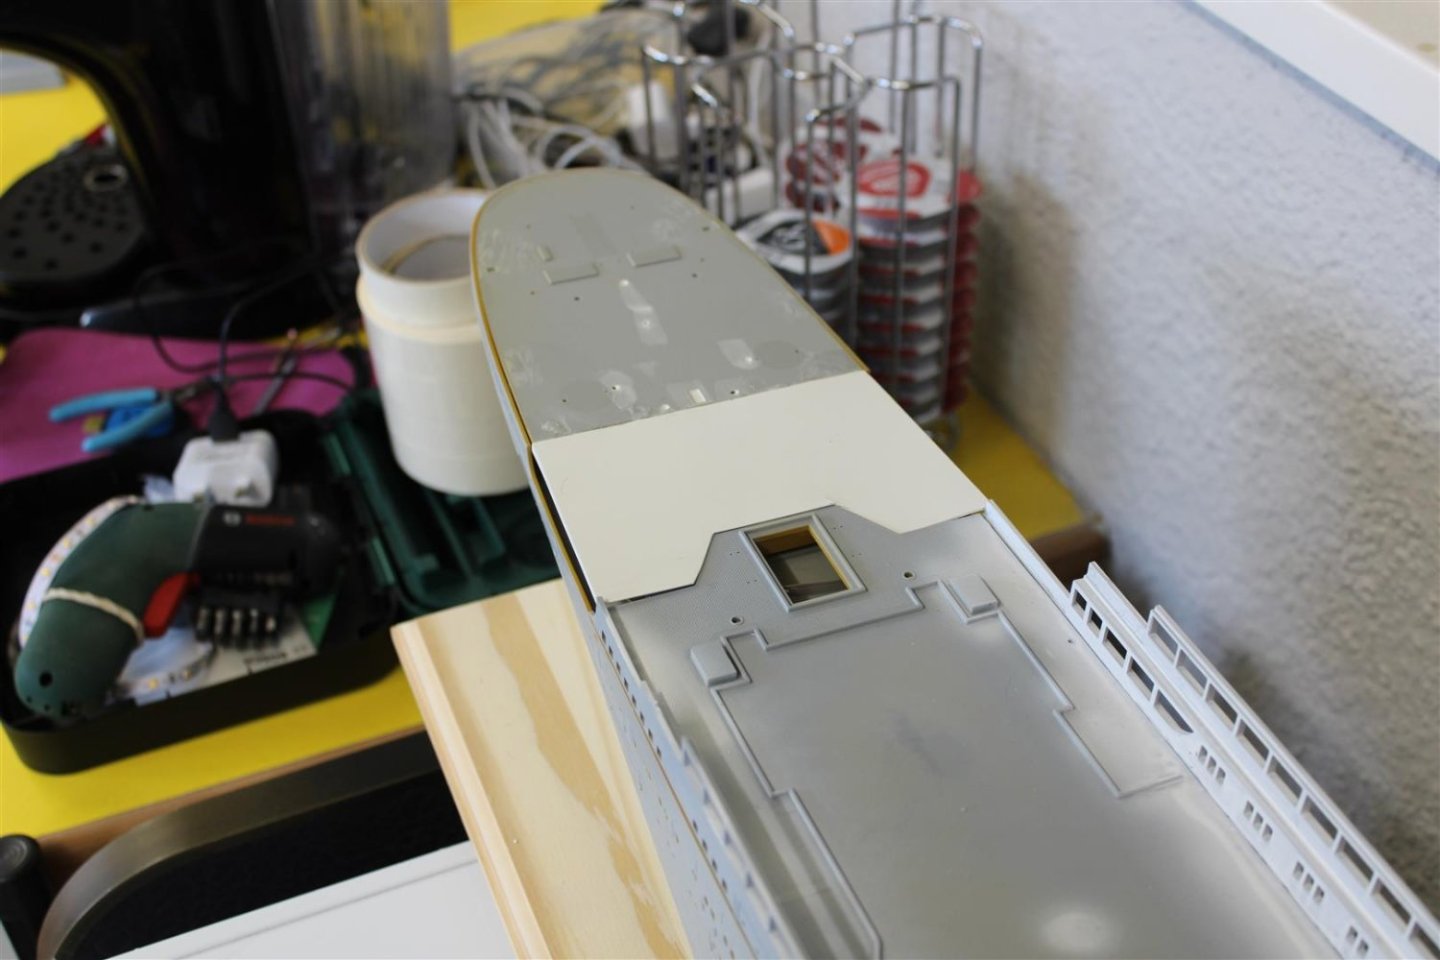
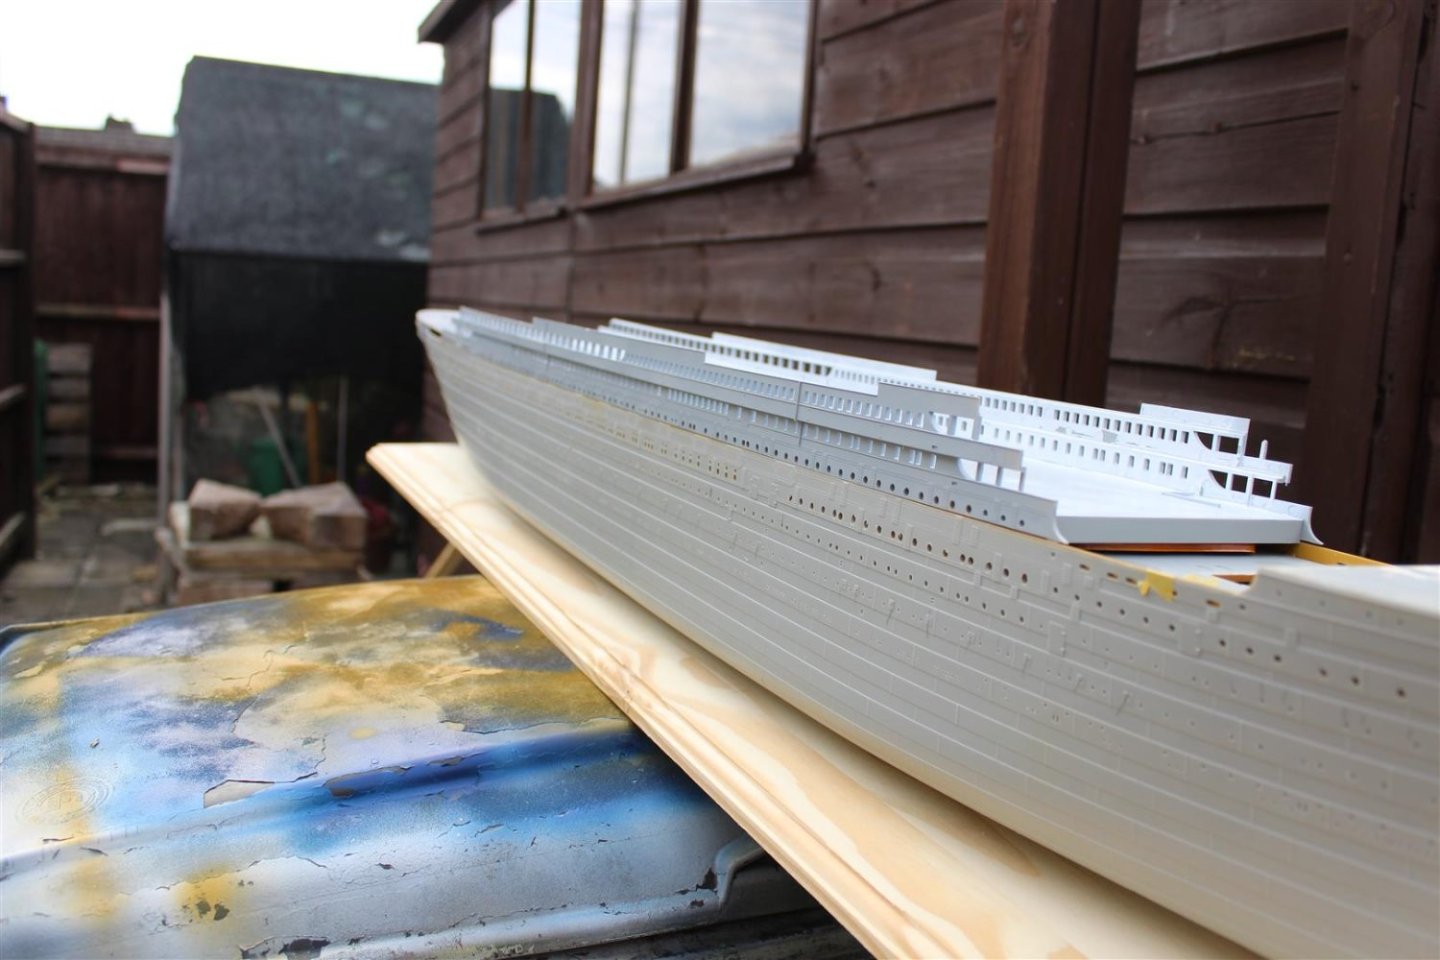
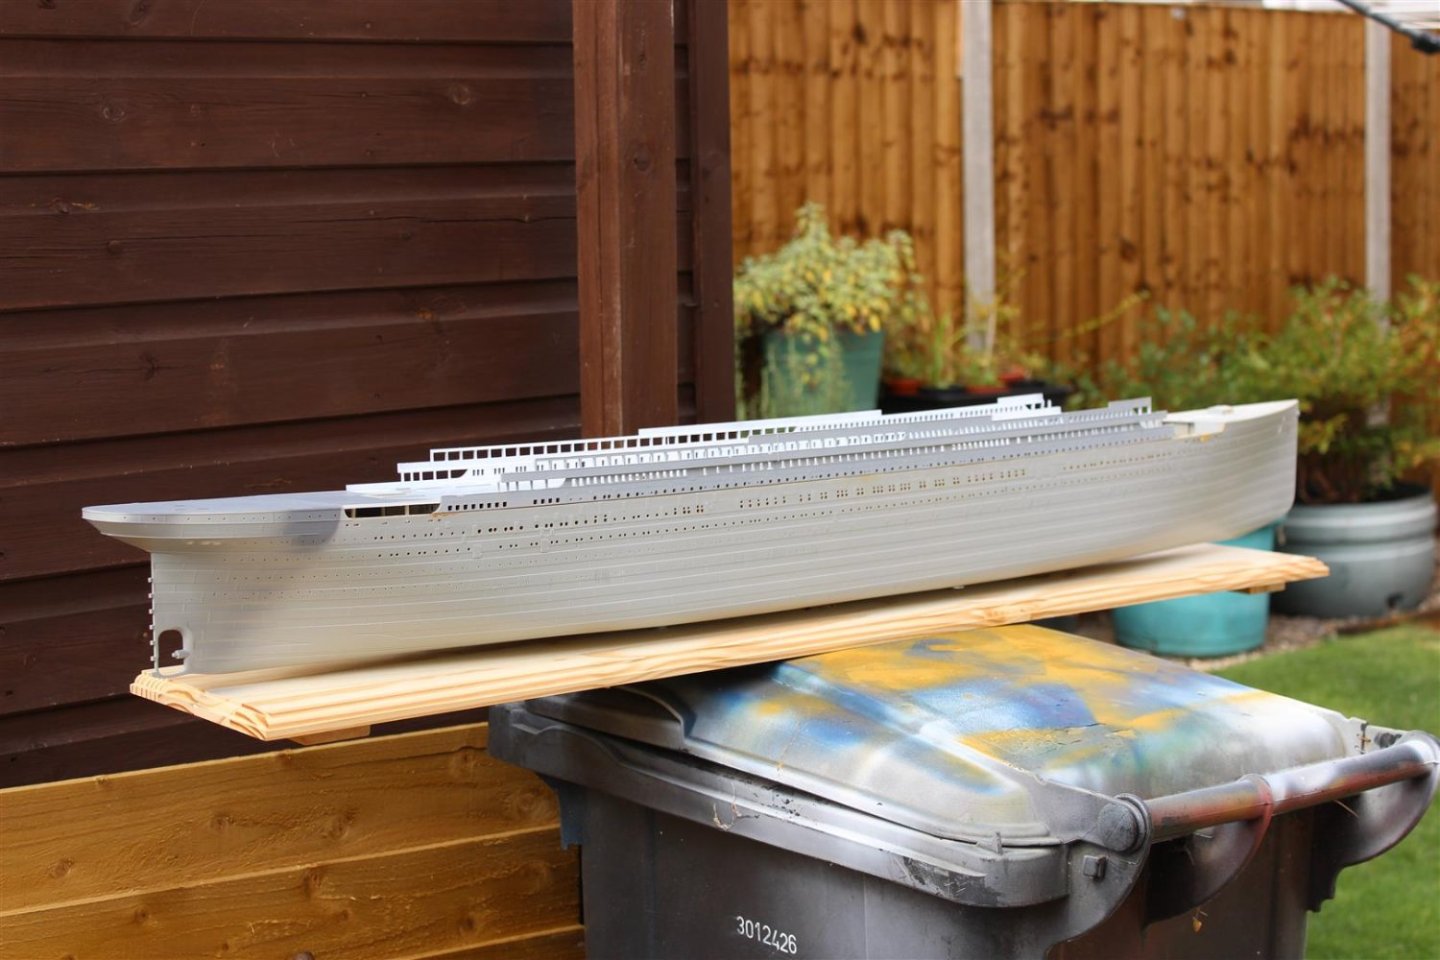
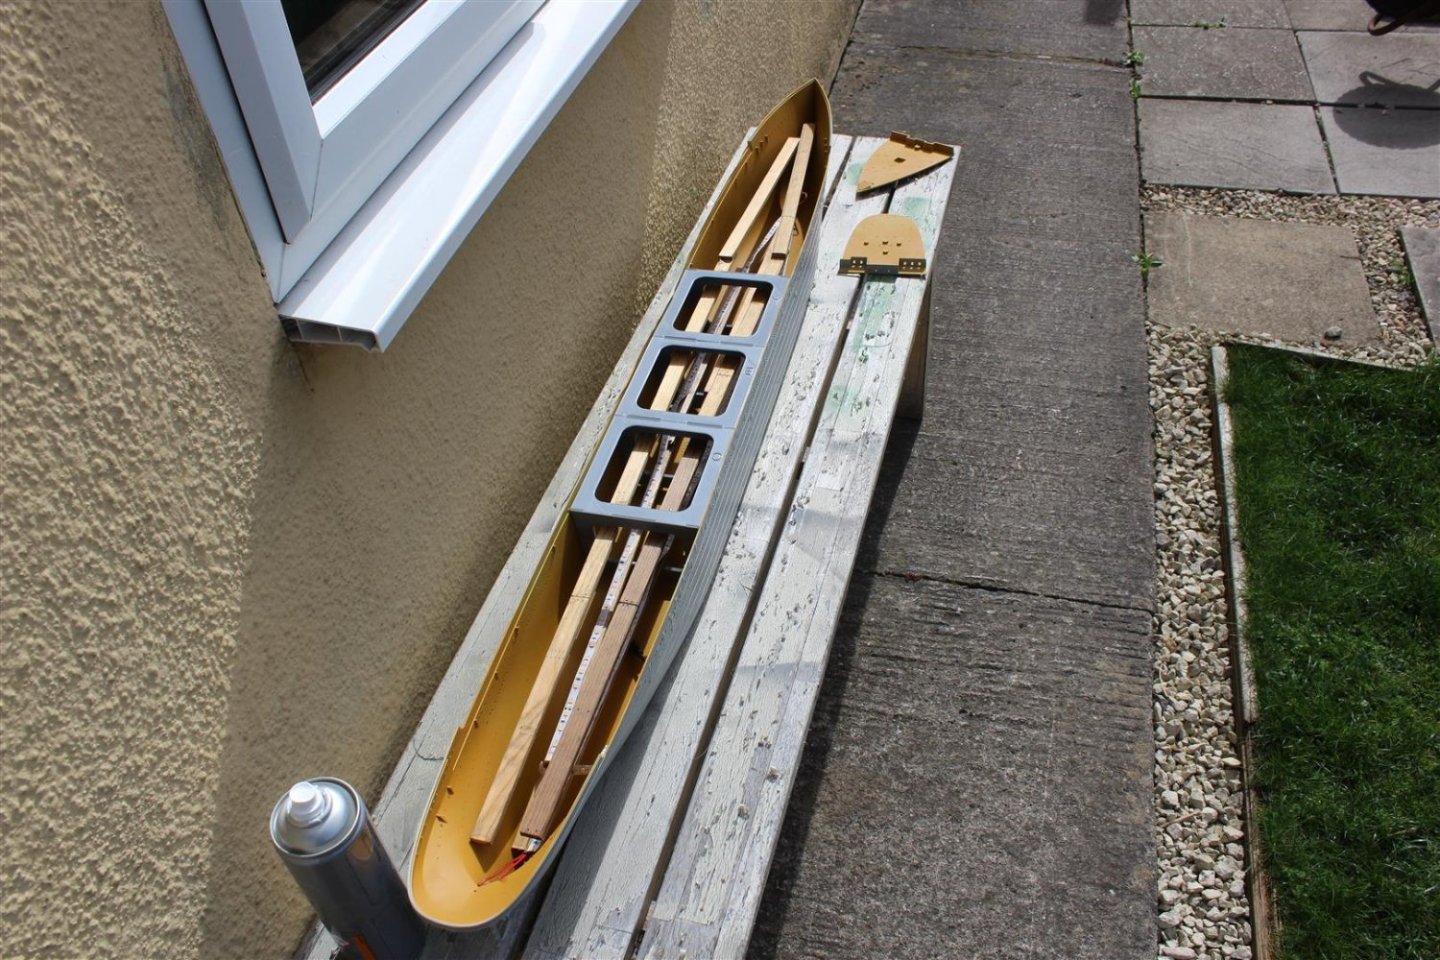
 out in the sunshine, im still messing about with the scratch built after deck, the size is about right now
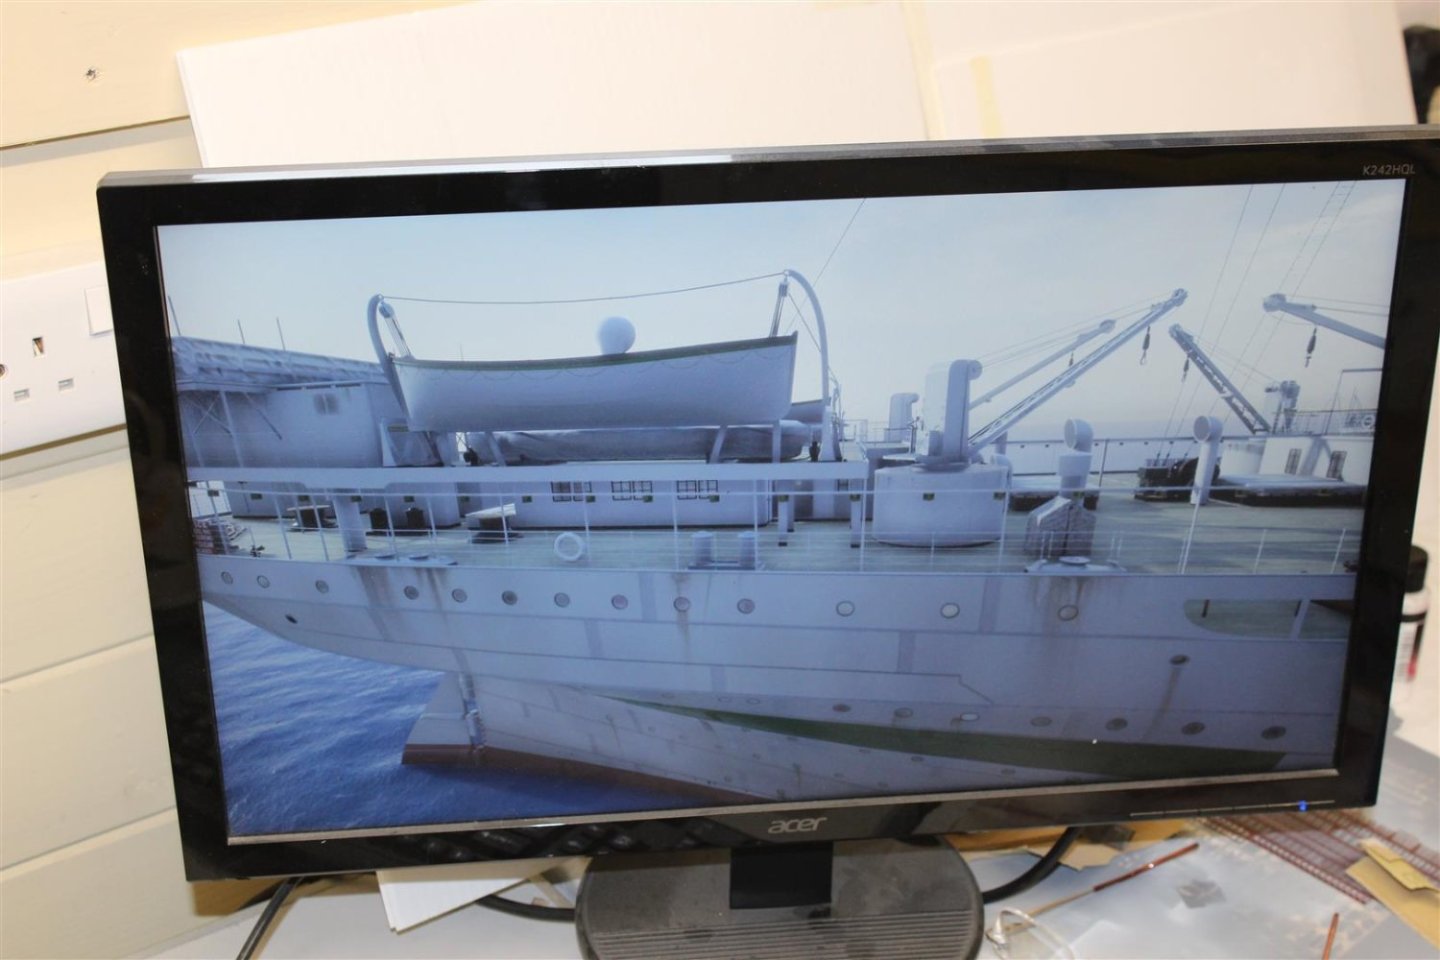


- 165 replies
-
- 16
-

-
good morning Tom, i will tag along with your build progress, i wont be in a hurry to drill those portholes again
-
we did that even in the 80's with RN diesel boats, just to listen and wait, Nuclear boats are unable to do so due to contast requirement of cooling water
-
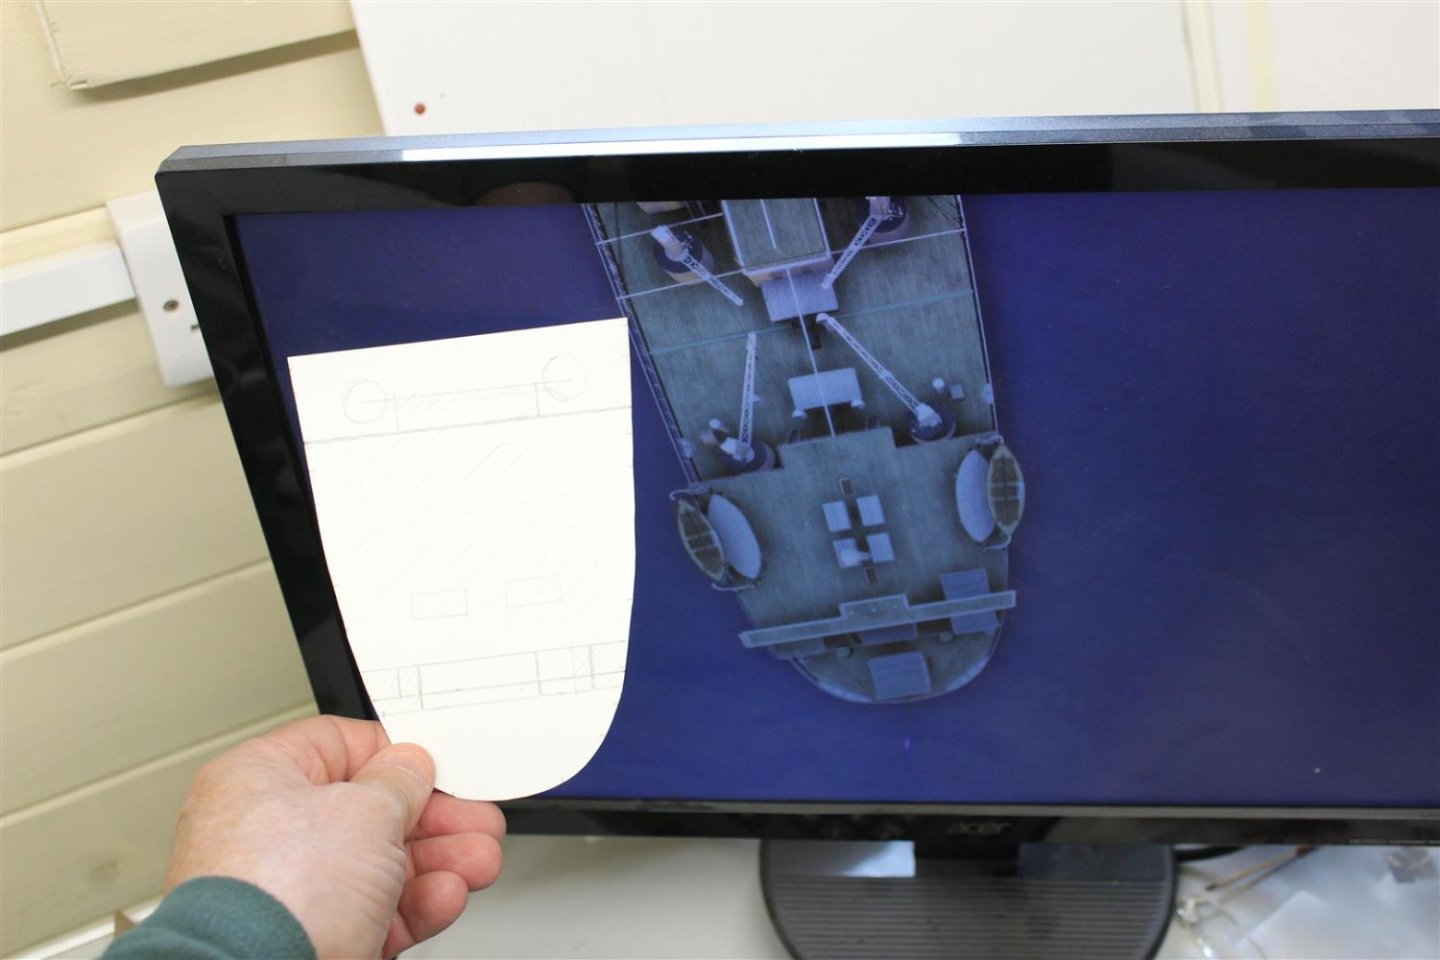
Roger good evening in the link it shows the covered over well deck, as part of the walkthrough experience of the Britannic, it however does not show any hatches or trunks, https://www.facebook.com/messenger_media/?thread_id=100002107592434&attachment_id=799897851150443&message_id=mid.%24cAAAAAHArC6CJRTLo72DE-0-c14sj the photo here however does show the hatches on the deck above
-
there is notning at all in that area to suggest the hataches are there, here is a tour guide of the after well deck https://www.facebook.com/messenger_media/?thread_id=100002107592434&attachment_id=799897851150443&message_id=mid.%24cAAAAAHArC6CJRTLo72DE-0-c14sj
-
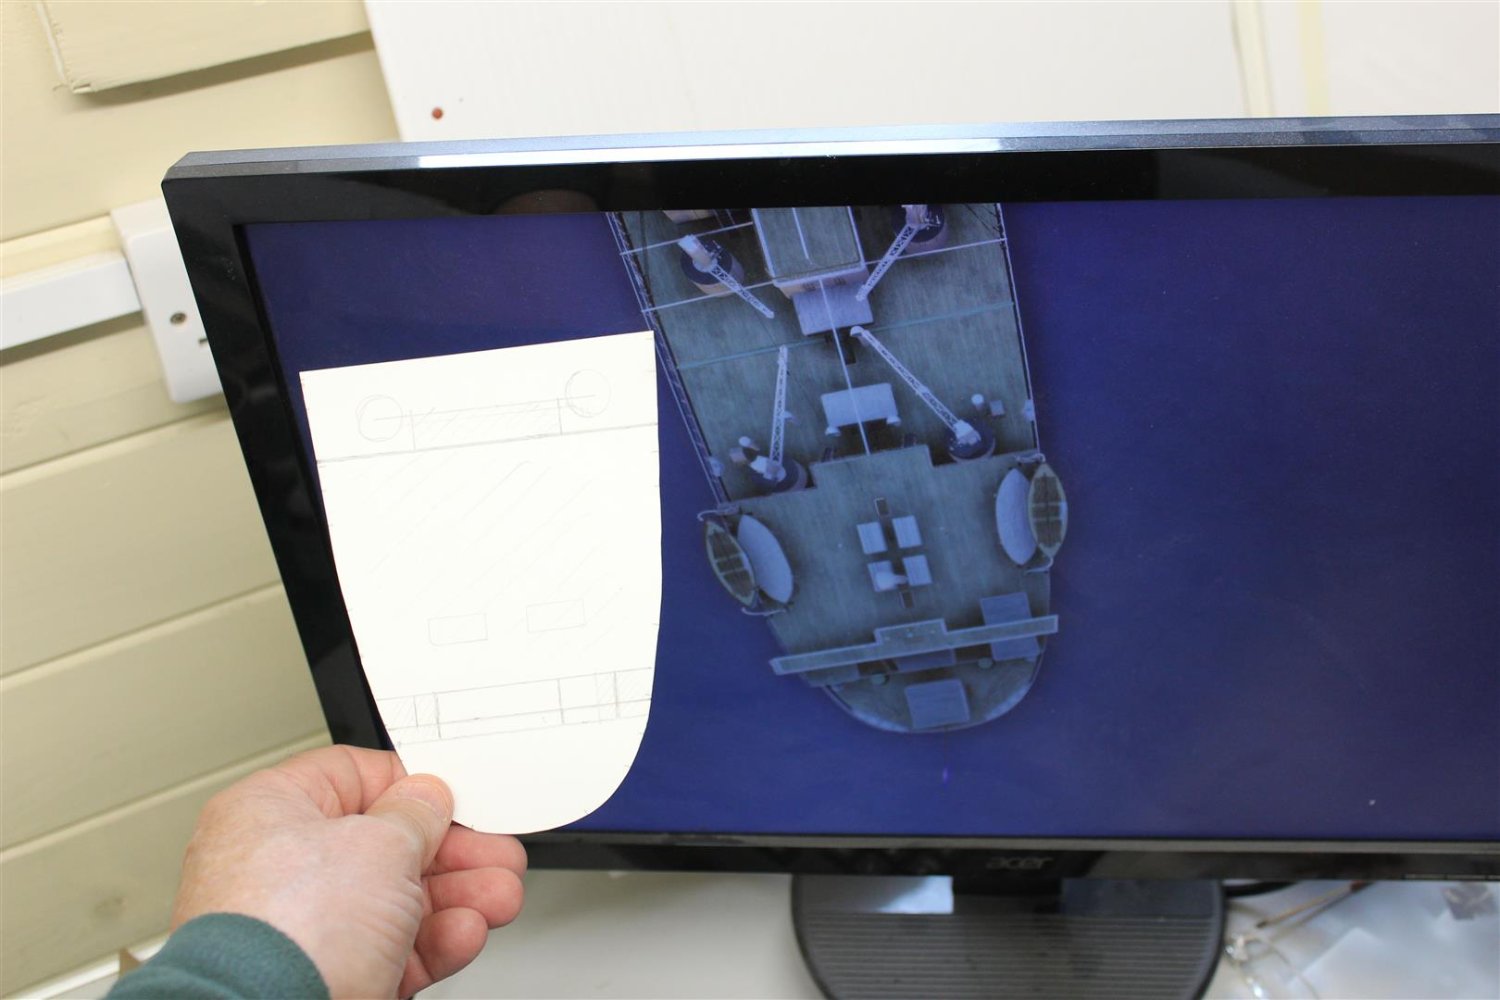
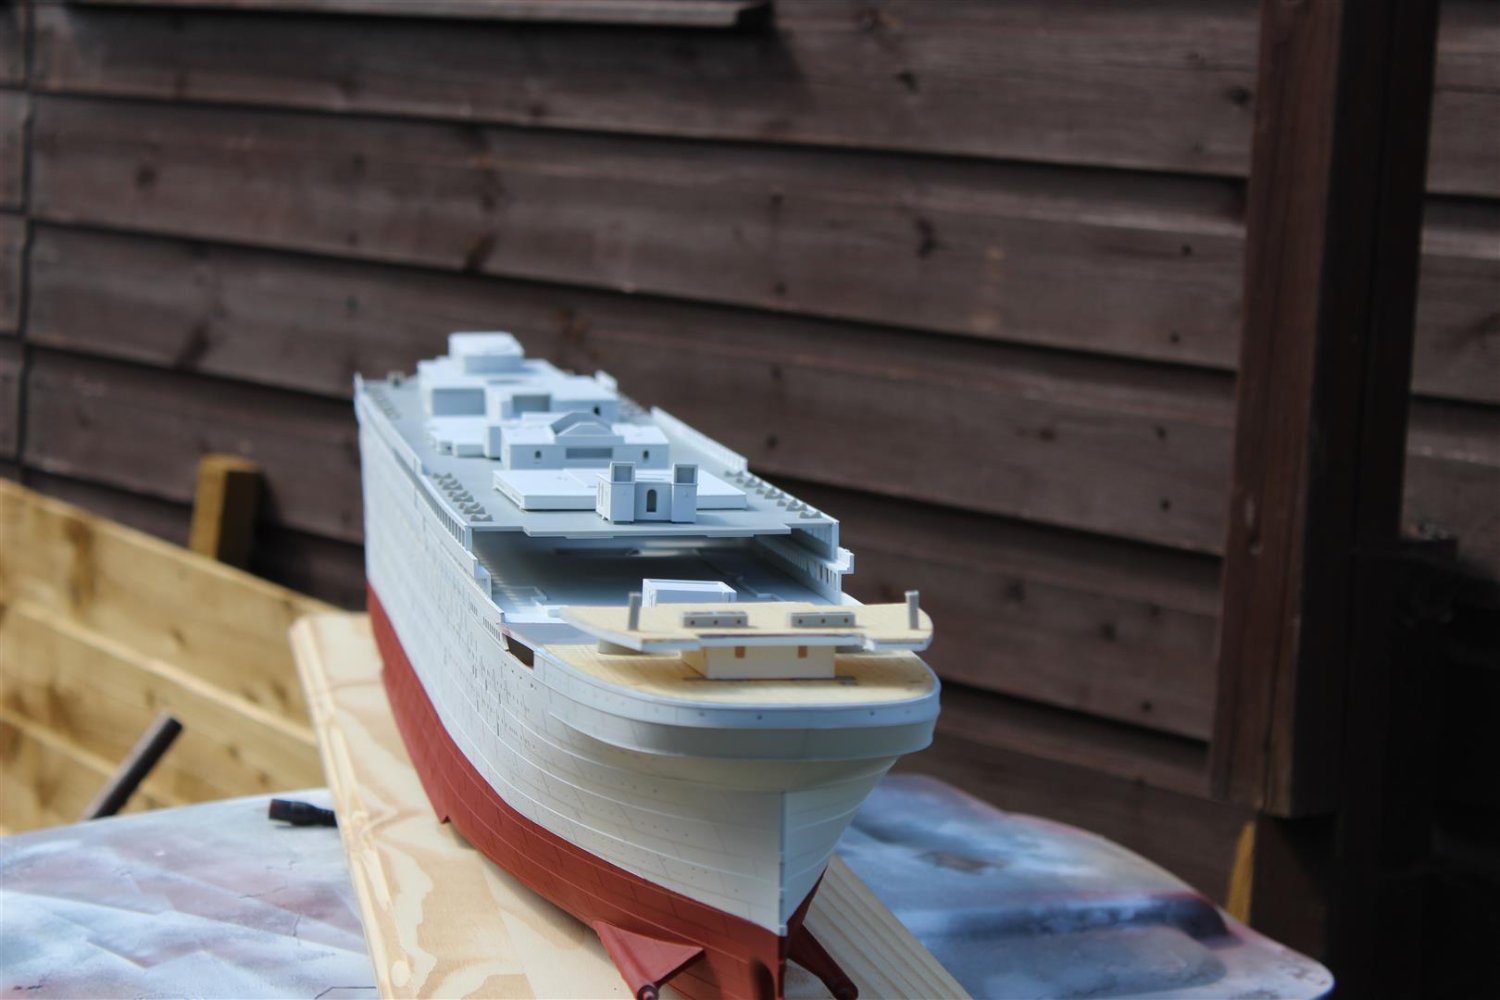
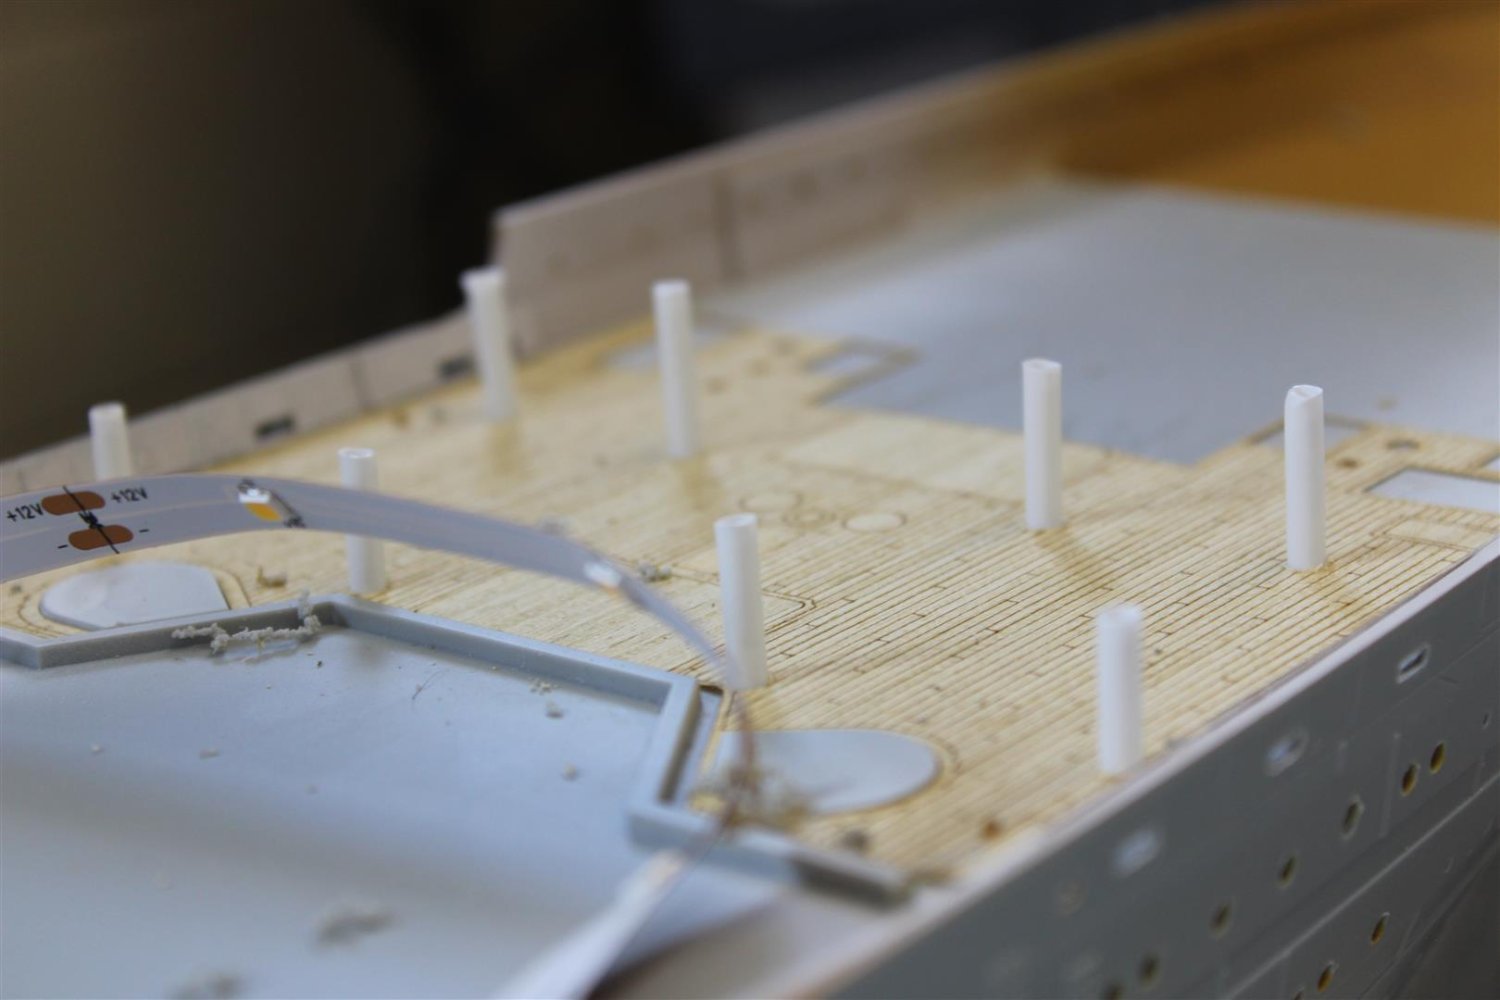
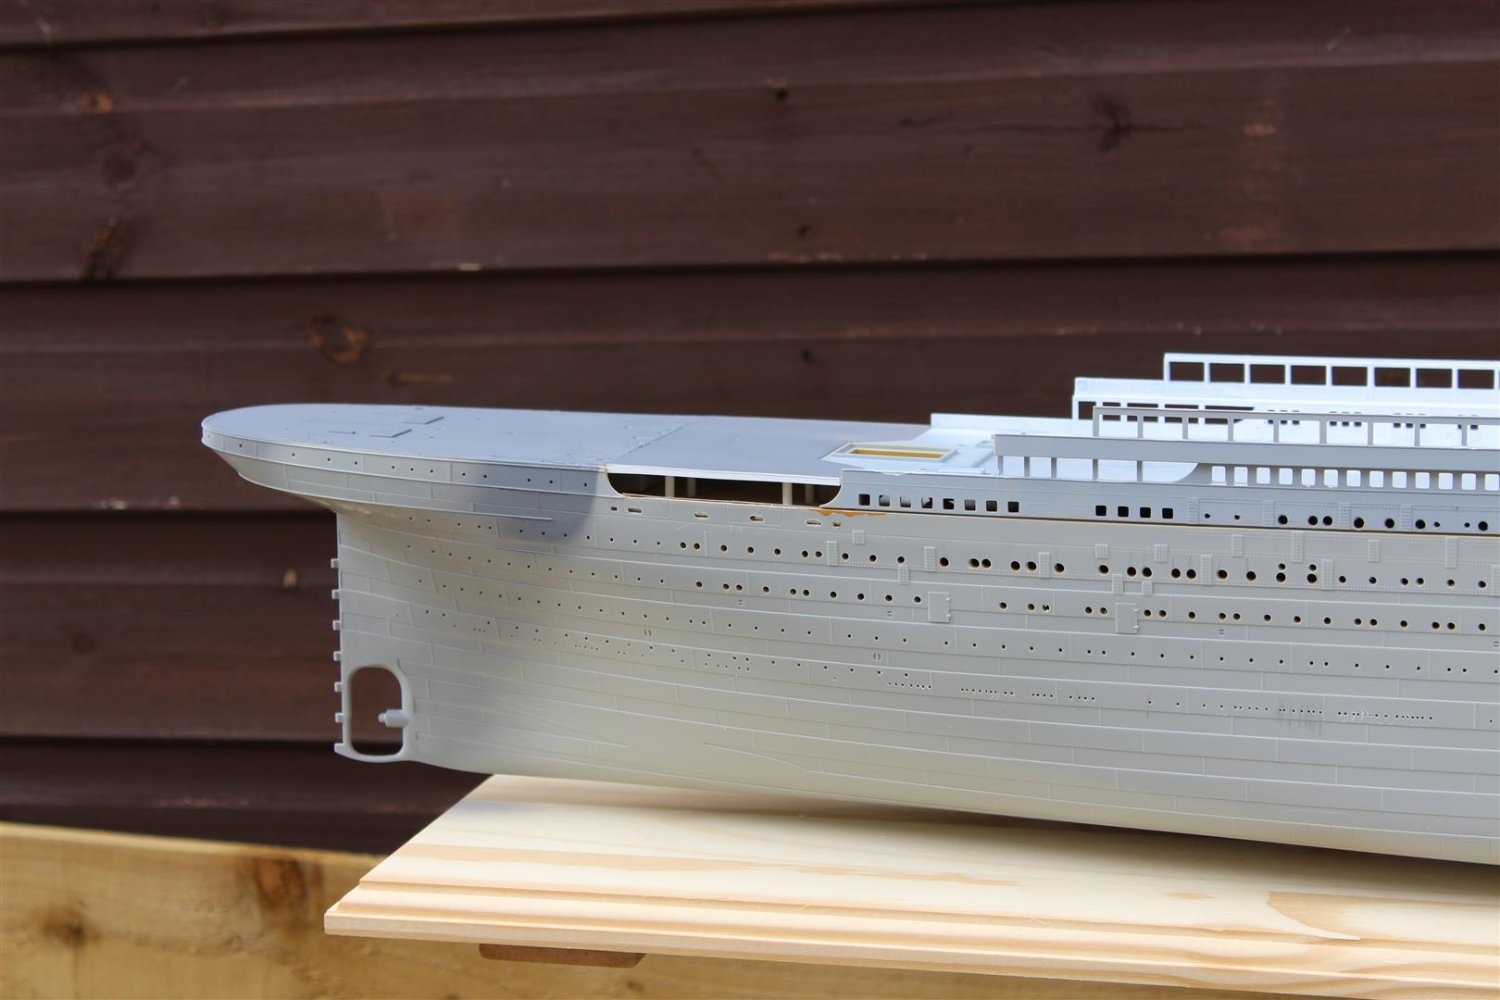
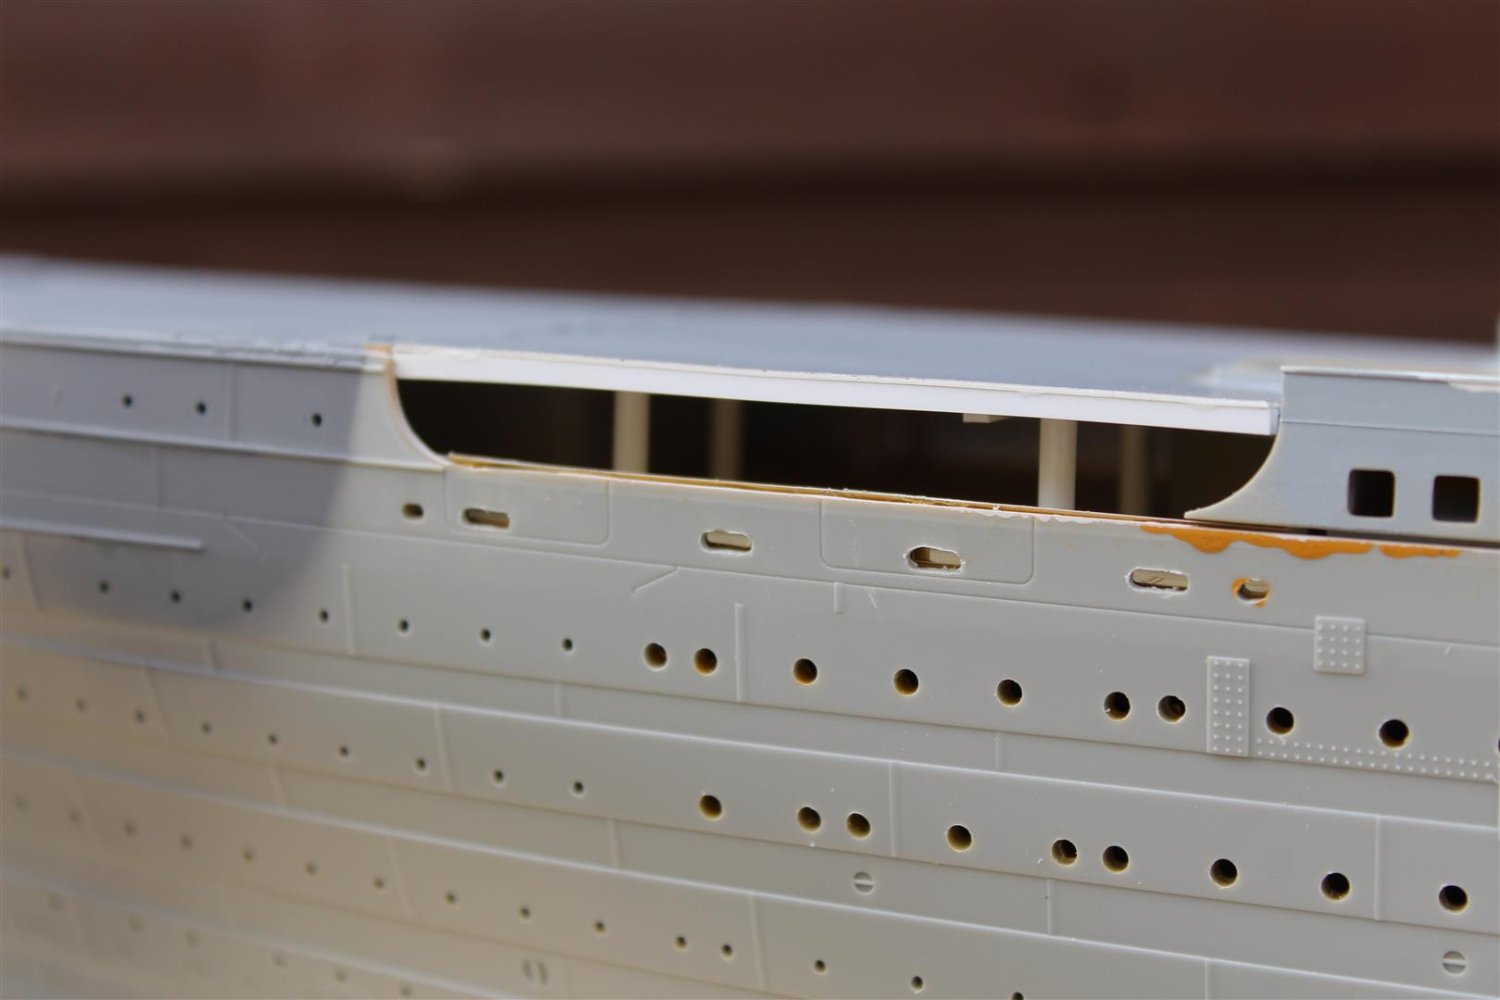
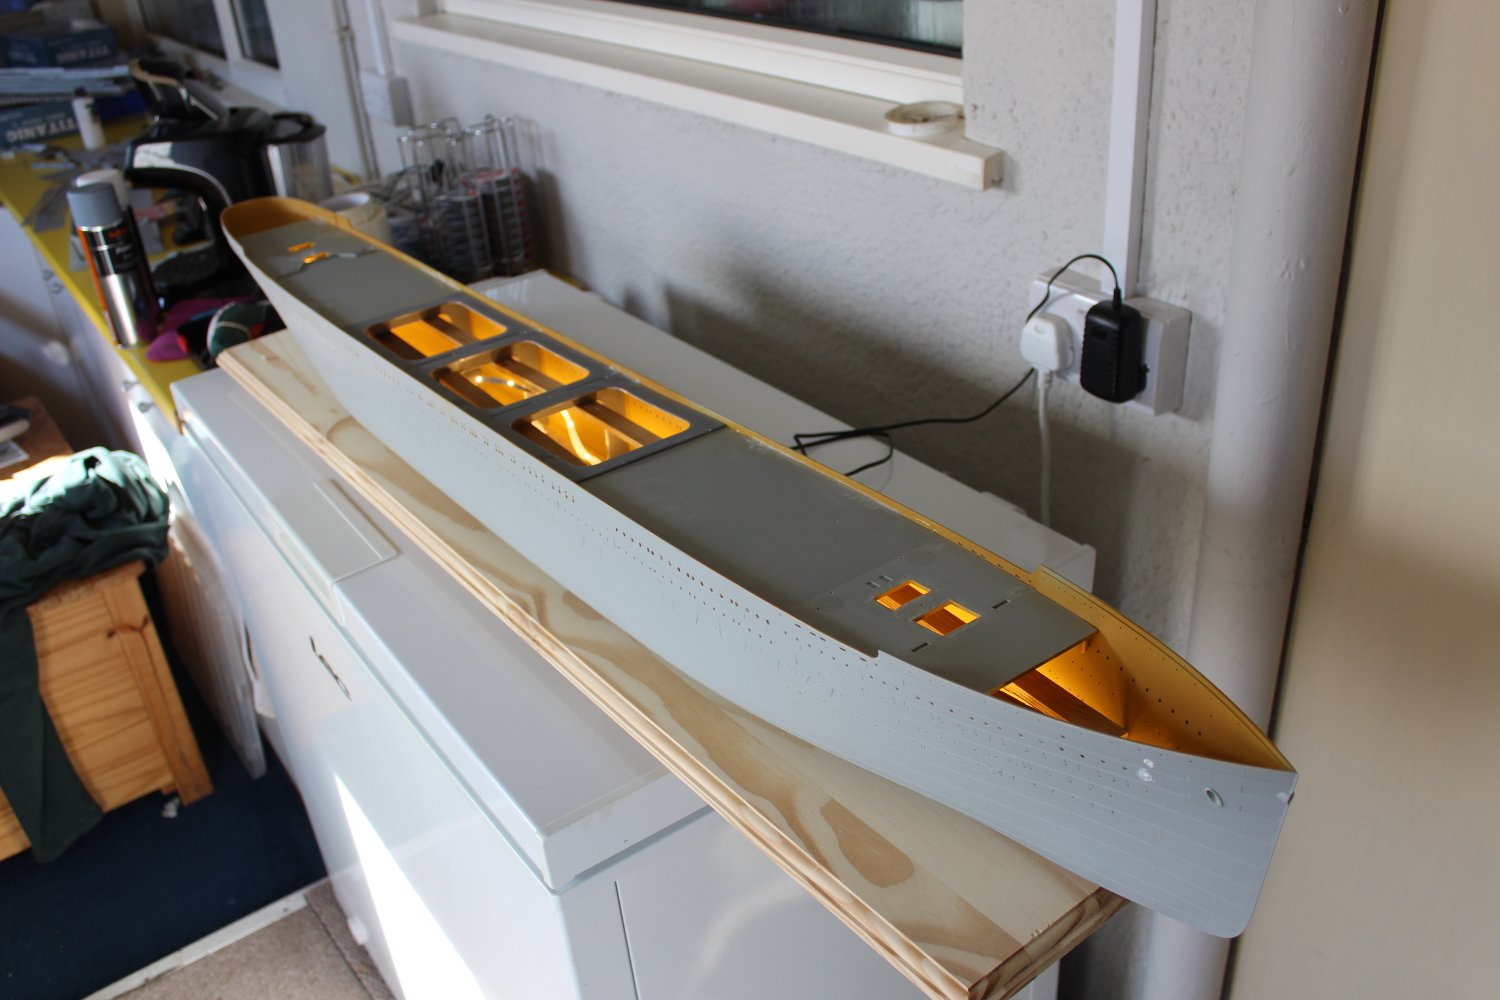
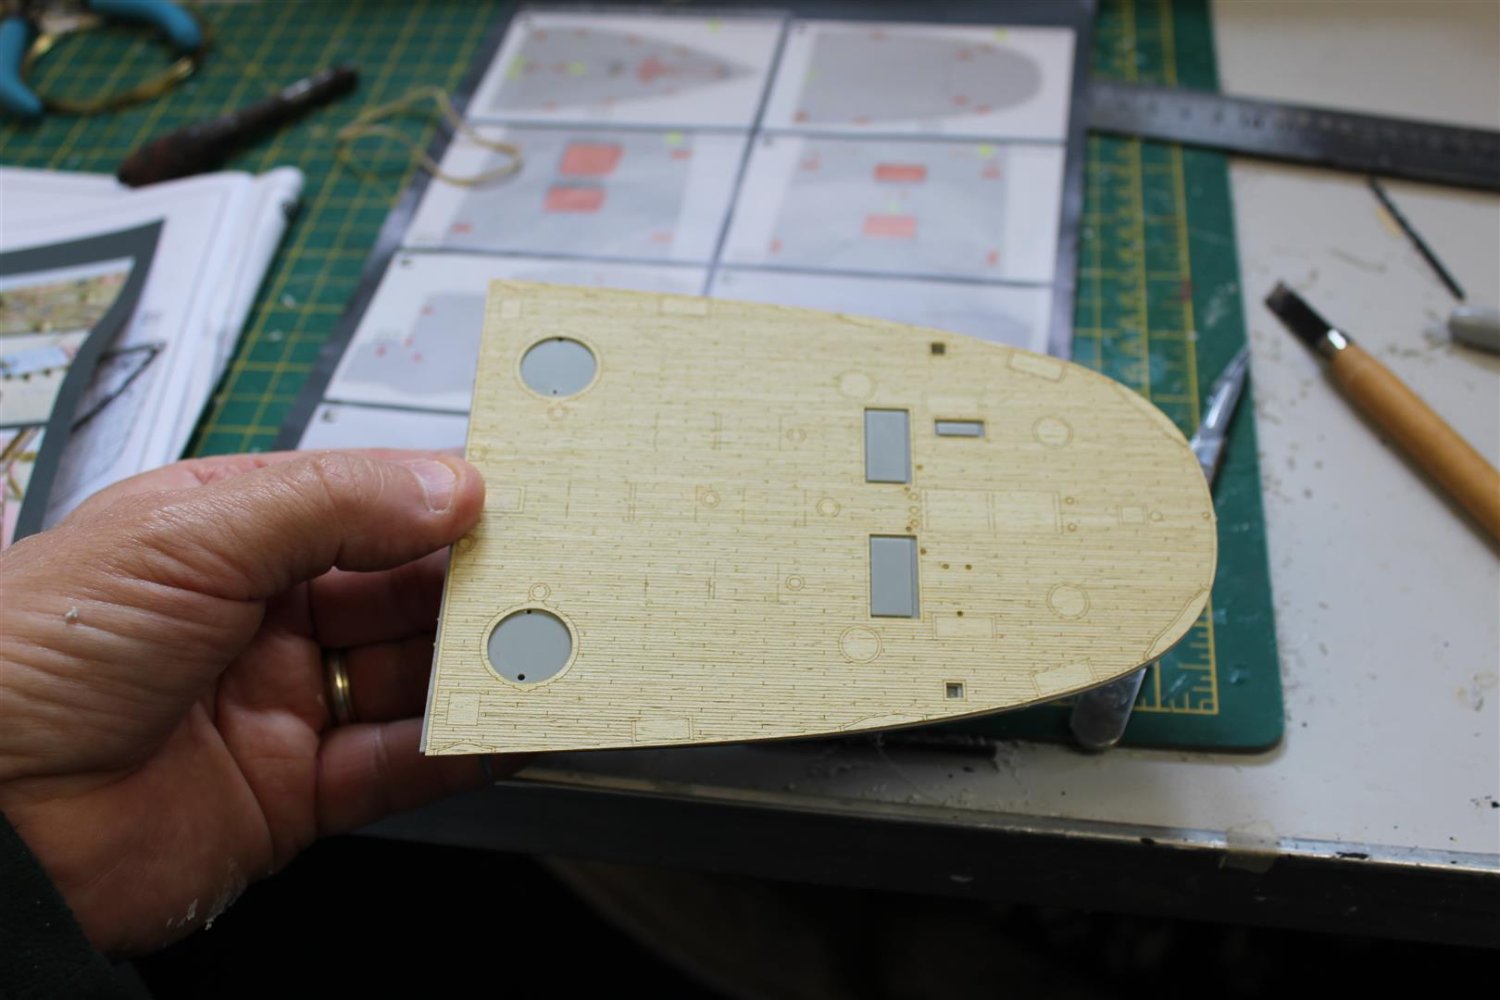
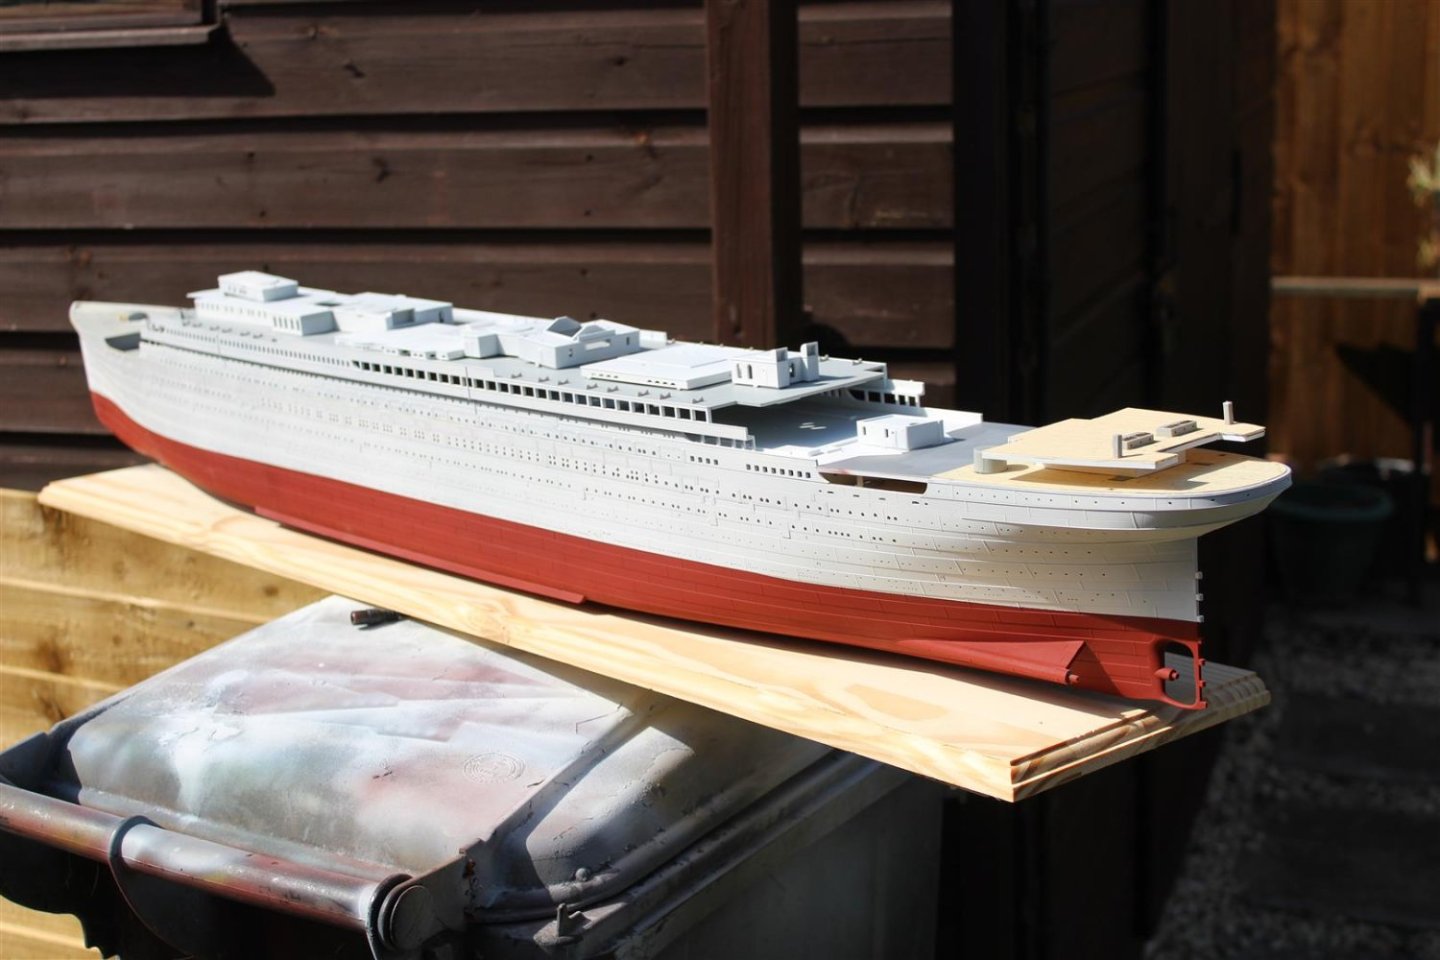
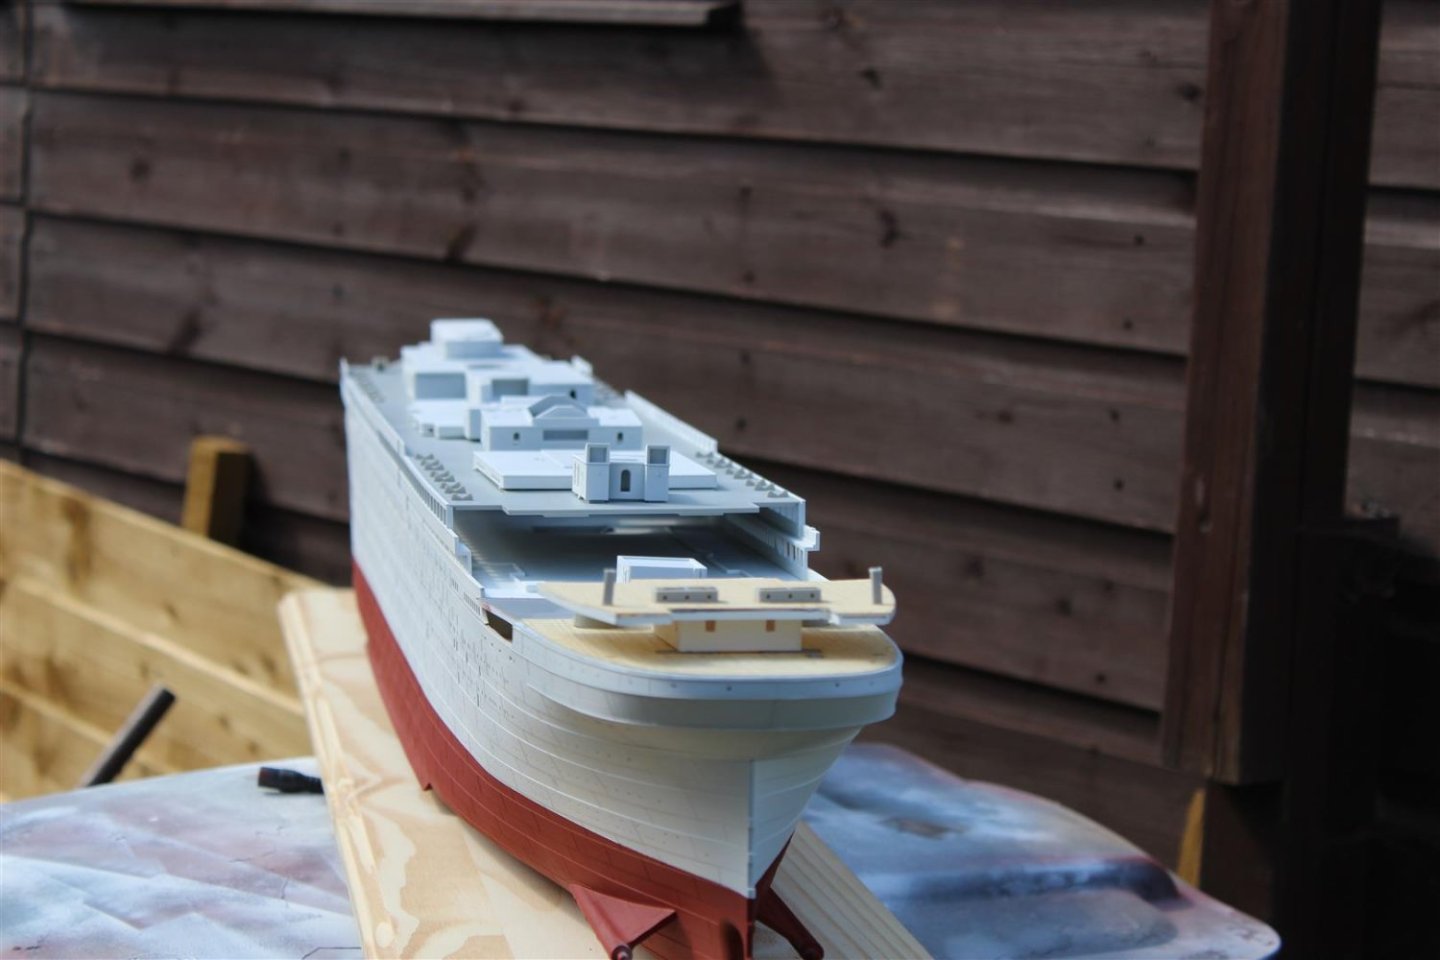
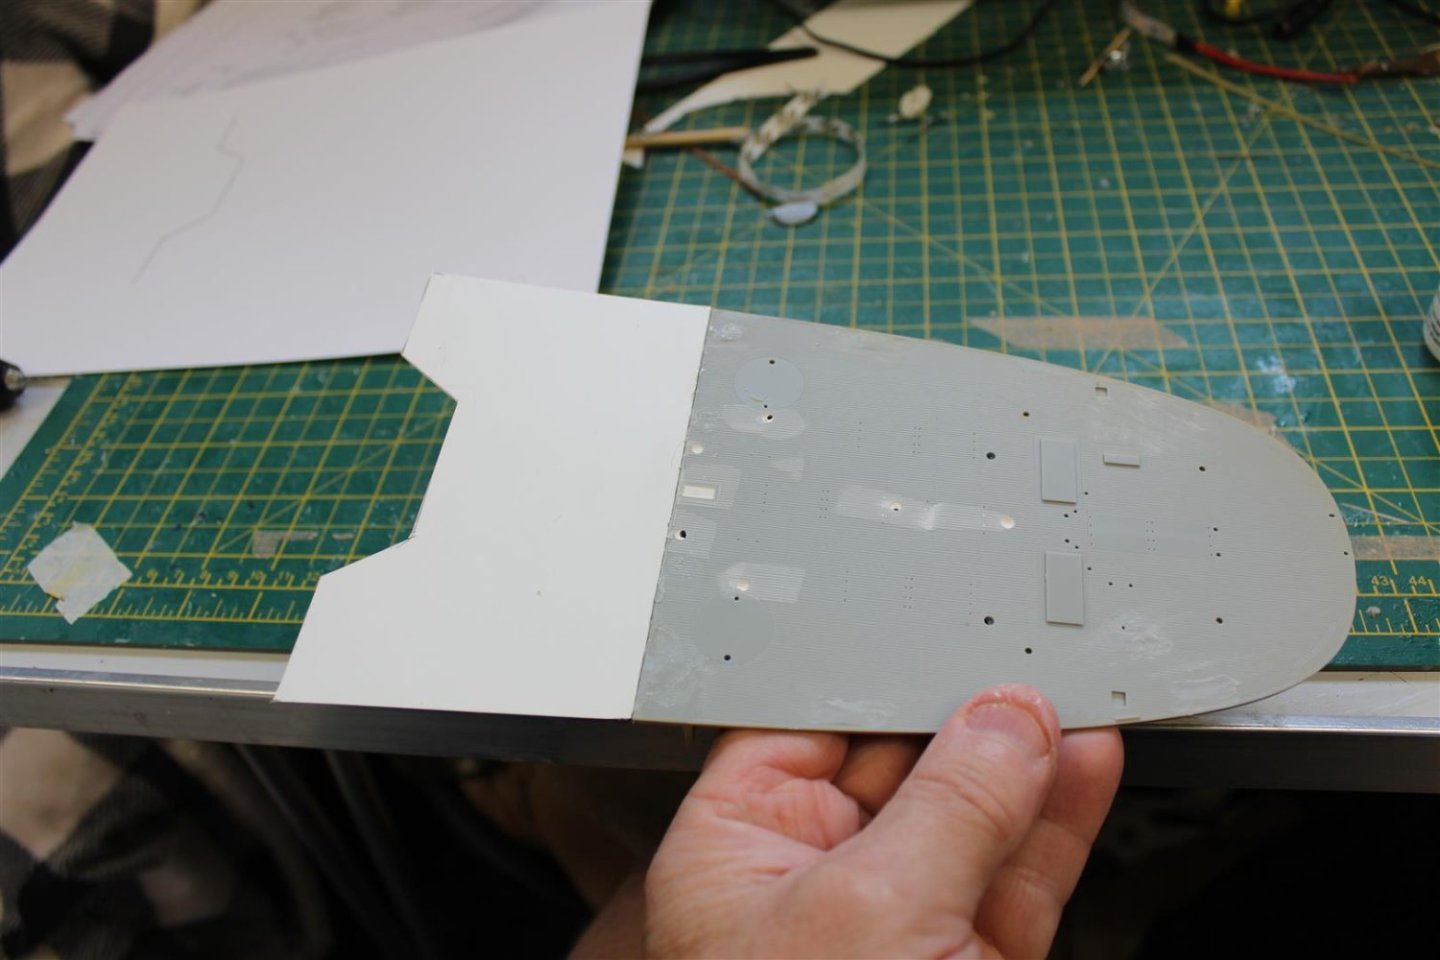
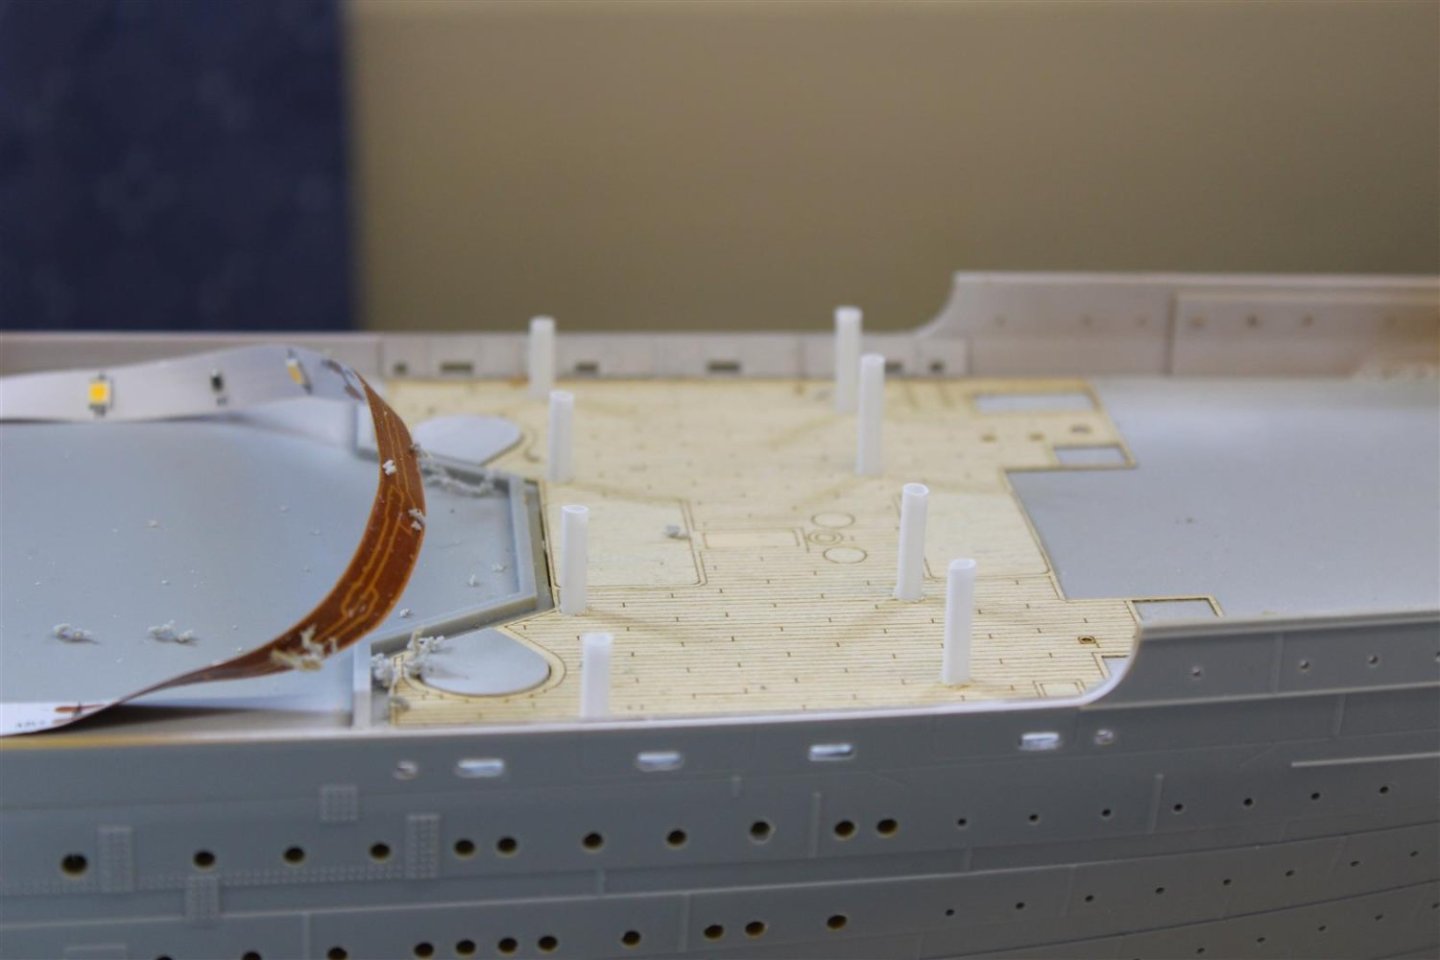
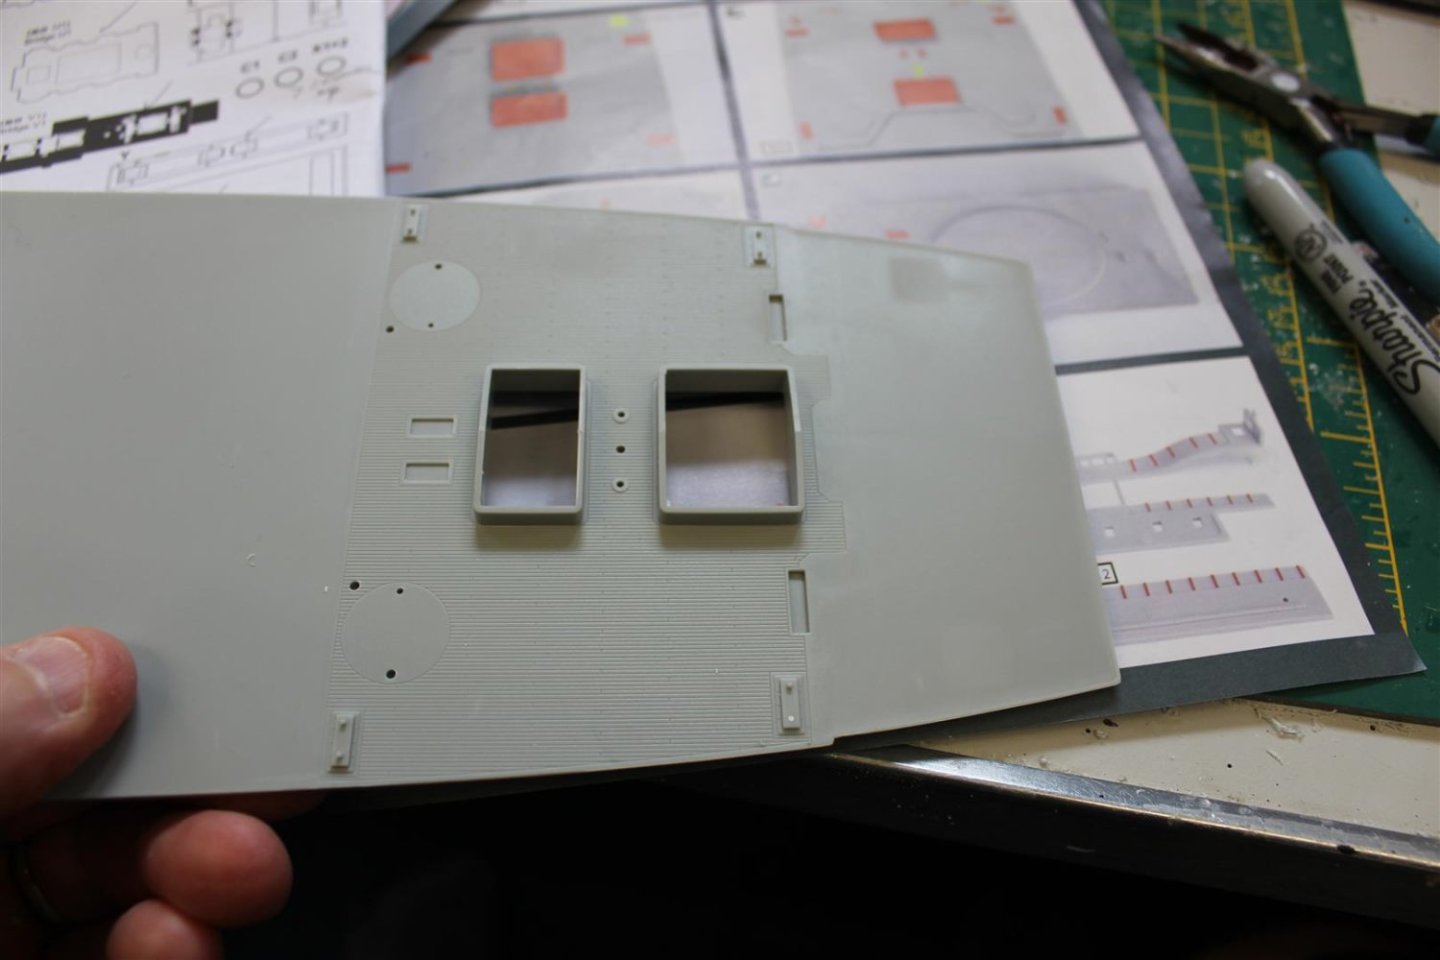
good afternoon everyone thank you for comments and like day 9 after well deck Britannic had lots of changes made to her, as a result of the titanic loss,, the after well deck was one of them it was decided that 3rd class passengers needed somewhere to smoke and protected from the elements to achieve this they removed the hatched to the after cargo holds (but at present i dont know where to)


- 165 replies
-
- 10
-
-
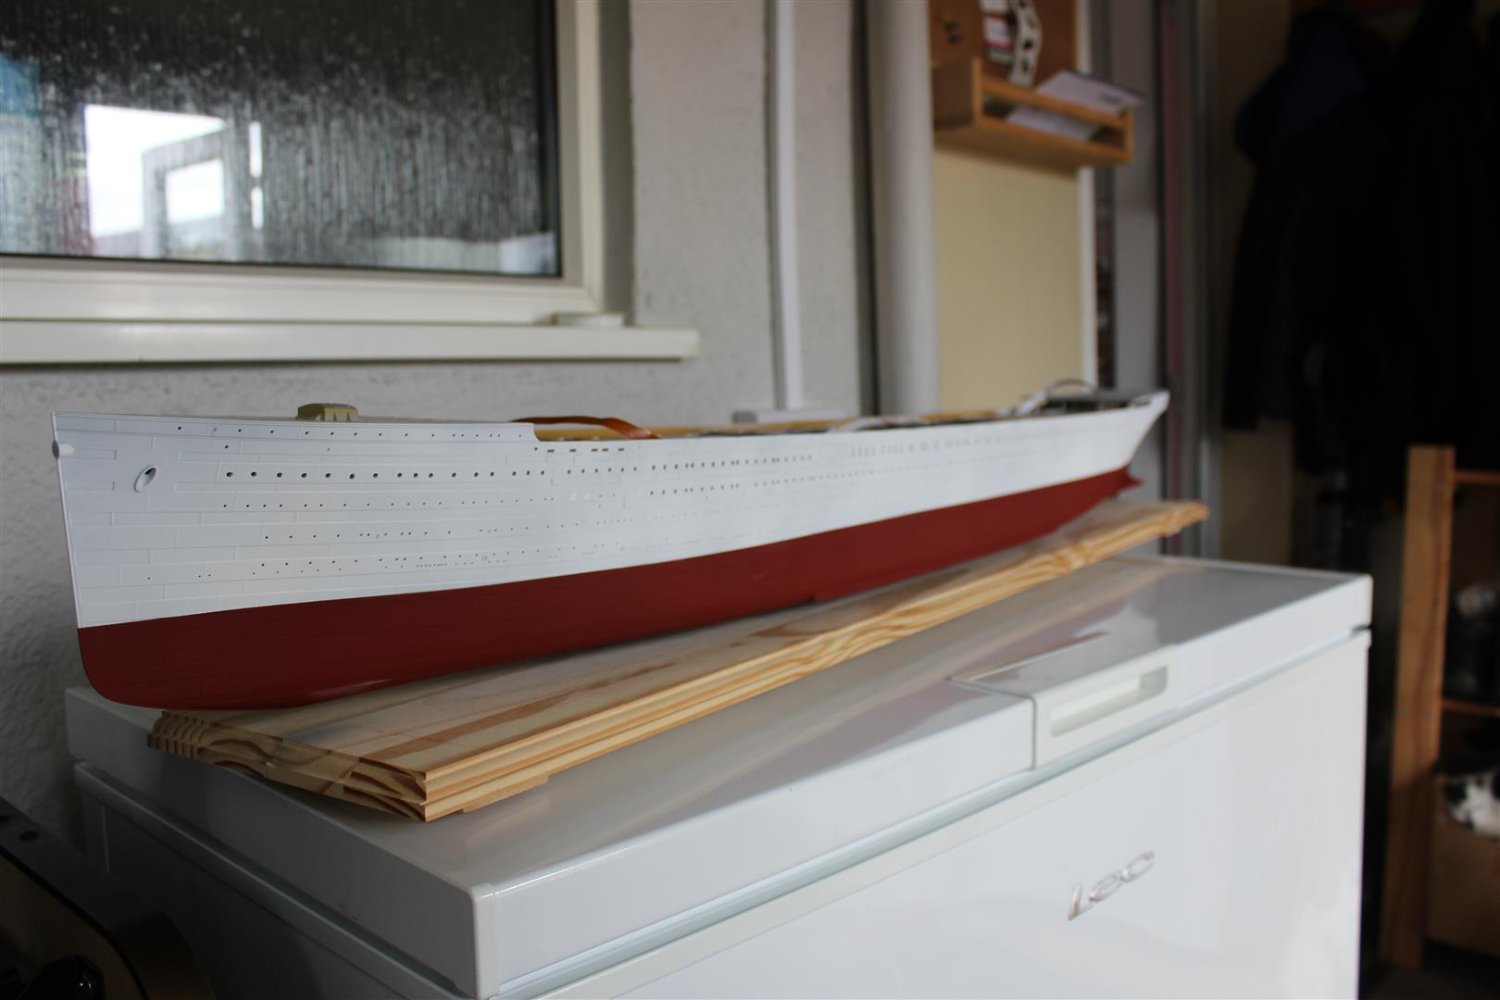
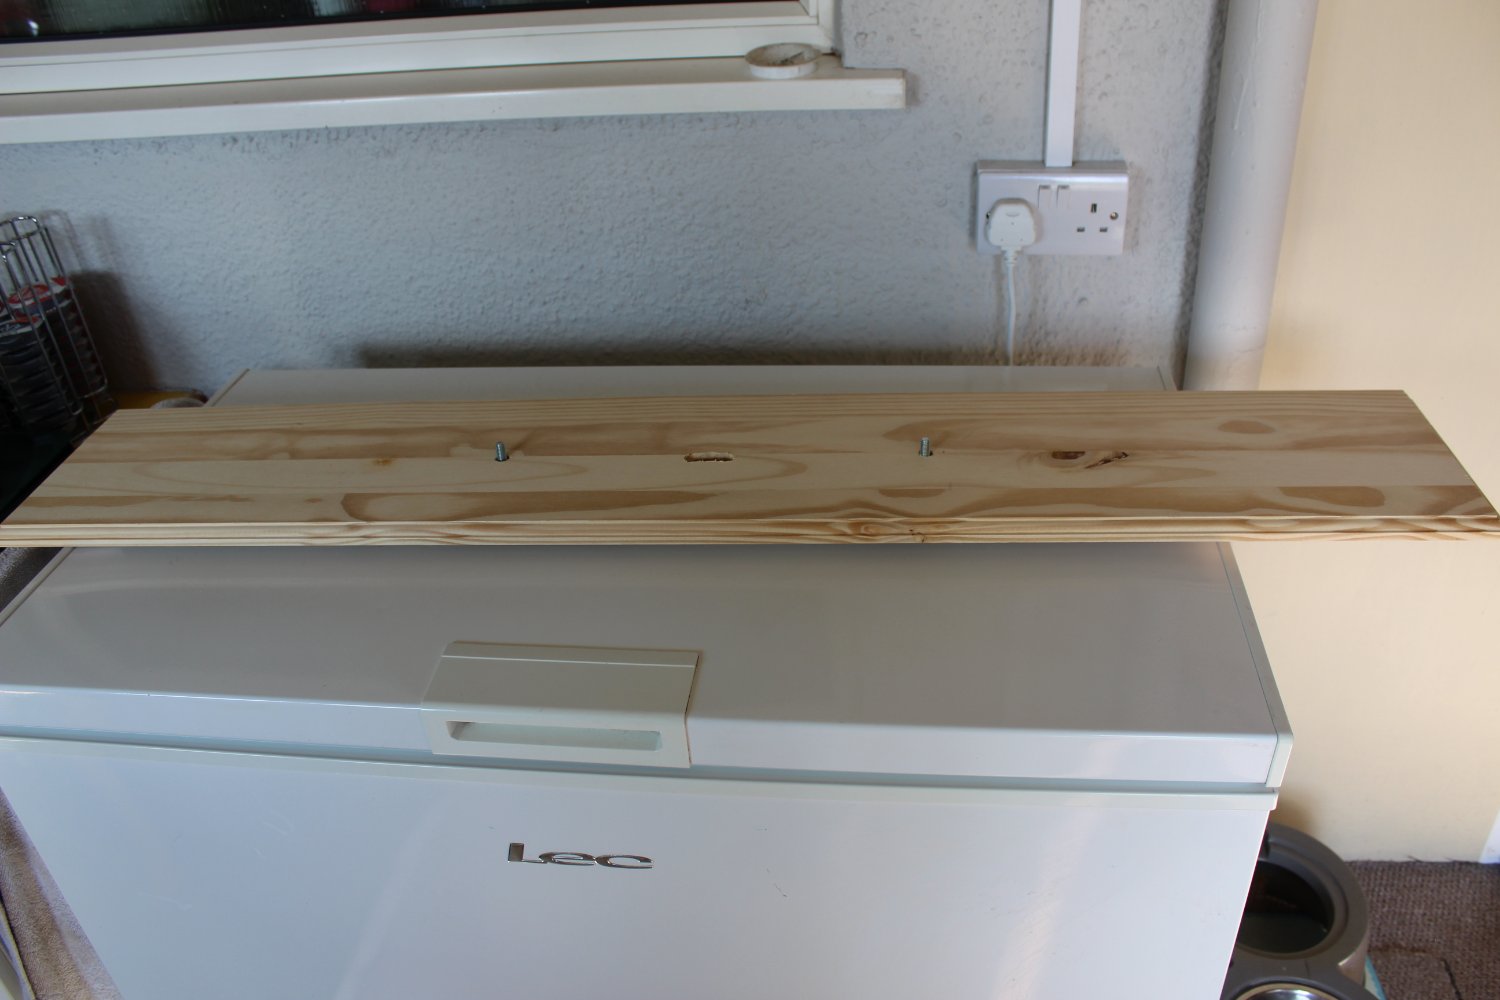
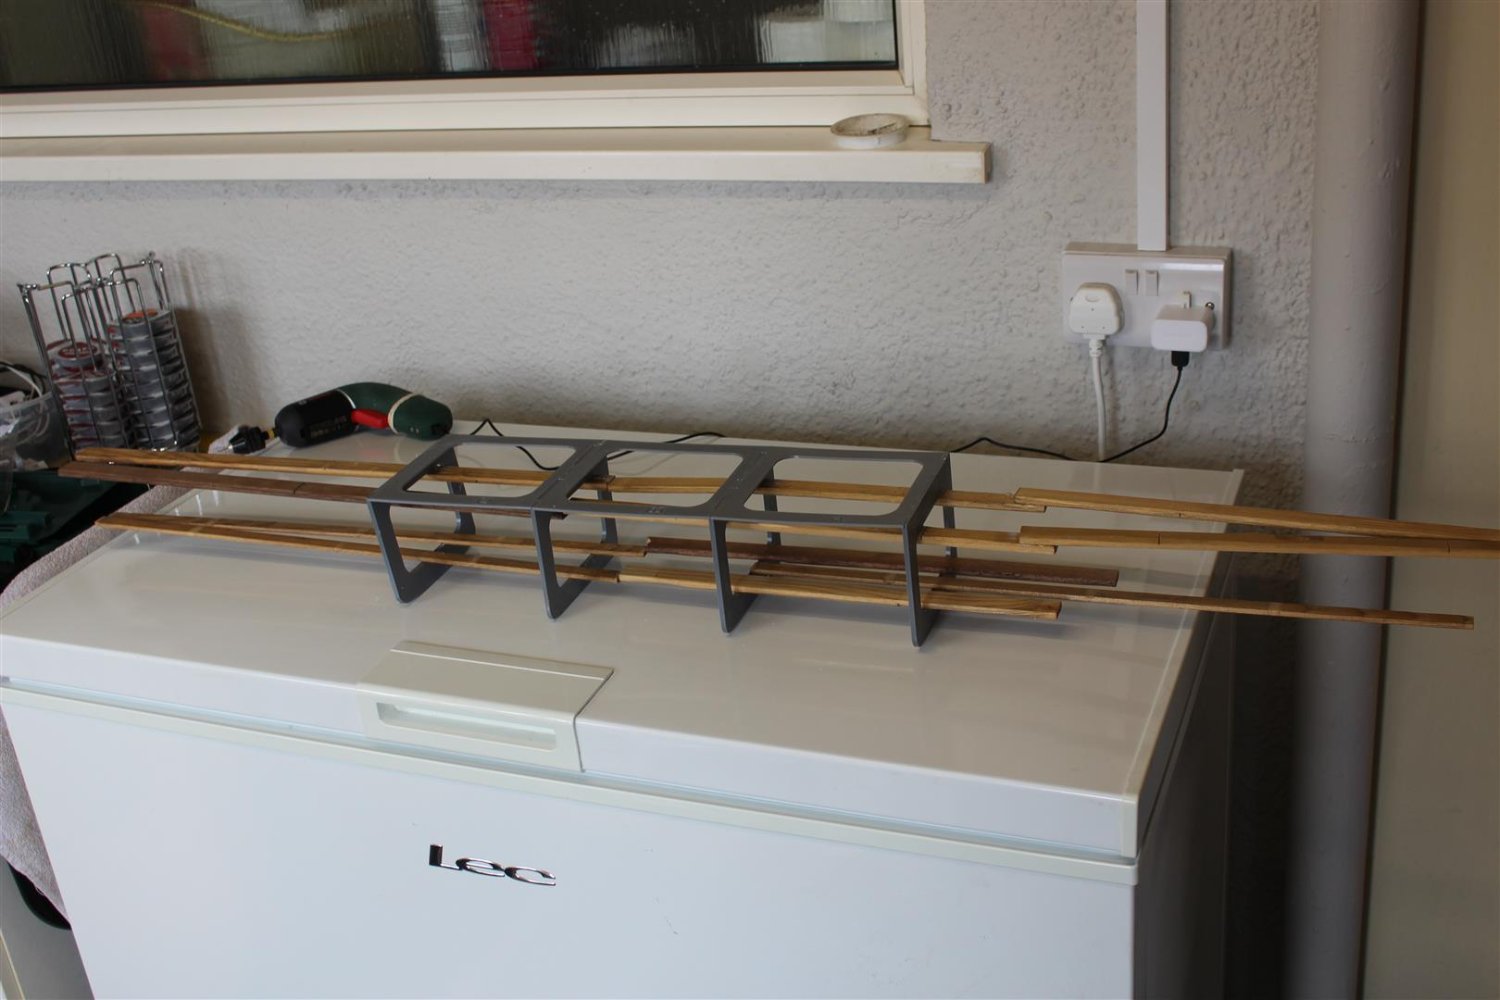
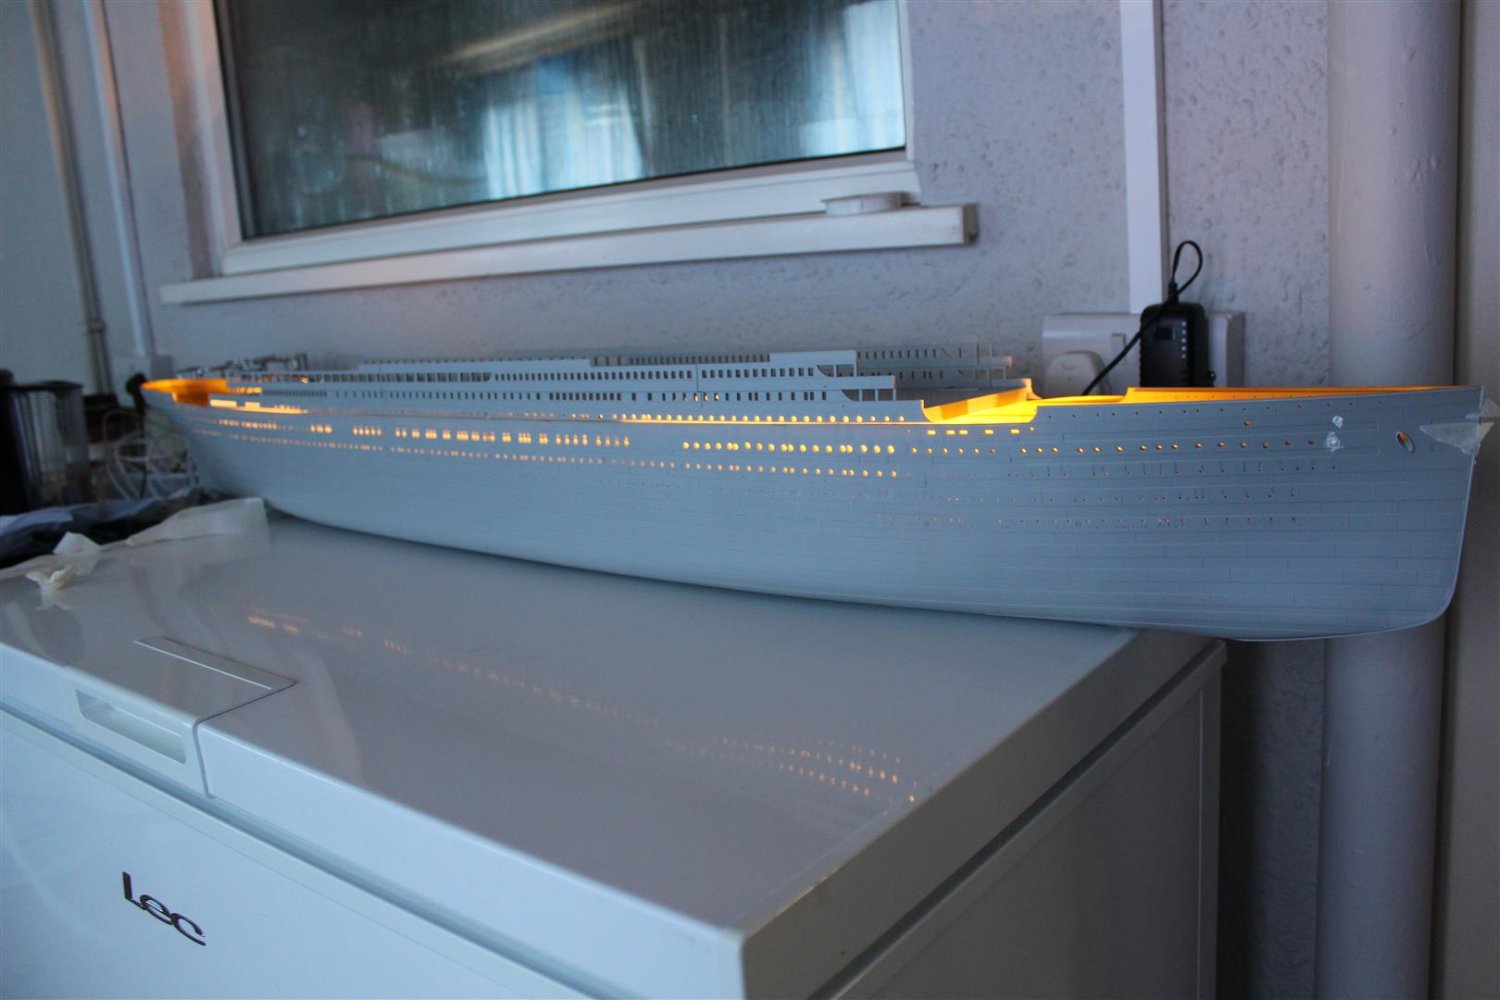
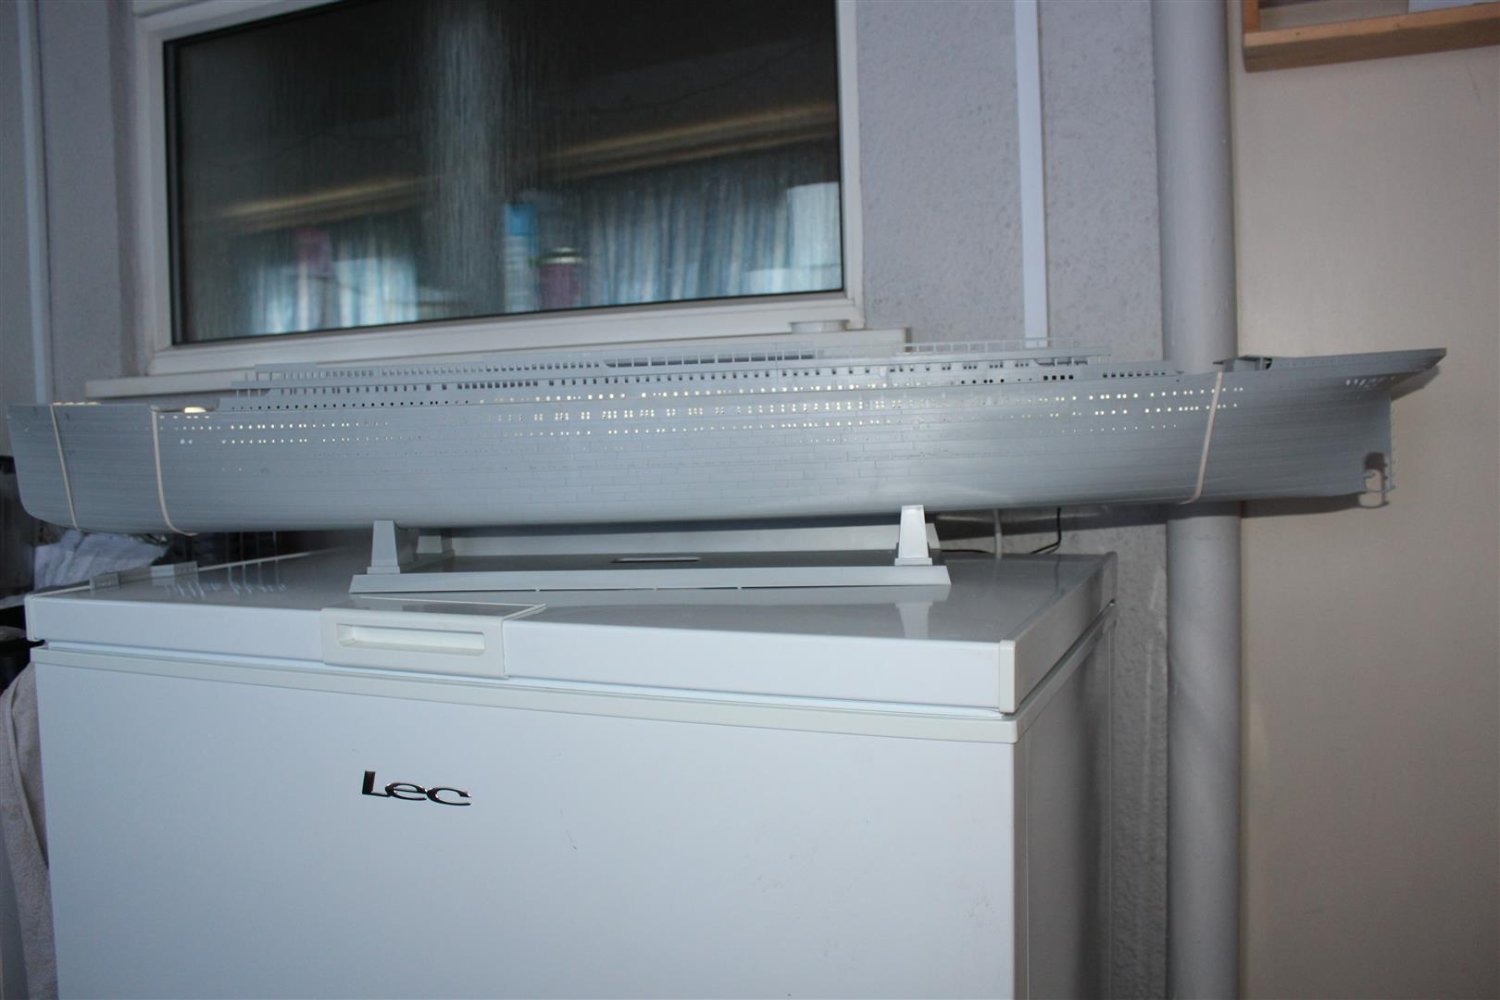
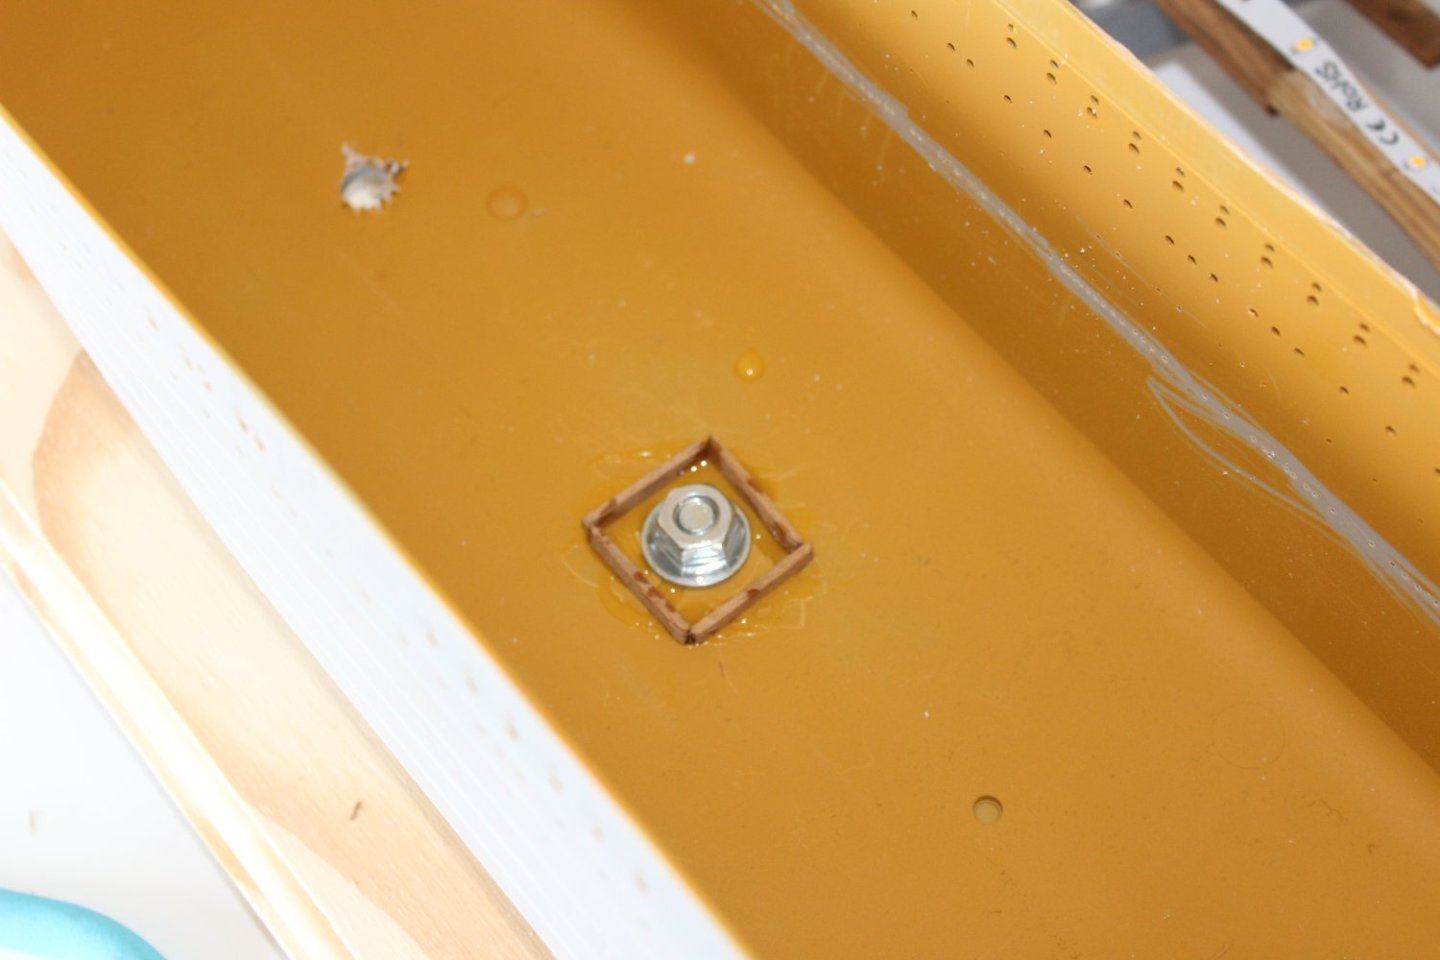
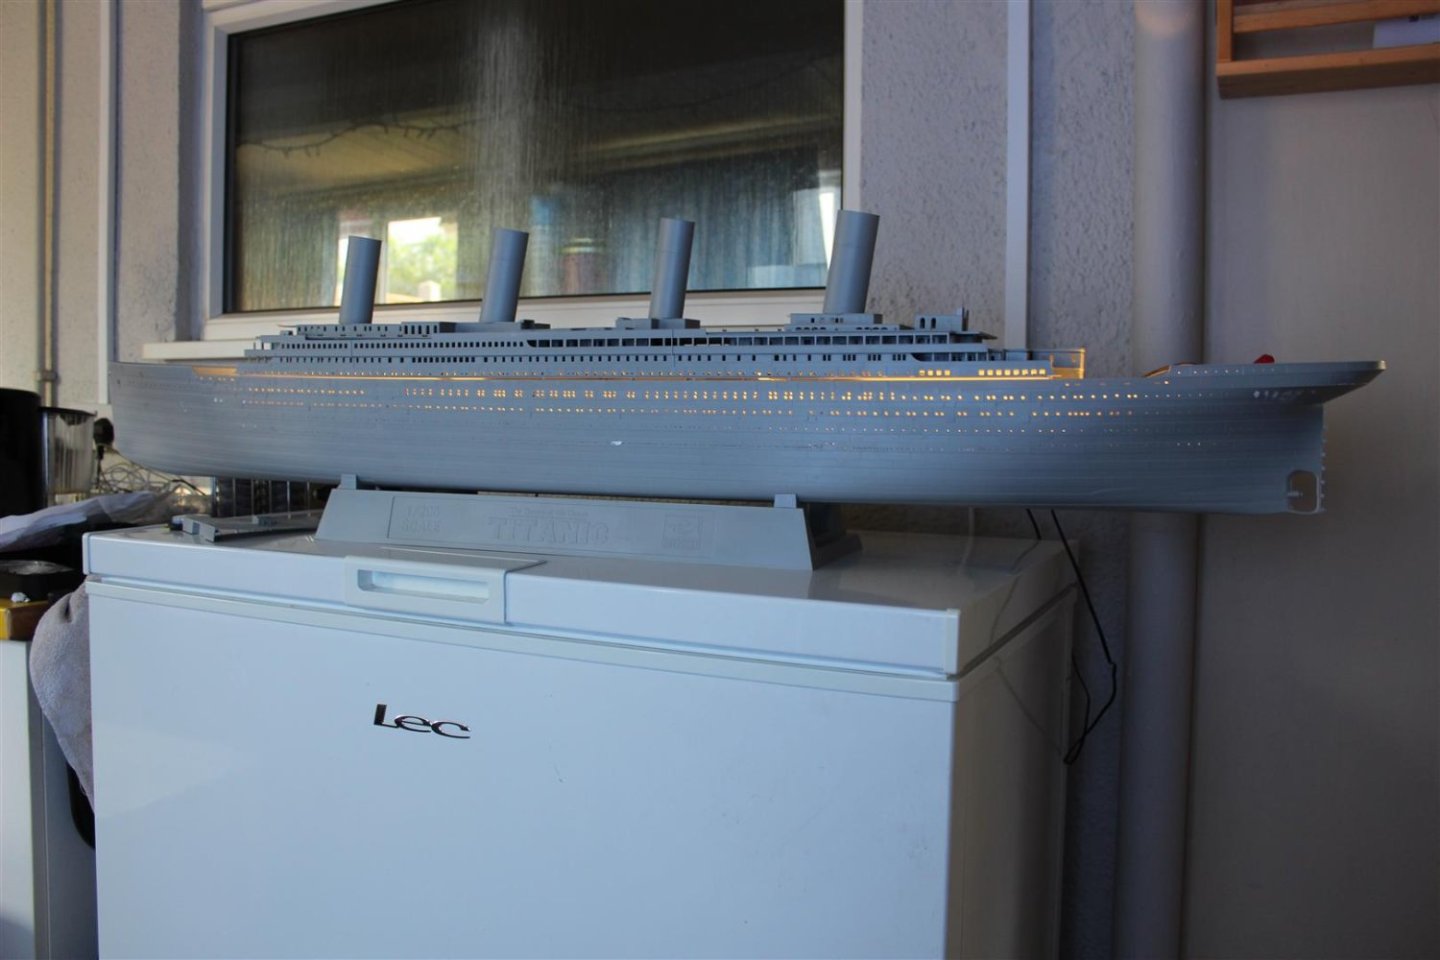
good evening everyone thank you for comments and likes day 8 after completing the portholes, i then redid them from the other side to clear the swarf, and then reprimed a cheap shelf unit, will be the main stand, holes drilled in the keel and base to keep her in place, and power outlet, the nuts inside the hull are permanently fixed with two part expoy the main deck is now also inits final position and fixed the forcastle will be the next part, after i have sorted the power run


- 165 replies
-
- 13
-
-
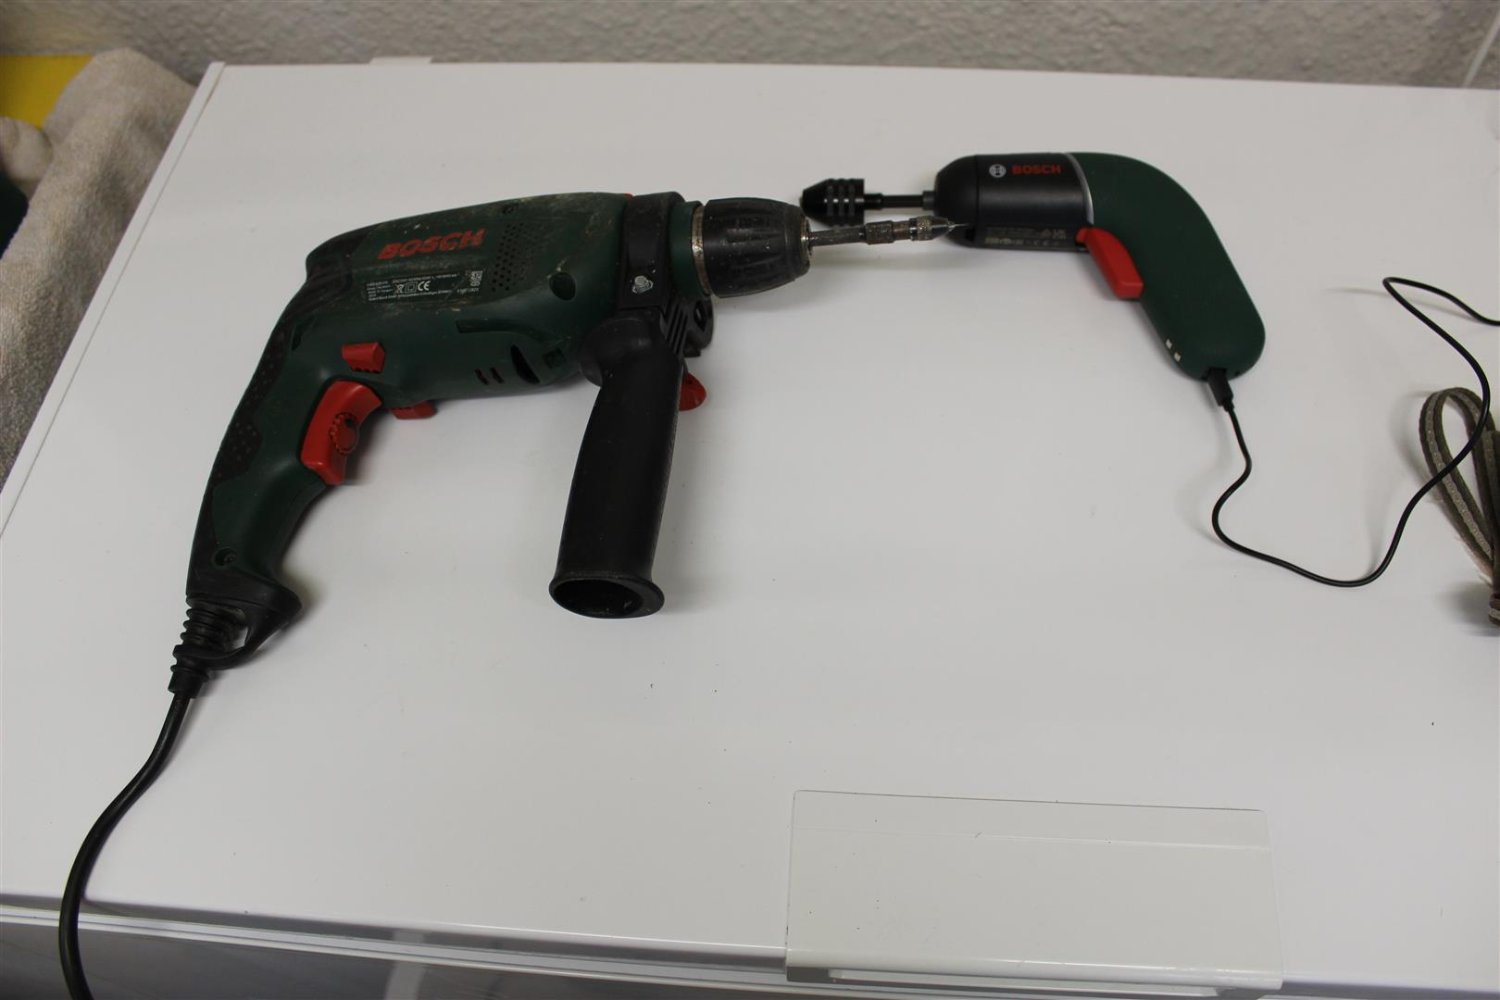
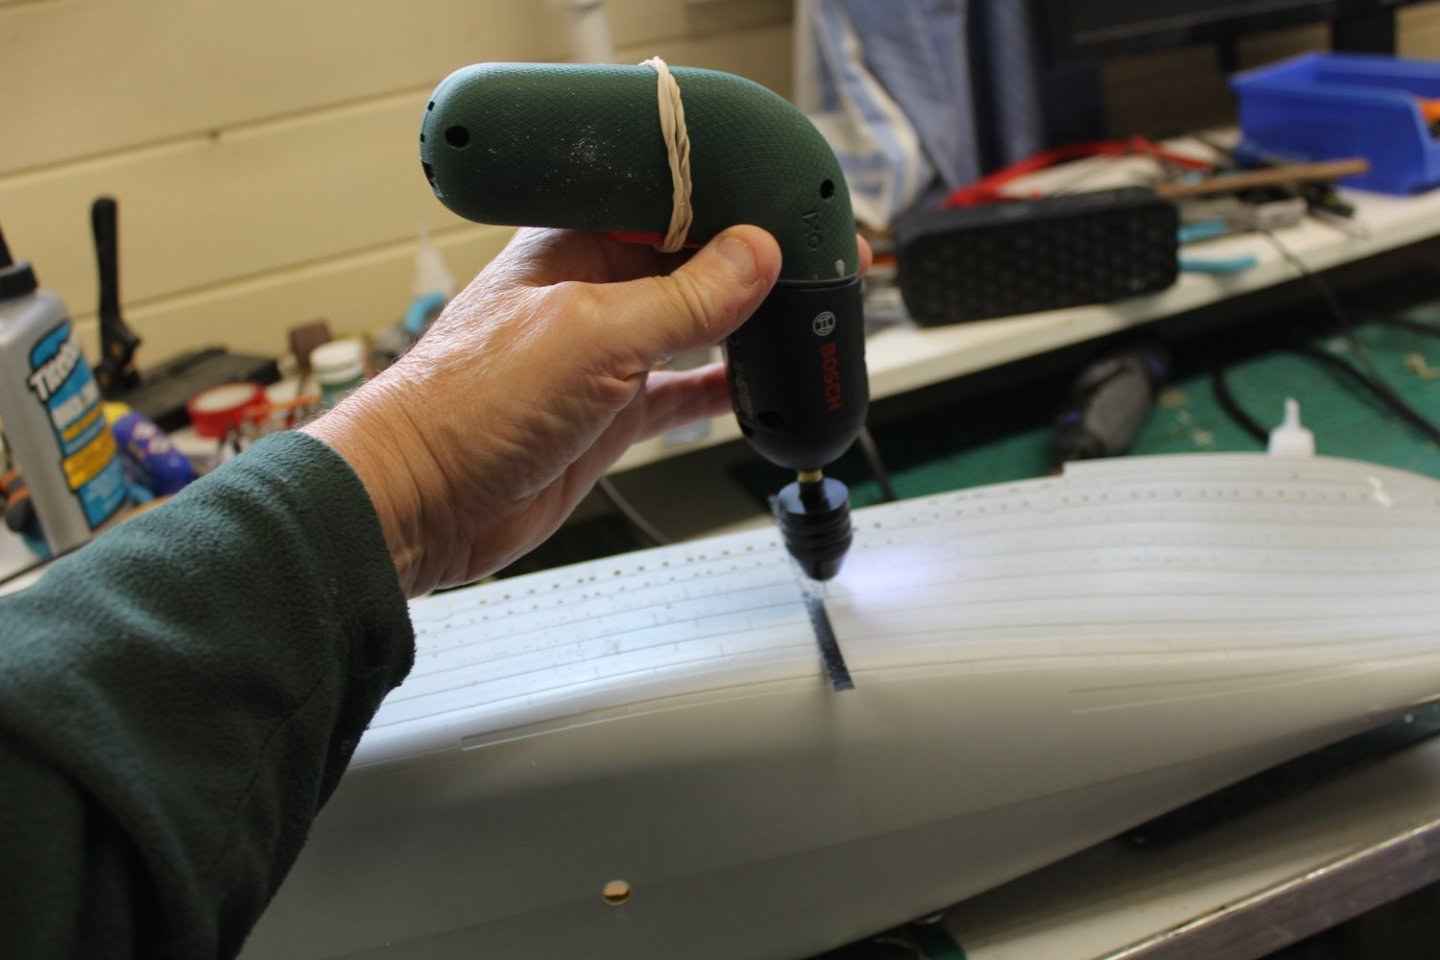
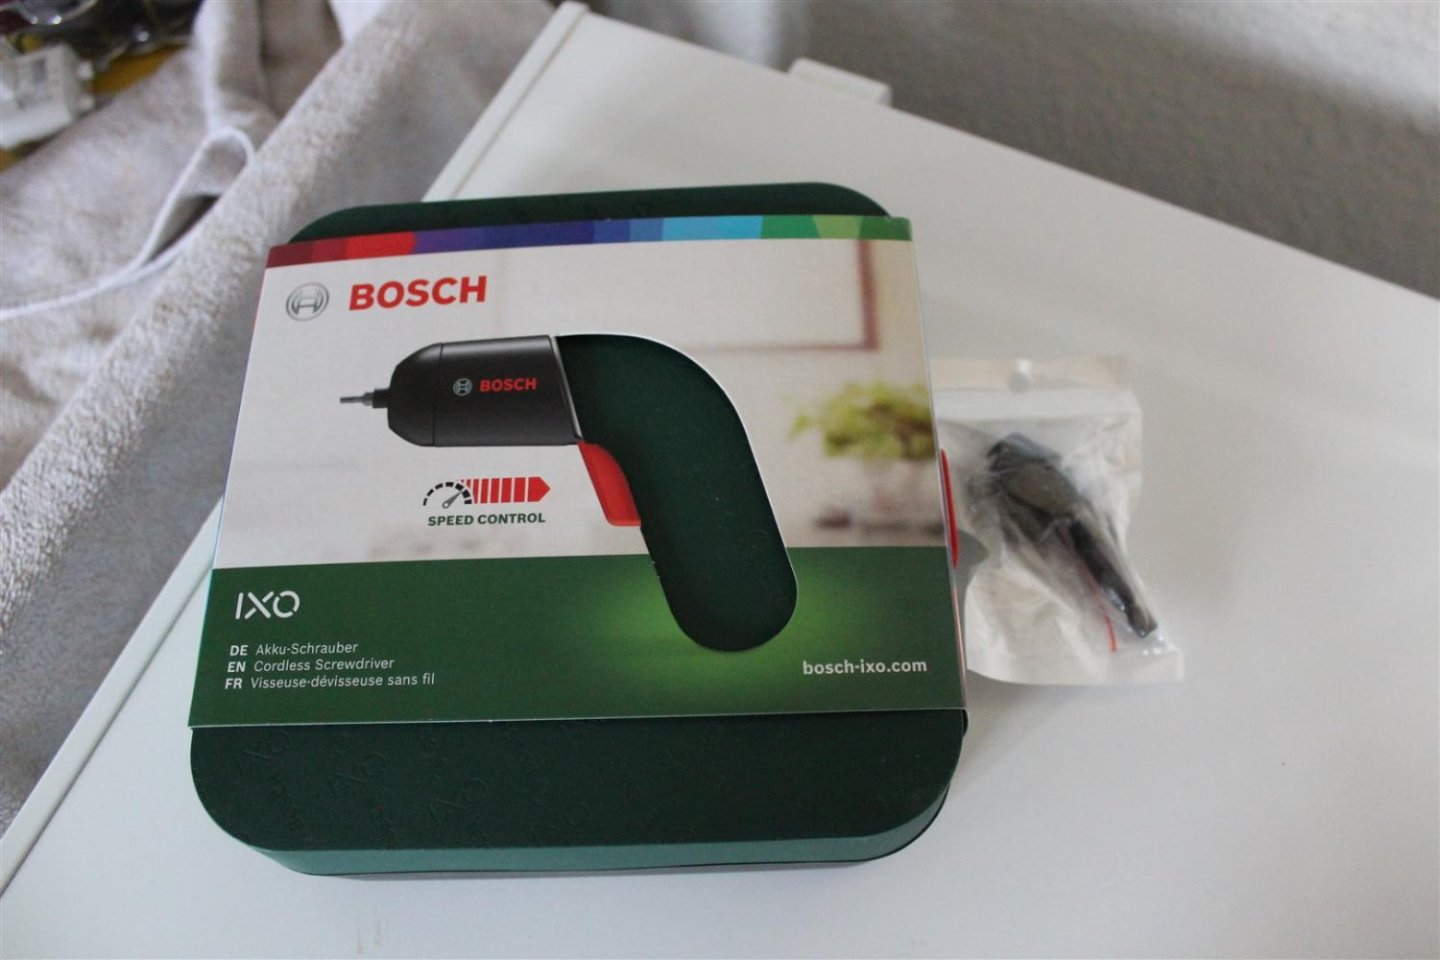
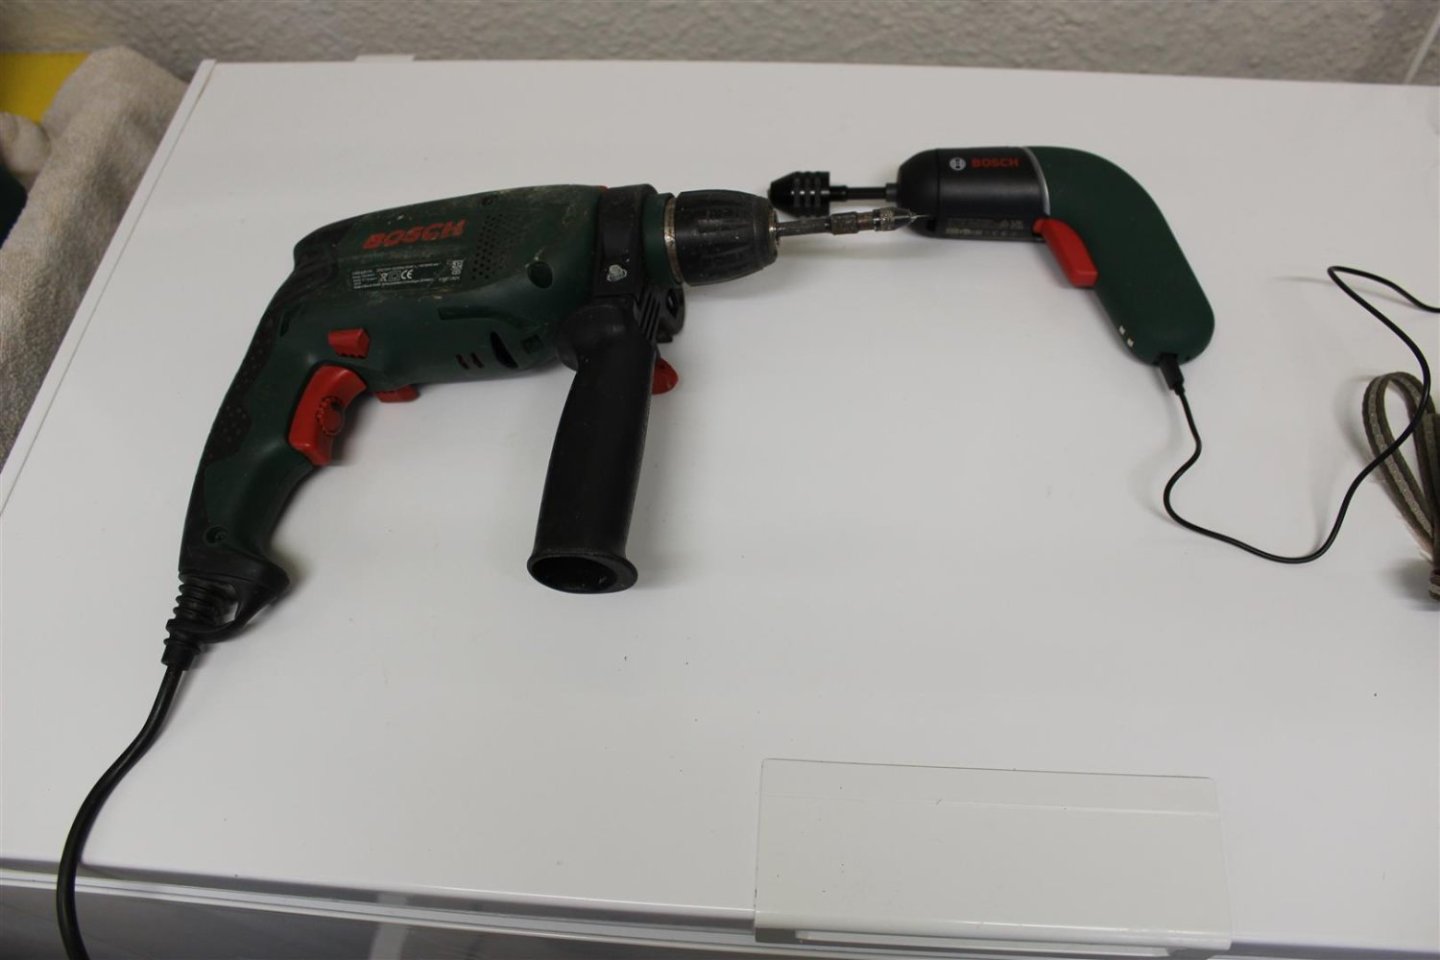
i will most likely return the Bosch, it has not met my expectations, i never expected any play in the head, made worse by the loose hex shank mini chuck in the attachment holder,
-
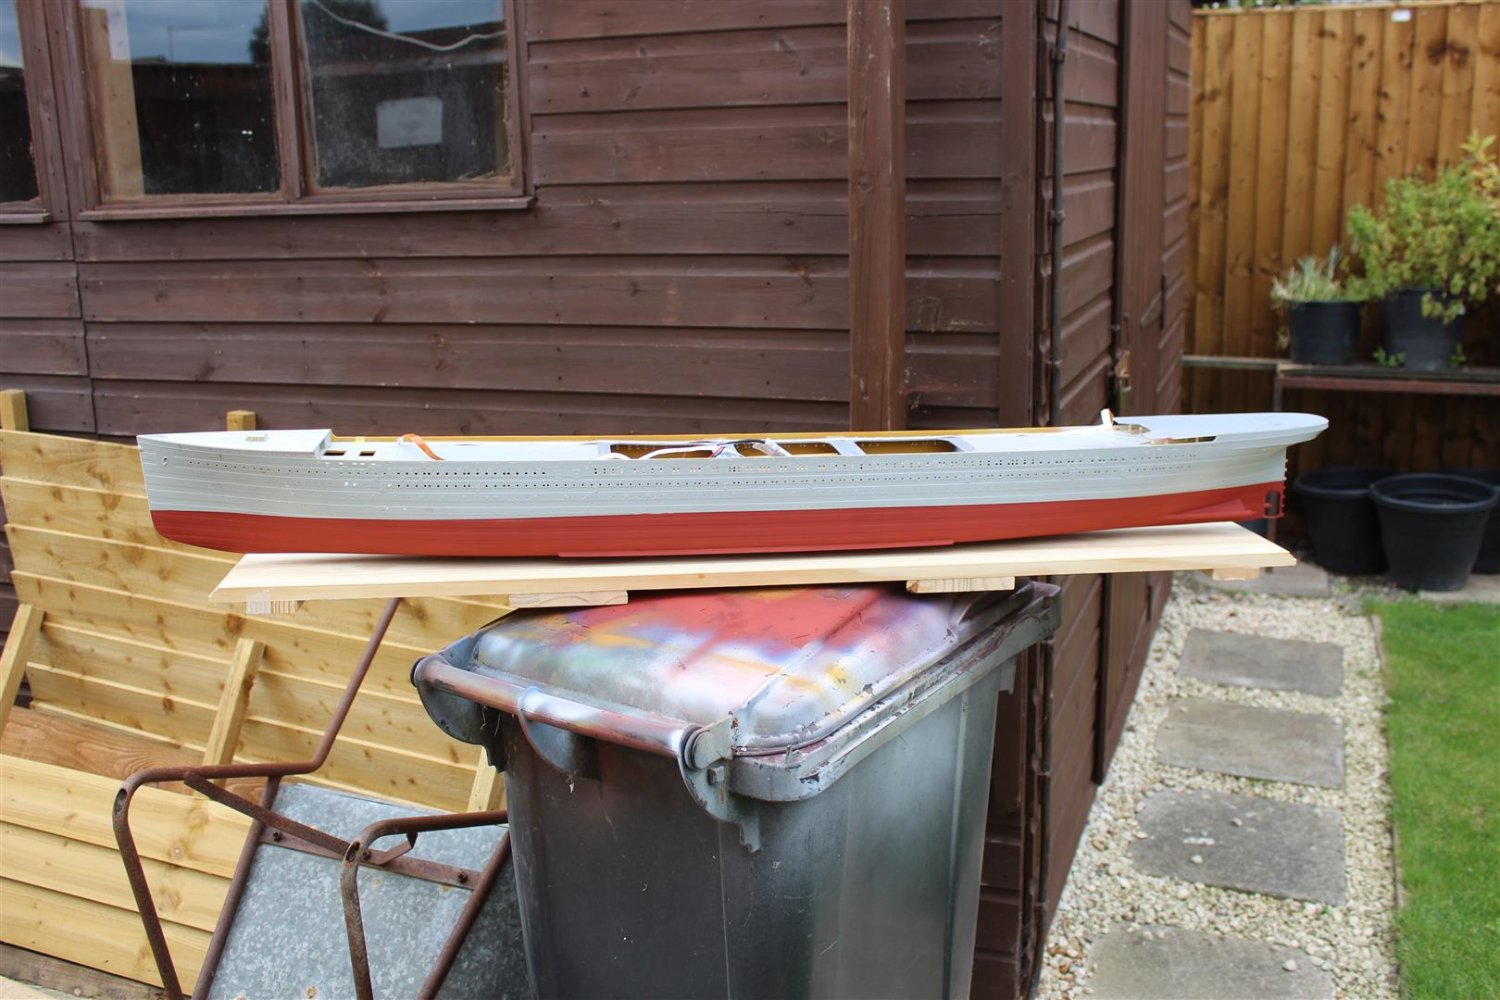
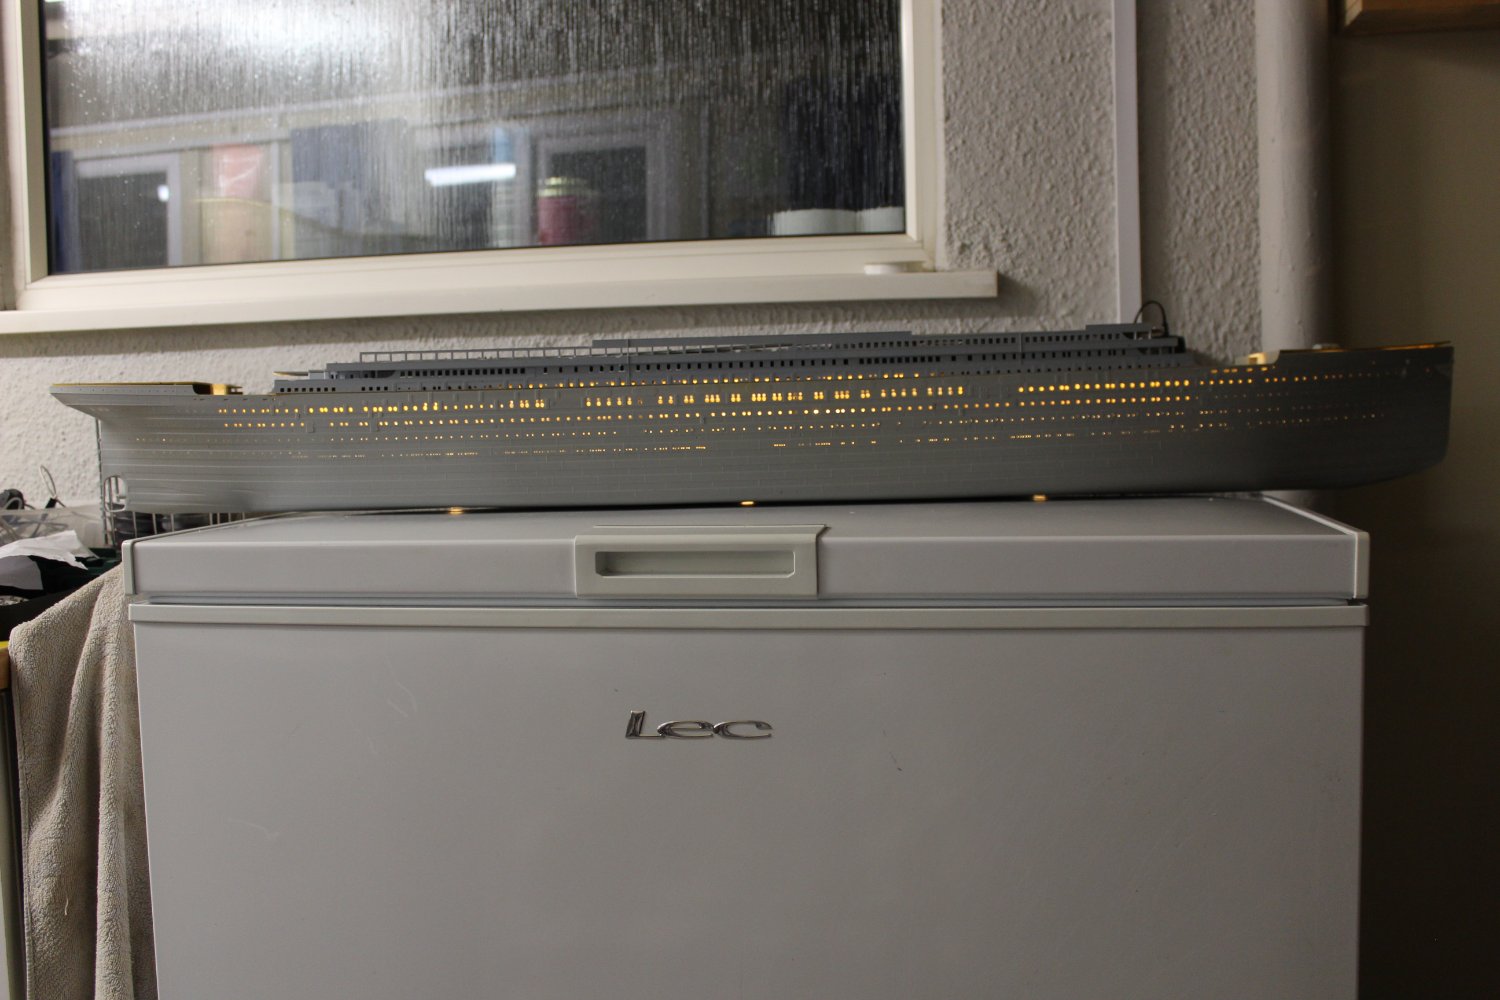
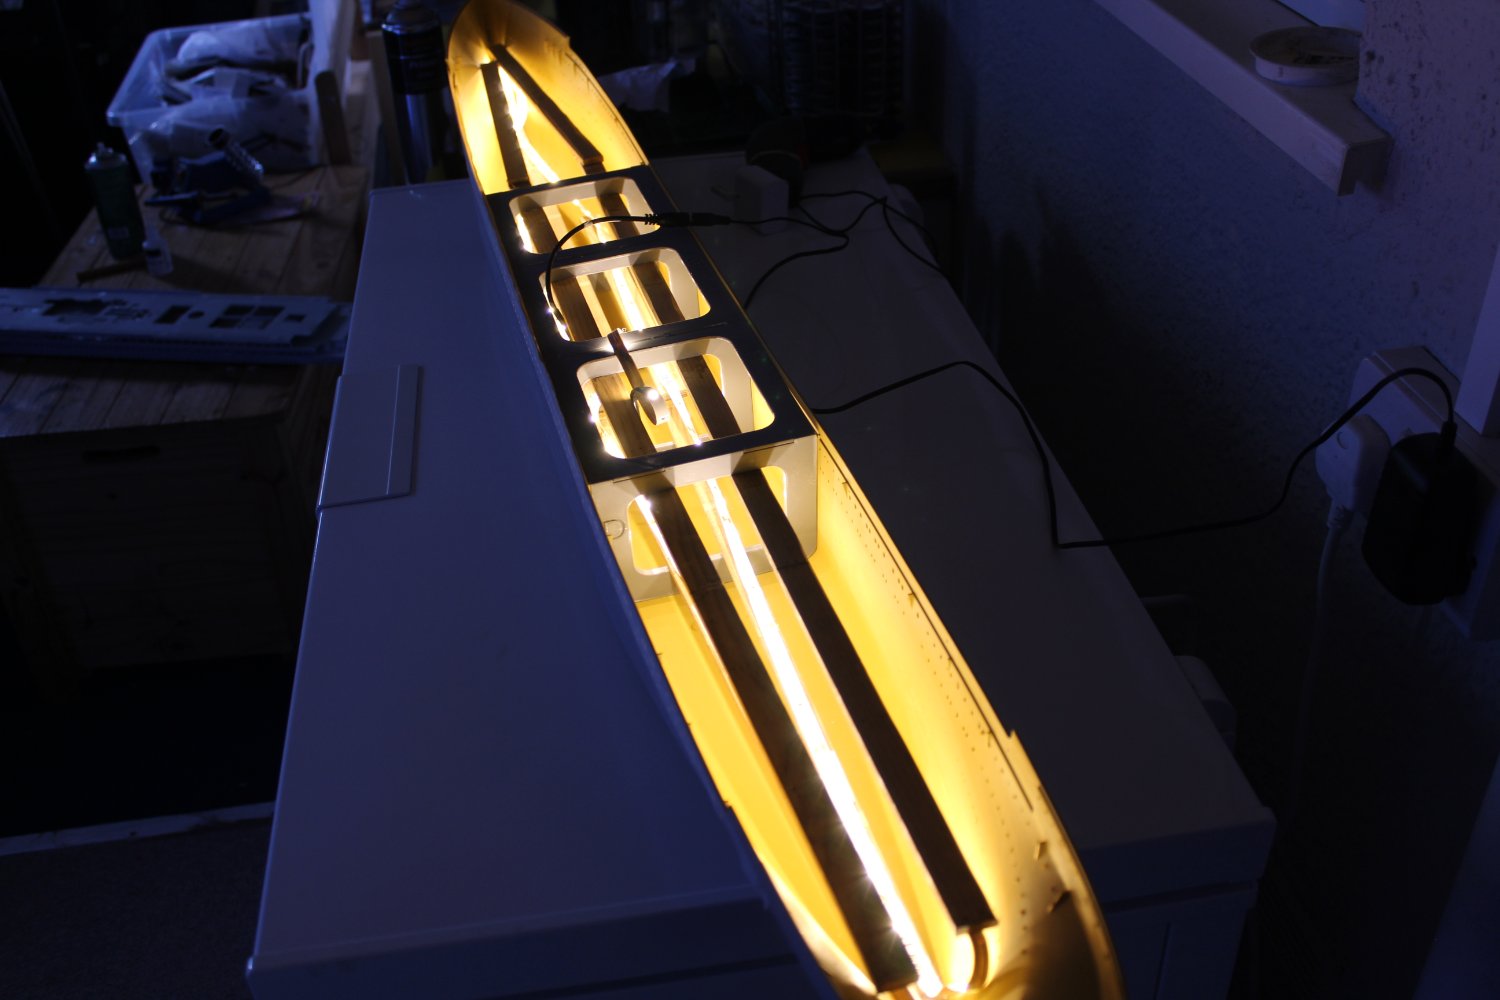
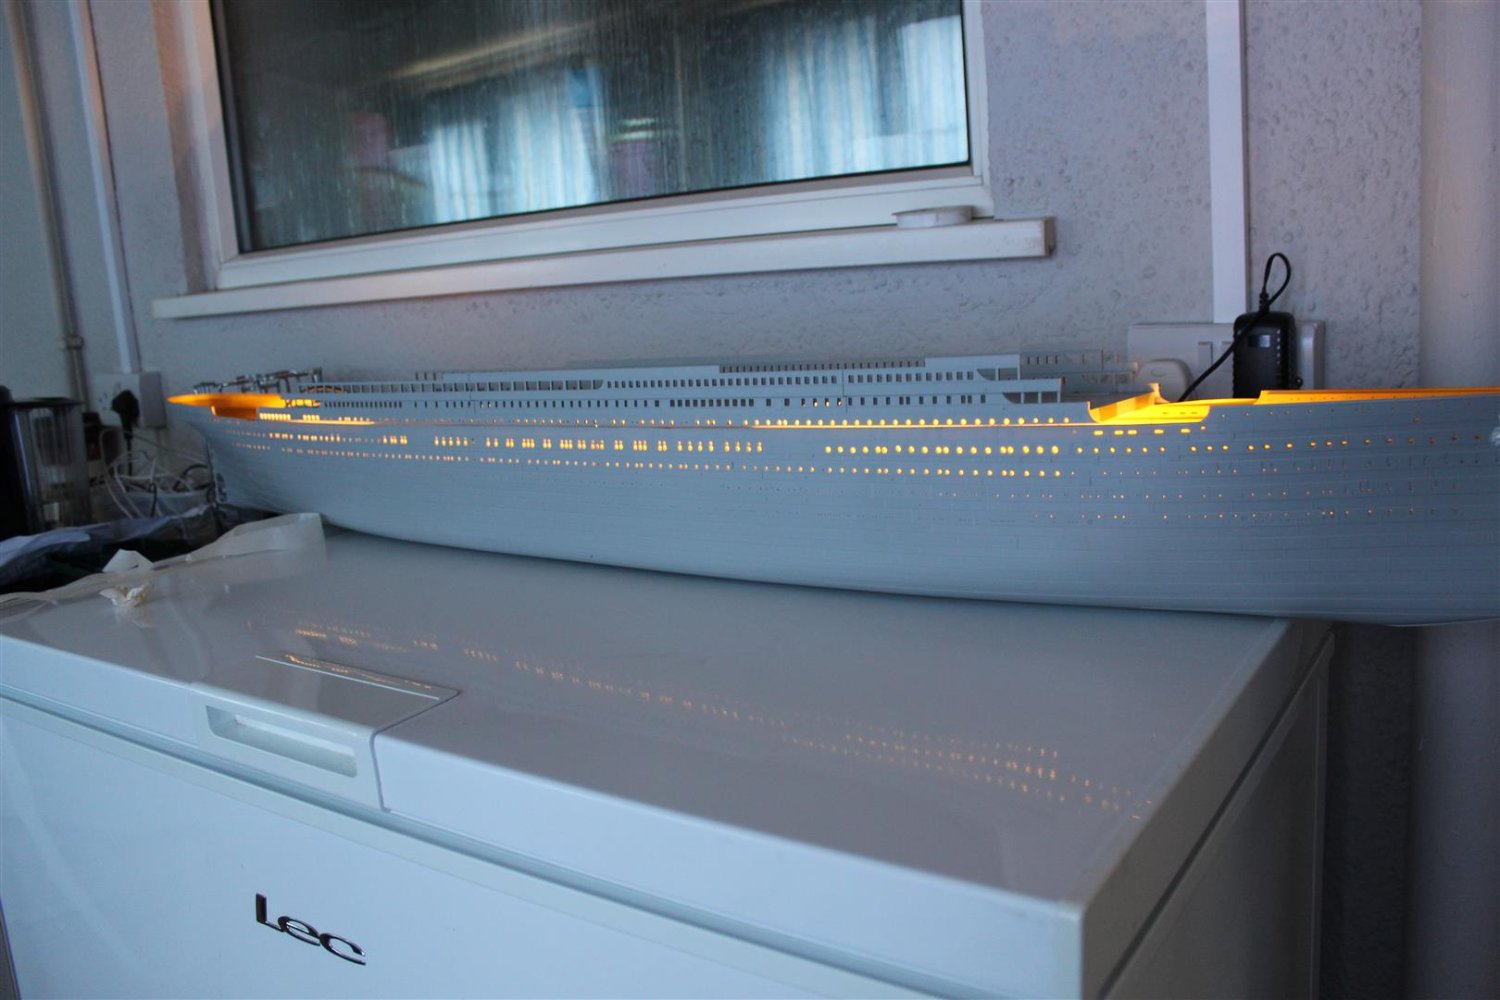
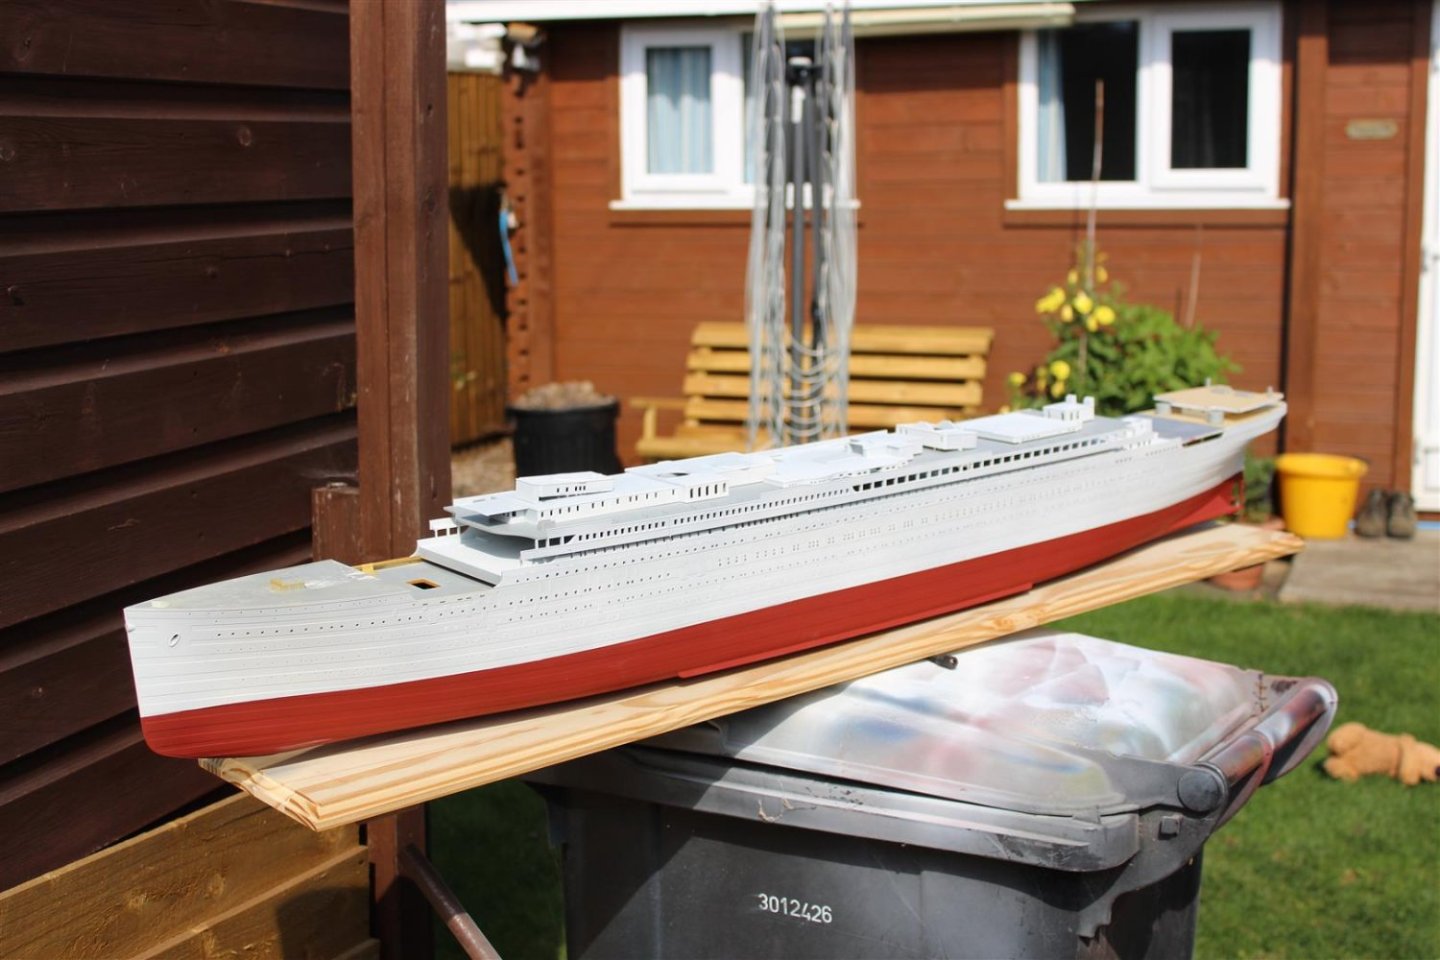
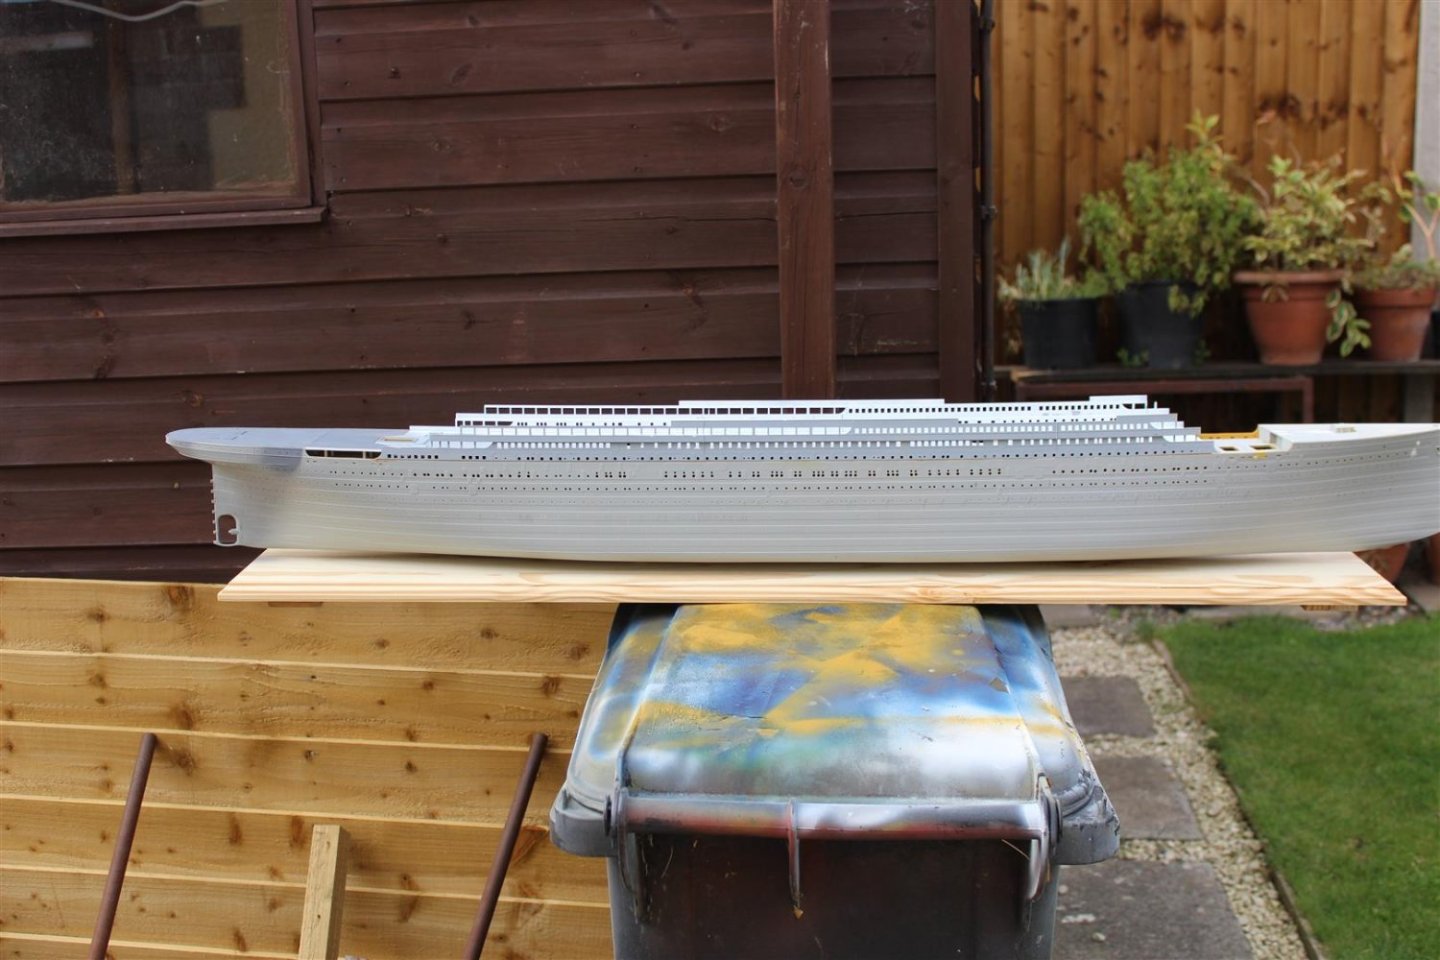
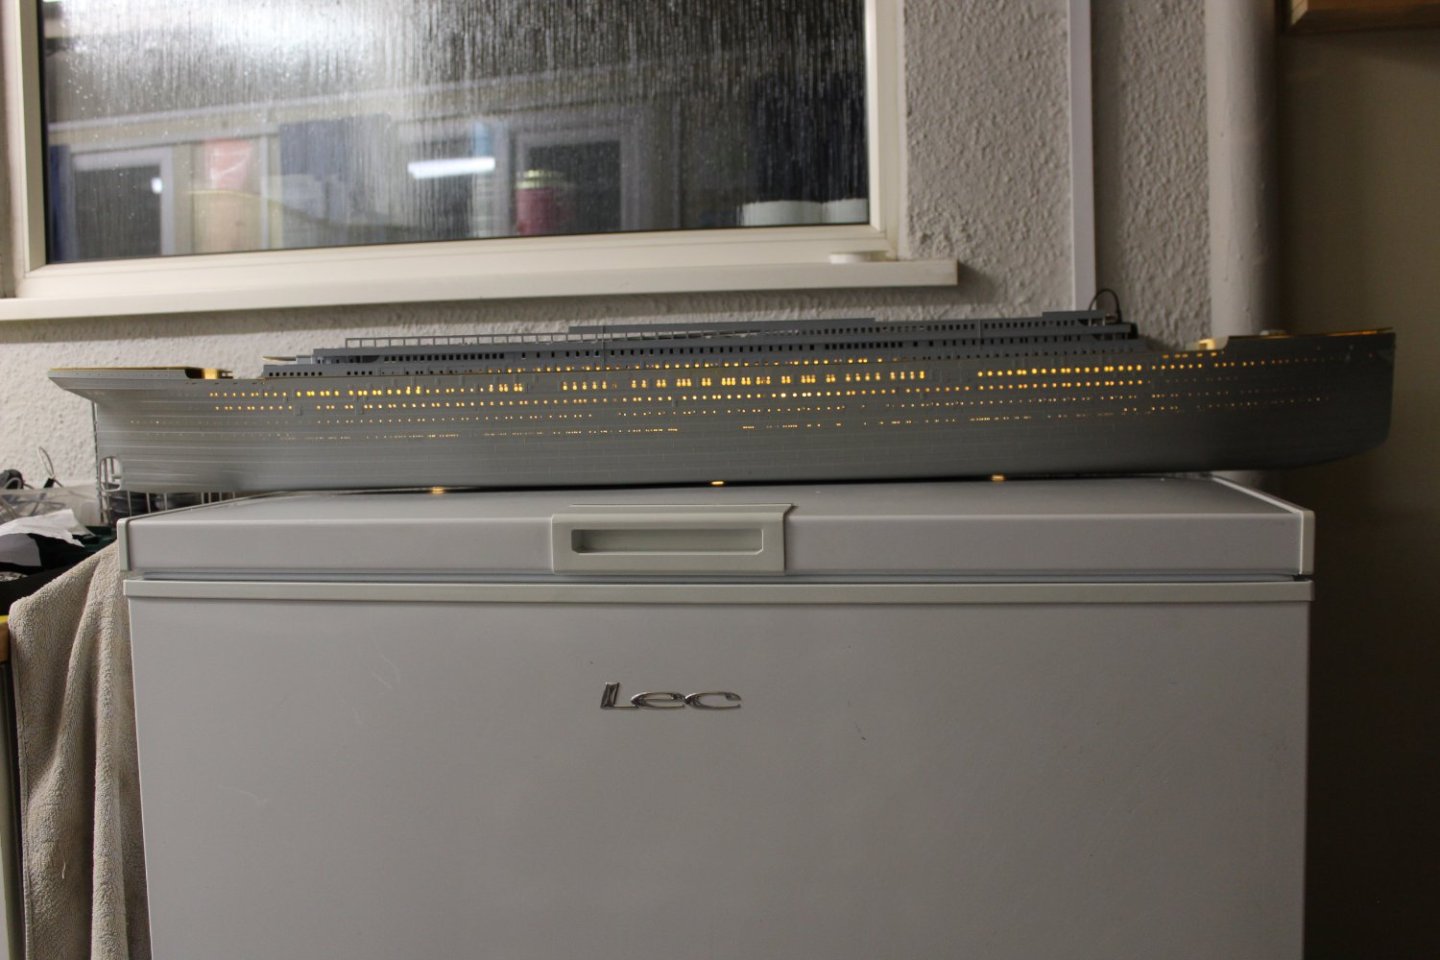
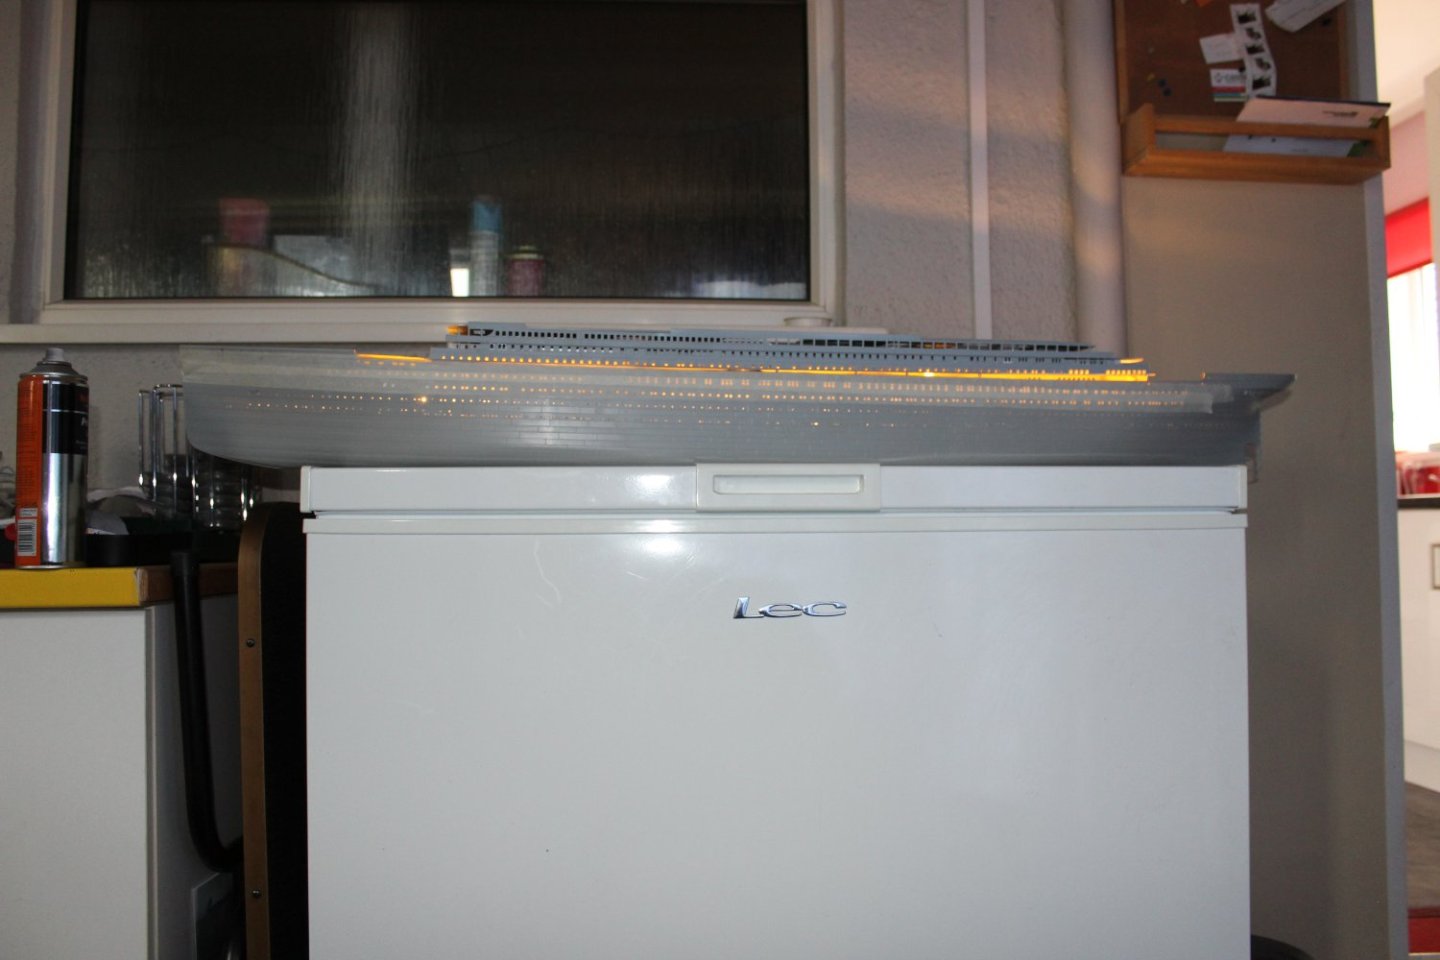
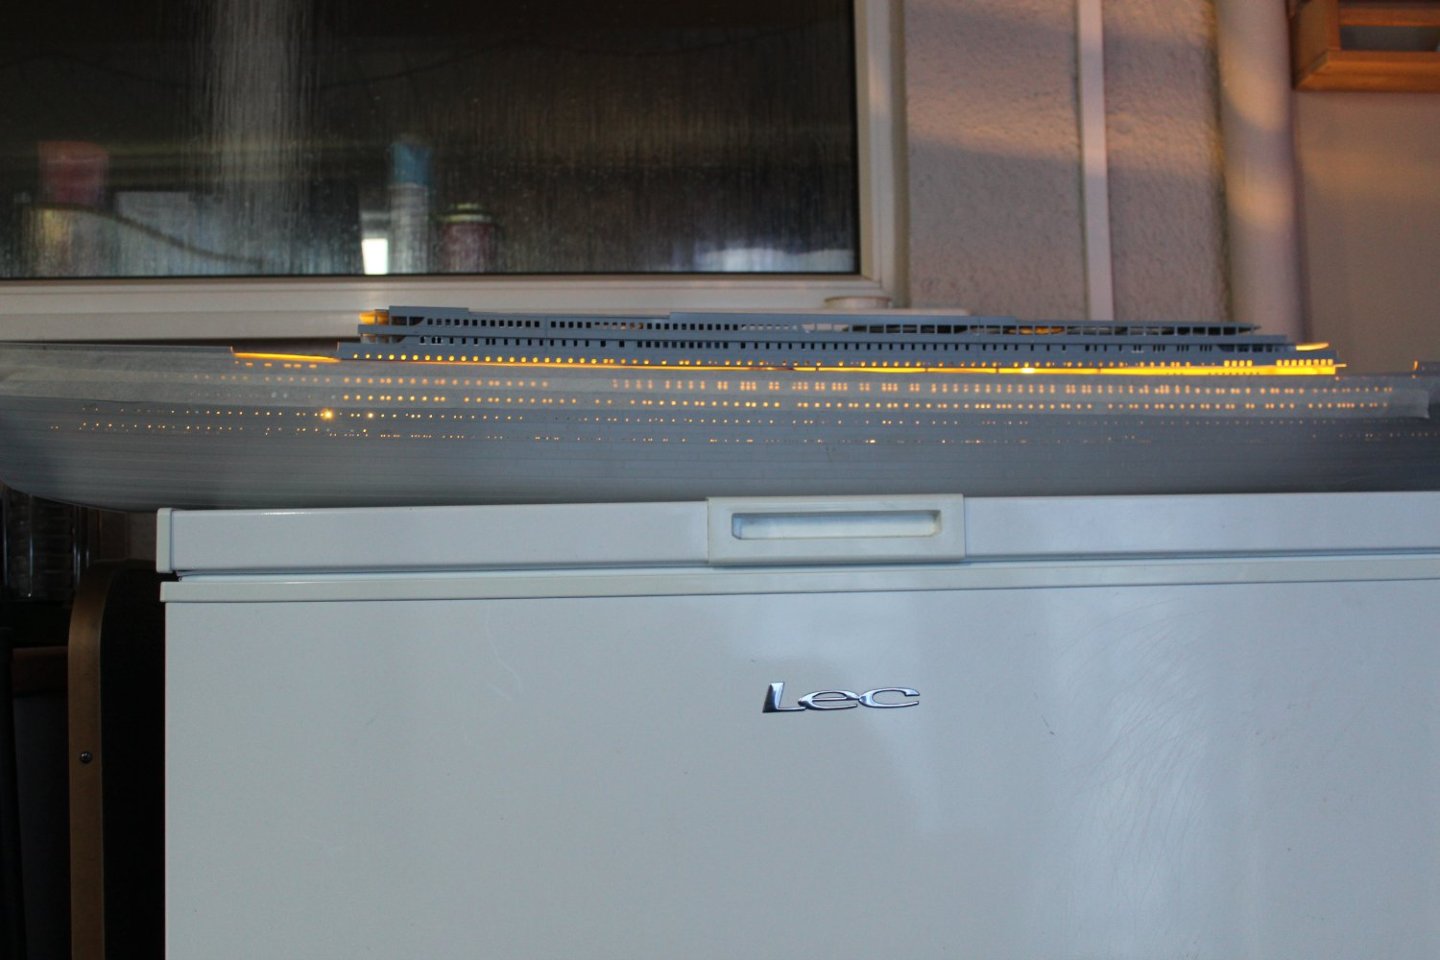
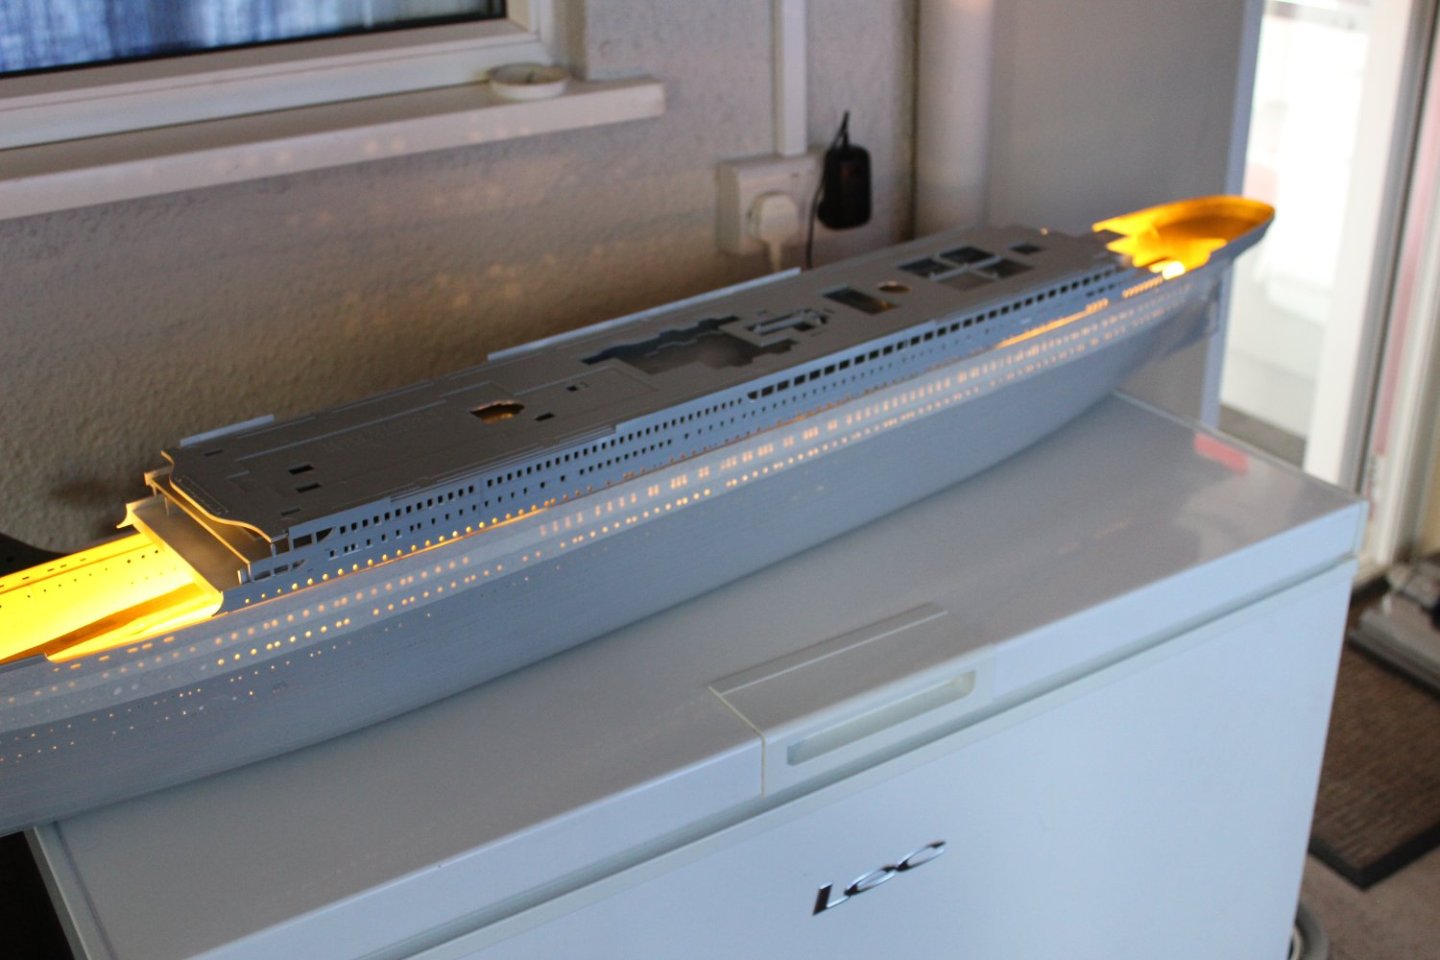
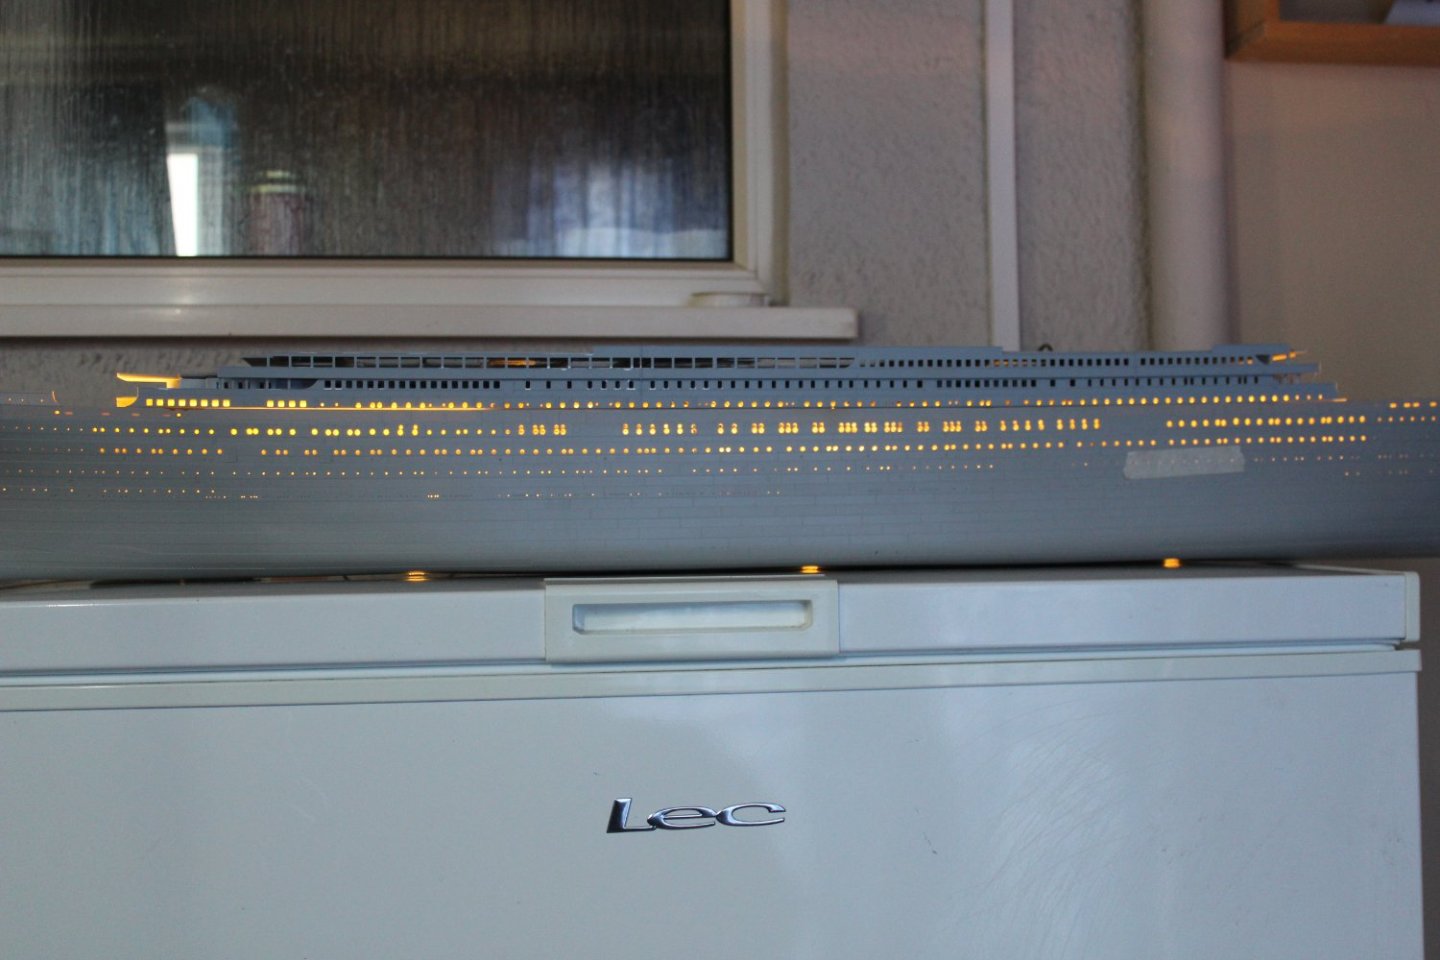
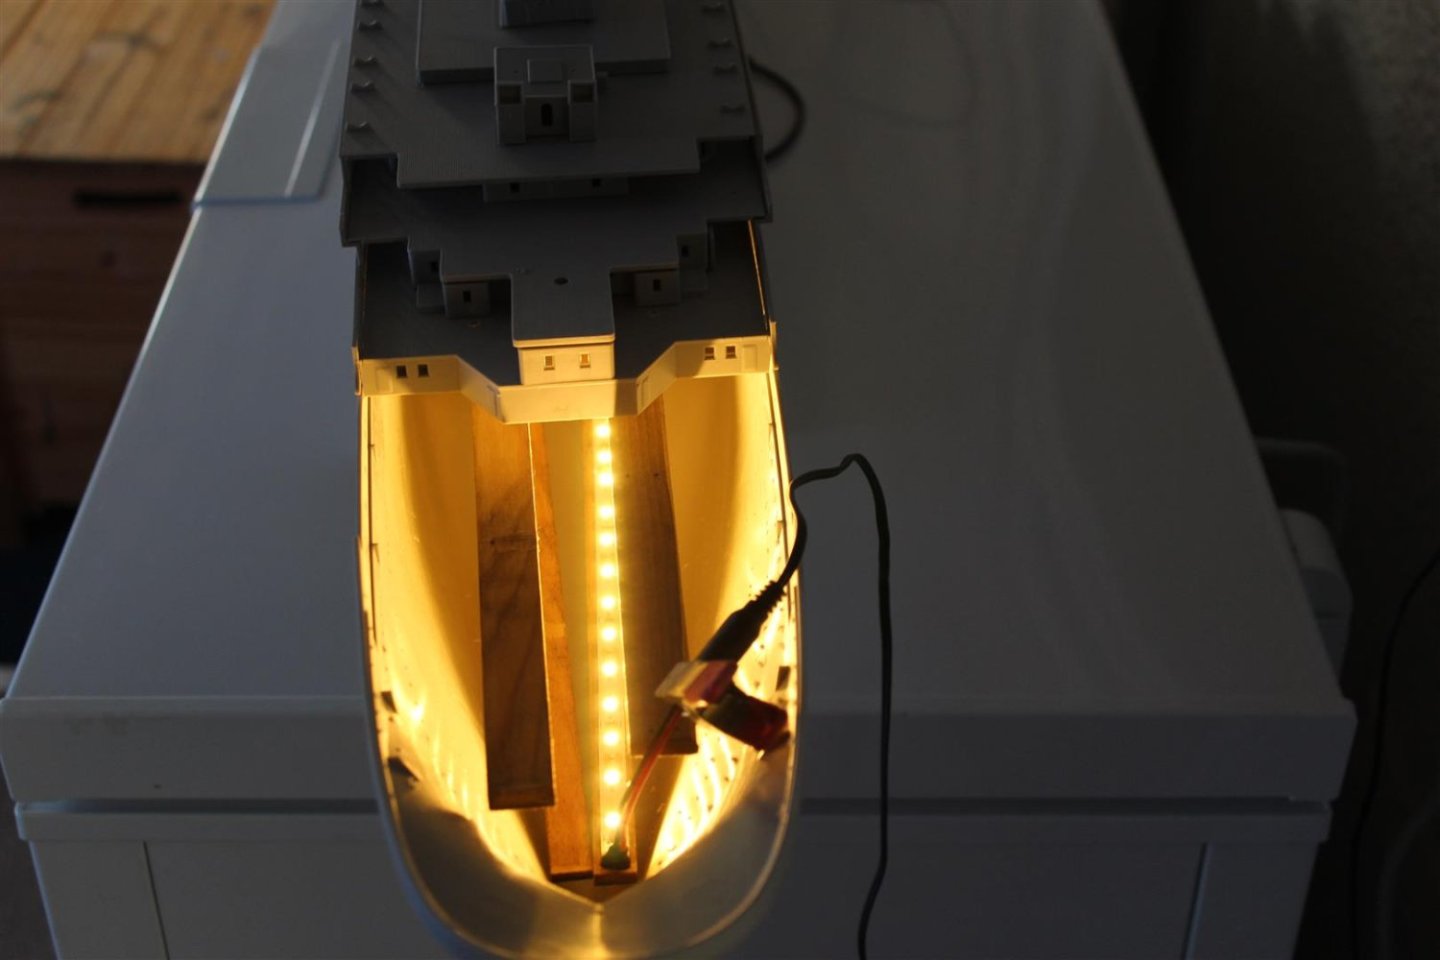
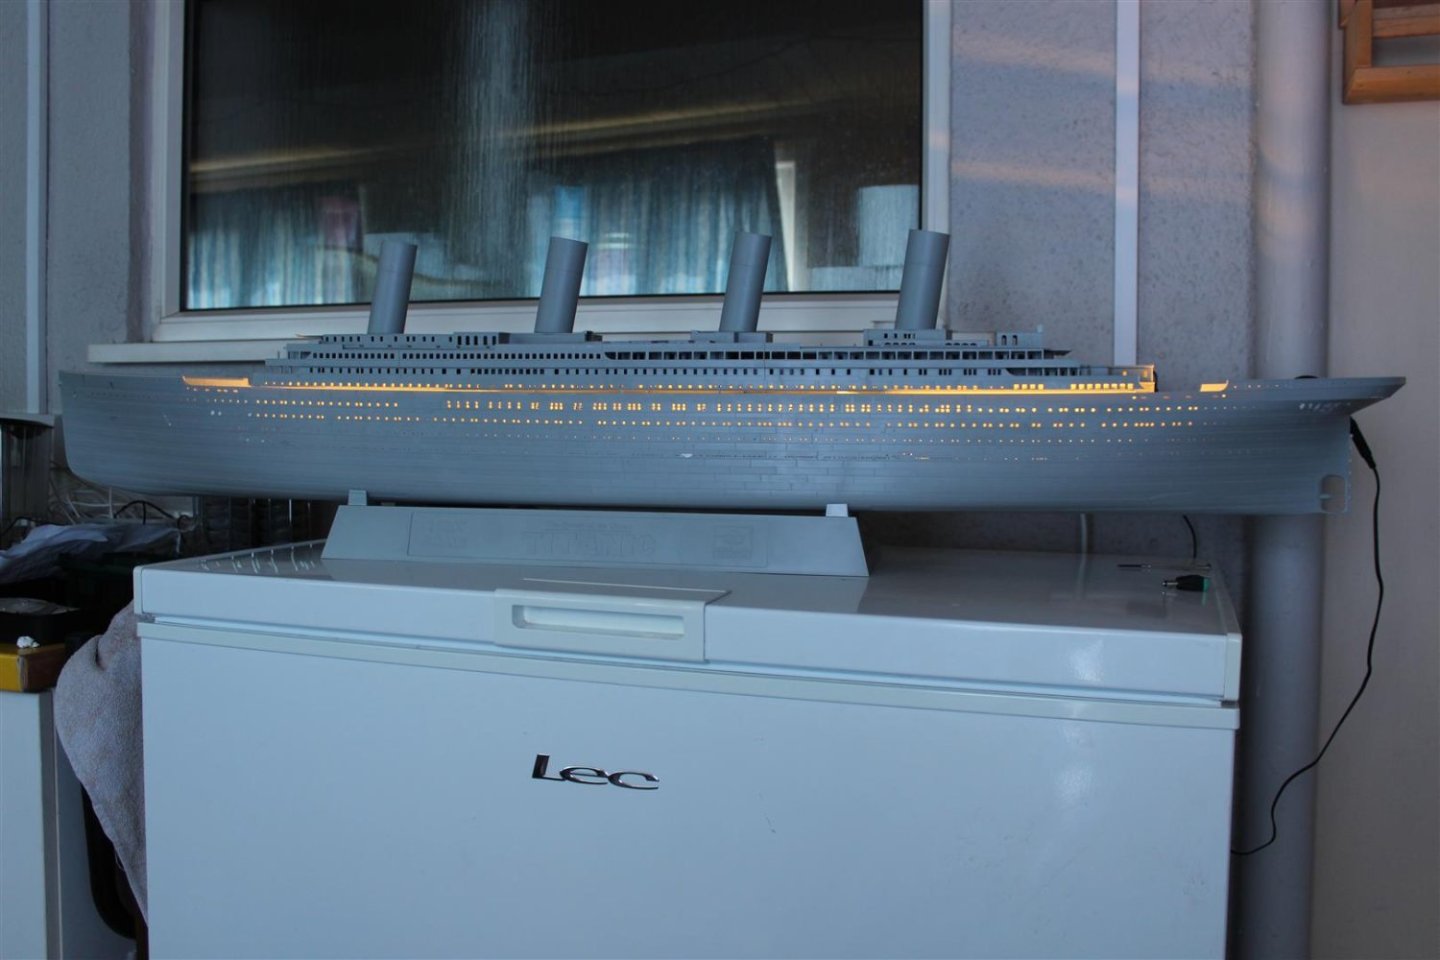
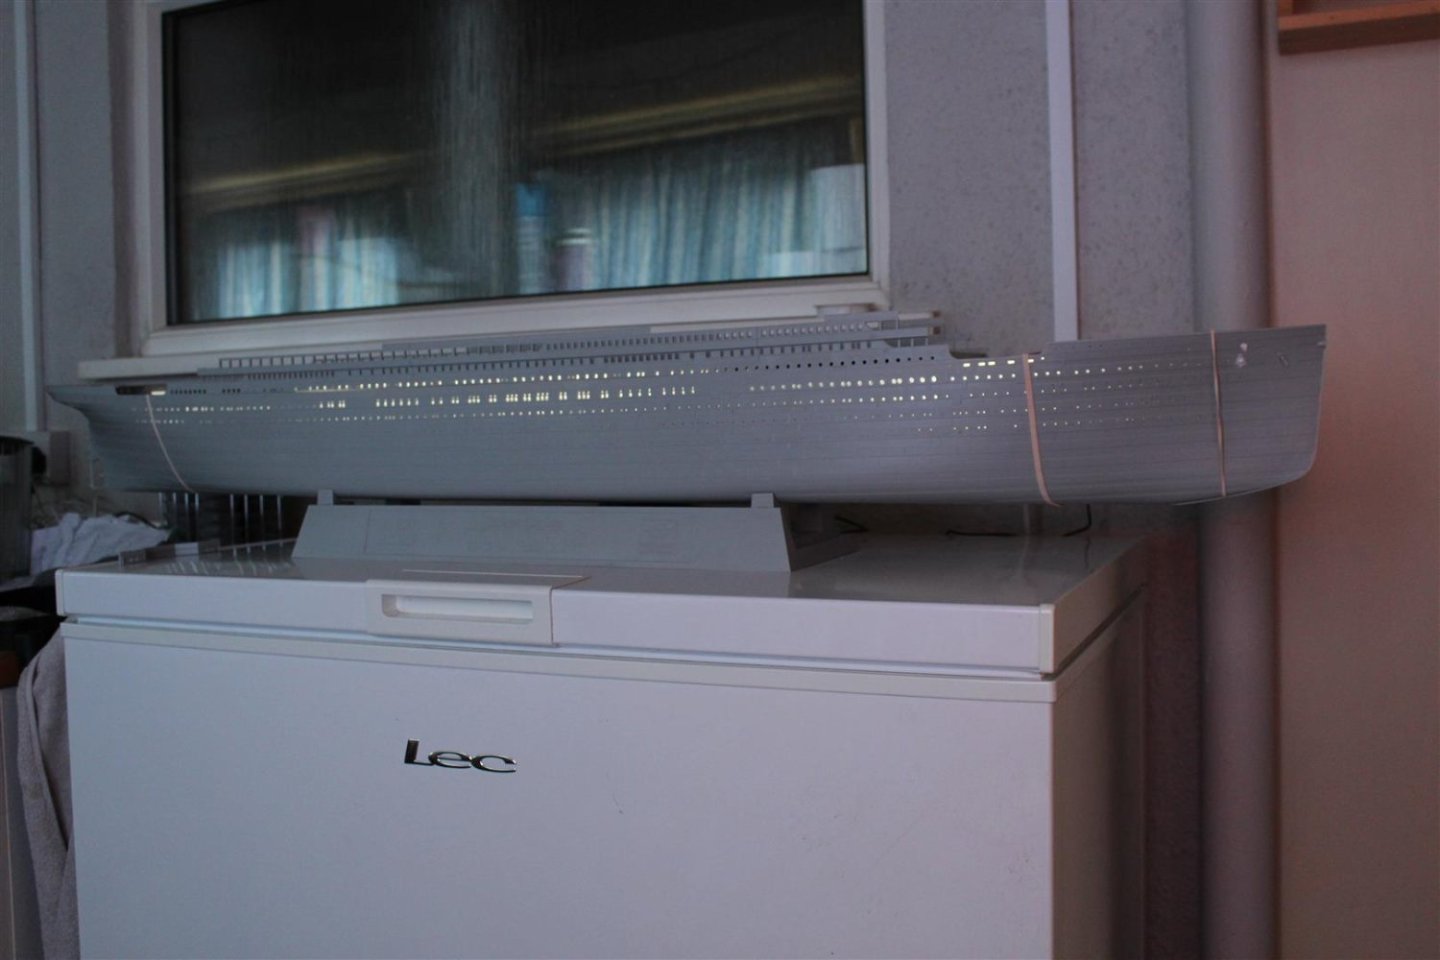
just put the build to bed for tonight, but got a slightly better photo of her with full hull lighting
-
good afternoon, im not sure i will mess to much with the windows, but im not 100 sure what is involved, i will enclose the after well deck, and purchase the 5 crane sets from Shapeways, i may even splash out for the stern plate set, or attempt my own, other than that i could spend at least £1000 on upgrade sets which in all honesty will never been seen, the world needs vessels that are 100% correct, i personally dont know anyone who will ever see this build when complete (aprt from the wife) oh and me boi, but his social media friends are the same as mine here he is telling me what to say to @chris watton

- 165 replies
-
- 10
-
-
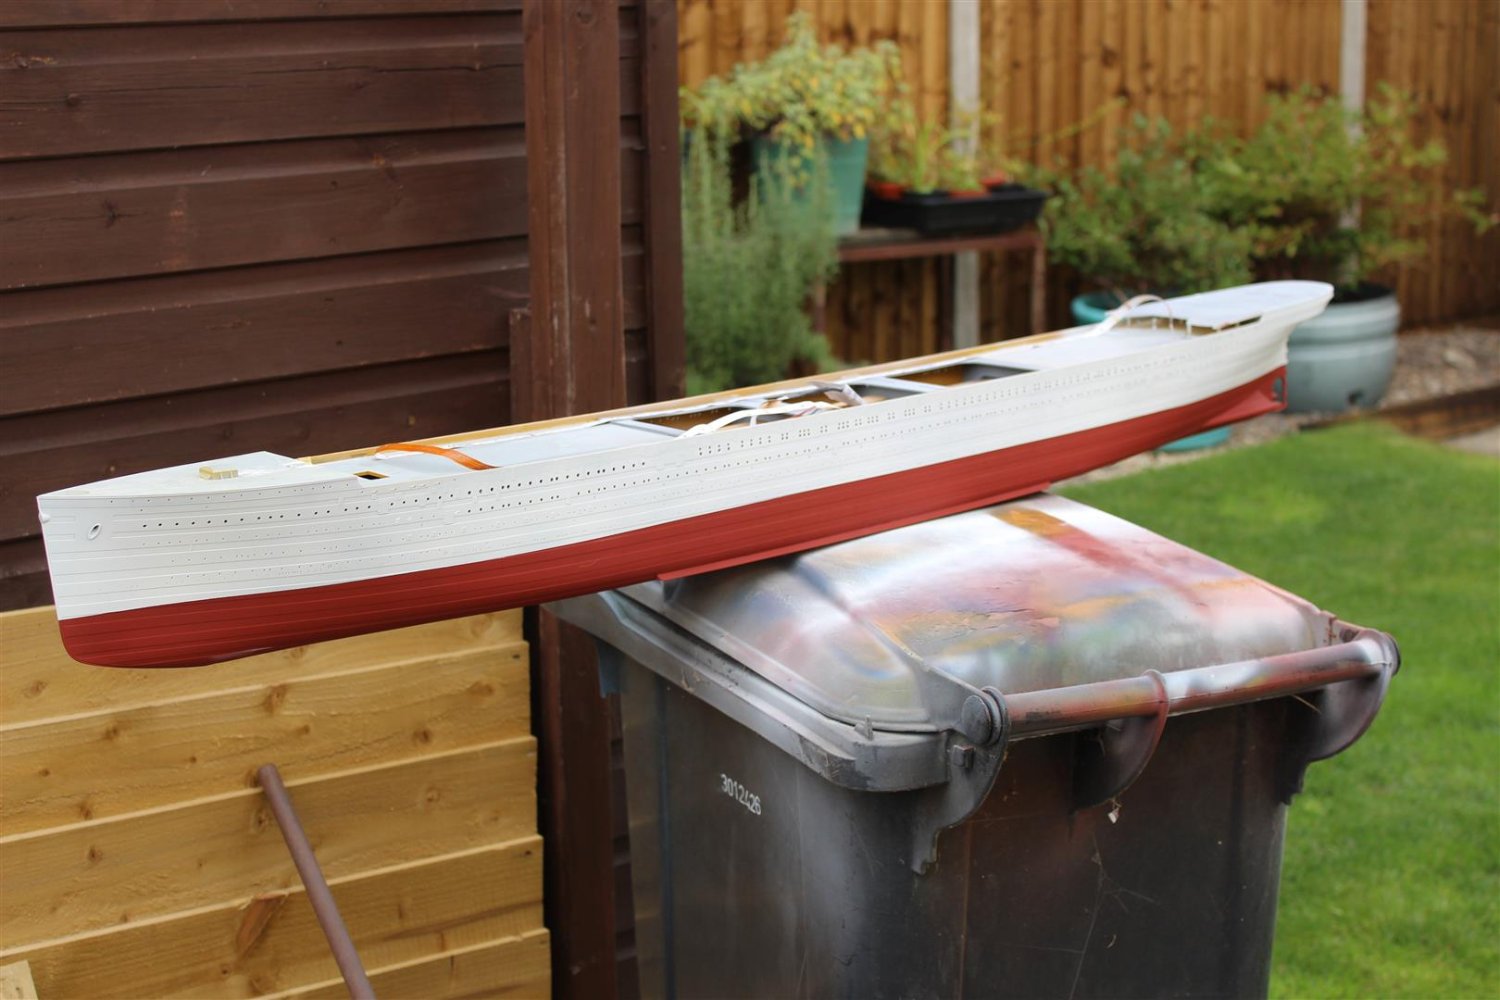
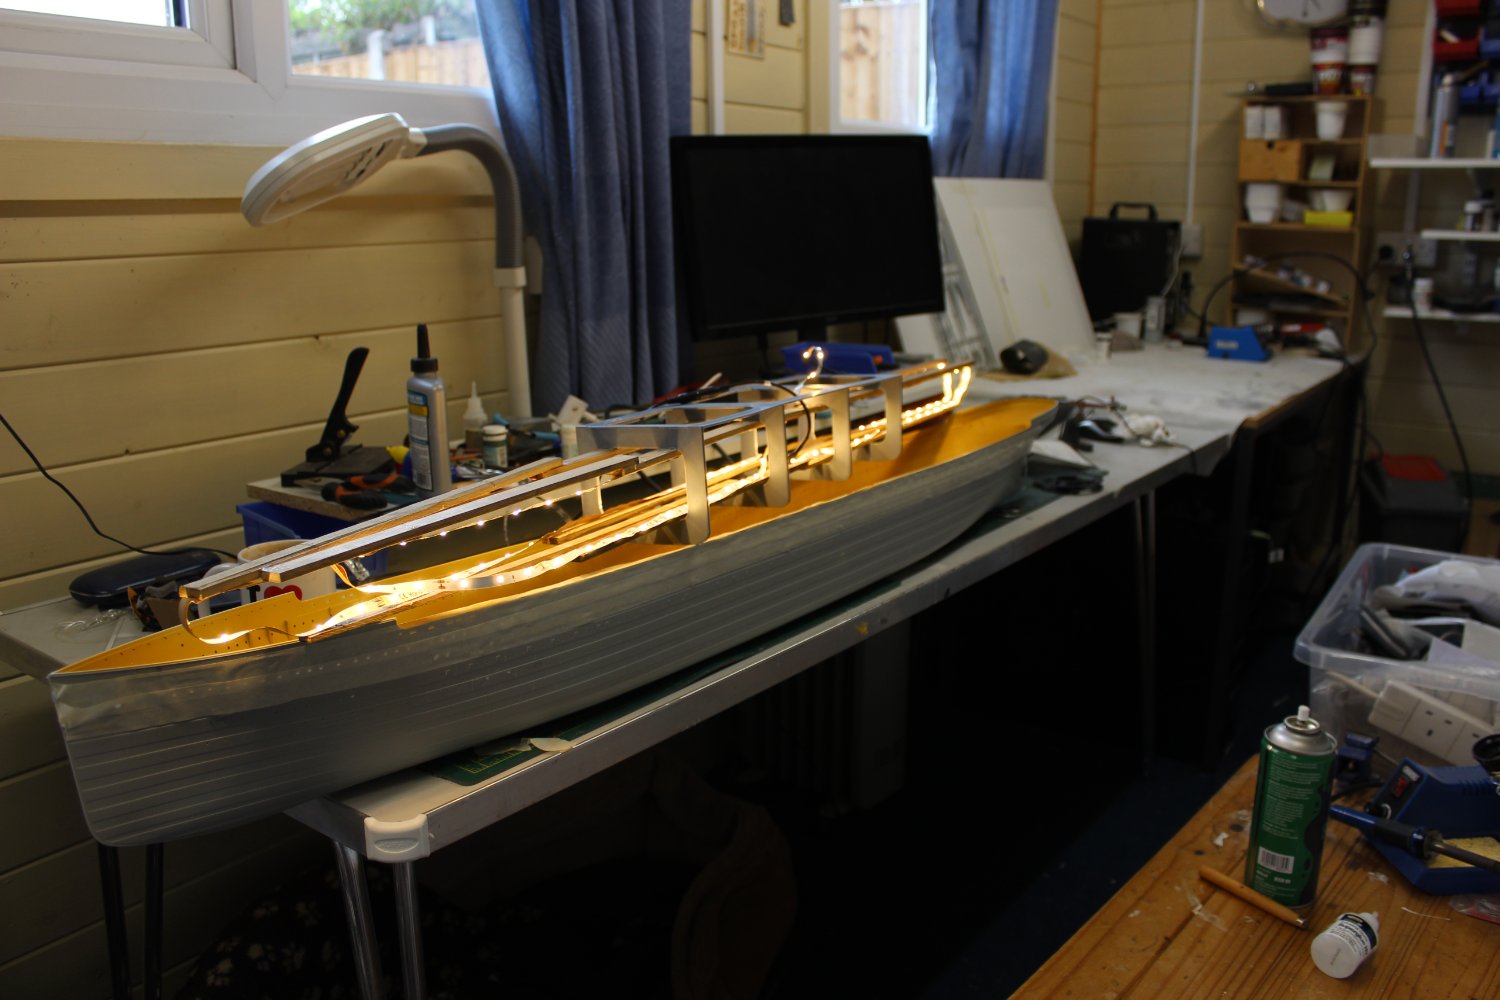
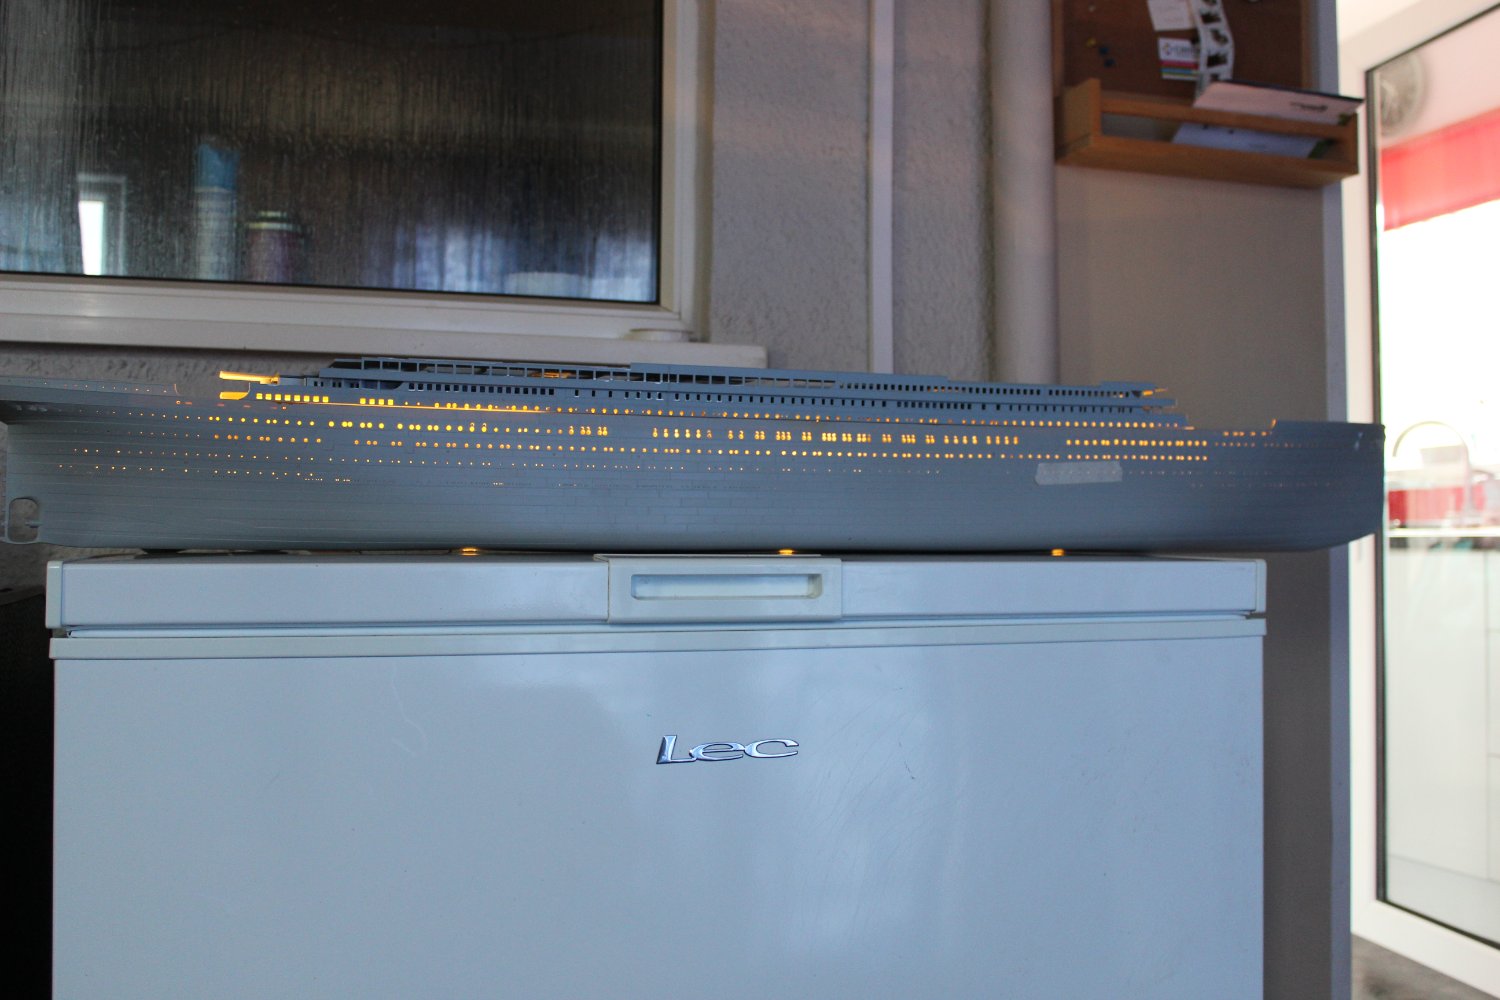
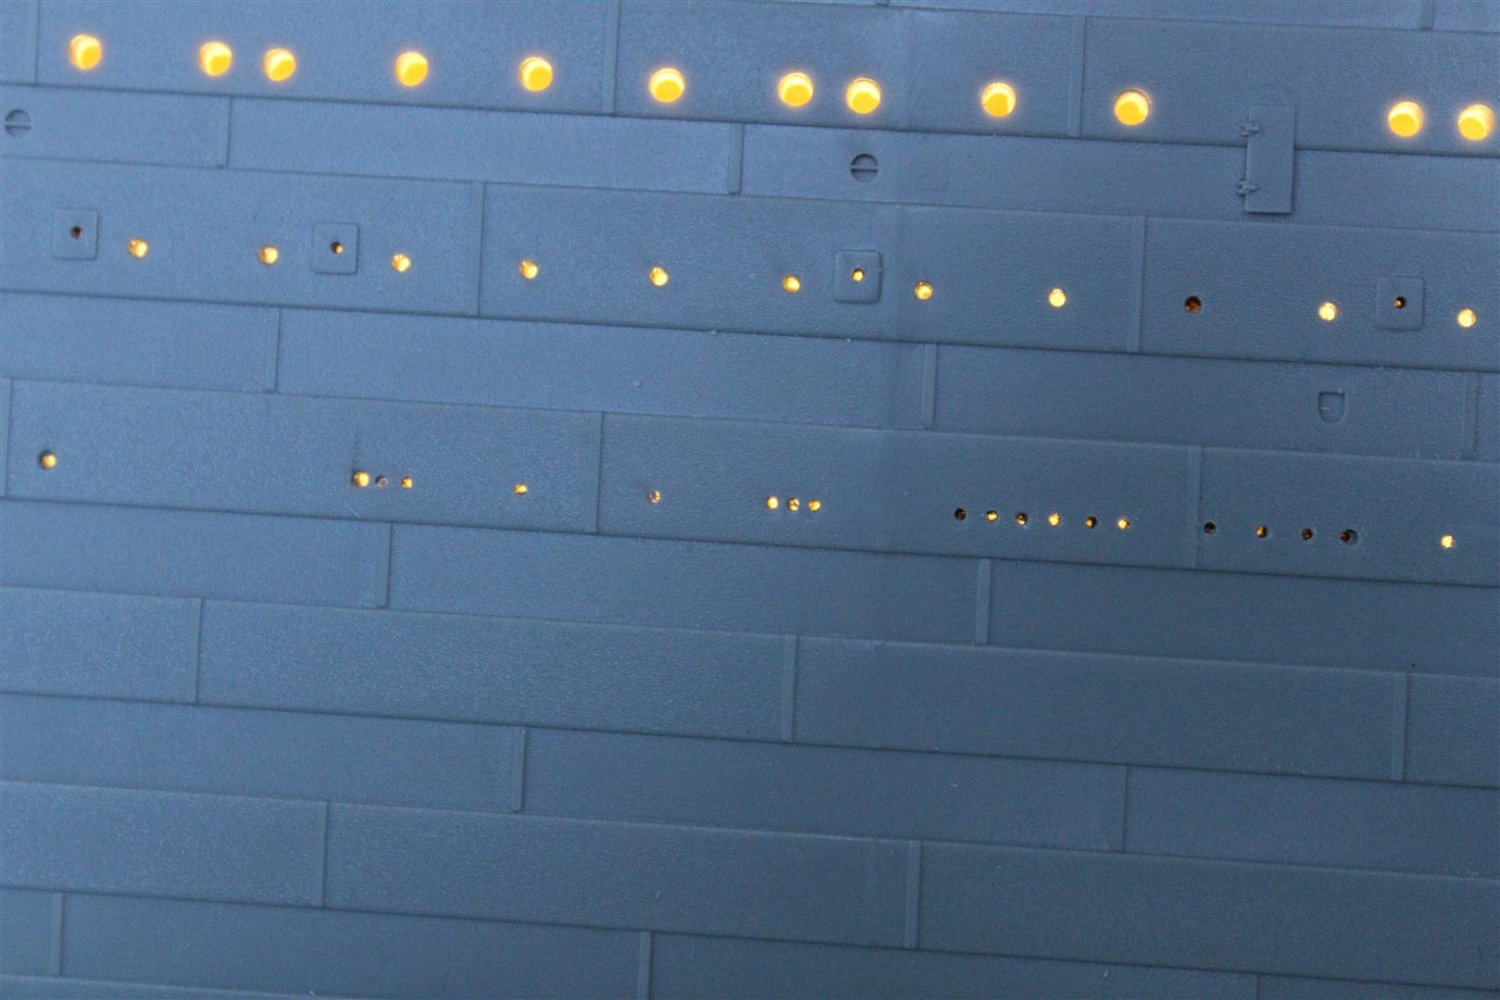
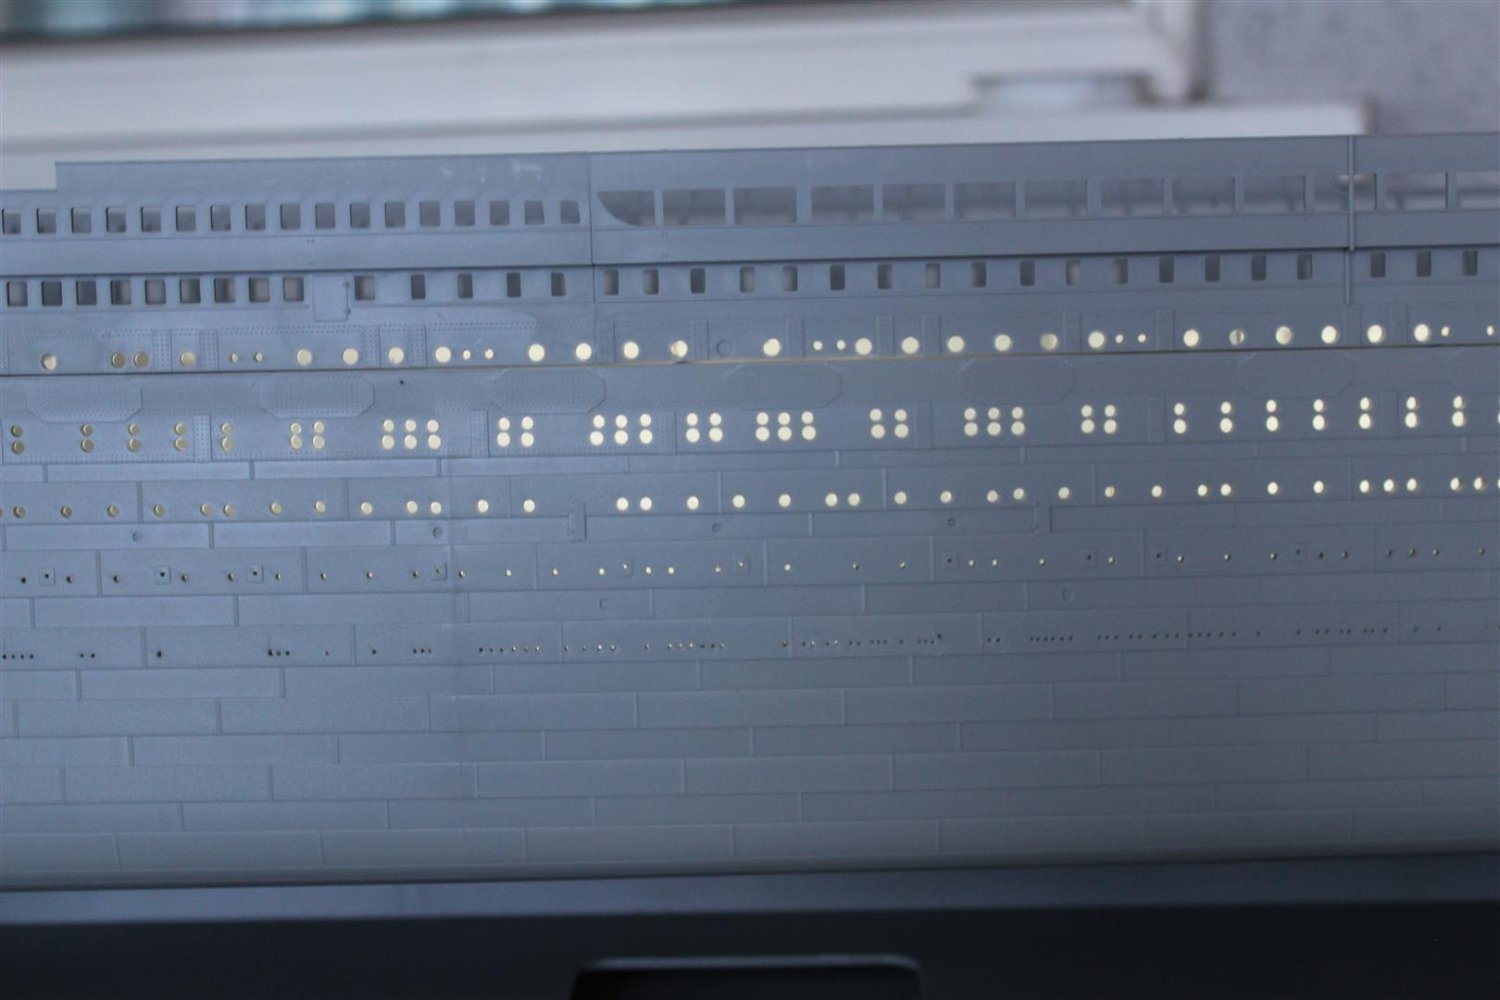
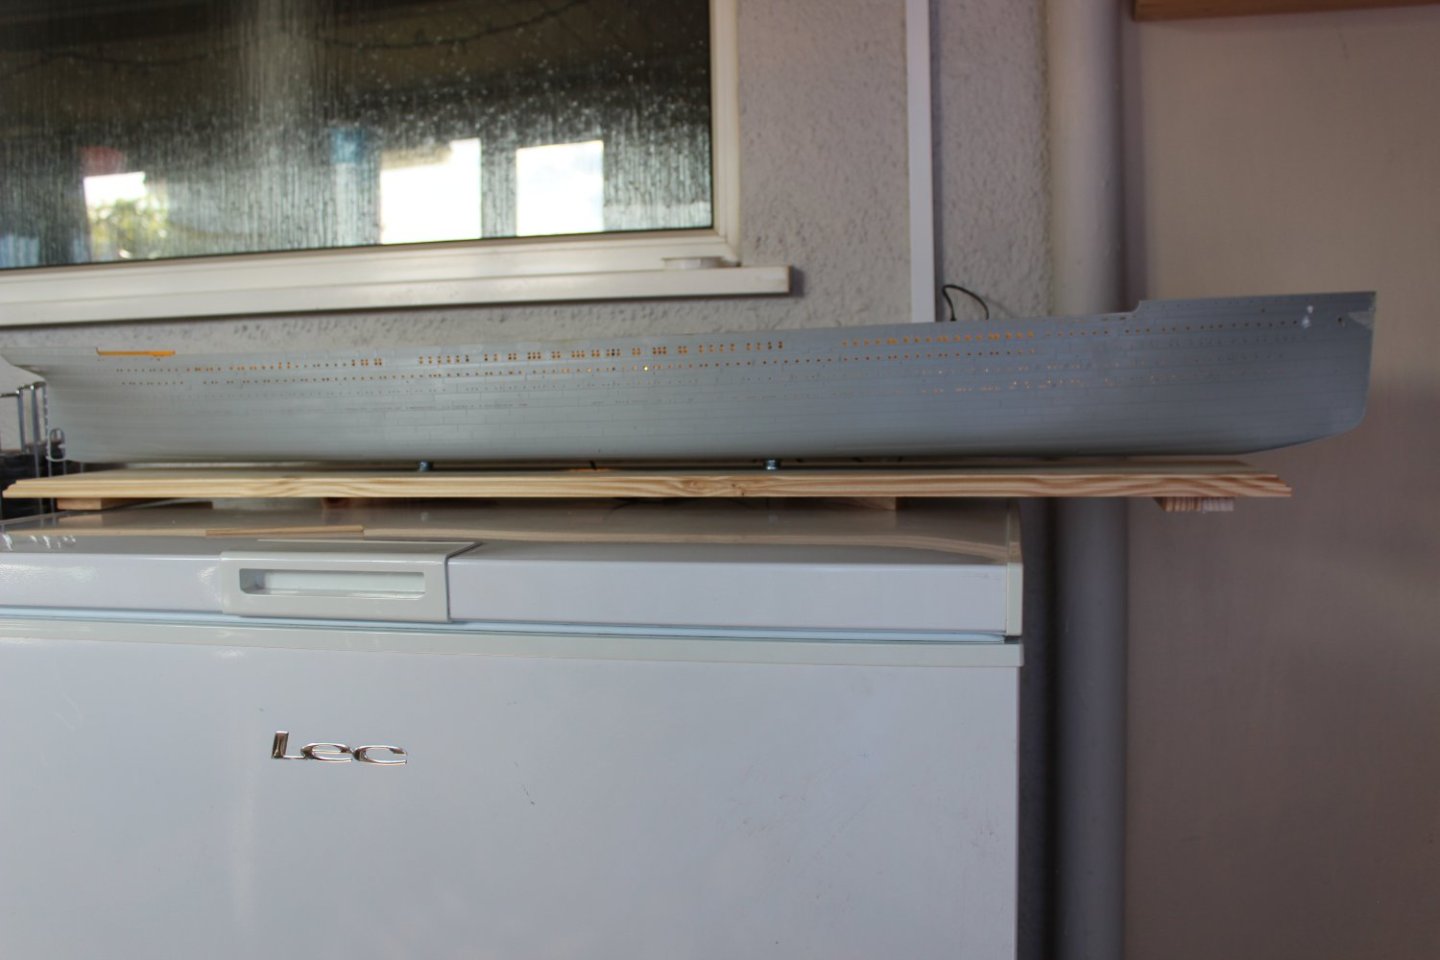
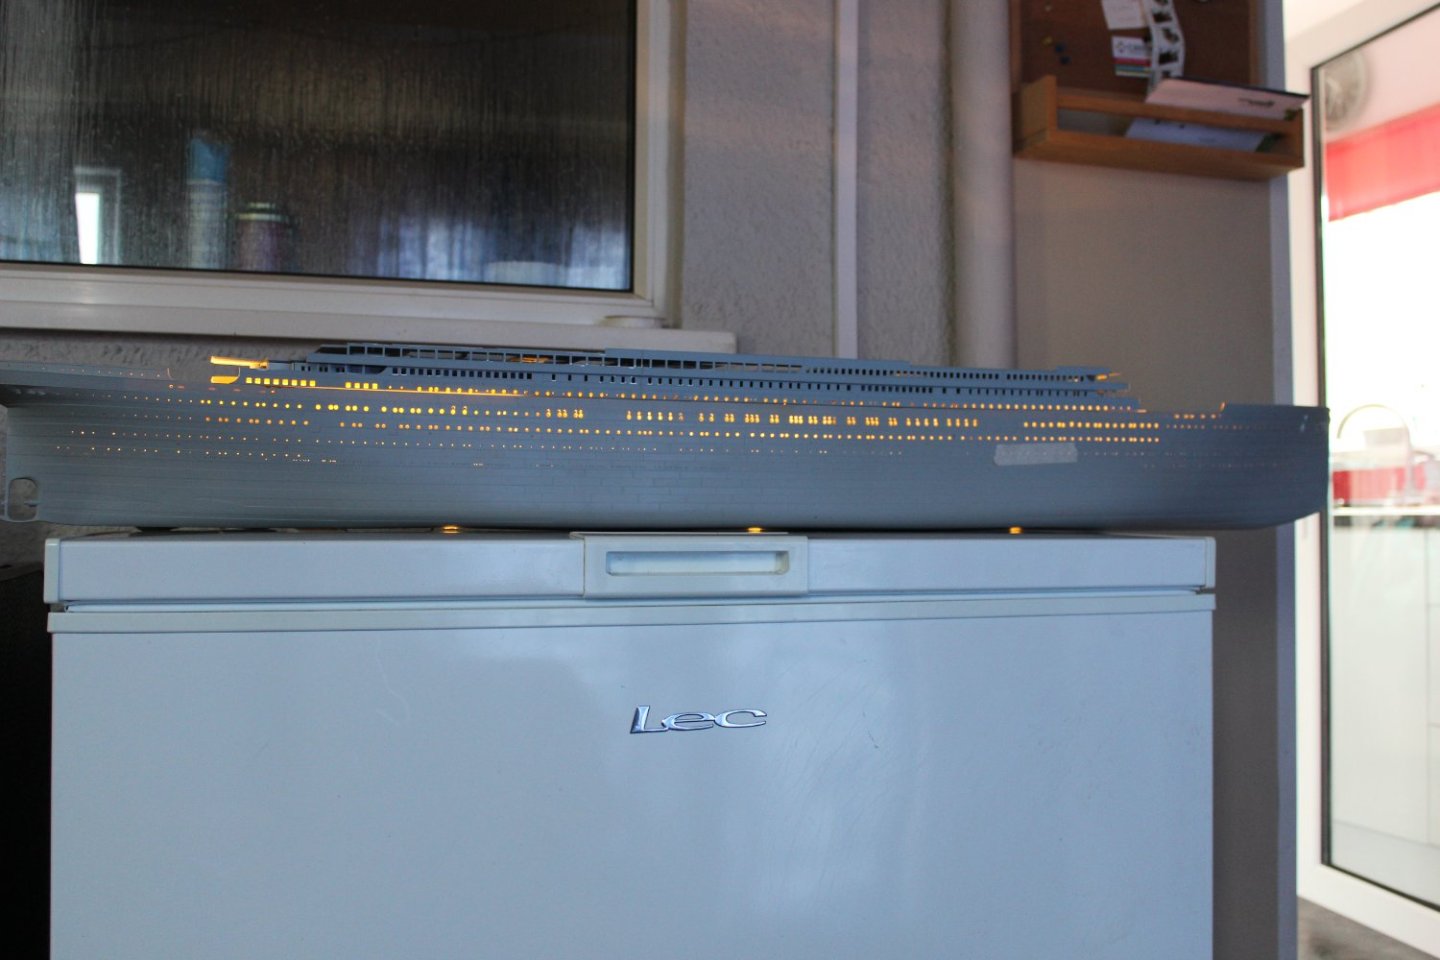
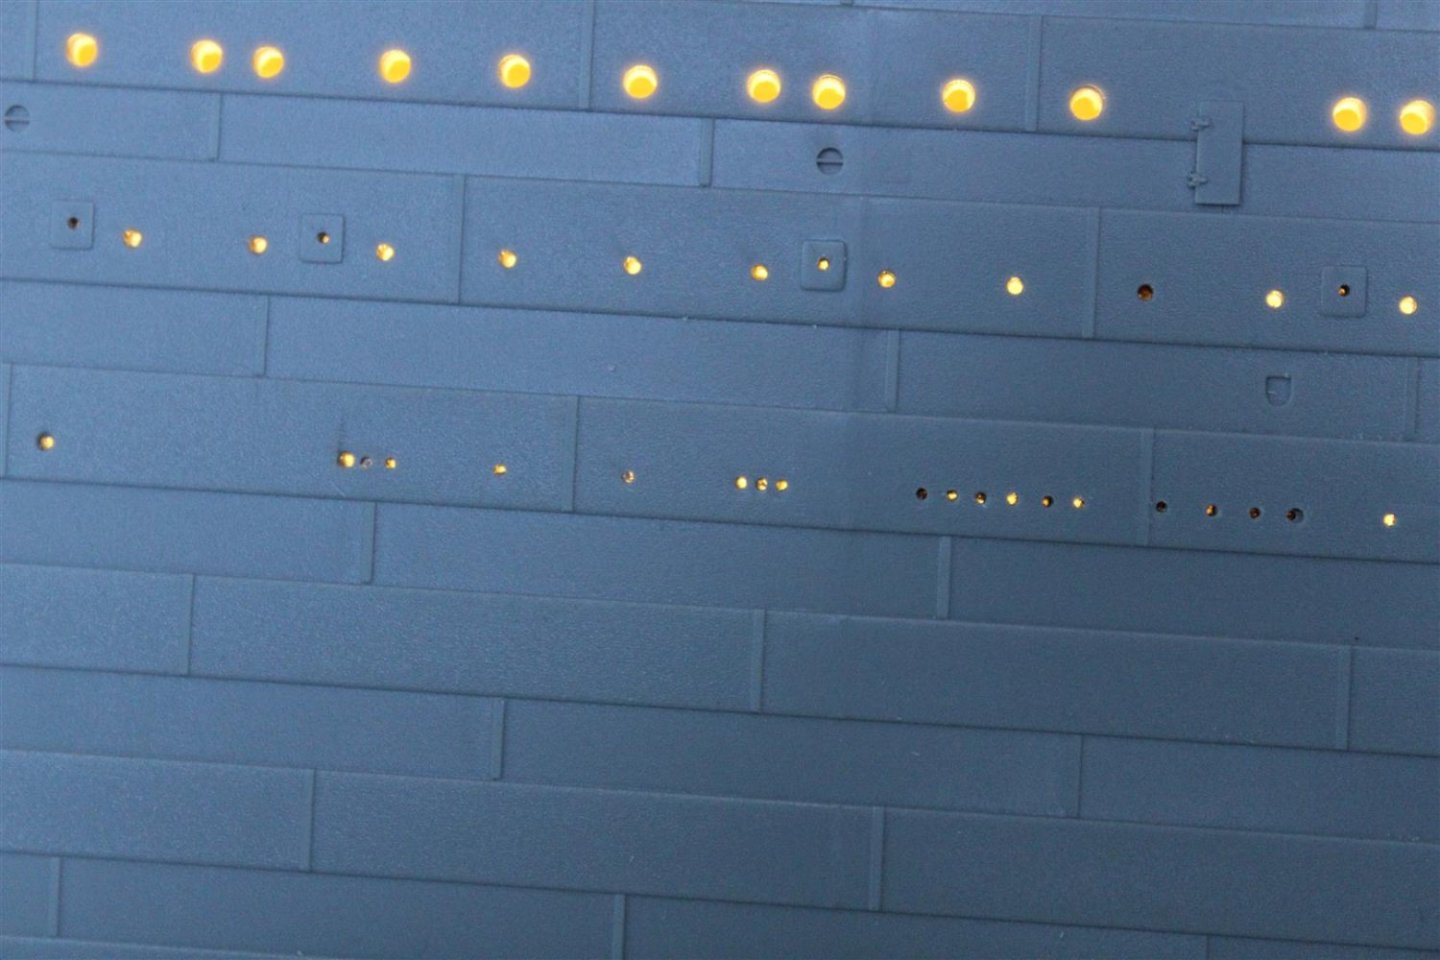
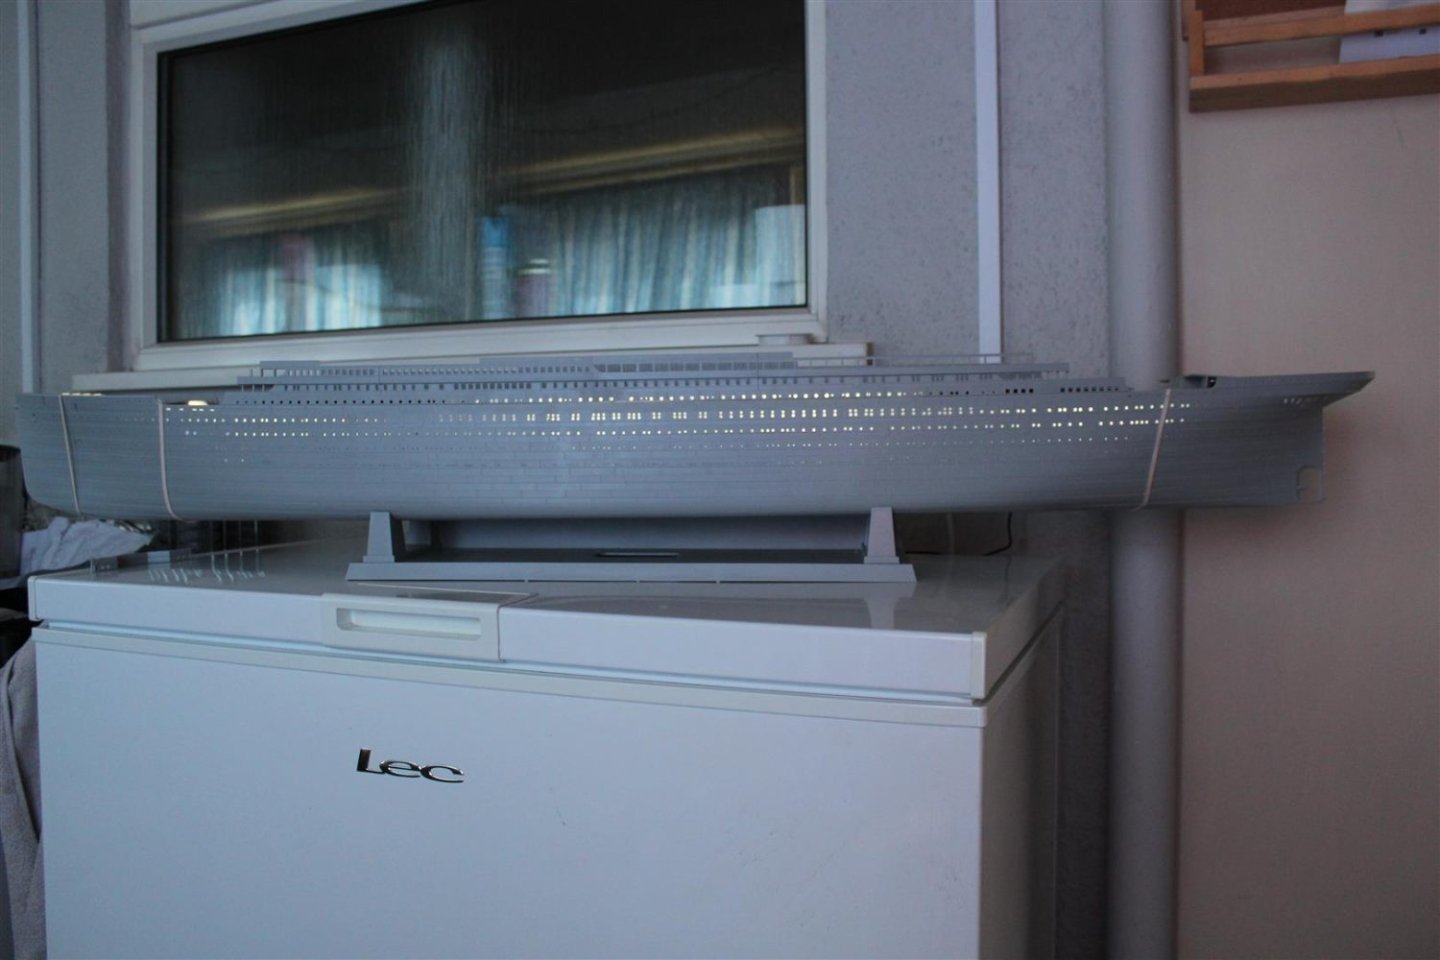
good afternoon everyone Been a very strange couple of days here in the UK, with everything going on, European war, a fuel crisis, change of government and the the desth of out beloved Queen Elizabith II, but with the BBC news on in the background, to enable keeping up with events my builds carry on day 7 portholes complete and hull lighting sorted


-
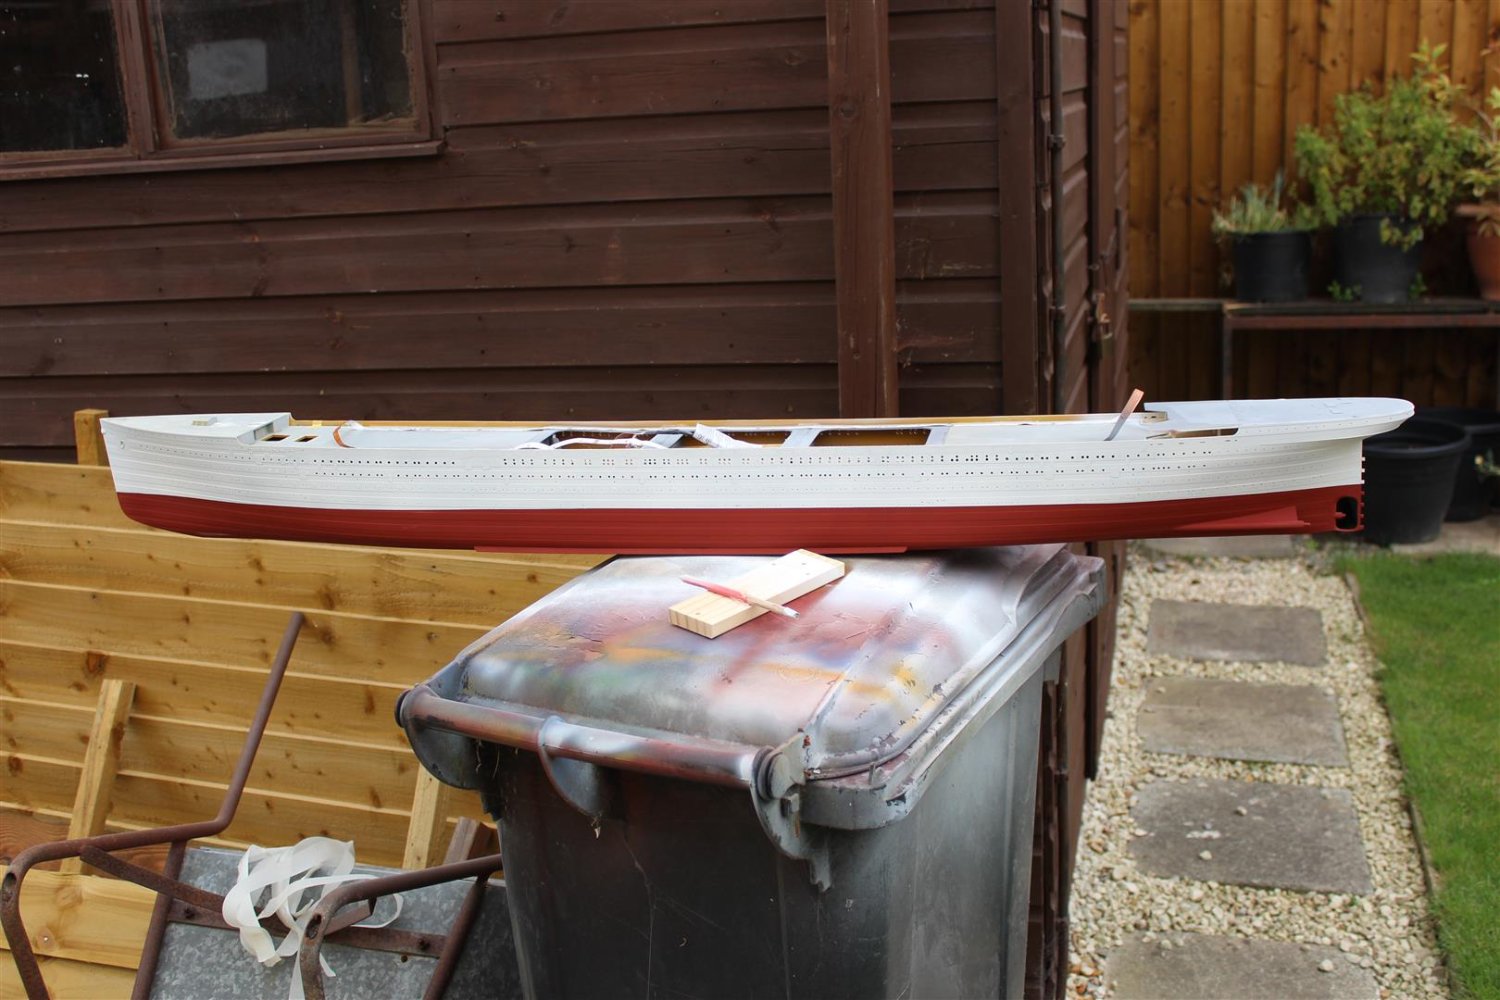
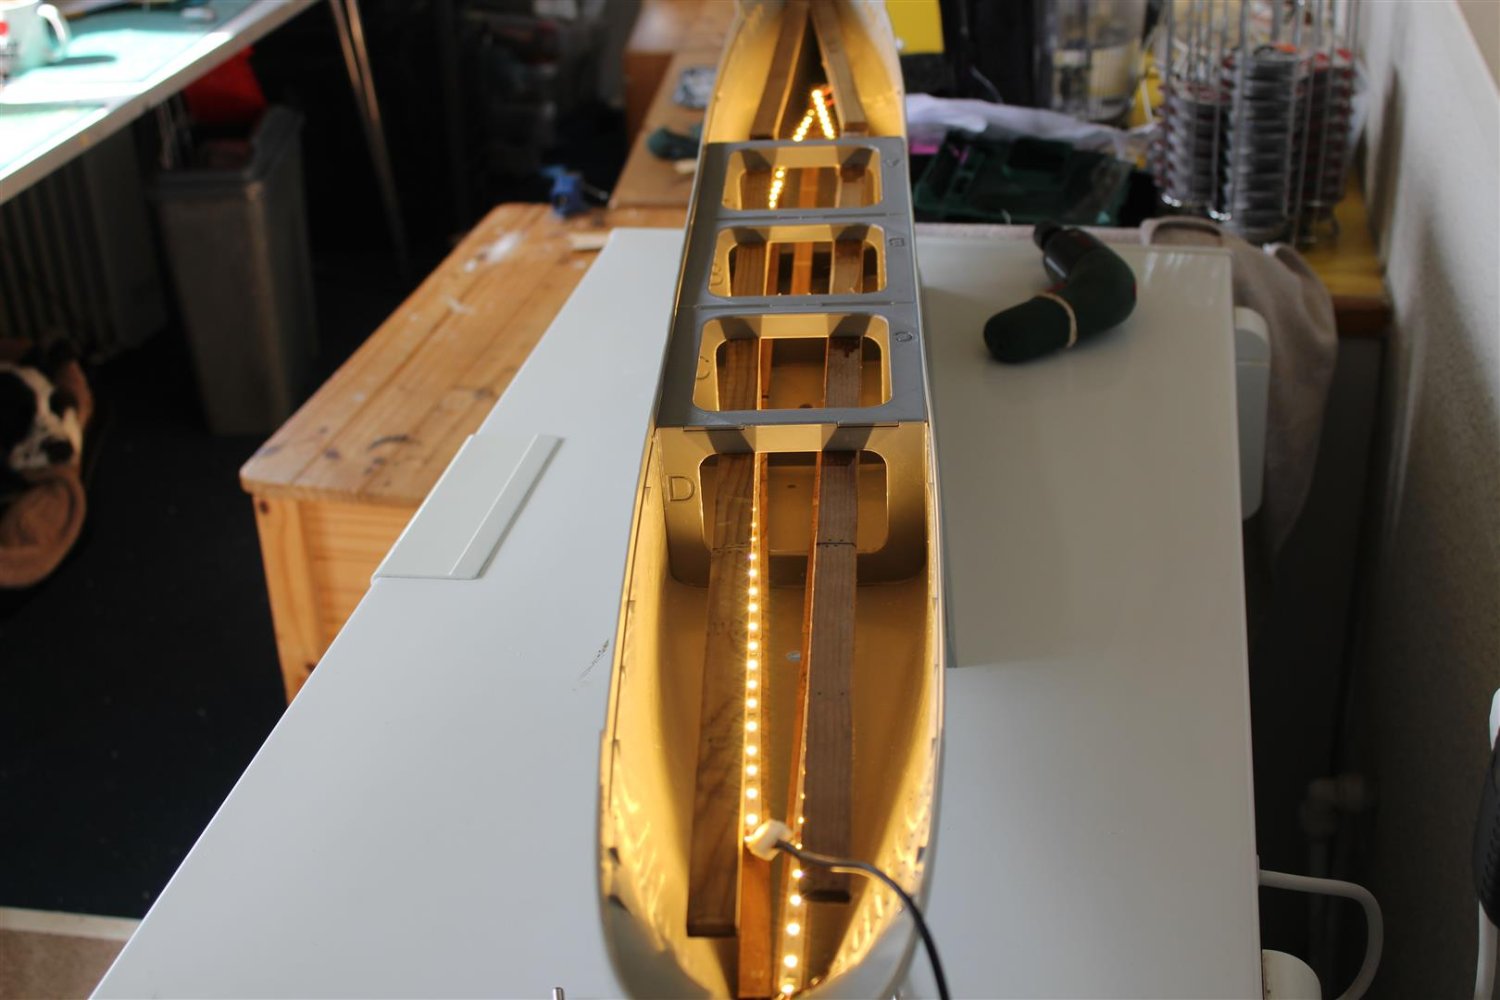
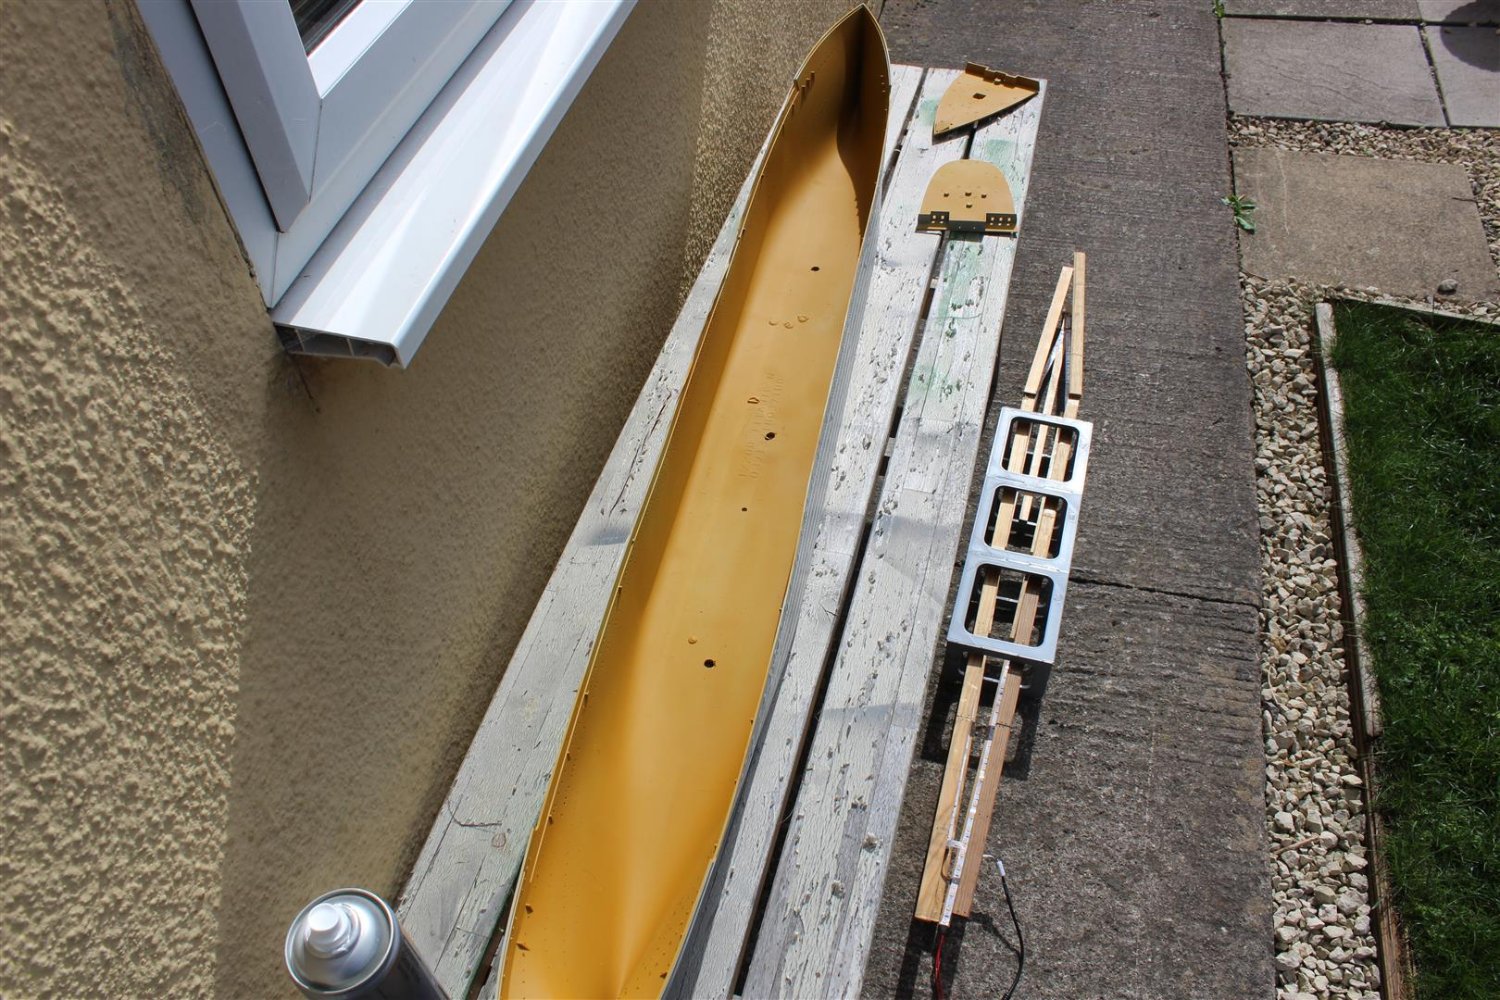
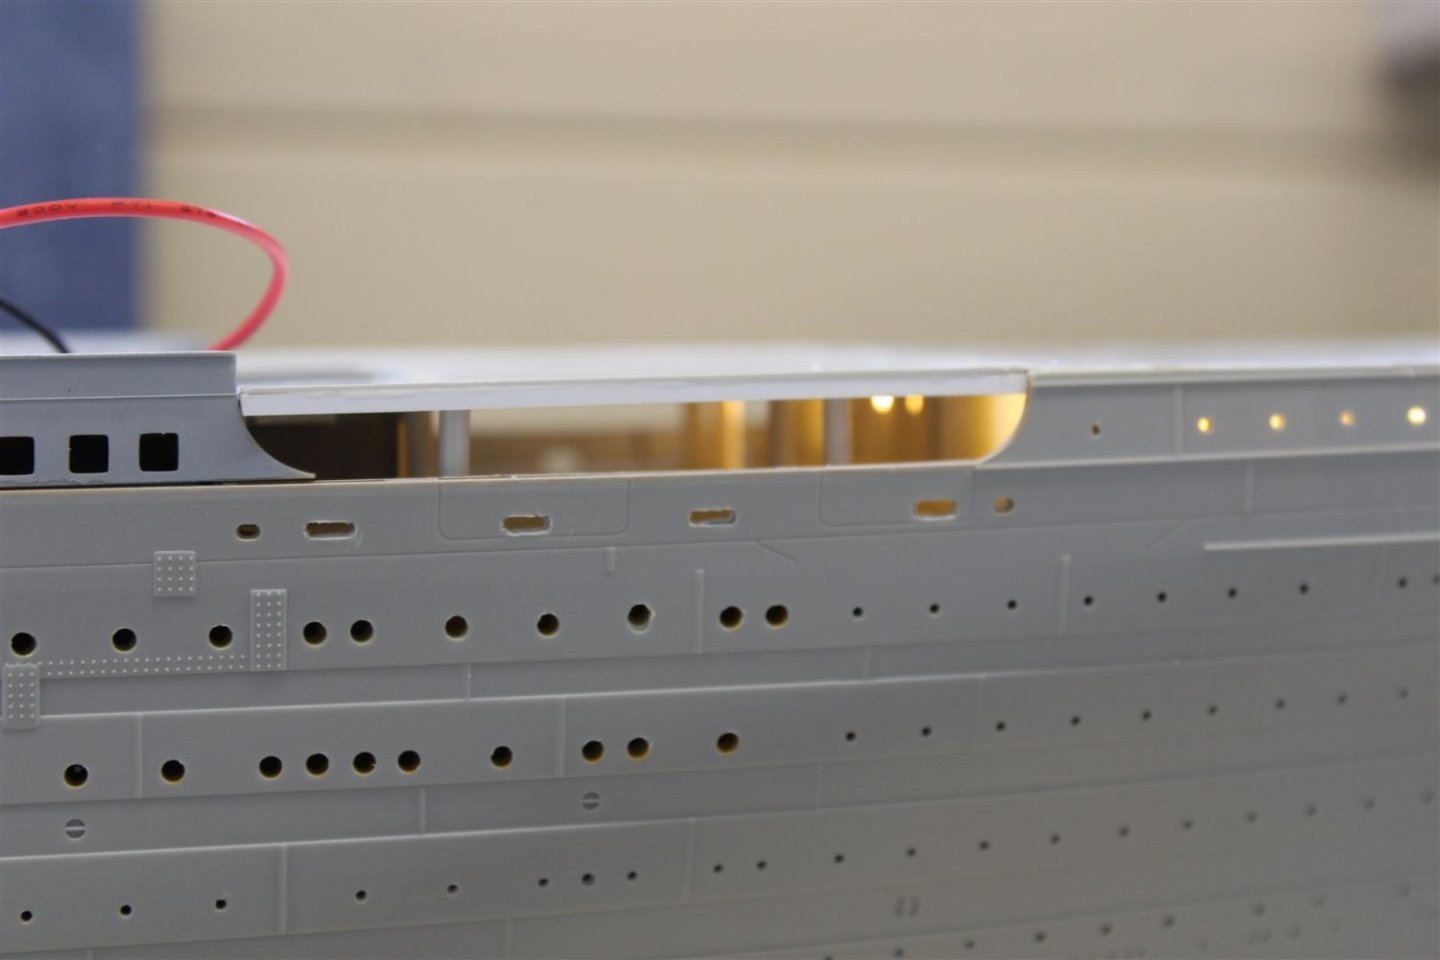
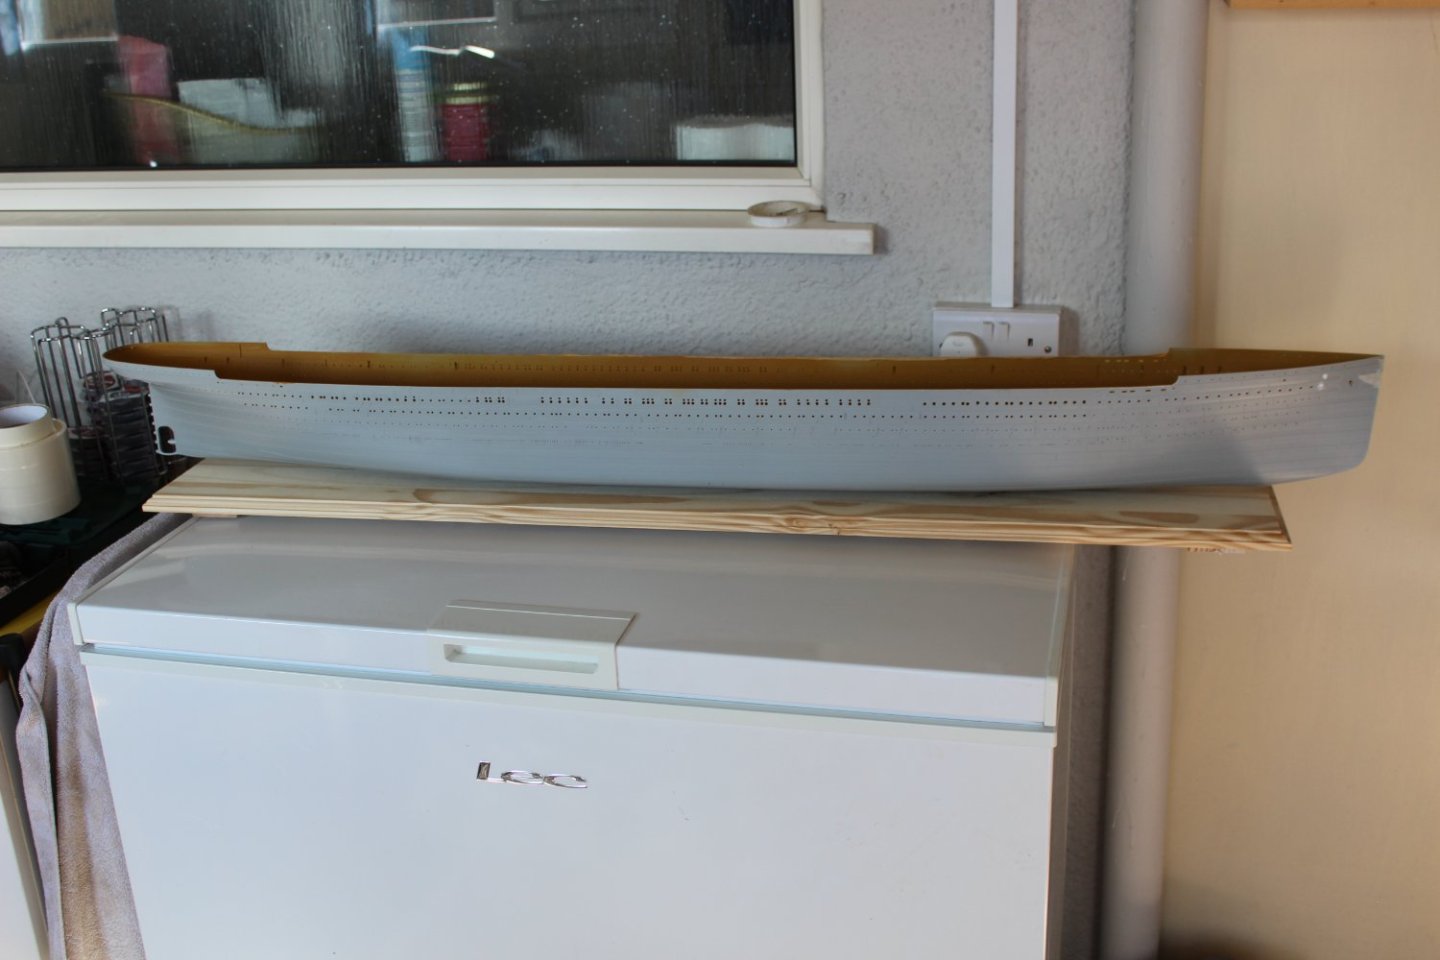
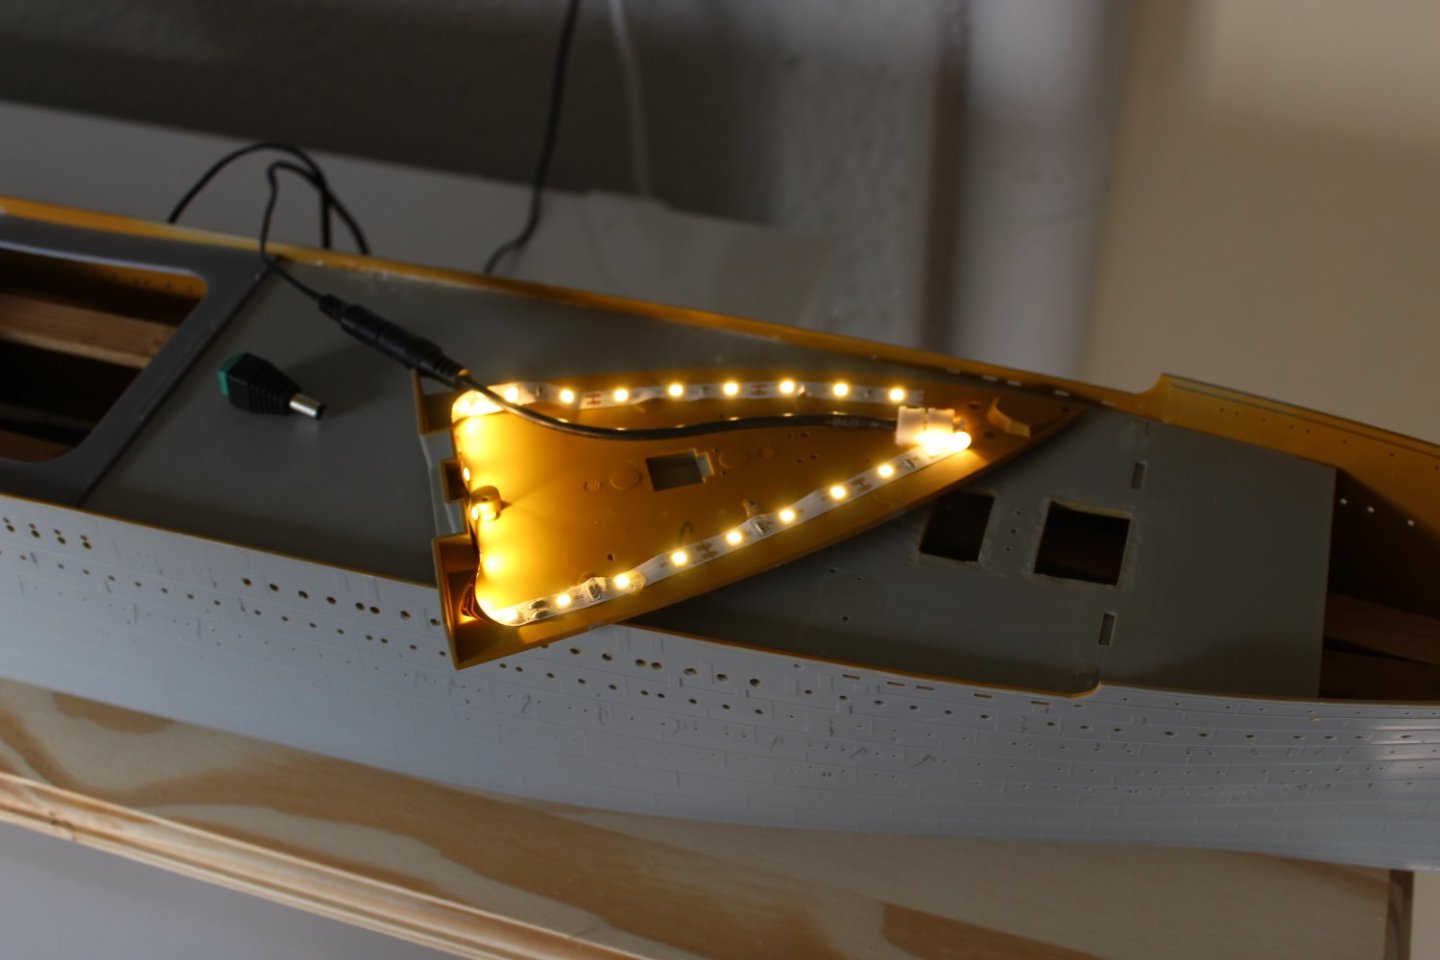
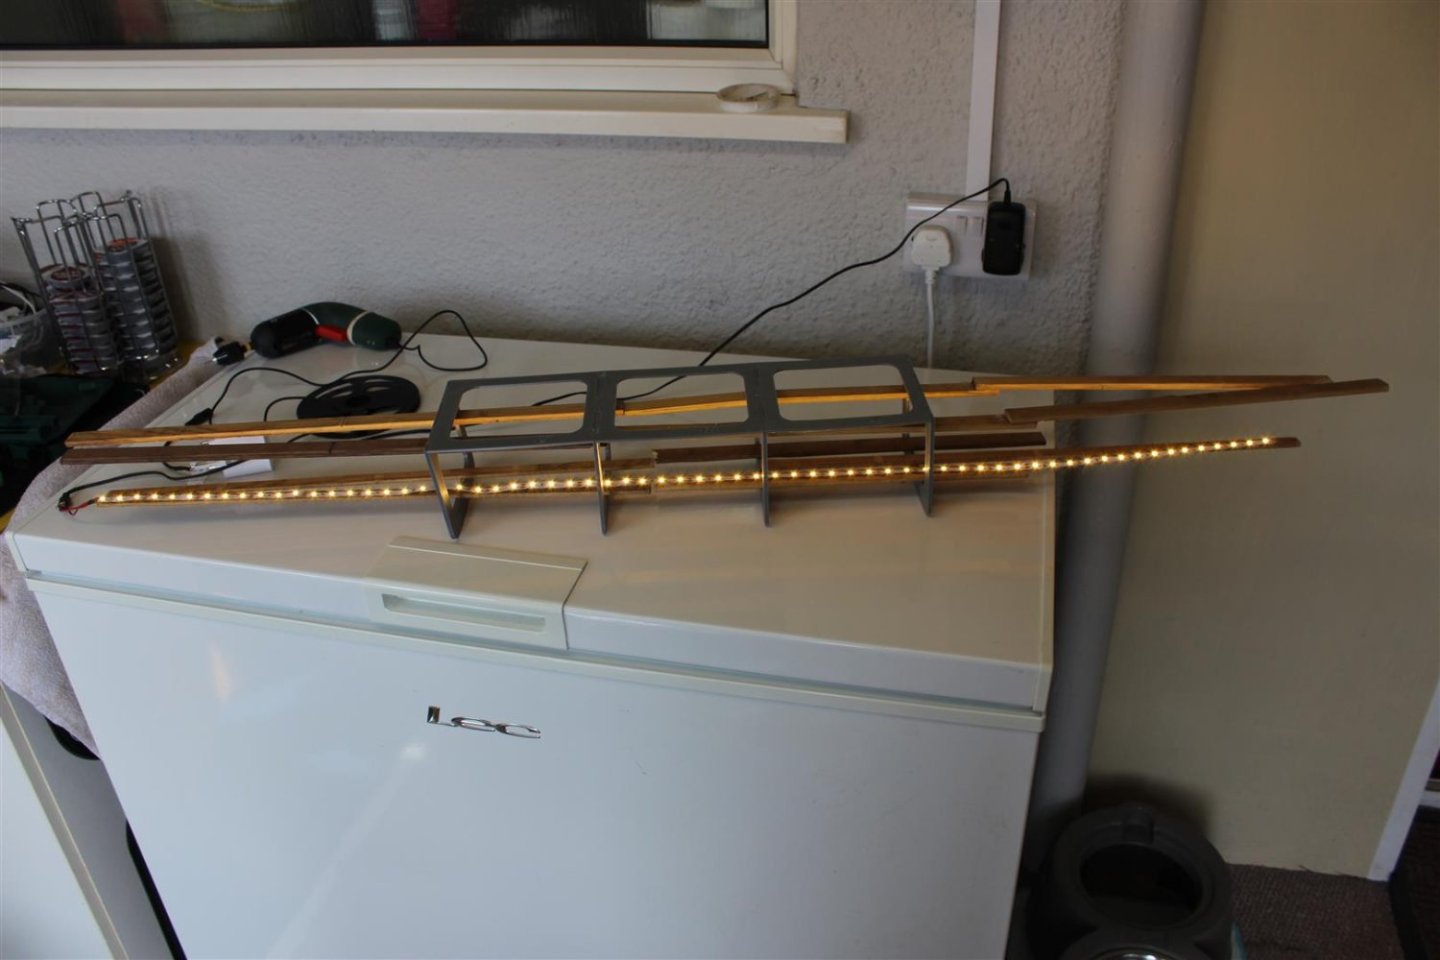
good evening everyone than you for comments and likes day 5 port side port holes done, another couple hudred left to do, trying to sort internal hull lighting really pleased with myself completing the 0.6mm port holes, then i went and sanded the hull internally to get rid of the swarf, and it filled a lot of them in again, oh hum internal of the hull has been primed in a Halfords yellow primer, made a frame for the internal leds attached to the bulkhead frames, but once the decks either end are in place i wont be able to remove it, so i may adapt it to 3 sections and actually secure the fwd and after sections with a removable midships sections, another 2 strips at least are required as well the light gap between the top superstructure and the hull is caused by a few locating lugs, the internal bulkheads which are not part of the kit cause it to sit to high, not any more as i cut them off hull primed wooden frame attached to the internal bulkheads, allows it to be removeable for now this light gap has now been eliminated, locating lugs were being hampered by the internal bulkheads this with just two strips, another two planned


- 165 replies
-
- 18
-

-
-
dam, so they really are 3d printers and not coffee machines, i thought you were taking me on as unpaid labour to keep the floor clean, I need plenty of coffee for that
-
i love the 3 coffee machines, i think you called them 3d printers in error 😀
-
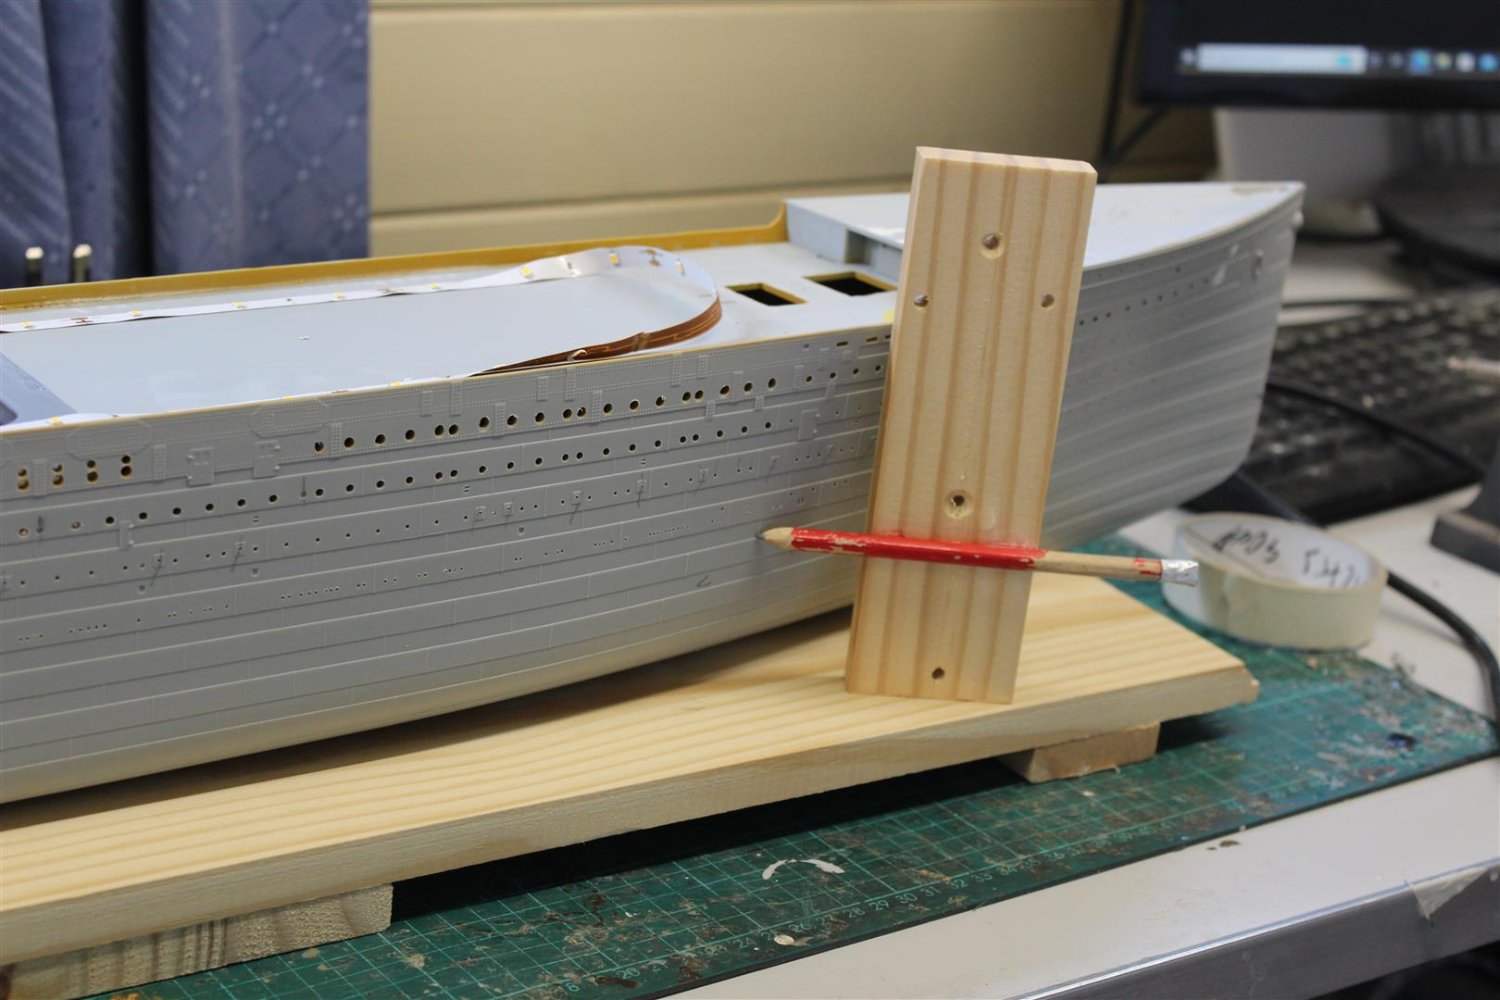
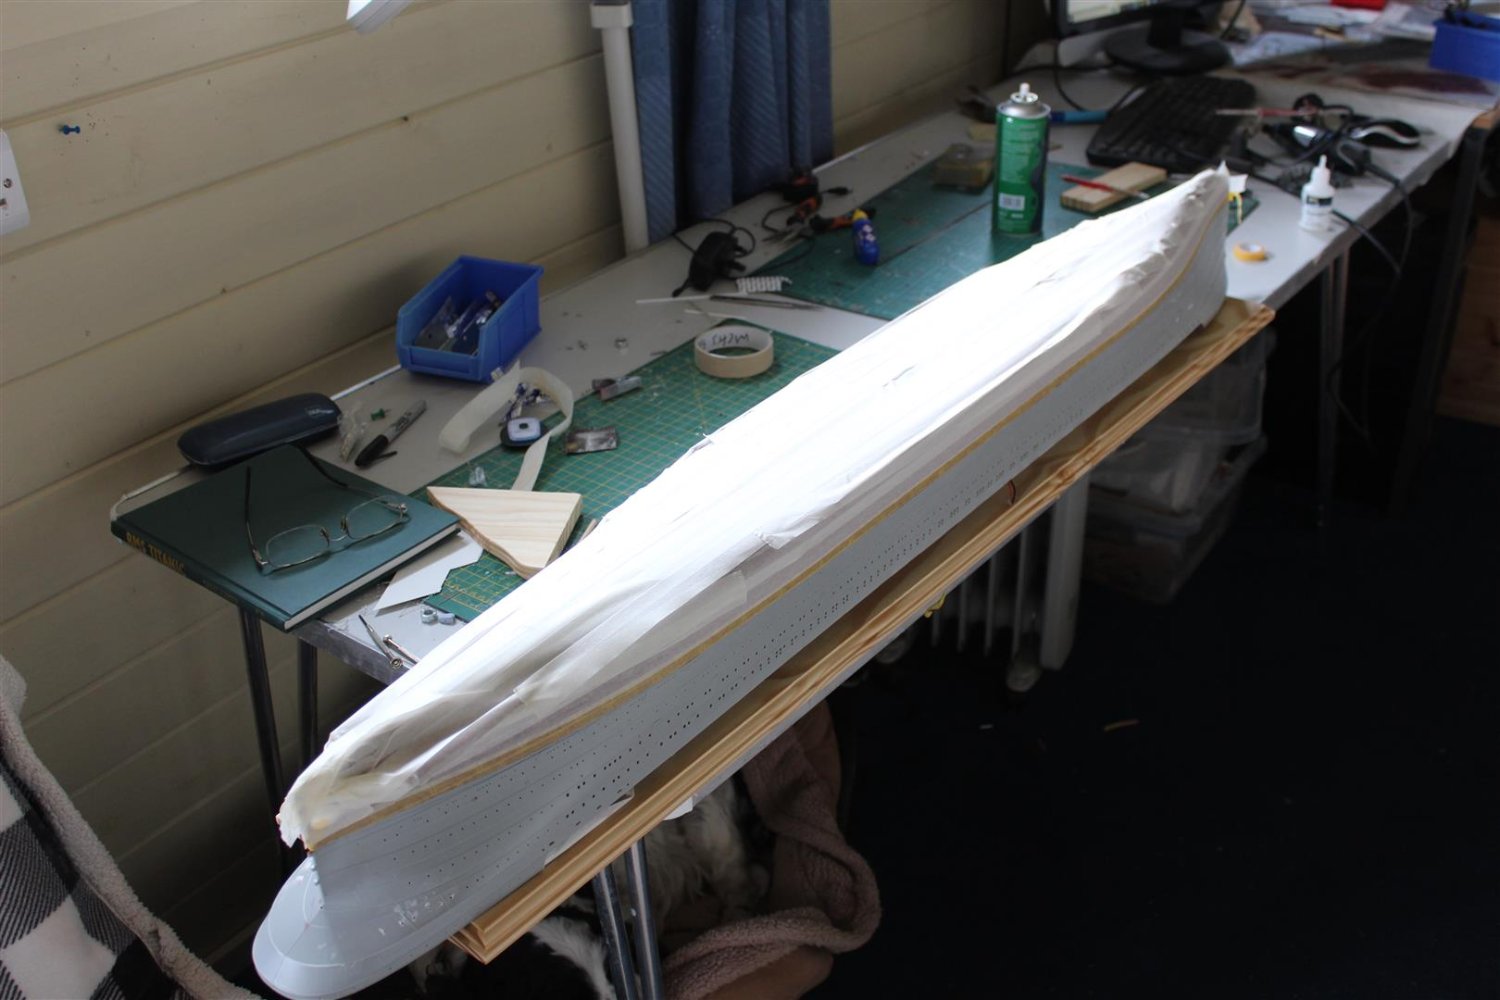
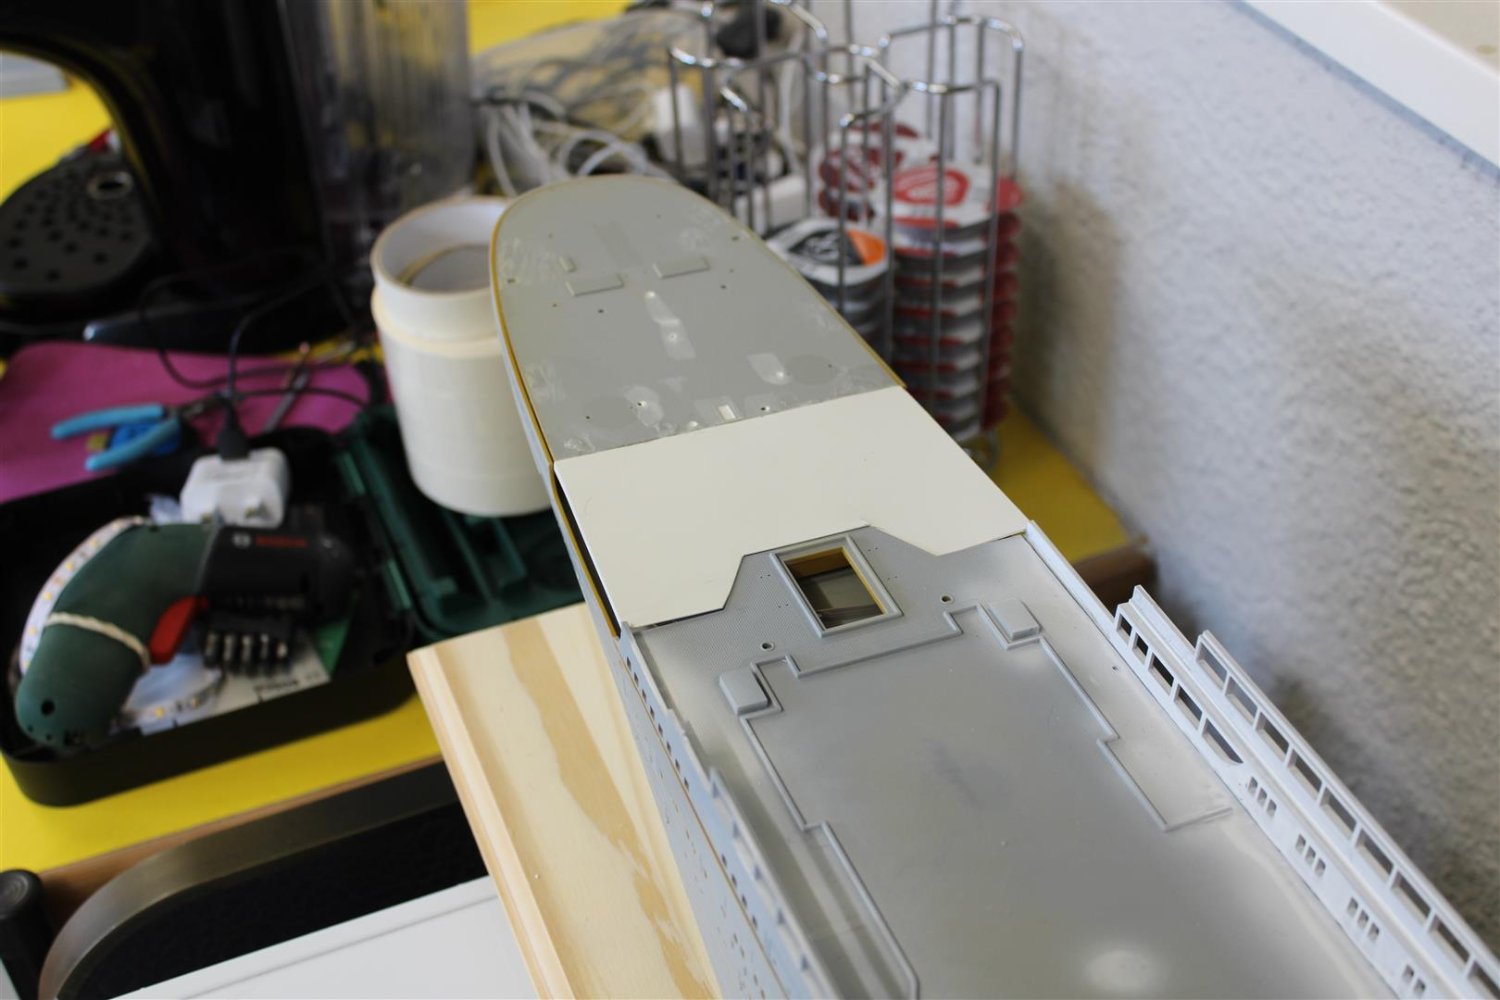
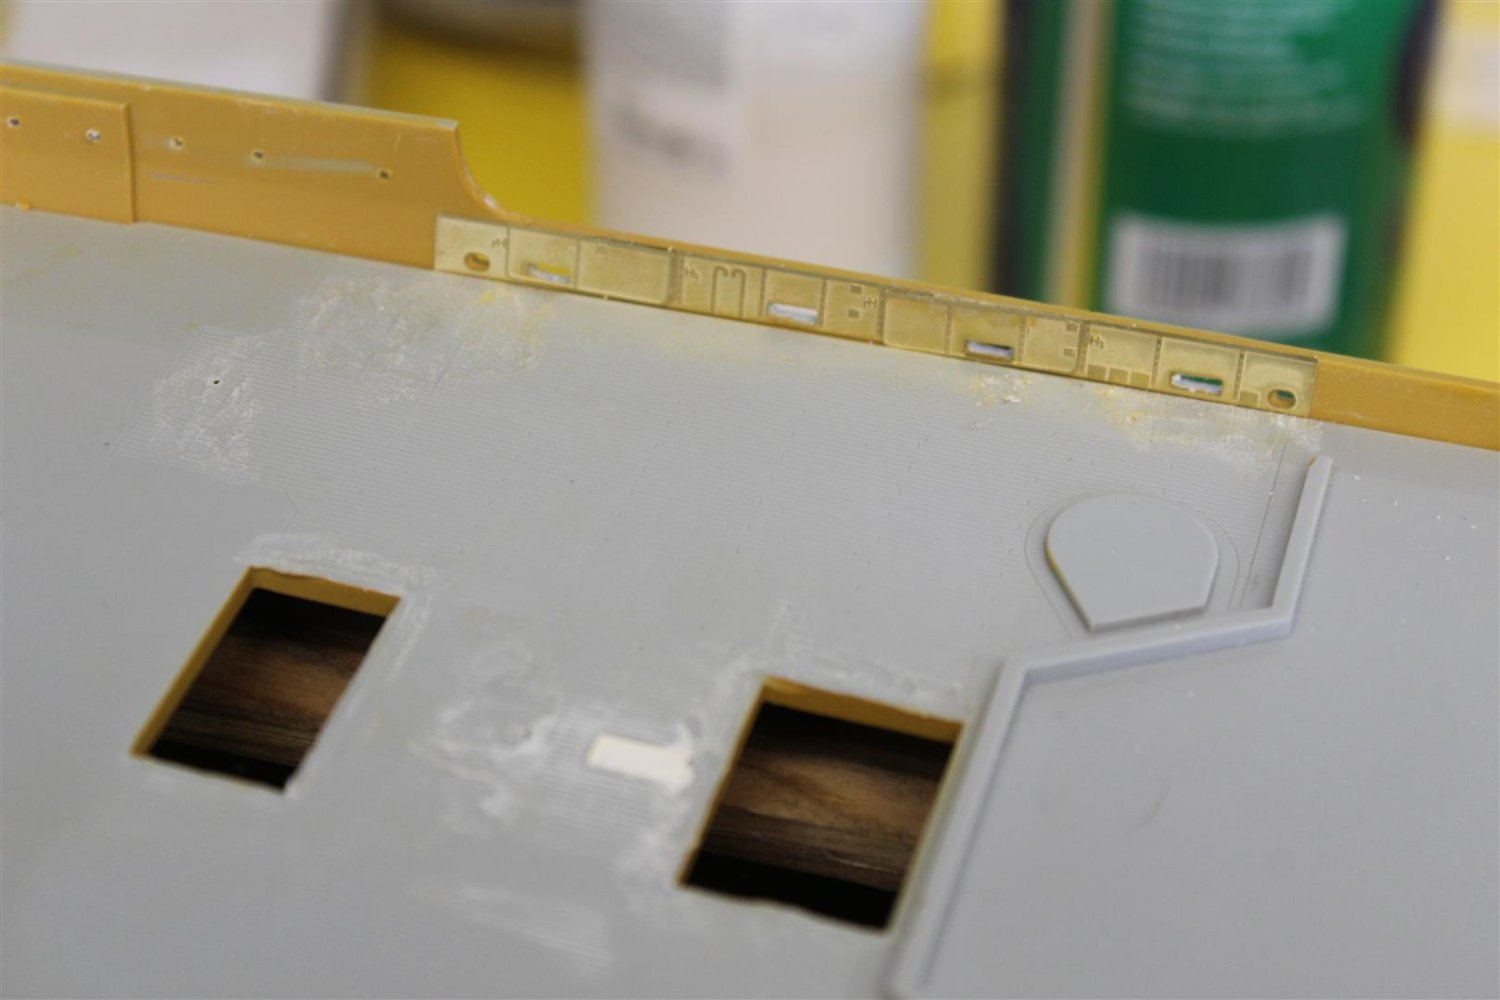
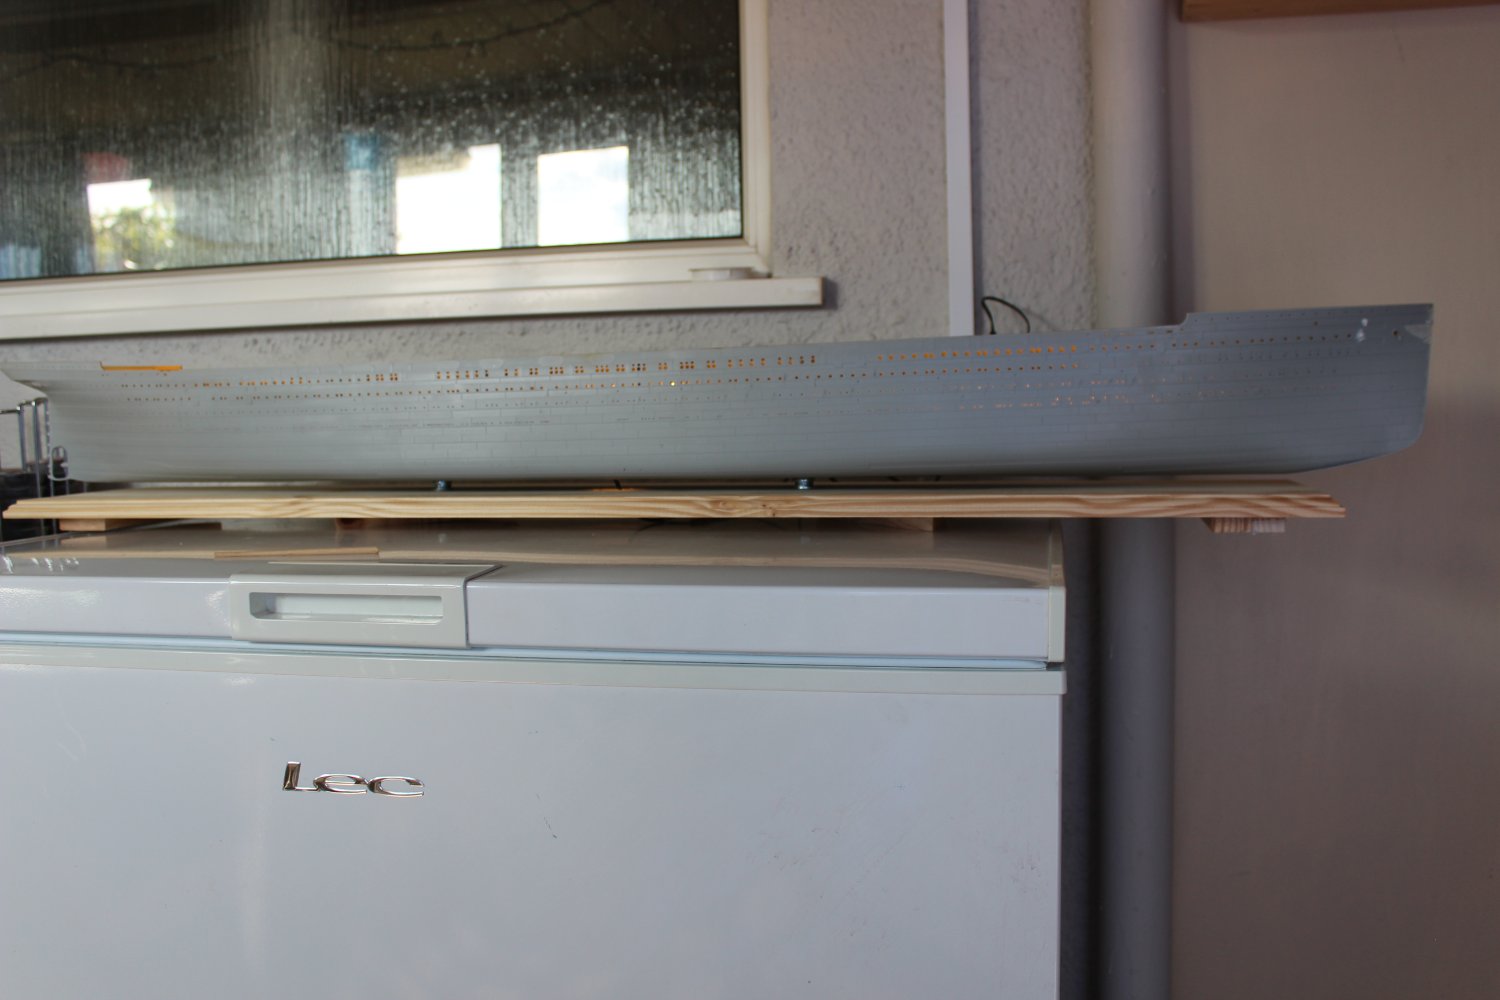
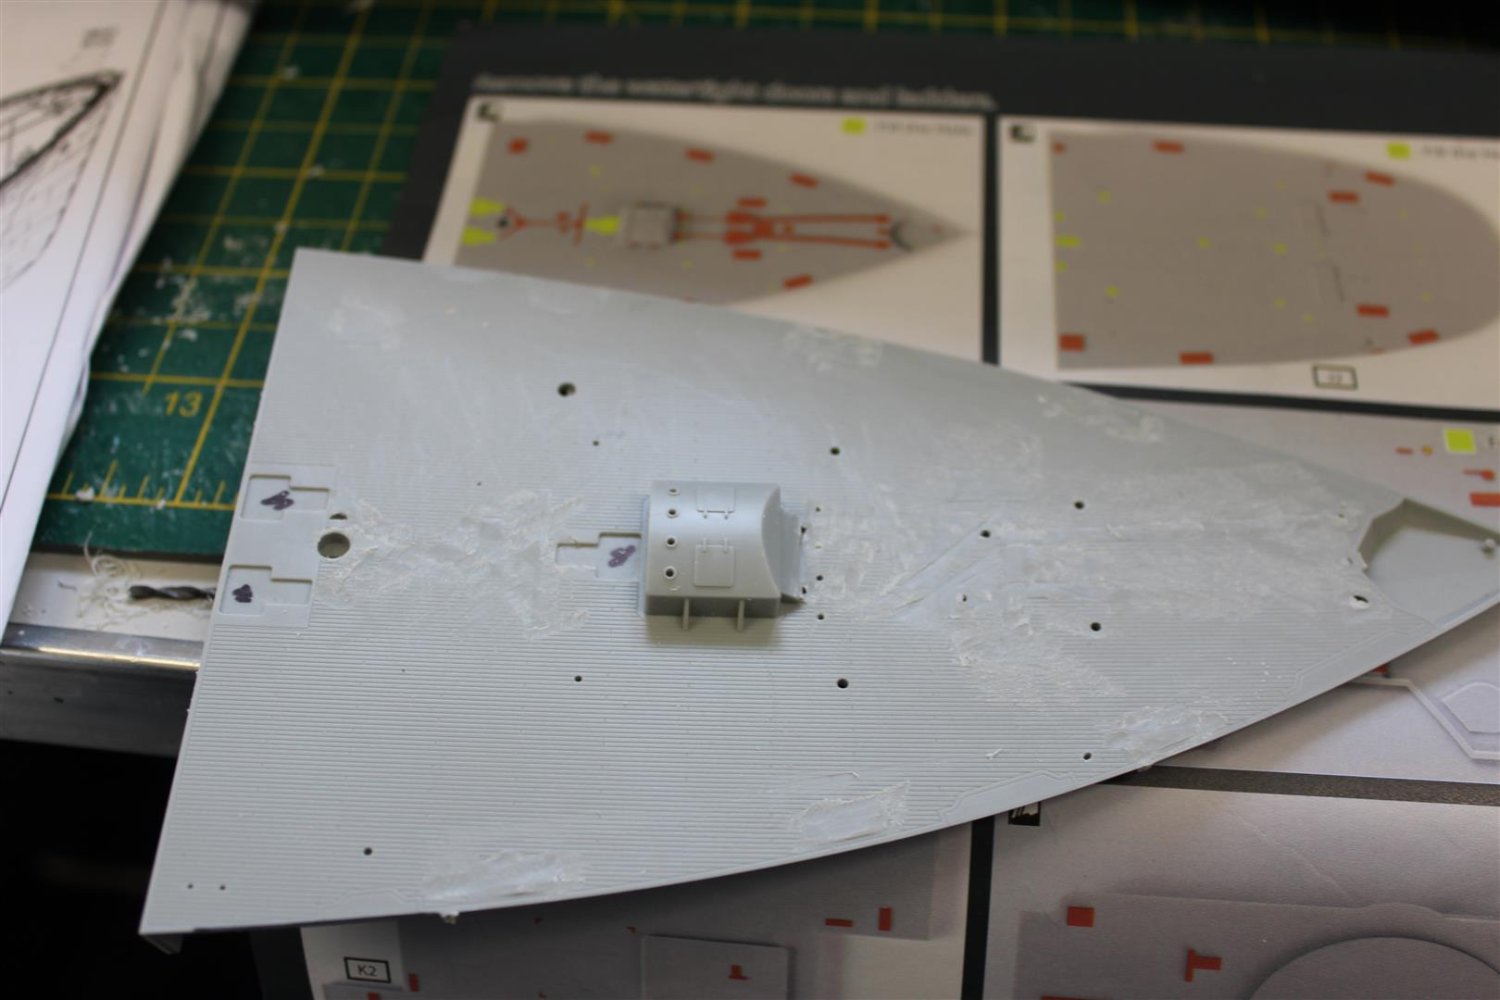
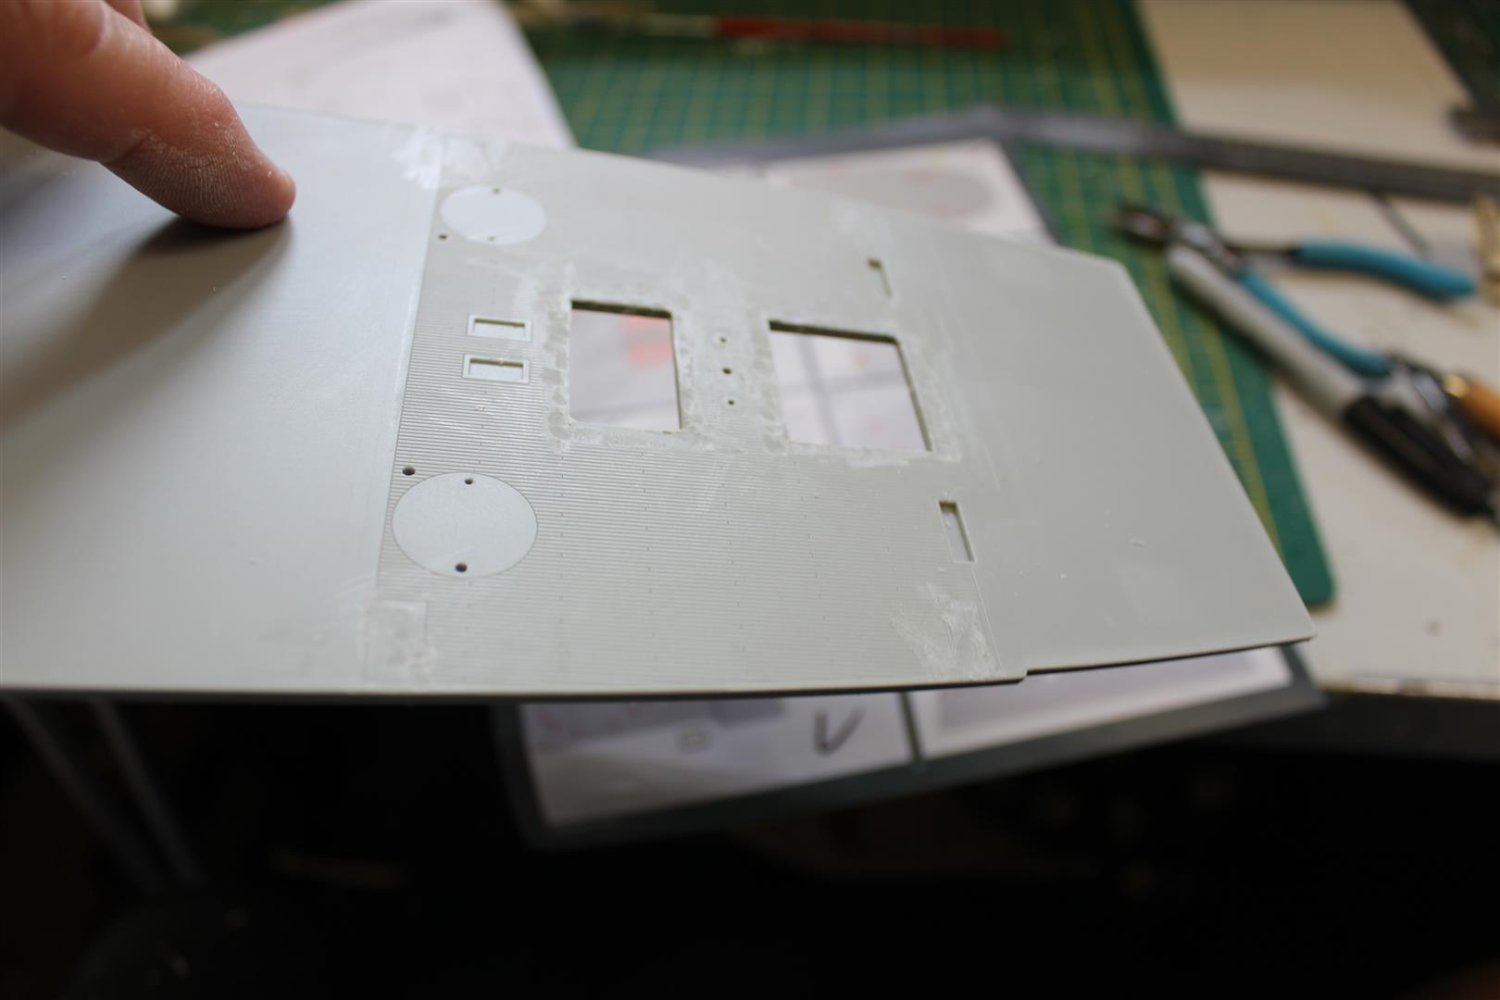
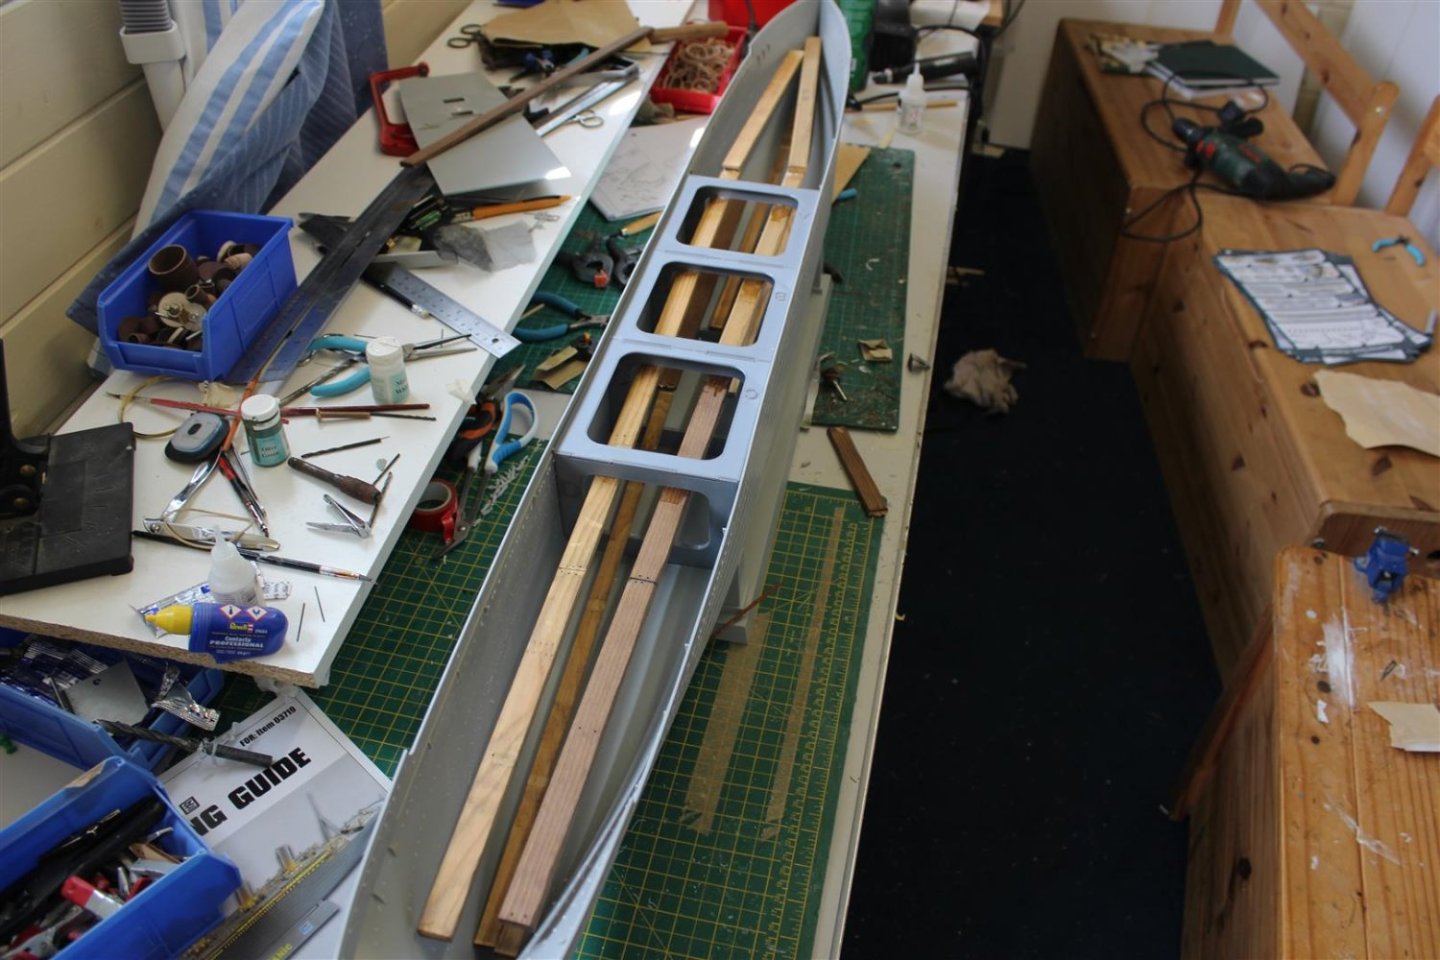
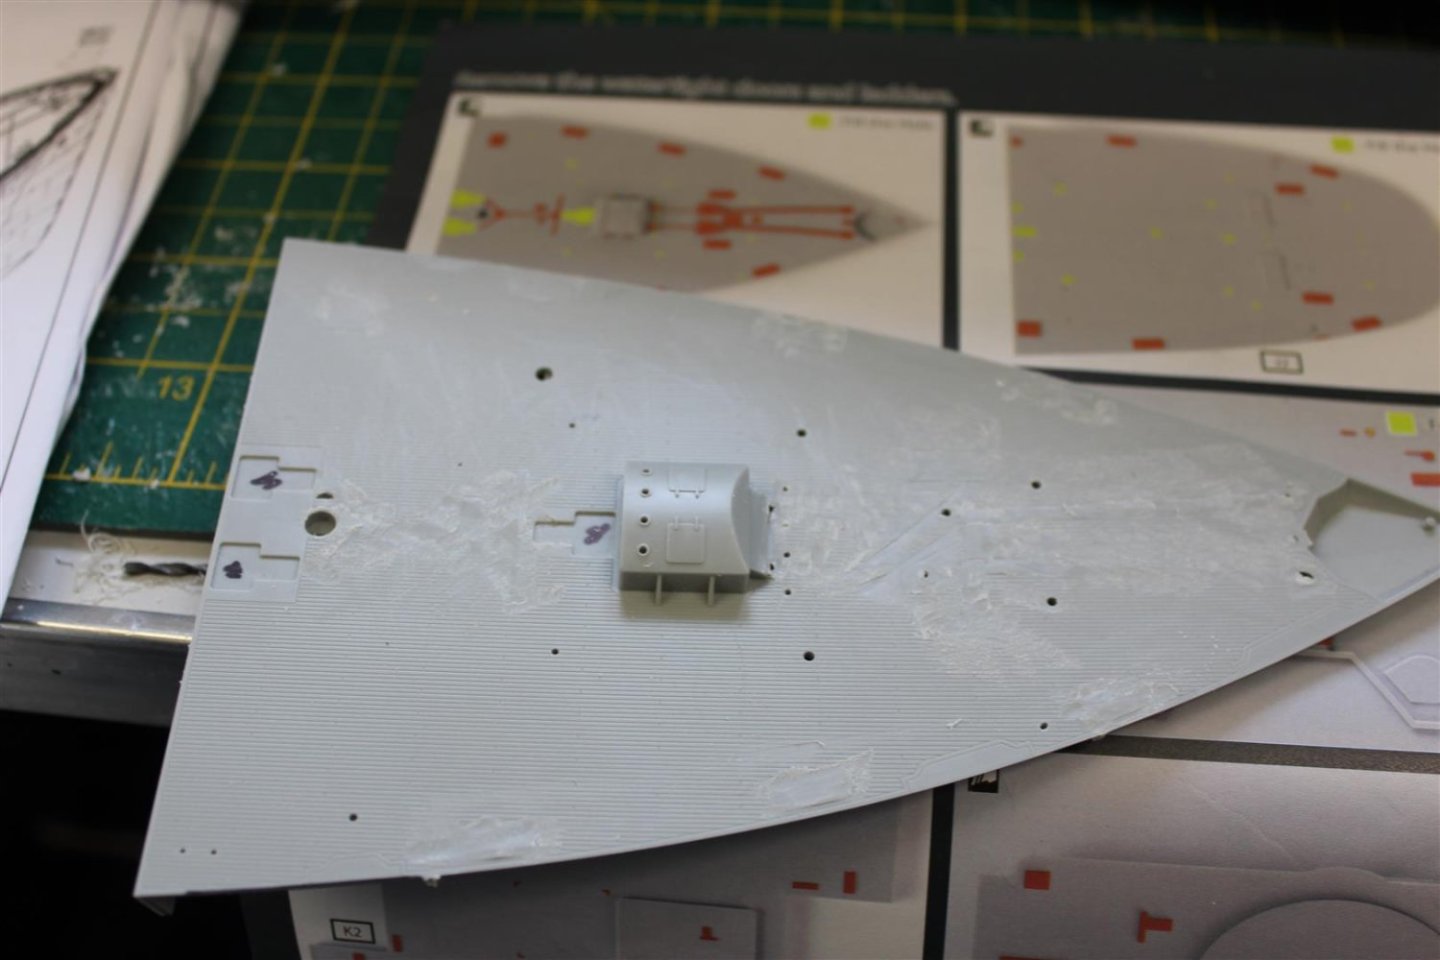
good evening everyone thank you for comments and likes Day 4 Portholes, clearing raised detal prior to photoetch thought the portholes would have been finished by now, but i have now run oput of .7mm drill bits spent yesterday clearing the raised detail on all deck parts and filling in where stated in the KAMK1 instructions this evening just place the hull parts on top to see the effect hull work will not leap forward as my books of reference are in the post, with a mail strike new drill much easier than what i was using

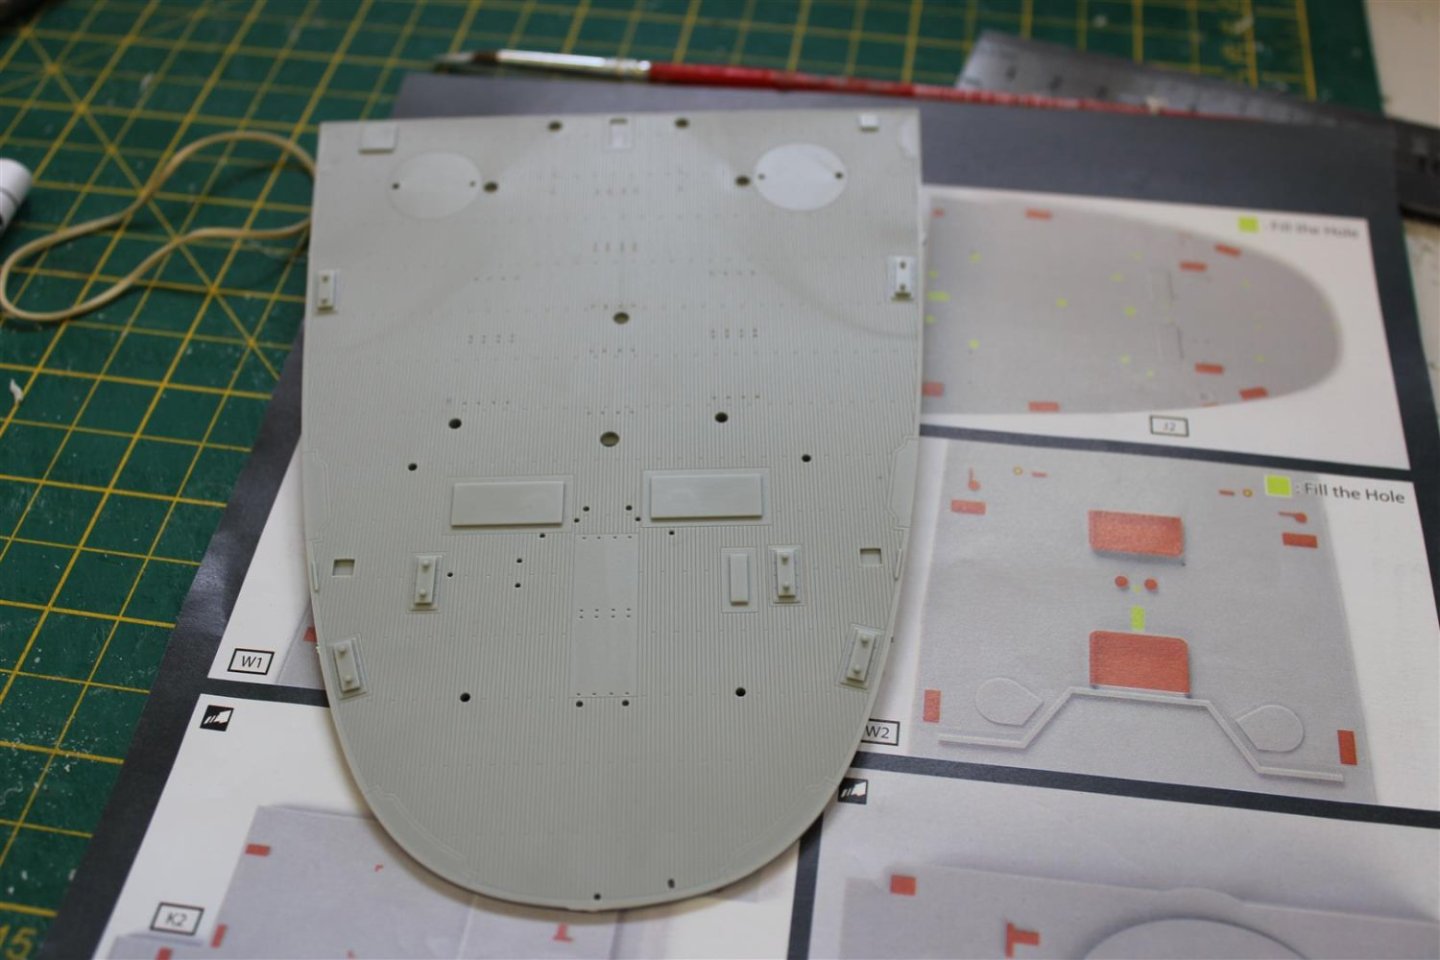


- 165 replies
-
- 14
-