lambsbk
-
Posts
910 -
Joined
-
Last visited
Content Type
Profiles
Forums
Gallery
Events
Everything posted by lambsbk
-
Very neat Sjors. Looks great.
-
I will see what it looks like after a little sanding, shaping, and painting. You may be right Henry. Whew...I just re-looked at the pic above full size. I gotta take lower pixel shots! The mistakes are too noticeable up close.
-
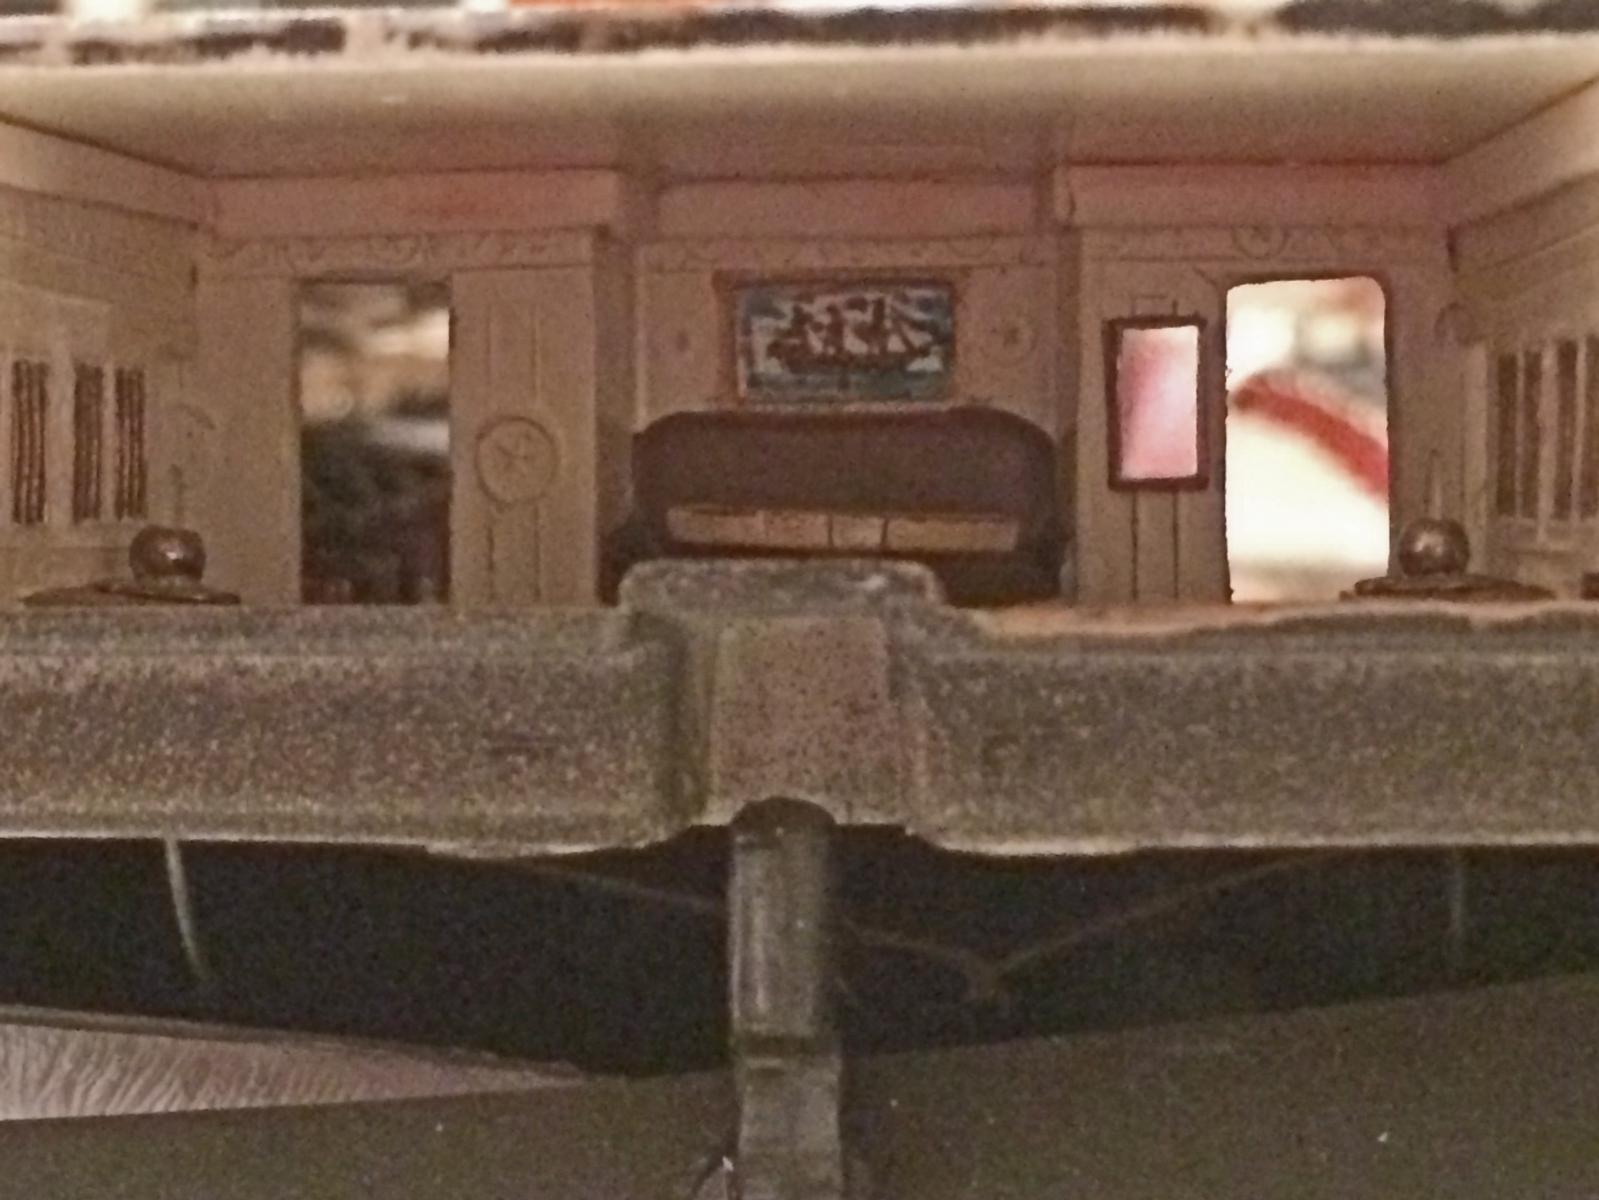
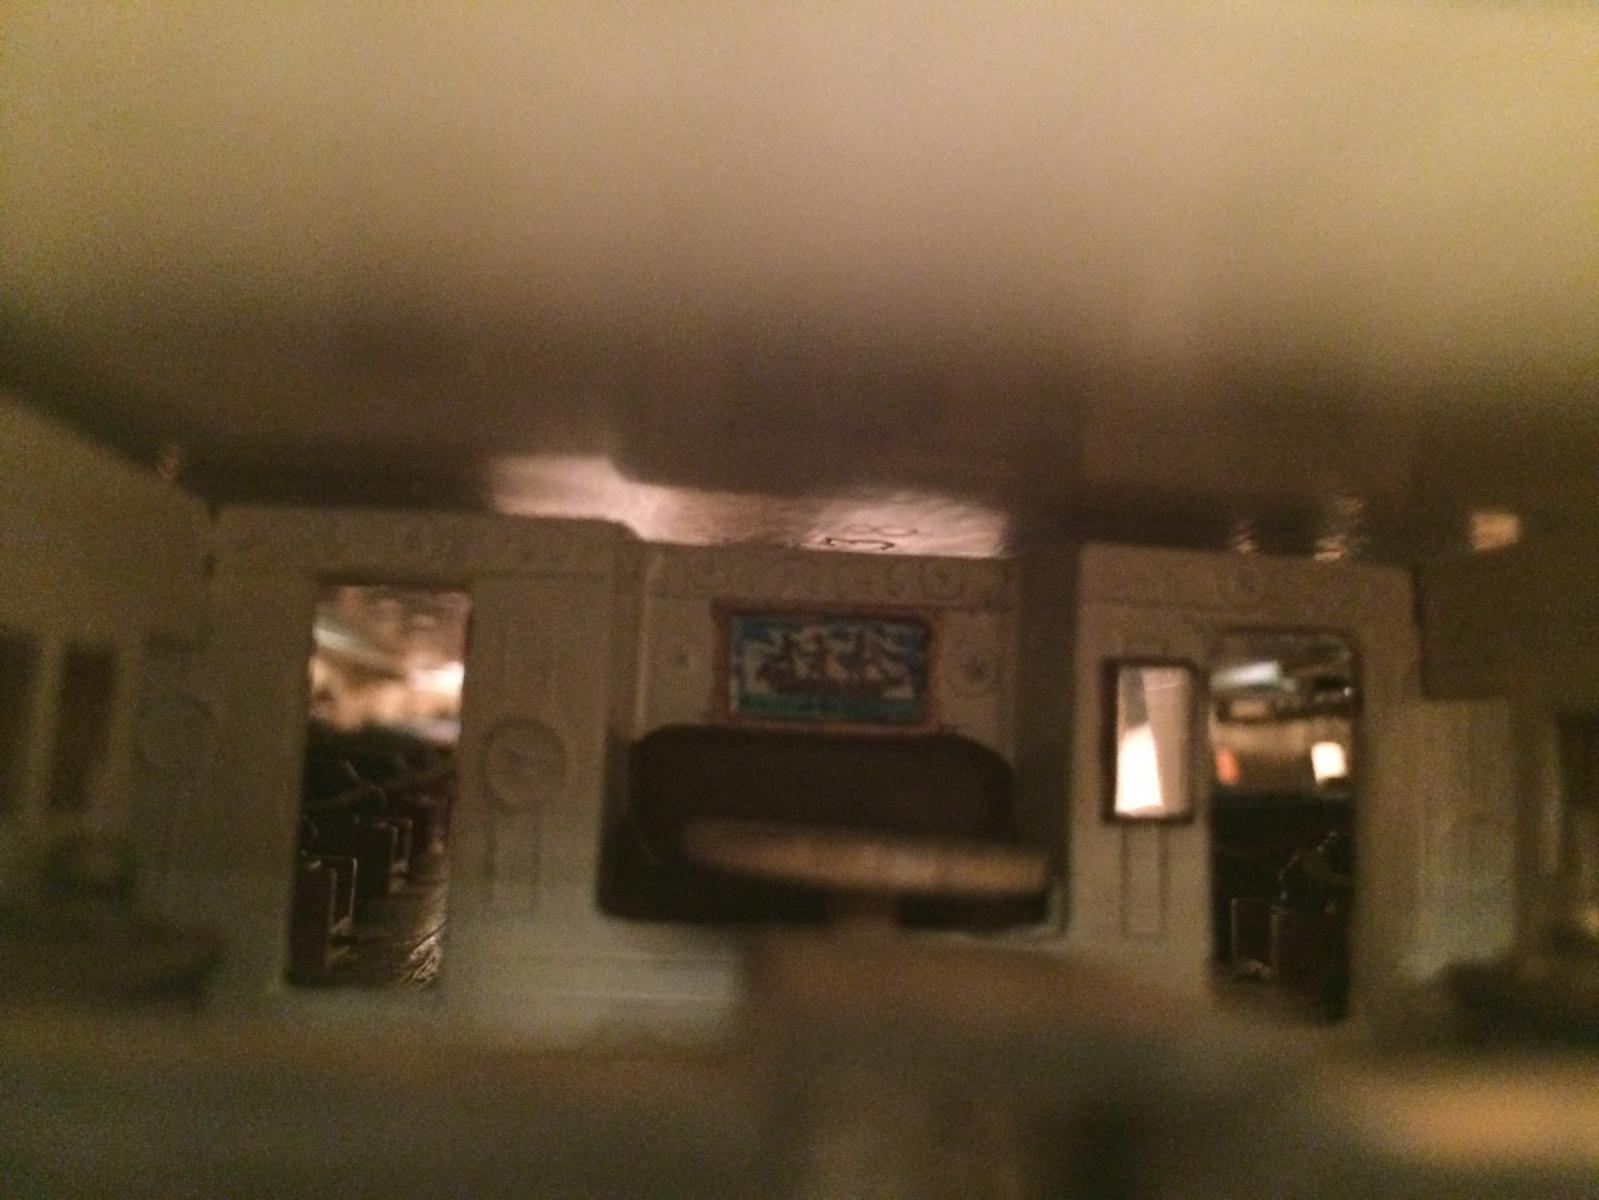
The spar deck was dry fit again and I attempted to get a photo of the under deck seals. Not a great photo but the light blocking effect is apparent. The detail of the cornices can, I think, be restored with the spare bulkhead from kit 2. BEFORE AFTER Still needs some touch up and paint (and up close I see the doors need trimming!).

- 601 replies
-
- 5
-

-
- constitution
- revell
- (and 1 more)
-
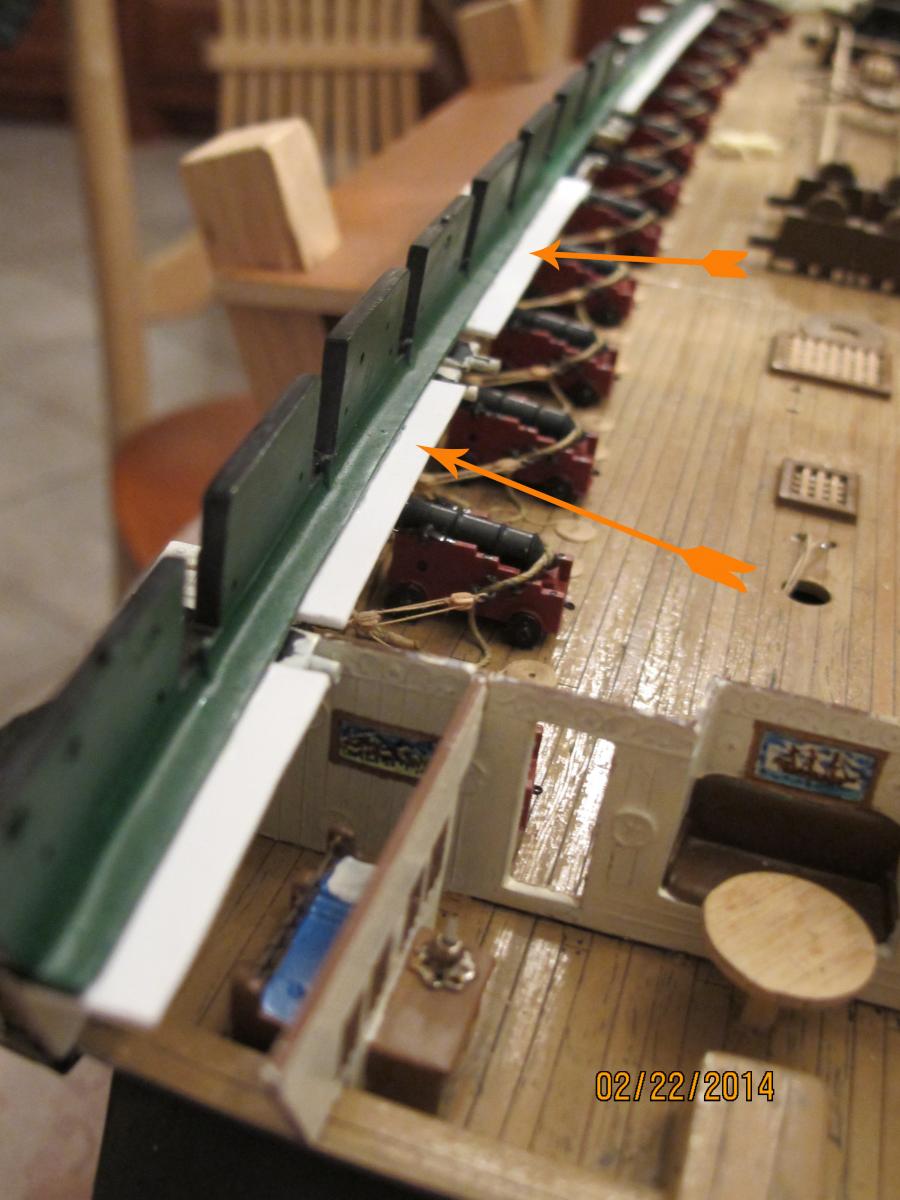
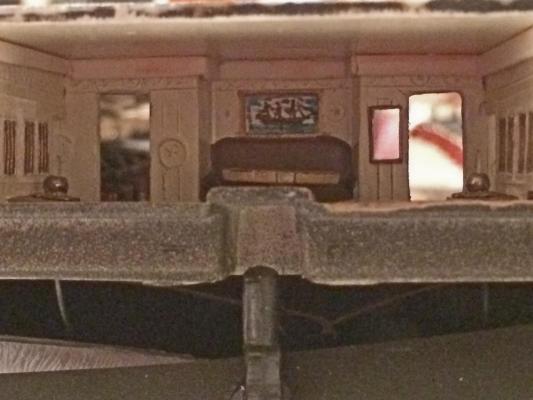
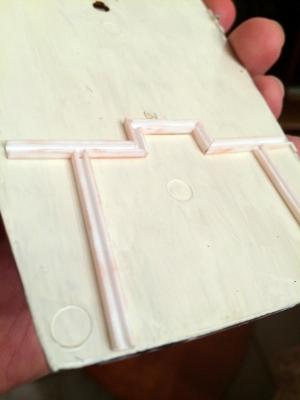
As I mentioned yesterday I was having a little trouble with a snug fit between the Captain's Quarters bulkheads and the bottom of the spar deck. The deck lanterns reflected through this open seam. The solution I came up with was to remove one side of a 1/8" square plastic stock making it into a 'U' channel. I then placed them on the top of the bulkheads after coating the 'U' channels top with red line chalk powder. Then, after dry fitting the spar deck the bulkhead position was revealed in lines under the deck (i.e. they were transferred to the bottom of the spar deck). These spar deck lines were scored to reveal the plastic and then the U-channels were attached after they were cleaned of the chalk. Some of the chalk remains but I will paint it out later. These channels allow the spar deck to float above the bulkheads but also seal out the light from the gun deck.
- 601 replies
-
- 1
-
-
- constitution
- revell
- (and 1 more)
-
Congratulations Kim on getting the Constitution. I look forward to following your build log as you move forward. Interestingly the 1;196 kit bulwarks appear slightly different. Probably better.
- 47 replies
-
- 1
-
-
- constitution
- revell
- (and 1 more)
-
I agree Evan. I love the paint and the simulated wood effect. Fantastic.
-
...Just checked your link...I had forgotten I read through this earlier. I remember reading those same barrel size figures when I googled old references. Nice research. Dave
-
Thanks Jay for the link. And, ummm...I have lots of experimental scrap too. Dang, we all do! The good thing is we have LESS experimental scrap because you and the other folks on this forum share your talents.
-
After a little shaping on the deck to trim out the fit I did a dry run (the capstan cap and rails are not attached yet - they will be glued much later). The captain's cabin bulkhead beneath the deck is a little too far from the spar deck. It will require a little thought to seal it up before finally gluing it permanently. I'll post that pic tomorrow.

- 601 replies
-
- 5
-
-
- constitution
- revell
- (and 1 more)
-
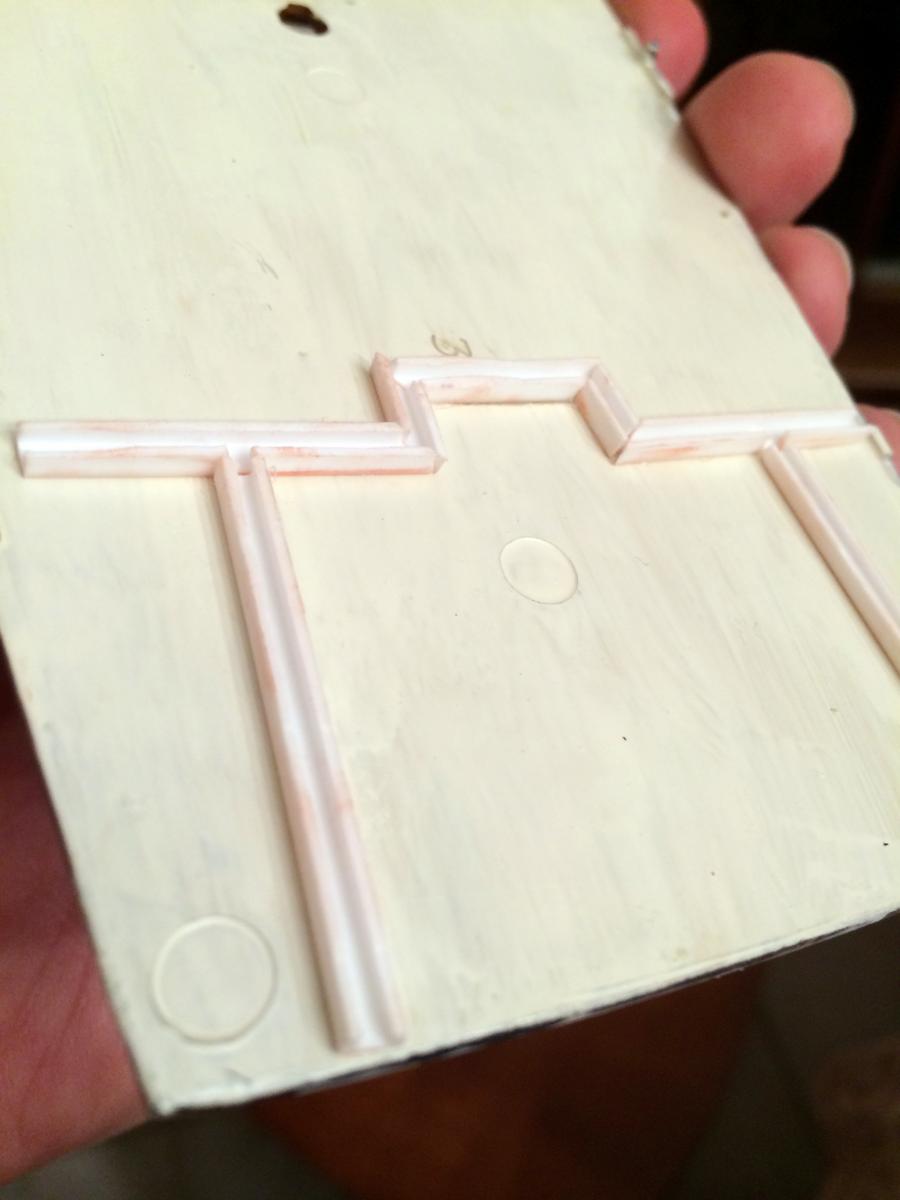
Movin' on up!! I attached the spar deck support pieces to the aft area today. These have a duo function: 1) to give the deck additional support AND 2) block light transmission between the seams of the deck and the gun deck lanterns.

- 601 replies
-
- 1
-
-
- constitution
- revell
- (and 1 more)
-
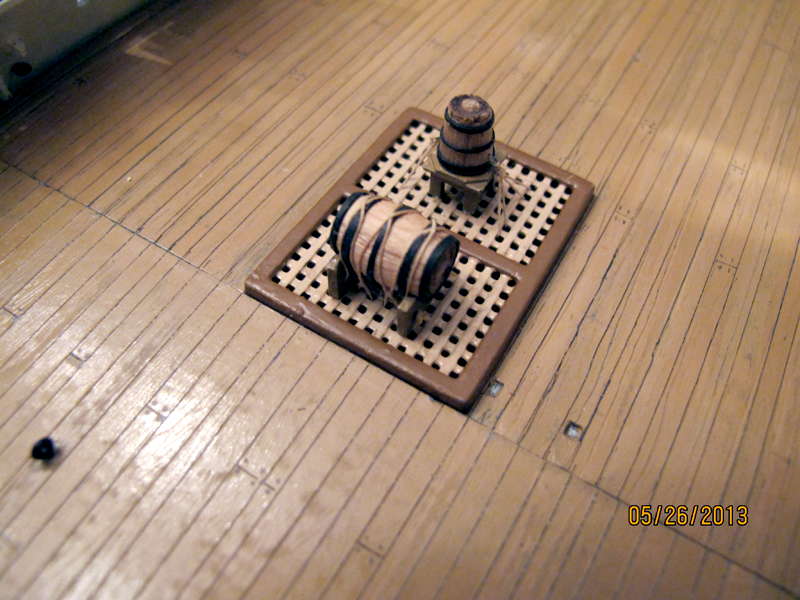
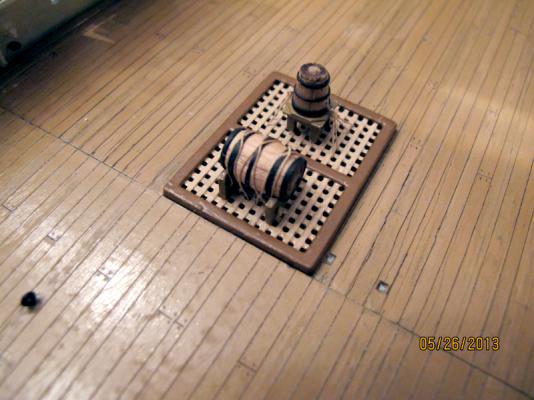
The bands are tricky. I used electrical heat shrink tubing to make mine and they turned out fairly well (although the bands are a little too thick - it is traded off to a clean look). I found some hardwood dowels that had a nice multicolor grain and shaped them on a simple drill press. The multi-colors took on the look of staves surprisingly well for such simple effort.
- 732 replies
-
- 4
-
-
- constitution
- model shipways
- (and 1 more)
-
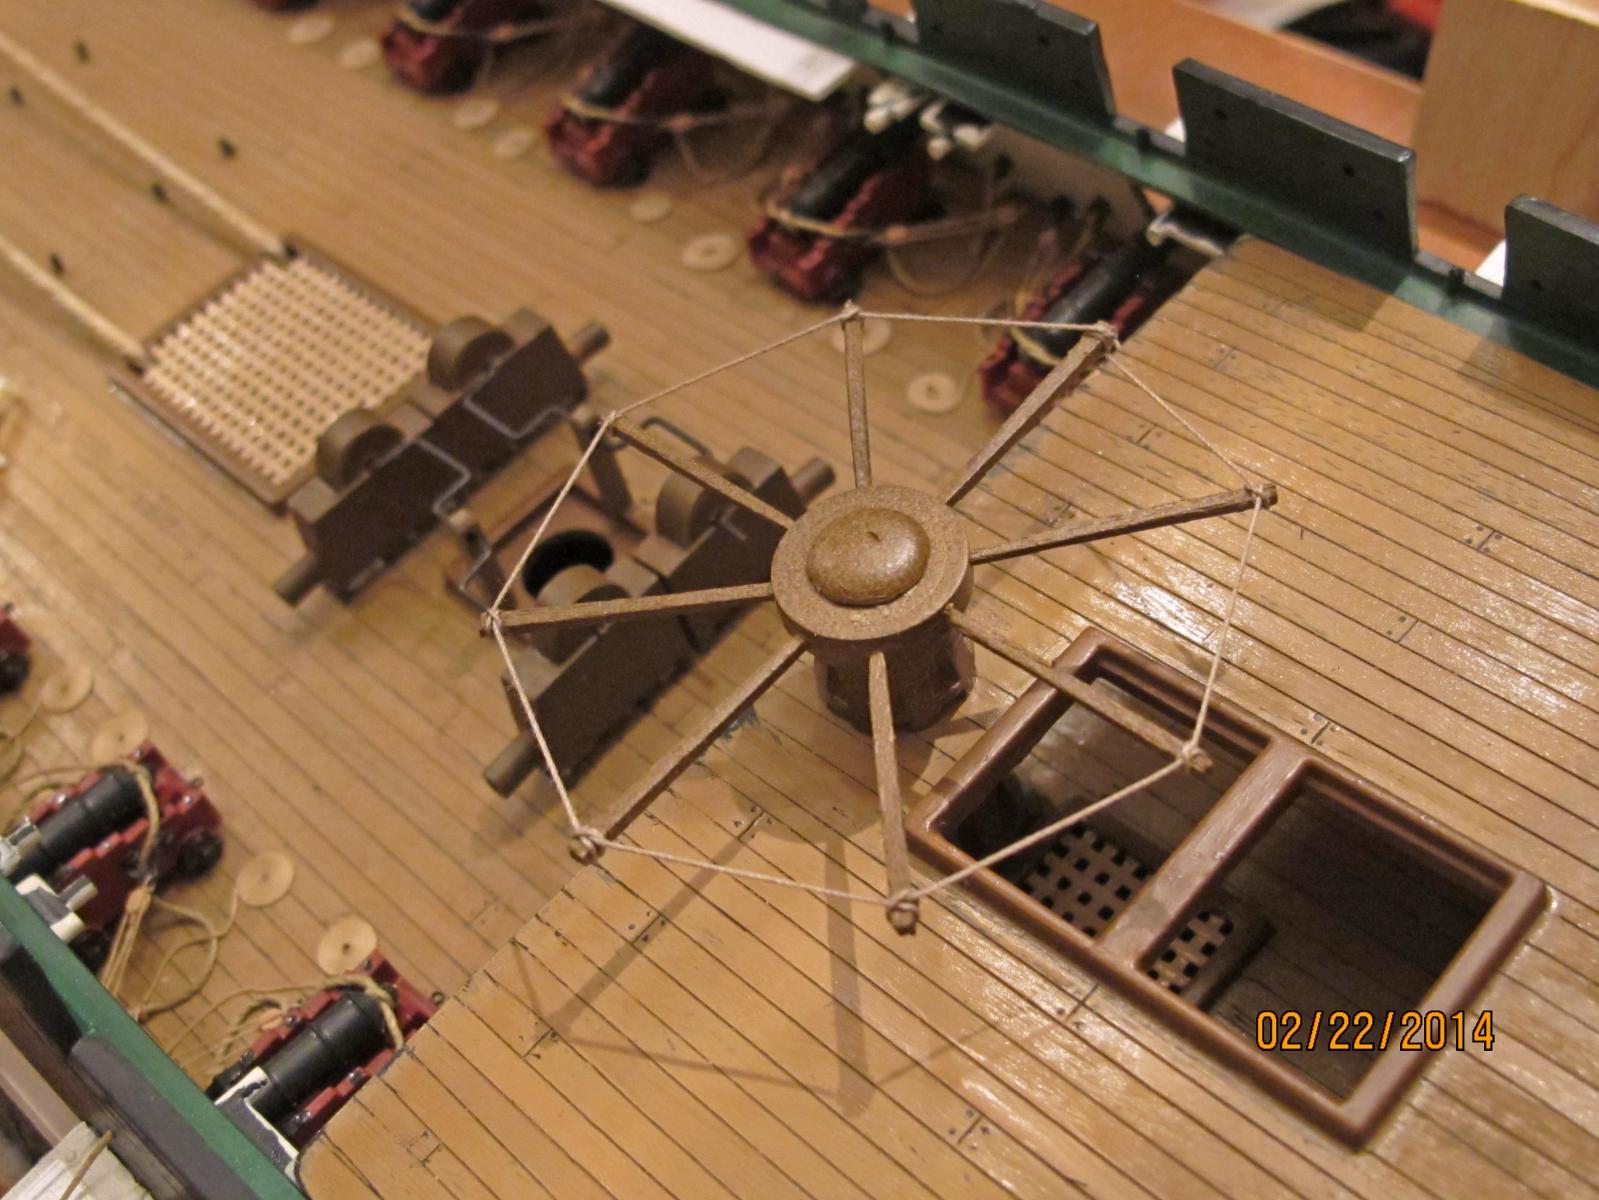
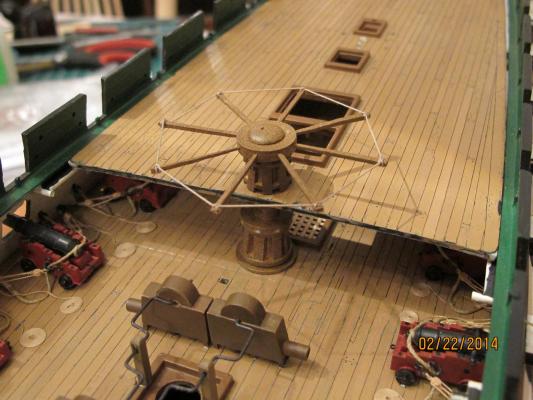
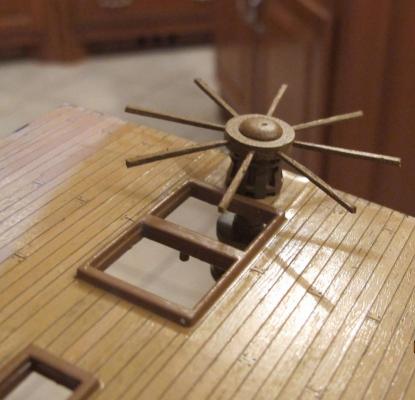
I thoroughly enjoyed my trip to Boston and seeing the Constitution with Henry. It just doesn't get better then that. But I did modify the capstan a bit. The current capstan is designed to haul chain cable and I wanted to retrograde to an earlier version that hauls hemp rope. The differences are minor and probably not that noticeable but I am pretty close to what I wanted in the finished look.
- 601 replies
-
- 1
-
-
- constitution
- revell
- (and 1 more)
-
Nice small details Russ. They are the trickiest. Well done.
-
I used tooth picks to fill the cap bar holes to keep the paint from obscuring the tiny holes. They were first colored with a brown permanent marker prior to assembly. I kinda' LIKE the tooth picks and may turn them into capstan bars after lashing them together. They could sit alongside the capstan on the deck.
- 601 replies
-
- 5
-
-
- constitution
- revell
- (and 1 more)
-
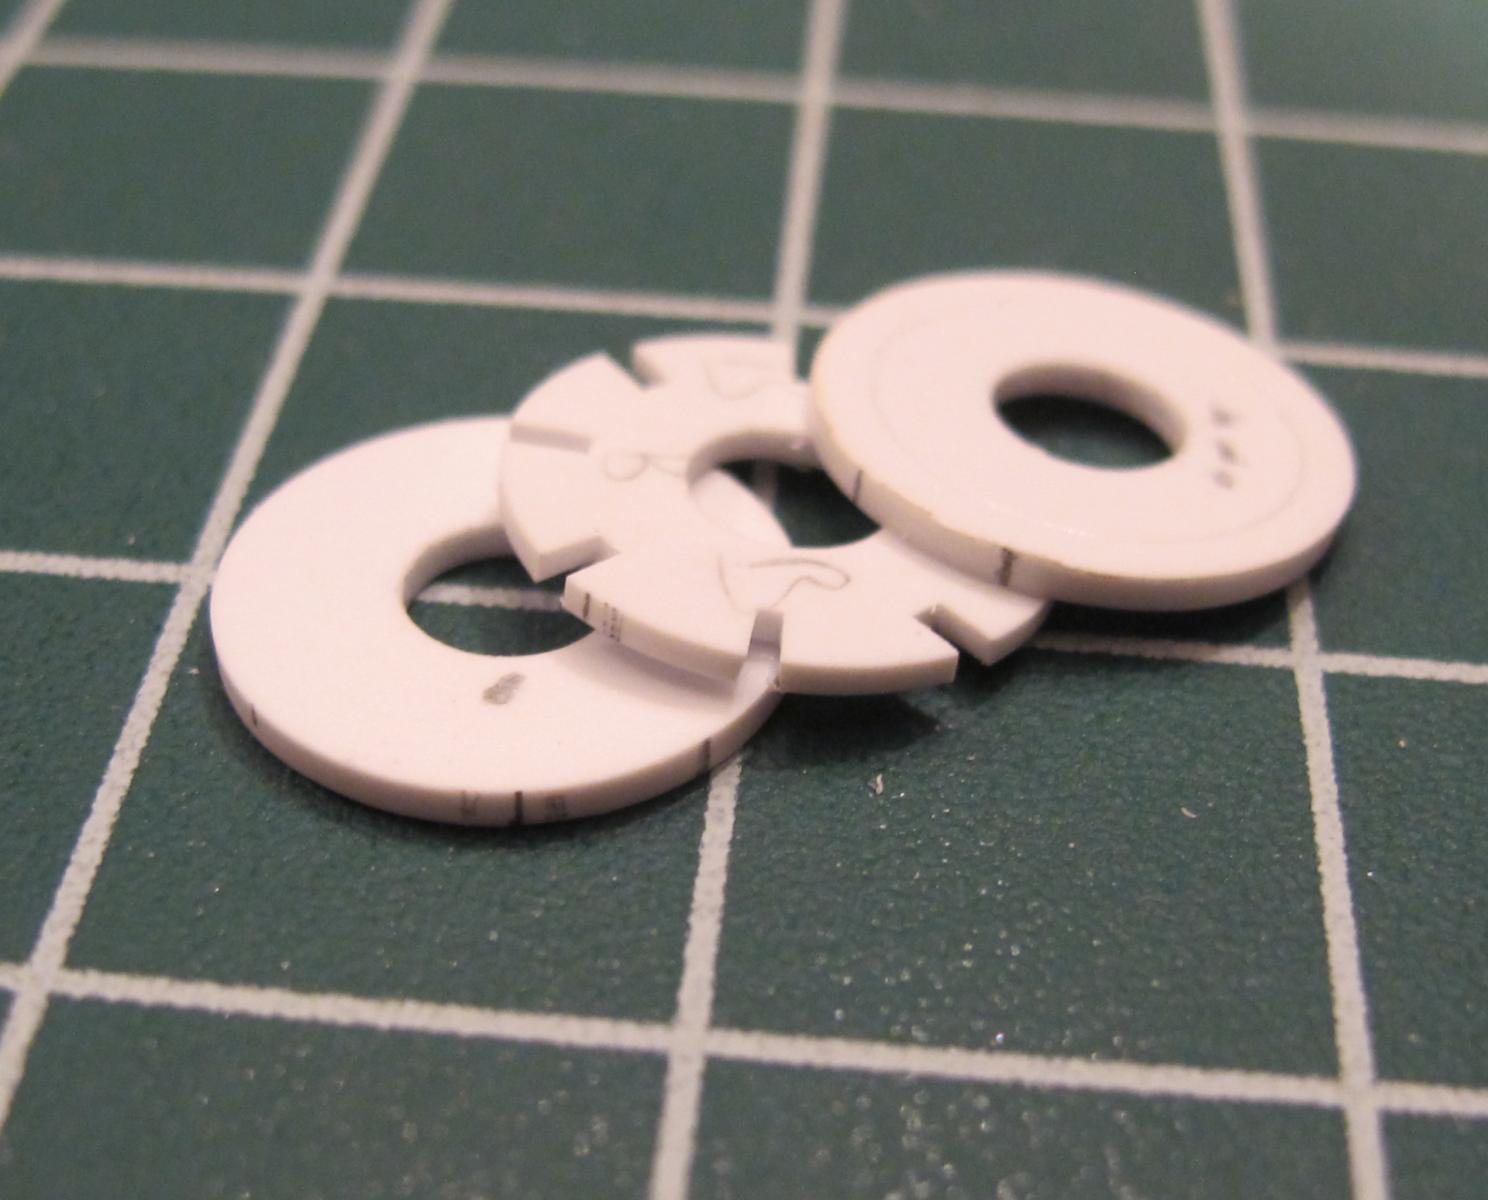
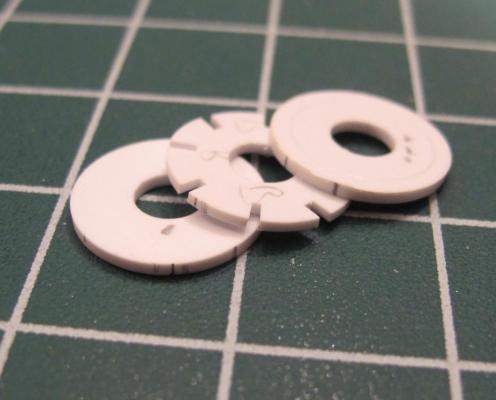
The drum head was made of 3 pieces of plastic then glued. This allowed the square holes for the capstan bars. Alignment marks keep the minor irregularities true to each other.
- 601 replies
-
- 1
-
-
- constitution
- revell
- (and 1 more)
-
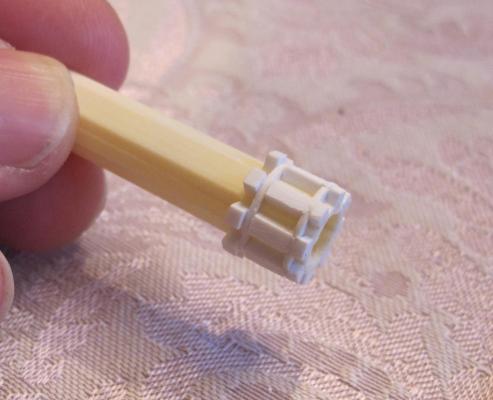
I can't get the pics to load onto the text so I will have to add separate posts here. The plastic was then shaped.
- 601 replies
-
- 2
-
-
- constitution
- revell
- (and 1 more)
-
The capstan is finally ready to fit into the spar deck and start closing the aft section of the deck. This little model has been more time consuming than I thought it would be. The plastic was first glued into position then shaped.
- 601 replies
-
- 2
-
-
- constitution
- revell
- (and 1 more)
-
Stunning!
-
Outstanding. You have raised the bar (at least for me). Very nice work.
-
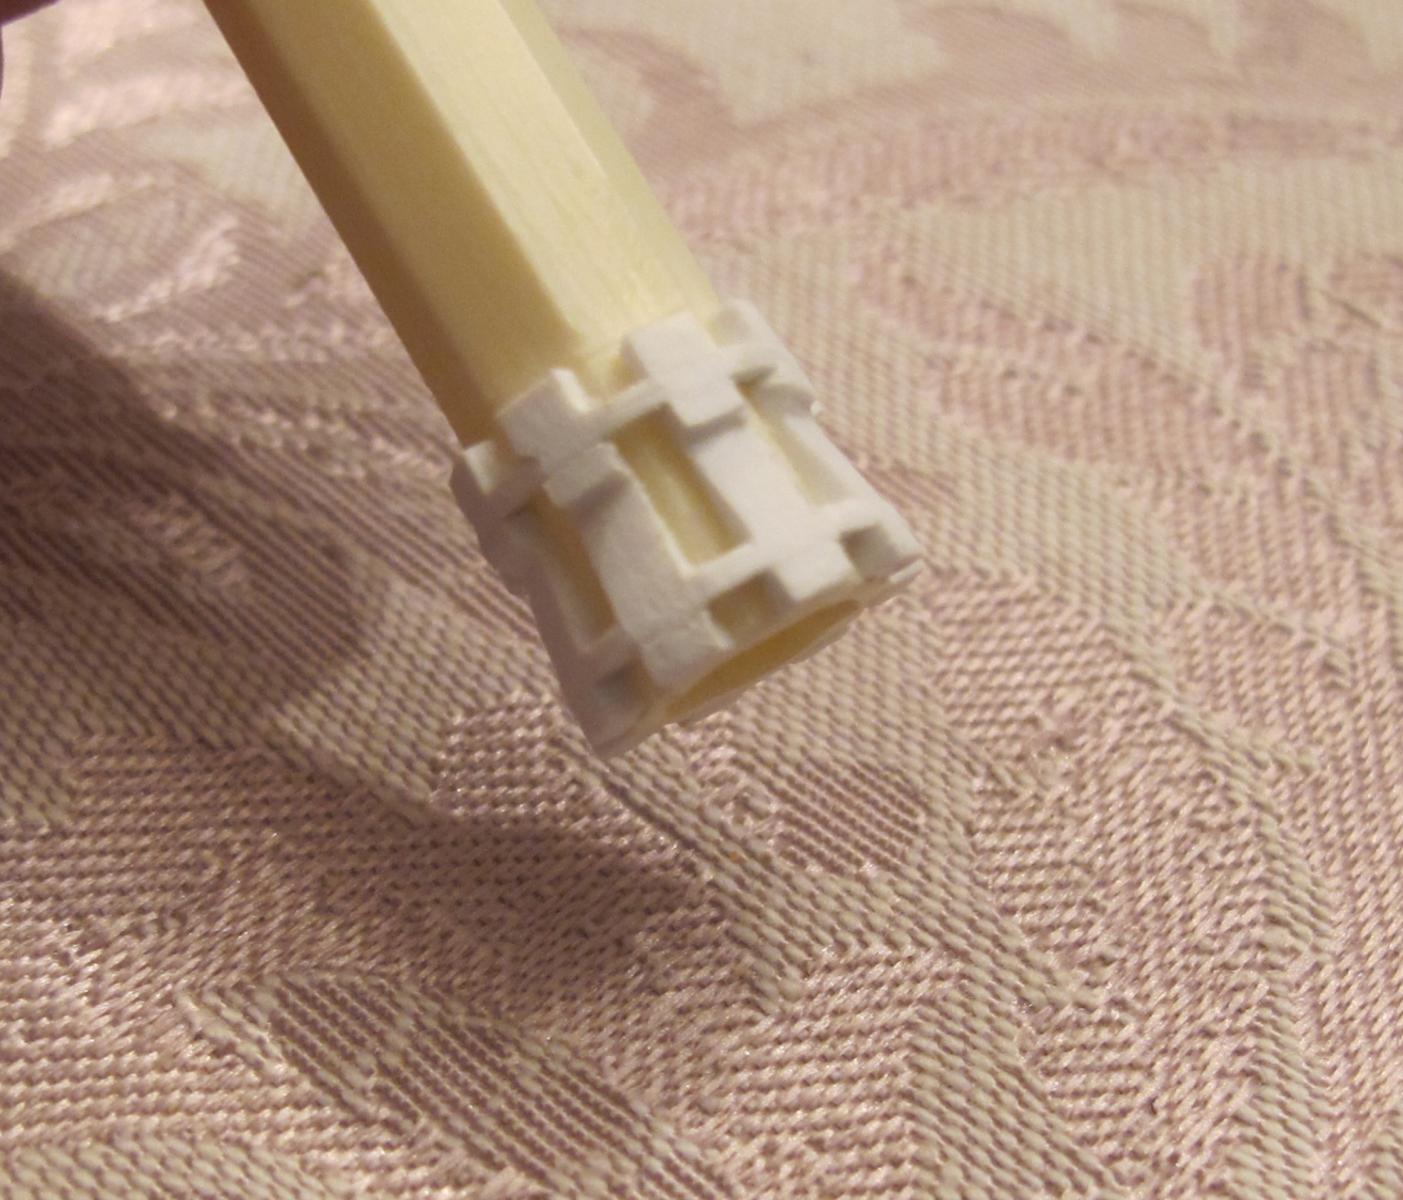
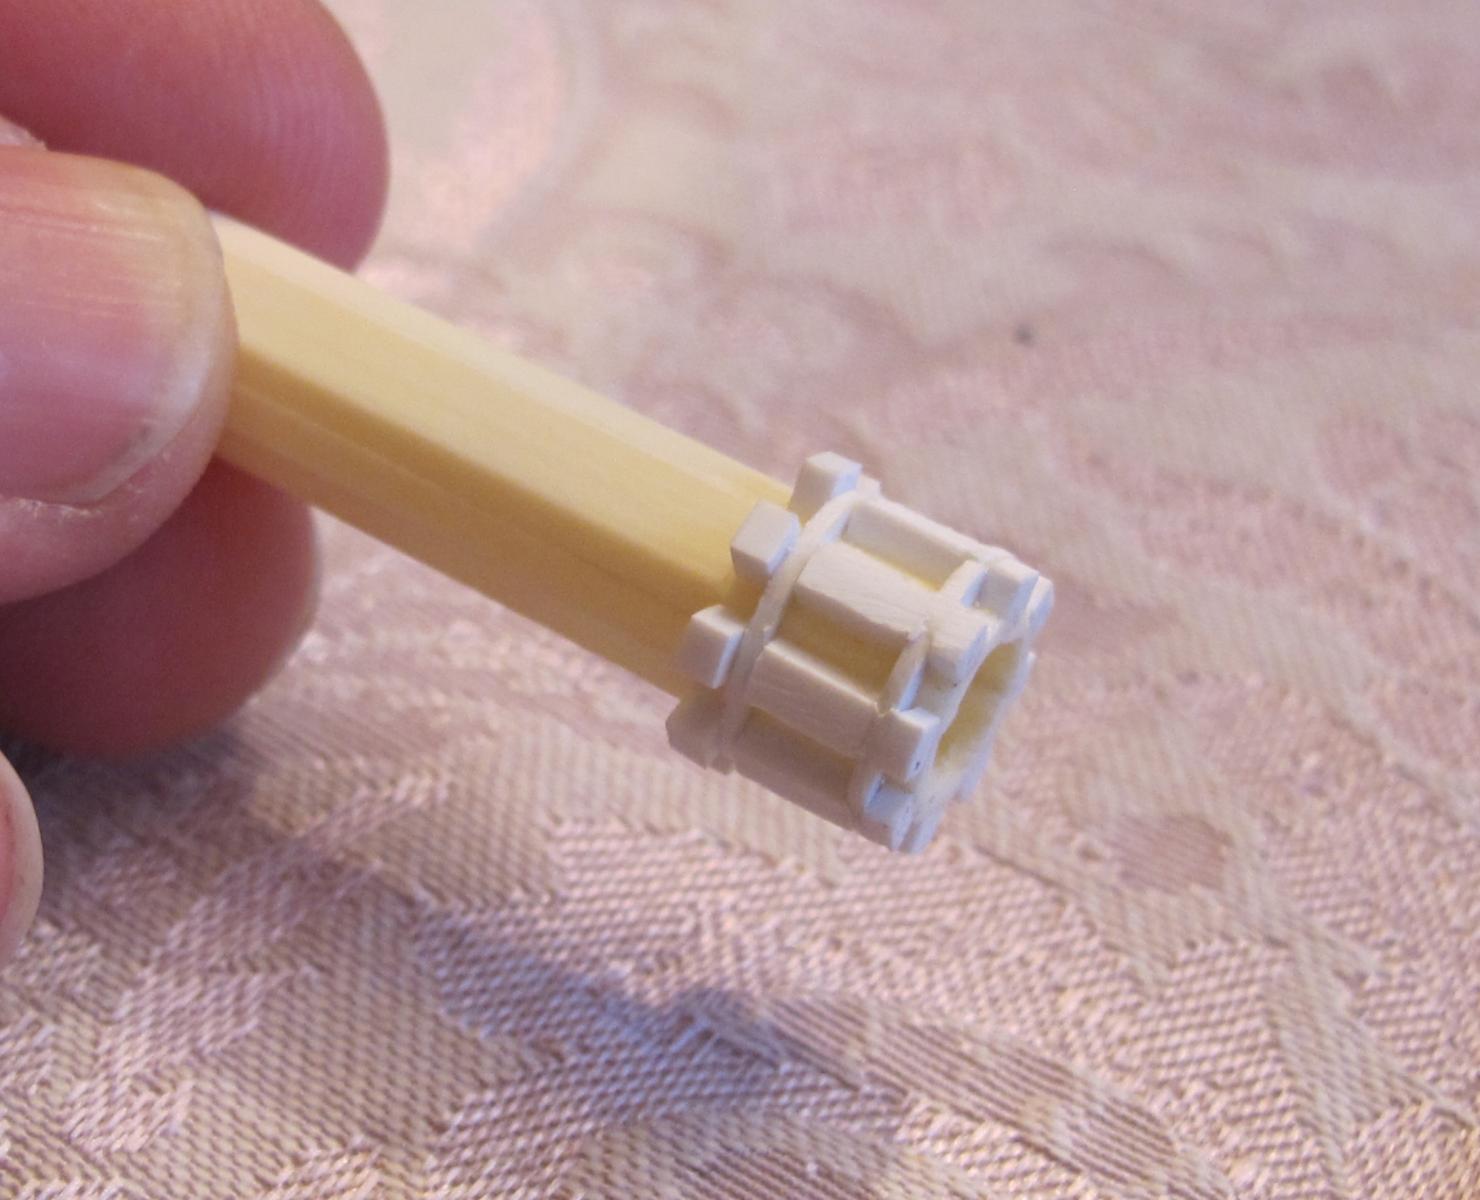
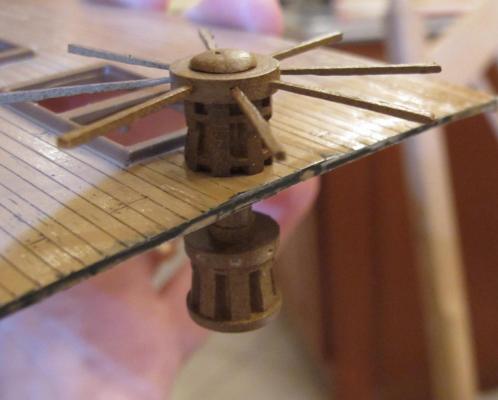
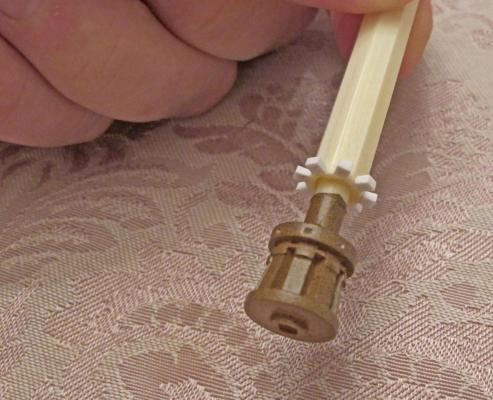
Just a minor update. I've had a lot of travel lately. I wanted to preserve the rotation of the capstan on both levels. Revell had originally allowed the spar deck capstan to rotate and I wanted that also. The trick is getting it through the deck without painting the deck or gluing it to the deck. So I came up with a capstan 'sleeve' idea. I.e., I will make the spar deck capstan separately and paint it separately and then glue the entire assembly to the axle. A start of this idea is shown below.
- 601 replies
-
- 5
-
-
- constitution
- revell
- (and 1 more)
-
Looking good Denis. All that snow...it is nice to have an INSIDE hobby. Your ships are progressing. Hope you are staying warm up there.
-
I agree. They look fantastic just as they are. Clear coat those beautiful planks!
-
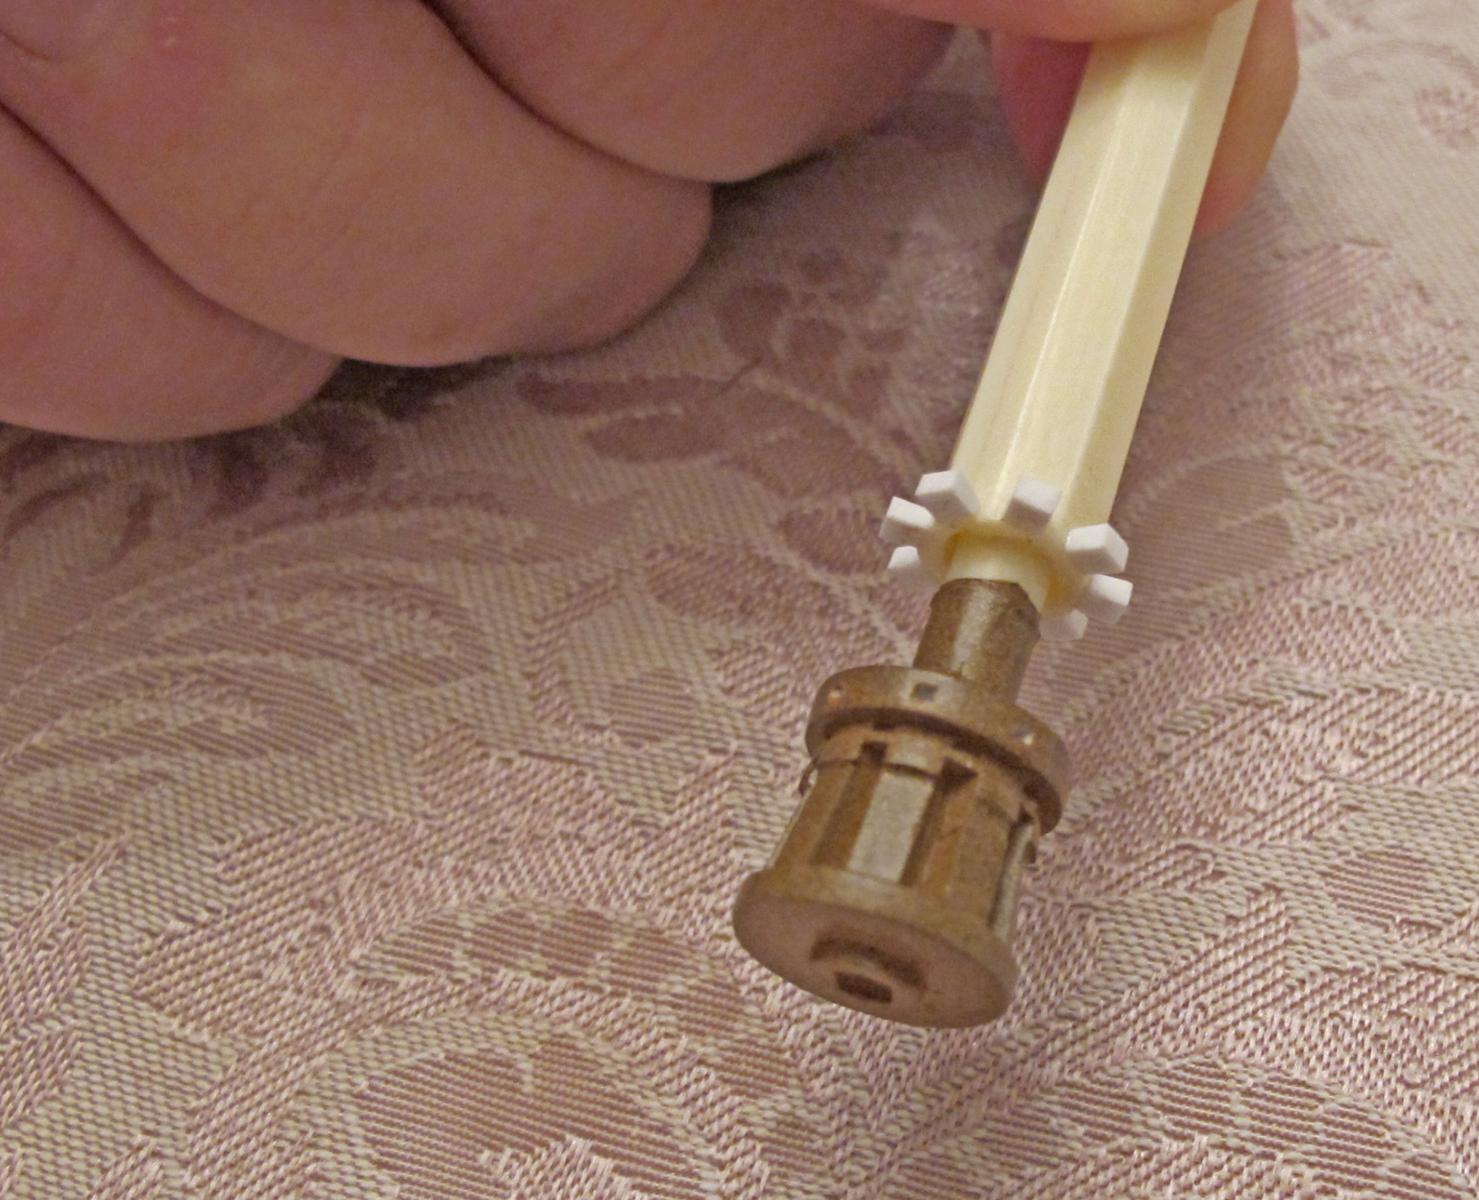
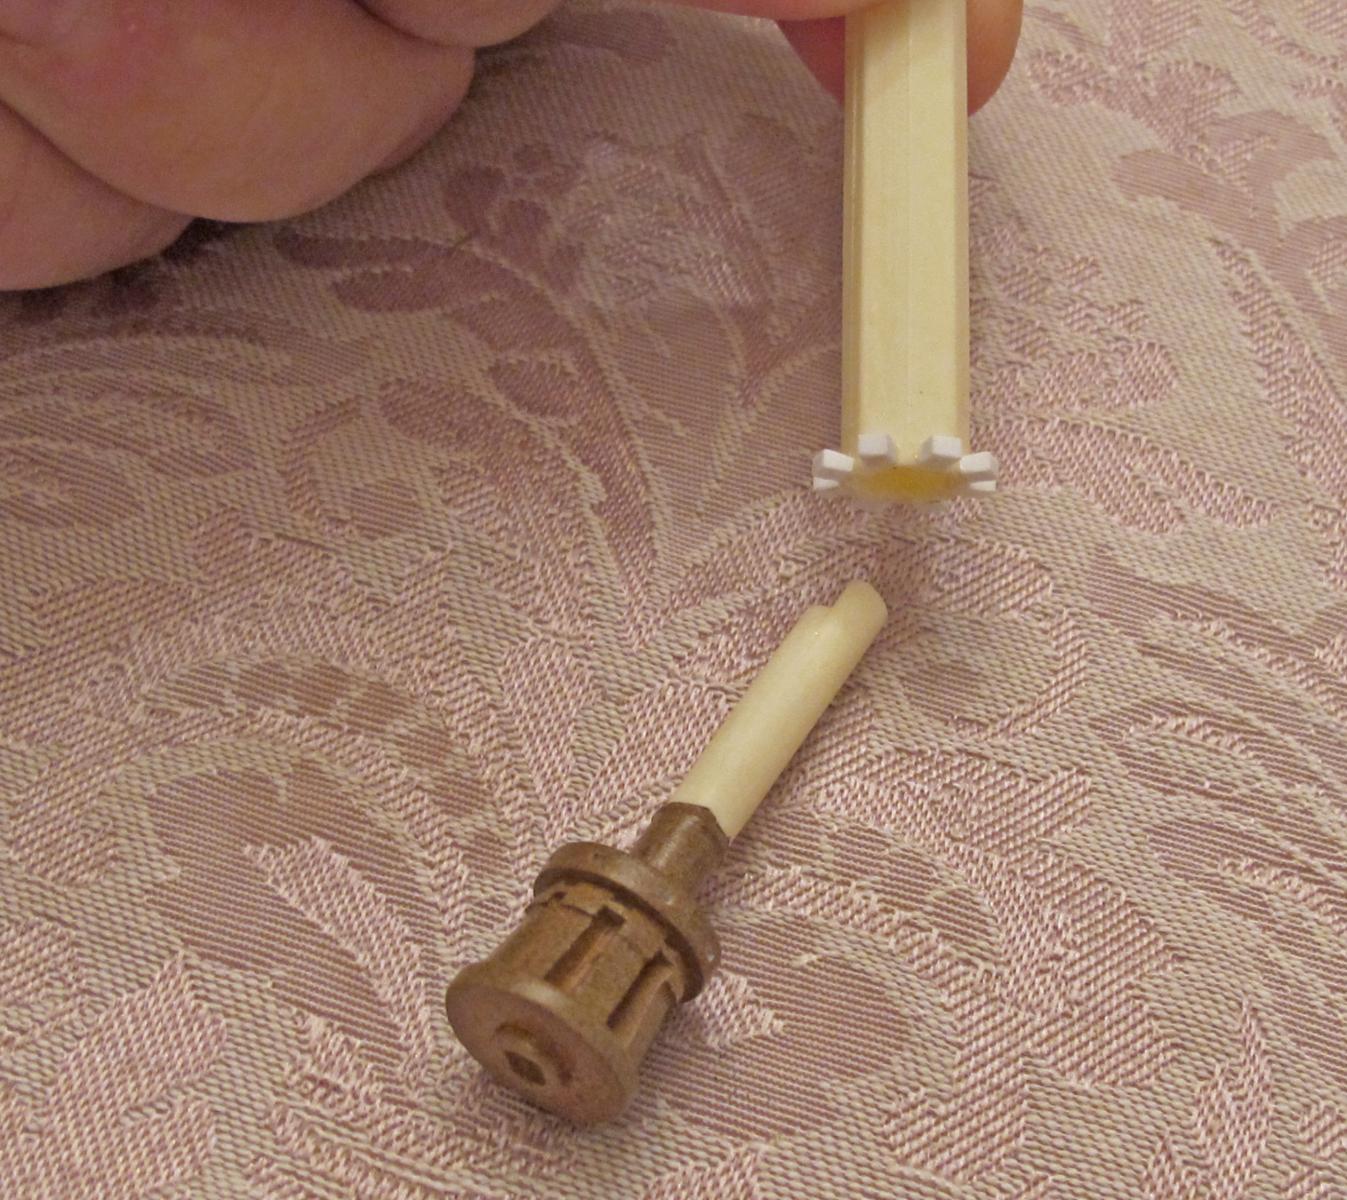
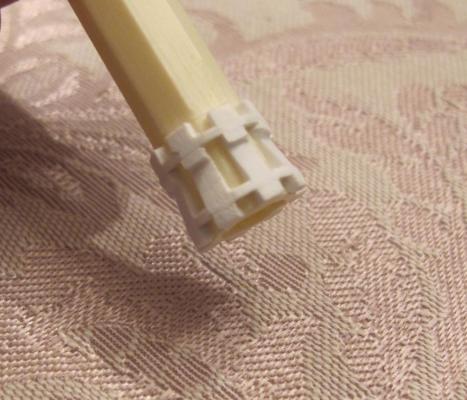
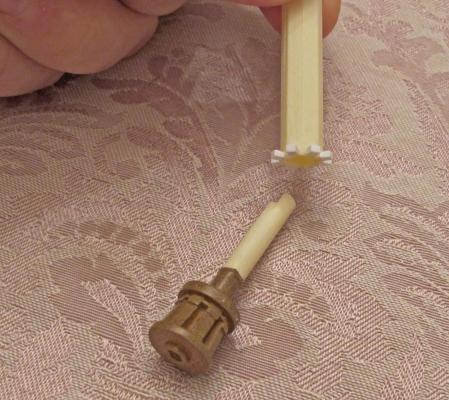
From top to bottom it will be about 34/32". Maybe slightly taller. I will probably have to cut the shaft in half to place it into the spar deck then glue it back together. Before doing that I am going to try to place it through the deck in one piece and THEN add the cogs to the upper capstan. It will be tricky not getting the glue onto the deck however. That would not be a big deal but I am trying to preserve the Revell intent of allowing it to turn mechanically, even though I will almost certainly will not be hauling any lines with it. ...but you never know.
- 601 replies
-
- 2
-
-
- constitution
- revell
- (and 1 more)
-
Augie: I don't either. I am making this up as I go. Henry: I have NO doubt you can add this if you decide to. Just a reminder - the measurements in the above pic are 1/32 inches. 1/96 scale. Thanks for the likes guys.
- 601 replies
-
- 2
-
-
- constitution
- revell
- (and 1 more)
-
Andy: I saw a Smithsonian Channel mighty ship segment on the Paul R. Tregurtha, an amazing ship. Is that similar to your current build? The conveyers (bottom and boom) looked very close to what you are making. Just curious...
- 382 replies
-
- 1
-
-
- stadacona
- sylvan scale models
- (and 1 more)