fmodajr
-
Posts
869 -
Joined
-
Last visited
Content Type
Profiles
Forums
Gallery
Events
Everything posted by fmodajr
-
 Thanks for all the likes! Thank you Karl! Michael, hopefully gunports will be installed next week and I will post some pictures! Thanks again, Frank
 -
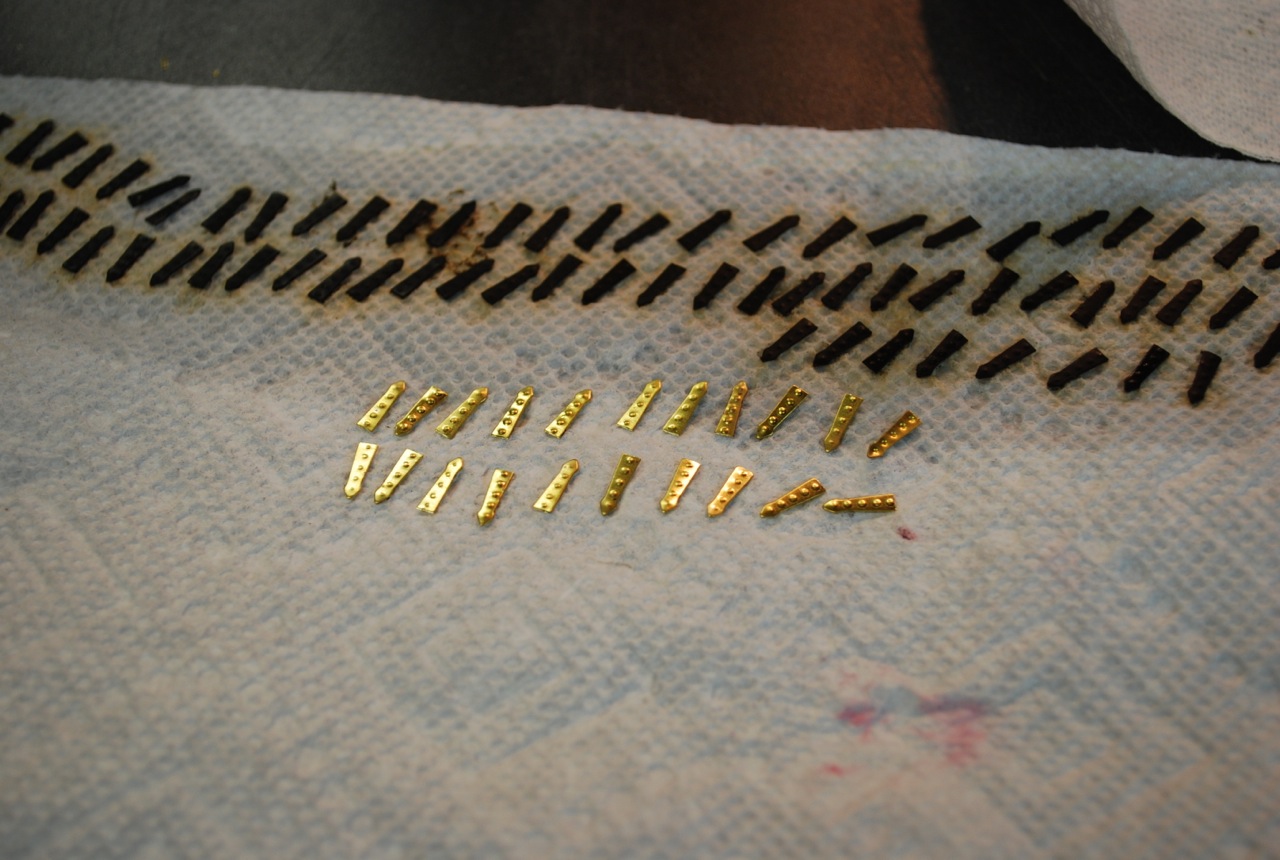
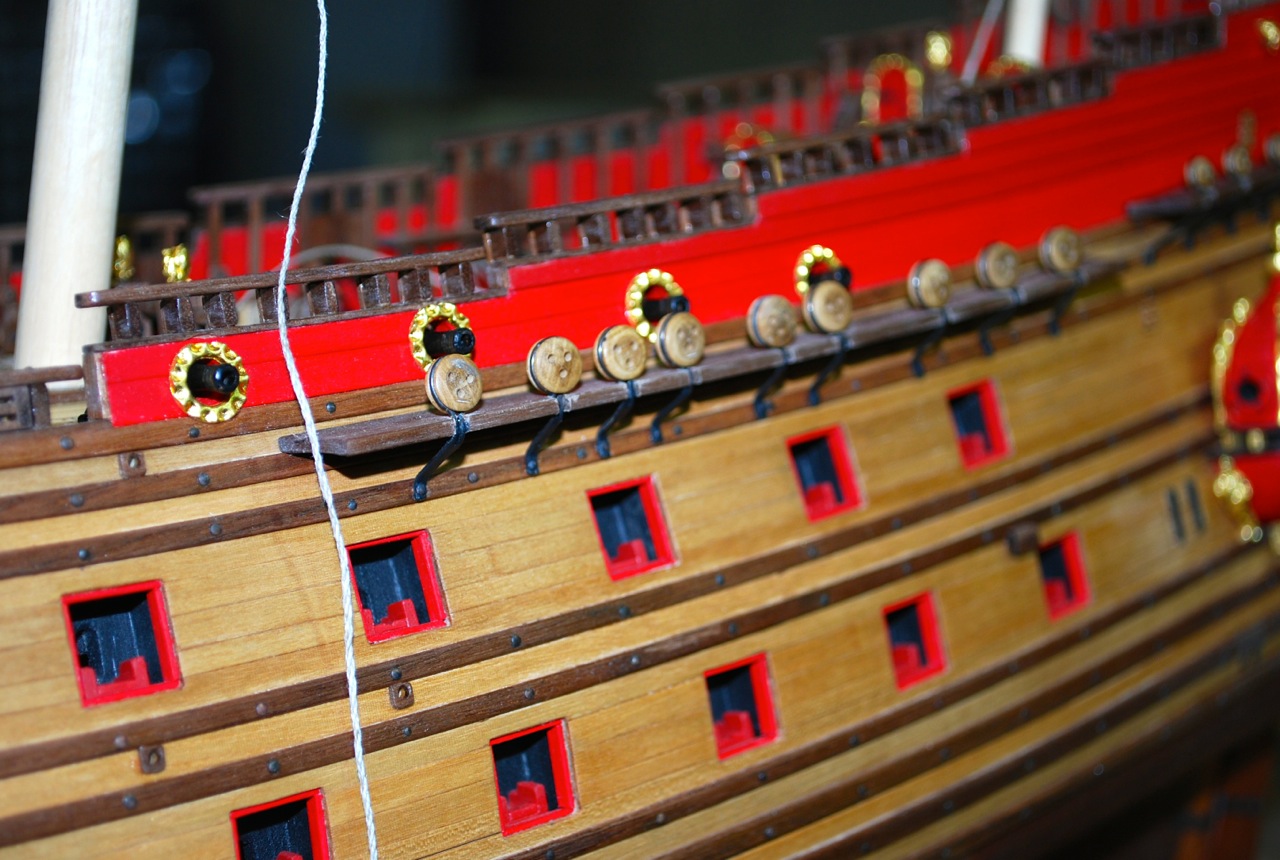
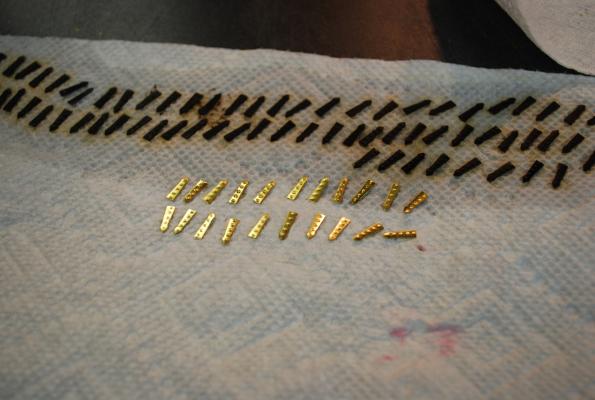
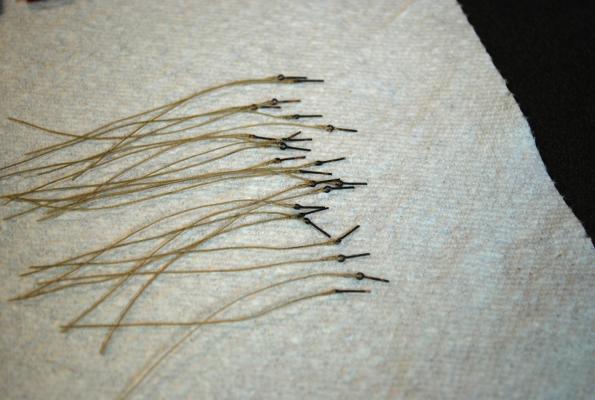
Continuing on, I blackened all the hinges. Also blackened all the eyelets for the ropes on the gun ports Gold leafed the lion heads Glued the hinges on. Now I am working on adding the ropes to the eyelets. Thanks, Frank

-
Working on the gun ports now. When I was planking the hull, back in the beginning, I made the gun ports, using the same wood. Now, using my face grinder, I tipped the table 55 degrees and chamfered the back ends to the angle I will be having the gun ports open to. I drilled holes for a support pin, perpendicular to the angle, for extra support.

-
Jan, Great idea about the computer/laptop! I'm always bringing my IPad to my workroom, but touchscreen is not so great when my hands are dirty. Frank
-
Ulises, My wife tells her friends that "at least I know where he is at night. He could be sneaking out with dollar bills in his pockets" Michael, I need that TV for my Patriots football team and for my favorite sport "Boston Celtic basketball"!! Frank
-
Mark, Yes, the table is adjustable in height and so is my chair, so between the two, I can move up and down easily. The table also tilts, but I have not had an occasion to use that feature! Frank
-
Mark, Congratulations! She look beautiful! Hopefully you'll find a nice spot so everyone can admire it. Frank
-
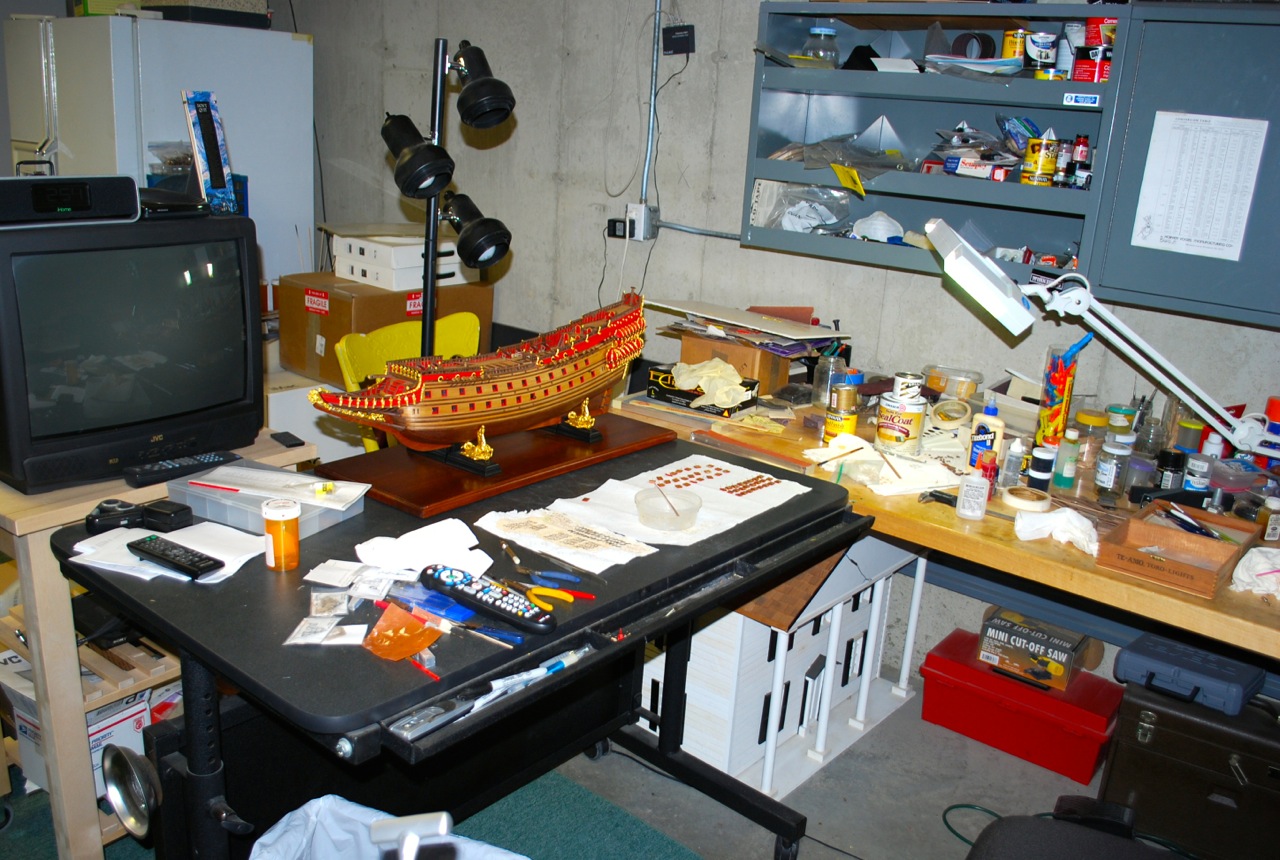
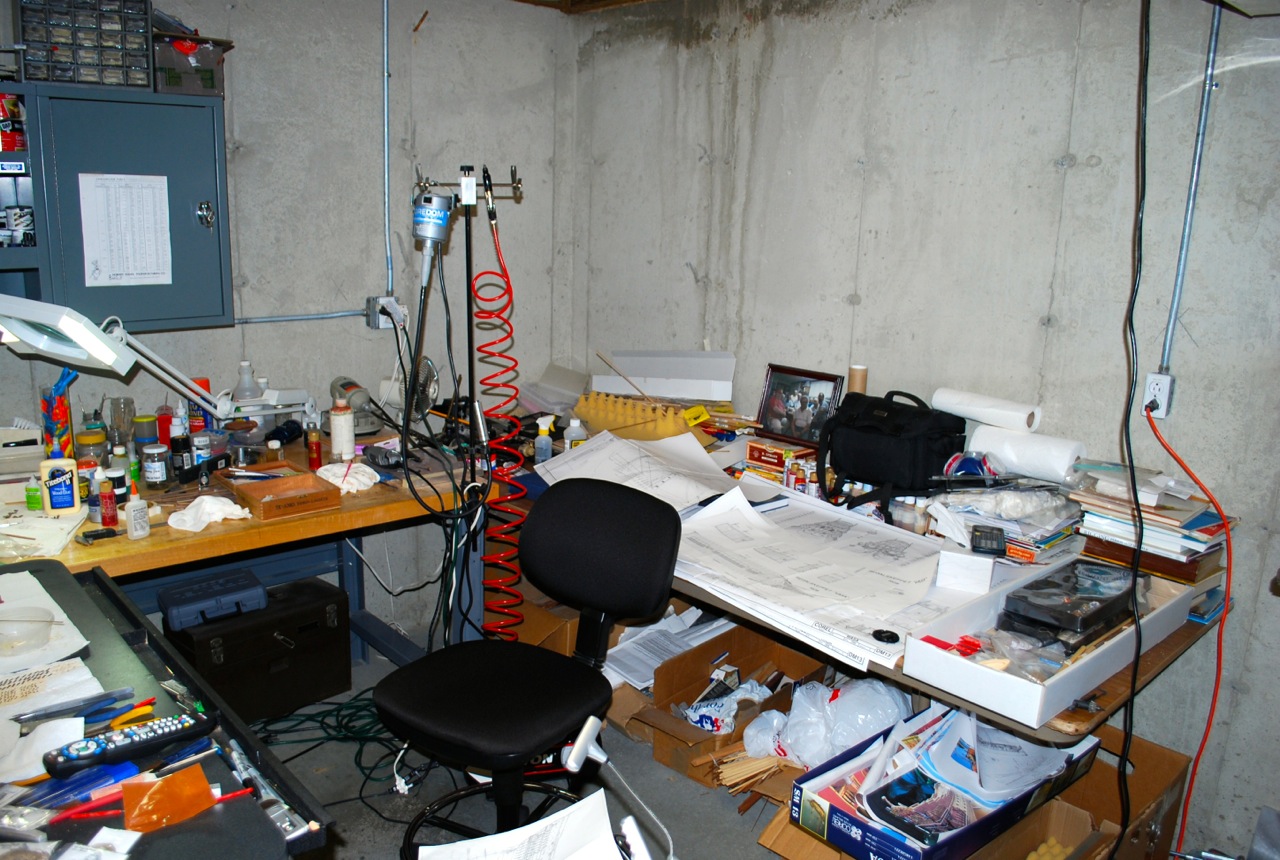
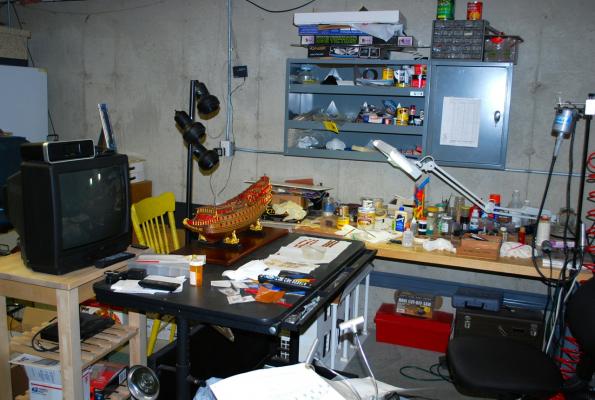
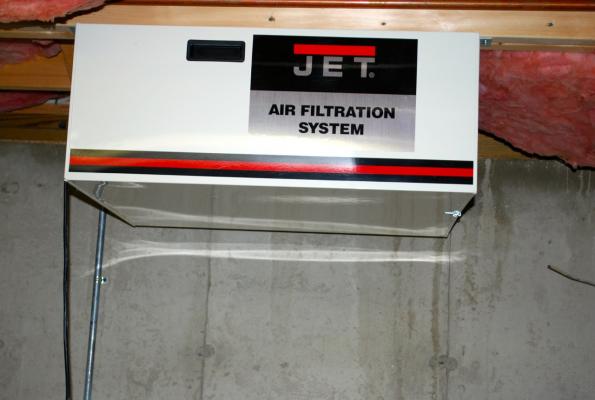
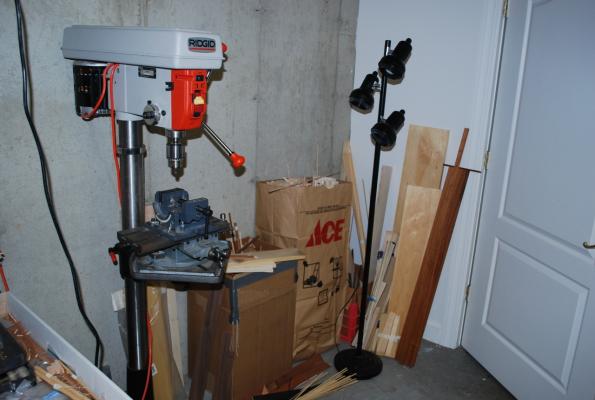
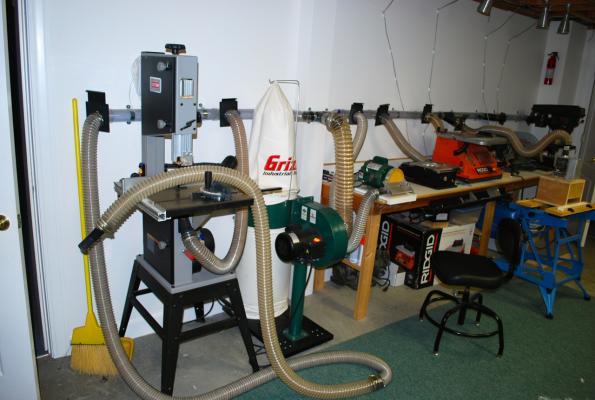
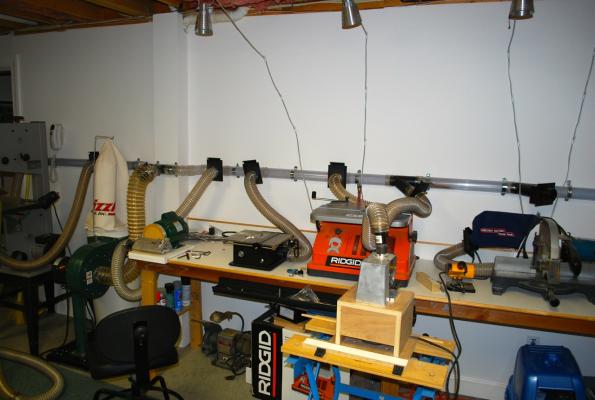
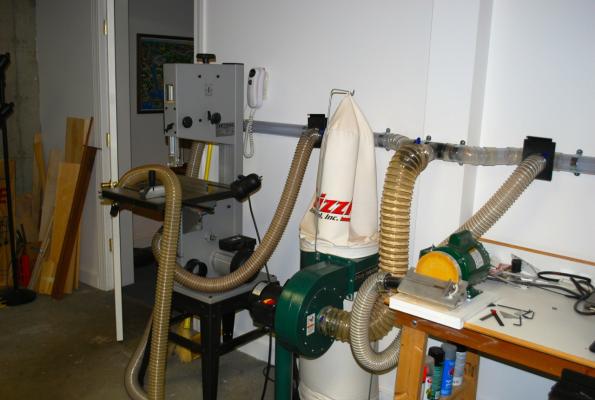
I am working away on the gun ports. In the mean time I wanted to share my messy work room, where my wife says I spend too much time! My work area (with my faithful TV!) My air handler for use when I am doing a lot of sanding (Don't want to breath in the stuff!) My drill press with an assortment of wood My work tools with dust collector hookups to each tool, band saw, disk sander with tilt table, Byrnes table saw, oscillating sander and thickness sander. Thanks, Frank


-
Rich, Thank you for your comments and thanks for visiting my log! Frank And thanks for all the "likes" from my latest picts!
-
Hi Karl, I sent you a sketch. Let me know if there is a problem! Frank
-
Hi Mark, I sent you a sketch. Let me know if you have any problems opening it! Frank
-
Hi Mark, Do you have Landstom's book on the Vasa? He shows the rigging on page 116. If you you do not have the book, let me know and I will make a copy of the page into a PDF and send it. Am I allowed to do that? If not, I'll hand draw a sketch for you! Let me know. Thanks, Frank
-
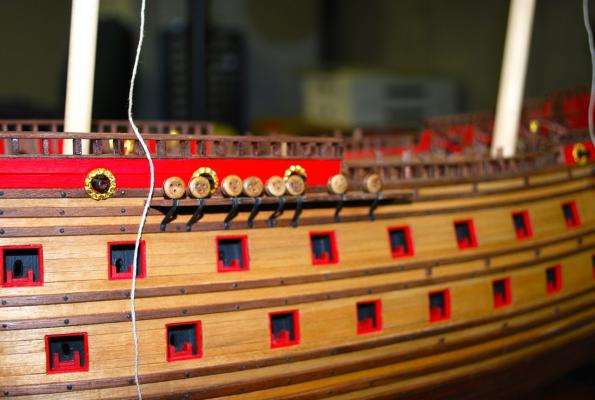
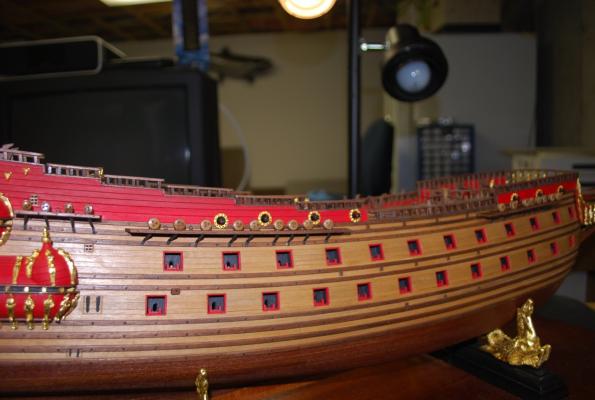
Hi Mike, Thank you for your comments! Feeling much better! Yes, the lighter wood is from the Corel kit (I finished it with a coating of satin sanding sealer). I replaced the wales from the kit with darker walnut so I could add some contrast to the hull. Thanks, Frank
-
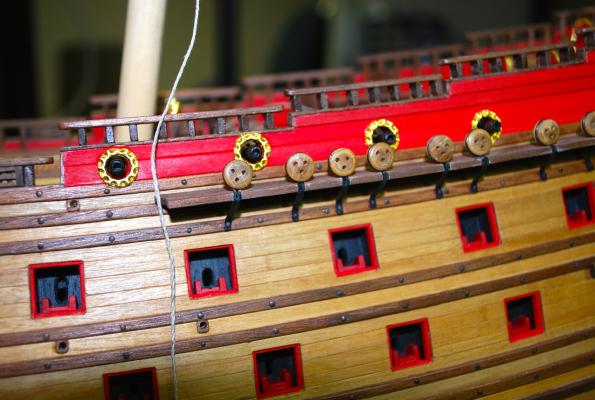
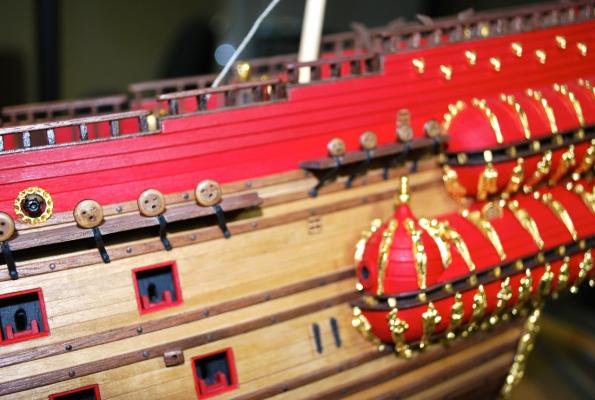
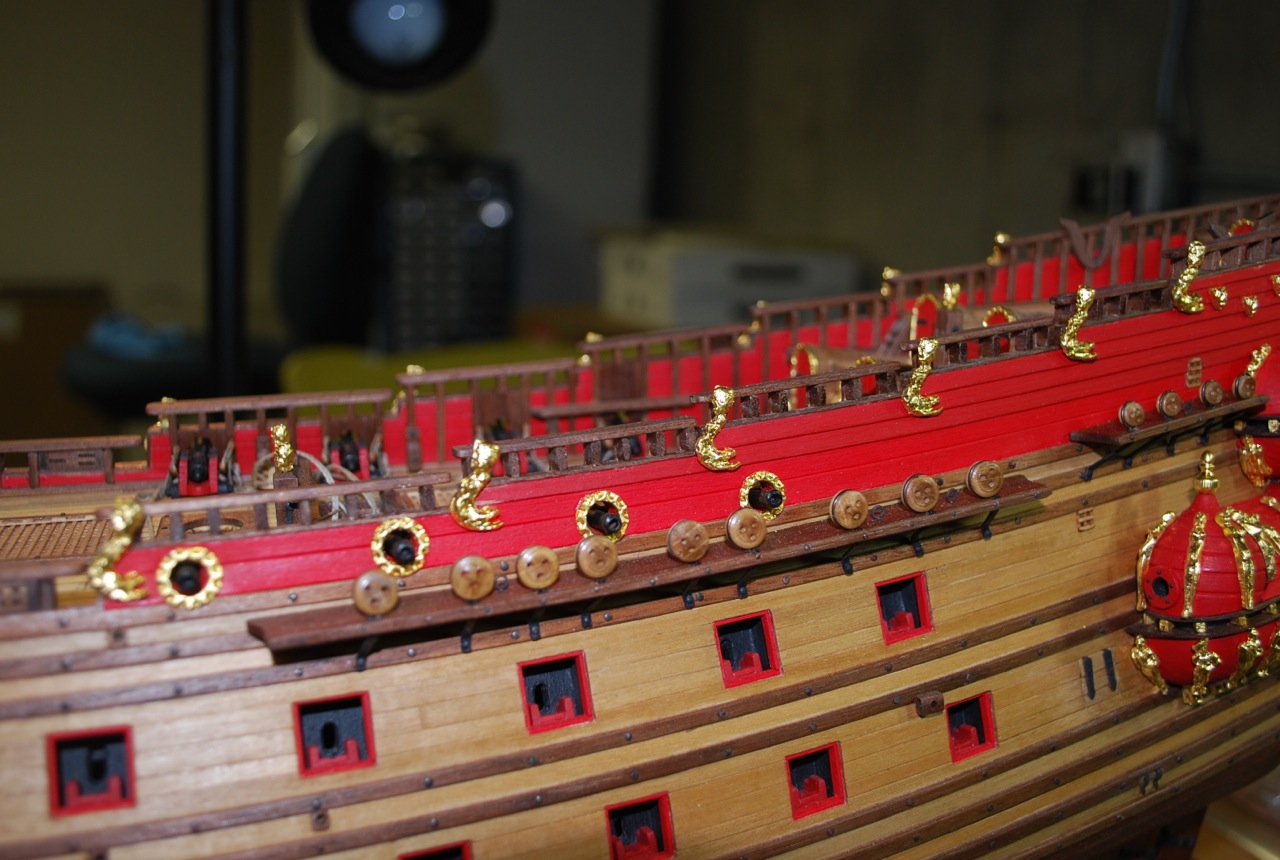
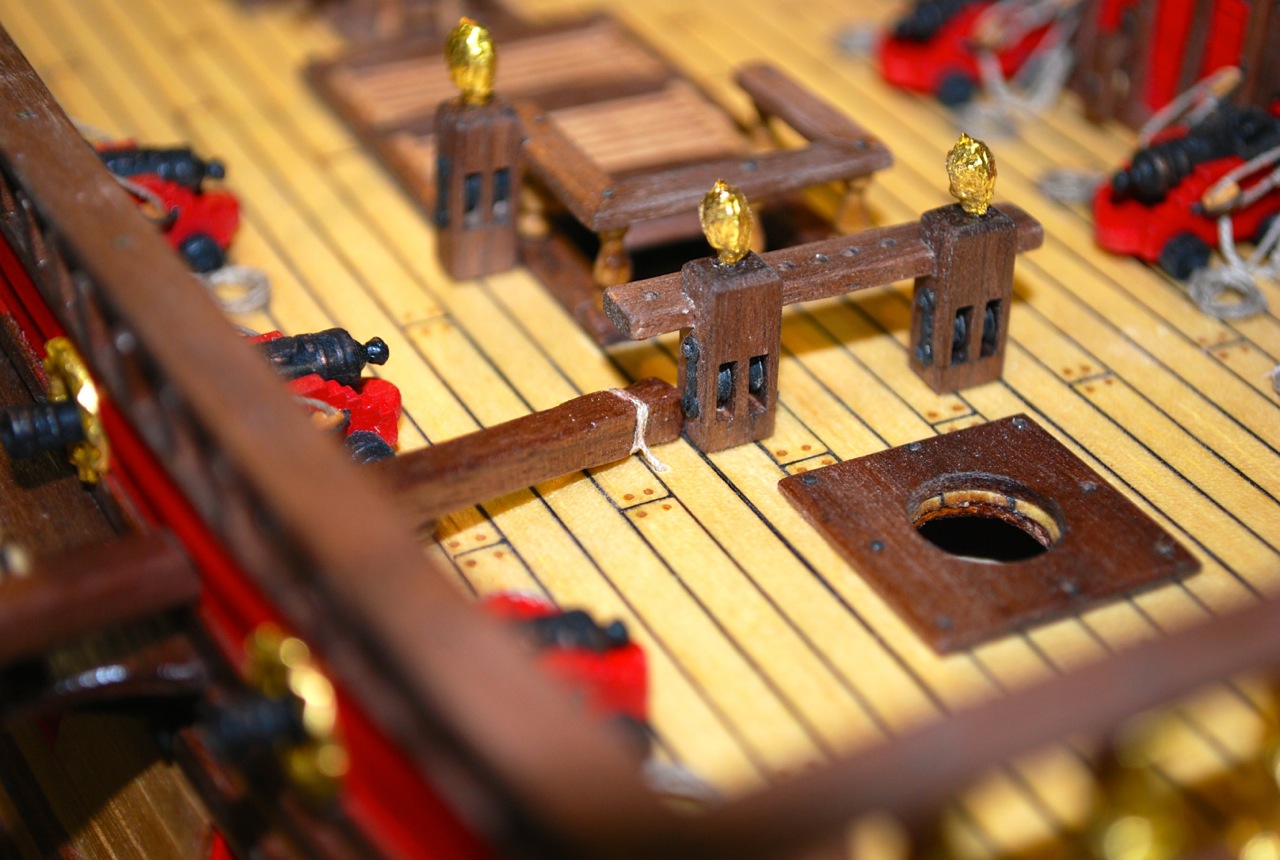
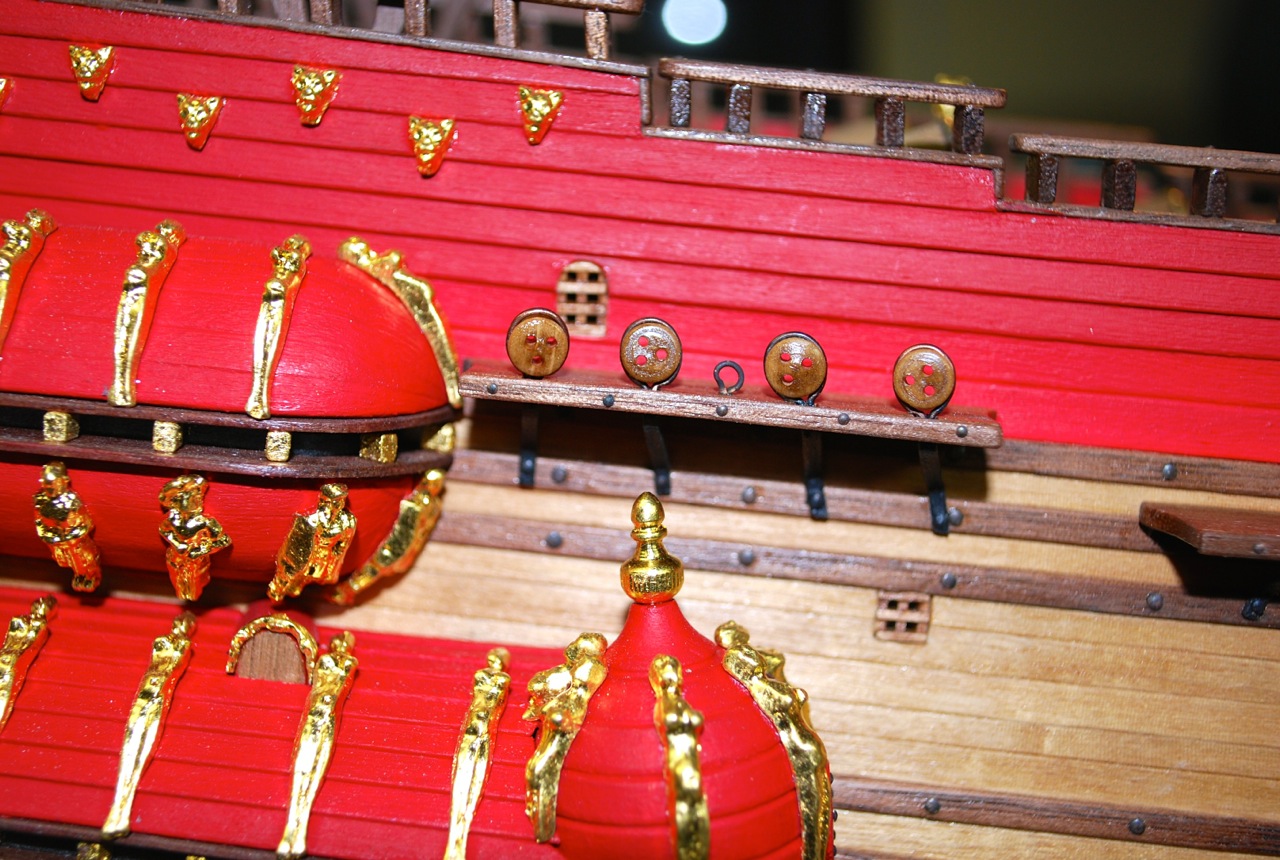
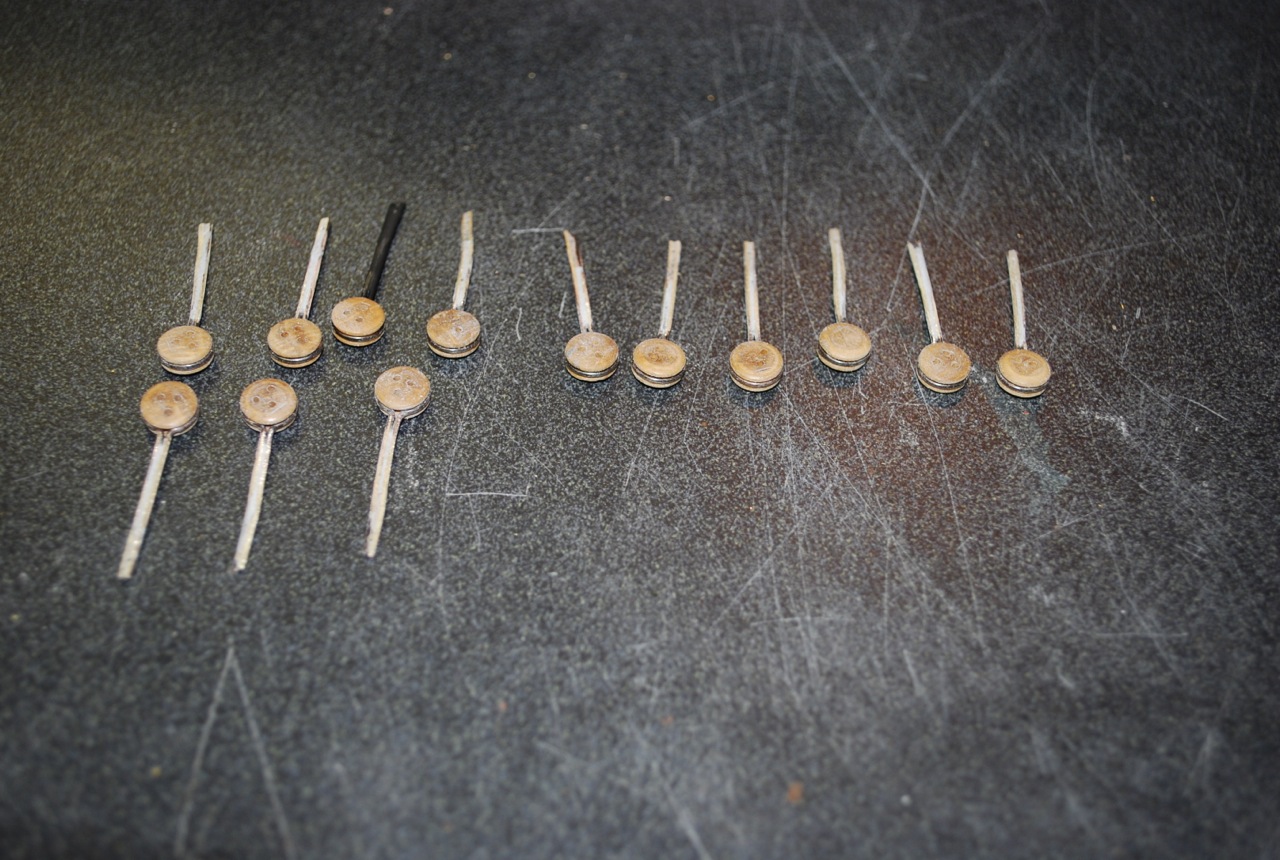
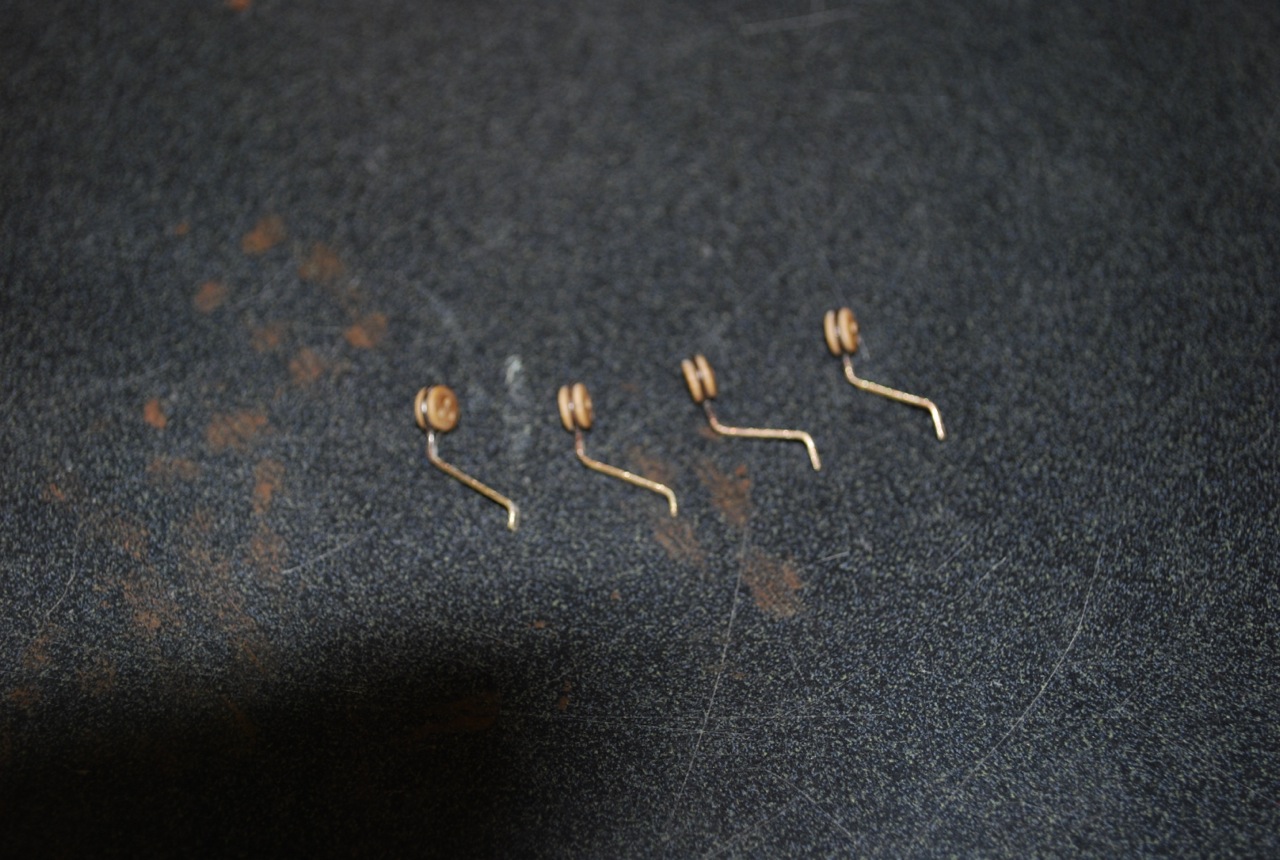
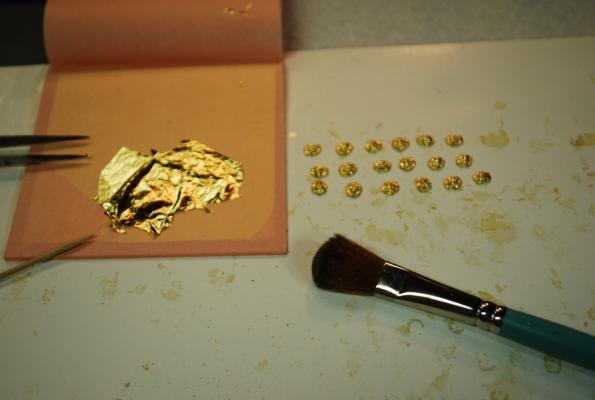
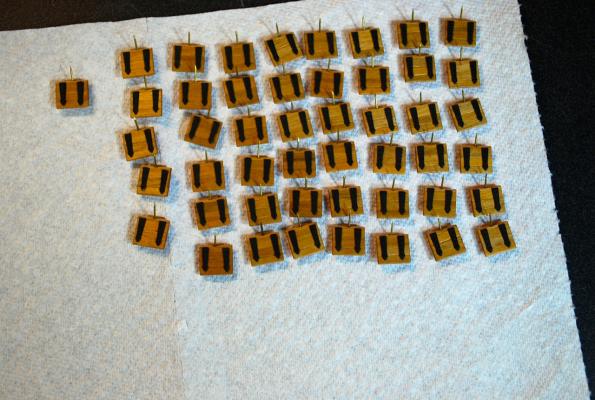
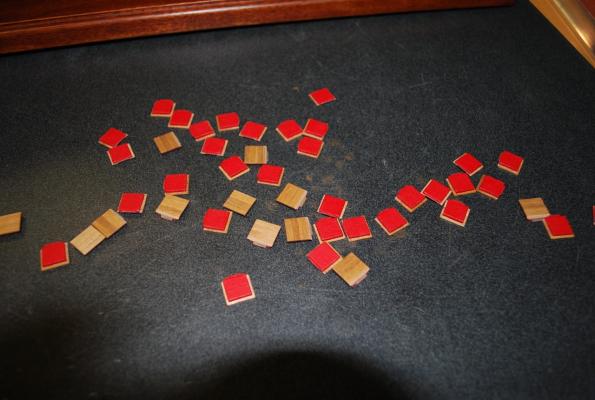
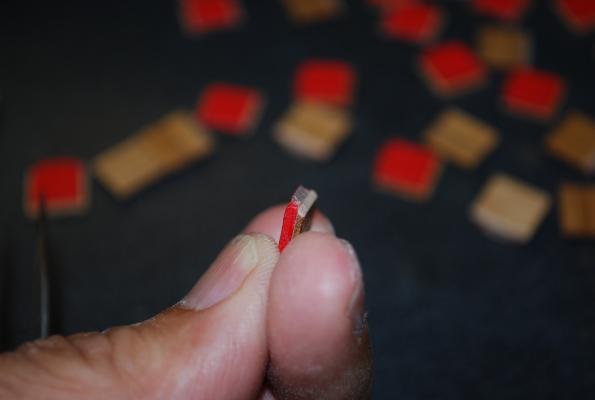
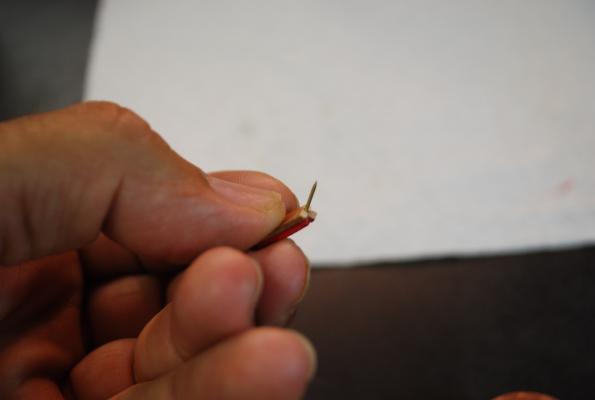
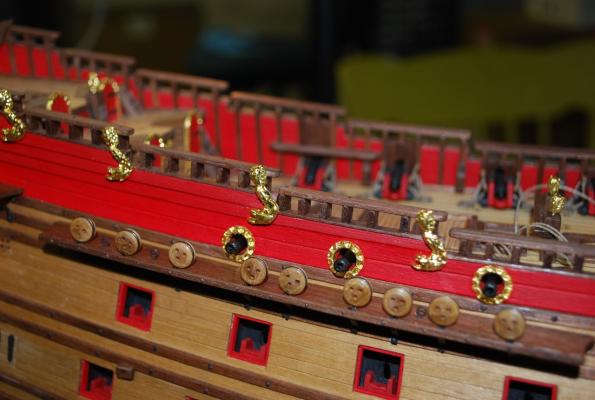
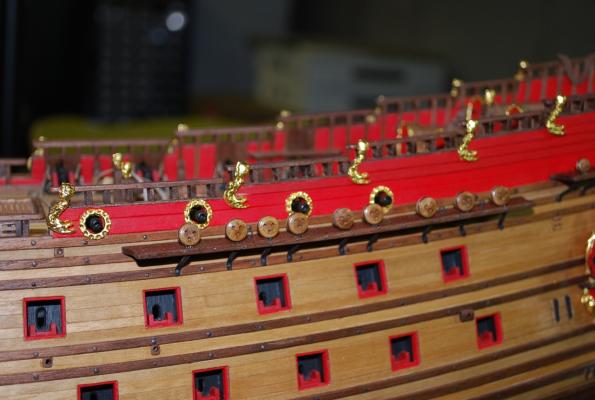
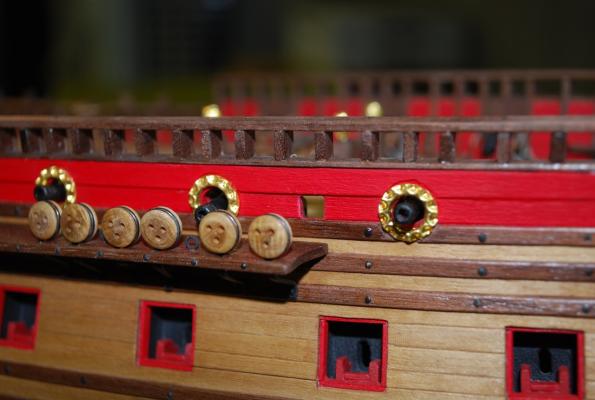
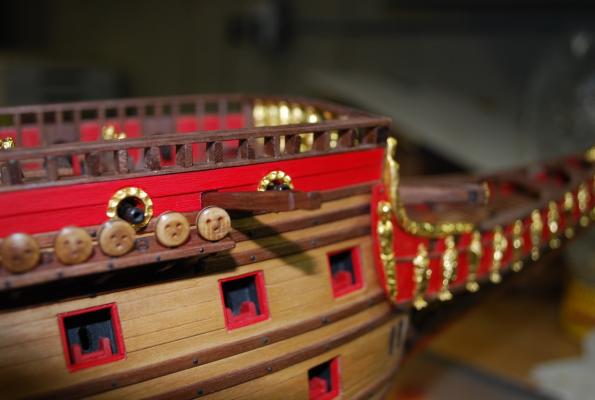
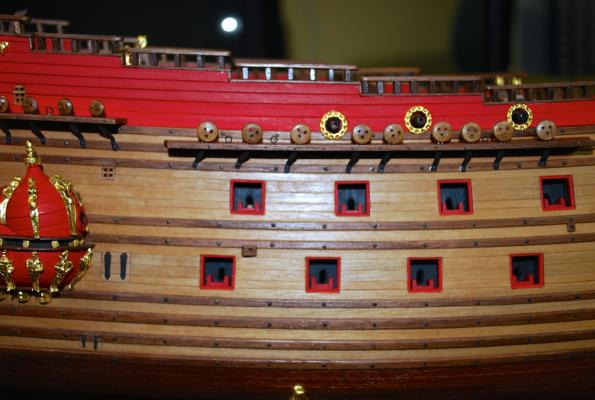
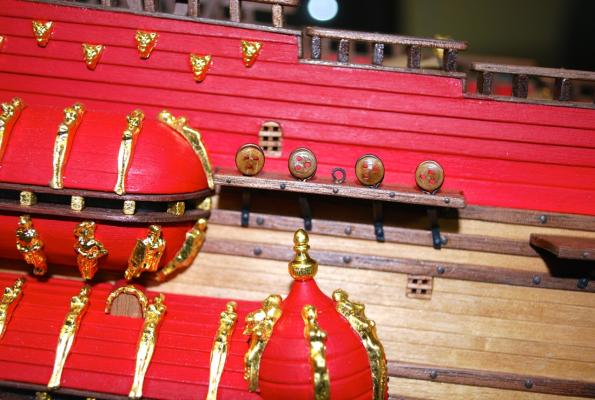
Hello! First off, thanks again for all the likes and comments! Continuing on, I worked on the figurines attached to the sides of the railings. (7 on each side). The first thing I did was grind down one side to thin them out and allow them to fit better on the ship. Next I gold leafed all the figurines and placed them on the ship. Now I am starting to work on all the gunport (lids and cannon) Thanks, Frank


-
HI Michael, Wow! Very impressive! Your attention to detail and your patience in getting it right is amazing. I look forward to more pictures in your log! Frank
-
Hi Mark, You bring up a great point! This model is starting to become an accident waiting to happen!! I went back and forth as to whether to put it in now or later. I decided on now because I will be bringing the ship in to my local club for a show and tell in the next couple of months (just before I start with the masts) and I want to have as much done as possible for the presentation. So I'll have to be careful (Famous last words) Thanks, Frank
-
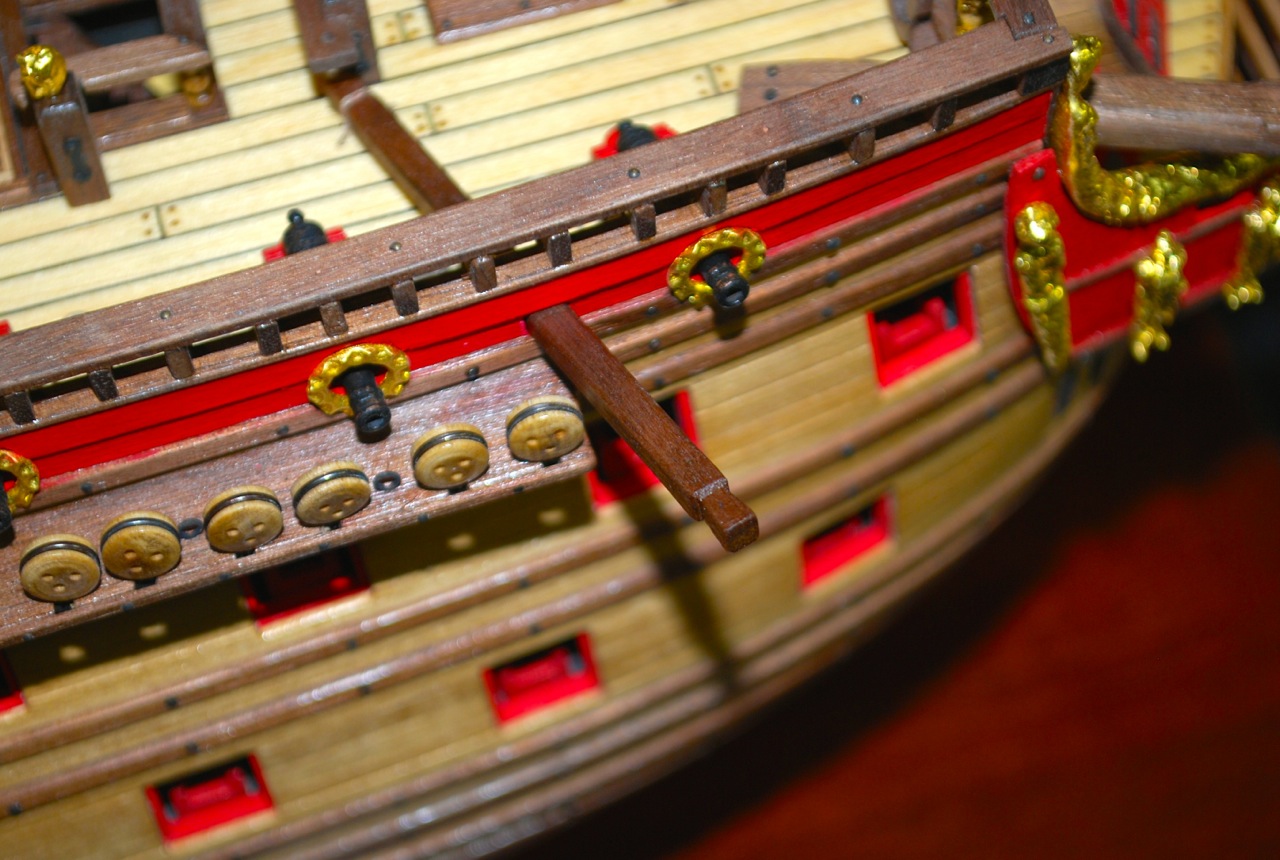
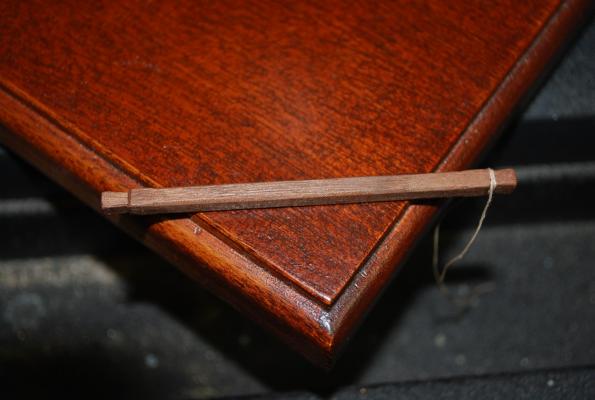
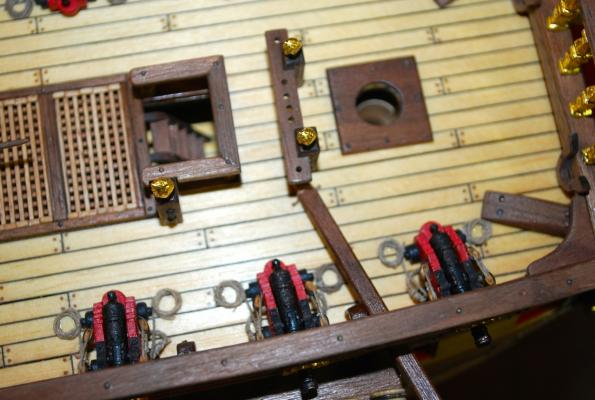
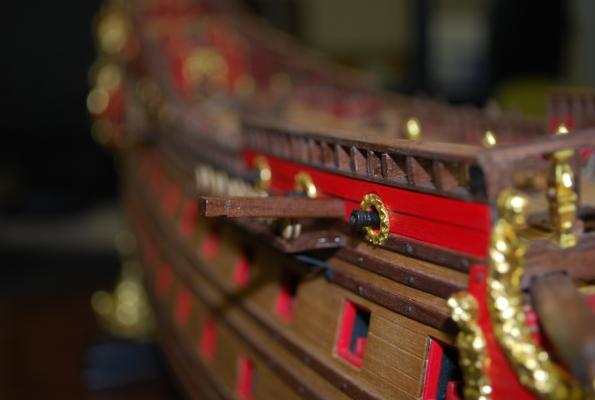
I now started to build the "Fish-Davit" that was used to help raise the flukes of the anchors. According to Landstrom's book, Vasa's fish davit was recovered. It was 230 inches long by 9.45 inches high by 10.6 inches wide. Also, according to Landstrom, each end of the davit was the same so it could be used on either side of the ship. So my thinking is that I will show my model with the davit on the starboard side and attach the anchor as if it is being raised with the help of the davit and I will show the anchor on the port side in the final stowed position. The finished davit scaled down 1:75 made of walnut Cutout of angled rectangle hole on both starboard and port side Positioning of davit on starboard side Opposite end wrapped and tied thru holes in deck Thanks for the "likes" on my previous post! Frank


-
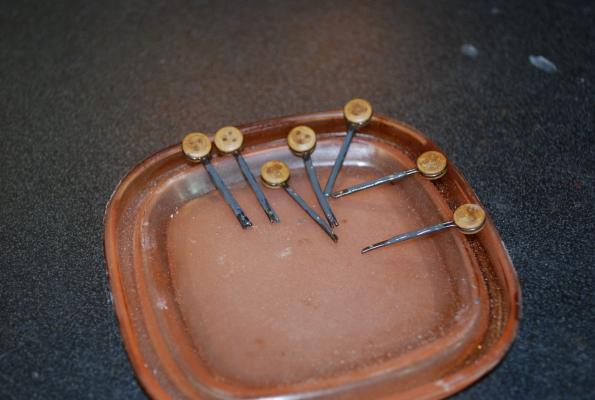
I finished the chainplates on the starboard side finally! I also added the face to the channels and inserted some nails. Now I will start work on the long square beam (fish-davit) that aids in the lifting of the anchors on each side. Thanks, Frank


-
Hi Roger, I went back into my log and re-inputted the images that got corrupted or disappeared. It was easy to do! Thanks, Frank
-
First of all, thanks for all the "likes" ! With regards to the pictures, I am having the same problem. I did not realize there was a glitch a couple of months back. So for my log, I will try to figure out how to put them back in this week. Thanks for the update Ulises Frank
-
Hi Michael, Thanks for the help with the J-B product. I am working on the other side now, along with adding the eyebolts and front faces to the channels. I will post more pictures hopefully next week. Your cannons are looking great. Hopefully the rigging of them is going well! Frank
-
Rich, Thanks for visiting my log and for your kind comments! Regards, Frank
-
Karl and Mark, Thanks for the well wishes! I am feeling 90% better and I am glad to be back working on the model! Thank, Frank
-
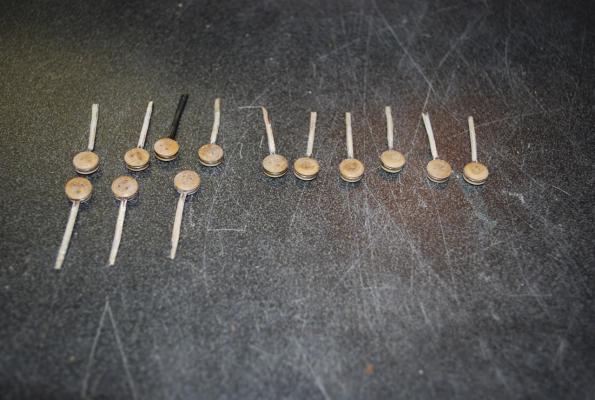
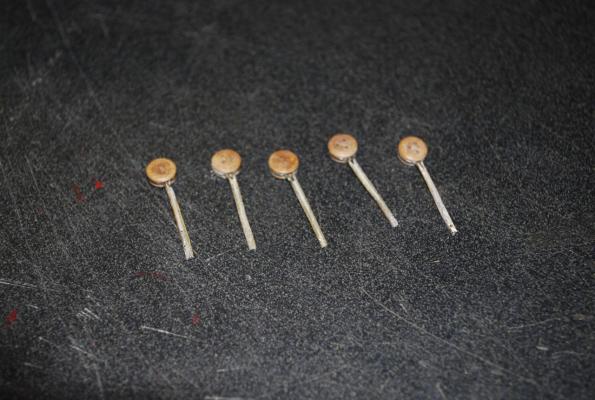
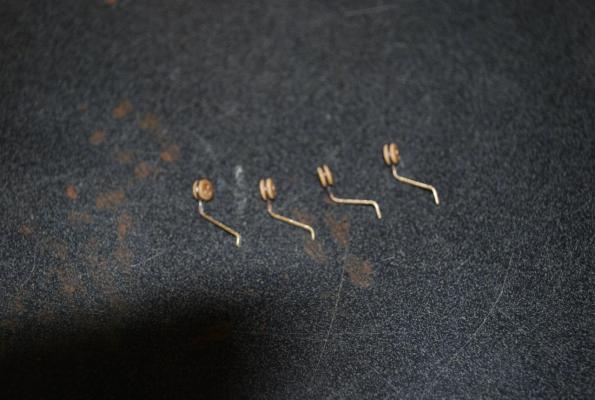
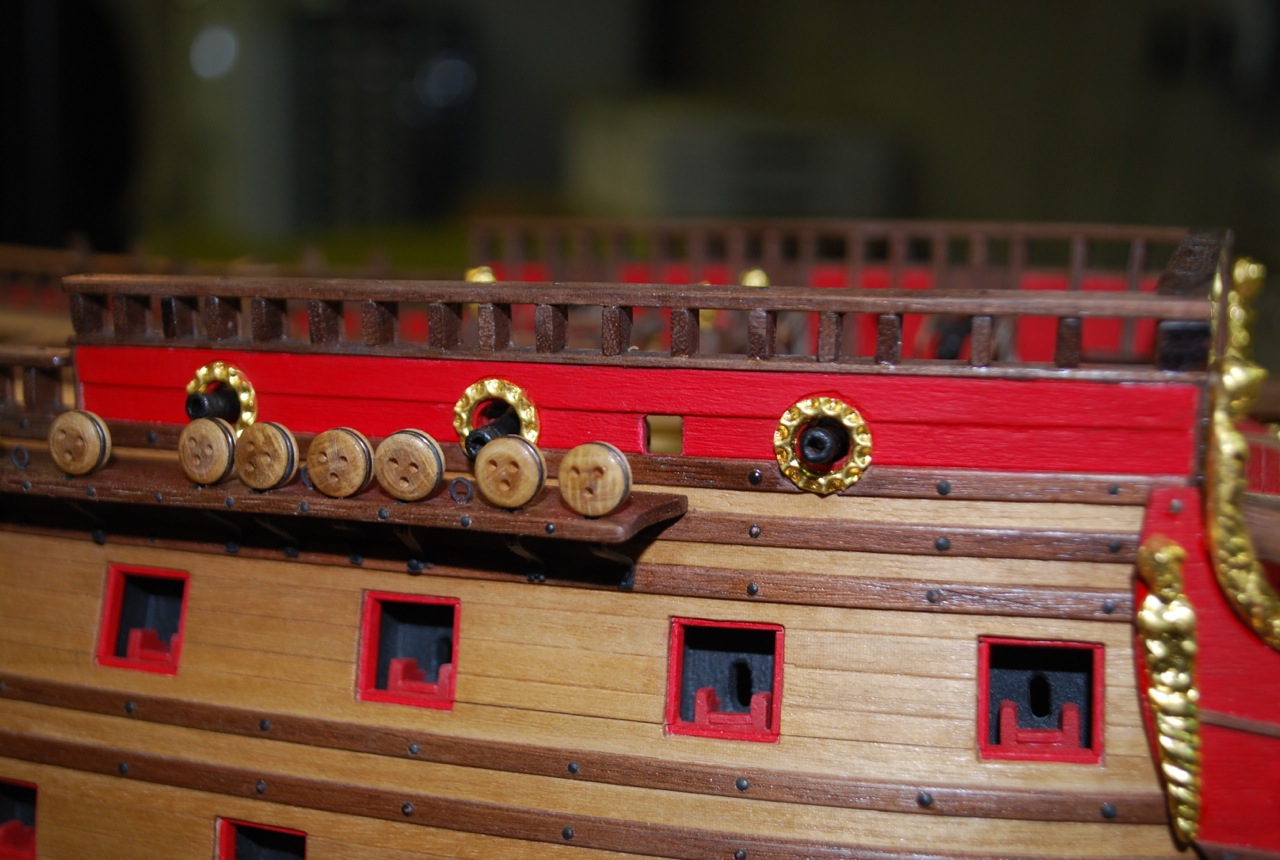
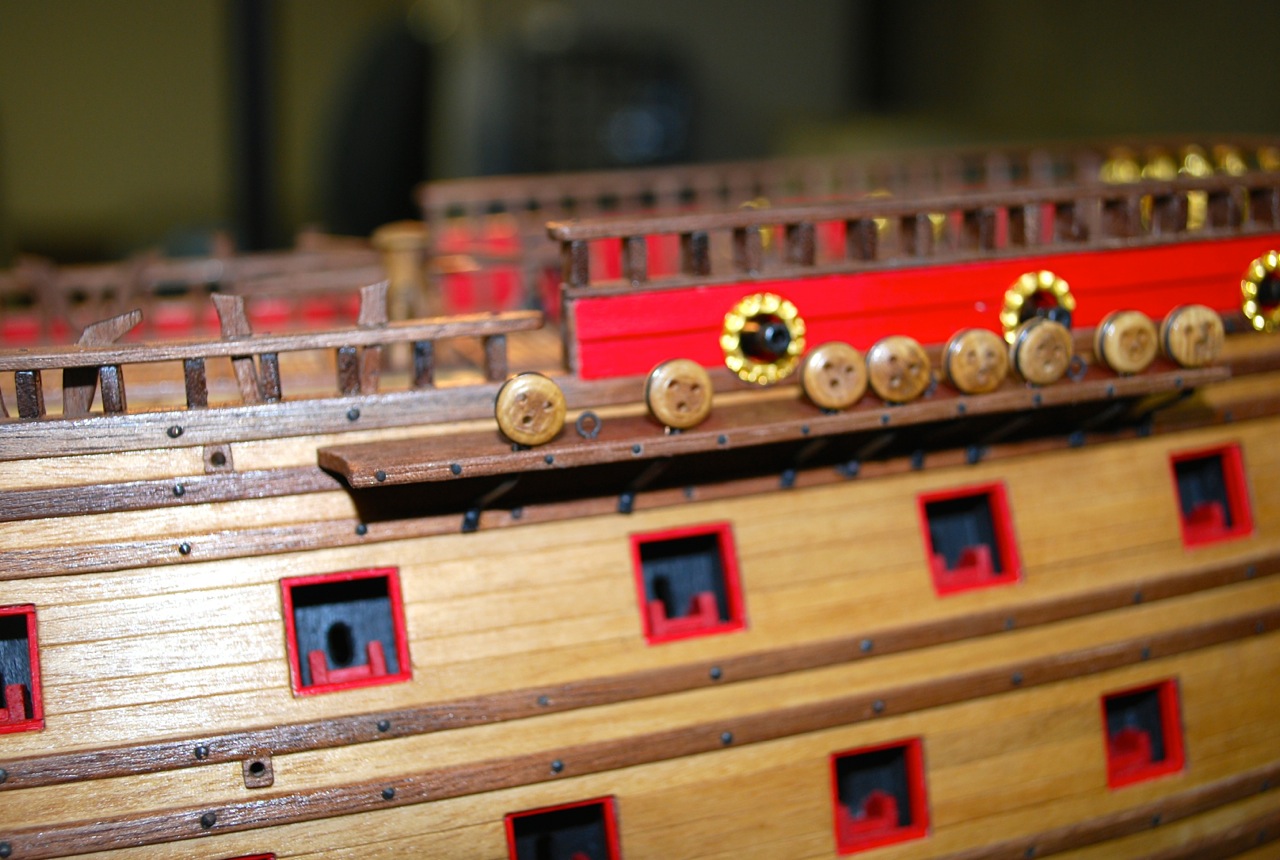
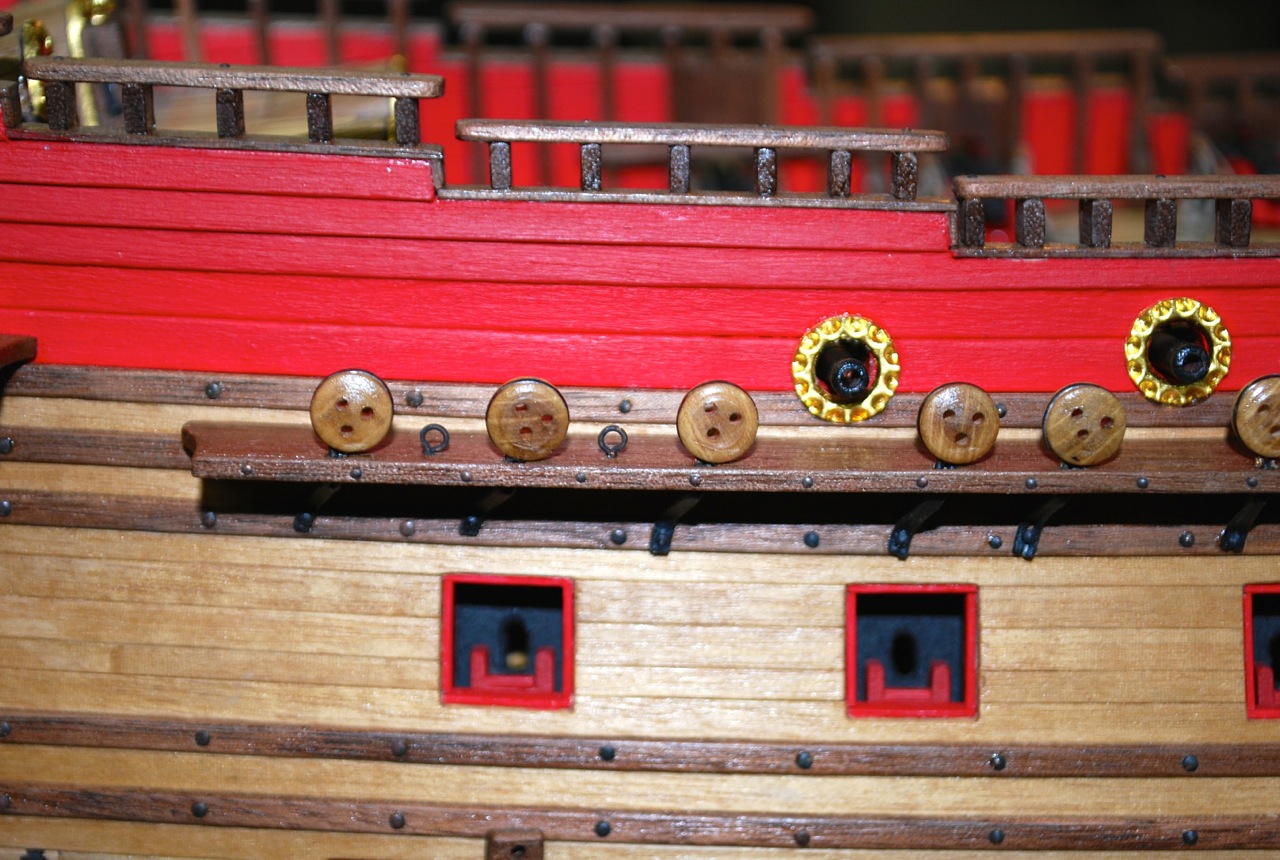
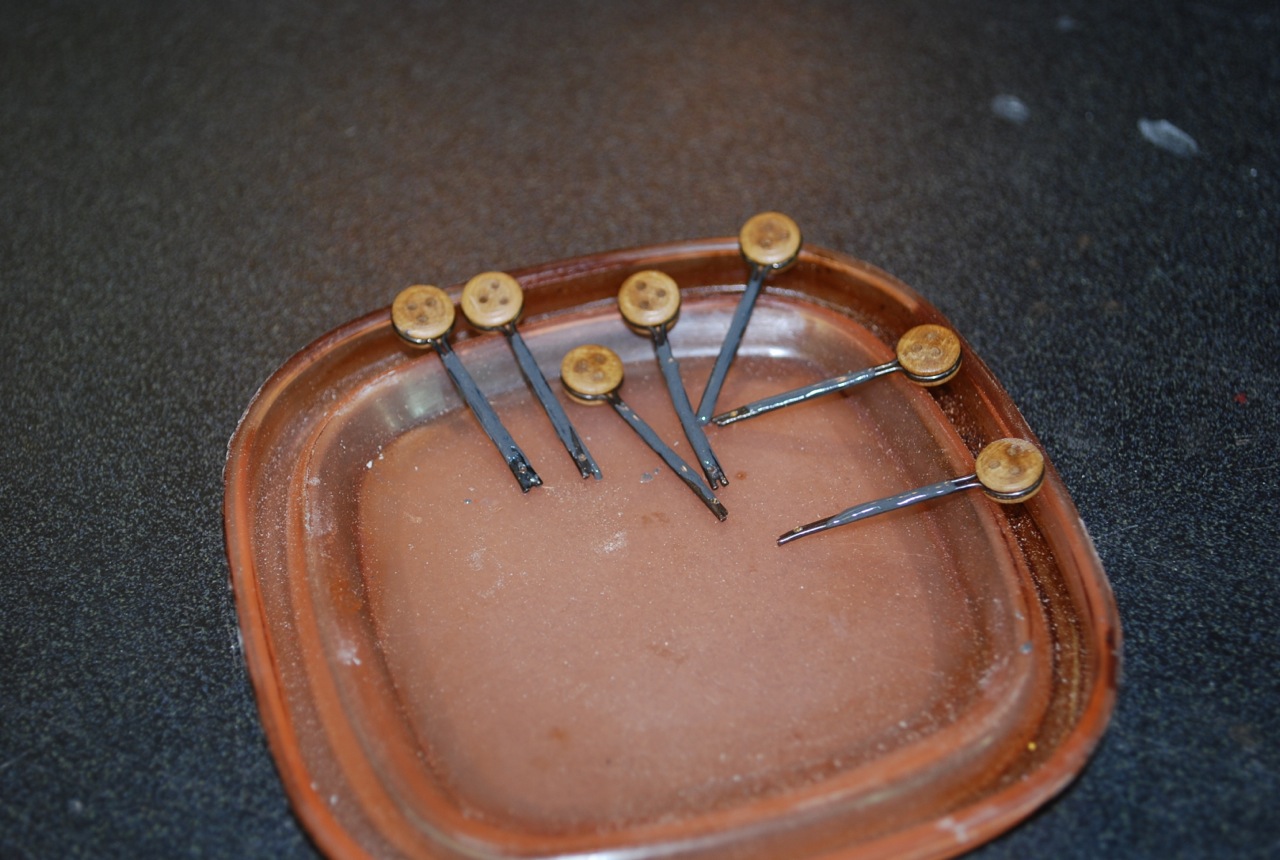
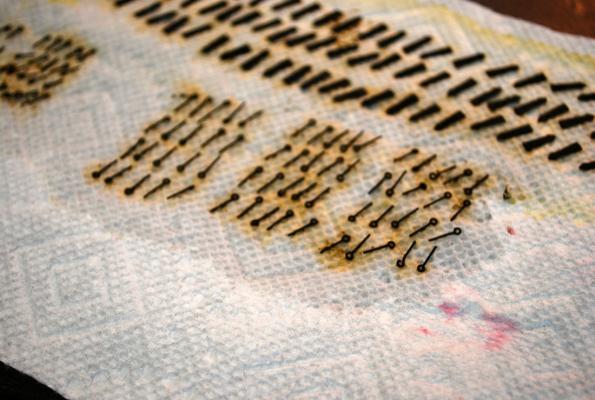
I took the Corel chainplates and modified them using Michael's technique with the J-B Weld product mentioned above. I never used this product before, but I found that once it dried, the chainplates were very flexible and the product was able to be sanded easily. The only problem I ran into was drilling the holes for the nails. If I did not clamp the chainplates before drilling, the J-B Weld would split apart. The J-B Weld product applied and then let dry for 24 hours Chainplates with the J-B Weld product sanded down flat Bending of the chainplates into the rough shape Test fitting onto ship channels Once they were fitted, I took them off, drilled the nail holes, painted the chainplates, then glued and nailed to ship Now onto the other side to repeat the process. After I will add the rings for the blocks and the finish wood piece for the face of the channels. Thanks, Frank