-
Posts
869 -
Joined
-
Last visited
Content Type
Profiles
Forums
Gallery
Events
Everything posted by fmodajr
-
Hi Mark, Thanks for your comments. The rigging of this ship is sure confusing and interesting at the same time. I do wish that Vasa rigging book would come out in print in order to give us some guidance! I was hoping for some better references. I am getting by with a combination of the Vasa plans from the museum (from the 1980's?), the Corel plans, the Billings plans and pictures from the 1/10 model. In the end, hopefully I will come somewhat close to being accurate! Thanks, Frank
-
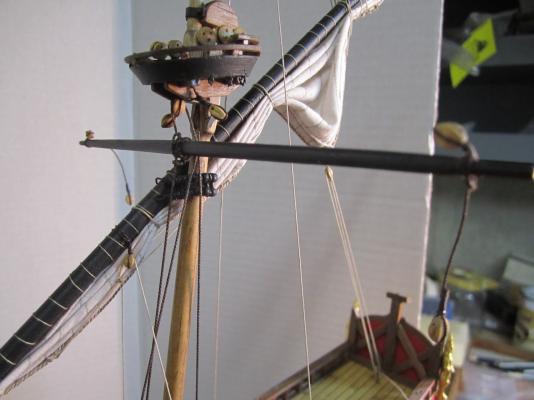
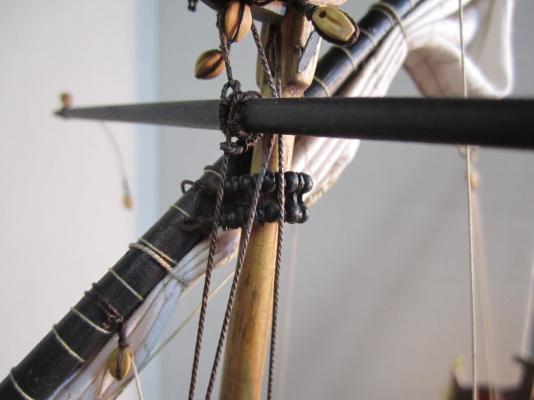
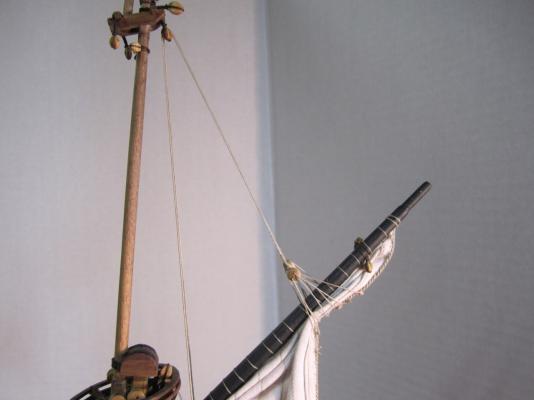
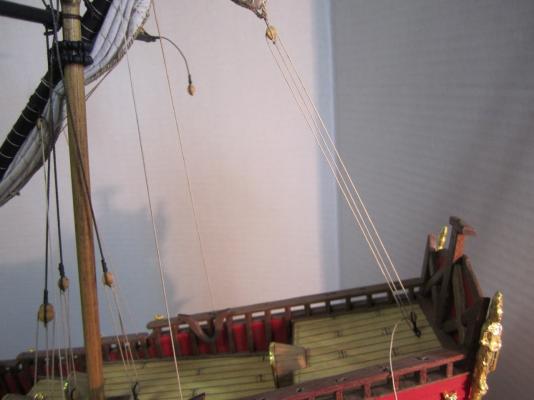
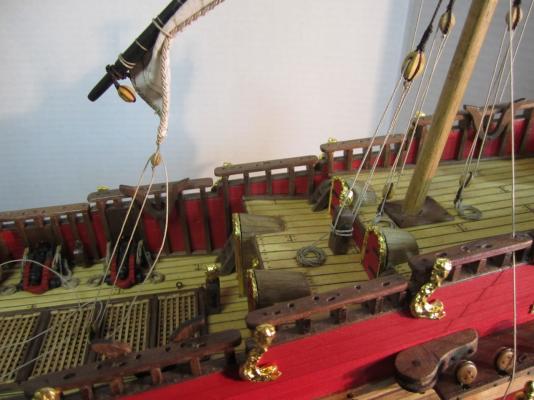
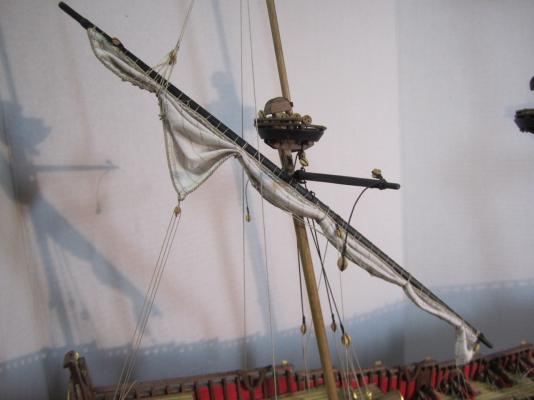
Now I attached the lower pre-rigged yard (the one without a sail) and the boom with the furled sail. My next step is to install the lower shrouds (ratlines) to the mizzen mast on both sides, pre-rig and install the upper yard and full sail, then finish the upper ratlines. Thanks for visiting, Frank
-
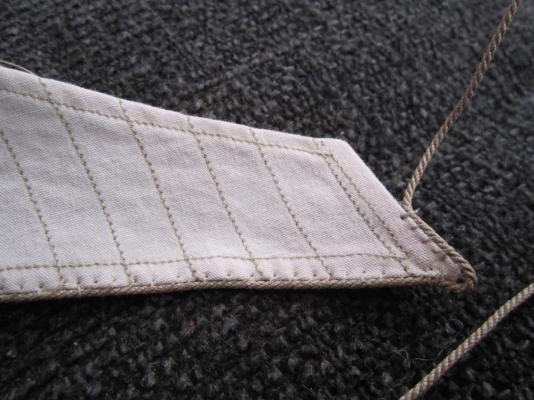
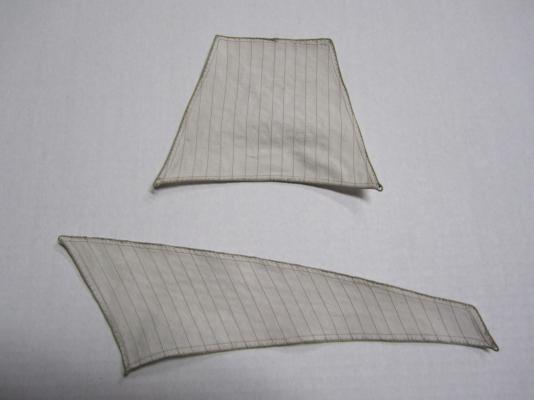
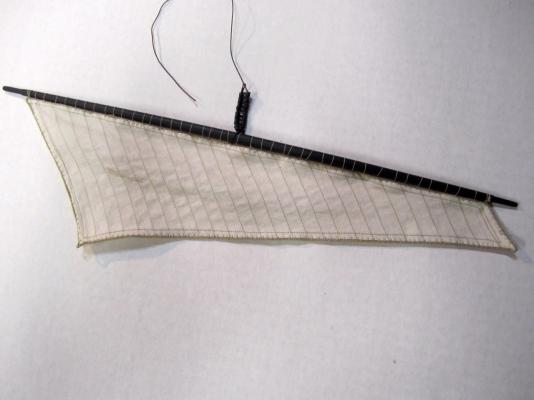
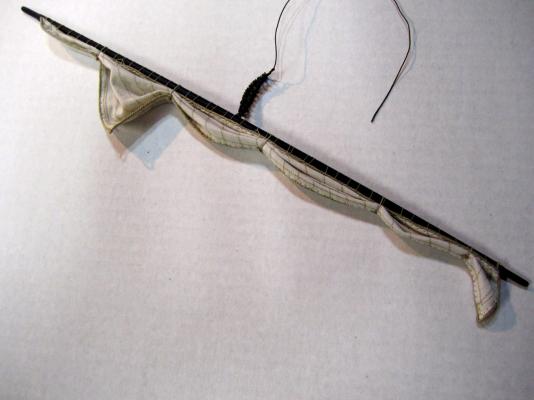
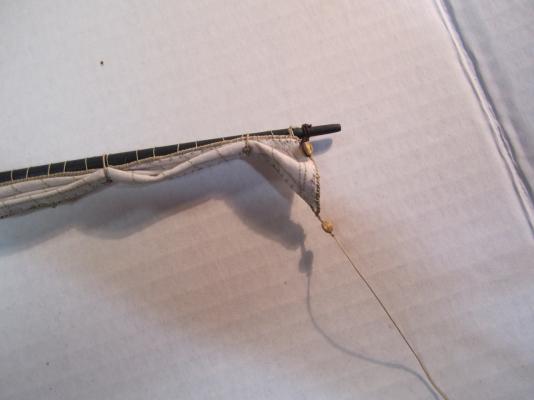
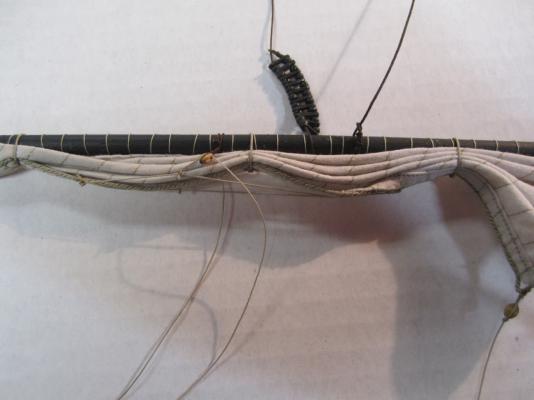
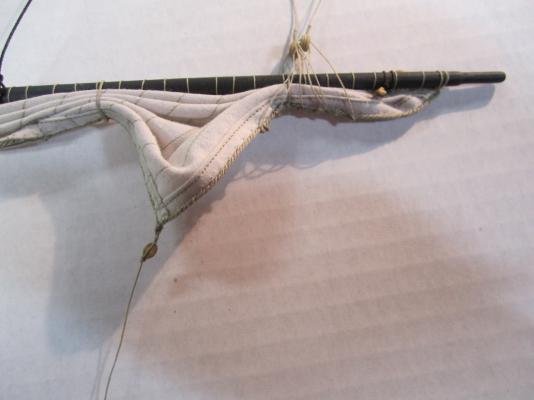
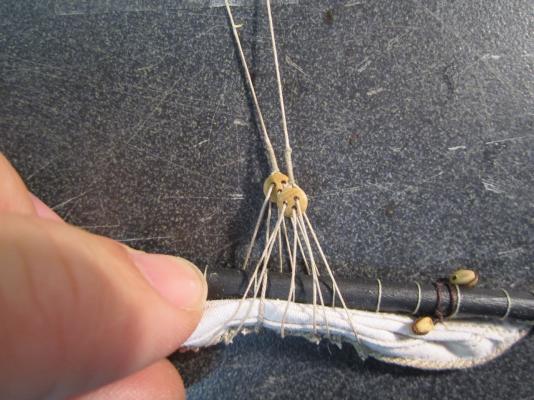
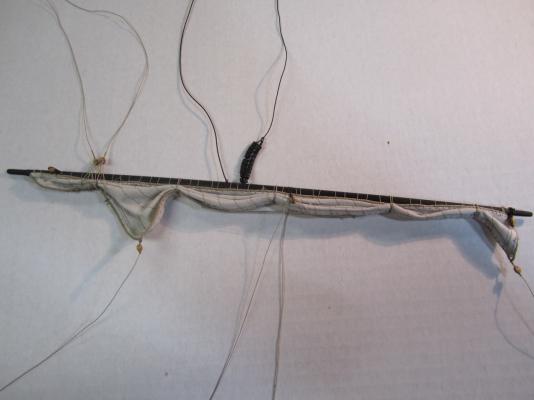
Hello! I was able to make further progress on my sails. I hand stitched the bolt ropes to the 2 mizzen mast sails. I now rigged the mast rollers and attached the lower sail to the yard (boom). You may notice, that I cutoff 1/3 of this sail because of the furling. The material was removed before I sewed the folds around the edges and the bolt ropes. Photo of furled sail. At this point, I added the blocks to the yard and sail. Also, I tried to "pre-Rig" line to the sail that might be harder to do if I left it for a later point. A lot to these lines will not be fastened to the deck until later. Assembly ready for attachment to the mast! Thanks, Frank
-
Mark, You said above that you were not totally satisfied with parts of the build, but from my view, the model is looking great! I look forward to seeing more of your build. Frank
-
Hi George, I hope all is well! The sewing machine I used is my wife's "Janome New Home" Model 1860. Luckily for me, my wife a lot more experience with it than I do, so she was able to show me a few things! Frank
-
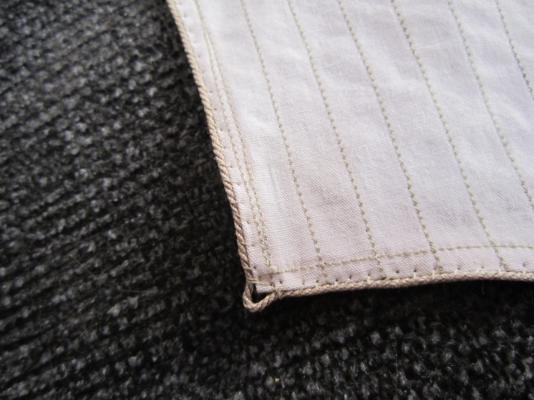
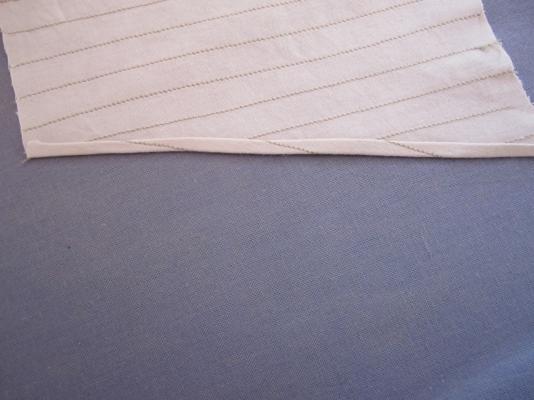
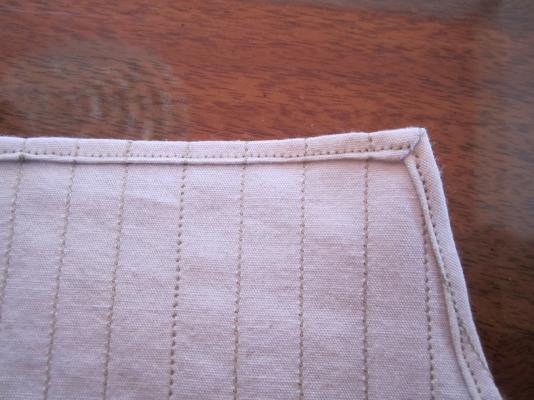
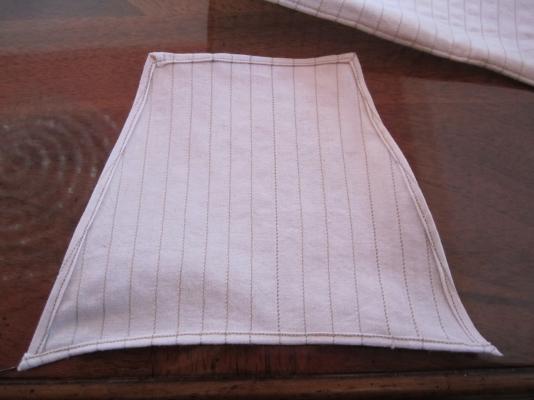
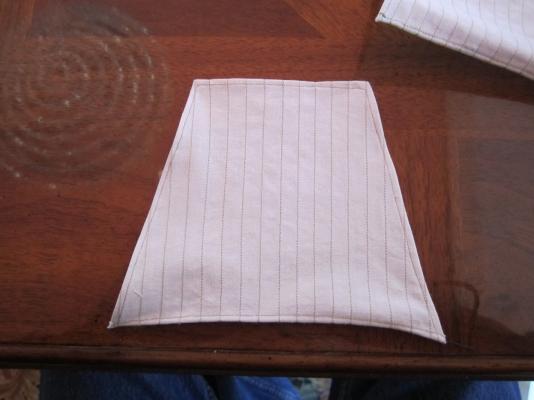
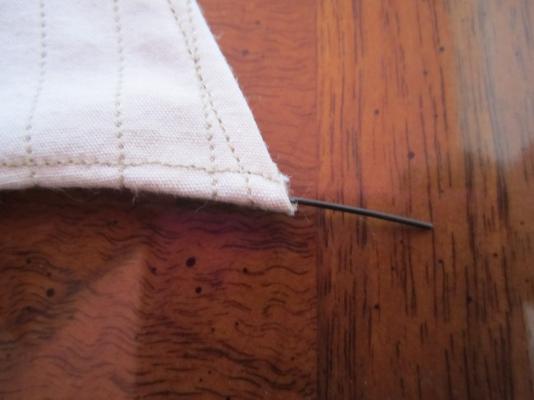
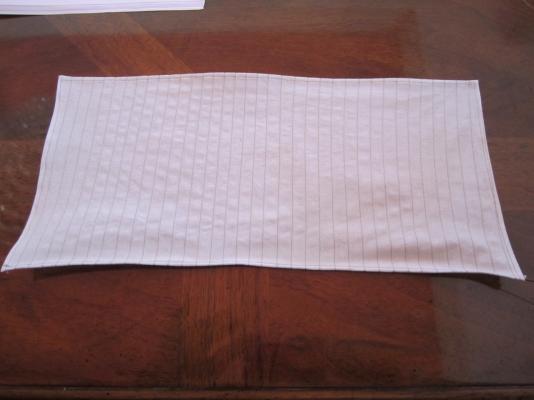
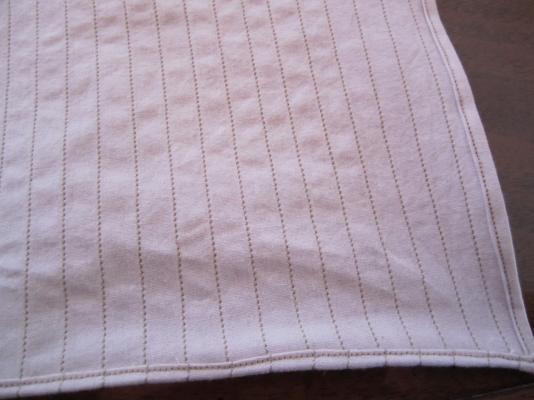
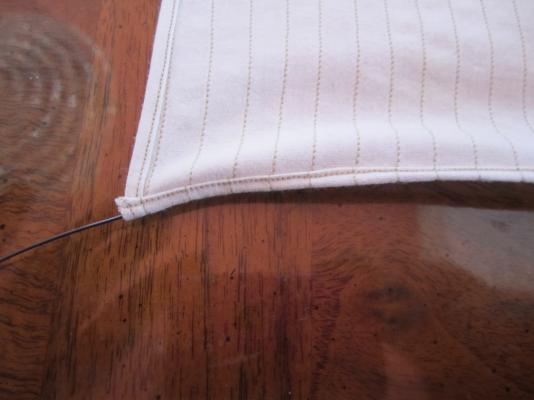
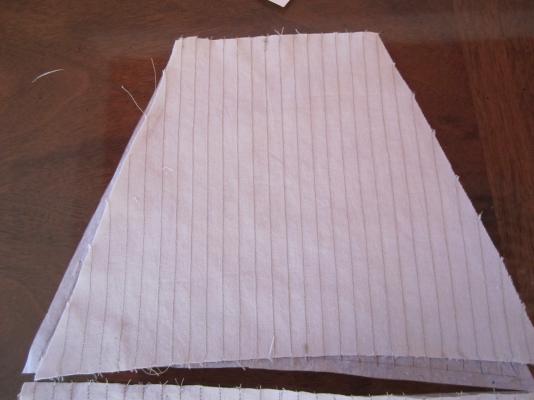
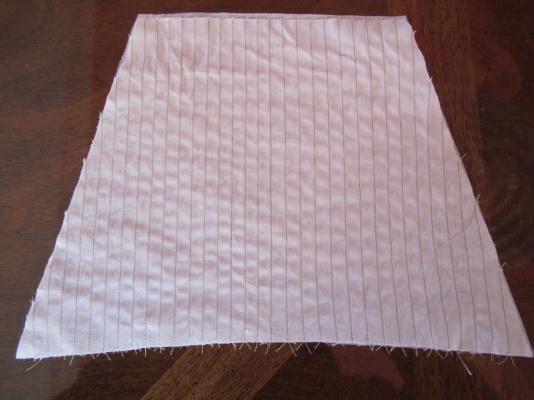
When I finished sewing all the vertical lines, I turned my attention to the ends of the sails. First I folded the ends 1/4 of an inch and ironed the fold flat. Then (and this was the hard part for me), I lifted up the 1/4 inch fold and re-folded an 1/8 of an inch and tucked it under itself. Then I re-ironed it flat. With the ends folded and iron flat, I now stitched the fold. I tried, as best I could, to keep the stitch near the inside edge, so I could insert some wire for shaping if needed. Back side of sail Front side of mizzenmast sail Insertion of 22 gage wire for shaping of sail (if needed). If not needed when I hang the sail I can always pull it out. Lower mainmast sail I am pretty happy with the way things are turning out so far, but I wish I were more educated in the art of sewing!! Now I am going to start hand stitching the bolt ropes around the edge of the sails and then start attaching the completed sails to the yards. Thanks, Frank
-
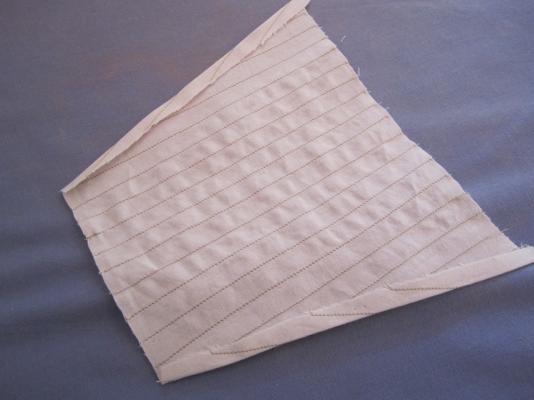
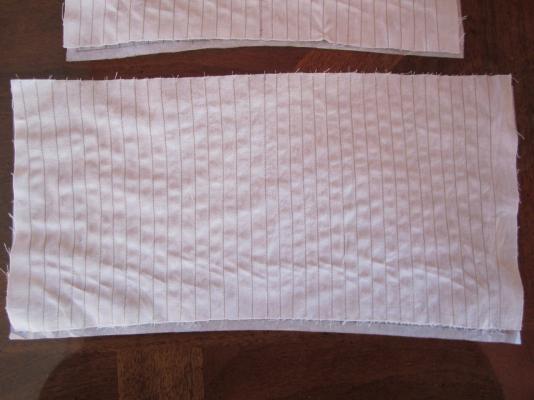
Hello, After spending some time getting re-acquainted with my sewing machine, I started to sew the vertical lines of my sails. I used a "disappearing ink" fabric pen to lay out some of the vertical lines. The ink disappears after a few hours on its own or right away if you wet the cloth. Sewn vertical lines of the lower sails Sewn lines of some of the upper sails.
-
Thanks for the birthday wishes George! My wife made my favorite Veal Cutlet Parm for my birthday and I did wash it down with some merlot! Anyway, another year older (and wiser perhaps?) Frank
-
Hi Mark, Good to hear from you! So, there is a lot to be said for furled sails. I like the sails to be furled so that the rigging can really still stand out to the viewer looking at the ship from outside a case. (Sometimes the intricate rigging can be "hidden" behind a fully open sail). What I am thinking right now is to have the lower mizzen mast boom sail furled, the lower foremast sail furled, the sail under the bowsprit furled and the lower mainmast sail semi-furled (similar to Karl's sail on his log and the 1/10th at the museum. Hopefully I can pull this off!) Then have the upper mizzenmast sail, the middle mainmast and foremast sails fully open. I will then make a decision on what to do with the top mainmast, foremast, and bowsprit sails after the other ones are on. My thinking is to have the lower sails furled in order to not have the sails obstruct the views of the deck of the finished model. We'll see. Thanks, Frank
-
Thanks for all the likes! George and Michael, Thanks for your comments. I am re-acquainting myself with my wife's sewing machine. I am working on the sticking of the vertical lines, then I will start the edges. Hopefully I'll have more updates in a week. Thanks again, Frank
-
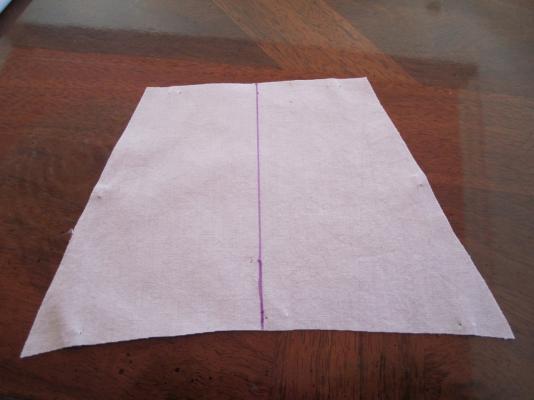
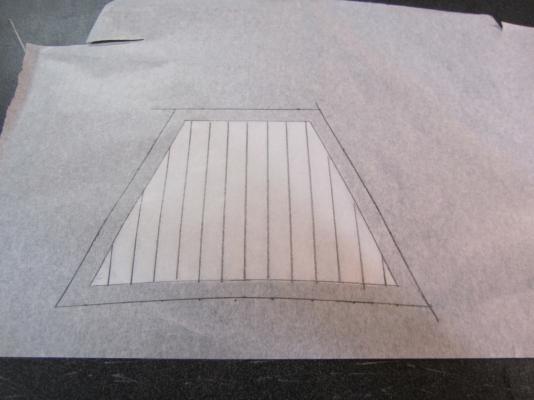
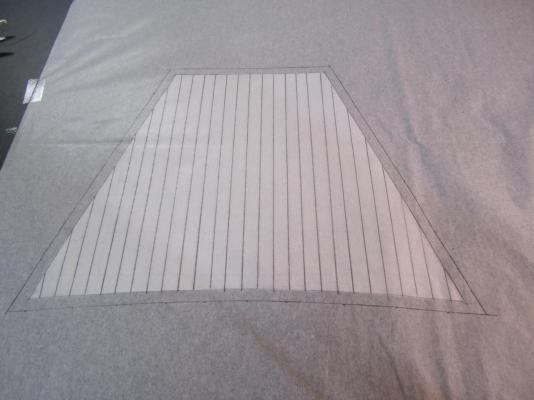
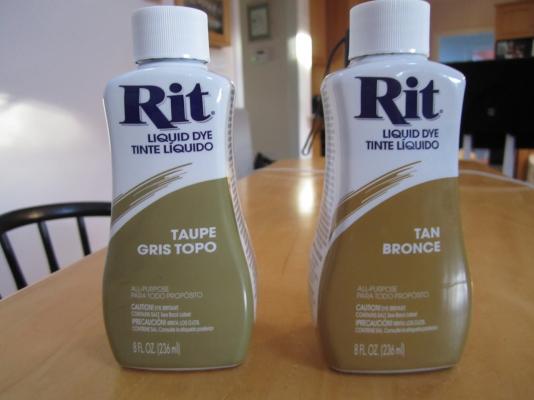
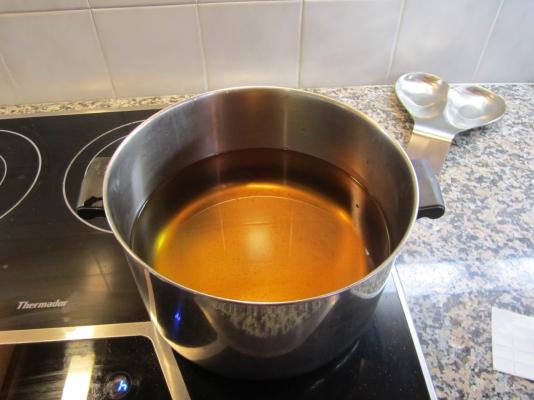
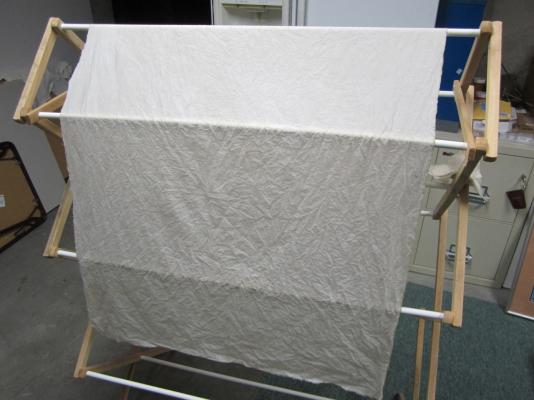
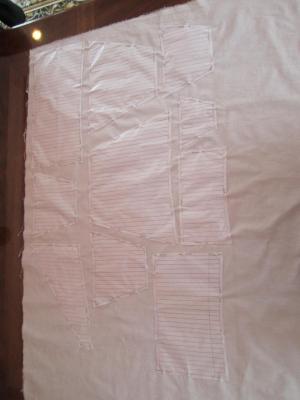
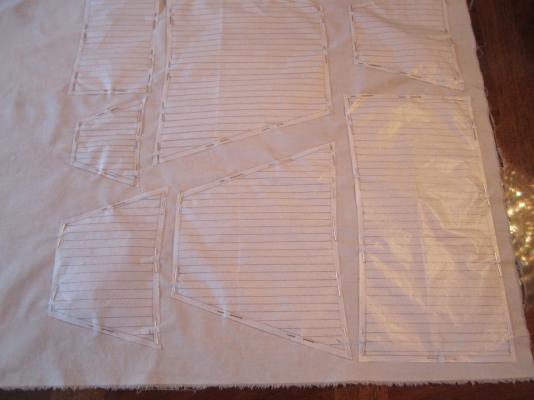
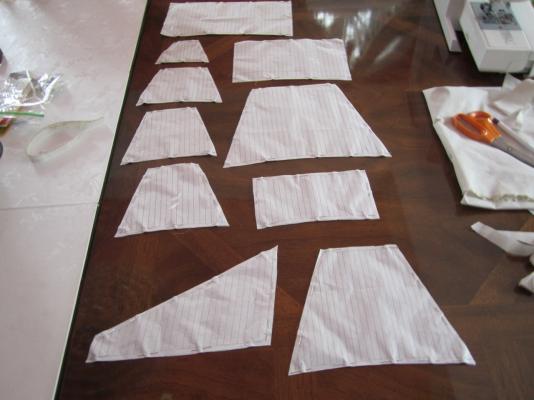
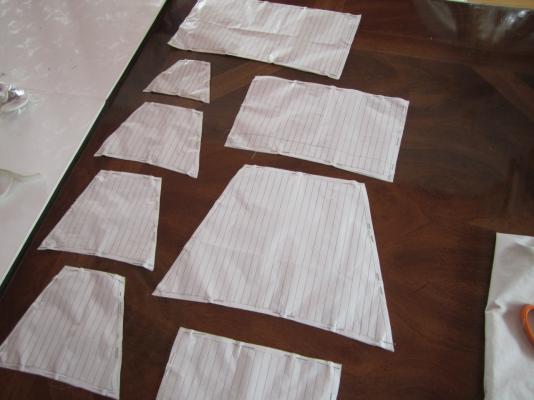
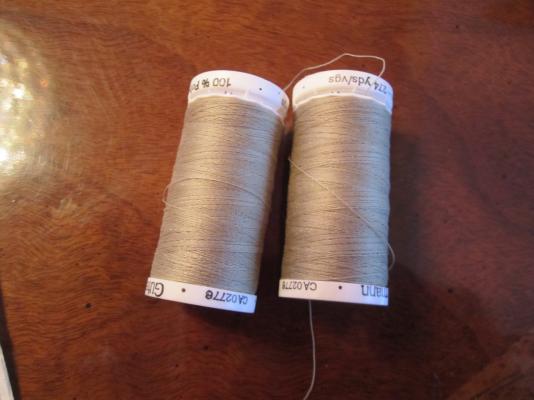
Hello! Continuing on with my sails: My next step was to transfer my sail templates onto tracing paper and add a 1/4 inch band around all sides in order to create a double 1/8 inch fold along the edges while sewing. I picked up a nice sheet of fabric from the fabric store. (Bleached white Muslin). Since the cloth is too white, I picked up some fabric dyes and after some trials on scrap pieces, I settled on a formula in order to "dirty up" or soften the look of the sail cloth. After mixing, per the instructions, with hot water, I dipped the whole sheet into the dye mix, in order to create an even look throughout the sheet. Then I left the cloth dry overnight After I pressed the wrinkles out of the cloth, I pinned the tracing paper to the cloth. Now I cut the sail cloth to size. I am now ready to start sewing. I picked up some sewing thread that matches the running rigging line I will be using and the bolt rope I will be hand sewing later in the process. Thanks, Frank
-
Hi Mark, It looks great! I was worried there for a bit that I placed mine on incorrectly! Good luck with the rest of the Corel figurines! Frank
-
Hi Karl, Thanks for the advice! I went to the fabric store today and I purchased a "premium bleached muslin" fabric and I am very happy with it. I think it will be thin enough, with a tight high density thread count. I also will be taking your advice and dyeing the fabric to "dirty" it up a bit! I am washing it now to remove any shrinkage, then I will be cutting the sails and start the dyeing process. We'll see how it goes! Thanks for the help! Frank
-
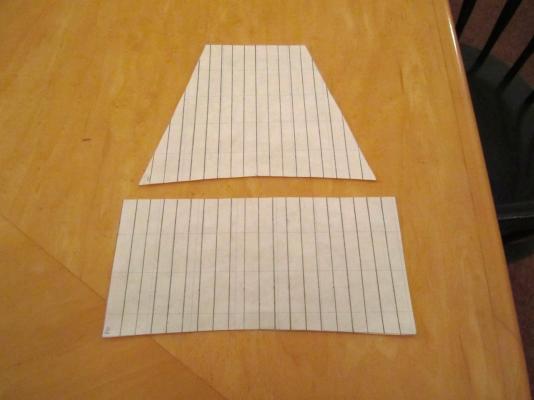
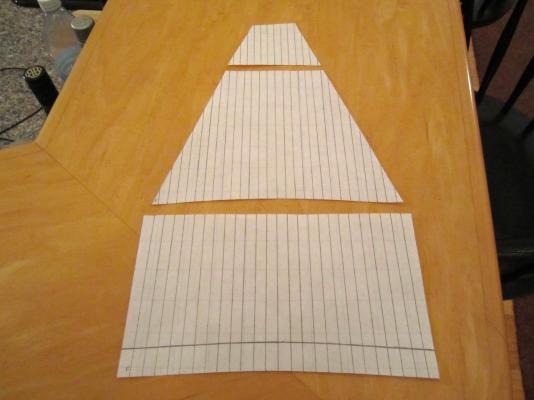
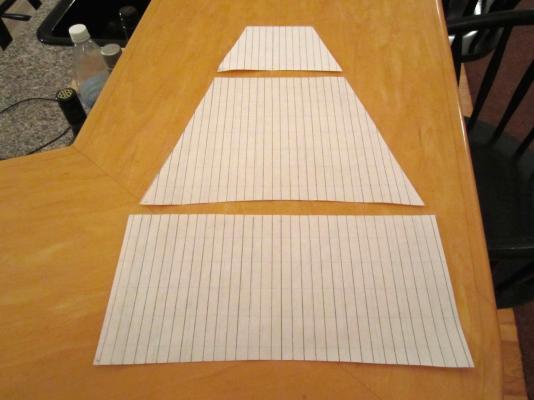
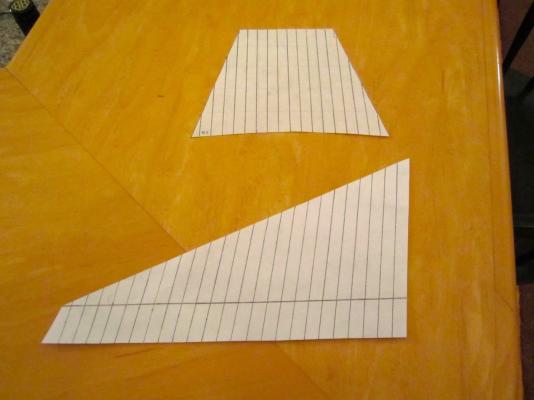
Thanks for all the likes! I took the time to lay out the sail templates on paper. Since the Corel kit has no sails or sail plans, I used the dimensions Karl was kind enough to forward to me from his Billings kit. (Thank you Karl!) I only had to make some small modifications for them to work on my model. These templates are the finished size of a fully laid open sail. For the sails that I decide will be furled, I will cut off about a third of the template, to thin down the furled sail thickness. Also, when I cut the sails from the cloth, I will have to add about a 1/4 inch all around the periphery in order for me to create a double 1/8 fold along the ends of the sail. Bowsprit Sails Foremast Sails Mainmast Sails Mizzenmast Sails I'm off to the fabric store tomorrow to try to find some suitable cloth! Thanks, Frank
-
Karl, Great looking case and ship! Glad to see she is protected! Take care, Frank
- 234 replies
-
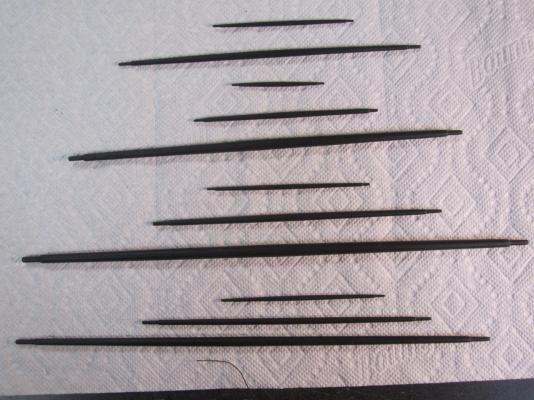
Thanks George! With the masts on, I feel I've turned a corner and that I am closer to the end than the beginning! Anyway, I finished constructing and tapering all the yards. Bowsprit Yards Foremast Yards Mainmast Yards Mizzenmast Yards Yards painted a flat black and sprayed with clear dulcote for handling My next step is to lay out all the sail sizes and shapes on paper, creating a template. Thanks, Frank
-
Hi Mark! Thanks for the comments. I like your idea of reaching out to Fred Hocker. Right now I am thinking of leaving this tackle off my build, but I'll see if F. Hocker has any thoughts on the matter. Thanks, Frank
-
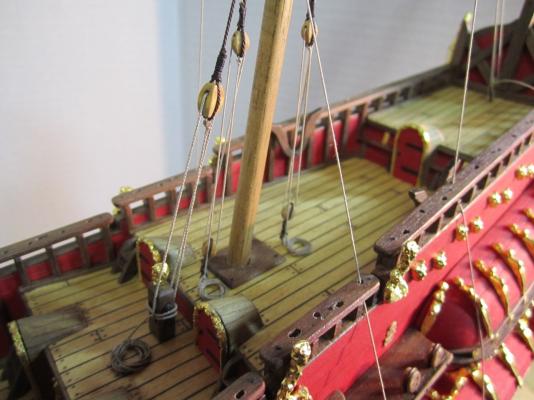
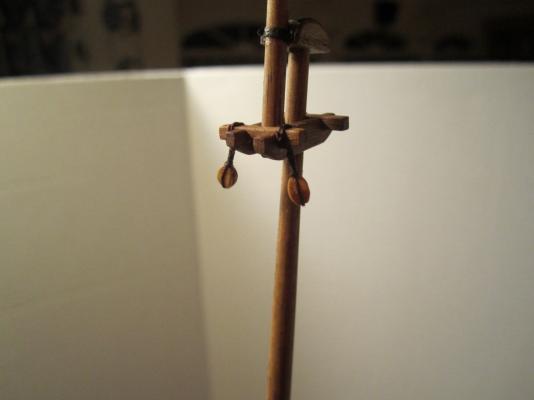
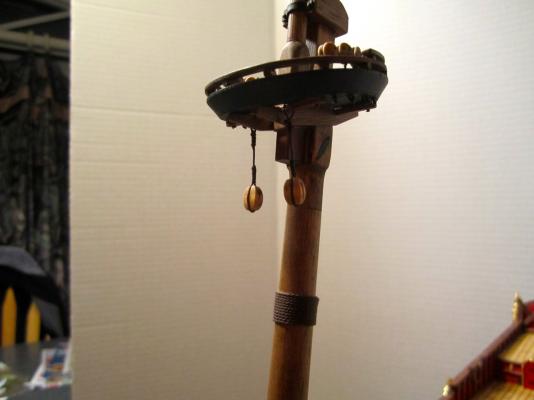
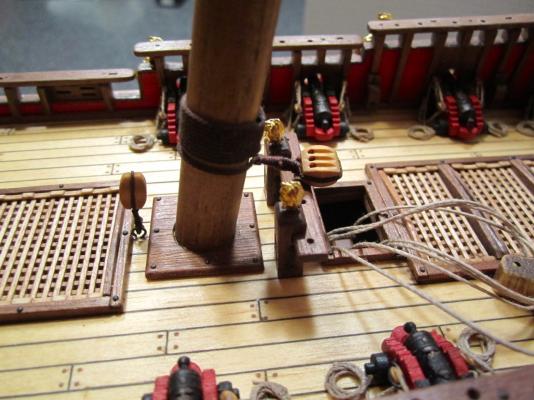
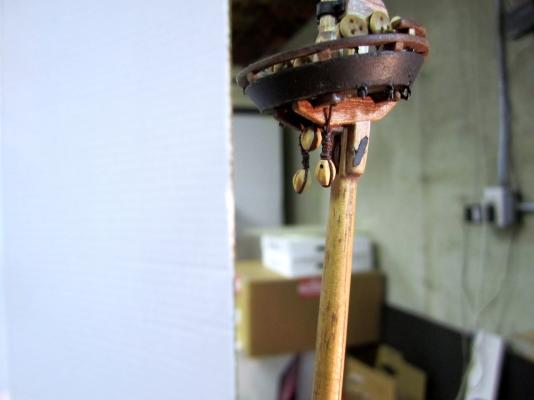
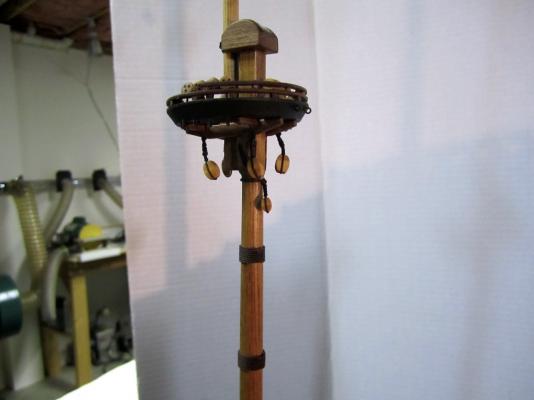
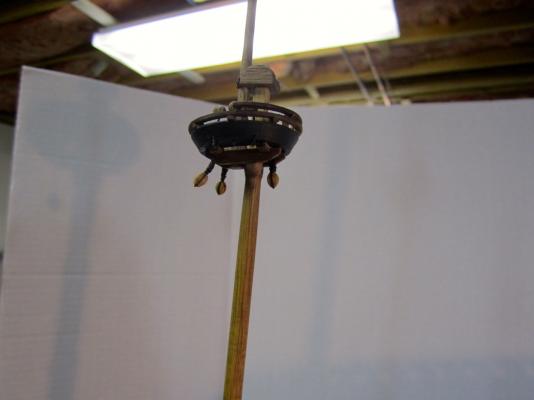
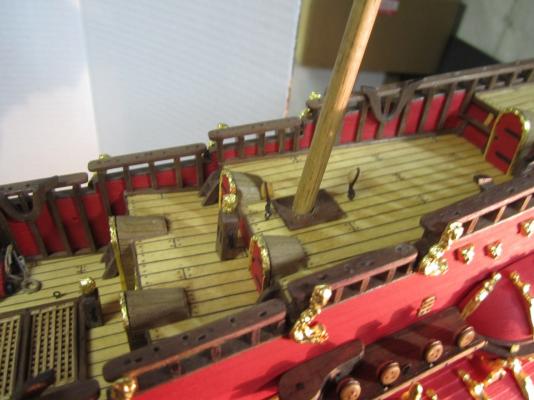
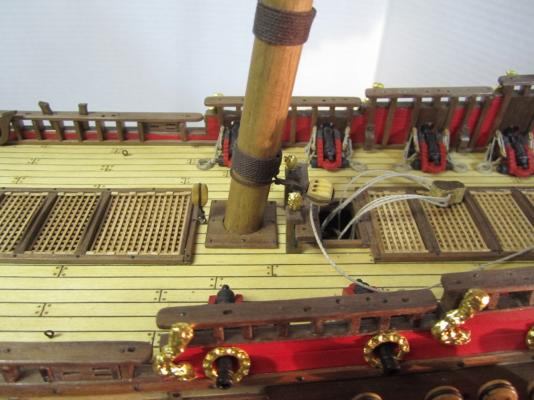
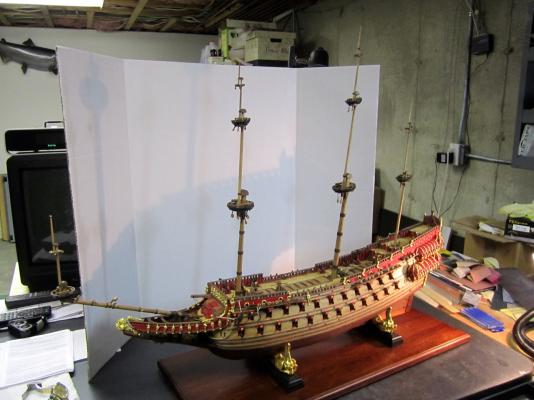
Hello! Thanks for all the likes! Some small updates. I added the blocks to the masts where possible and also some blocks to the decks around the masts. After I was done, I fitted and glued the masts to the hull! The Corel kit plans show some rigging for cargo tackle. However, on the Vasa Museum plans and on the 1/10 model, I do not see it being there. It would make sense that there would be some sort of tackle for getting things on the ship! For the time being, I added the blocks and eyelets for this tackle on the back of the foremast platform. If I decide to eliminate this, it will be easy to remove. Any thoughts? More blocks Masts fitted and glued to ship So now I will put the ship aside and start working on making the yards and the long process of making and sewing the sails. Next week, I will take a ride to the fabric store and see if I can find something suitable (tight weave and thin muslin) that will work for this ship. Thanks, Frank
-
Hi Mark! I love the look of the stern, especially the shade of red you are using. All the colors work well together! What brand of paints are you using? Thanks, Frank
-
Hi Michael, Those cannon port lids are looking really nice! I' m sure you'll be glad when they are done! I had the same problem in the fwd port lid (not in the Corel plans) so I had it set up as a closed lid. Frank
-
Karl, Congratulations! Well done! I hope you keep your photo's in this site, for inspiration and guidance, for other Vasa builders (like me) to follow! Frank
- 234 replies
-
Its a kit by Corel named Prins Willem (a Dutch east Indiaman 1651) I painted it in its original coulors and corrected some of to the rigging You can find the bull log on (I am sorry its in Dutch): http://www.modelbouw...c-schip-95.html (I am sorry its in Dutch), and all pictures on: http://www.modelbouw...m-1649-voc.html You are right in not using the Corel blocks they are to rough and full of splinters. I had to use them on the Prins Willem for I could not find 4mm blocks in the stores. Andy I have ordered the Wasa Hi Andy, Thanks for sending the links to your Prince Willem. Excellent work, especially the stern section! I wish I could speak Dutch! Frank
-
Hi Karl, Yes! I keep using your picts as a guide! Thanks! I know what you mean about nearing the end! Fortunately for me, I have a ways to go and rigging is always my favorite part of a model build! I hope you can find a case and a nice spot for your Vasa to be viewed! Frank
About us
Modelshipworld - Advancing Ship Modeling through Research
SSL Secured
Your security is important for us so this Website is SSL-Secured
NRG Mailing Address
Nautical Research Guild
237 South Lincoln Street
Westmont IL, 60559-1917
Model Ship World ® and the MSW logo are Registered Trademarks, and belong to the Nautical Research Guild (United States Patent and Trademark Office: No. 6,929,264 & No. 6,929,274, registered Dec. 20, 2022)
Helpful Links
About the NRG
If you enjoy building ship models that are historically accurate as well as beautiful, then The Nautical Research Guild (NRG) is just right for you.
The Guild is a non-profit educational organization whose mission is to “Advance Ship Modeling Through Research”. We provide support to our members in their efforts to raise the quality of their model ships.
The Nautical Research Guild has published our world-renowned quarterly magazine, The Nautical Research Journal, since 1955. The pages of the Journal are full of articles by accomplished ship modelers who show you how they create those exquisite details on their models, and by maritime historians who show you the correct details to build. The Journal is available in both print and digital editions. Go to the NRG web site (www.thenrg.org) to download a complimentary digital copy of the Journal. The NRG also publishes plan sets, books and compilations of back issues of the Journal and the former Ships in Scale and Model Ship Builder magazines.


