-
Posts
868 -
Joined
-
Last visited
Content Type
Profiles
Forums
Gallery
Events
Everything posted by fmodajr
-
Hi Mark, Thanks for the measurements! Tomorrow I will give your dimension's a try. They seem to make much more sense than the one's I had come up with. Thanks again Frank
-
Asking some fellow Corel or Billings Vasa builders for a little help! I am preparing to cut the dowels for the lower mainmast (part #210), lower foremast (part #223) and mizzen mast (part #200). The Corel plans give the overall length of the dowels only, not the dimensions for the height from the deck to the top cap. I made the holes into the bowels of the ship deeper than the plan called for (for more support) but neglected to measure the difference in depth. As a result, I do not know what the height of these lower mast should be from the deck up to cap. If anyone has that measurement for the 3 masts, it would be appreciated! Thanks in advance for the help! Frank
-
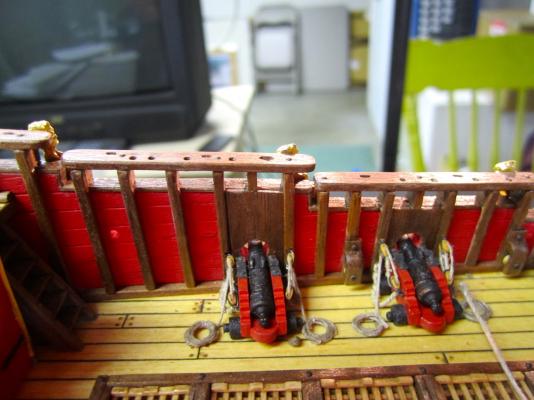
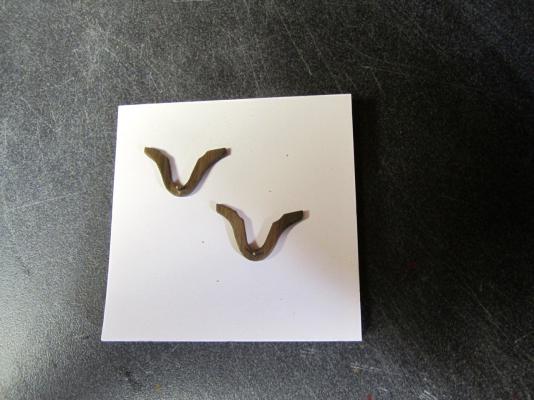
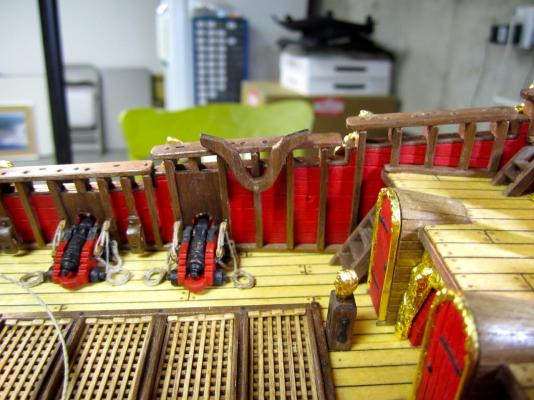
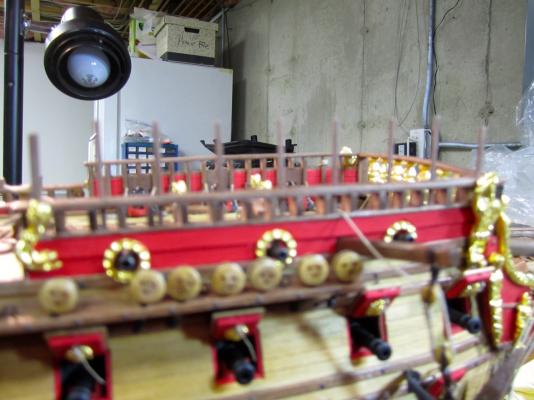
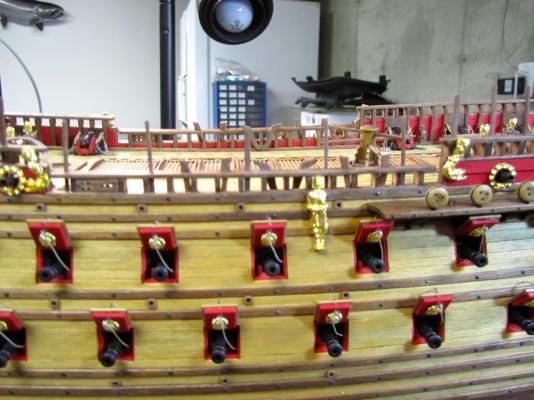
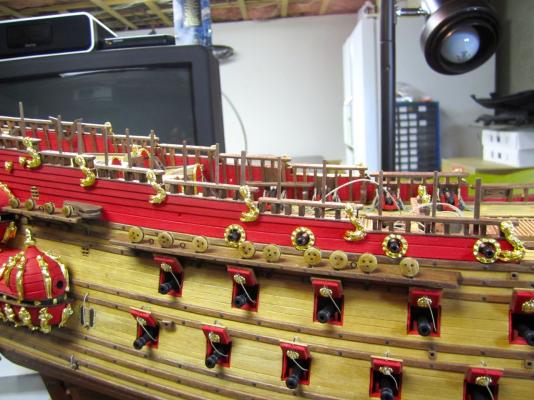
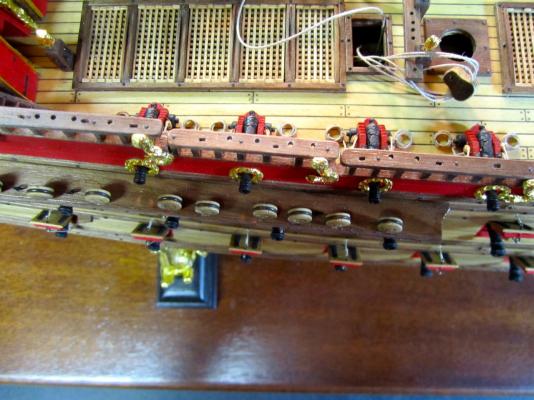
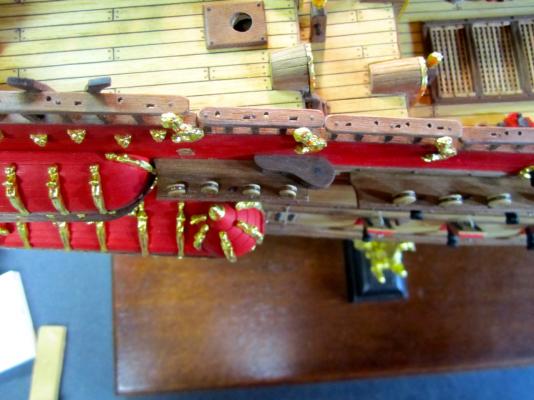
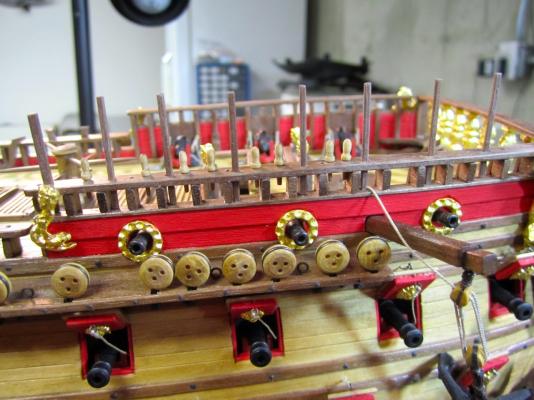
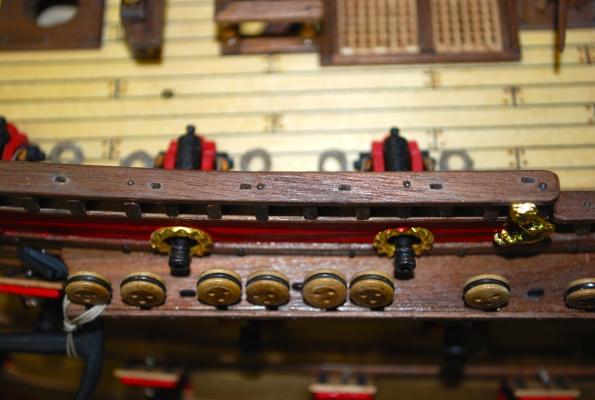
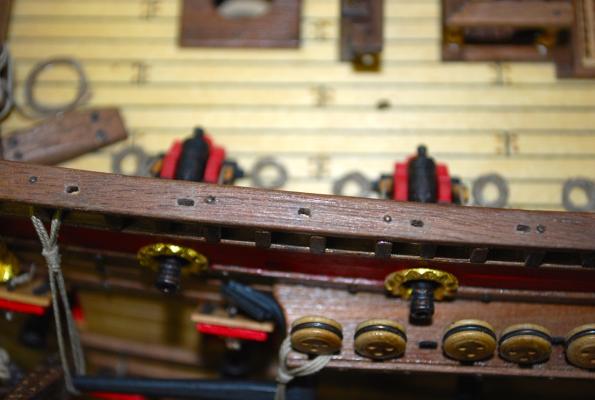
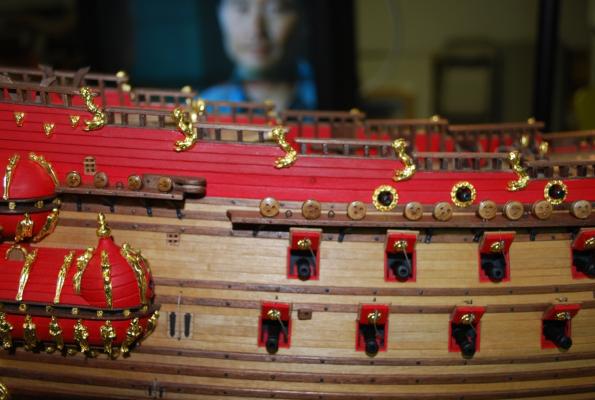
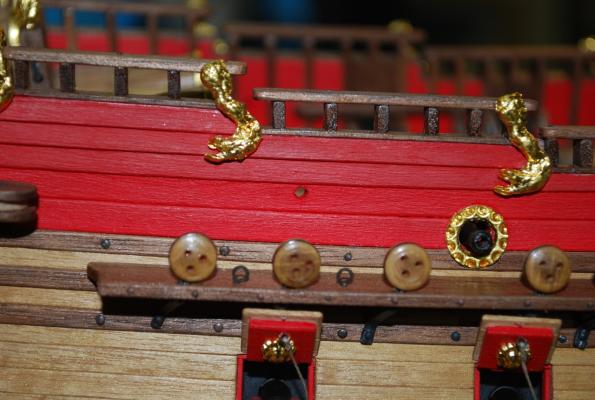
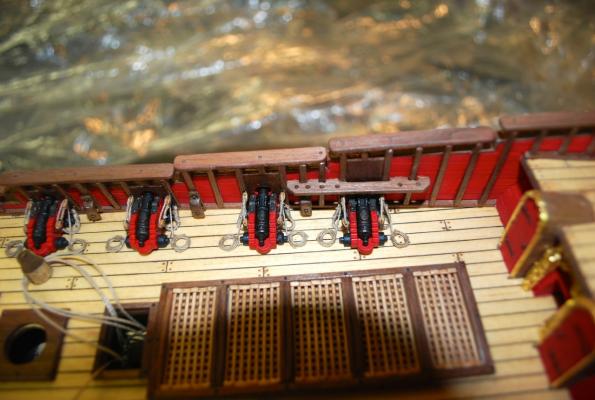
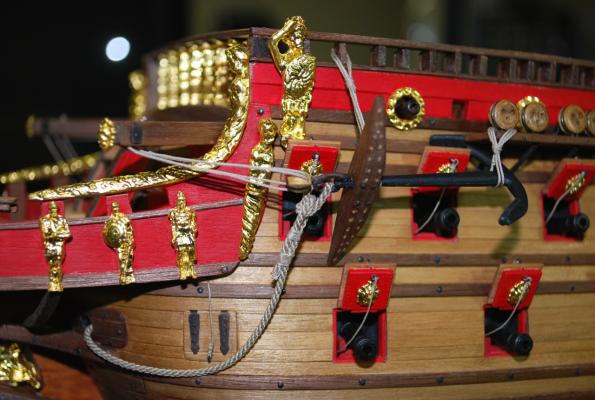
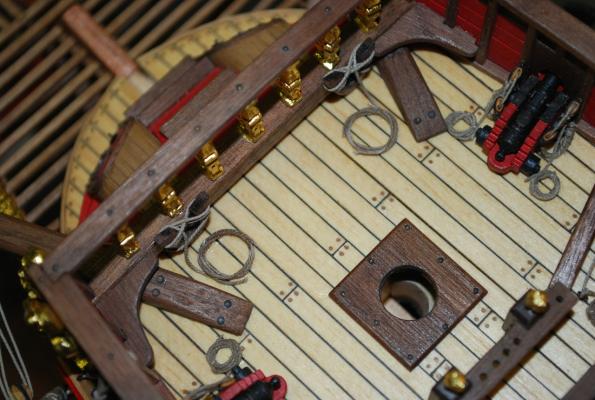
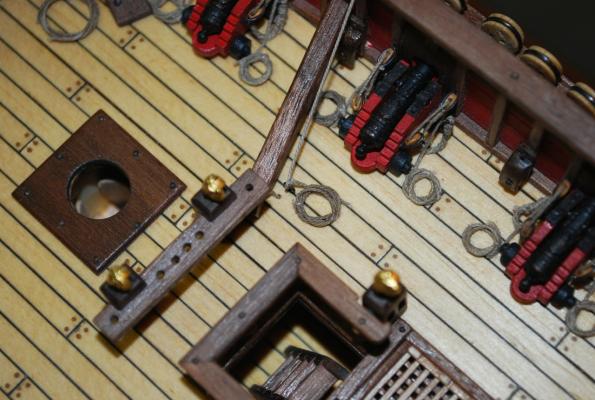
Thanks for all the likes everyone! Just a minor update. I successfully removed the 2 pin rails over the cannon and was able to clean things up. I made 2 more kevels Attached them to the sides of the ship Now onto the masts! Thanks, Frank
-
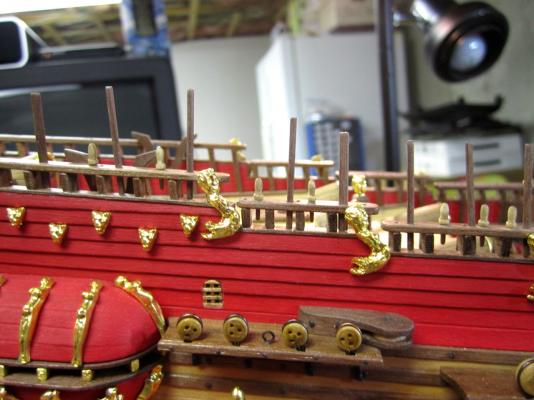
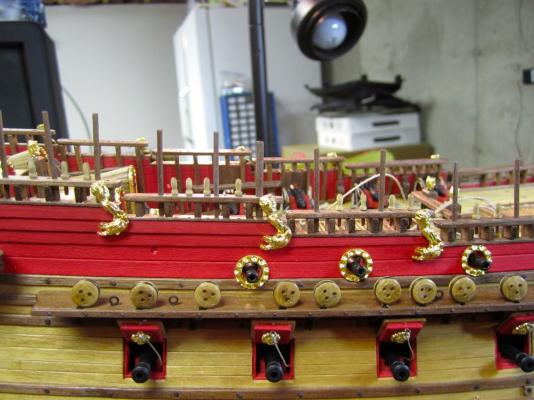
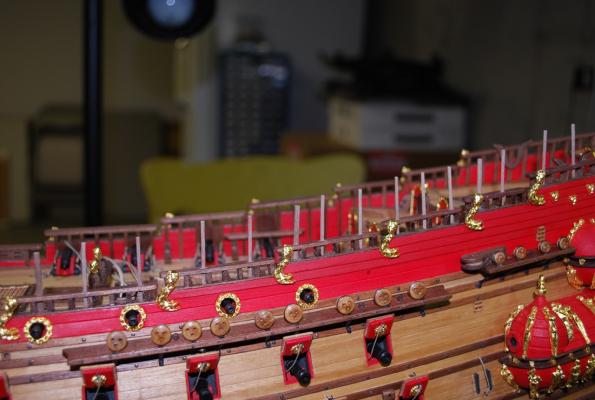
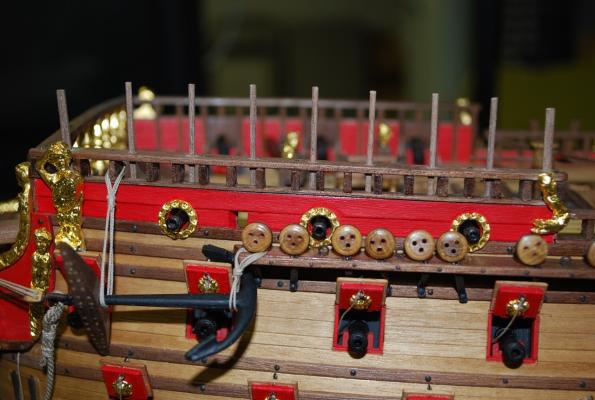
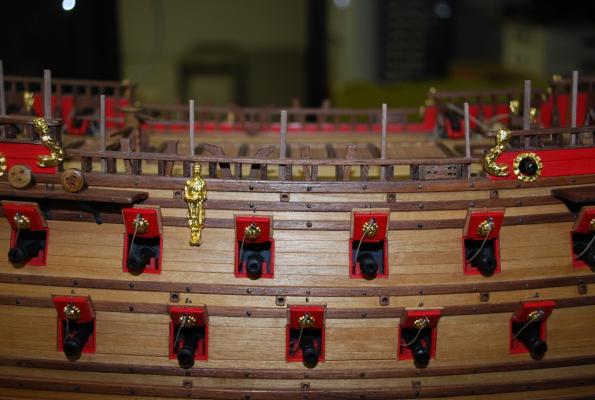
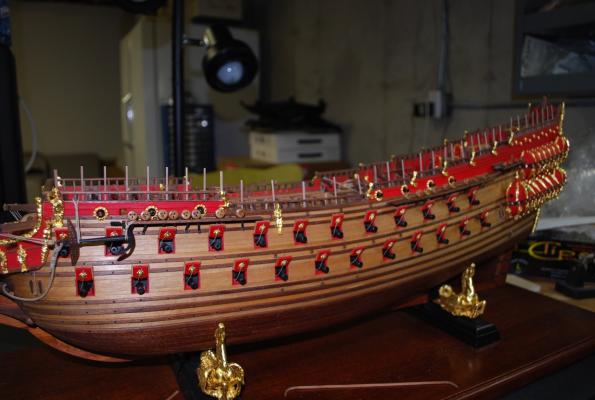
I just finished making the upper railing slots and dry fitting for the starboard side. (glad this is done!) I also took this time to drill the belaying pin holes on both sides of the ship lower railings. I sanded down the supplied belaying pins, in order to thin them down. I will stain them later. Dry fitted belaying pins So now I only have a couple of minor things to work on before I start the masts in a week or so. I want to make 2 more kevels and place them where I will be removing the belaying pin rails above the cannon. Thanks, Frank
-
Michael, The gun ports look terrific! Where did you get that small dimple tool? It seems to be working great! Frank
-
Karl, Your sails are coming out very nicely. Nice work on the sewing and bolt rope loops! Great job, Frank
- 234 replies
-
Hi Michael, You are a better man than me having that sort of patience for your assembly line painting A shot of whiskey to steady your hands? Great job, Frank
-
Hi Michael, I hope all is well with you and your model! For the main anchor line coming out of the ship's hull, I used Syrens tan rigging rope .062 dia. Thanks, Frank
-
Hi Jan, Thanks for your kind comments. Yes, I will keep all the parts to the side until I see that it is the right time to finish them. I'm not quite sure when that will be. I'll keep an eye on things while I'm doing the rigging. Once I start to feel that I won't be able to get my hands in there soon, I'll add the railings. Even though I am pre-slotting now, the railings will still need some final trimming and shaping to get them in the right spot. So it will be important to have some room to work around them. Thanks, Frank
-
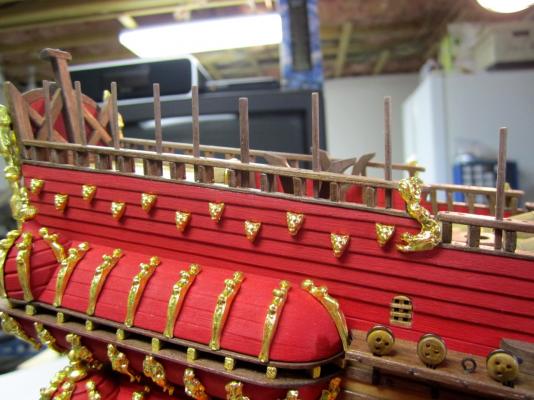
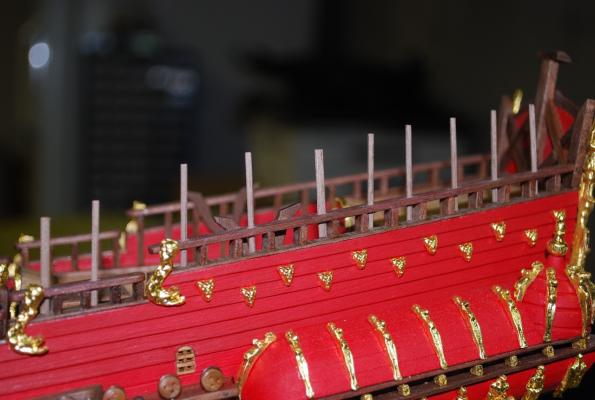
I started trying to make the slots for the railing posts. At first I tried using a tiny milling bit with my dremel, but after a couple of attempts I gave up due to my unsteady hands. So I switched to hand drilling two small holes (.035 dia) right next to each other and then slowly filing out the middle and making them rectangular as best as I could. My posts are 1mm thick x 2mm wide for the ones that support the curved pieces and the rest are 1mm thick by 1.5mm wide. Most of them came out okay with a couple of slots ending up too big. (Some walnut wood filler should work!) . Working my way down the port side, I milled all the slots and dry fitted the posts that I will be using. Nothing will be glued down until later after the installation of the shrouds and ratlines. Now onto the starboard side. Thanks, Frank
-
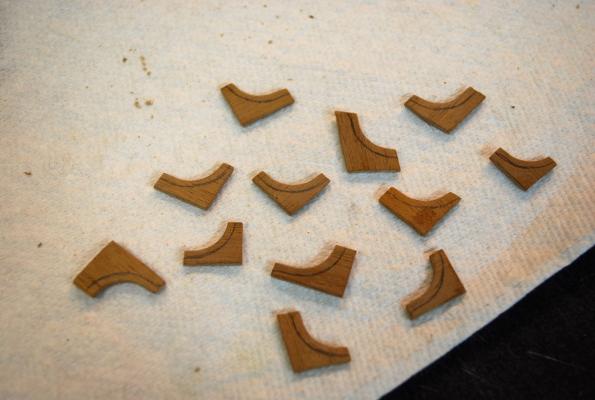
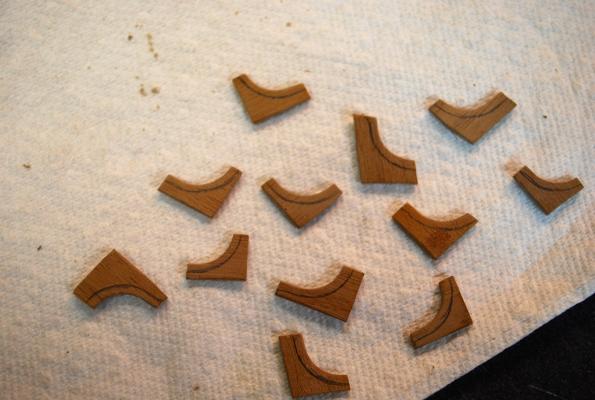
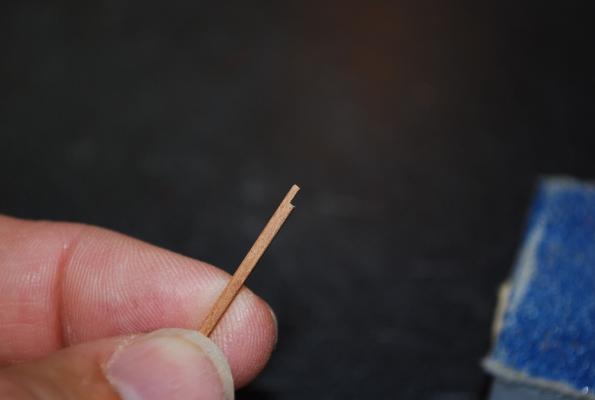
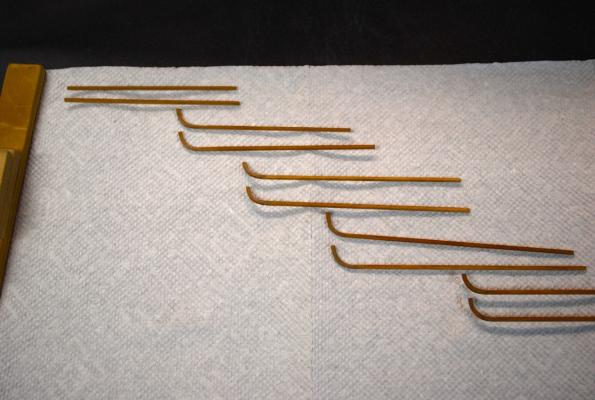
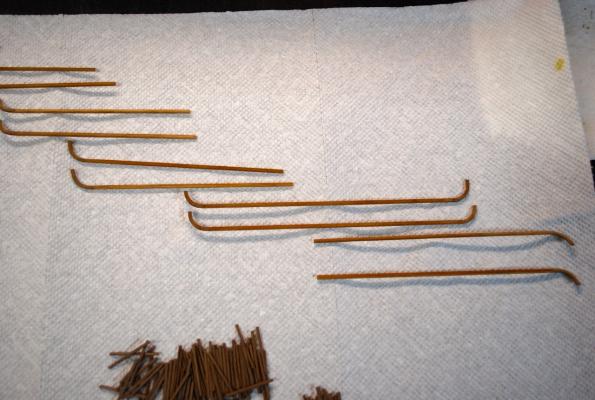
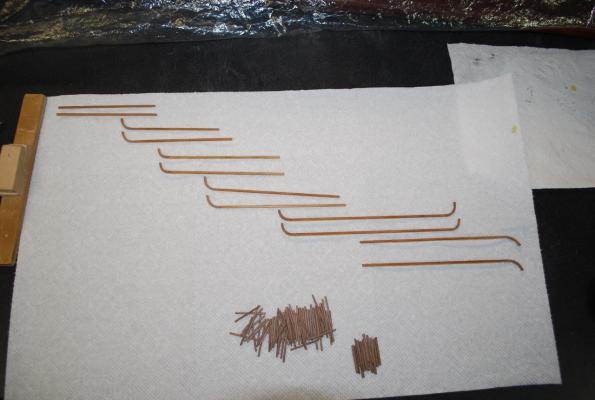
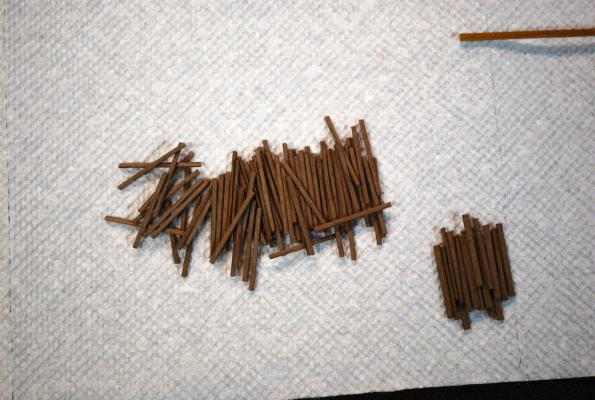
Back working on my model! I started making the assembly for the upper railing system. I am doing this so I can lay out the slots I will need to mill for the posts. I want to do this now (as discussed above) before I start the masting and rigging. I made the curve pieces by taking some walnut sheet and grinding a radius with my oscillating sander. Then I penciled the outside line and ground the outer side using a disk sander. I notched one end of the curved pieces and one end of the straight pieces so that there will be more support when gluing together. Now I glued the different sections together for both side of the ship. I left extra stock on the curved section and also on the straight sections, so I can accurately fit everything later in the build. (I will also paint these sections white at a later date) I made up a bunch of the railing posts and left extra stock so I can fit everything later. Now I will start marking and slotting the railing for the posts. (Hopefully I can find tools small enough for the slotting) Thanks, Frank
-
Hi Karl, Perfect! Thank you very much! This will save me a lot of time when I start the sails! Great Job Thanks again, Frank
- 234 replies
-
Hi Karl, Thanks! That would be great! I can make my own sails if I have some pictures and measurements. Thanks for the help and also no rush! Frank
- 234 replies
-
Hi Mark, Thats for your input. I think that I will make all the railing parts now, drill the slots in the lower rails, then test fit everything to be sure. Then put everything aside for later installation! Frank
-
Hi Karl! Great looking sails! Do you know of where I could by the sail plans that comes with the BB kit? I am making my ship from Corel and they do not include sail drawings. Is the BB kit the same scale as Corel 1:75? Frank
- 234 replies
-
Hi Everyone, Thanks for all the likes! It is appreciated! I will need to take a break from my ship build, for about 2 weeks, in order to finish another project. In the meantime, I was wondering if anyone can assist me with some input on the topic of the decorative railing for the Vasa. If I wait to install the delicate railing after the rigging of the ship, should I still pre-plan, drill and cutout where the railing posts are supposed to go? I still have to drill the holes on the lower main railings for the belaying pins and I don't want to mistakenly drill a belaying pin hole where the delicate upper railing posts should be. Also, if I wait to do everything after the rigging, how will I get around the rigging to drill and square up the holes for the posts on the lower railing? Am I over thinking this? Thanks in advance for any help or advice, Frank
-
Hi Matti, your ship is looking great as always. Beautiful work on the shrouds! Question for you. I am at the stage now where I have to decide about the thin delicate upper rail system on the ship. If I don't think about it now or decide to put it in later, I am worried about being able to get in there after the shrouds are in. What is your view? Are you planning to add the railings in or are you leaving them out? Thanks for the help and I keep looking forward to viewing your log! Frank
-
Happy birthday Michael! Nice work on the davit! The only thing your work room needs now is a bed, since you will be spending all your time in there Frank
-
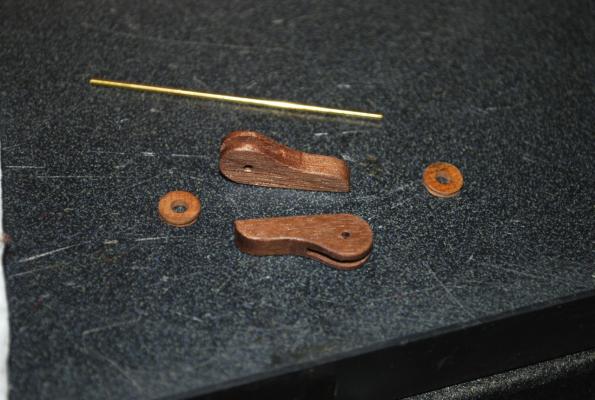
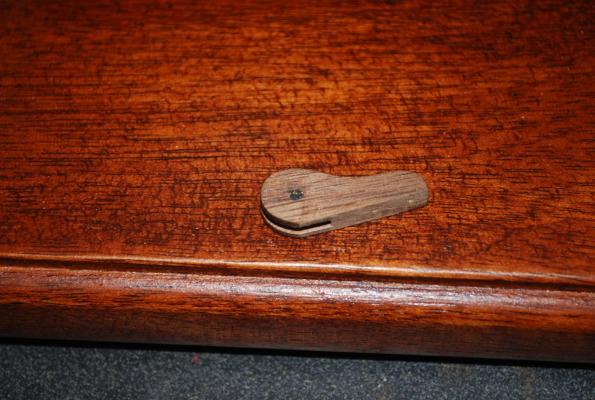
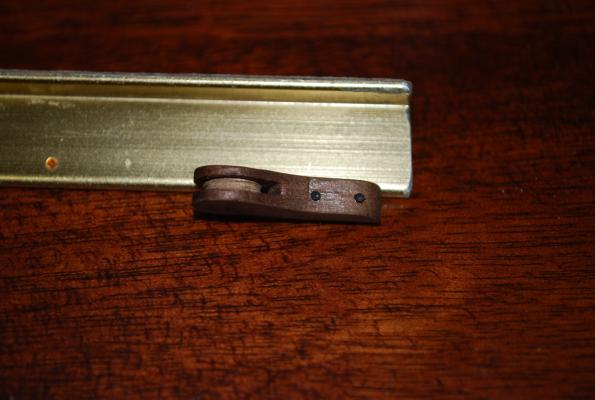
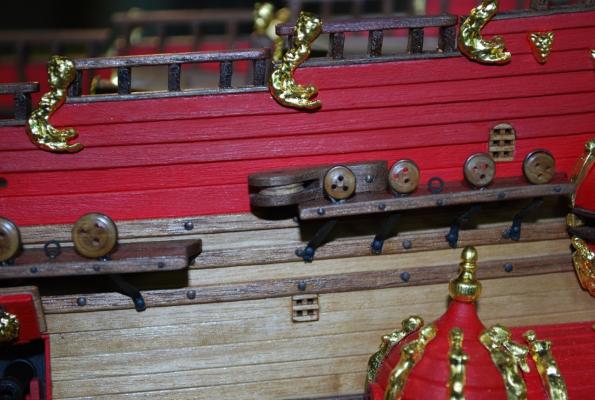
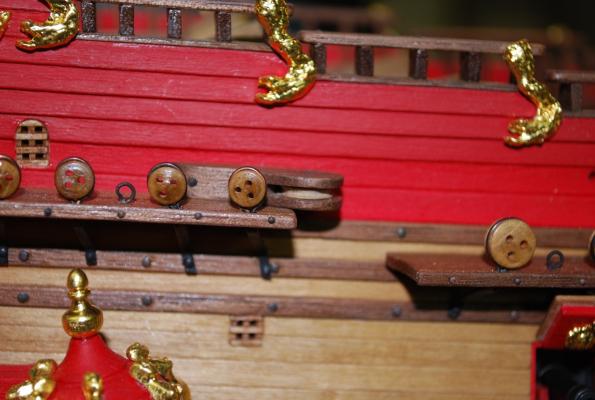
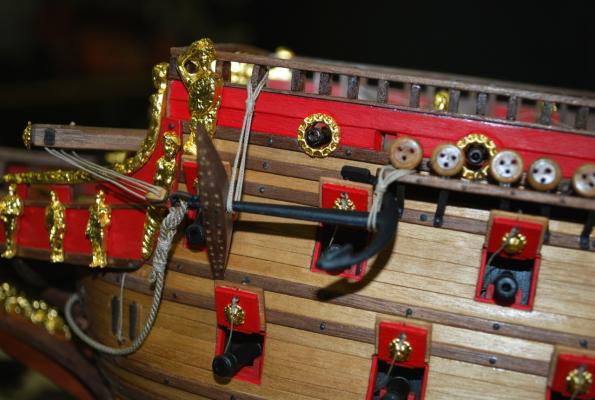
I made the 2 pulleys, that sit above the mizzen mast channels, out of walnut. I made the sheaves out of a dowel of wood and grooved the outside diameter. Pulley with sheaves pinned in place Fitted on Port Side Fitted on Starboard side Drilled hole on both side, where the rigging from the pulleys will enter the ship side Pulley and hole So, after viewing Michael's (md1400cs) fine log and the discussions about removing the pin rails, (which apparently don't belong), I now have to figure out a way to remove them without damaging the ship or the cannon! Yikes, Will not be fun! Thanks, Frank
-
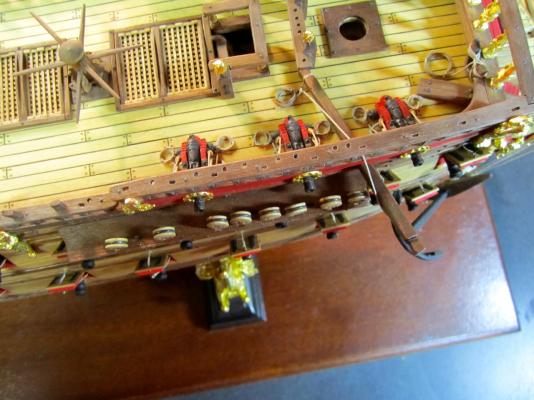
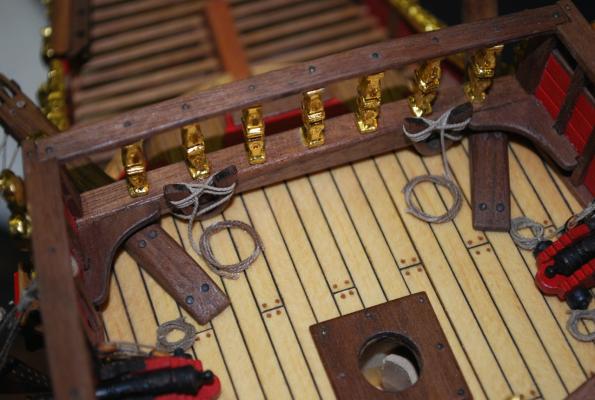
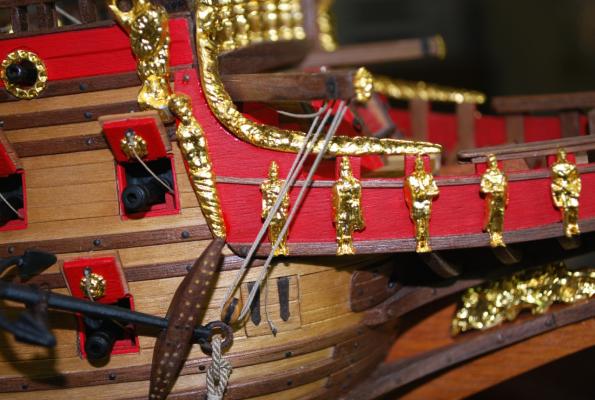
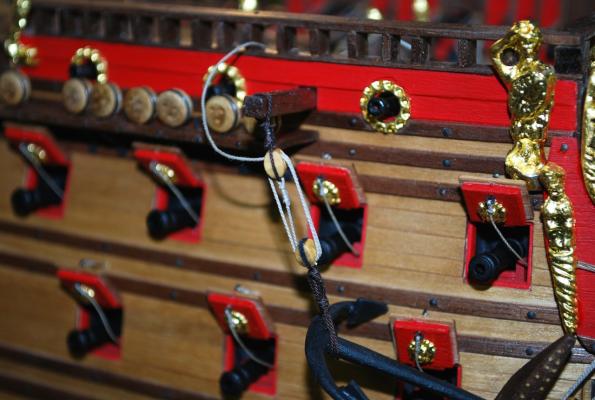
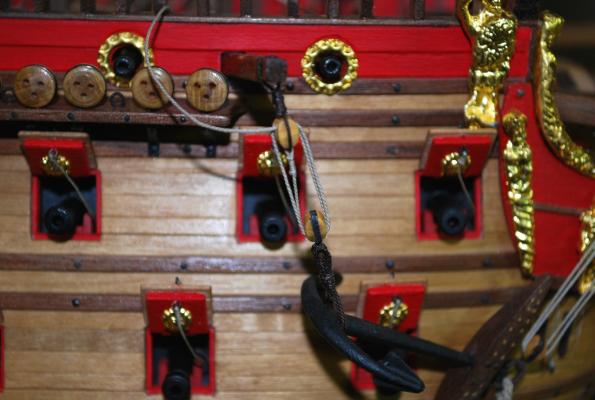
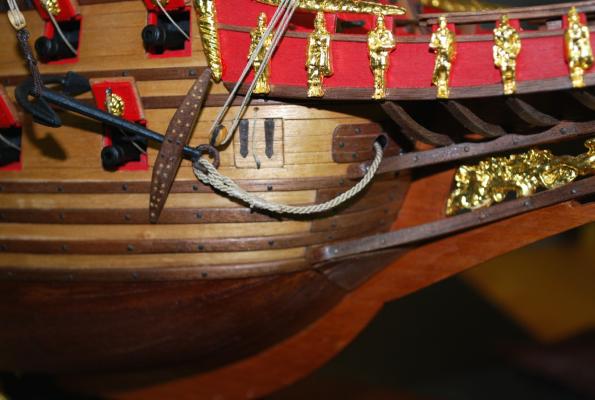
Working on the port side, trying to show the anchor in a somewhat stored position. Finished rigging the bow davit to the anchor ring and added support lines to the middle and end of the anchor. View of finished port side Coiled ropes from the bow davits terminal end Coiled line from the starboard removable davit. Now onto the large pulleys above the mizzen mast channels! Thanks, Frank
-
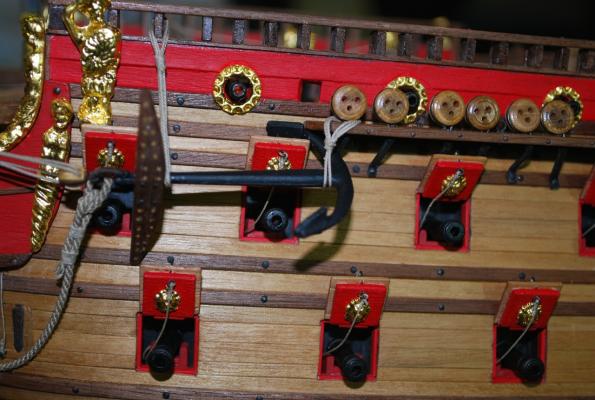
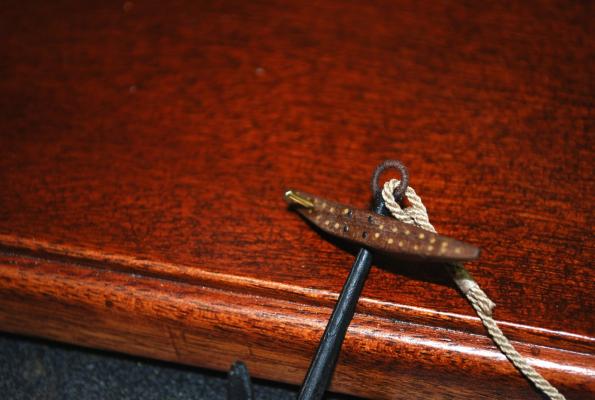
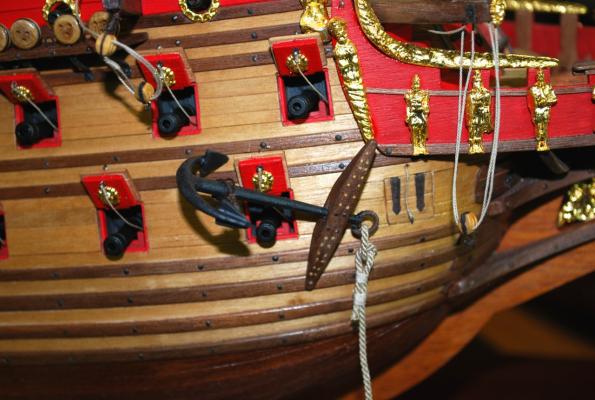
Finishing up the anchors! So, working on the starboard side, trying to show the anchor being raised. During a test fit of the anchor, I noticed that the assembly would be swinging loosely when finished, so I had to think of a way to protect and secure it without being noticed. So I drilled and pinned the backside of the stock and drilled a corresponding hole on the side of the ship. Now I pressed and glued the pin and stock into the side of the ship, holding the anchor assembly firm, without being noticeable. Rigged the block and anchor to the bow davit Rigged the other end of the anchor to the removable davit. Finished the large anchor cable
-
Great Job Karl! You are moving fast! Keep the photos coming since a lot of us are a little bit behind you in our progress. Frank
- 234 replies
About us
Modelshipworld - Advancing Ship Modeling through Research
SSL Secured
Your security is important for us so this Website is SSL-Secured
NRG Mailing Address
Nautical Research Guild
237 South Lincoln Street
Westmont IL, 60559-1917
Model Ship World ® and the MSW logo are Registered Trademarks, and belong to the Nautical Research Guild (United States Patent and Trademark Office: No. 6,929,264 & No. 6,929,274, registered Dec. 20, 2022)
Helpful Links
About the NRG
If you enjoy building ship models that are historically accurate as well as beautiful, then The Nautical Research Guild (NRG) is just right for you.
The Guild is a non-profit educational organization whose mission is to “Advance Ship Modeling Through Research”. We provide support to our members in their efforts to raise the quality of their model ships.
The Nautical Research Guild has published our world-renowned quarterly magazine, The Nautical Research Journal, since 1955. The pages of the Journal are full of articles by accomplished ship modelers who show you how they create those exquisite details on their models, and by maritime historians who show you the correct details to build. The Journal is available in both print and digital editions. Go to the NRG web site (www.thenrg.org) to download a complimentary digital copy of the Journal. The NRG also publishes plan sets, books and compilations of back issues of the Journal and the former Ships in Scale and Model Ship Builder magazines.


