-
Posts
869 -
Joined
-
Last visited
Content Type
Profiles
Forums
Gallery
Events
Everything posted by fmodajr
-
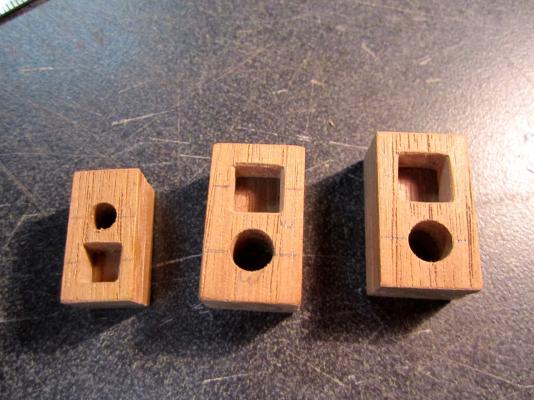
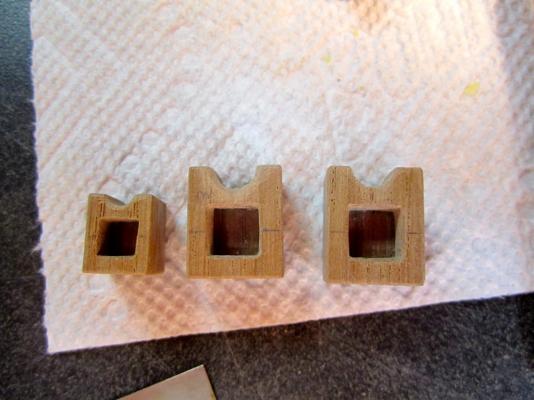
I forgot to mention in my last post, that I am not using the blocks that came with the Corel kit. I am using blocks made by Warner Woods. I really like them a lot and when I received them, I just applied a little stain to darken them up a little. Thanks, Frank
-
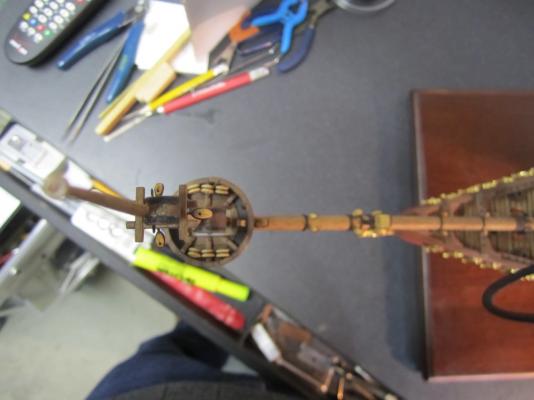
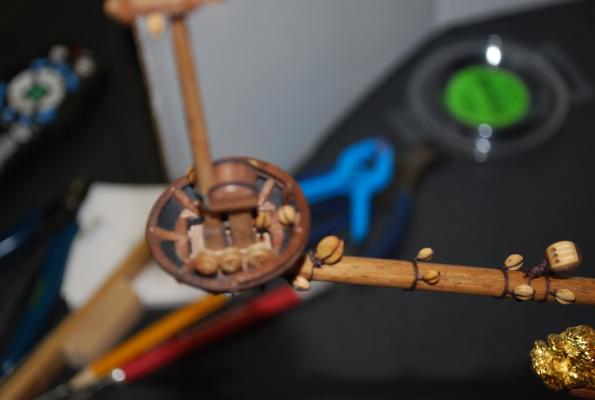
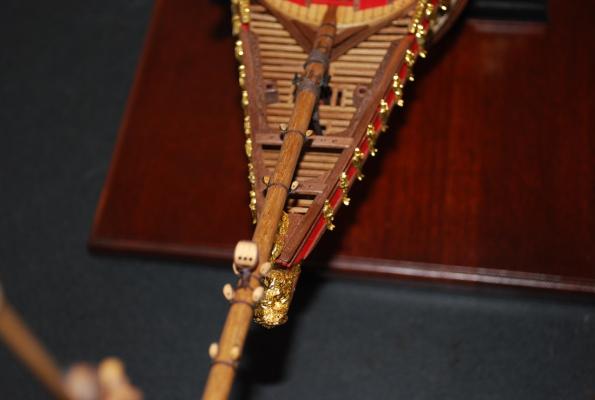
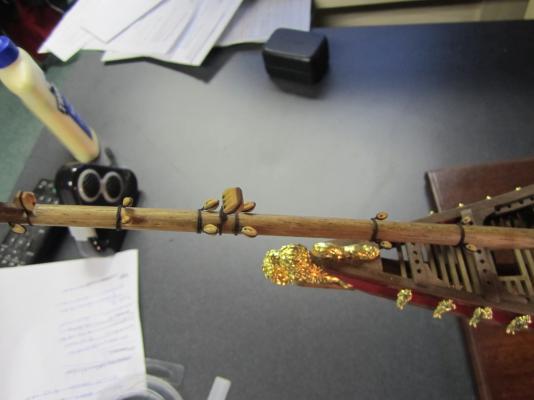
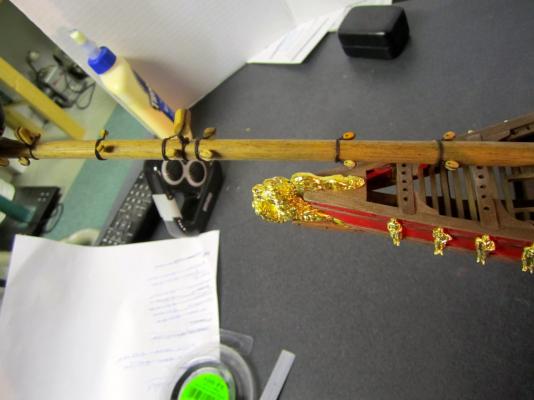
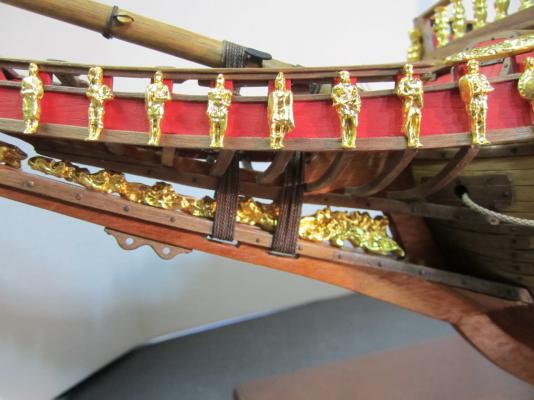
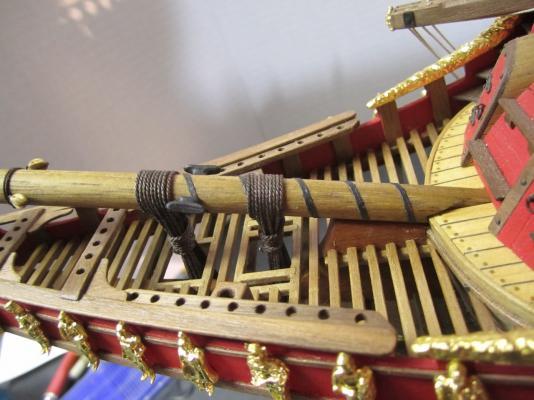
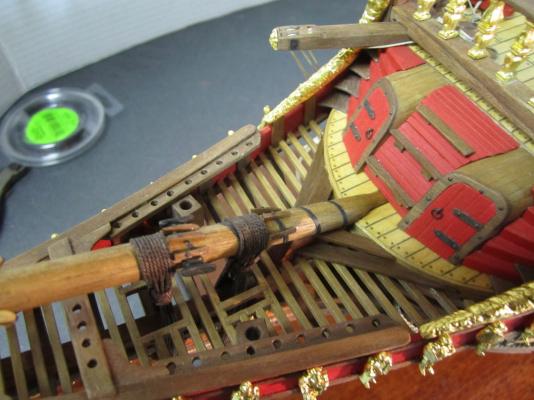
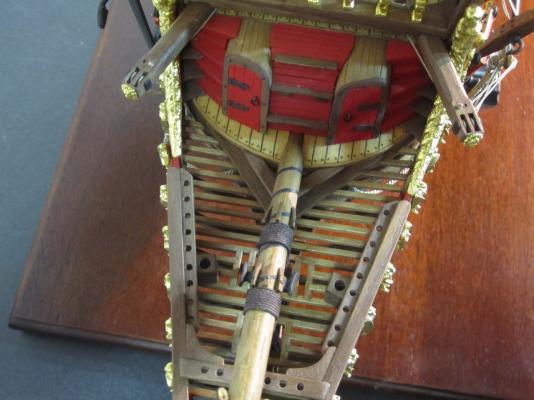
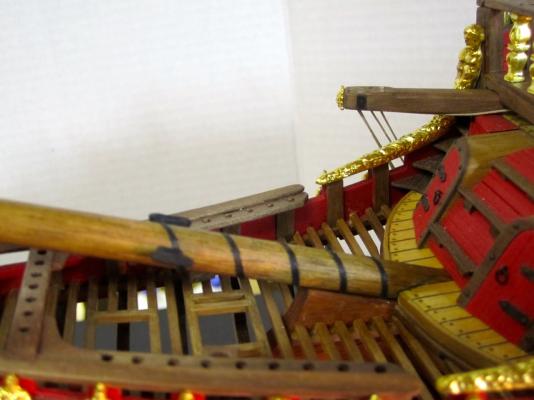
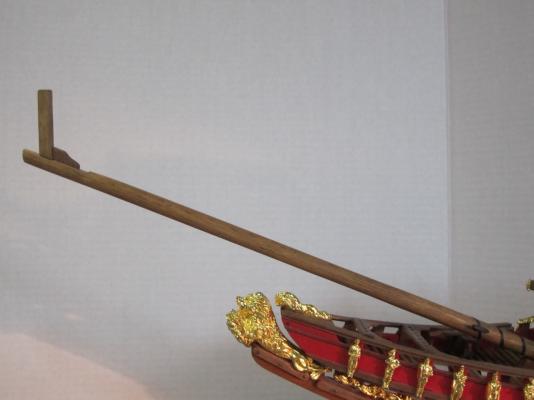
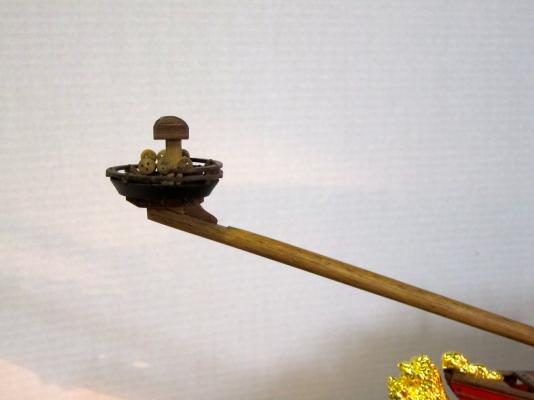
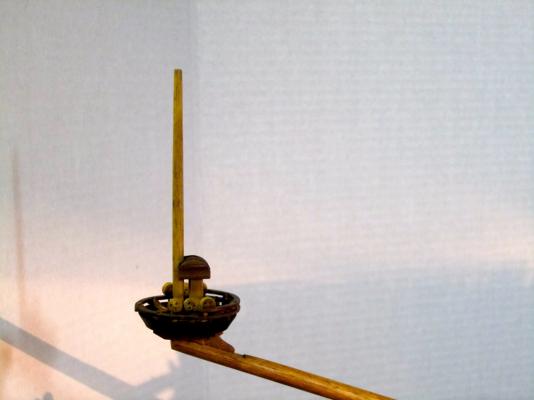
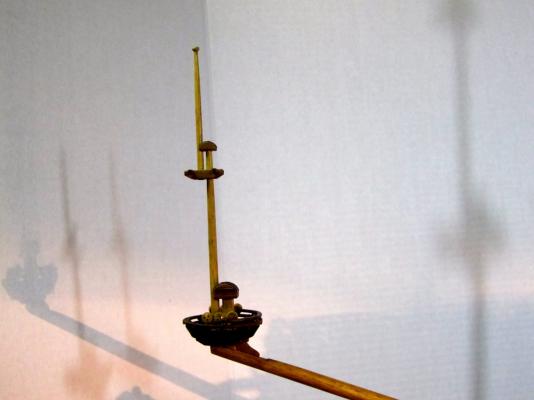
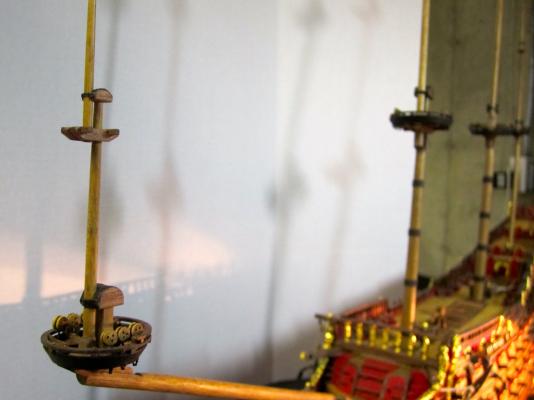
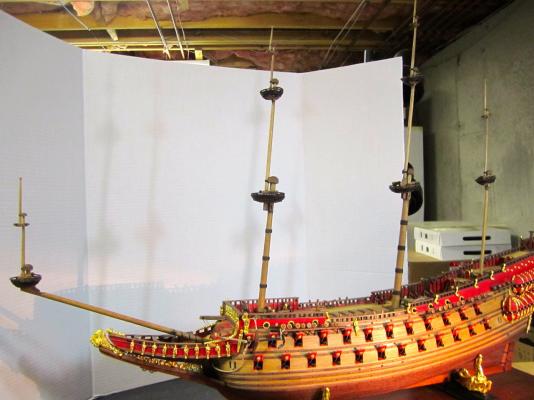
Hello, Thanks for all the likes and comments! So, another snowstorm in Boston tonight! I am hunkering down and I thought it would be a good time to post some more picts before we lose power! I continued work on the bowsprit by adding blocks and eyelets for future rigging. I am using the Corel plans, but modifying it with the plans from the Vasa Museum (along with visuals from Karl's great log on his Vasa). The museum plans and Karl's work show the rigging with the sails. Since I plan to use a combination of furled sails and a couple of sails fully open, I added more blocks onto the bowsprit than what the Corel plans show. I now positioned and glued the bowsprit to the ship. Then I added the rigging to tie down the bowsprit. I previously added the cleats to the bowsprit and I mistakenly added them a little too close to where the lashings are suppose to be, but I think they will be fine and I will be able to work around them! Then I added the supports for the lashings and the stairs. My next step is to add the blocks and eyelets to the 3 masts and fit the masts to the ship. Thanks Frank
-
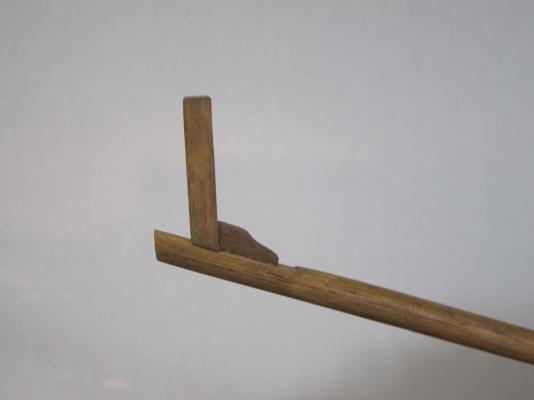
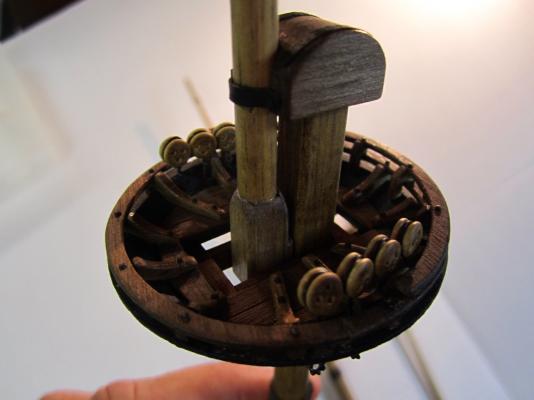
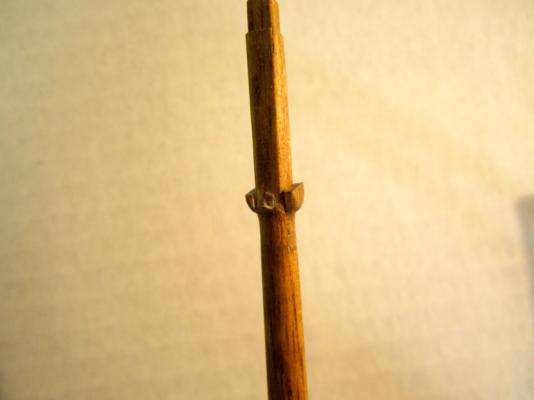
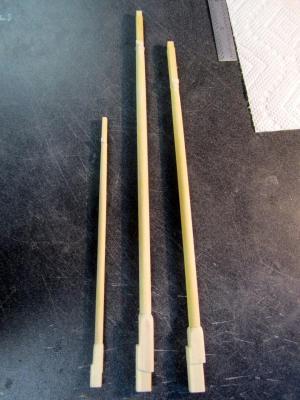
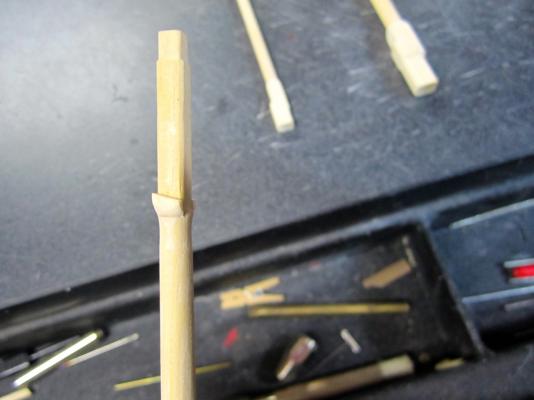
Hello! I finished up some work on the bowsprit. I notched out the top of the bowsprit dowel and attached the posts. After staining, I added the metal strip and cleats. I will add the steps on both sides of the bowsprit and the wood support for the lashings after the bowsprit is glued and the lashing rigging completed. The platform and cap mounted onto the bowsprit. Adding the upper mast sections. Metal straps added to the mast and caps My next step is to add all the blocks and eyelets to the masts and bowsprit and then glue the masts to the ship. Thanks, Frank
-
Hello Henry, When I was making the tops, I wondered the same thing. The plans show about a 15 degree angle between the mainmast and top. However, the mainmast itself is raked back somewhat. Still, I agree, it does not seem "safe". I found this statement from Landstrom's book on the Vasa: "No detail of the Vasa, not even her rich embellishment, has caused so much surprise among ship historians as the after rake of her mainmast and the angle formed between her mainmast top and the mast itself. But these are well founded, for the mast-holes in all the decks and the mast-steps have been well preserved." Thanks for visiting! Frank
-
Hi Janos, I hope all is well. The only book I have is "Vasa I: The Archaeology of a Swedish Warship of 1628". It has about 7 or 8 black and white pictures of some of the figurines up close, but I don't know if this is enough for you. Hopefully some other Vasa builders will have some other book suggestions for you. Thanks, Frank
-
Hi Mark, Nice to hear from you! I used a walnut stain and then put a coat of a satin polyurethane on afterwards. Quick question for you: The Corel plans show the lower platform of the mizzenmast slightly higher than the lower platform for the mainmast. On the Vasa museum plans (Fred Hocker's plan's from the 1980's) shows the mizzenmast platform slightly lower than the mainmast. Any thoughts? Right now my mizzen mast is slightly higher, but would be easy to lower. Thanks, Frank
-
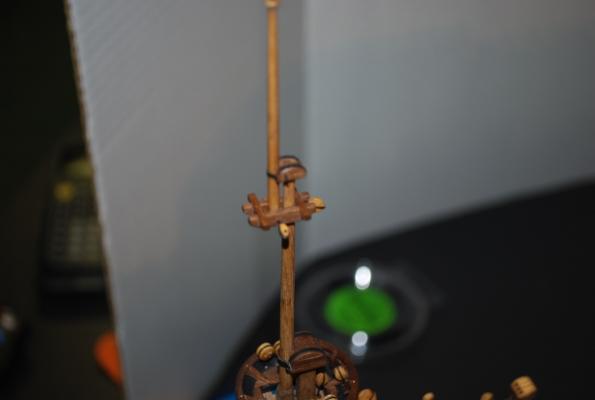
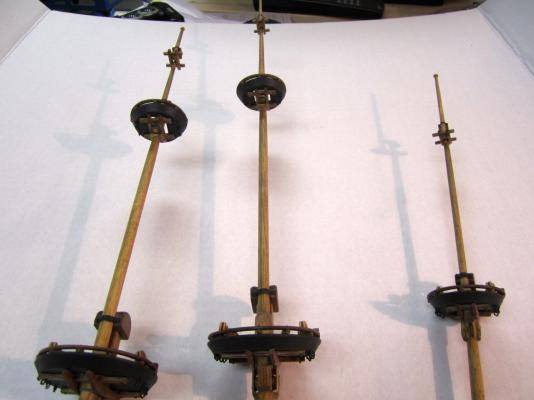
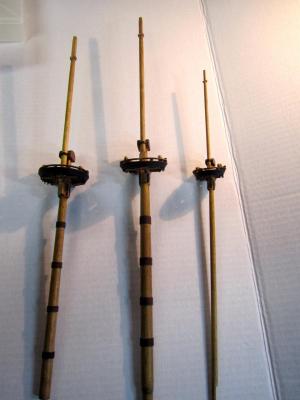
Hello! Thanks for all the "Like" clicks! I had a few minutes (in-between shoveling out from 2 large snow storms) to finish up the upper sections of the 3 masts. So now I will set them aside and begin work on the bowsprit assembly. After I am finished the bowsprit, I have to figure out and install the blocks on the masts and bowsprit before I mount them. Thanks, Frank
-
Karl, Very nice work! You seem to be near the end. What project (if any) are you thinking about next? Frank
- 234 replies
-
Hi Andy, Welcome! Do you have any more picts of your ship? The couple I see are very nice! Is it a kit model your building? Frank
-
Hi George, Thanks for your kind comments. Your more than welcome to follow along. There are a few other fantastic active Vasa logs at this site to give you a different perspective! Thanks, Frank
-
Hello Edwin, Too Funny!! Thanks for your comments I started model ship building back in 1998 (after a 15 year hiatus in order to raise a couple of kids). I have slowly built up my collection of tools over the last 17 years. Yes, it can get expensive! I try to treat myself with something new once a year. Hey, I could be spending my money on Golf Club memberships instead! This hobby is more fun! Thanks, Frank
-
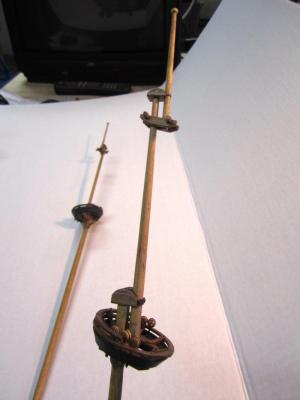
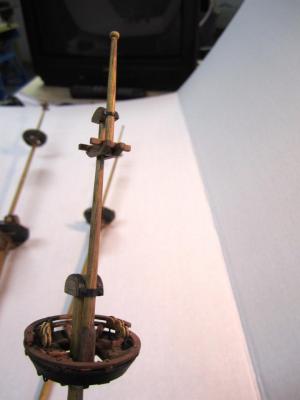
Photos of the mast caps mounted on the tops of the lower masts. Photos of the mid sections mounted onto the lower sections and mast caps. Metal brace attached to the mast and mast caps. I almost forgot! I drilled a hole thru the top of the mid section masts for the future rigging of the yards. Now onto the upper sections of the masts. I did not realize that they would end up this tall! Thanks, Frank
-
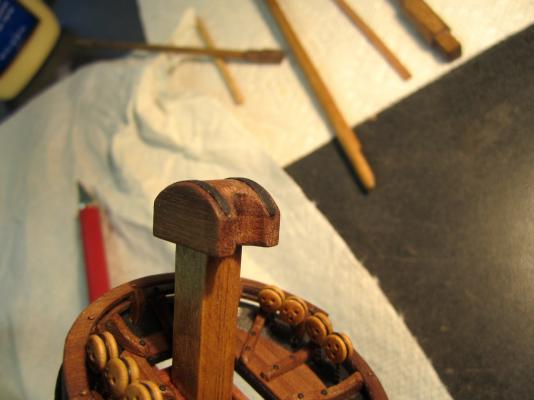
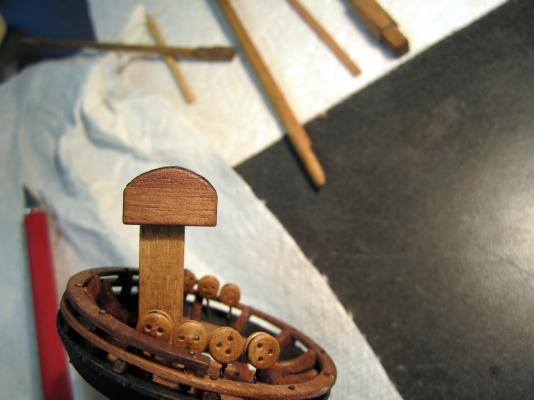
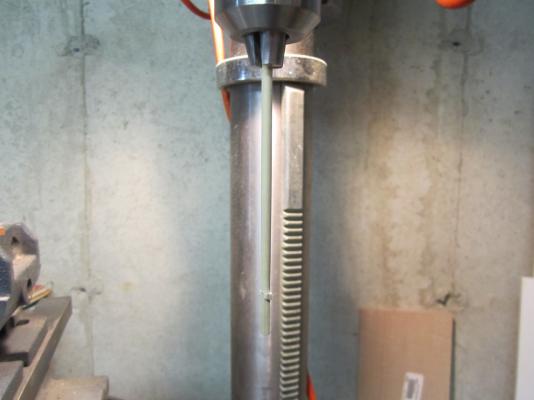
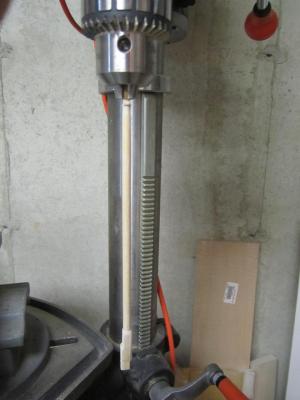
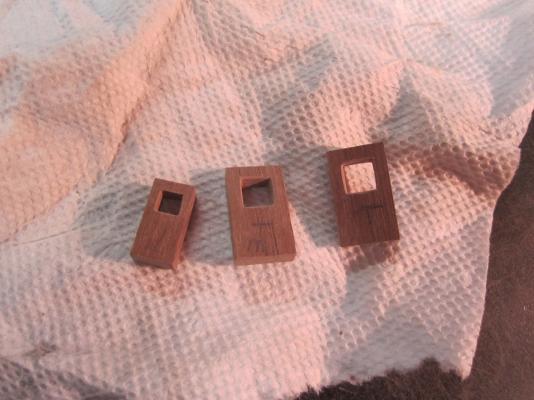
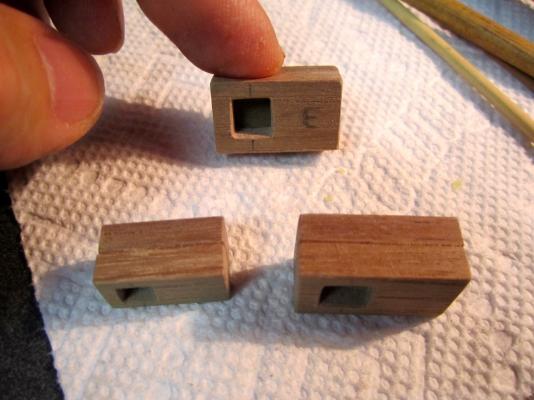
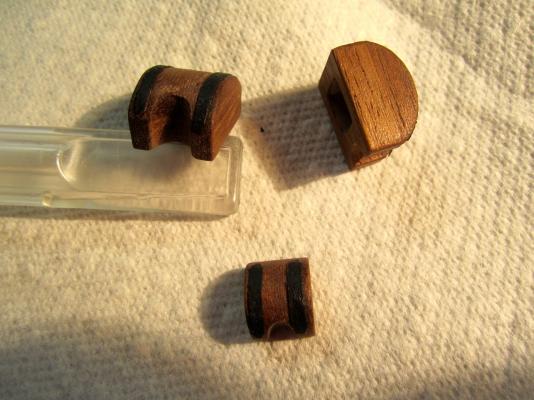
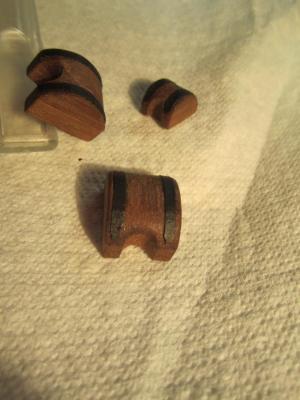
Hello, Thanks again for all the likes! I know I am repeating myself, but I really appreciate it. Thanks for visiting. I am now working on the mid section of the 3 masts. I don't have a lathe, so here is how I tapered the mast sections, using my drill press. Shaped mid section pieces, ready for staining. I decided to remake the mast caps from scratch. I did not like the ones that came with the kit. Also, I wanted to keep the wood consistent by using walnut. I squared up some walnut and drilled and squared the middle to fit the lower mast tops. Now I glued a second piece on top of the lower piece above. The next step was to measure the mid section mast dia's at the point where they would meet the mast caps. Then I drilled the holes thru both sections of the mast caps. Now I cut the mast caps thru the center of the holes drilled above Photos of finish mast caps shaped, rounded, stained and with metal fittings applied.
-
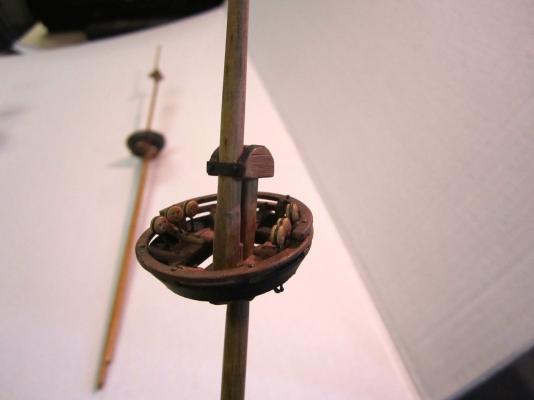
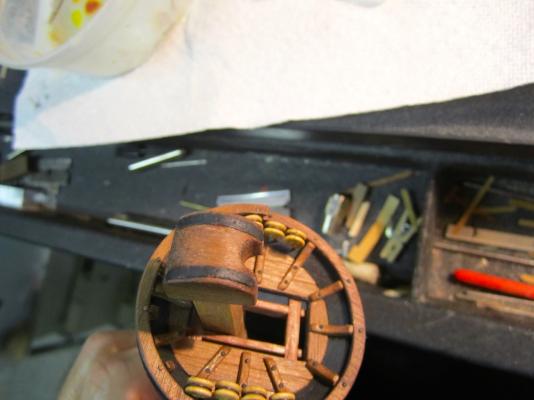
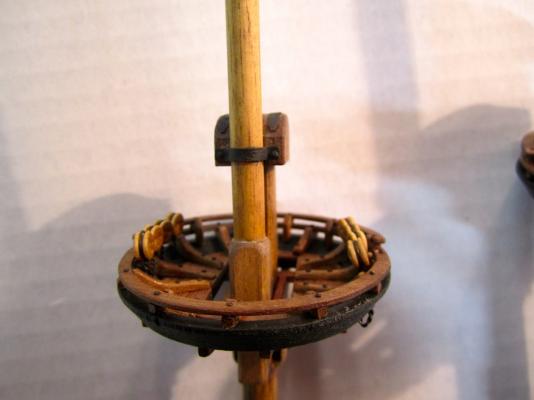
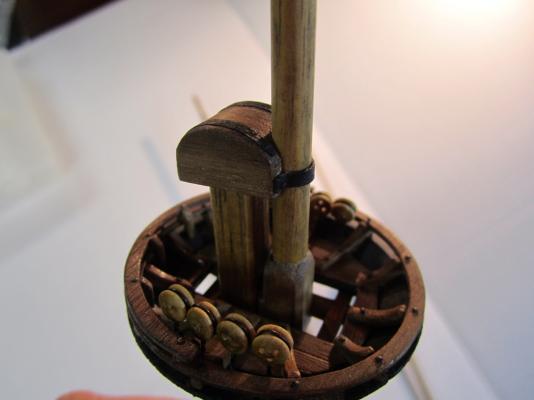
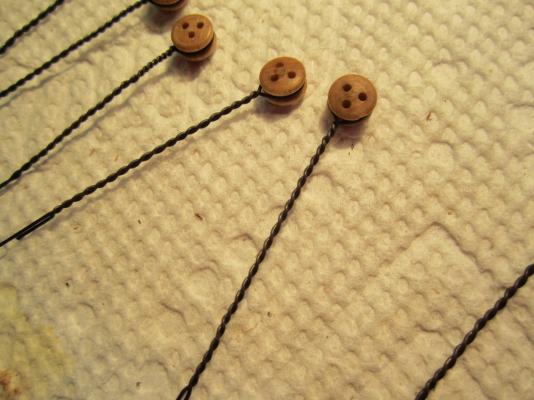
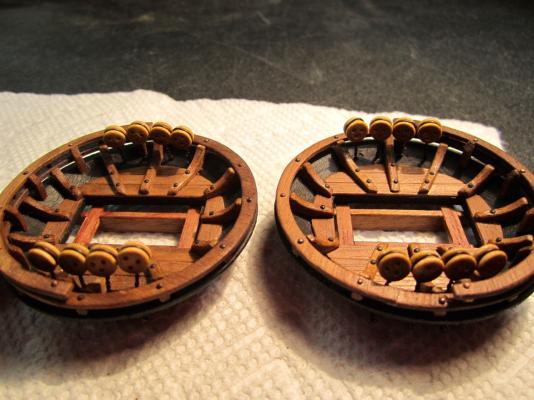
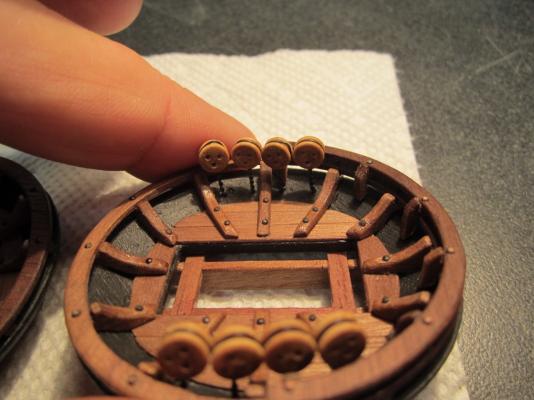
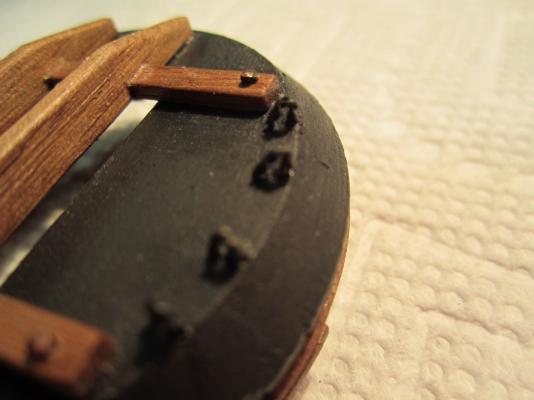
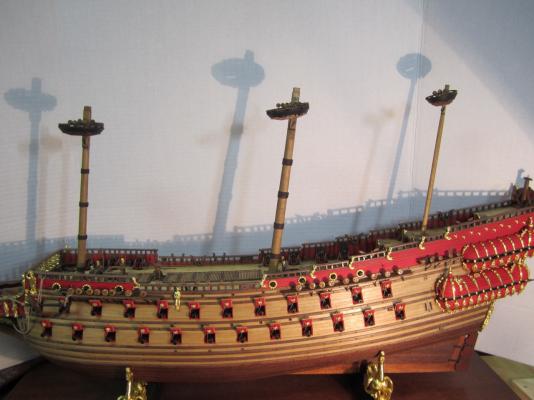
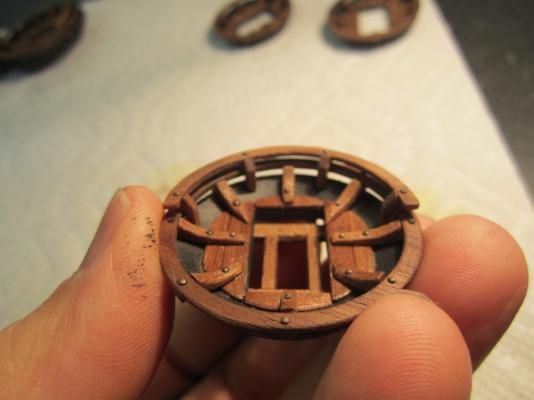
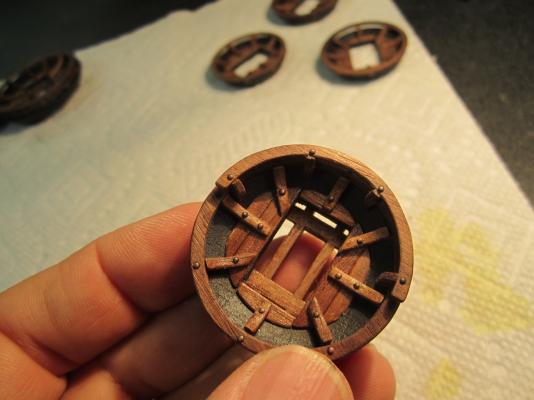
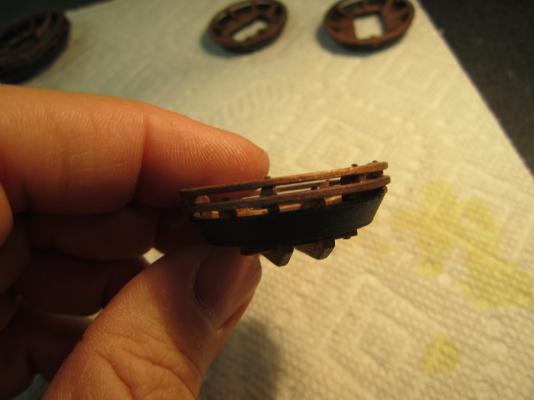
Thanks again everyone for the likes! Karl and Michael, Thanks you for your comments! It is appreciated. I finished up the last steps to the platform and mounted them to the masts. I am glad this step is over! I used 28 gage black wire and twisted them around the deadeyes Then I drill the correct size holes thru the platforms and inserted the deadeyes. From underneath the platform, I cut the excess wire and formed a loop. (I will later pass the rigging for the shrouds thru the eyes) Now I fitted and glued the platforms to the 3 lower masts Test fitted the masts onto the ship Now I will be moving onto the mid and upper mast pieces. Thanks, Frank
-
Karl, Fantastic update to your log. I love the look and the job you have done with your rigging and sails. Looking at the pictures is getting me excited about starting the rigging and sail making on my ship soon. Frank
- 234 replies
-
Hi Michael, Thanks for your remarks above, but as you know, it works both ways. I have also picked up many great ideas following your excellent log! Frank P.S. Tomorrow night into Thursday morning is supposed to be the coldest weather that we've had in 4 years. Perrrrrrfect!!
-
Congratulations on your beautiful model! Like Jan above, I did not realize you would stop after the lower masts, so I will miss continuing to follow your progress! Superb work and glad to hear that a case is in the works to keep her safe! Frank
-
Hello Edwin! Thank you so much for your thoughts. Yes, I agree that the workmanship quality of the other Vasa builders has been an inspiration for me to improve the quality of my ship model! Thanks again, Frank
-
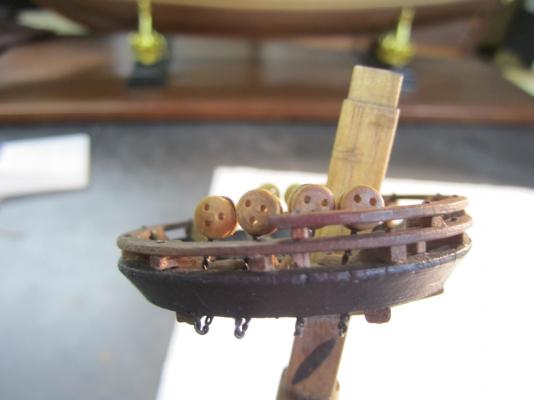
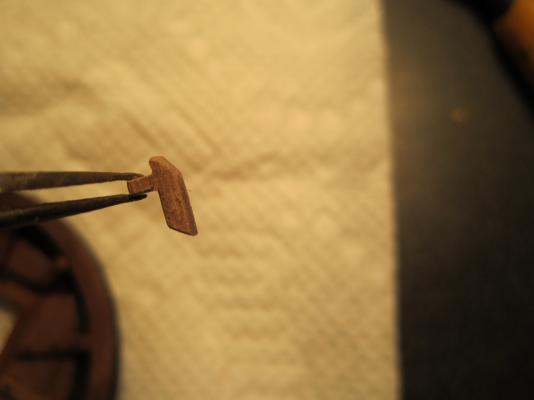
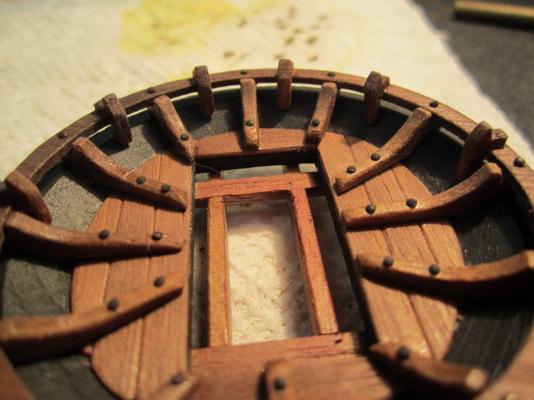
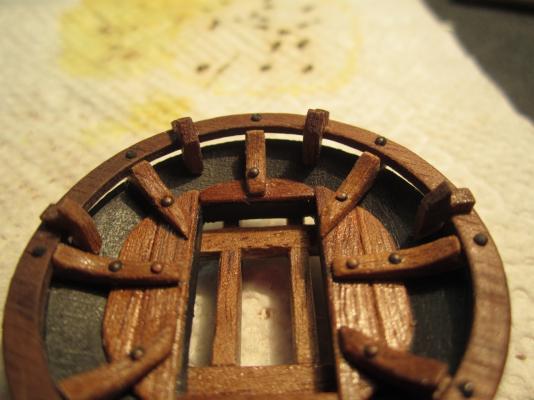
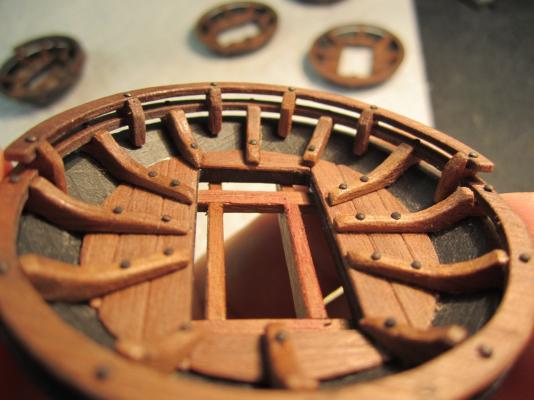
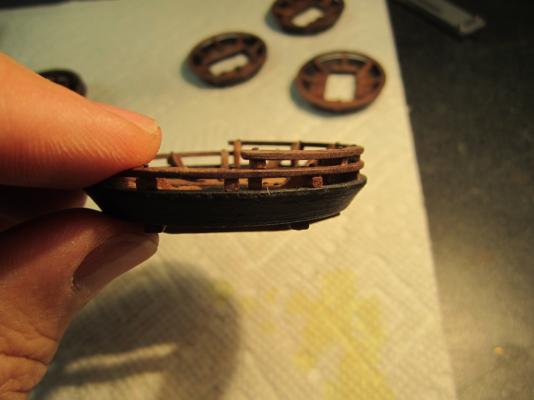
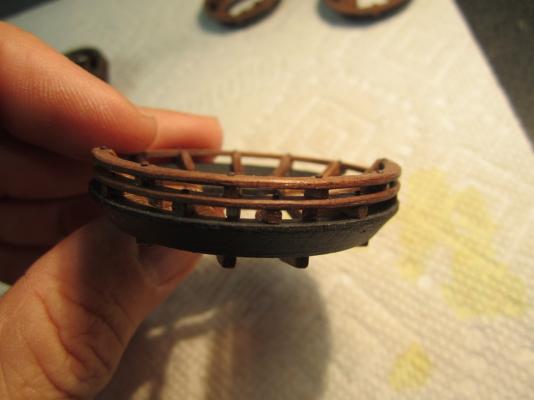
Michael and Mark, Thanks for your kind comments. It is appreciated! I finished the work on the upper railing for the platforms. These platforms have taken me way longer than I had anticipated. Hopefully they look a little bit more like the real thing than those metal pieces that came with the Corel kit! This is a photo of a completed post for the upper half railing Six posts glued onto the larger platforms Four posts glued onto the smaller platforms Photos of the upper railing glued and nailed into place on the large platforms! Photos of the upper railing on the smaller platforms So, I have only 1 step left before I mount these platforms onto the masts. I have to position and attach the deadeyes on the platforms. I think it will be easier to drill out the holes and position them before I attach the platforms to the mast. Hopefully I will be starting the upper masts sections real soon. Thanks, Frank
-
Mark, Great work on the bow section! Yes those galleries are a pain. I think you and Nigel got it right in that there should be more of a taper to the side of the hull. I barely got my Rear tower on the lower gallery to fit under the upper gallery. Keep the photos coming! Happy New Year. Frank
-
Hello Michael, Happy New Year! Glad to see that you were able to salvage that broken piece. I almost had that happen to me! I was going to add a comment about maybe getting the gun port lids on first, but I see from the pictures that you have the hinges predrilled and ready to go. Good thinking! Have fun with the other side! Great job, Frank
About us
Modelshipworld - Advancing Ship Modeling through Research
SSL Secured
Your security is important for us so this Website is SSL-Secured
NRG Mailing Address
Nautical Research Guild
237 South Lincoln Street
Westmont IL, 60559-1917
Model Ship World ® and the MSW logo are Registered Trademarks, and belong to the Nautical Research Guild (United States Patent and Trademark Office: No. 6,929,264 & No. 6,929,274, registered Dec. 20, 2022)
Helpful Links
About the NRG
If you enjoy building ship models that are historically accurate as well as beautiful, then The Nautical Research Guild (NRG) is just right for you.
The Guild is a non-profit educational organization whose mission is to “Advance Ship Modeling Through Research”. We provide support to our members in their efforts to raise the quality of their model ships.
The Nautical Research Guild has published our world-renowned quarterly magazine, The Nautical Research Journal, since 1955. The pages of the Journal are full of articles by accomplished ship modelers who show you how they create those exquisite details on their models, and by maritime historians who show you the correct details to build. The Journal is available in both print and digital editions. Go to the NRG web site (www.thenrg.org) to download a complimentary digital copy of the Journal. The NRG also publishes plan sets, books and compilations of back issues of the Journal and the former Ships in Scale and Model Ship Builder magazines.


