HOLIDAY DONATION DRIVE - SUPPORT MSW - DO YOUR PART TO KEEP THIS GREAT FORUM GOING! (Only 20 donations so far - C'mon guys!)
×


Ulises Victoria
-
Posts
1,790 -
Joined
-
Last visited
Content Type
Profiles
Forums
Gallery
Events
Everything posted by Ulises Victoria
-
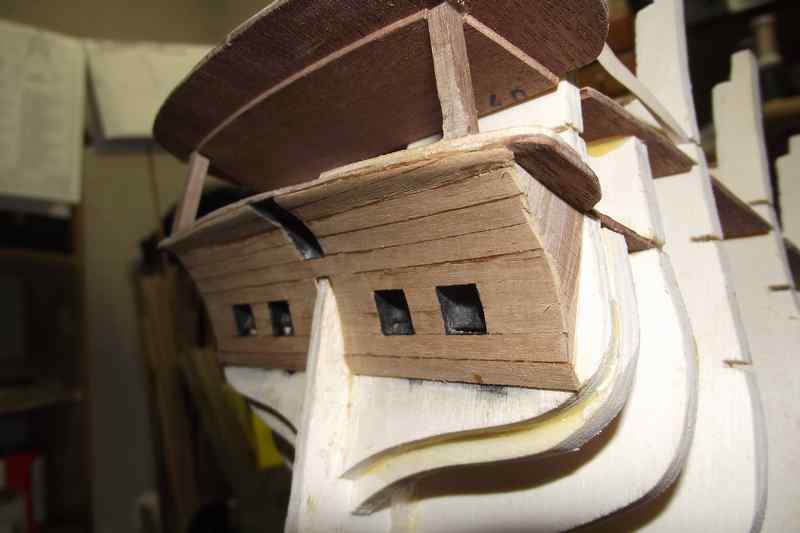
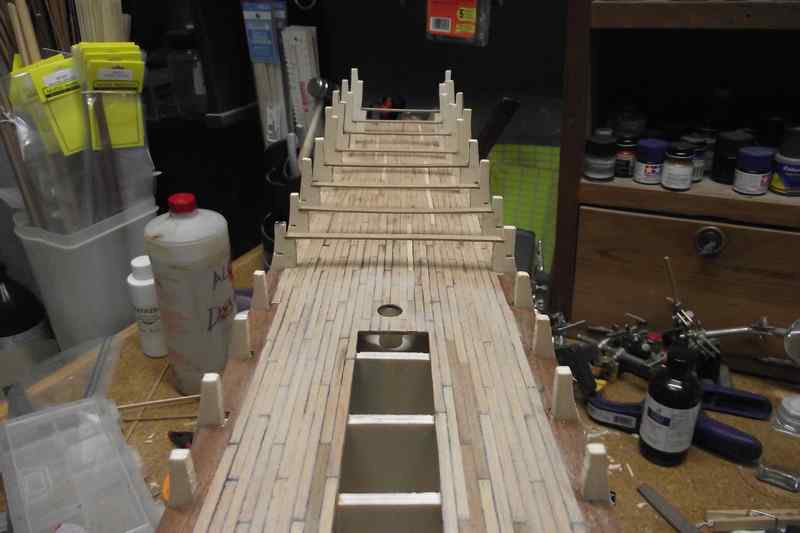
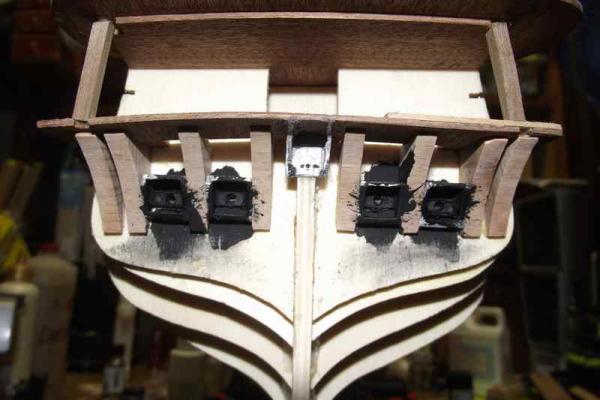
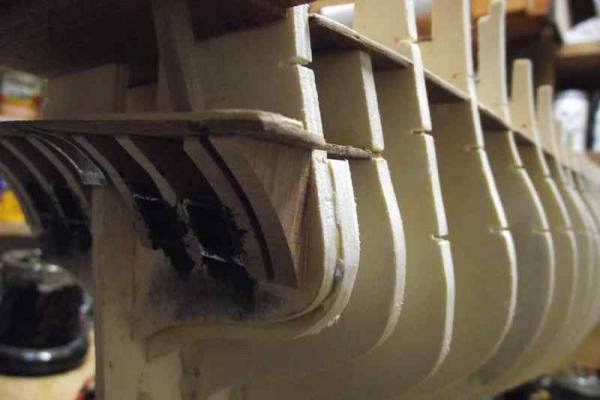
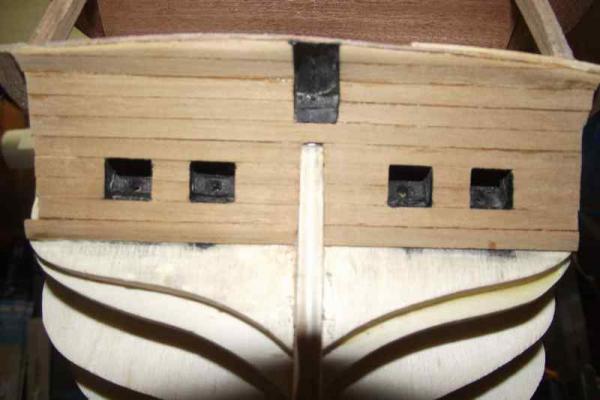
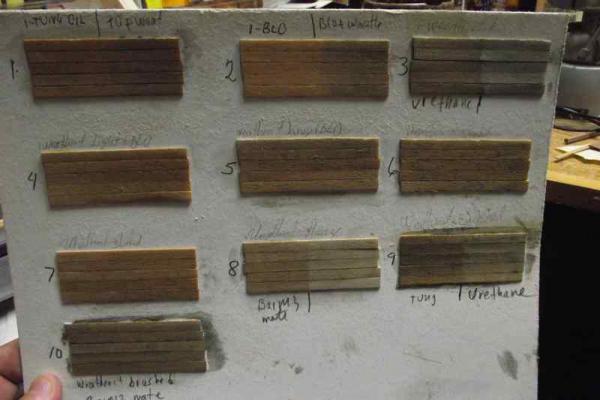
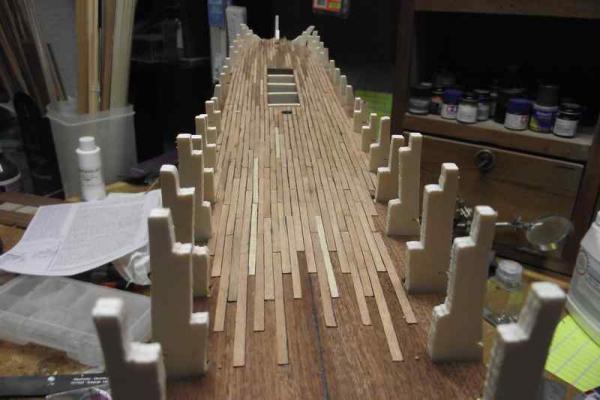
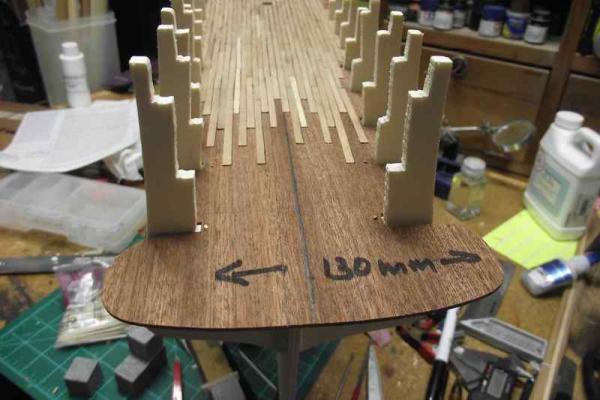
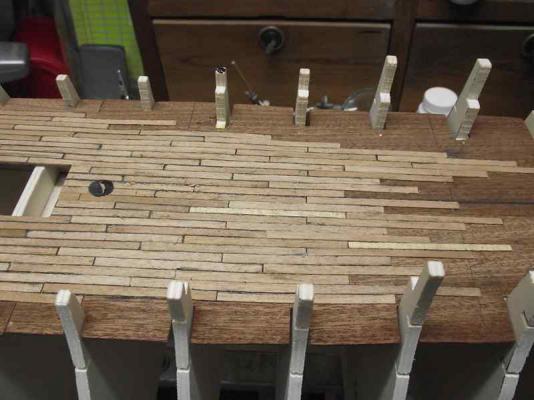
 Small update. May 23 2014. Transom work in progress. It took me a long time to finally decide how to do this area. The plans show the 4 per side wood curved supports to be equally separated, but there was no way you could fit the metallic gunport frames and have the same distance between each 4 at each side. So I glued the supports after measuring that the metallic gunports were even. I then carved them down flush with the supports and lastly proceeded to plank. This is not finished yet, just lightly sanded. View of deck First steps in transom. . Rudder and rear gunport frames glued and shaped.You will see a bit of wood had to be added to make the height of the columns equal Planking Remember this is not finished yet This is where I tested different finishes and treatments to help me decide what I'm going to do with the decks. Thanks for watching
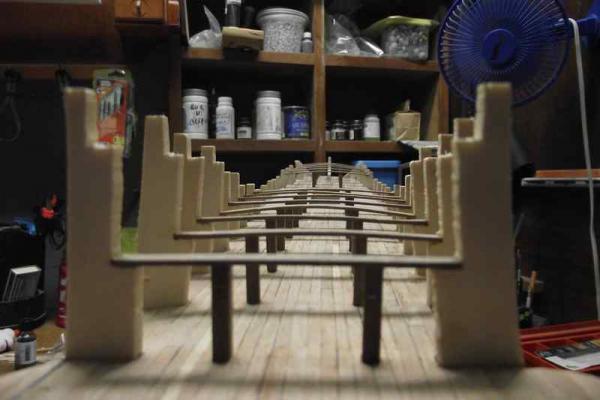

- 786 replies
-
- 17
-

-
- Royal Louis
- Finished
- (and 1 more)
-
I'm asking who built the ship. I'm pretty sure the kit is Mamoli's, as that is my present build, so I was trying to contact whoever built the ship in a very dim hope that he may be a member of this forum.
-
Ah... I see your point and what JP meant. Thank you my friend.
- 786 replies
-
- 1
-
-
- Royal Louis
- Finished
- (and 1 more)
-
Thank you JP. (I guess you did mean Vasa, not Victory?) In fact, I wonder if back then, using only hand tools, planks were even cut perfectly straight or masts perfectly round. My guess is that a bit of imperfection would render a model of ships of those years more realistic? Cheers
- 786 replies
-
- 1
-
-
- Royal Louis
- Finished
- (and 1 more)
-
Arthur! How nice to see you my friend. Thank you for your kind words. Yes, size will be an issue once the bowsprit is fitted, but I will find a way around. About the planking... the main problem was that because of the large central opening in the deck, I was not able to lay a continuous central plank line all the way from end to end. I thought that wouldn't matter, but in the end it did. No big deal here as most of those decks will be covered later. I just saw your Vanguard build, and it's truly impressive! Cheers!
- 786 replies
-
- 1
-
-
- Royal Louis
- Finished
- (and 1 more)
-
Nice job, José. It's nice to see how you are progressing. Congratulations.
-
What glue to use?
Ulises Victoria replied to rshousha's topic in Painting, finishing and weathering products and techniques
I try to avoid CA as much as possible. For wood to wood I use Titebond Wood Glue and can not be any happier with it. For gluing dissimilar materials, like metal to wood, I use a glue called Repair Extreme, but I would use without hesitation, 5 min. epoxy if that was unavailable. I use a minidrop of full strength white glue for my knots. -
Thank you Anja! That is precisely the site where I downloaded those photos. I will contact them. Thanks again.
-
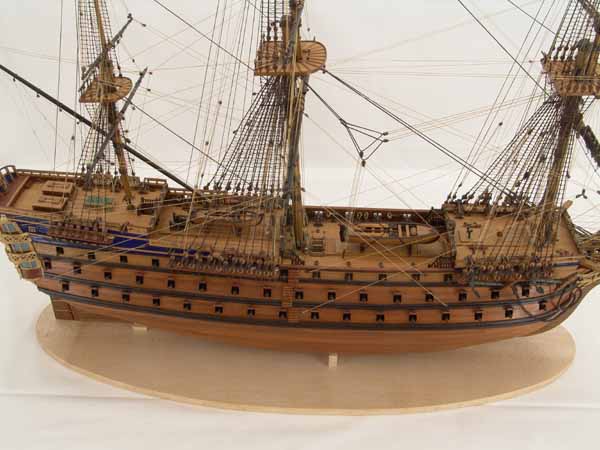
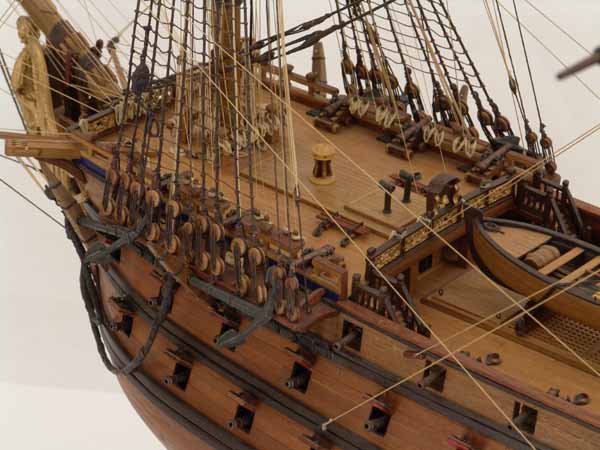
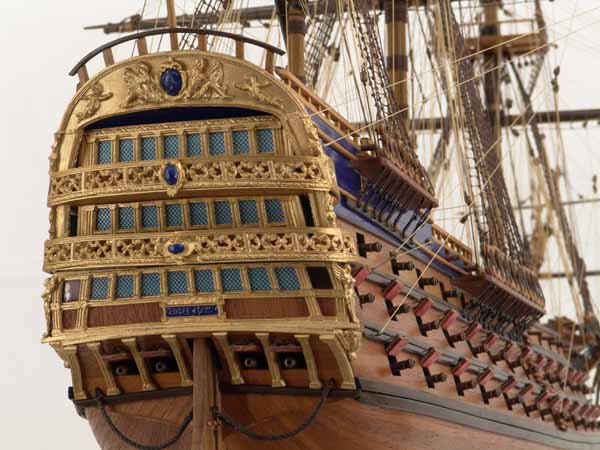
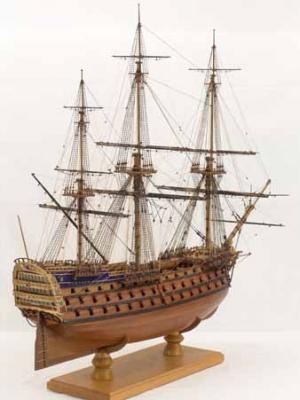
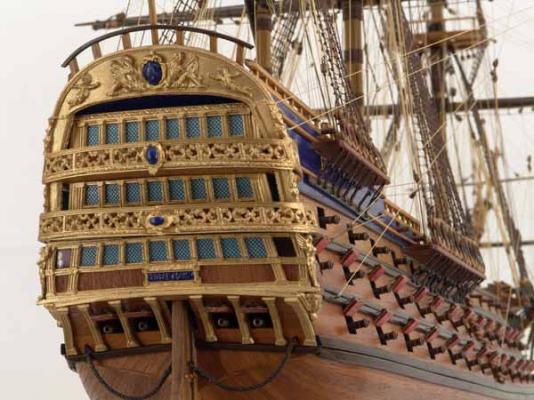
I don't think so. I have 25 photos of the same model that I downloaded from some site, but no mention of the modeler whatsoever. The Mamoli photo is in my Avatar.
-
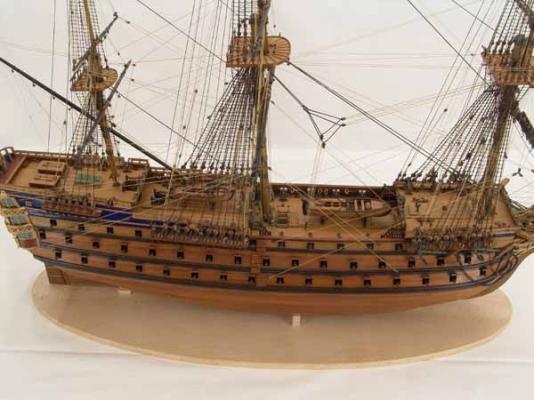
It's a long shot, but does anyone knows by any chance who built this Royal Louis?

-
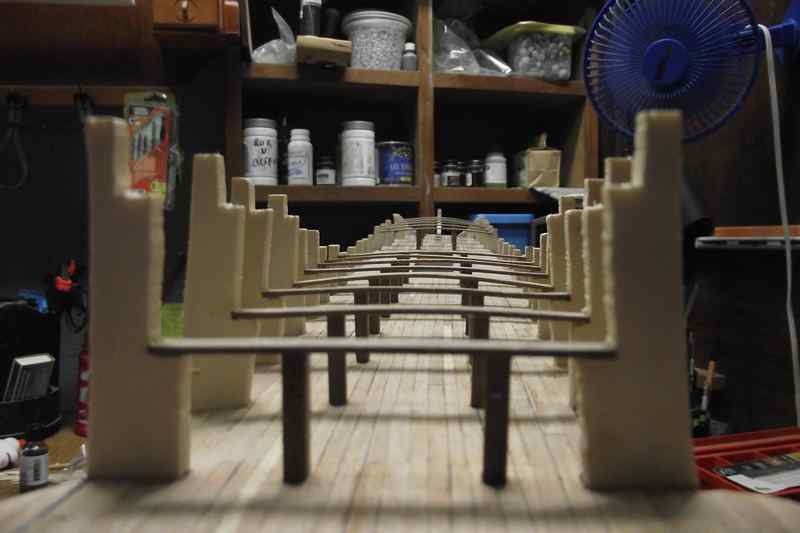
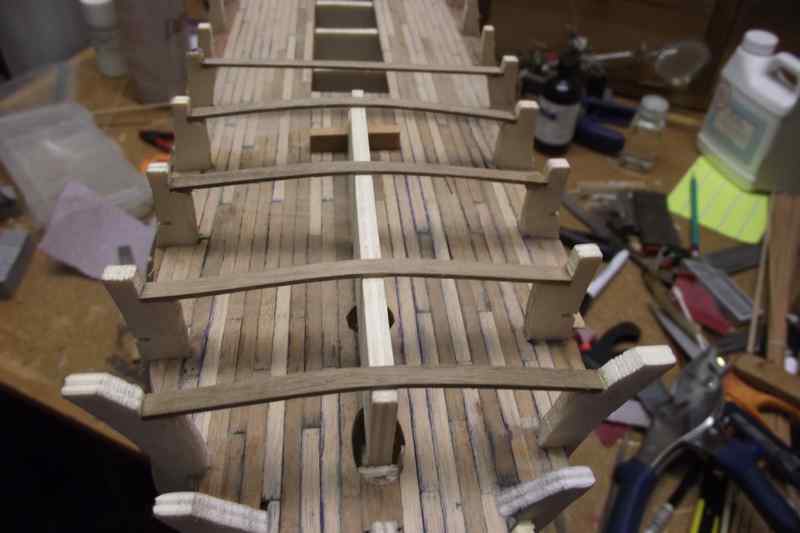
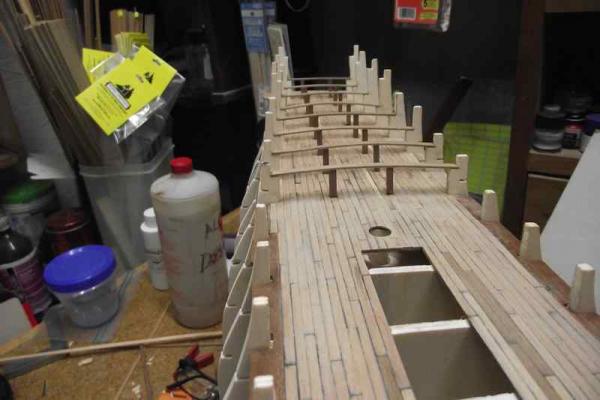
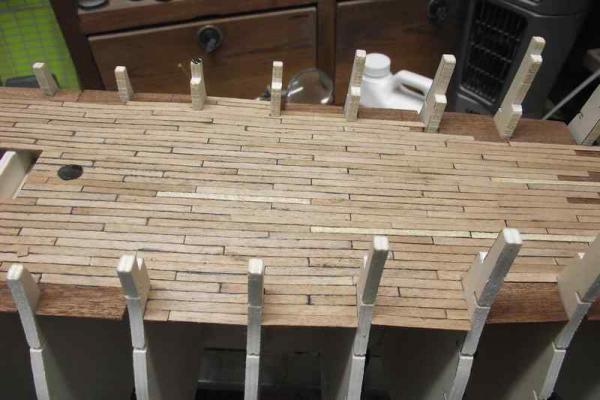
A few more photos. I must say and confess that I am not 100% happy with my results so far. I just realized I am rushing things and I'm making some mistakes. So starting today I will slow down and do things more carefully. First mistake: I placed those horizontal beams before sanding the deck. Huuuuge mistake. Nothing really bad happened, only more a more difficult and time consuming job. Fitting of a piece of wood to form the curvature of the beams that later will make the deck curve. Once the columns are glued, the piece of wood is removed and the curve remains. Fitting of false deck slots against bulkheads is awful.


- 786 replies
-
- 11
-
-
- Royal Louis
- Finished
- (and 1 more)
-
dry brushing
Ulises Victoria replied to stevetuck56's topic in Painting, finishing and weathering products and techniques
One effect I just love doing with the dry brush technique, is dry brushing just a micro dab of silver over golden parts. It gives an outstanding look to the gold. Try it! -
CA is Cyanoacrilate. Also known as superglue, crazy glue and some other names. It's a general use glue, which I don't like, but that's only my opinion. Not sure what brands would be available in your country. Wood glue is a specifically designed glue to bond wood to wood. Known brands are Titebond (my favorite), Elmer's and others .This is called a PVA glue. Is thicker than CA, more like cream consistency and generally yellowish in color.
-
Rope-thread? - moved by moderator
Ulises Victoria replied to jabef's topic in Masting, rigging and sails
Hello Jabe. You will get many different responses here. I just use Gütterman 100% Polyester threads to make my ropes. I'm happy with the results. Other's opinions may vary. Cheers! -
unimat 6 in i tool
Ulises Victoria replied to grizzler22's topic in Modeling tools and Workshop Equipment
I have heard is more like a toy. -
Raj: I am sorry I can not answer your question properly, since I am not familiar with either kit. I advise you on the Phantom based on what I see in the web page. Hopefully someone who knows the kits better can send you a better advise.
-
Hell Raj, and See if this can help you. http://www.modelexpo-online.com/Begin_Modeling.asp The Phantom kit is a good one to start, and you can download a practicum for it. A practicum is a step by step instruction that takes you by the hand and guides you through completion. Besides it's designed by Chuck Passaro, who is admin here.
-
It's one of those "Why didn't I think of that" sort of things. Excellent work as usual....
-
El Arte del Modelismo Naval----B. Frolich Ship Building simplified----- F.Mastini Modelos de Arsenal del Museo Naval. A collection of the models in the Naval Museum of Madrid, Spain.
-
There is a Gorilla Wood Glue that does not expand and is just like Titebond or similar glues. I would like to hear some one who has an opinion about Titebond vs. Gorilla Wood glue. Retaking the initial thread...why bother with hot pots and odors and mixing other stuff when Titebond does a so good job? Our ships are not subject to the tensions of say a chair, a bed frame or other heavy furniture. My opinion is that using furniture glues in a model ship is overkill and extra unnecessary work. BTW, I had to remove a couple of planks glued with Titebond. I had to scrape them with a chisel, and brought with them some of the wood underneath. Just my 2 cents.
-
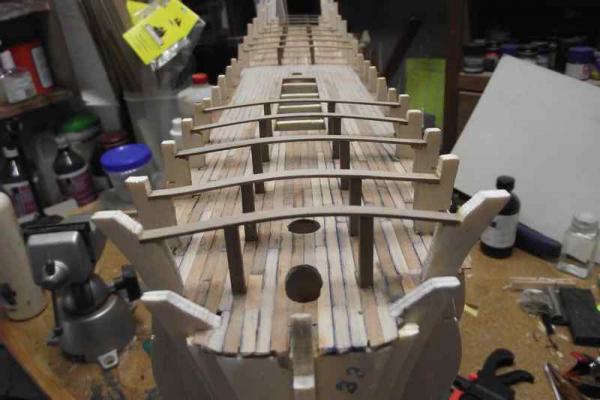
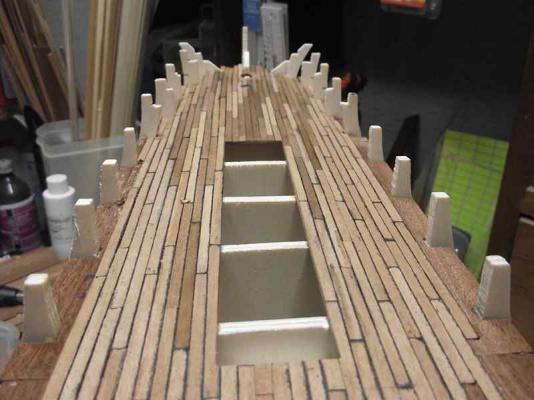
demonborger. I finally understood what they mean. They say do not plank the area between frames 6 to 12, but they fail to specify that this area will be planked later once you plank the hull and use the tips of those frames to build the bulwarks. Those tips will be cut then and then you proceed with the planking of this area, covering the broken frames. This however seems like it will be harder later to do an even planking job. You need to match two opposing ends. What I am doing is planking the whole false deck, and leave to later just the area near the edges of the frames that will be cut. I feel this will make a better and easier planking job.

- 786 replies
-
- 9
-
-
- Royal Louis
- Finished
- (and 1 more)
-
what is the ideal modelling table?
Ulises Victoria replied to AON's topic in Modeling tools and Workshop Equipment
I found this design. Looks pretty neat. http://www.cornwallmodelboats.co.uk/acatalog/occre-workstation.html -
Hello. I remember one if my first trials at wooden ship building was a solid hull one.A friend told me to lay the template on the hull and draw a mark with a pencil on the hull on the spots that I saw the template touching the hull. Sand until the line disappears and repeat. Long process but I think this is the most accurate. In all honesty, I have to say I have never built a solid hull kit, but this was what my "teacher" instructed me to do. Hope this helps.
-
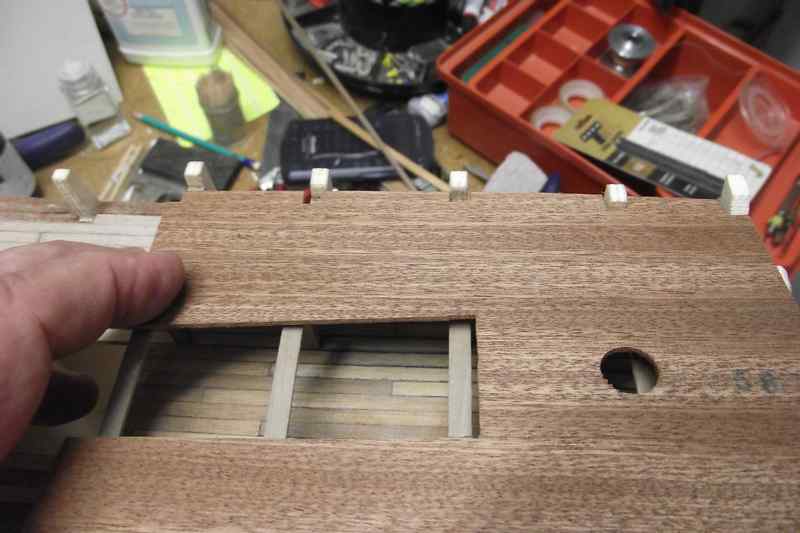
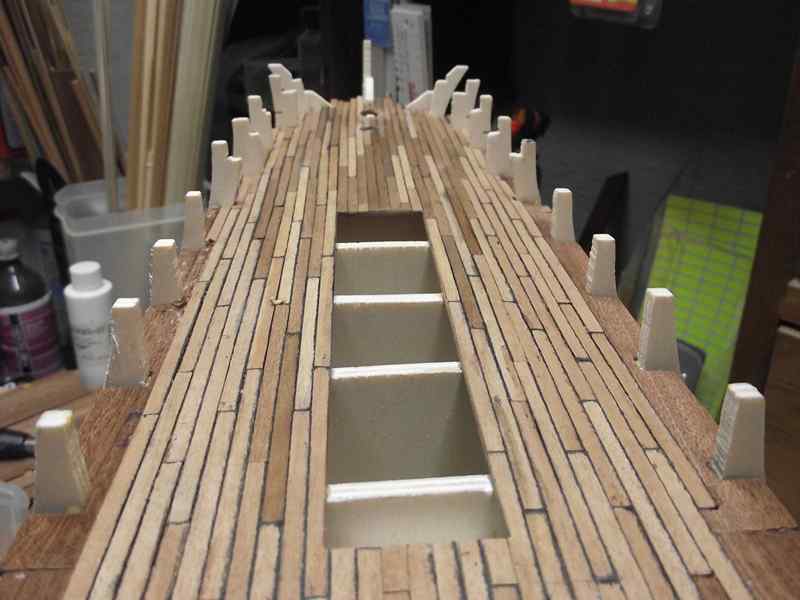
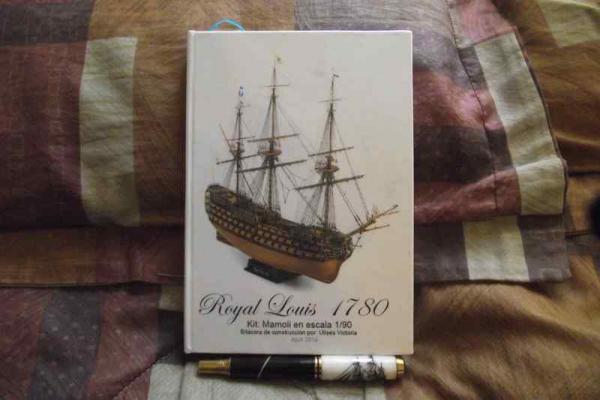
Thank you Dimitris. Thank you demonborger... so it wasn't me... Bindy: I won't call it a mistake... it's just a glitch. Thanks for your comment. I'm including a couple of photos of how far I am with the planking. I know I don't have to plank the whole deck, but I just want to do it. I am skipping for now the planking of the edges of the deck between frames 6 and 12. Since I will have to break the tip of those frames after the first hull planking is done, to help form the bulwarks, I will plank that area after that operation to cover the broken parts. Also I want to show you this notebook I had made by a friend here. This will be my written log of the Royal Louis. I will write here every step I do and when. Also to more accurately keep track of the time invested. Cheers to all!!!

- 786 replies
-
- 11
-
-
- Royal Louis
- Finished
- (and 1 more)