Ulises Victoria
-
Posts
1,790 -
Joined
-
Last visited
Content Type
Profiles
Forums
Gallery
Events
Everything posted by Ulises Victoria
-
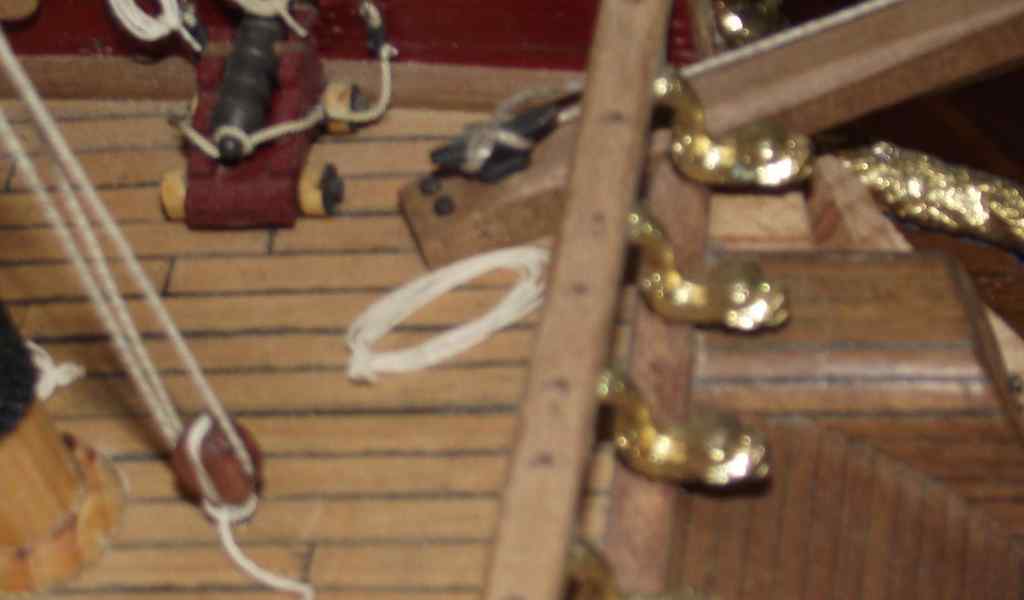
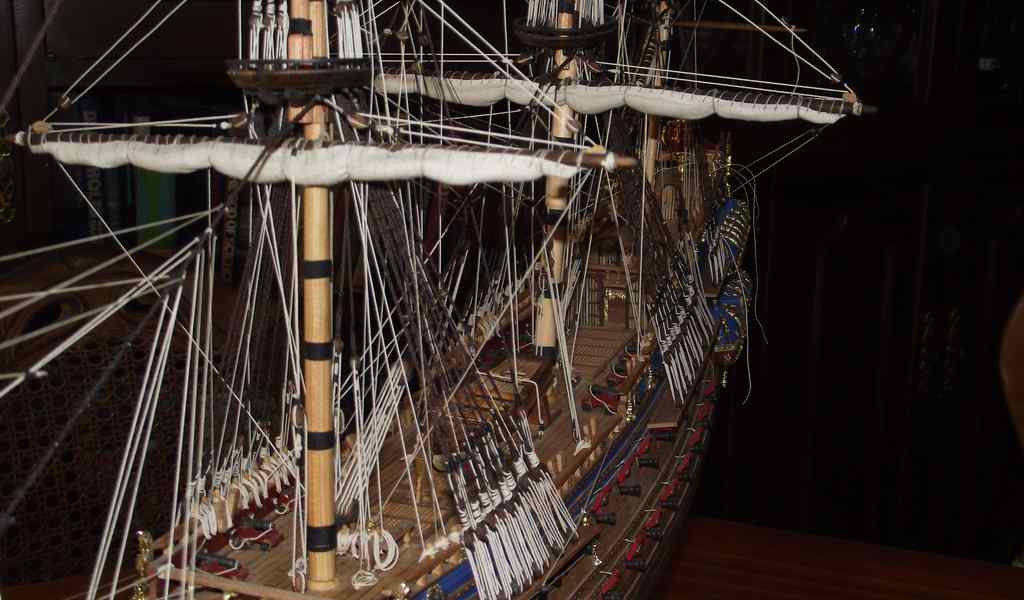
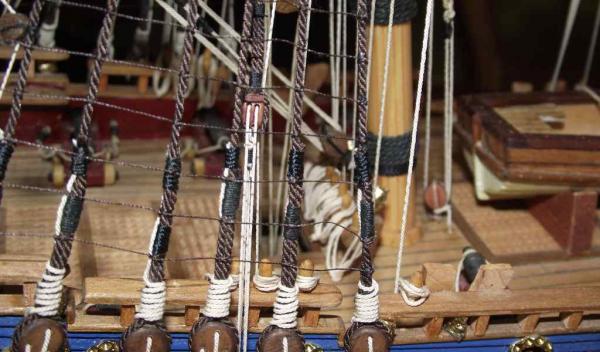
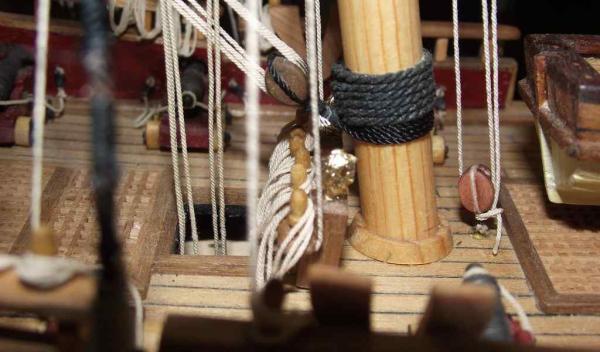
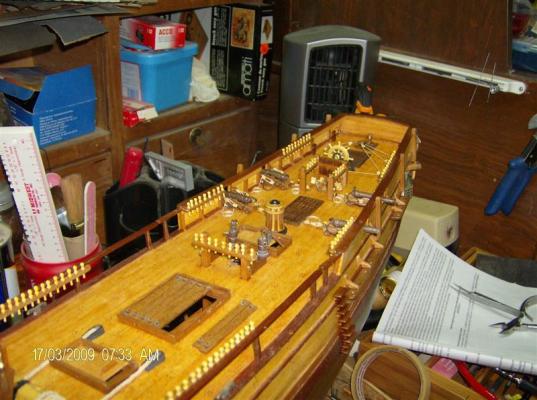
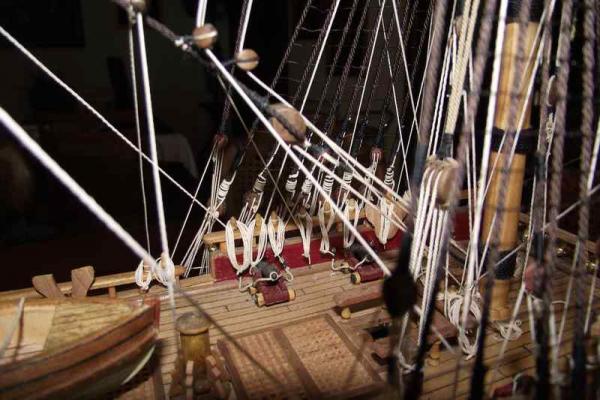
 Thank you Nenad. Just a few minutes ago I placed the very last line of rigging on my ship. There are some small adjustments to do and then finally the last step: the flags and it's done! Don't be afraid of the rigging. A few words of advise: Take it slowly one line at a time. Pull your ropes very very slow and watch how they are moving. There are few things worse than pulling a line, feeling a "snap" that you know you shouldn't and find out that your line was caught in a cannon that was pulled of its place and fell inside your already planked hull (shudders!) ALWAYS approach your lines with tweezers and scissors closed and open them just at the point where you need them to be. The second worst thing is snipping a line and watching another falling down, that was caught in your open scissors. You may laugh now, but you won't when it happens I use white glue to fix my knots. It dries invisible. Hope this helps
 -
CA glue and metal fittings
Ulises Victoria replied to cdogg's topic in Metal Work, Soldering and Metal Fittings
My suggestion is go with epoxy, and get this stuff for blackening brass. http://www.swannysmodels.com/Blackenit.html Hope this helps. -
CA glue and metal fittings
Ulises Victoria replied to cdogg's topic in Metal Work, Soldering and Metal Fittings
Exactly! -
Thank you Bindy. Yes, that is the effect I would like to have. As I said in my previous post, I'm hiring a pro photographer to take pictures of my ship once it's done. I'm sure he will know how to take that photo. You will see it soon. Thank you for your comment!
-
Option 1- 0, option 2 - 0, option 3 -11. I was getting ready to place a piece of wood to cover those holes. Thanks to your answers, it's now clear to me what to do. All answers made sense. Appreciate it!
-
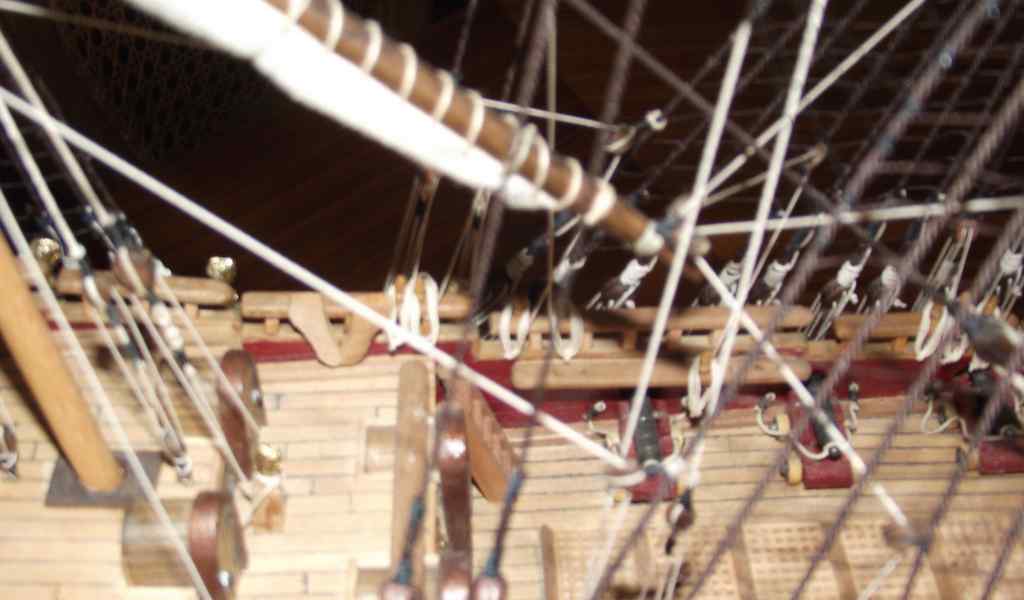
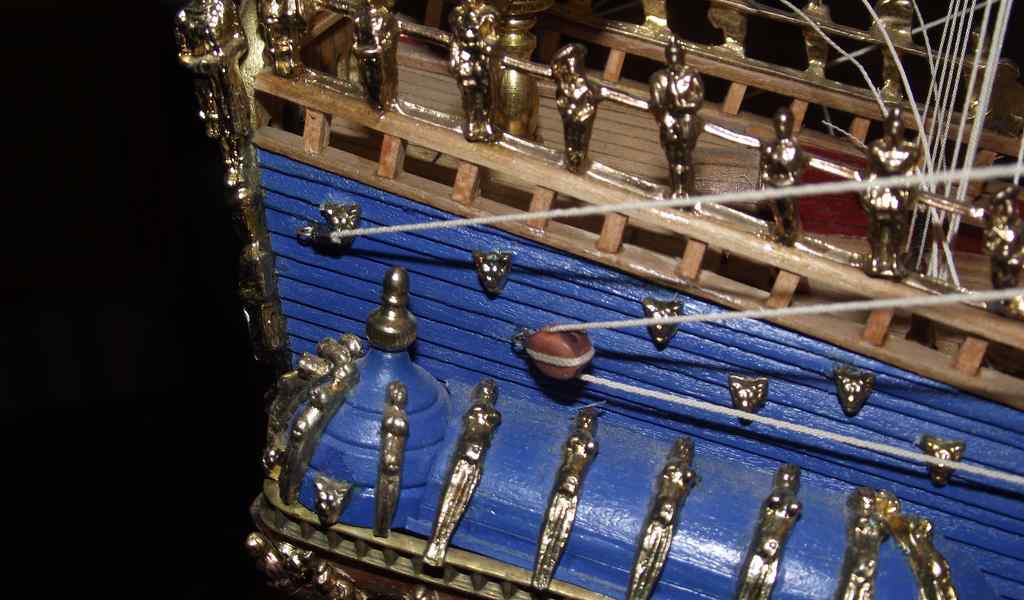
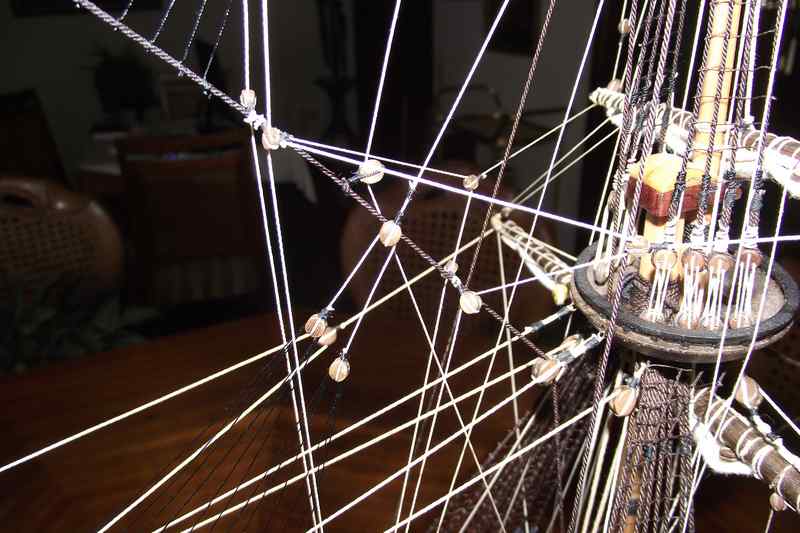
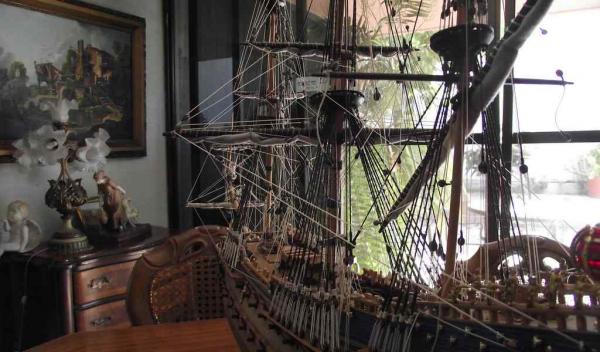
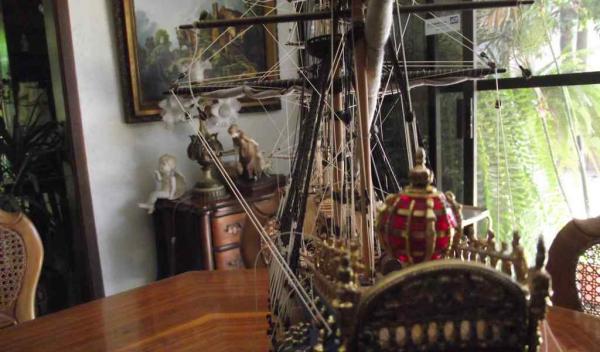
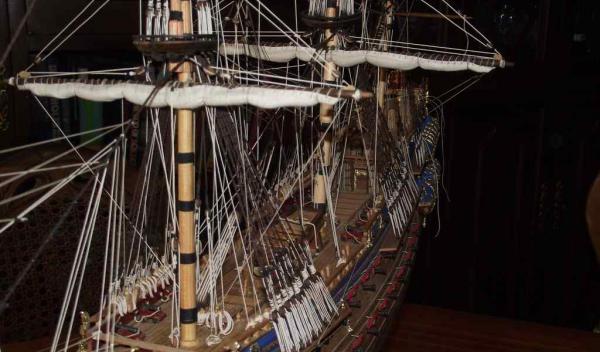
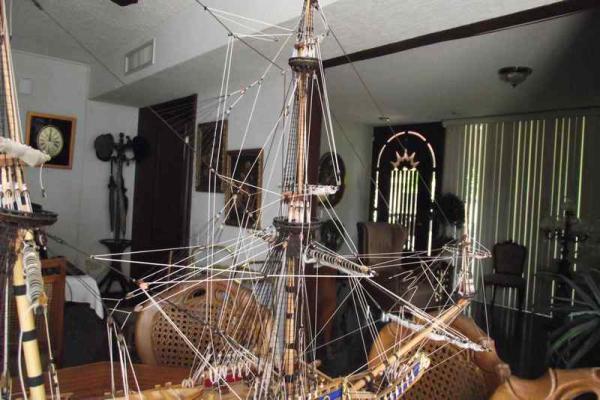
Thanks Sjors... the last photo was actually intended like that. I wanted a photo that showed only the shape of the rigging and blocks. Don't know how to call it in English. In Spanish is "a contraluz" and is a very nice effect, but obviously I lack the photographic skills and/or equipment to do a proper photo. I'm planning to hire a professional photographer, a very close friend of mine, to take the ultimate photos of my ship once its done.
-
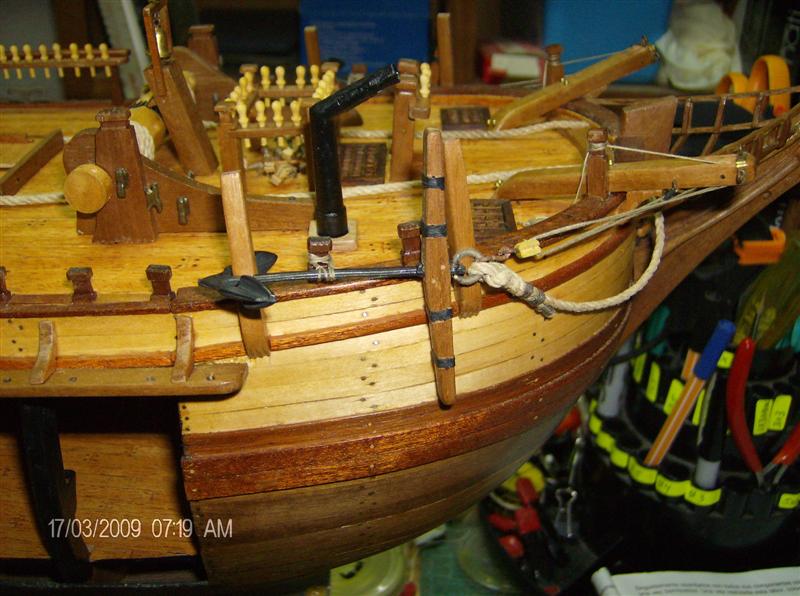
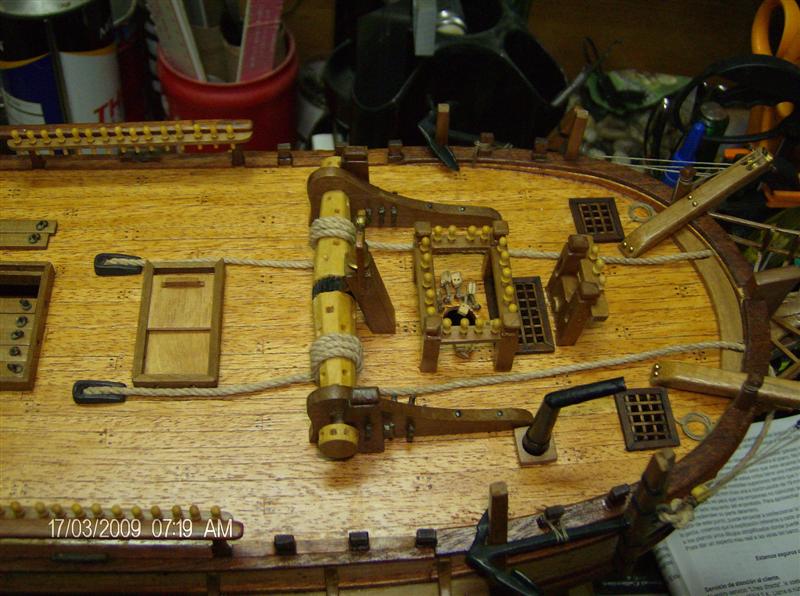
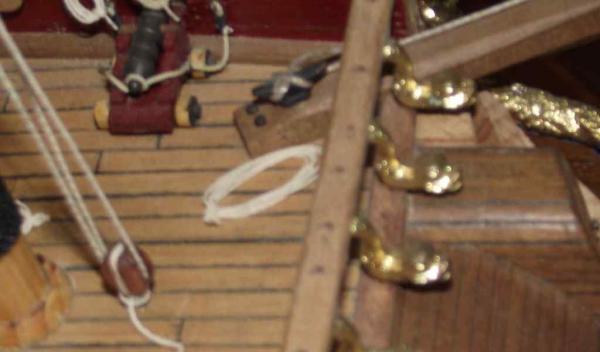
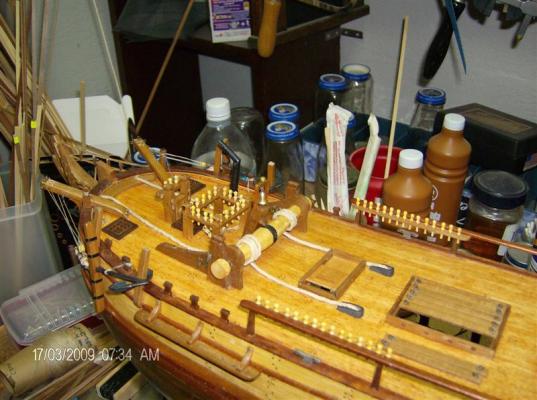
I'm testing the Poll abilities of the program. Sorry for double posting. This is the rail I'm talking about.
-
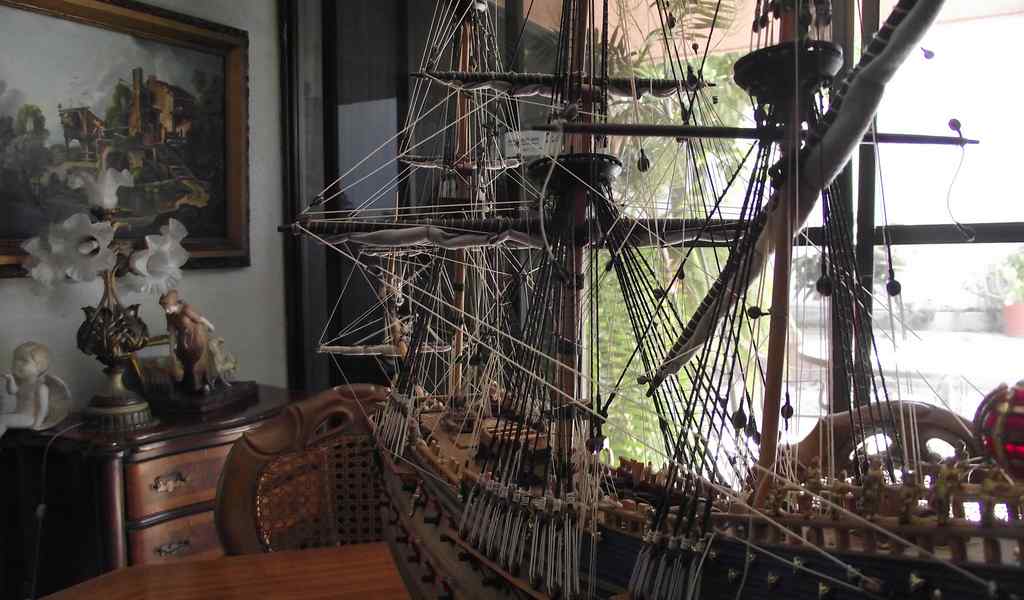
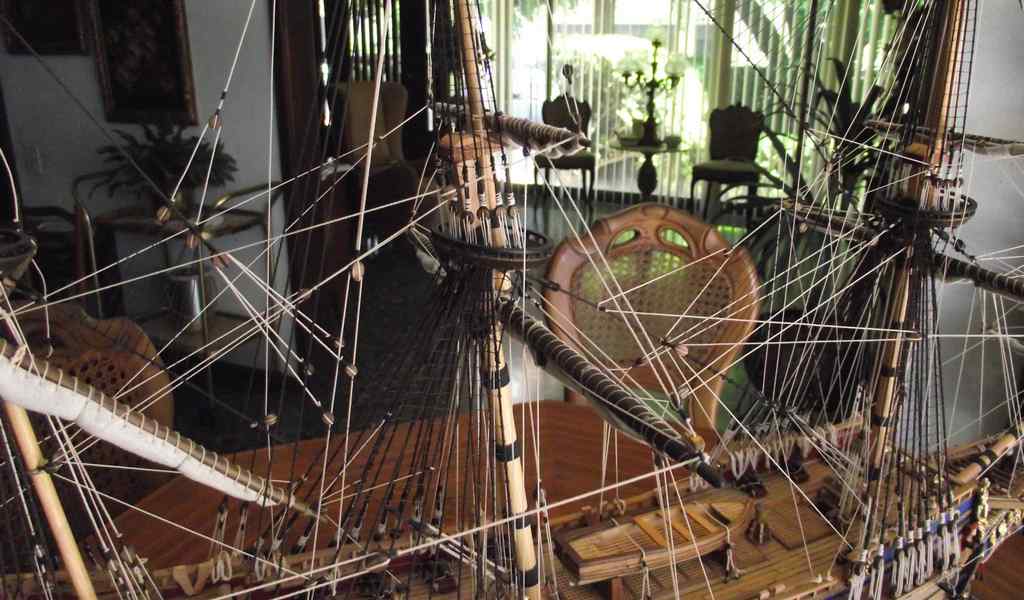
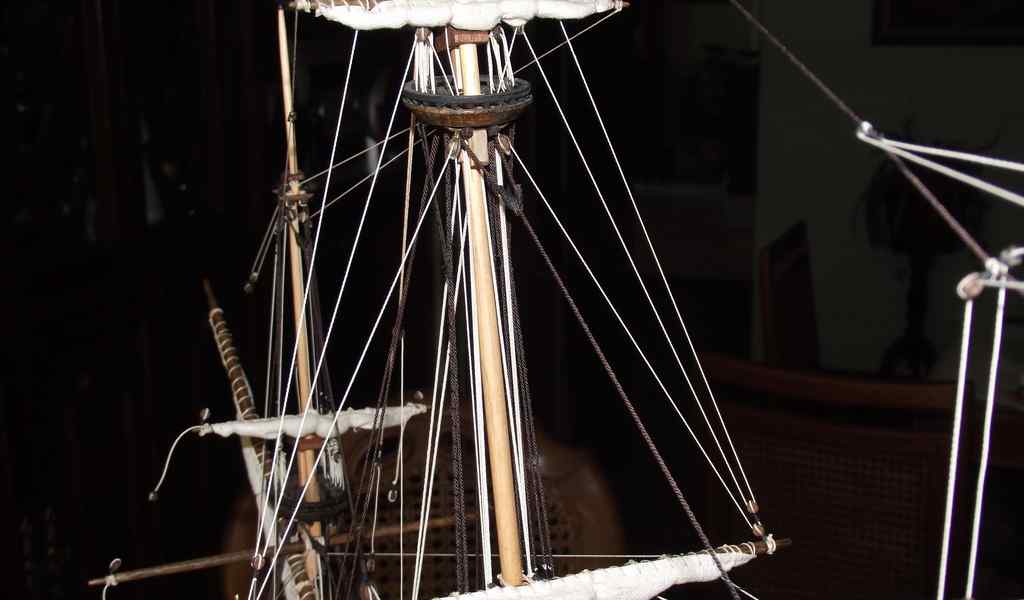
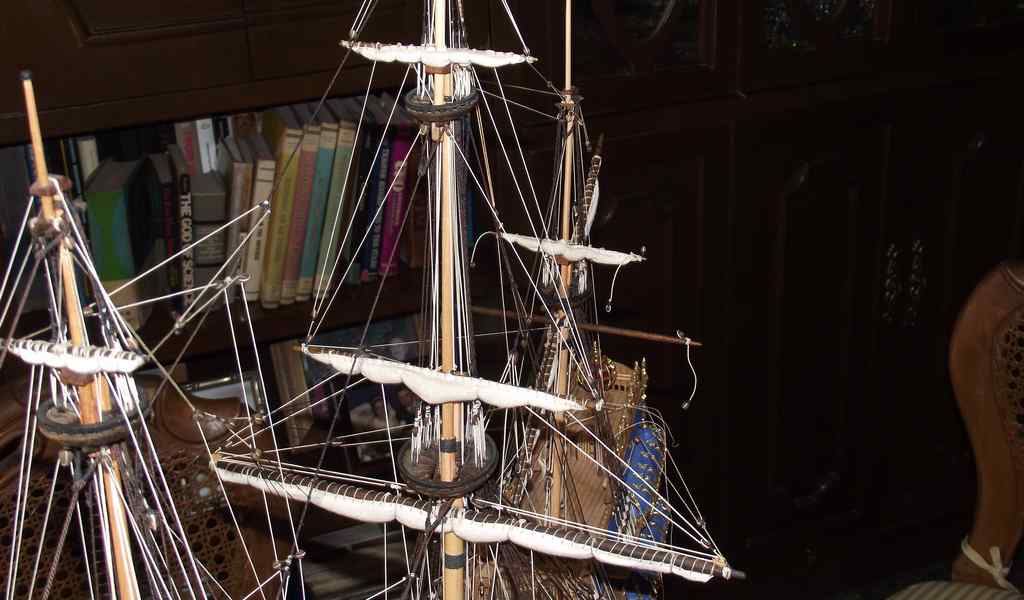
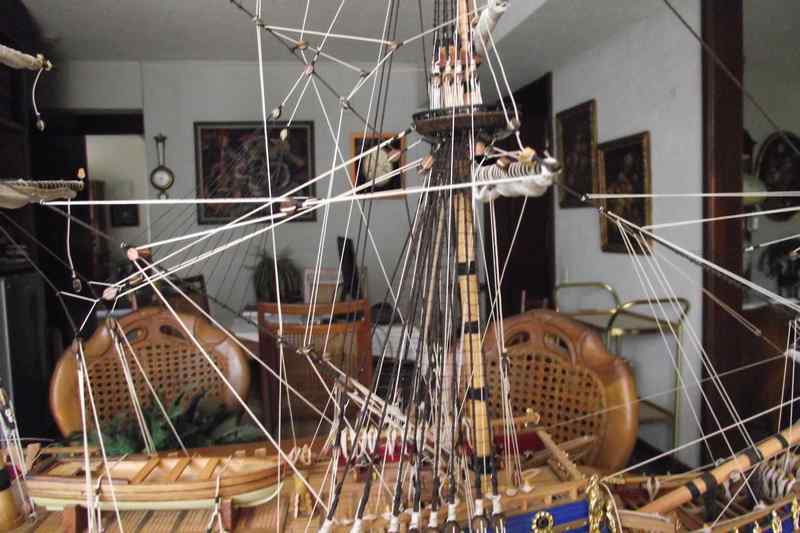
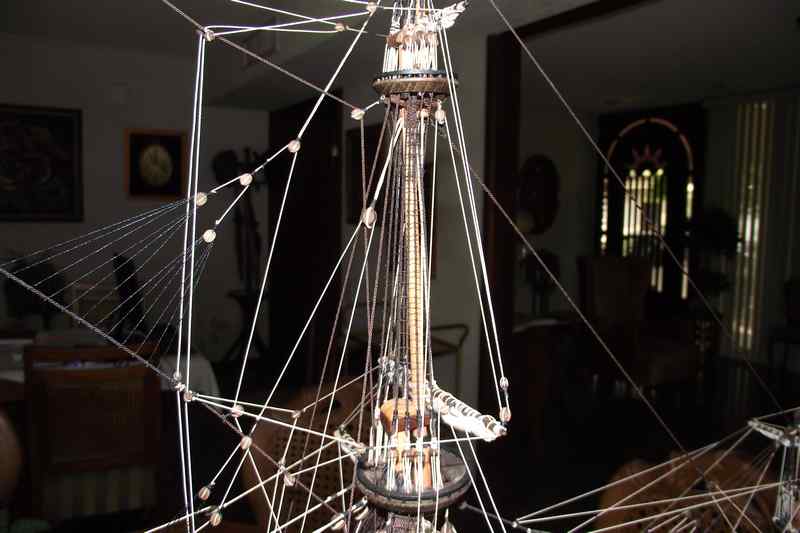
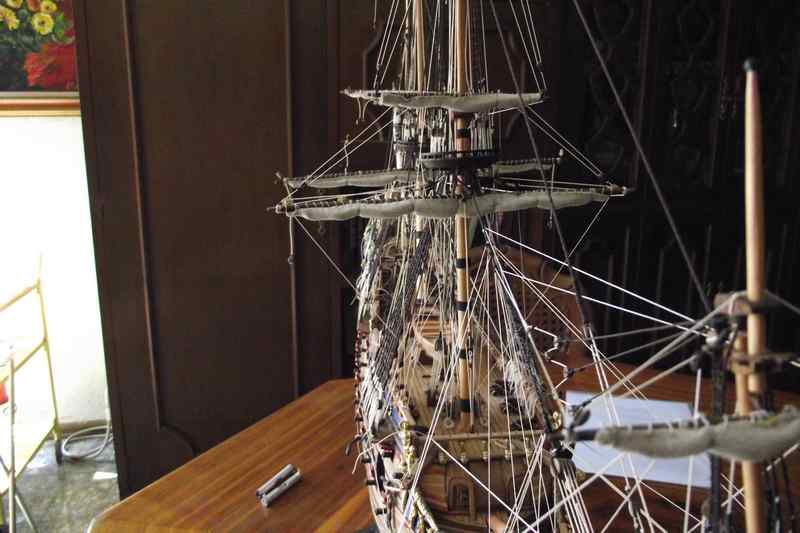
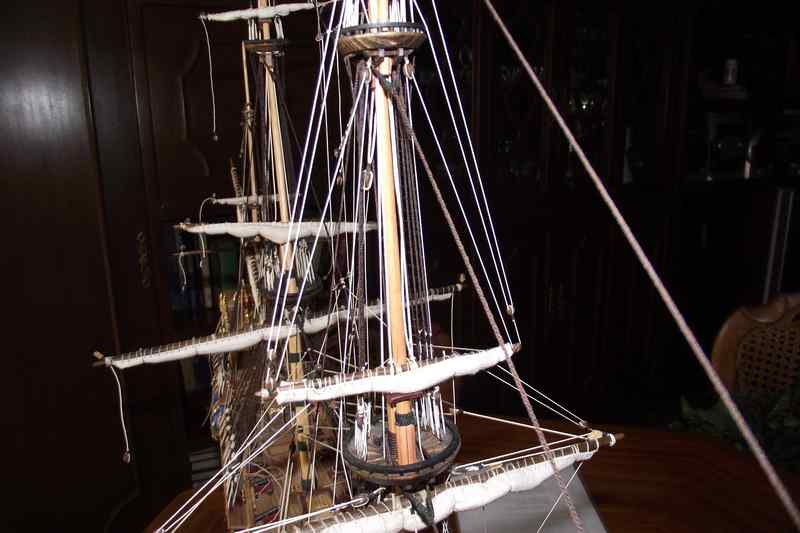
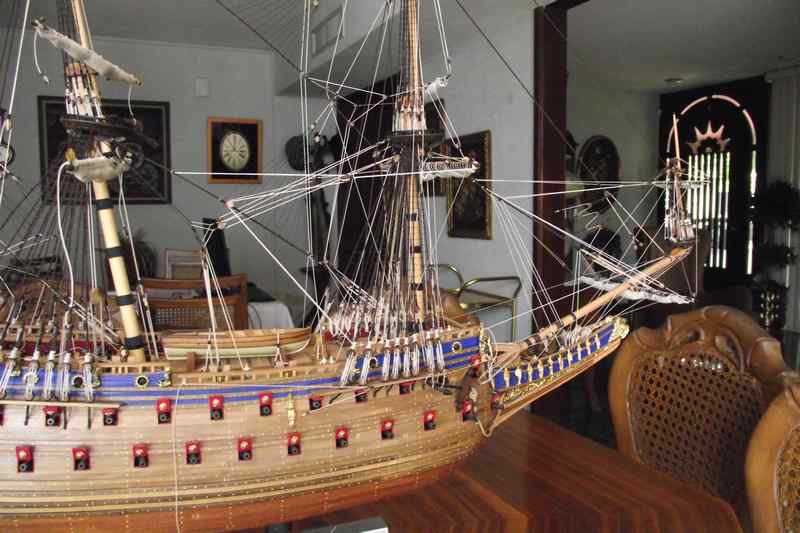
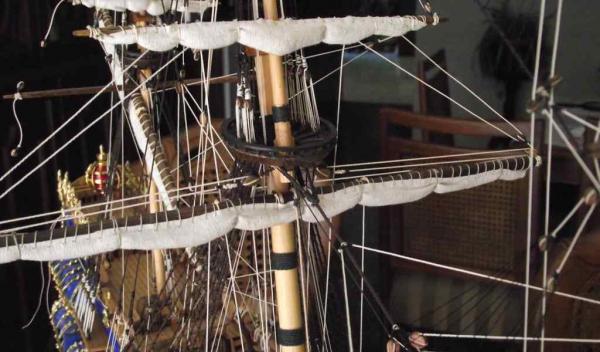
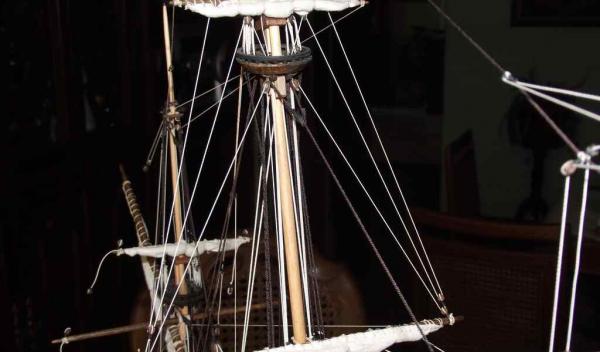
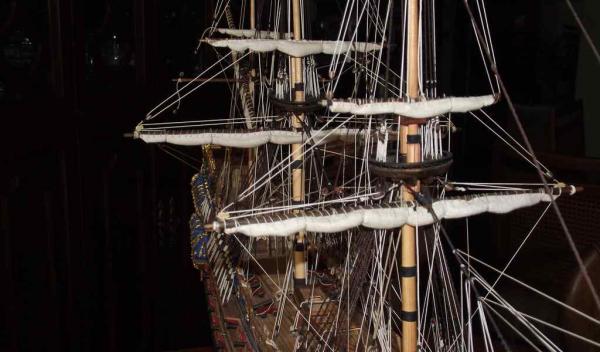
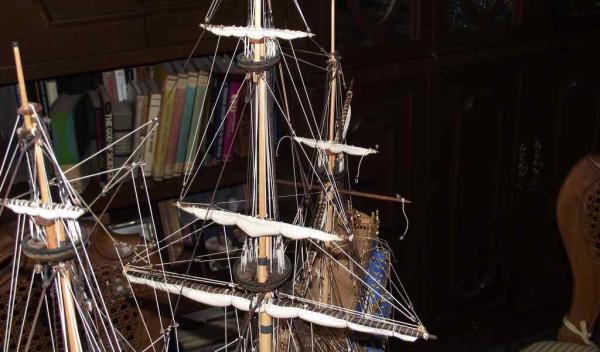
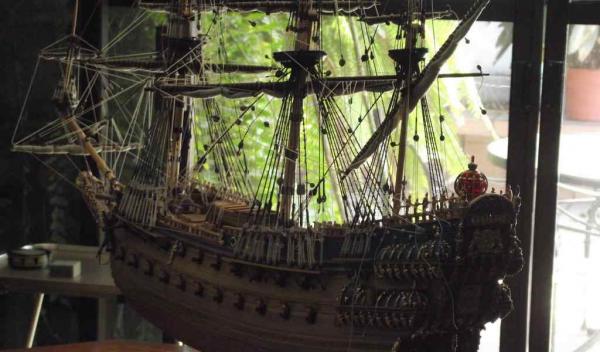
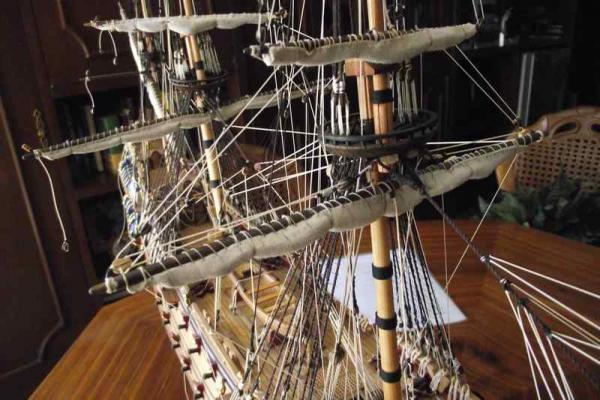
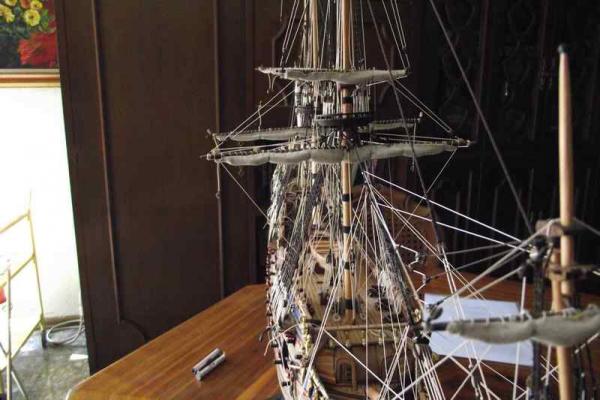
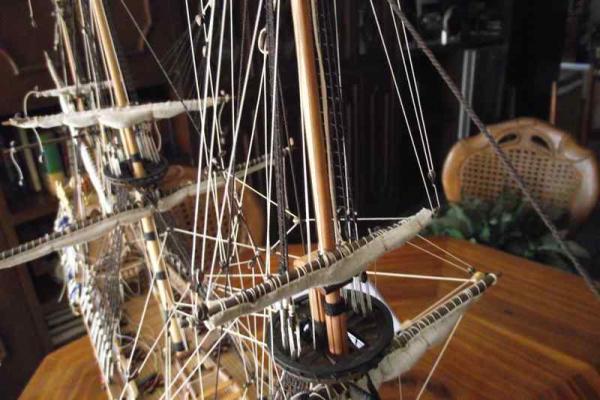
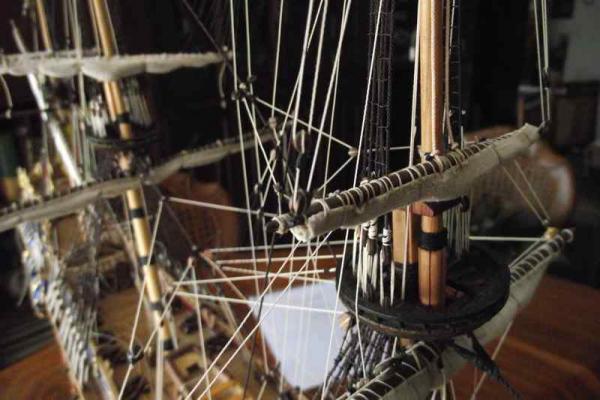
Update March 19 2014. Finished rigging the Main mast. Only the mizzen and flags remain to do. Thank you for watching.


-
Matti. Is it only me or a lot of your photos are not shown in the last 3 pages? Everyone else can see them? I only see a frame with the words "wasanlogo3.jpg" Nice job on those figures though. I can still see a few pictures.
-
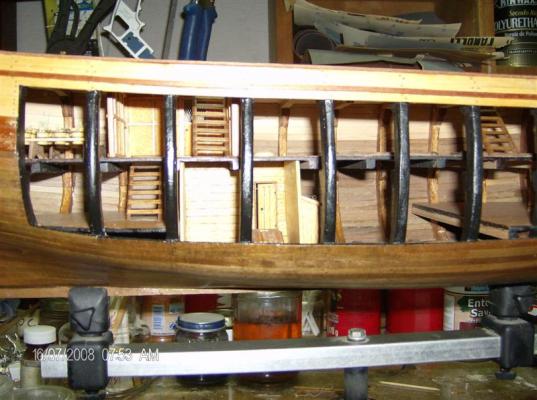
OcCre Bounty with cut-away section
Ulises Victoria replied to hamilton's topic in Wood ship model kits
Mike. excuse me, I'm curious. Where do you see the construction of your kit is very different from mine? Every step I've seen in your build so far looks exactly as in mine. In model ship building, 1/48 is considered a large scale. -
I'm with WackoWolf... Your work is beyond description. Just so nice, perfect and detailed!
- 662 replies
-
- 2
-

-
- bonhomme richard
- frigate
- (and 1 more)
-
Has anyone used this product?
Ulises Victoria replied to Ulises Victoria's topic in Modeling tools and Workshop Equipment
Thank you for your answers. I also use CA very rarely, so I don't actually care for this product. I prefer Titebond wood PVA glue to glue wood to wood. Lately I have been using Gorilla wood glue (PVA) with excellent results. -
OcCre Bounty with cut-away section
Ulises Victoria replied to hamilton's topic in Wood ship model kits
Mike. I just find it strange that OcCre shows the scale of their kit at 1/45, while the A Latina is 1/48. OcCre's specifications say their kit measures 915 mm, while Latina says 38.6 inches which is 980.44 mm. So at 1/45 OcCre's should be larger. There are some discrepancies somewhere. -
OcCre Bounty with cut-away section
Ulises Victoria replied to hamilton's topic in Wood ship model kits
If I was going to buy/build this kit again, I would go for the OcCre version. OcCre was founded by ex-members of Artesania Latina, who wanted to make better kits. That has to say something about them. So OcCre (Ocio Creativo) is a newer company formed by experienced kit designers. I own their Santísima Trinidad and it looks a very good kit with excellent drawing and instructions. -
Has anyone here used this glue? http://www.amazon.com/gp/product/B001RUEJ36/ref=pe_429380_113694760_em_1p_2_ti Looks like it comes in three thicknesses, but I can't see what type (CA, PVA, etc) of glue it is. Is it as good as they advertise it?

-
OcCre Bounty with cut-away section
Ulises Victoria replied to hamilton's topic in Wood ship model kits
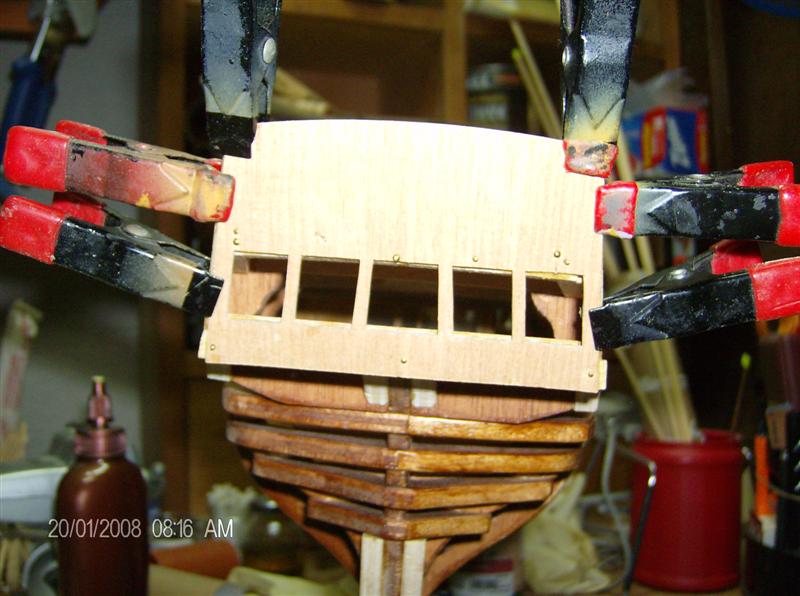
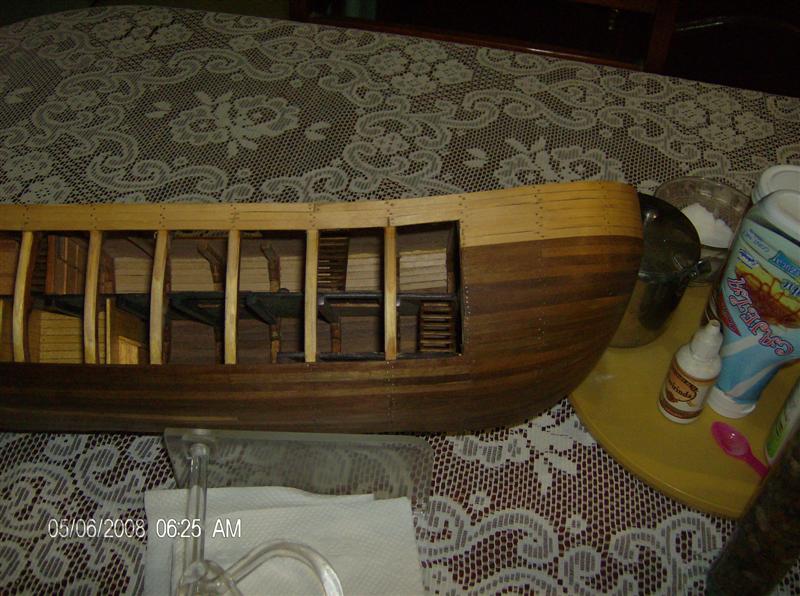
Hello Hamilton. The build log was lost, but here are some photos. For some reason I can't find photos of the finished model. Will try to post them later.


-
OcCre Bounty with cut-away section
Ulises Victoria replied to hamilton's topic in Wood ship model kits
Hello Hamilton. As far as I can see in the photos, looks like the OcCre kit is exactly the same as the A Latina. I built the Latina version. I's a nice kit, with few mistakes and in general I have a good impression of the kit. Remains to see if the OcCre kit, being a (probably) newer version has some improvements over the Latina one. A Latina kit is single planked.This may pose a bit of difficulty for a beginner. I have no means to compare it with other versions. -
Using chisels for turning brass
Ulises Victoria replied to tkay11's topic in Modeling tools and Workshop Equipment
My other hobby is turning pens. I have turned aluminum and brass with the same HSS tools I use to turn wood. If you follow standard safety precautions, is perfectly safe. -
Wow Viv.Those little things look so real. You are doing a great job here. Keep on it!!! Besos.
-
Coming along really nicely, DiKri. Good job, very clean.
-
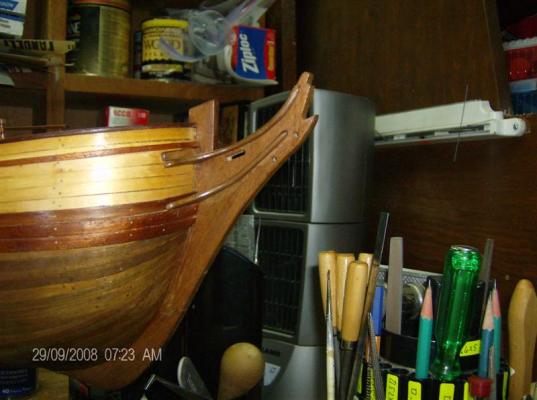
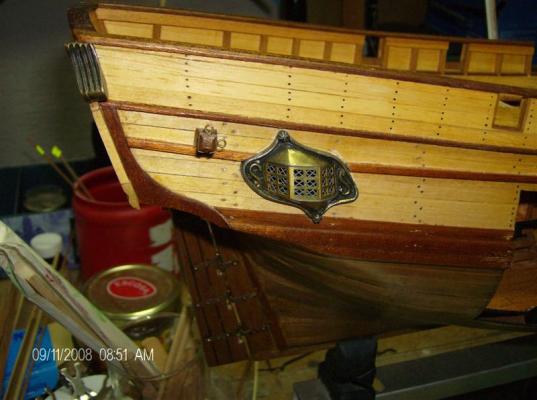
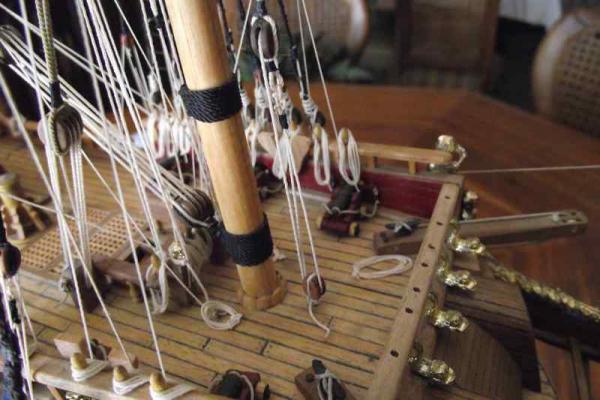
Hello all!!! I finished the running rigging in my Fore mast. Next Main, Mizzen, Flags and done!!!! Thanks for watching. As always, comments and critiques welcome!!!


- 206 replies
-
- 13
-
-
Hola Karl. I'm glad you found my tip useful. I've found much more flexibility at the time to make adjustments in lines tension. The kit comes with no sails. It's supposed to be built without them. (See if you can distinguish that in my avatar).The fabric for my sails I bought it at a fabrics store near my home. So to add sails you have to search other sources for their rigging. Nothing about that is mentioned in the instructions. Un abrazo.
-
Thank you Peter. I am fully aware of the sails. It's too late now. I am doing the running rigging at this moment. Changing sails would be an impossible task at this time, without un-doing/re-doing a lot of work and risking damaging some other things. A friend told me that although at close look they may look too coarse, viewing them from afar they still give the impression of canvas. May or may not be true. Anyway, I will take this in consideration for my next build. About the lantern. I may get into building exact replicas of ships sometime in the future. For now, I am not a purist and my ships are built mostly as decorative items. I Thank you for your comments.
-
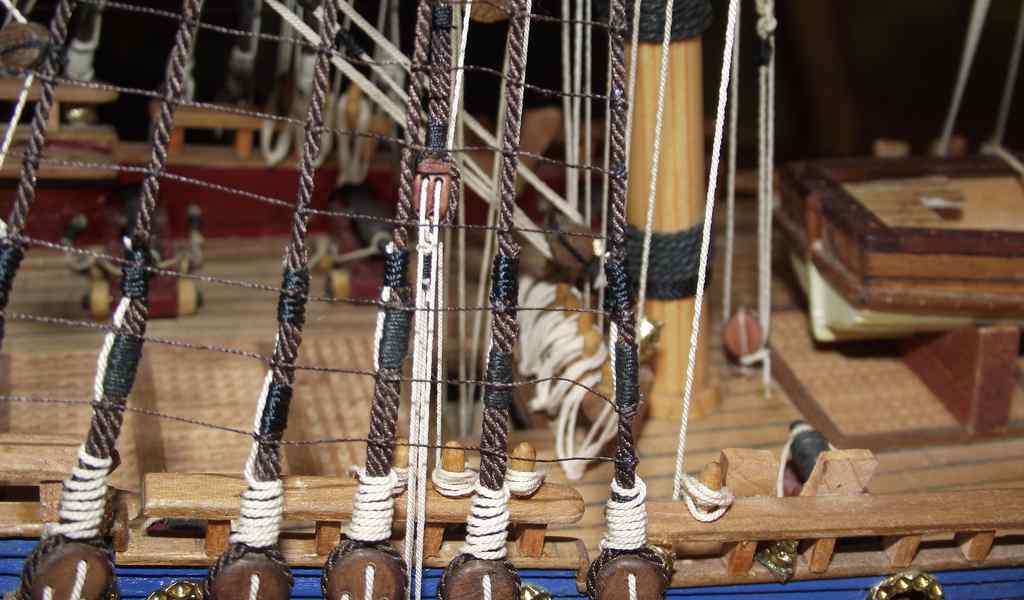
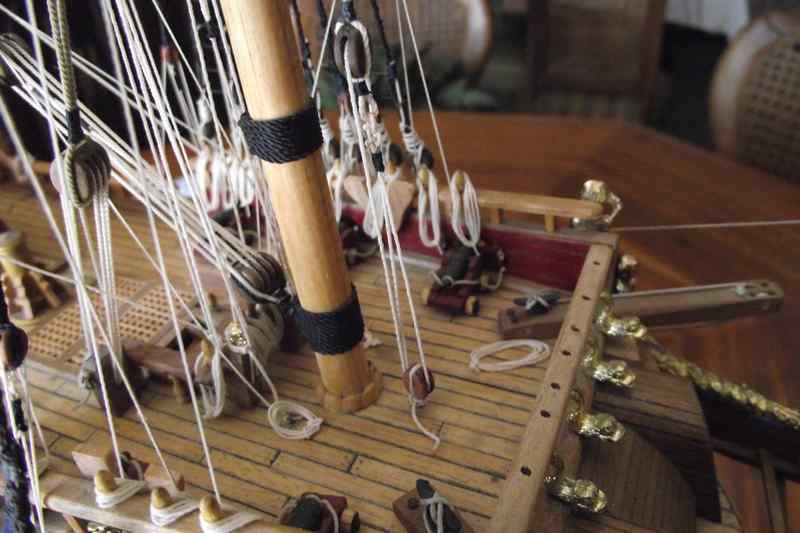
Just a word of caution guys. If you are going through the expense of buying your ropes, plan very carefully every rigging step. Remember that ropes are the commodity that is the most wasted in our hobby, (IMO). Just think how much rope there is actually in a knot, and how much rope you need to tie it, then you trim off a large amount of thread. Use a locally available cheap thread to do your seizings; don't waste your expensive rope here. Also, when calculating how much rope you are going to need for your ship, take into account the coils. Some people don't and then fall short. Hope this helps!
-
Viv. Sorry I missed the post where you said you had an accident. I wish you well. That happens sooner or later to all of us. Now you can say that your ship cost you blood, sweat and tears. Best wishes, Viv.