HOLIDAY DONATION DRIVE - SUPPORT MSW - DO YOUR PART TO KEEP THIS GREAT FORUM GOING! (Only 20 donations so far - C'mon guys!)
×


Ulises Victoria
-
Posts
1,790 -
Joined
-
Last visited
Content Type
Profiles
Forums
Gallery
Events
Everything posted by Ulises Victoria
-
 I will wait for the Victory, whenever it comes out!!!
 -
What??? You're kidding, right? Where? When? How much?
-
Good work, Karl! Have you tried to ask Clayton or Fred Hocker directly in this forum? http://warshipvasa.freeforums.net/
-
Congratulations. Le Soleil Royale is one of my dream ships. I have the Heller 1/100 version. I just don't feel like building plastic anymore, but maybe one day, when I retire and have plenty of time in my hands, I might tackle it as a side project. Question: Does the De Agostini version came without full masts and rigging? Or is that your own version of it? Congratulations on a superb job!!! Ulises
-
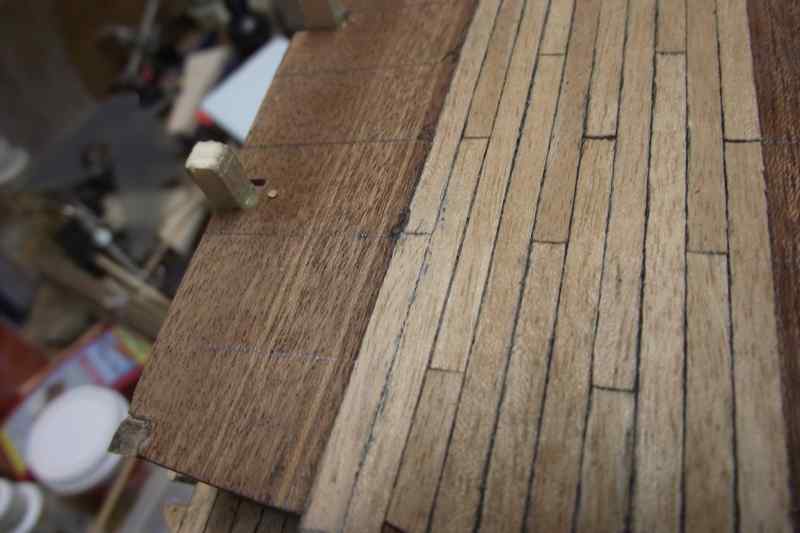
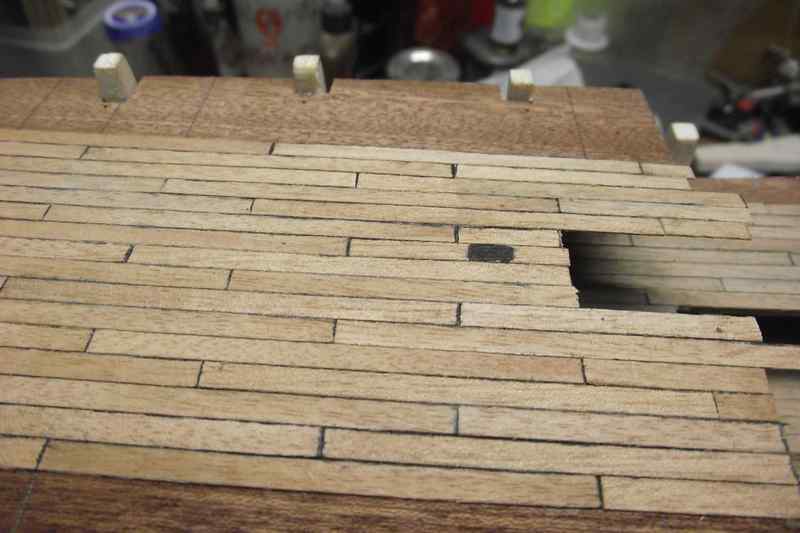
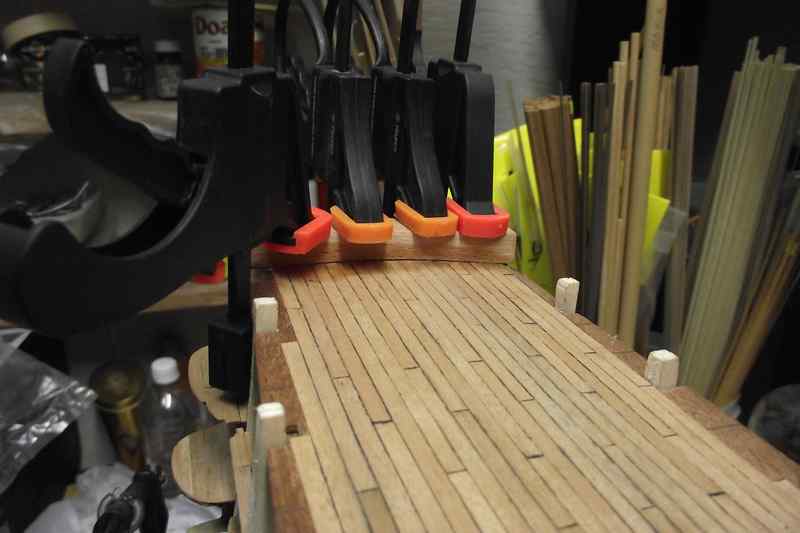
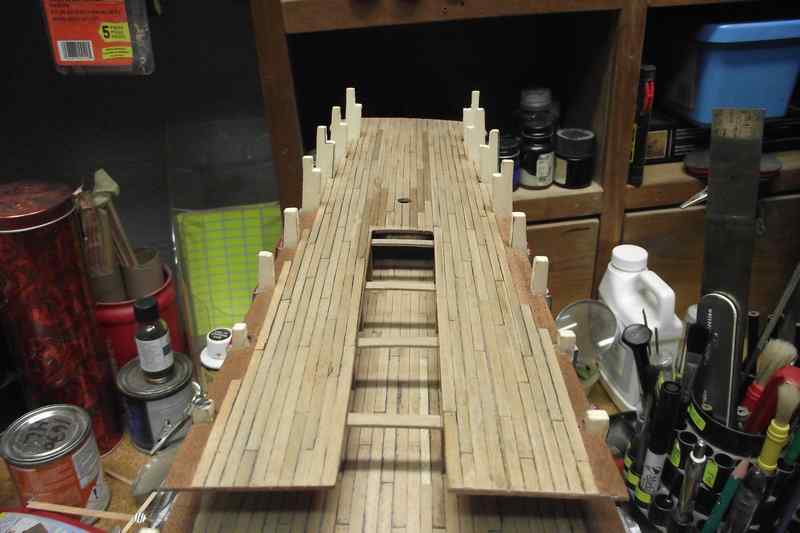
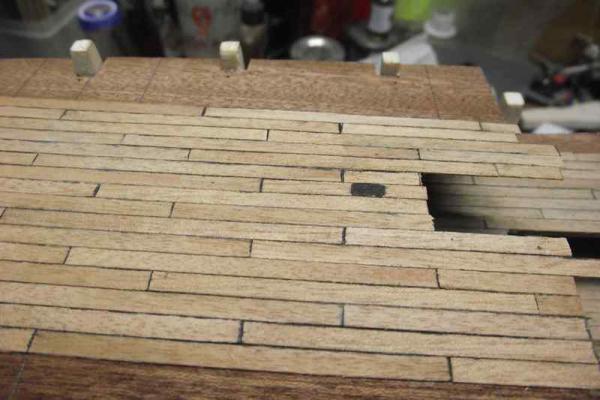
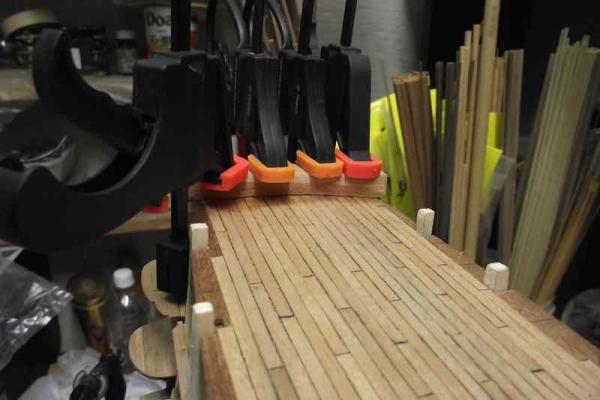
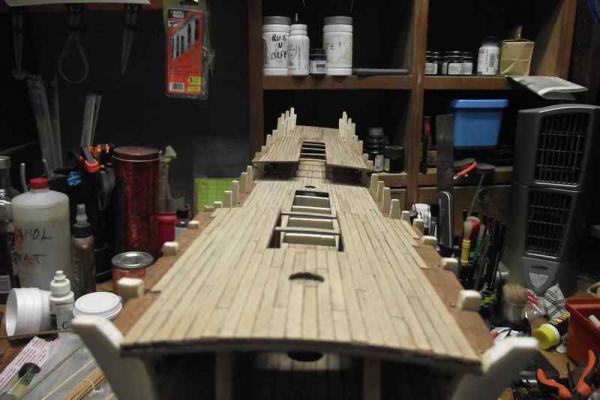
Update August 16 Planking of the upper rear deck at various stages. Gluing of a piece of wood that is going to shape the stern galleries. Next step: GULP!! Hull first planking!!! I'm under the impression this is going to be a real challenge!!! Wish me luck! Thanks for visiting. This is how far the planking will go until now. The remaining will be planked once the first hull planking is finished, the bulwarks built, and the tip of the bulkheads removed and planked over.


- 786 replies
-
- 6
-

-
- Royal Louis
- Finished
- (and 1 more)
-
Aaaaahhhh! Thank you Arthur, my toughest judge. I can now proceed.
-
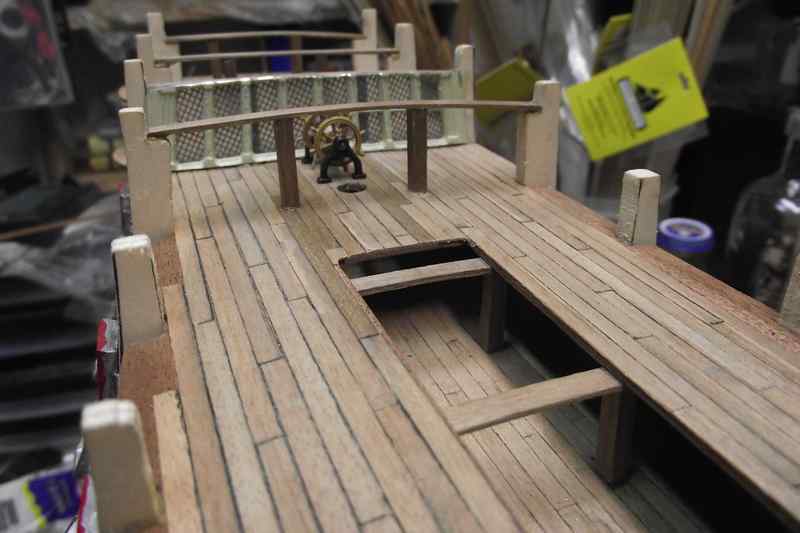
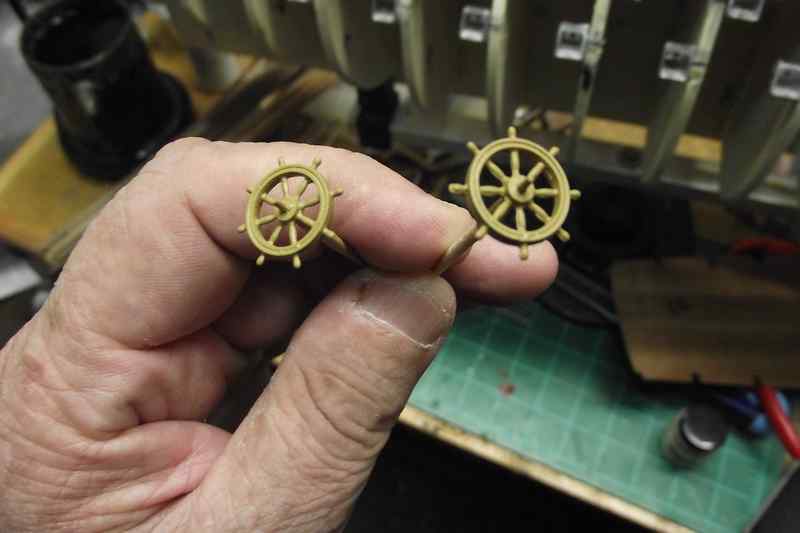
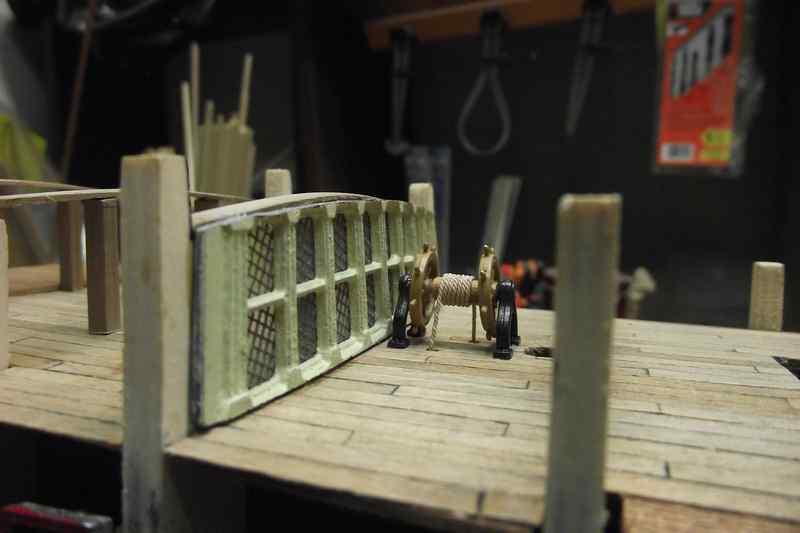
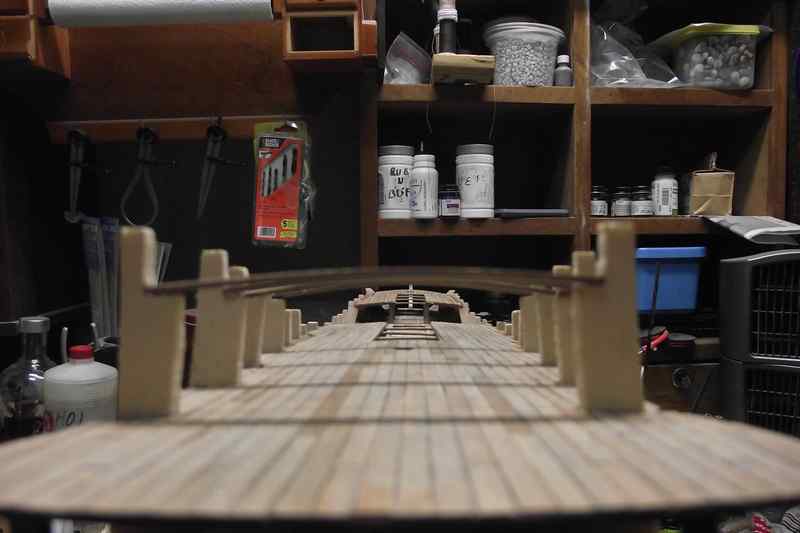
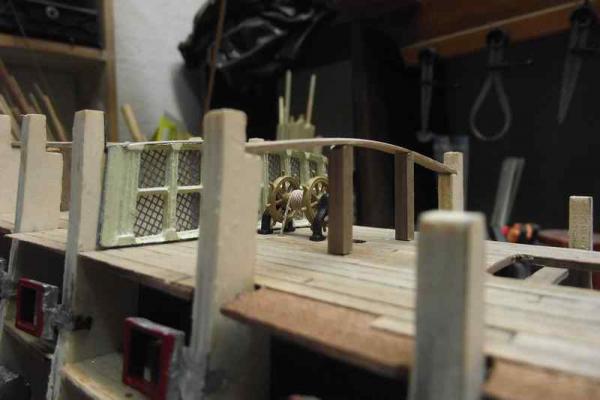
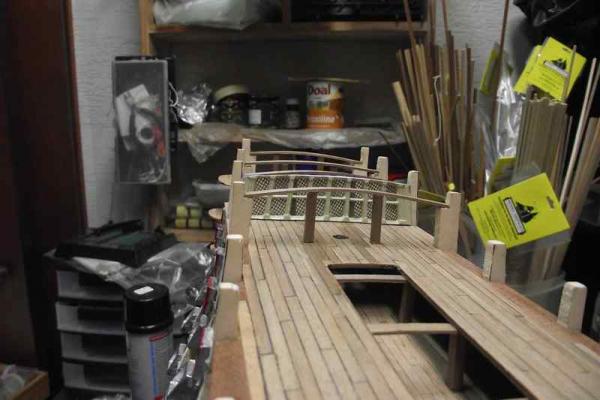
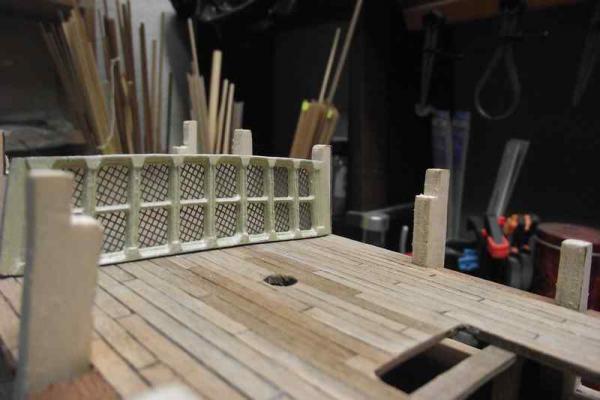
Done building and placing the metal window frame and the rudder wheel assembly. Can you tell in the 3rd vs 4th photo that the camber of the beams is different? Yes, I fixed that after all. :) Wheels painted wood color


- 786 replies
-
- 11
-
-
- Royal Louis
- Finished
- (and 1 more)
-
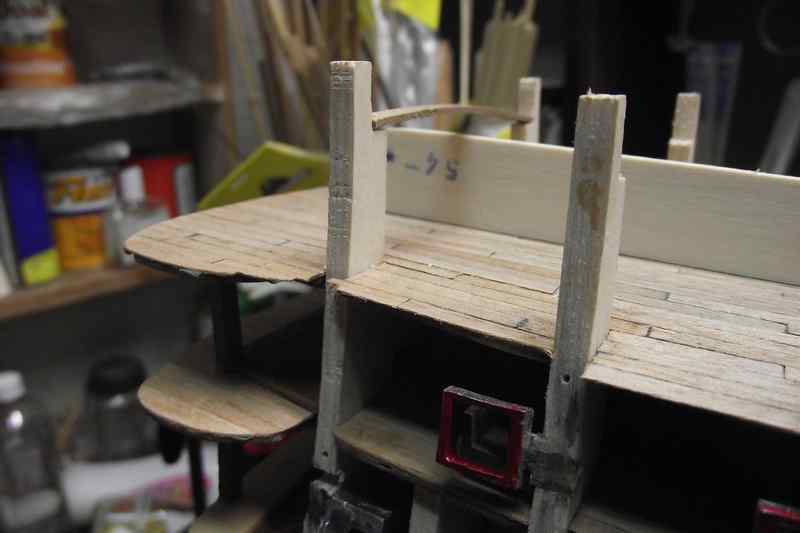
Arthur: The stanchions are cut to fit. No way to use the top of the window frame as a guide as it was way too high originally. I had to sand it down to match the camber. Dang. I'm going to have to lower those beams. Edit: I decided against redoing those beams. I tried to pry one of the stanchions and it was so well glued that I was afraid it would tear out the planking. So I just sanded down the tops of the beams to reduce just a bit of the camber.That will have to do!
- 786 replies
-
- 1
-
-
- Royal Louis
- Finished
- (and 1 more)
-
Thank you Pat. Actually no. Seems like electronic stuff is still out of my league! But may be in the future!
-
Hello Michael. Your post made me to investigate this and I got this result. See my sig.
-
Being today my BD, I'm well aware of the date!
-
Thanks Jack. That Aged Oak looks great on your hull, however, that's not the look I'm looking for in my decks. I want something more like a grayish-worn-aged wood. I have to keep looking. So far that Weather-It stuff is more closely to what I want. I thank you for your input and your kind words!
-
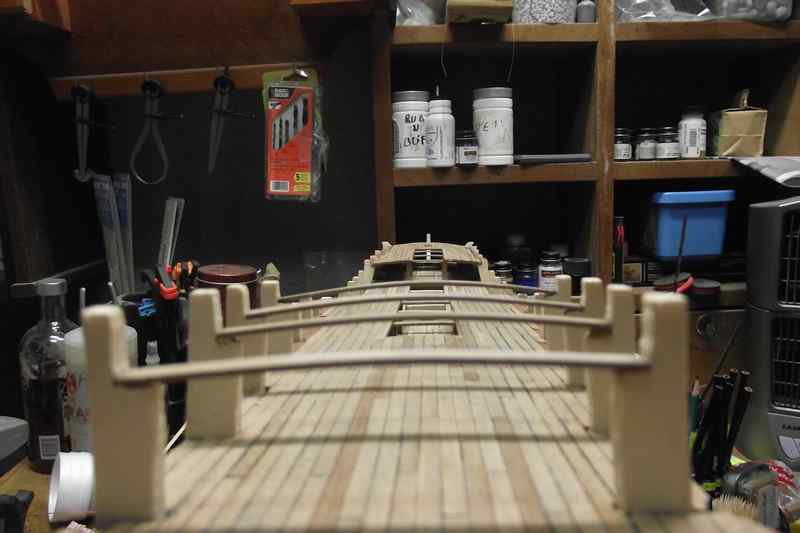
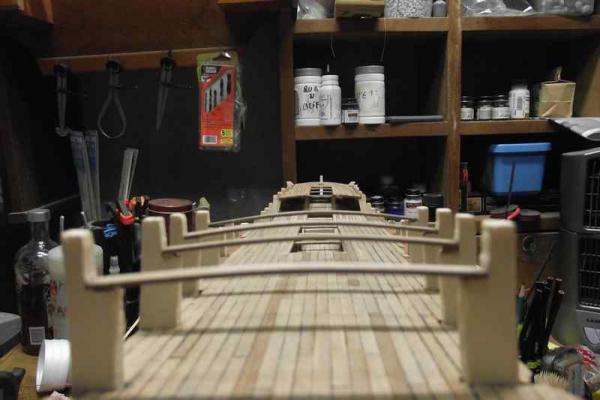
Thank you all who commented and gave advise. I pre bent the beams as advised.The stanchions relieved a bit of the tension anyway. The beams are more even in person than in the photos, believe me. The metal window needed some sanding down especially at the edges.I over did it a bit in the middle, but no big deal. The gap between the window frame and the beam looks bigger because the frame is curved, not flat. This will go totally unnoticed once the false deck (shown already marked with 17mm lines to line up the planking) is nailed and glued over the beams. Really appreciate your input, my friends.


- 786 replies
-
- 10
-
-
- Royal Louis
- Finished
- (and 1 more)
-
Thank you Mark. Good point.
-
Arthur. As always you have a point. Yes the aft beam looks a bit flat. That will be easily corrected by either making a new beam or pushing it up a bit with the stanchions. If you mean the gap between the piece of wood and the beams, no. The piece of wood doesn't even reach the flat portion of the bulkheads where the beams rest. It is definitely too short. Thank you, my friend.
-
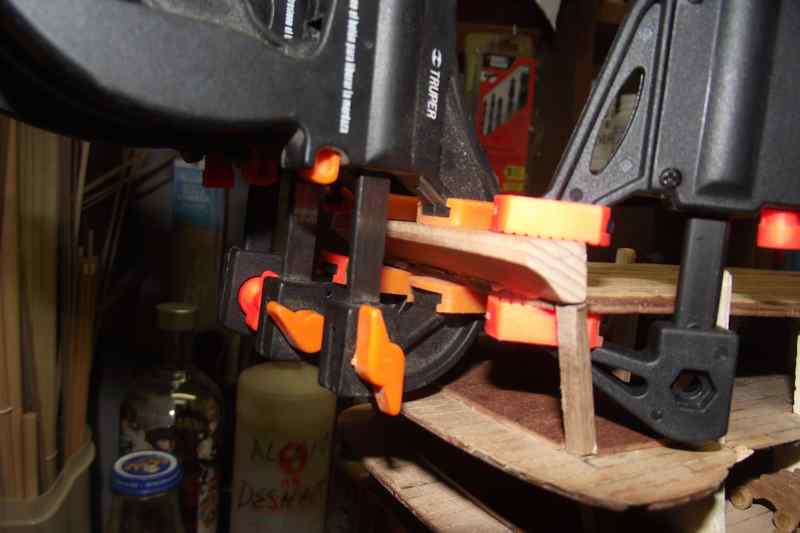
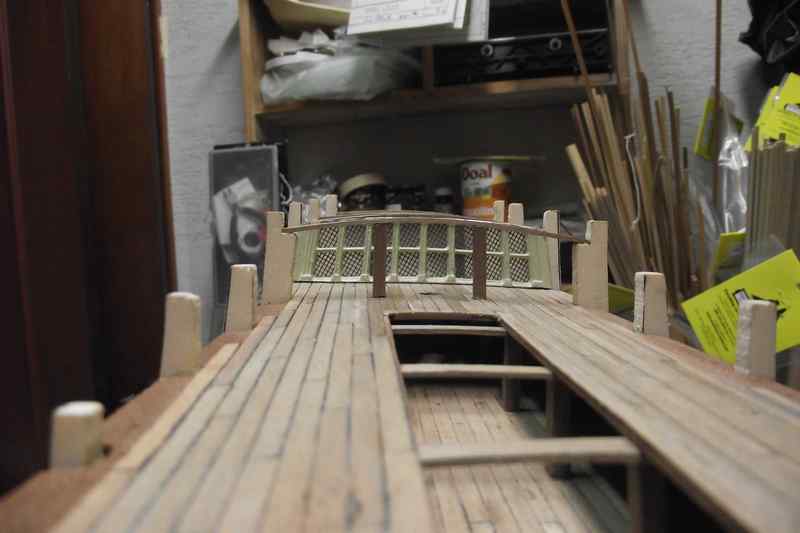
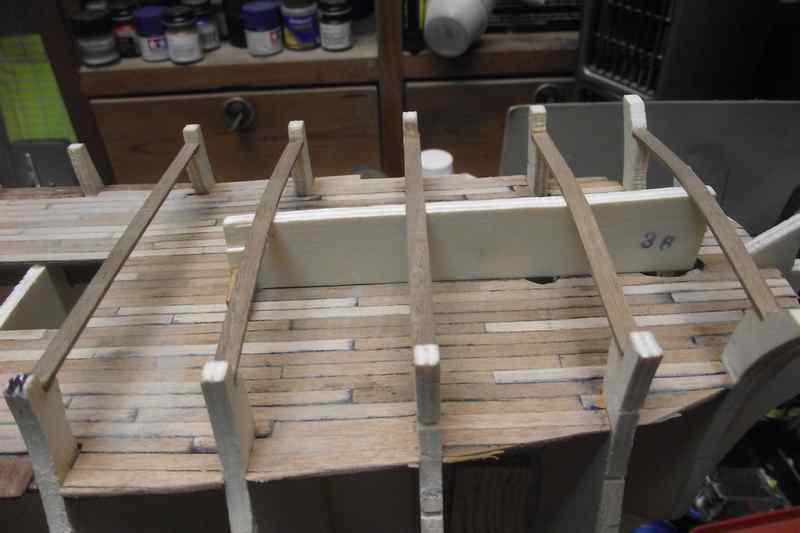
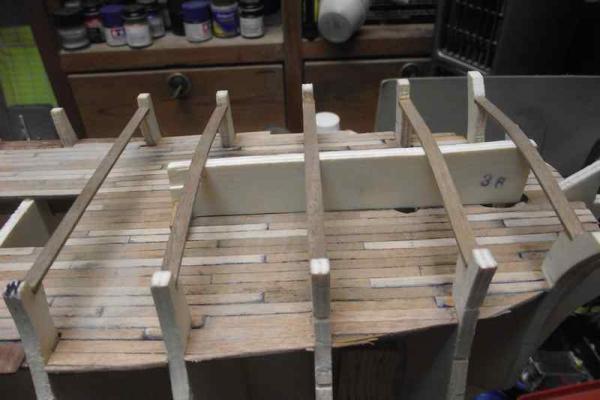
Problem (hopefully) solved. In order to make the proper curvature on the decks, this kit tells you to glue some beams between the bulkheads, and when the glue is dry, force a pre shaped piece of wood between the beams and the deck and this will elevate the beams the correct amount.You then glue the stanchions under the beams, remove the piece of wood and the curve will remain. In this deck, you can see that the height of the piece of wood that's supposed to curve the beams is way too low. (Shudders) Did I something wrong or is there a mistake in the kit??? Anyway, I decided to curve the beams by making them a bit too large so they would bend by themselves when placed against the bulkheads. I did this by eye. I only hope this will not be a disastrous decision later. These are not glued yet. Not doing it until I'm completely certain this will end OK


- 786 replies
-
- 7
-
-
- Royal Louis
- Finished
- (and 1 more)
-
I already did! See post # 19 there! Edit. Most of the pictures in that thread are gone. I reposted mine.
- 786 replies
-
- 4
-
-
- Royal Louis
- Finished
- (and 1 more)
-
Ask her if she'd rather you spend time at the workshop or at the local bar.
-
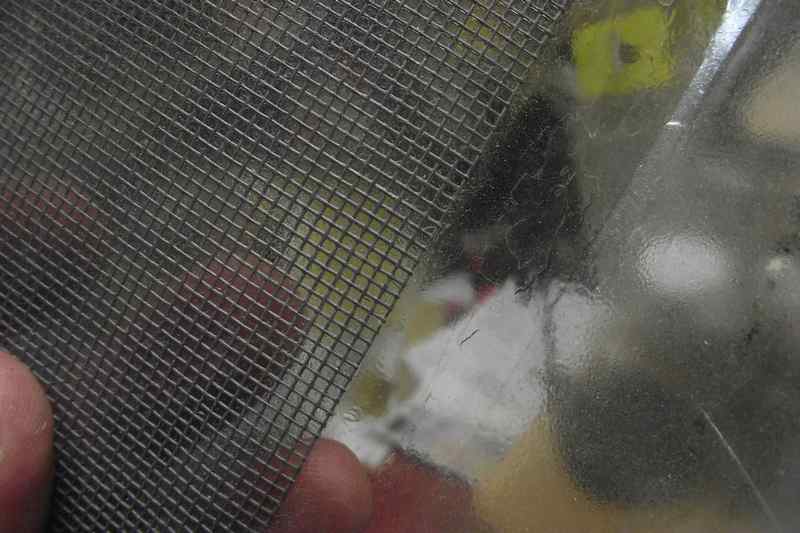
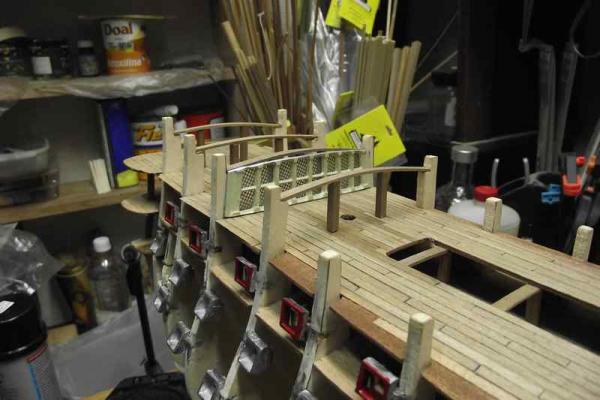
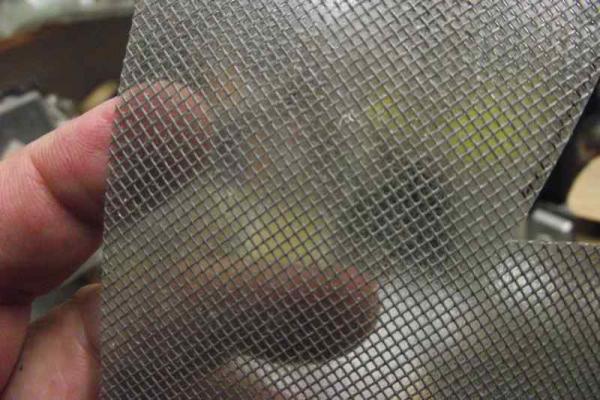
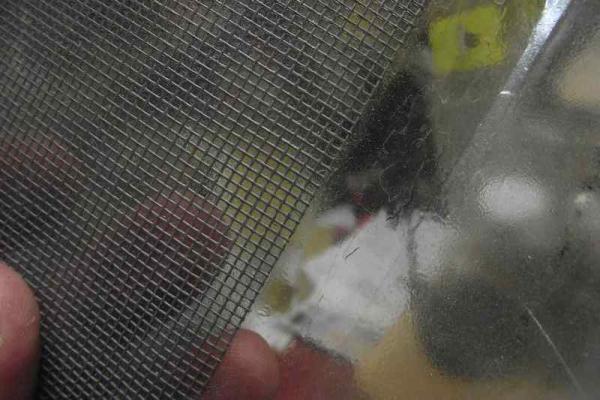
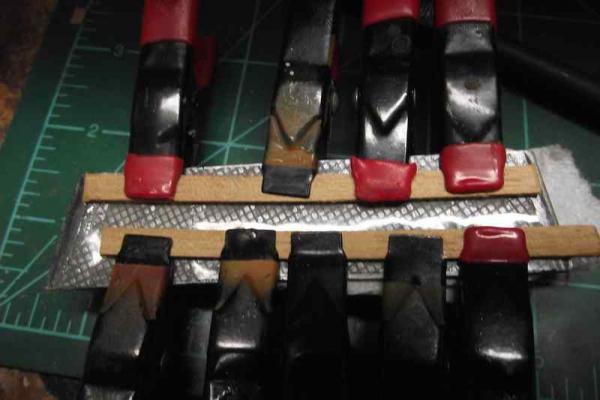
This is the material I use for my windows. Is plastic mosquito mesh glued to a clear acetate sheet.The glue comes from a spray artists use to protect pencil or pastel works from smearing. Gluing the material to the metal frame after paint it Lesson learned:Those metal windows do not bend. I broke this one, and had to fix it with epoxy. The good news is that this will be in a very low visibility area, (there's still one more deck above) so not much care was taken. I painted the frame with Floquil Antique White, one of my all time favorite colors. Thanks for watching!!!
- 786 replies
-
- 15
-
-
- Royal Louis
- Finished
- (and 1 more)
-
I am speechless. This is truly a masterpiece. Hats off to you. You indeed built something to really be prod of. My sincere congratulations!!! Ulises
-
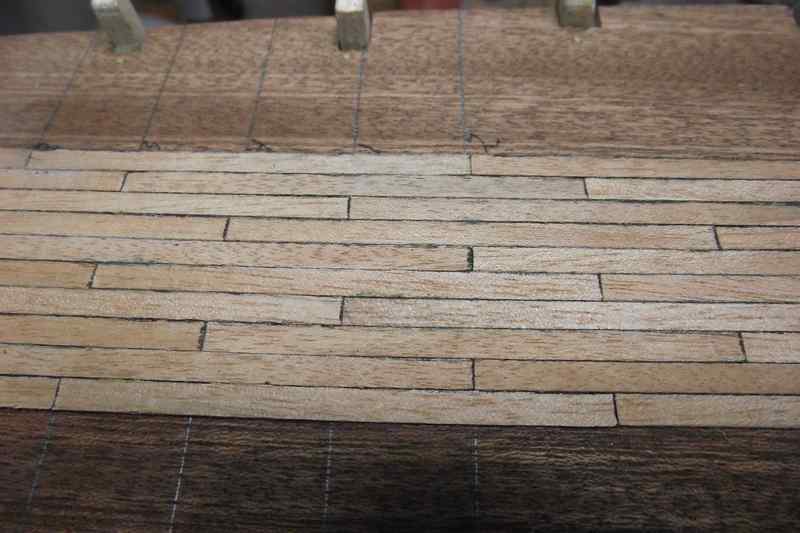
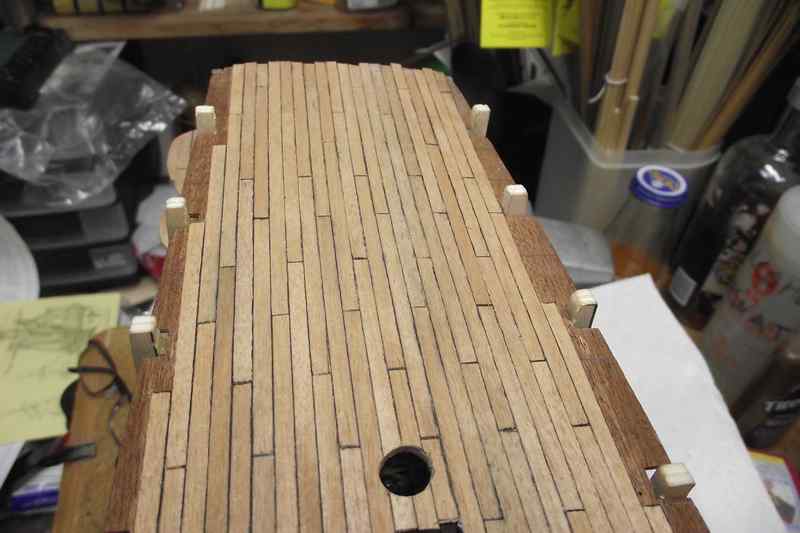
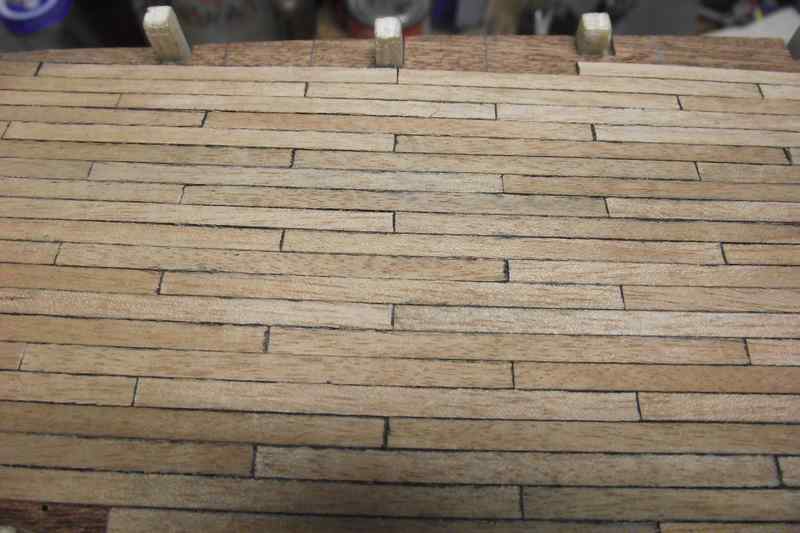
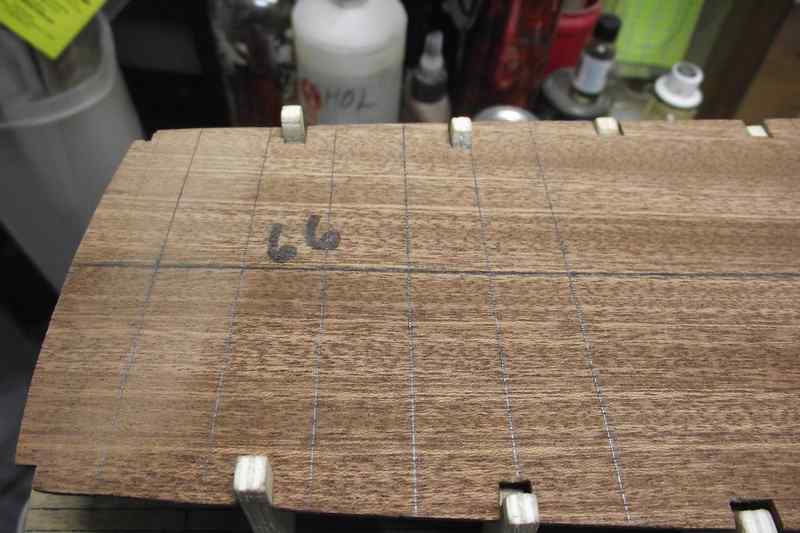
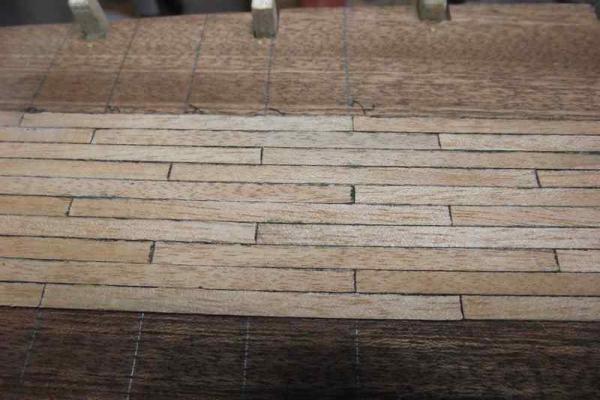
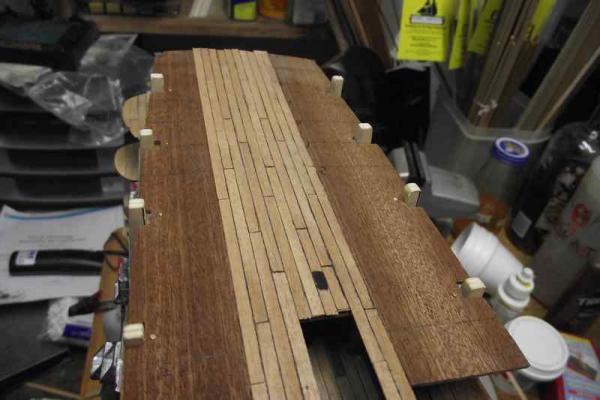
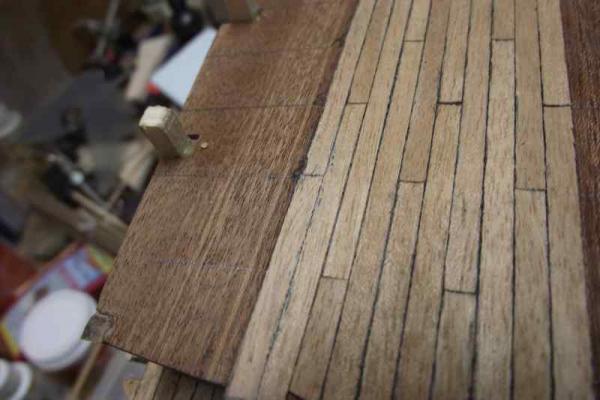
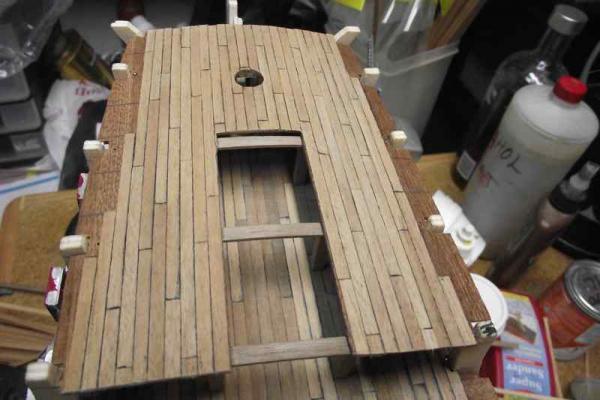
Update August 5 2014 Finished planking the fore deck. This will be a highly visible area, so care was taken to do it the best I could. What remains unplanked at the edges, will be finished once the bulwarks are built with the first and second hull planking. The plan is to do the two outside hull planking, cut the tips of the bulkheads, finish the remaining deck planking to cover the broken tips, and last finish with the two layers that will form the inner bulwarks. (Is this clear??? ) Thanks for visiting.


- 786 replies
-
- 9
-
-
- Royal Louis
- Finished
- (and 1 more)
-
Thank you all for the likes and the comments. No, I'm sorry... she will not be finished anytime soon I just understood what the instructions were regarding hull planking, and specially how the bulwarks will be built. As I understand, there will be 4 layers of wood there. I had to read and see the drawings so many times to finally understand them. That in itself gives a sense of accomplishment.
-
Definitely! Think about tying knots and rigging lines on the stays with the shrouds on. They will definitely get in the way. In my opinion, shrouds are the last step in the standing rigging phase. Edit: What I meant is the tying of the shrouds to the deadeyes. Shrouds have to be mounted on the mast first. Then let them hang until the rest of the standing riging is complete, and lastly, tie deadeyes and lanyards.
- 1,873 replies
-
- 2
-
-
- occre
- san ildefonso
- (and 1 more)
-
Work Table Light needed
Ulises Victoria replied to bear's topic in Modeling tools and Workshop Equipment
WOW 400+ dlls for a desk lamp???? -
Interesting topic. It makes sense to me that ratlines were left natural for the above mentioned reasons. Would I put natural ratlines against black shrouds? Never!!! Tell me what you want, but I just don't like how they look. Period!