-
Posts
5,503 -
Joined
-
Last visited
Content Type
Profiles
Forums
Gallery
Events
Everything posted by James H
-

MSW is extremely slow
James H replied to Keith_W's topic in How to use the MSW forum - **NO MODELING CONTENT**
MSW is accessed through a proxy. When you ping MSW, you're actually pinging our proxy. All traffic here is routed through that. It is very possible that our proxy could have been slow, or your route to MSW was slow. For me, I've not noticed any difference in access time, but I'm in the Uk and not Aus. -
I built the Mantua kit about 20yrs ago and thought it was pretty good. But that was a long time ago. I also installed a low voltage fluorescent tube inside to light up the portholes, windows and the glass ceiling for the Grand Staircase.
-
Looking sweet, and that's a lovely copper job, even if the rudder took an age!
- 233 replies
-
- Indefatigable
- Vanguard Models
-
(and 1 more)
Tagged with:
-
That is so nice, and good to see it with different colours too.
- 8 replies
-
- combat place
- Panart
-
(and 2 more)
Tagged with:
-
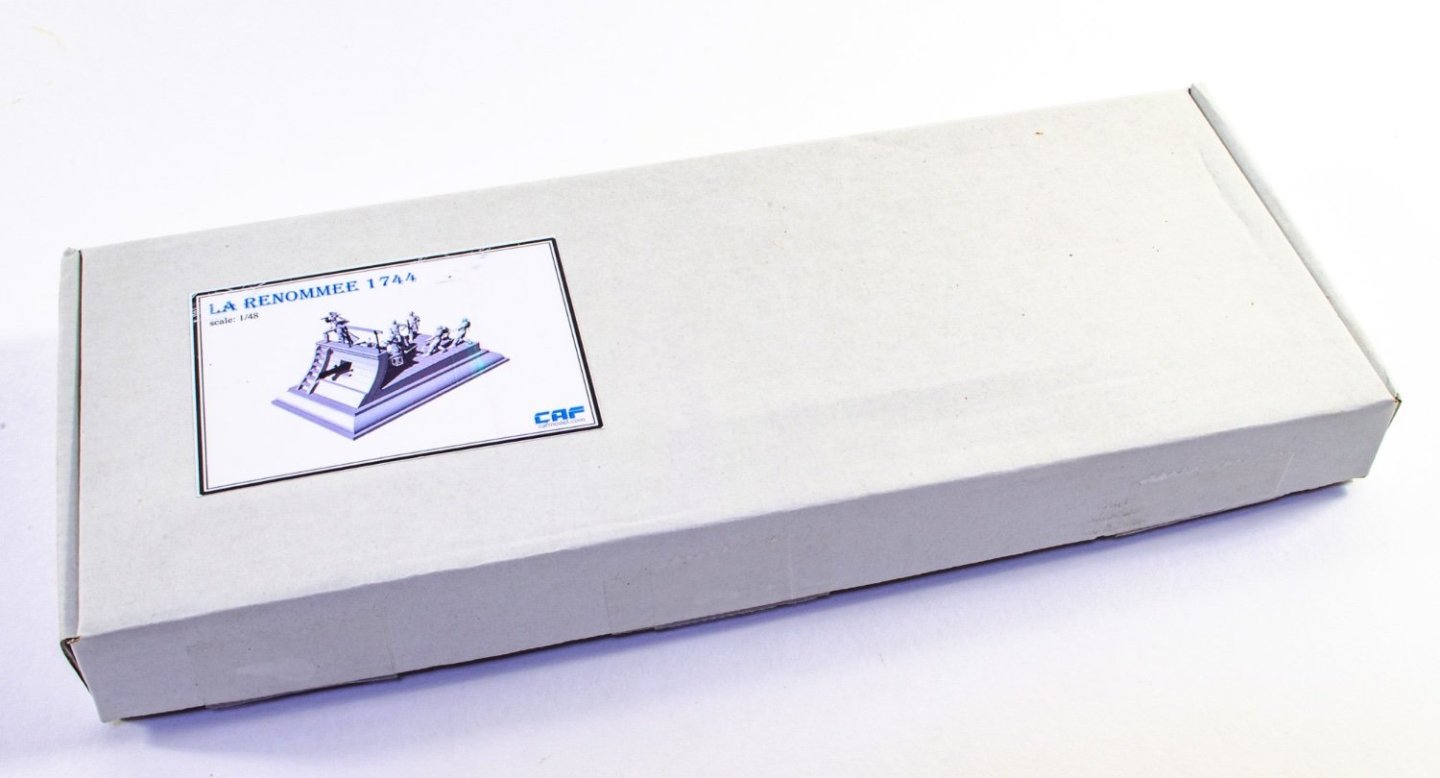
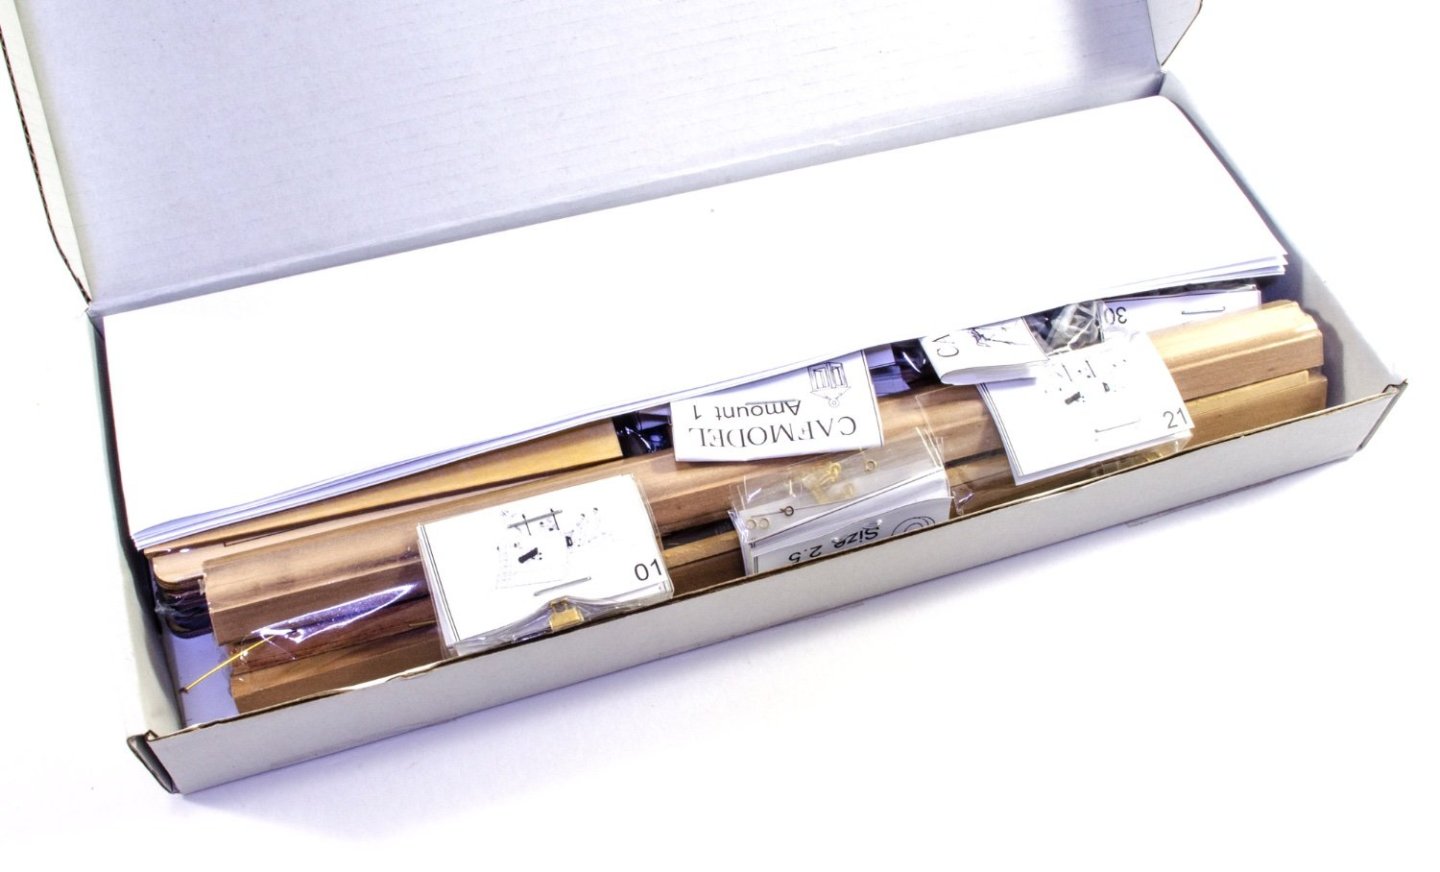
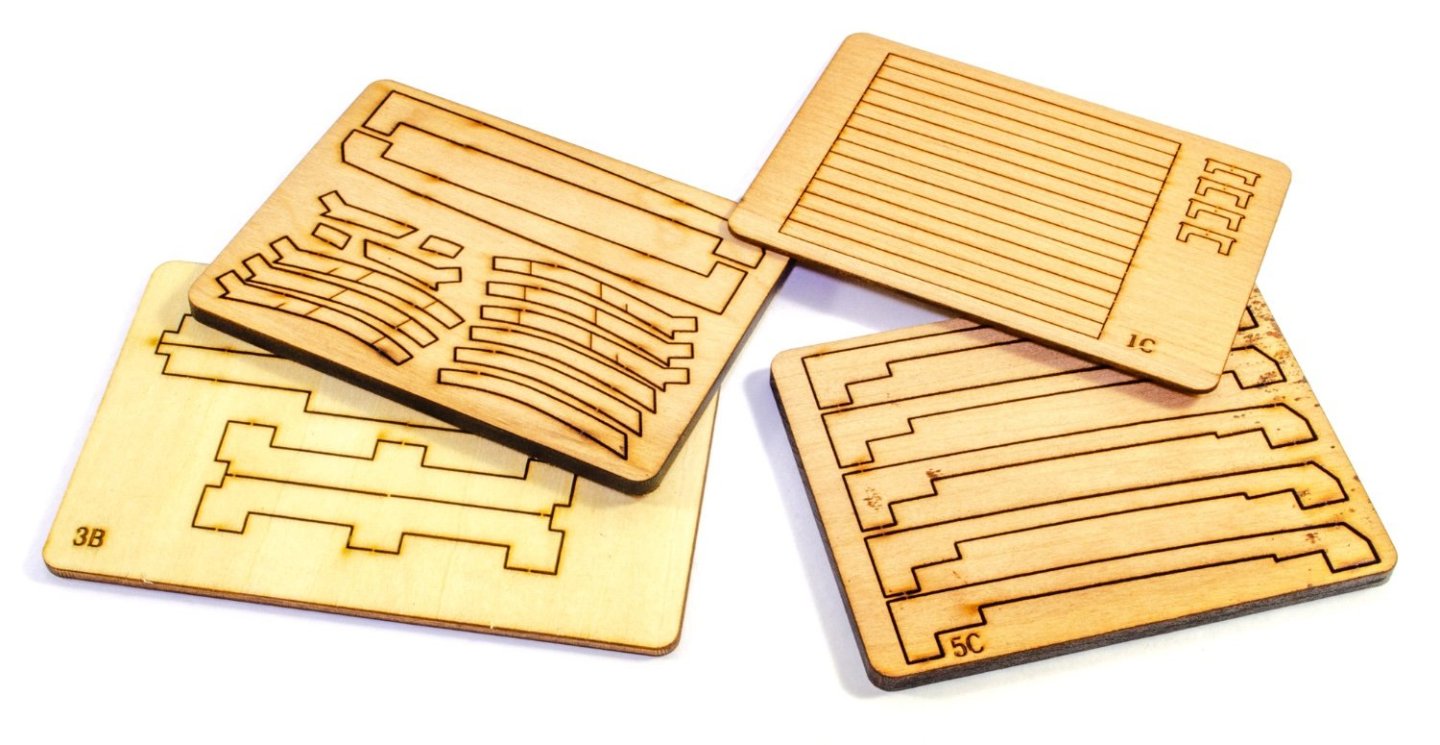
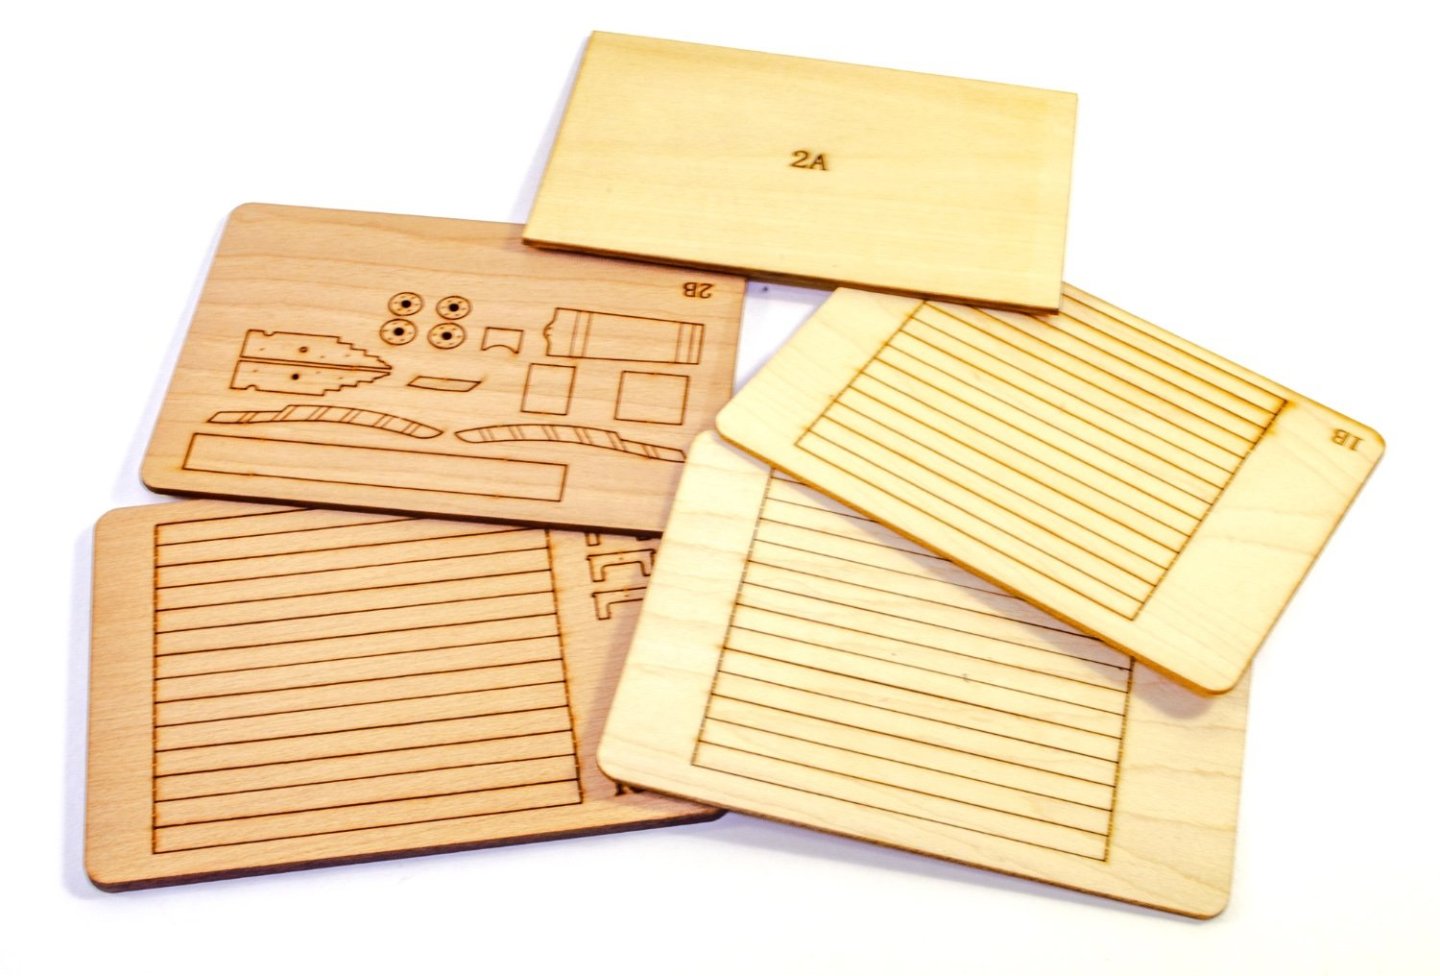
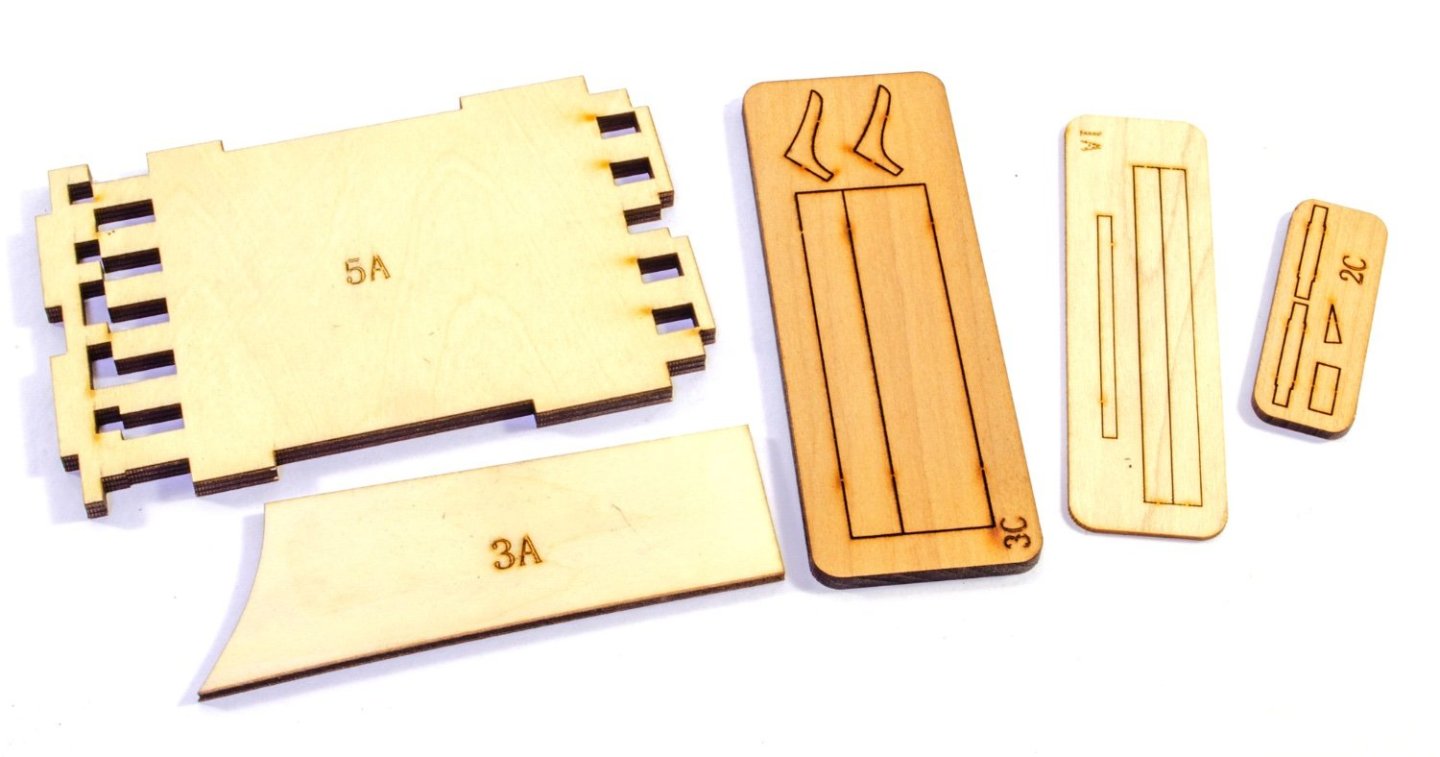
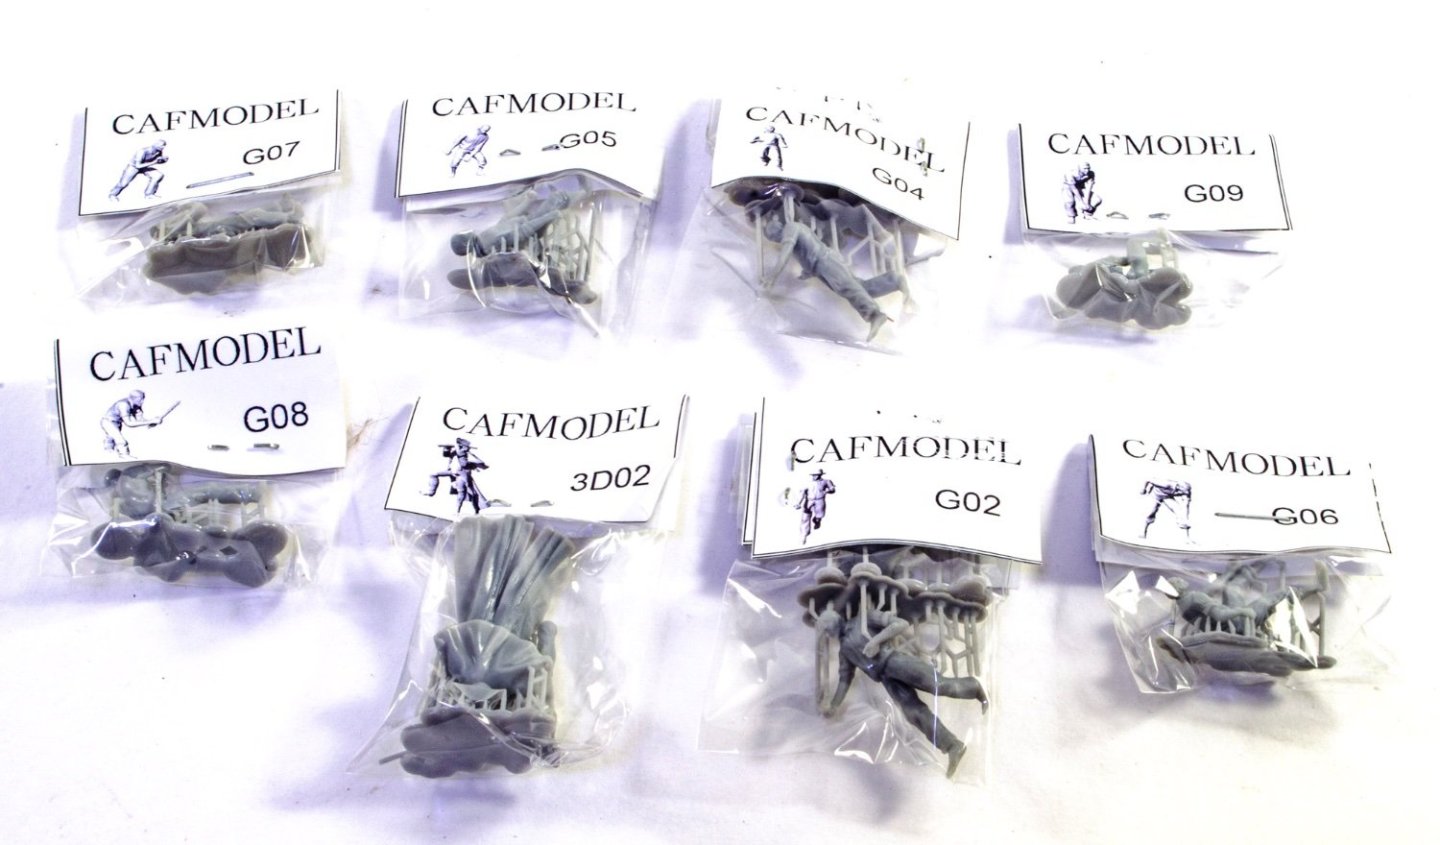
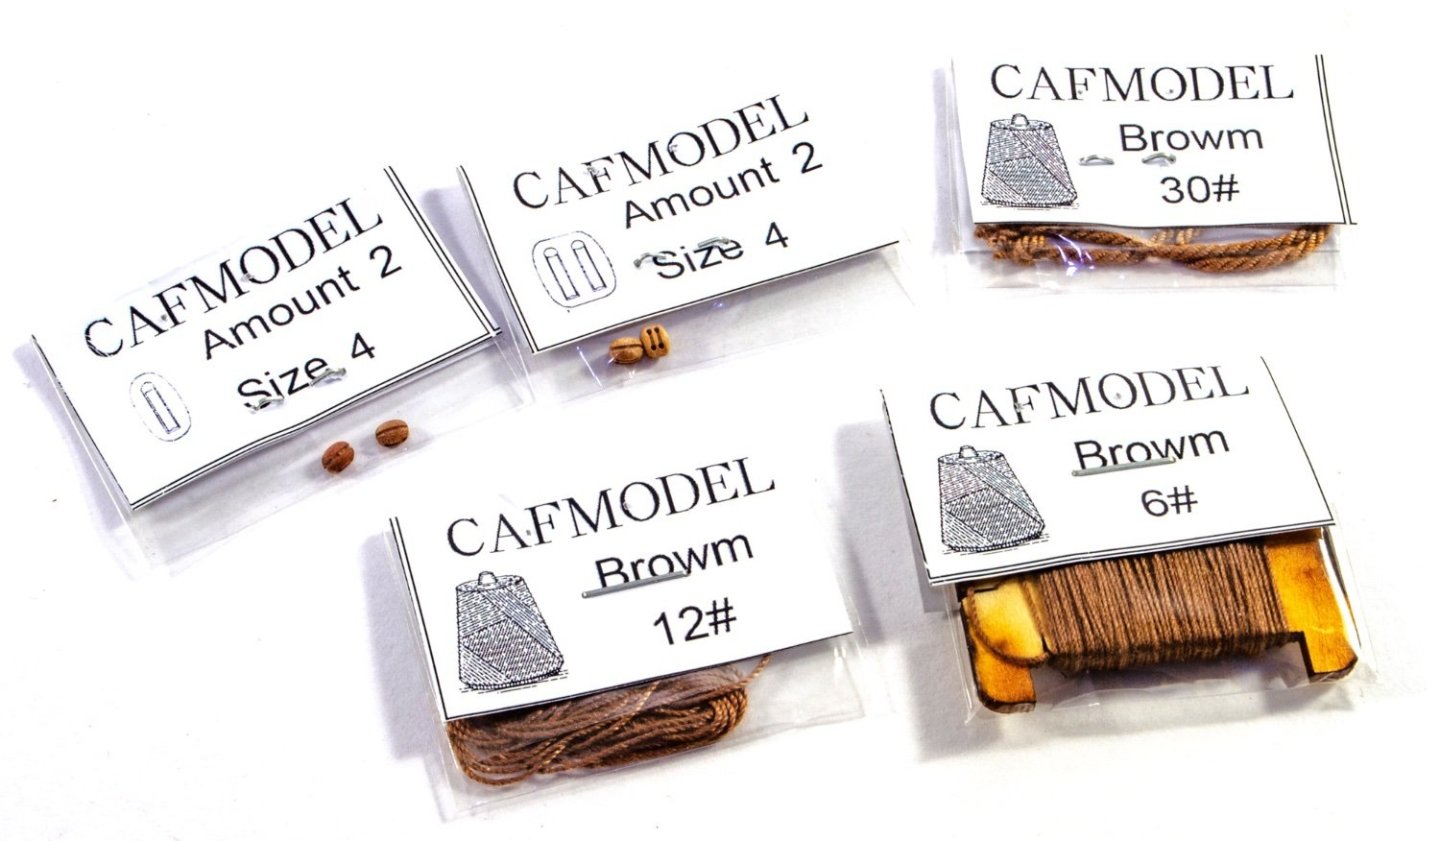
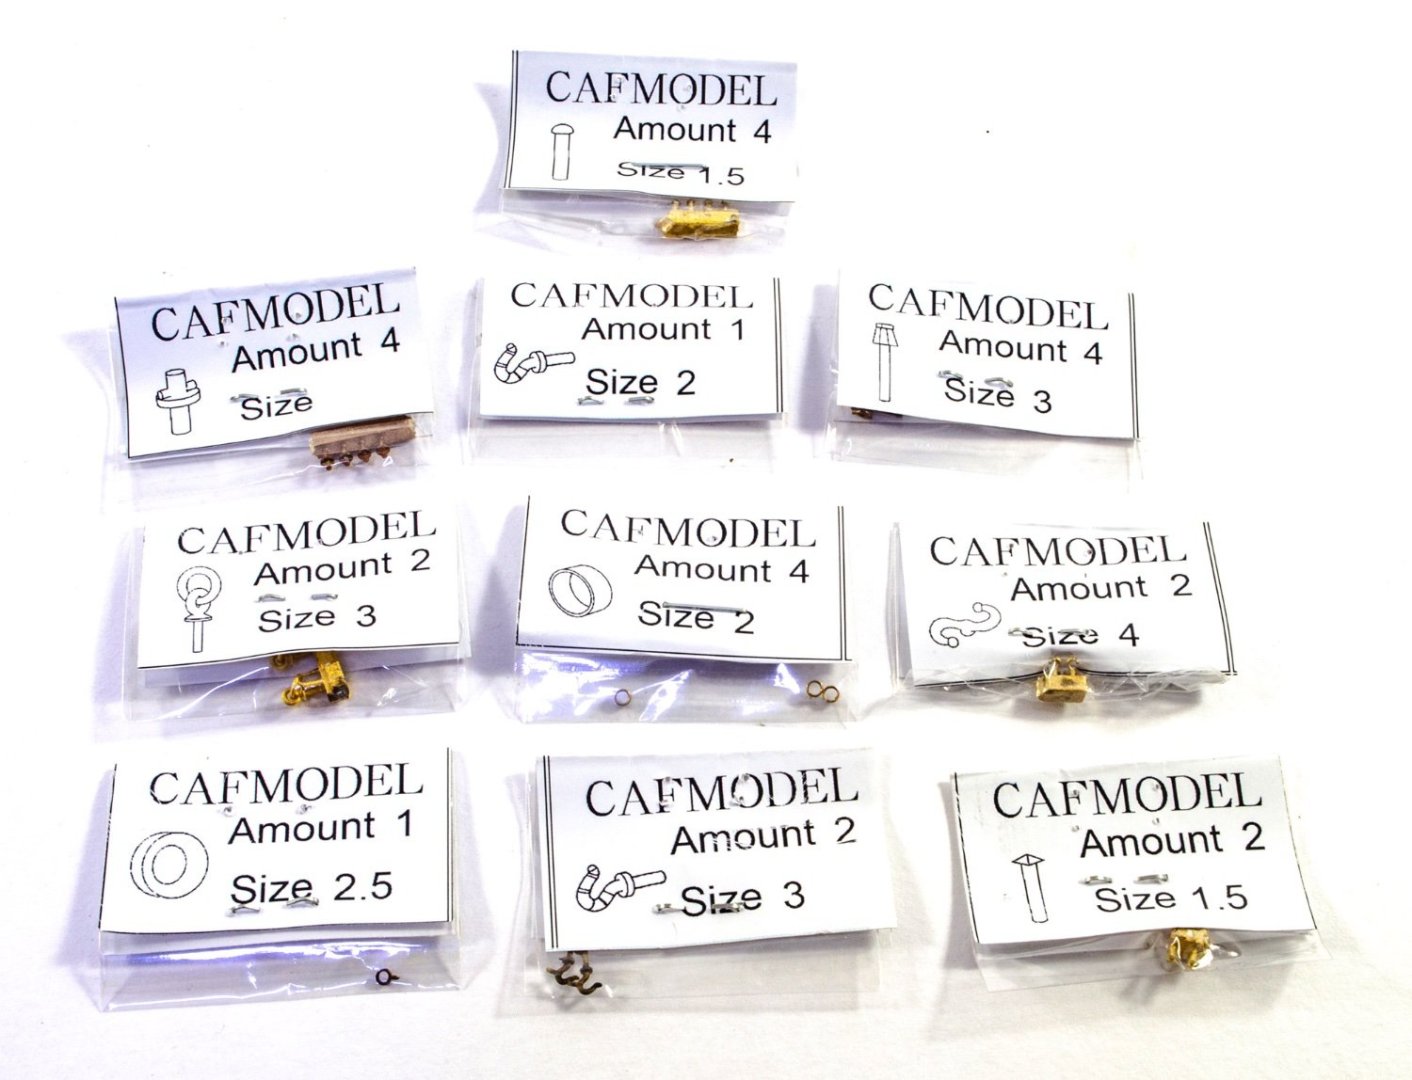
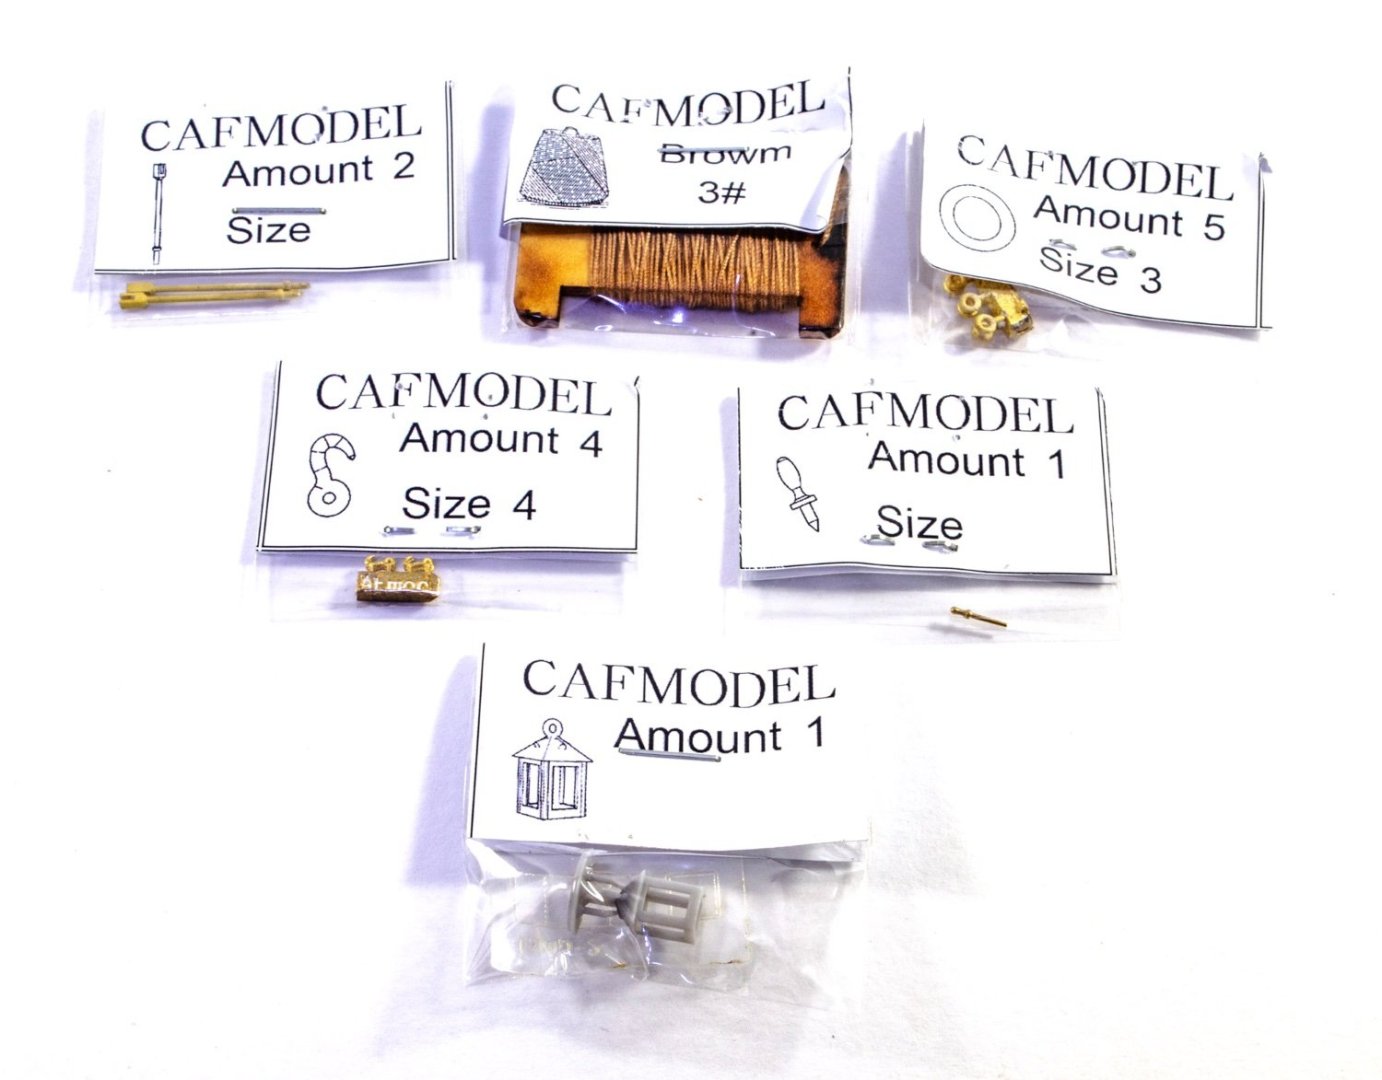
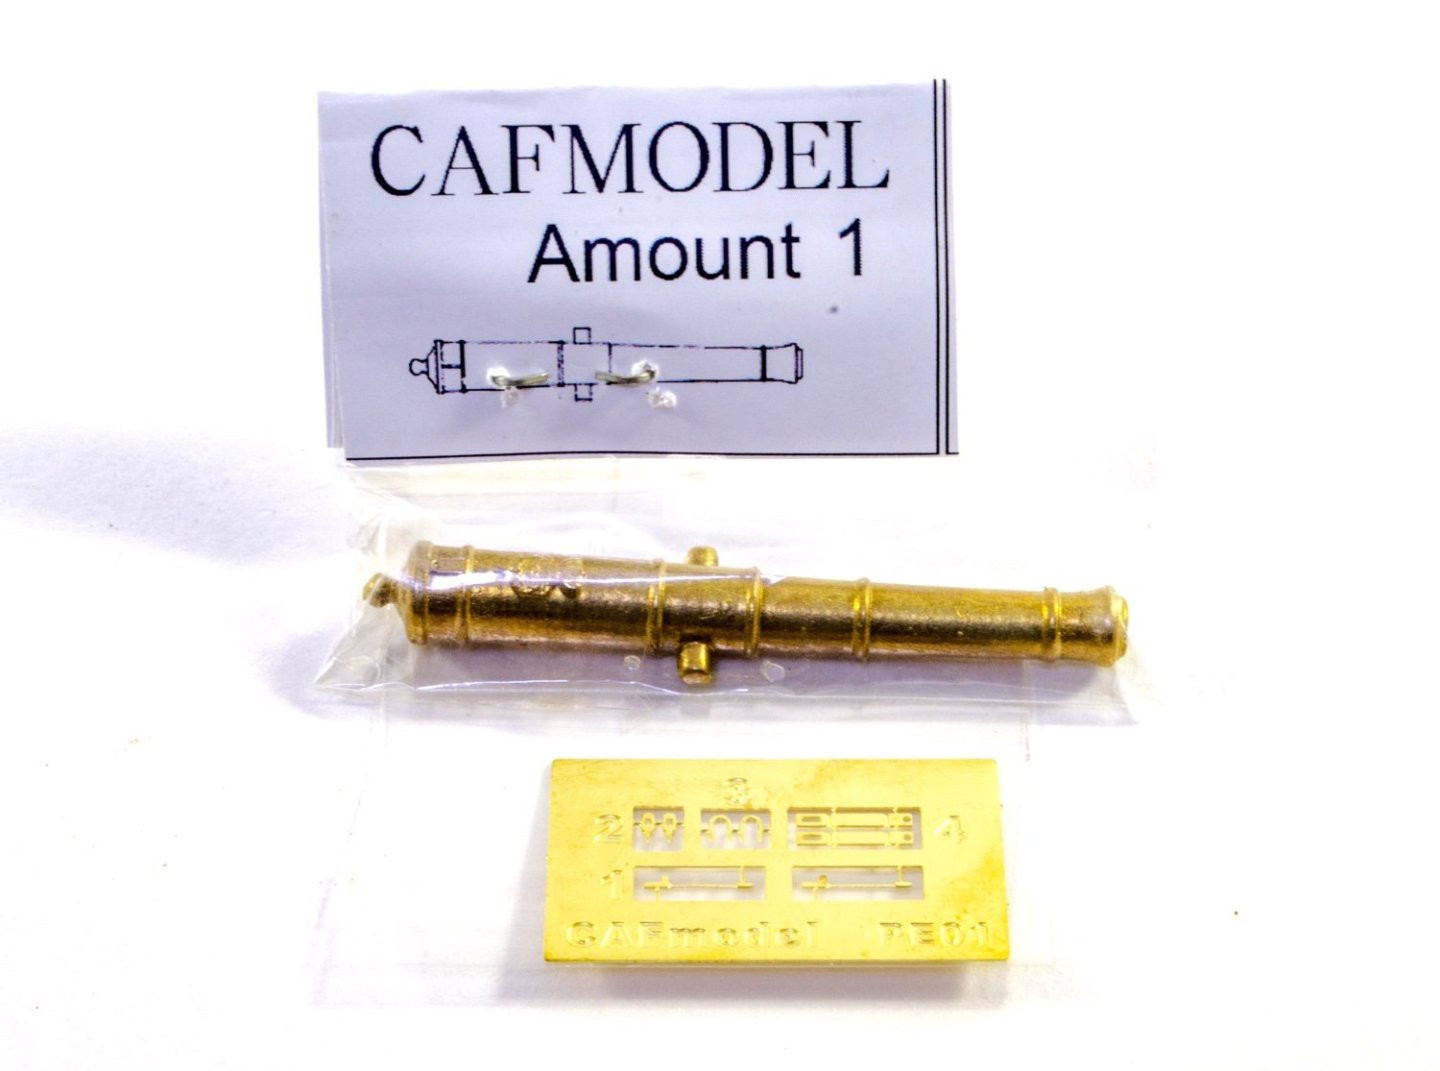
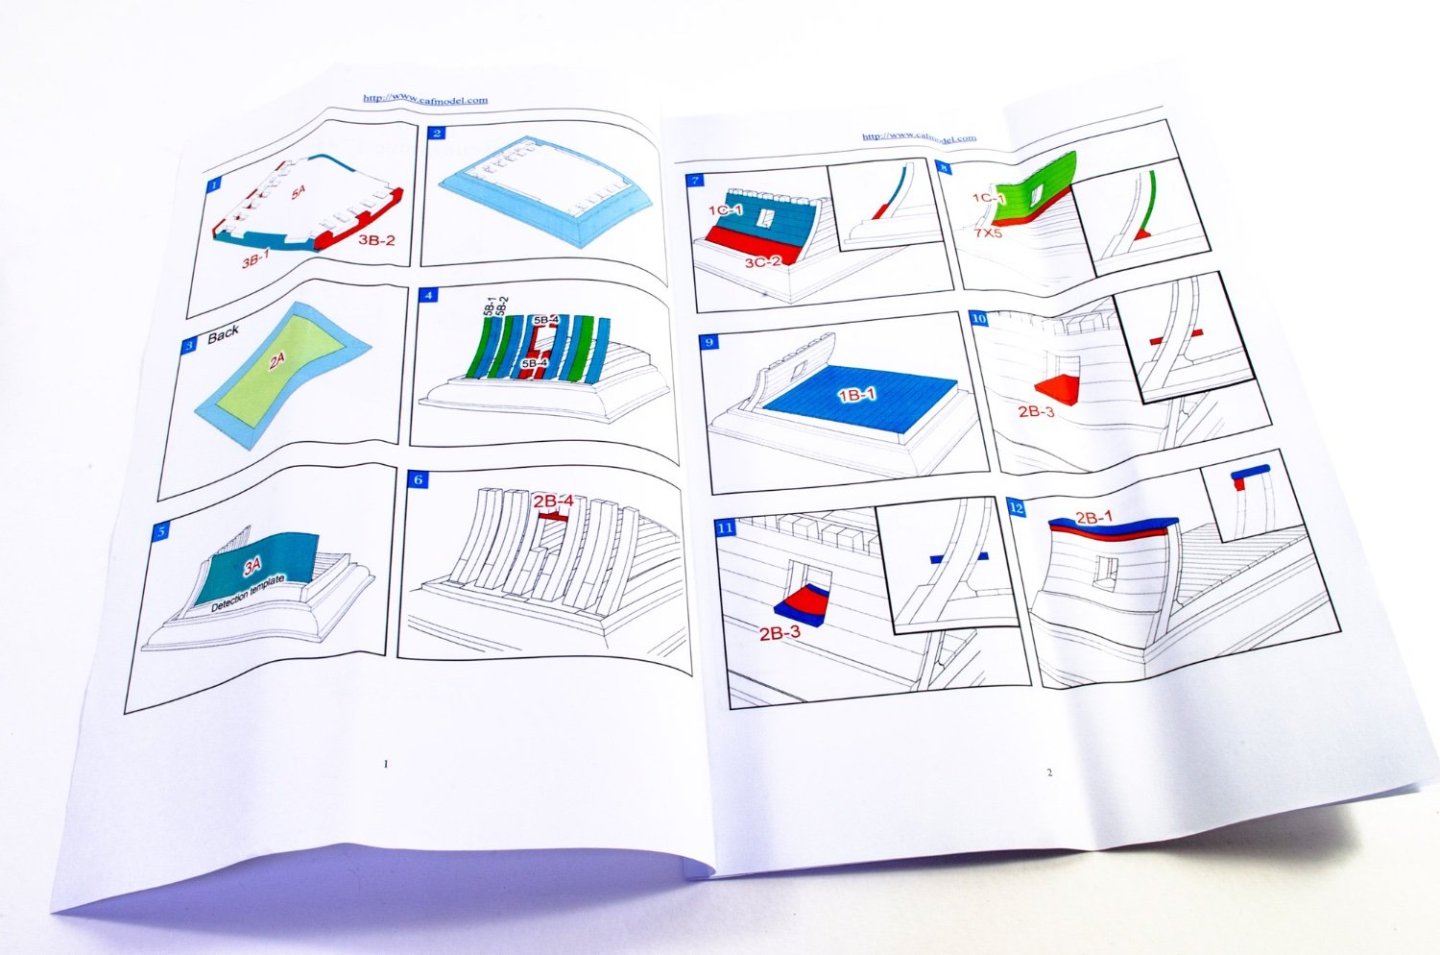
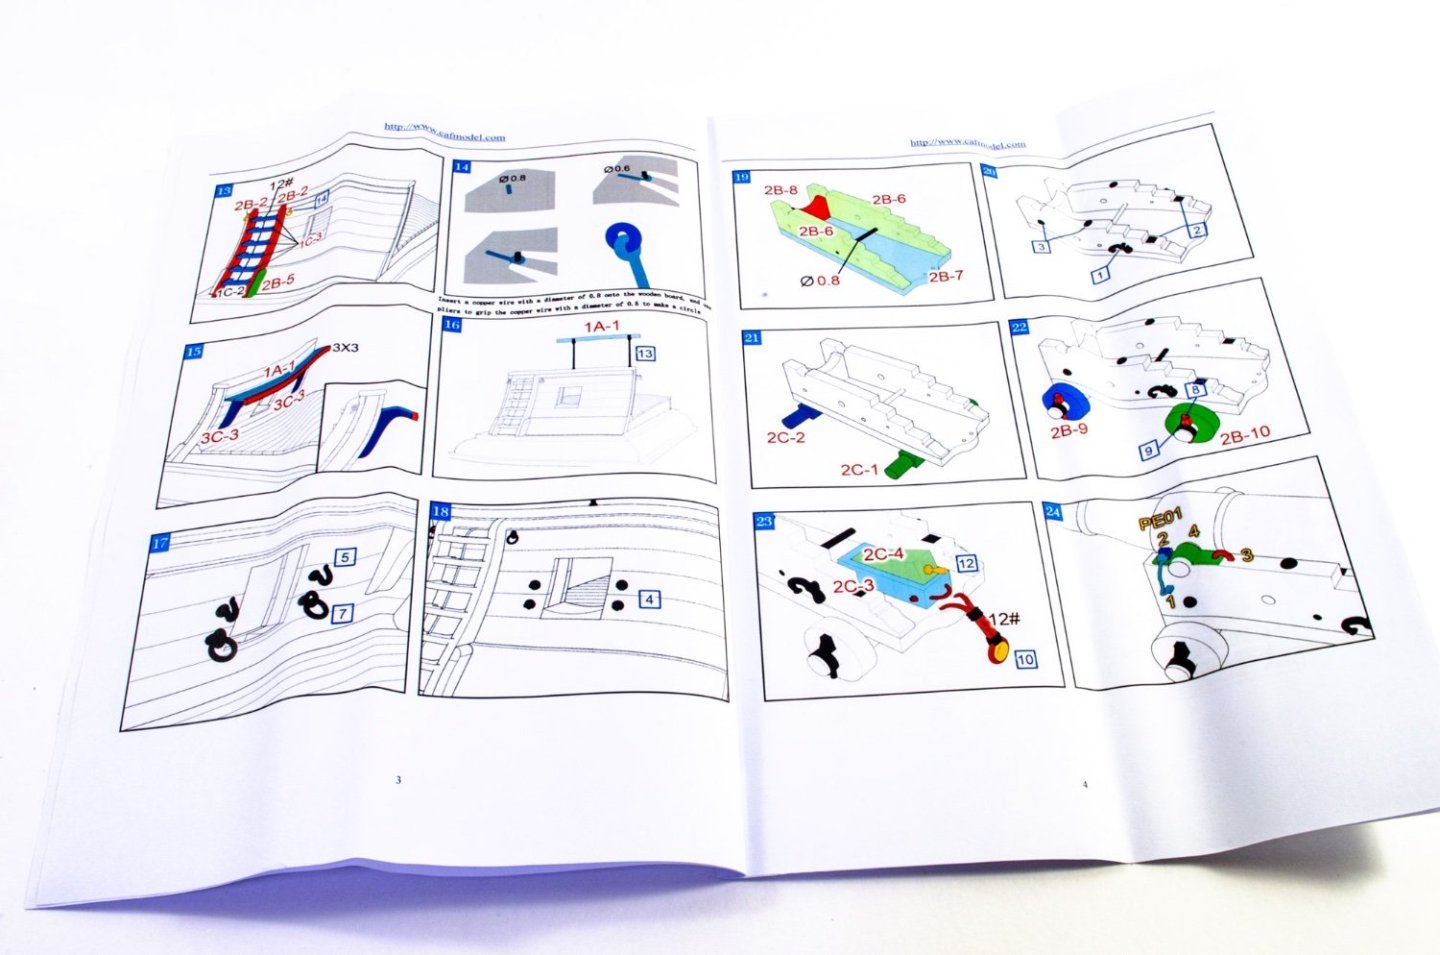
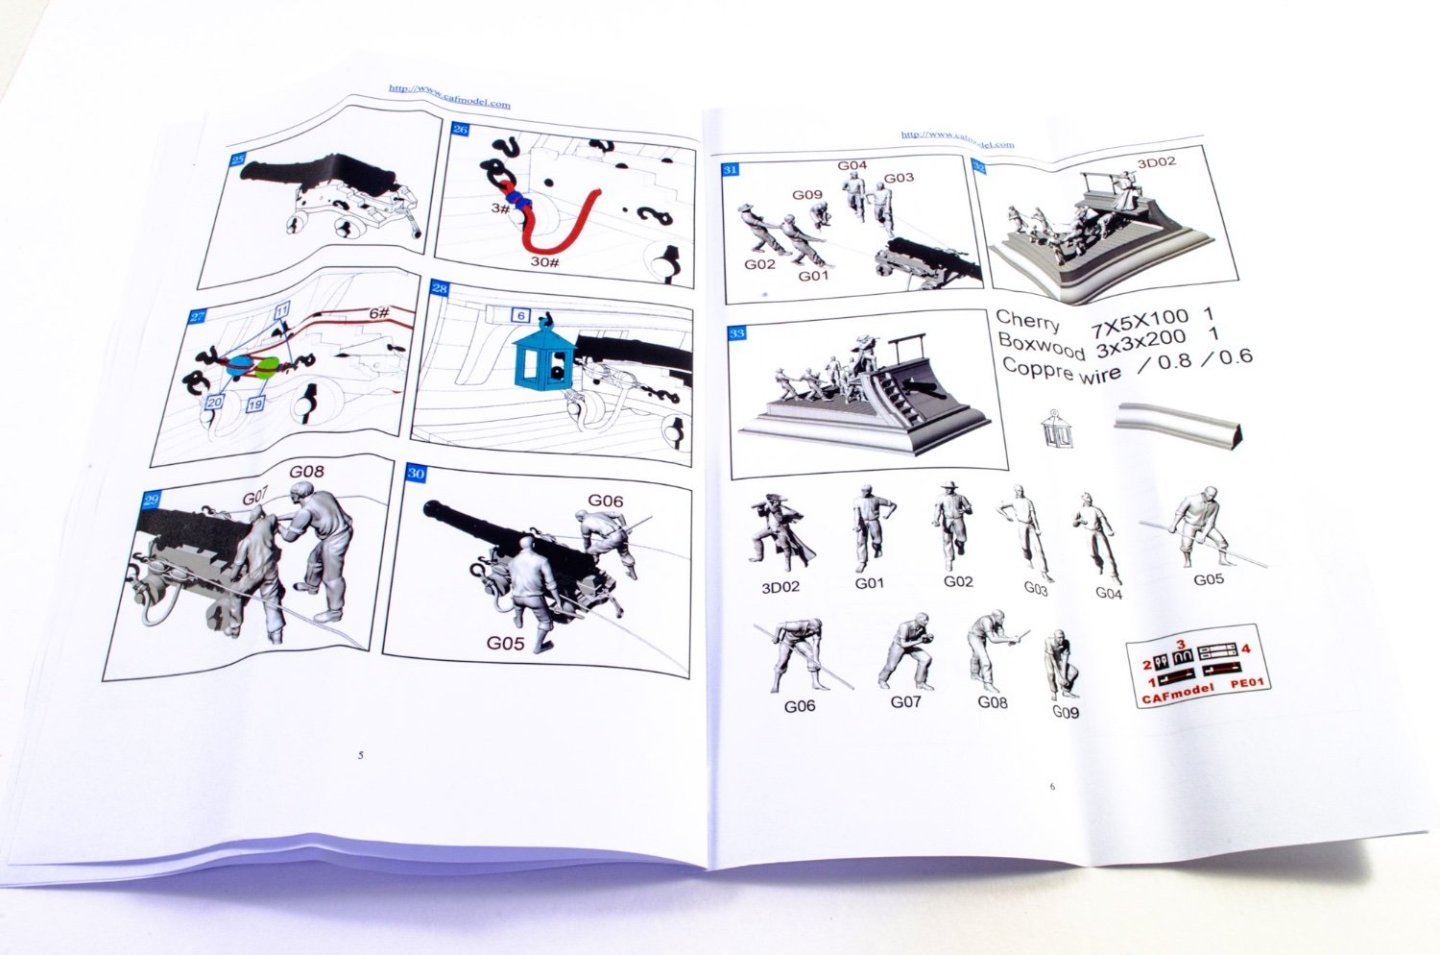
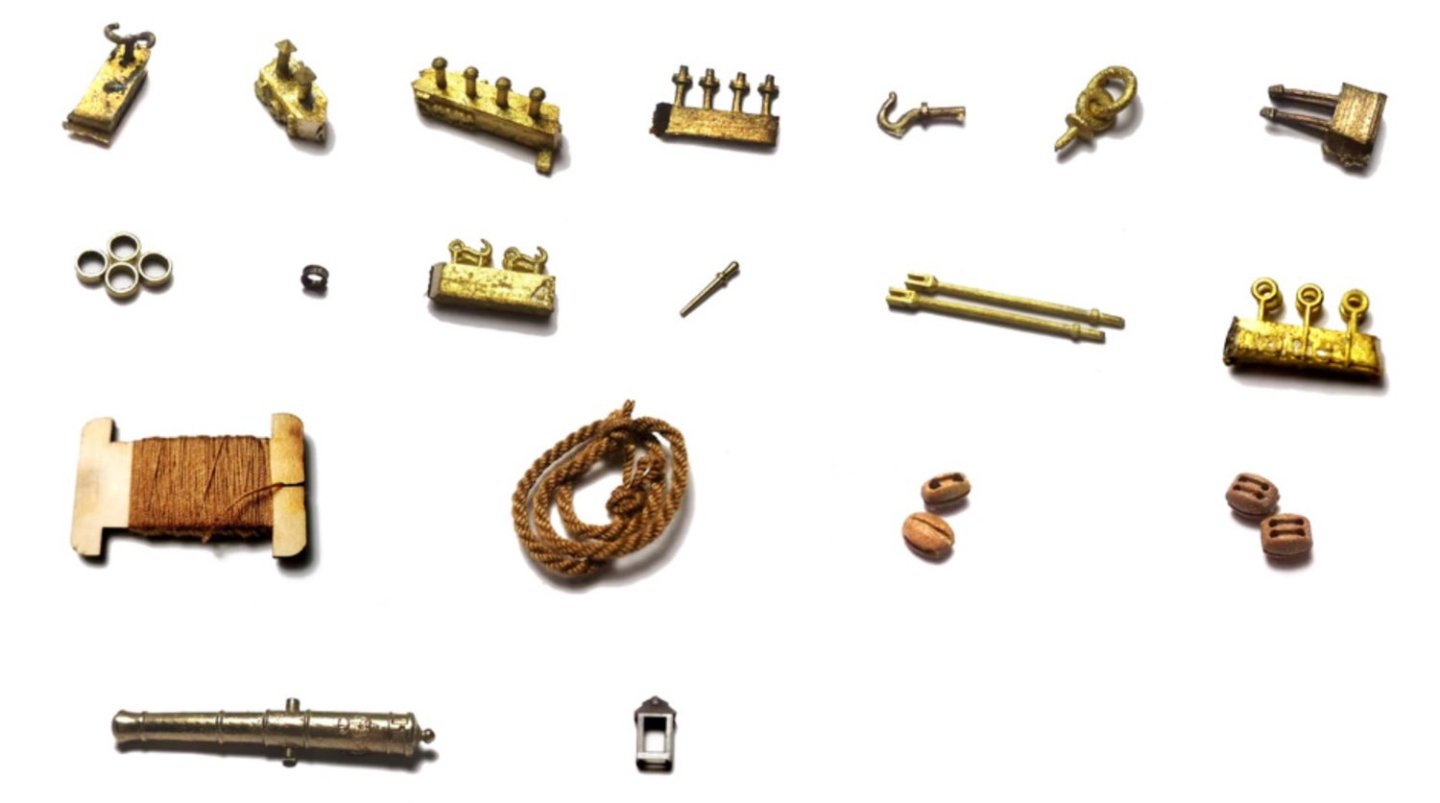
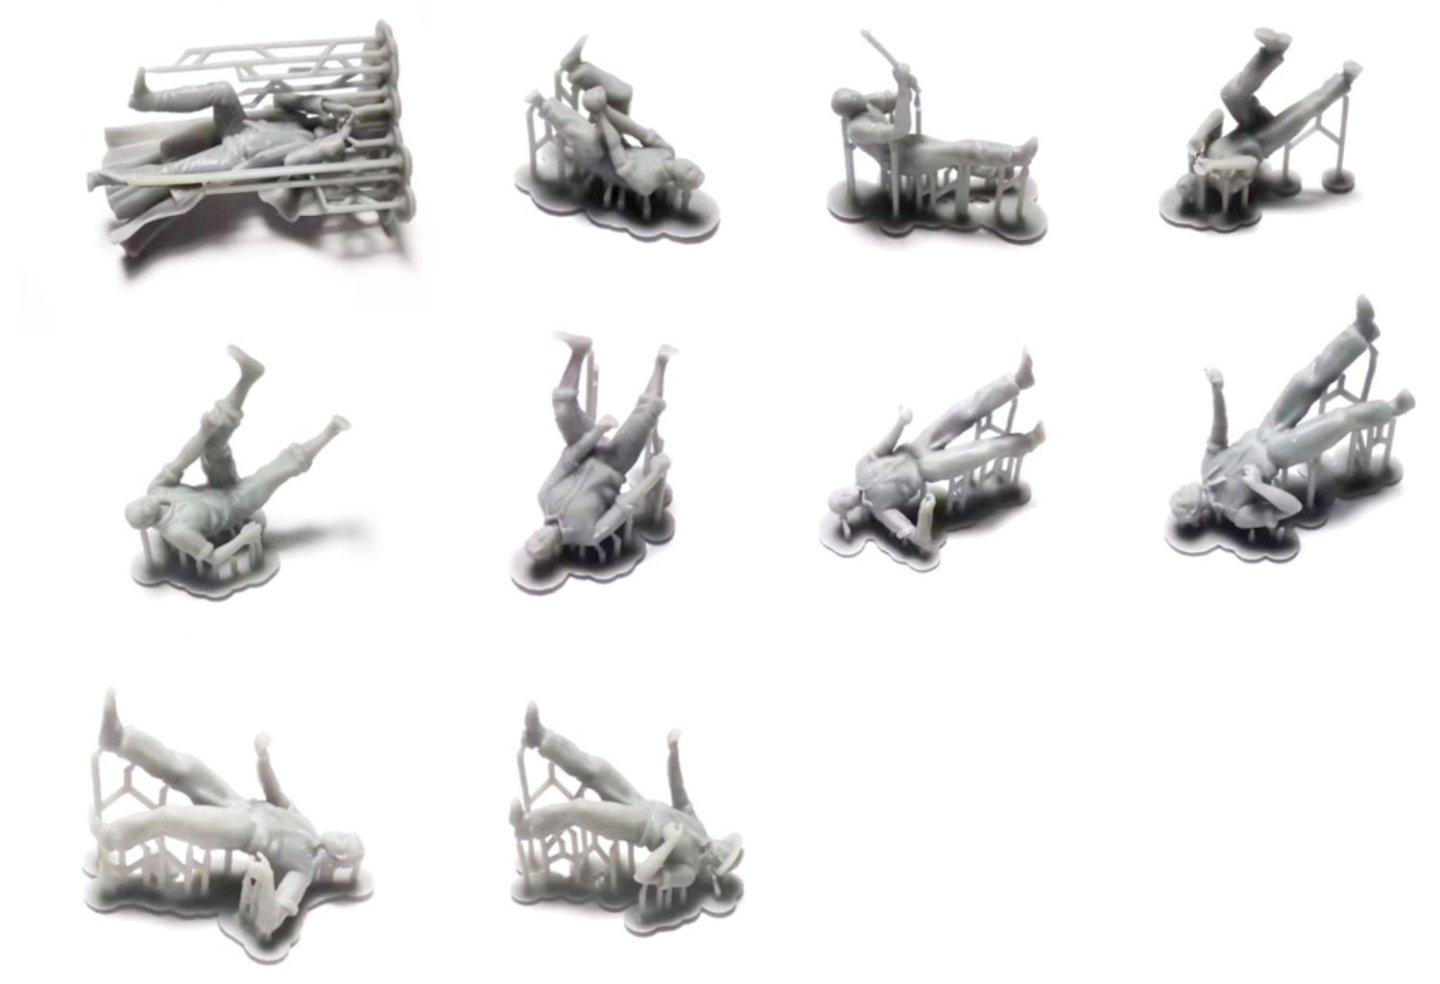
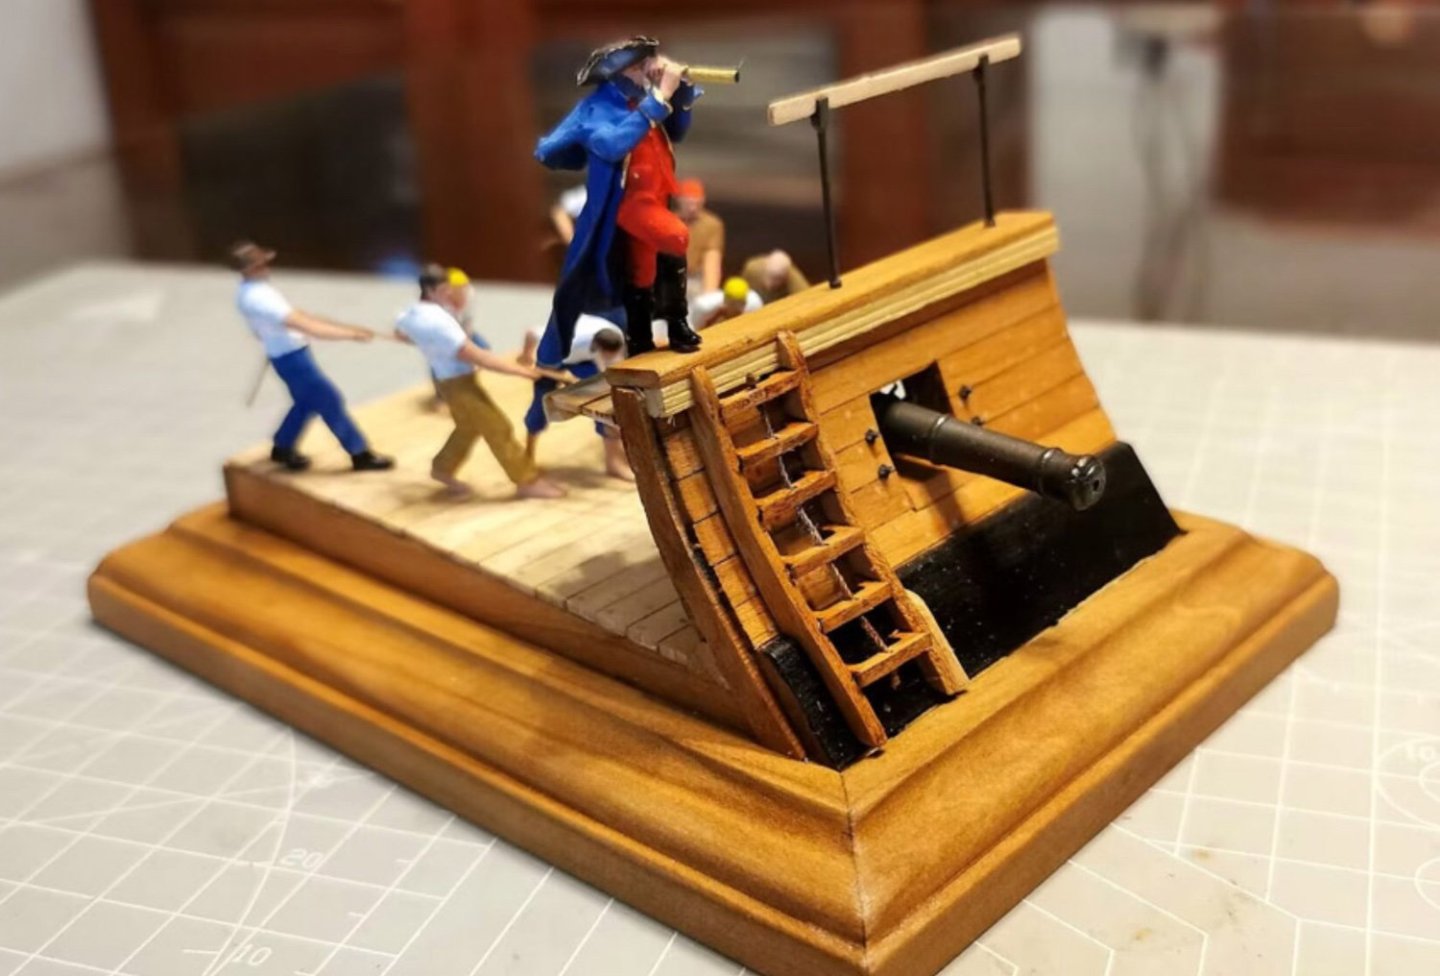
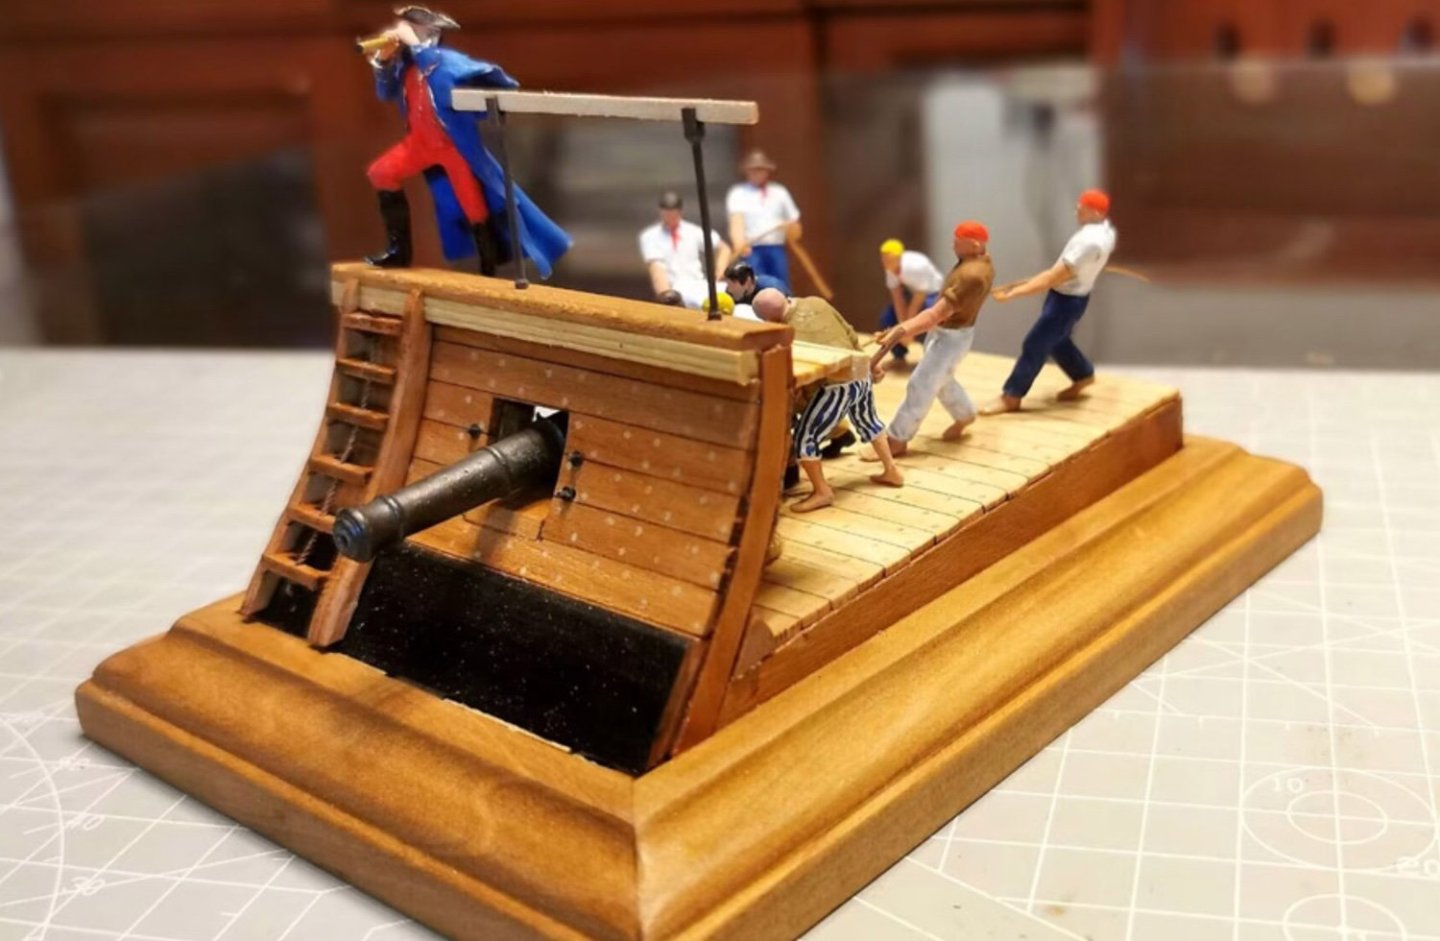
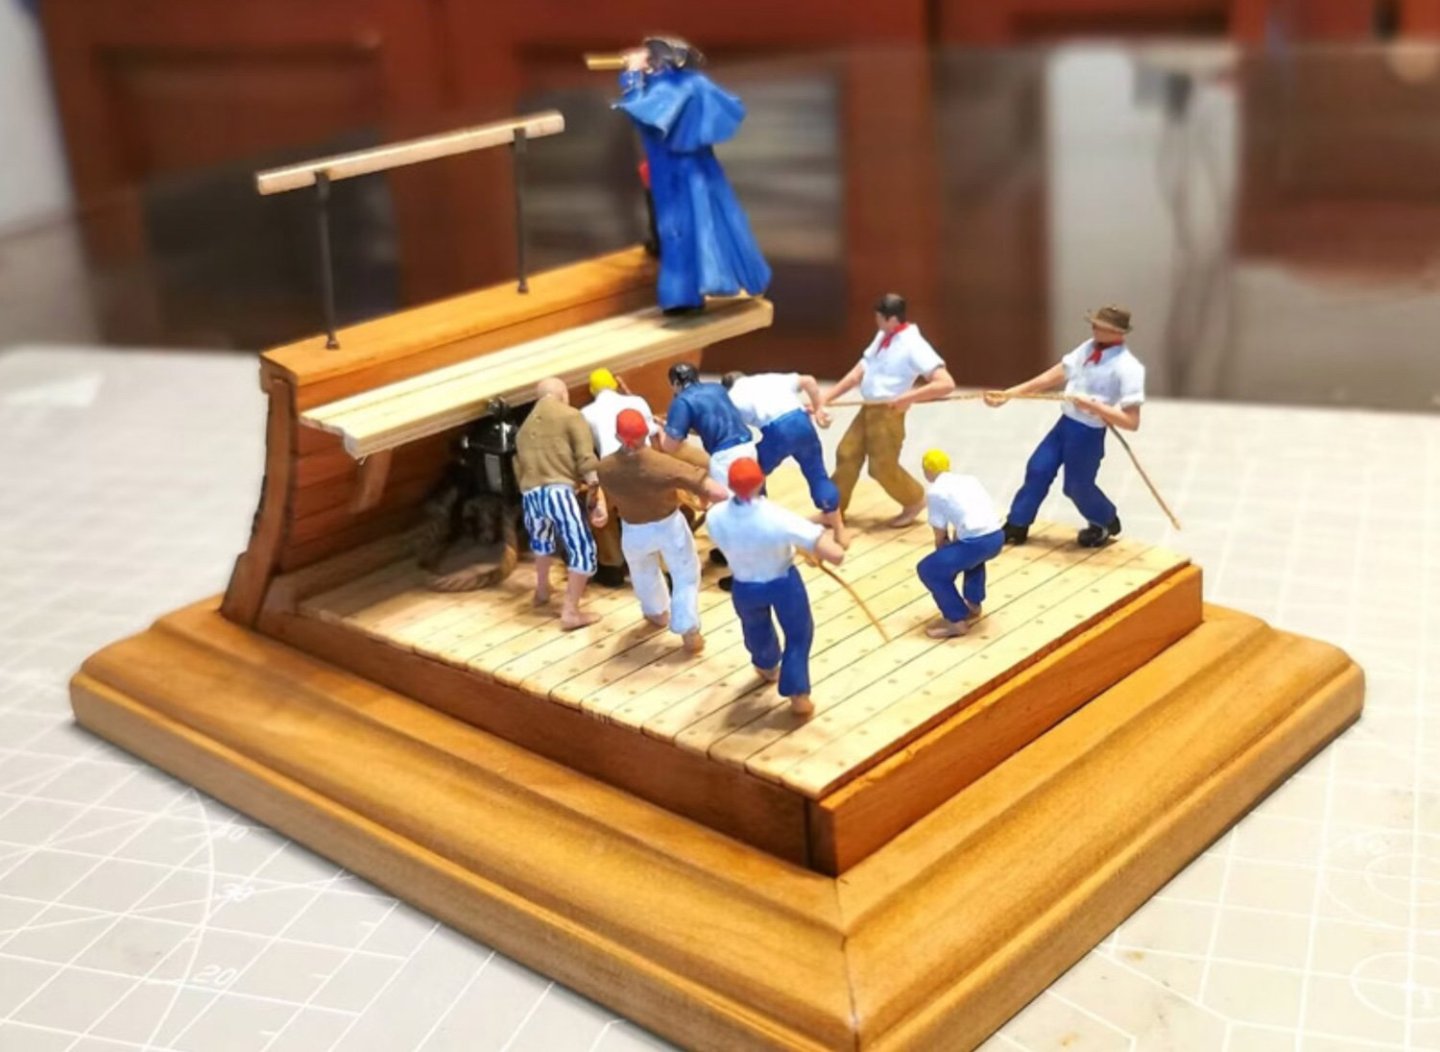
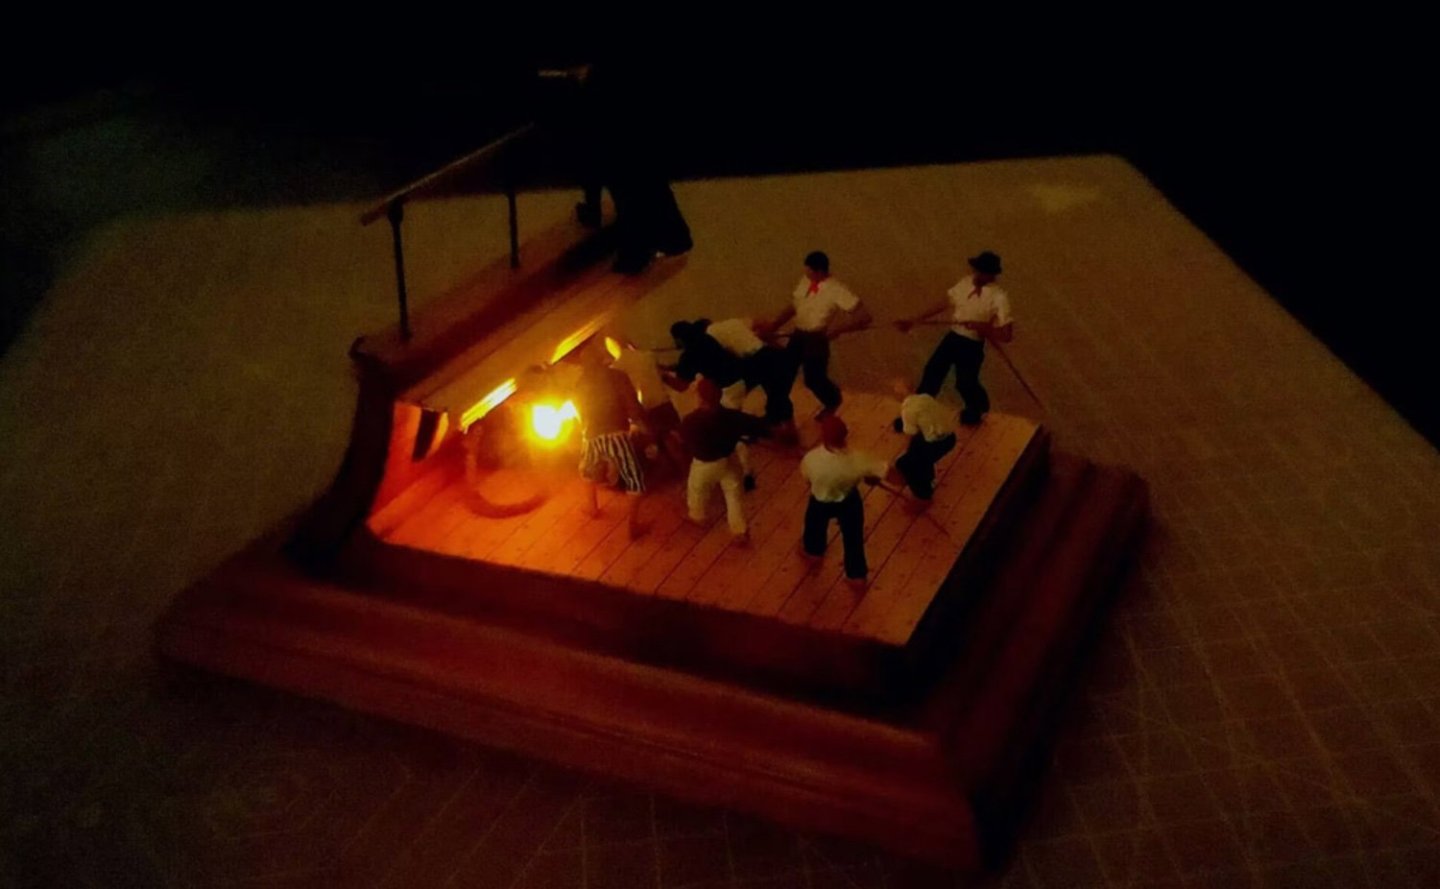
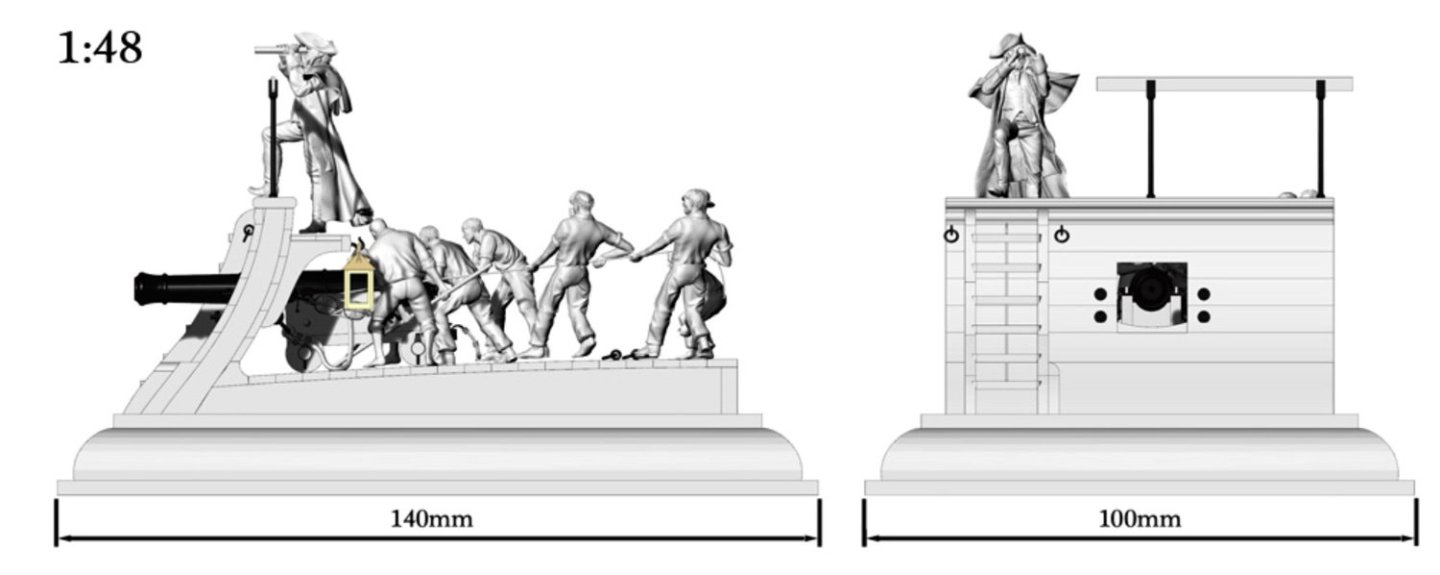
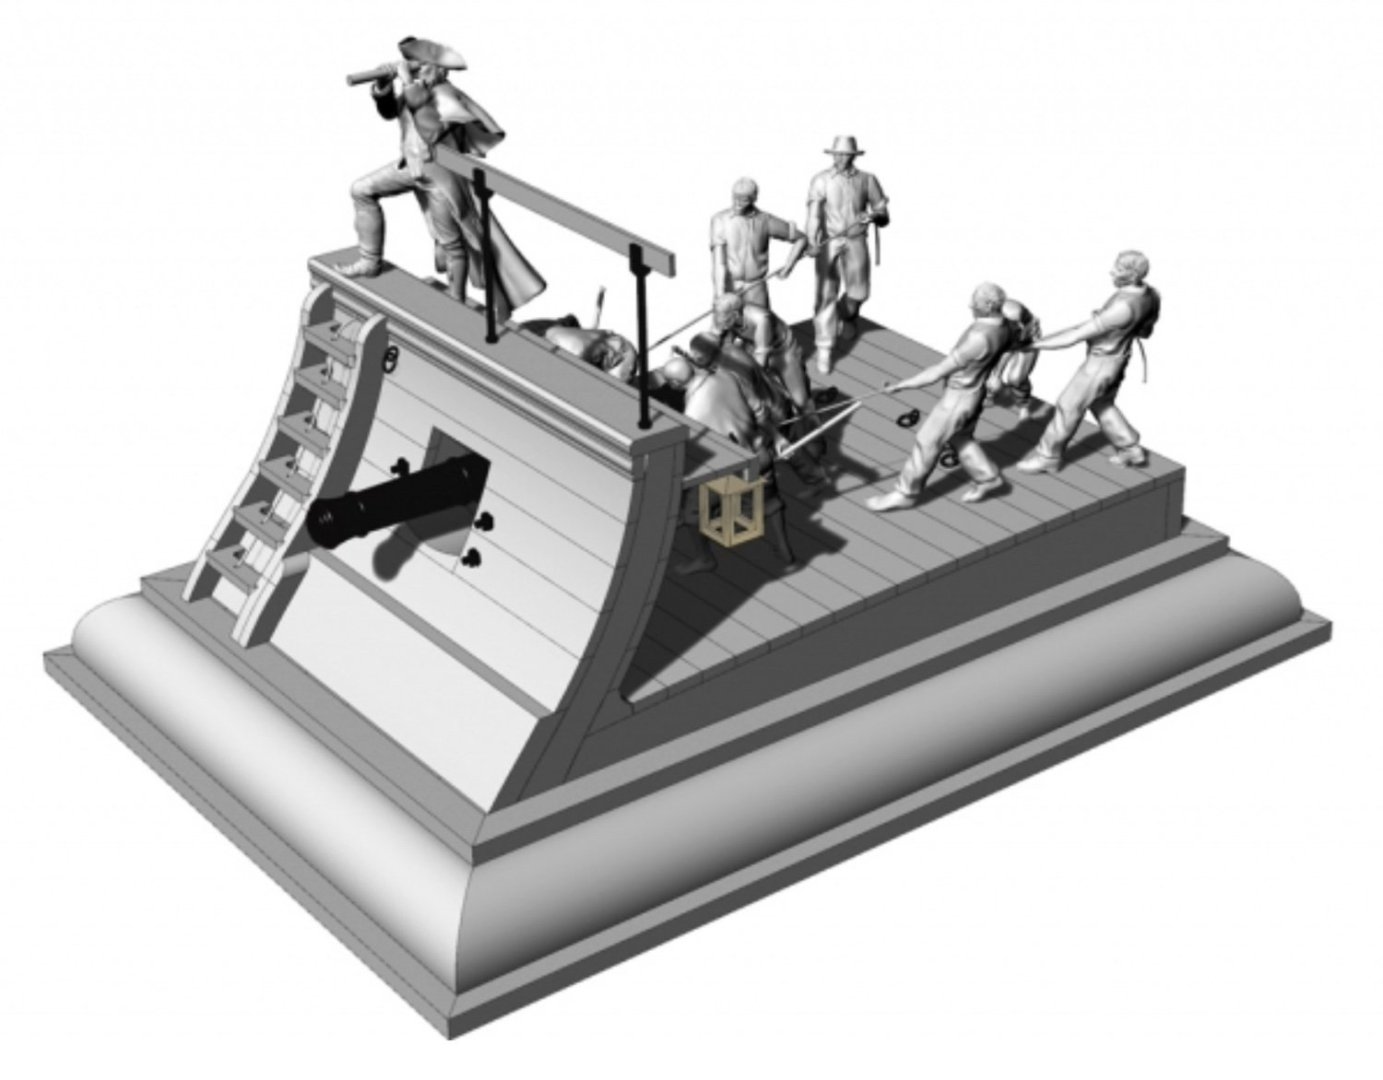
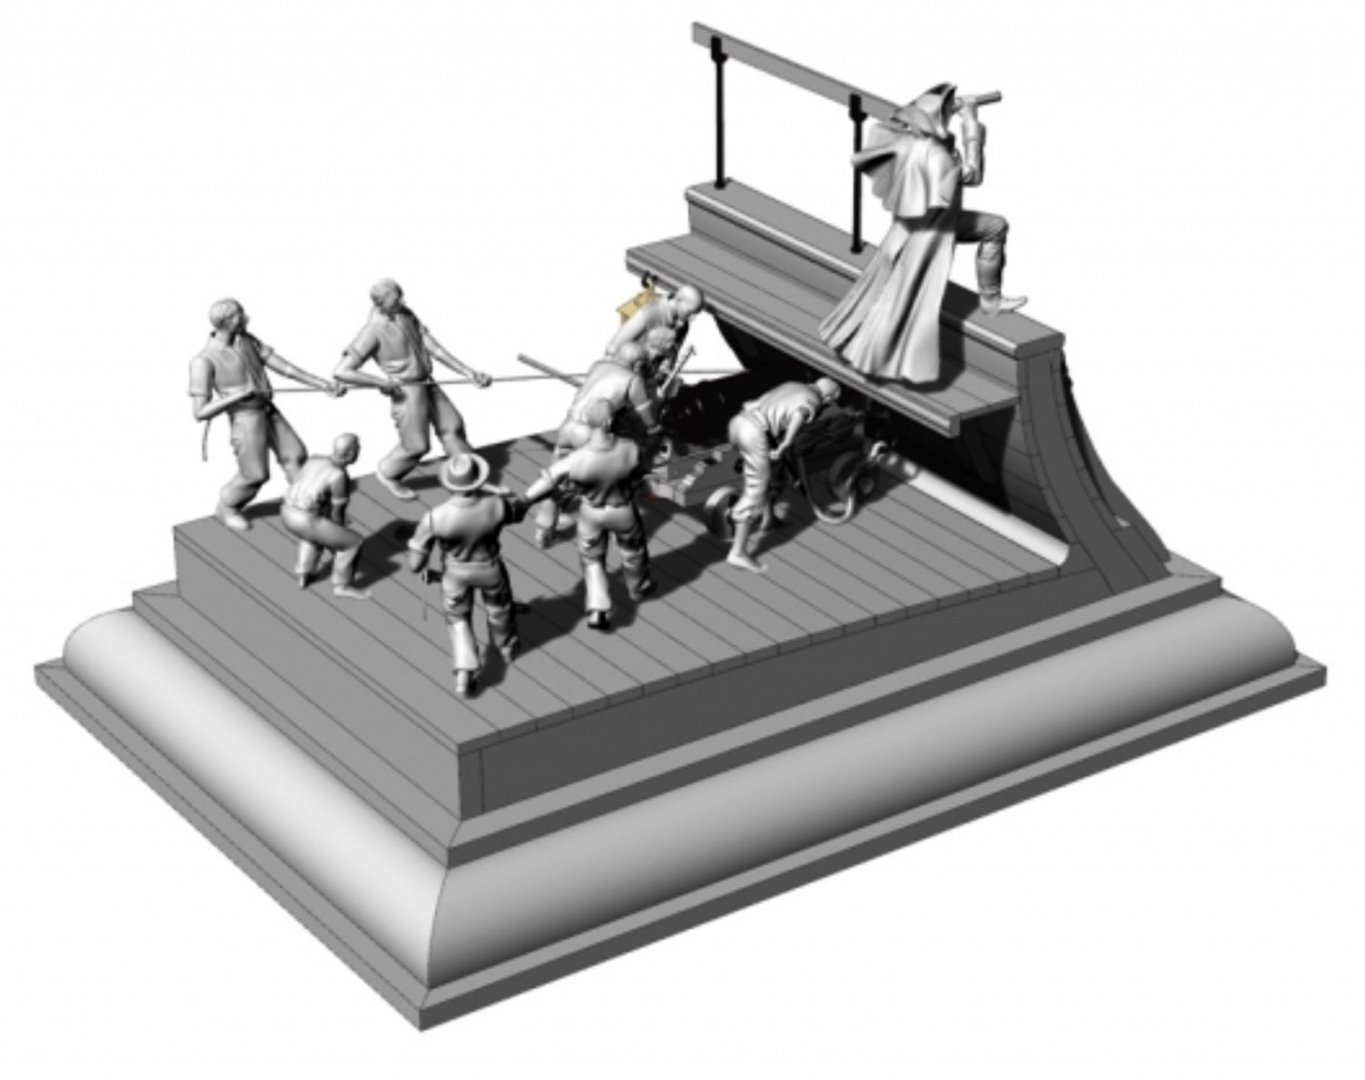
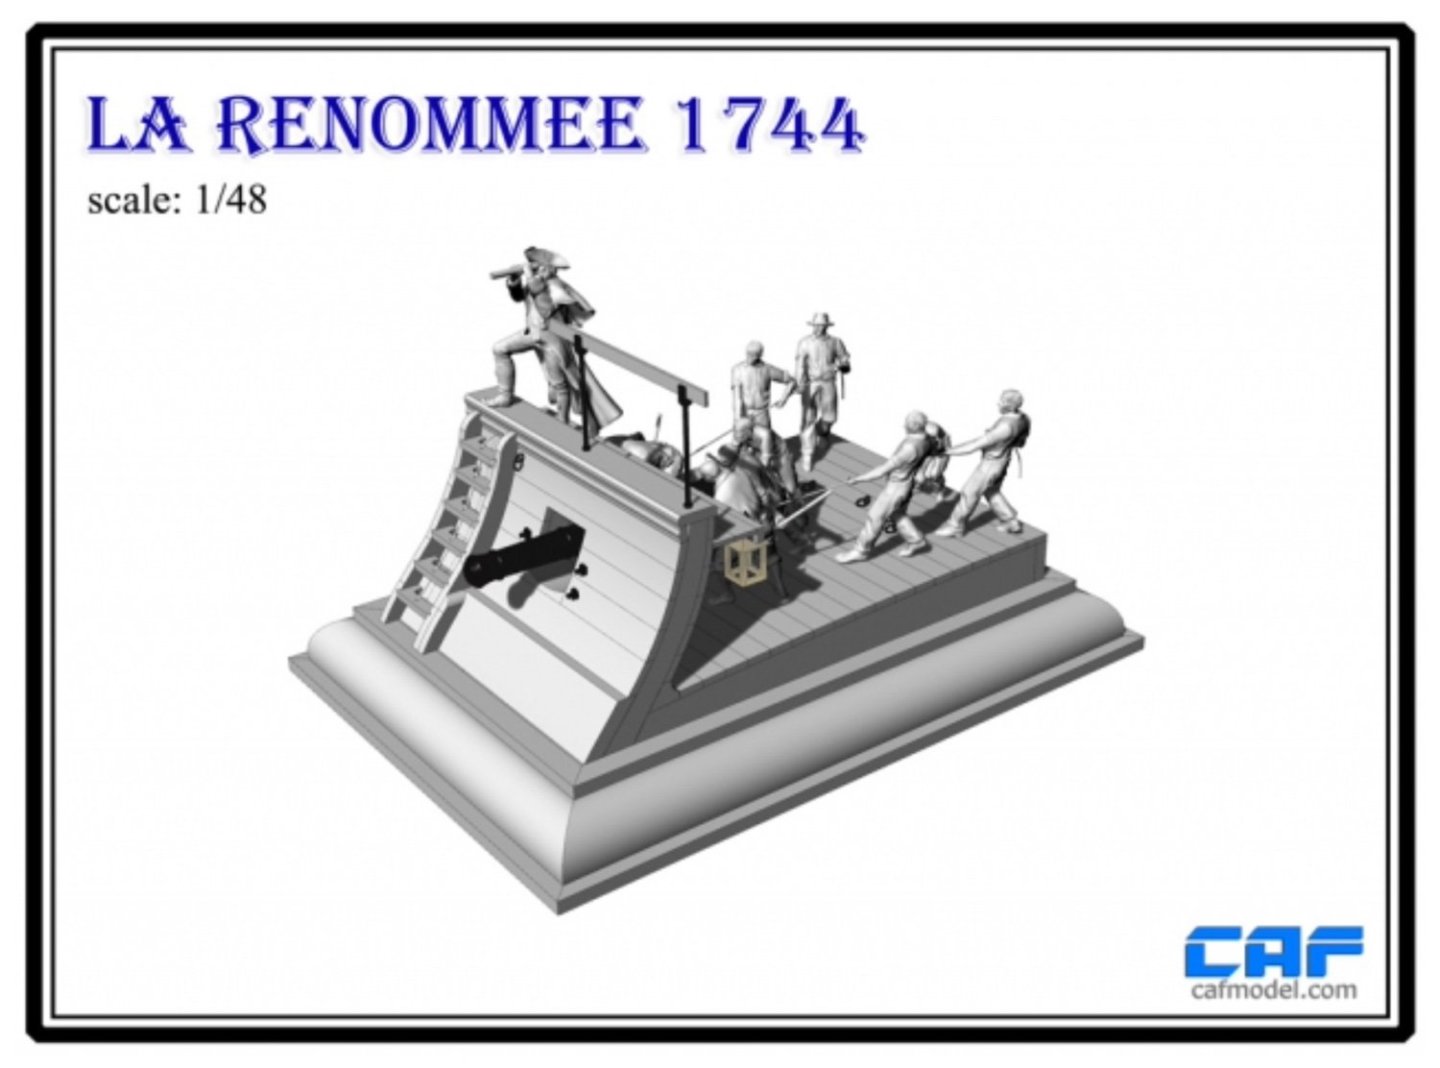
1:48 La Renommée section - CAF Model Available for $79.00 from CAF Model This one was quite a surprise when it came with the Postie on Monday. Not a full kit, but this time a small deck section in 1:48. The kit comes in a narrow, slender box with a product label on the lid. It's also another of those kits that when you take everything out, it's not very easy to get it all back in again...especially when you remove the stapes that are used to clip the many fittings bags together. Although in 1:48, the finished project is still quite small too, measuring 140mm x 100mm on the base, and less than 100mm tall, with figure stood aloft. The kit itself depicts a single gun section of La Renommée, complete with full gun crew and someone I can only presume is an officer. I'm sure those with better knowledge of French naval ranks. There isn't too much strip wood in this kit with the majority of the timber here being the moulded wooden edges to the plinth you will make. You will need a mitre tool for this too. Two short lengths of brass wire are also included. The timber sheets are quite small too with parts laser-cut in both pear and ply. The pear of course, is for making the exposed frames that you'll see on the open ends of the section as well as the regular hidden frames, the cannon carriage, and the ply for the core of the base. You will also see a part (3a) than is used as a template/gauge to ensure that the internal frames and angles of the bulwarks are set correctly. Note also the deck planks (pale strips) that you may well be able to use 'as is', with the laser cutting simulating the deck caulking. A big feature of this kit are the numerous gun crew figures that you will need to clean up and paint. These are provided as 3D-printed parts and you will need to carefully and cleanly remove the support structures from the printing process. These need to be cut back to just before the figure and then carefully trimmed/sanded flush to the part. With 3D-prints, never snap those supports off at the part as it can leave a small divot in the part. All figure types are individually packaged and numbered for reference. There are a LOT of small packs of fittings which include all the hardware for the gun, eyelets, stanchions etc. and again, these are all individually bagged and the part depicted on the seal, plus the part quantity. Some parts are cast onto brass blocks and you will need a small jeweller's saw or similar, to release the parts, and some fine files to clean them up. Also included is rigging cord in various sizes for the gun, rigging blocks, etc. The cannon is either cast in brass or bronze. I'm not too sure, but the detail definition is very good indeed and supplies quite a bit of weight to finished model. One thing of note here is the tiny lantern. CAF say this can be lit with an LED, but you will need to source those parts yourself. Instructions These are a simple affair, spreading out over 6 pages, in full colour with parts annotation being clear and overall, the whole model looks simple to build up. Also included at the rear of the instructions are two pages showing the part sheets and corresponding part numbers. CAD and finished model images Conclusion This has to be a nice little 'between projects' project! It's very simple to build, the materials are very nice, albeit some char will need to be removed from part faces in some areas, and there's plenty of parts to keep you occupied. One thing I'd like to have seen is the inclusion of a 'grain of rice' LED and some wire and battery clip for illuminating the model as shown, or even a requirements list and illustration as to how the prototype was tackled. That' not even a gripe though...more just me thinking it would've been a nice touch. This is quite an inexpensive model for what you get, when you look at all those 3D-print figures etc. I don't really see too many new kits like this these days, so this should perhaps be something to consider if you fancy a small diversion. My sincere thanks to CAF Model for sending this kit over for review on MSW.
-
Welcome to MSW. Always nice to see another Scot here. I had family from both Highlands and Lowlands. A beautiful place. Looking forward to a build log.
-

2023 Donations drive
James H replied to James H's topic in How to use the MSW forum - **NO MODELING CONTENT**
Much appreciated. One thing MSW will never do is monetise by way of restricting areas that are currently public, nor will we inundate anyone with spurious popups or nonsensical content in order to monetise, as you see on many sites....with Amazon links and video popups advertising breakfast cereals!. Donation drives are the best way of doing this. The only areas that have to be paid to access are the downloads to projects such as Winchelsea, Triton etc. -
Check them out directly, here: https://thenrgstore.org/collections/articles We are in the process of bringing all of the digital journal articles up to date, and this has been a long task. Articles up to year 2000 are now available individually for only $2 each, with 20% discount for NRG members. Delivery of article is immediate as soon as you purchase. I'll be bringing more Journal articles to the NRG site over the next weeks, so keep an eye out.
-
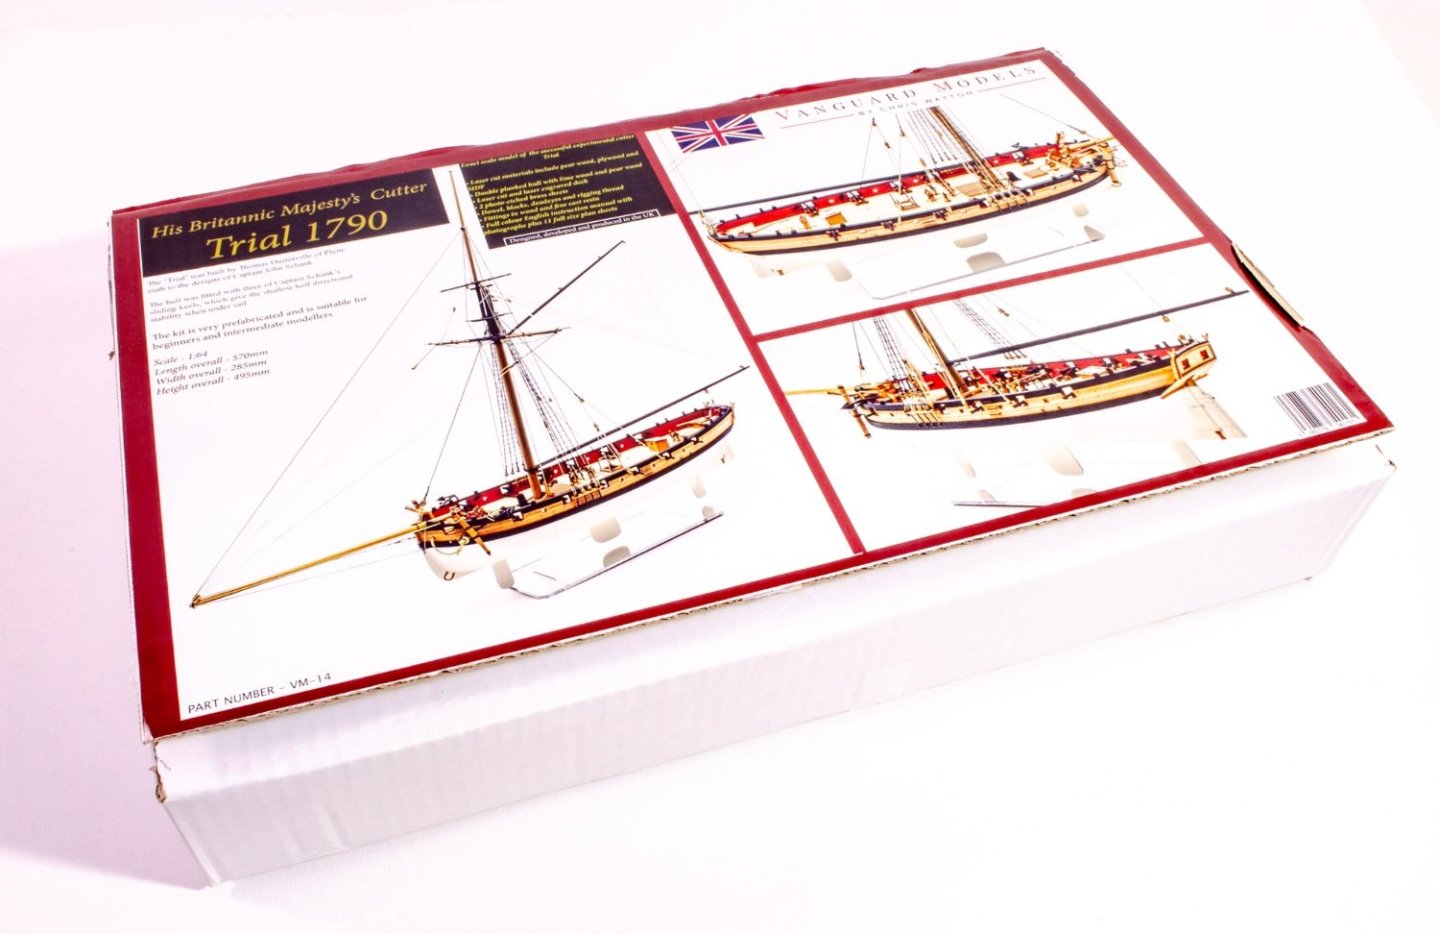
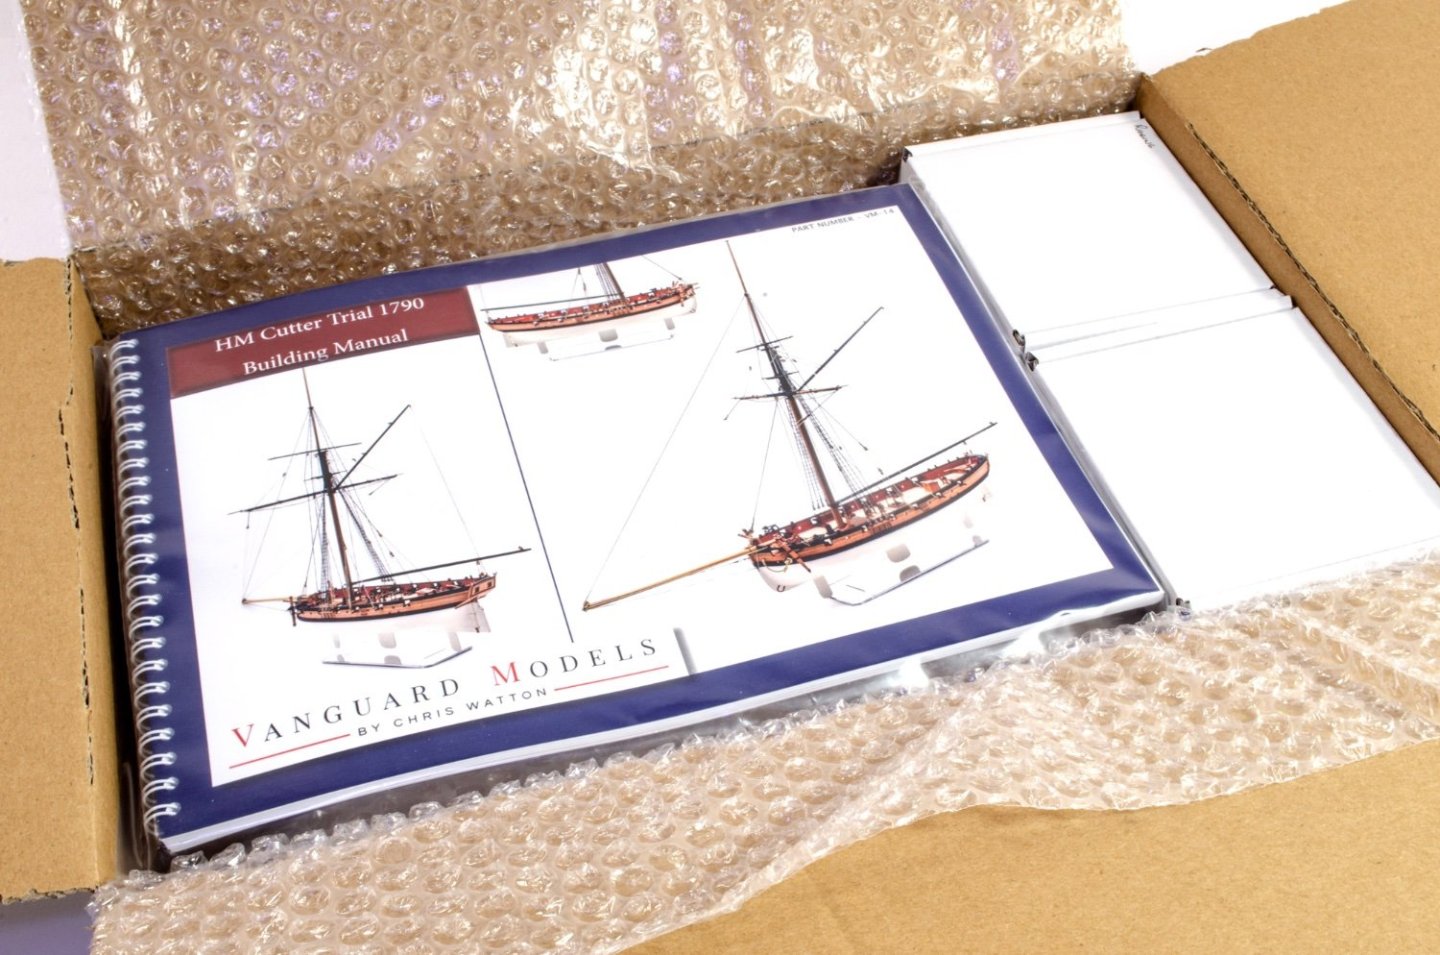
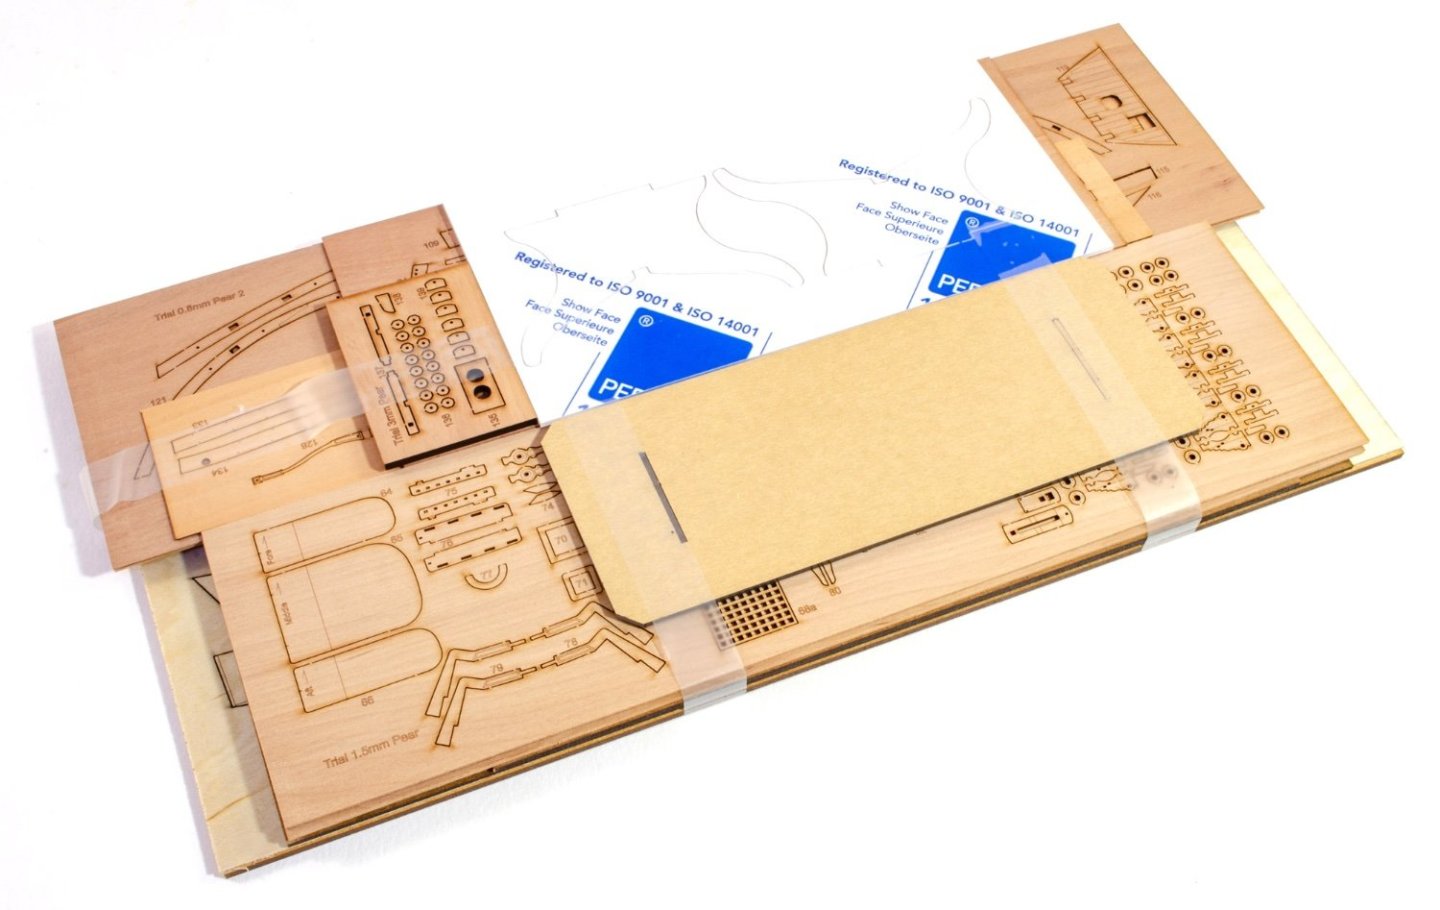
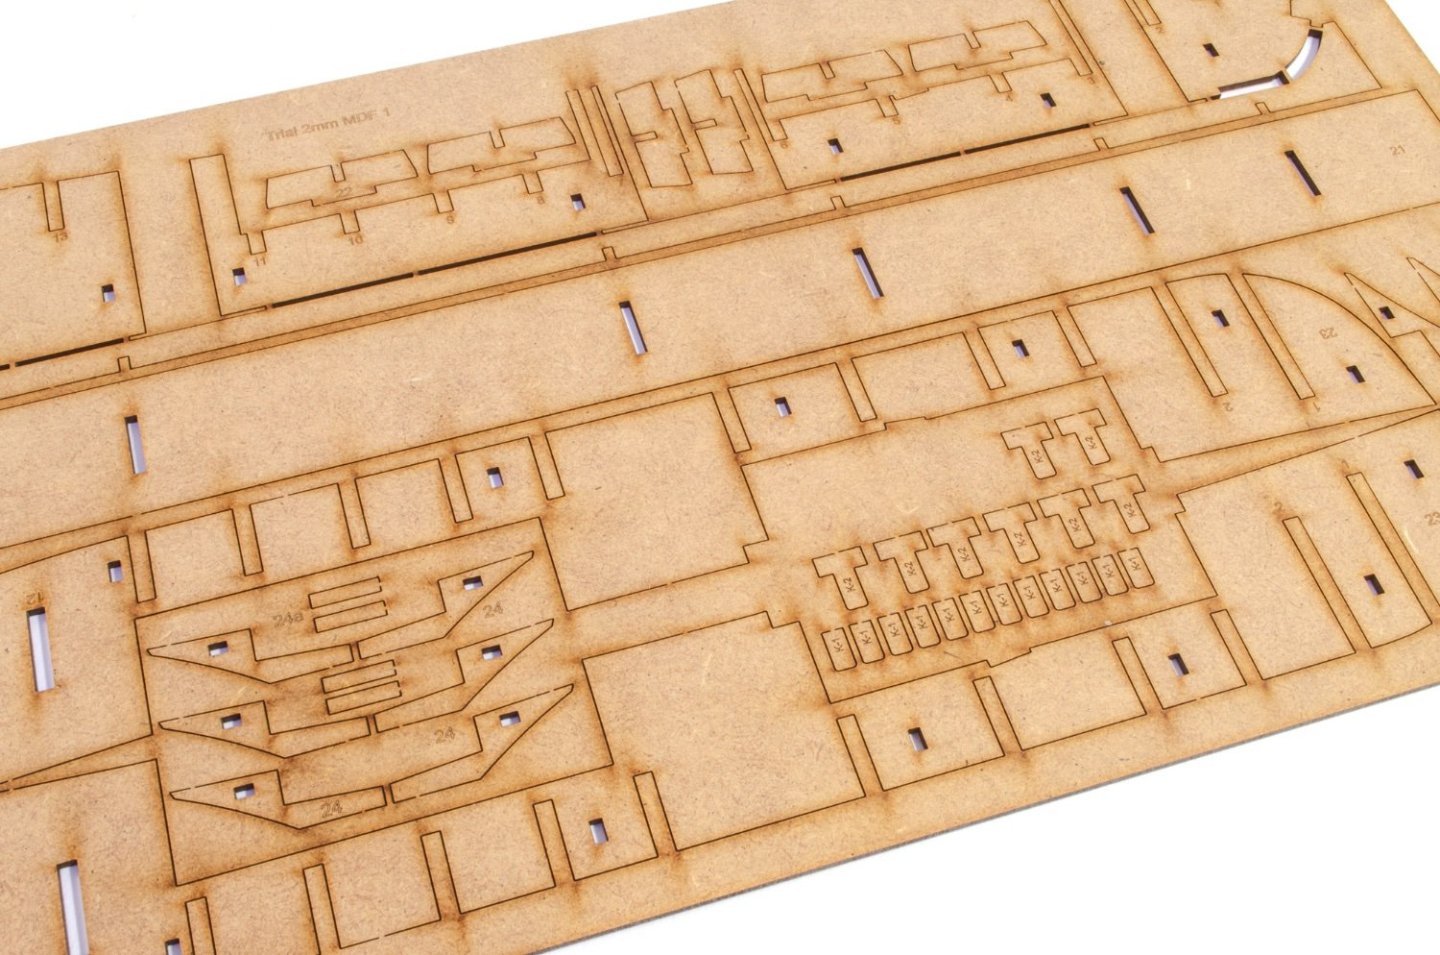
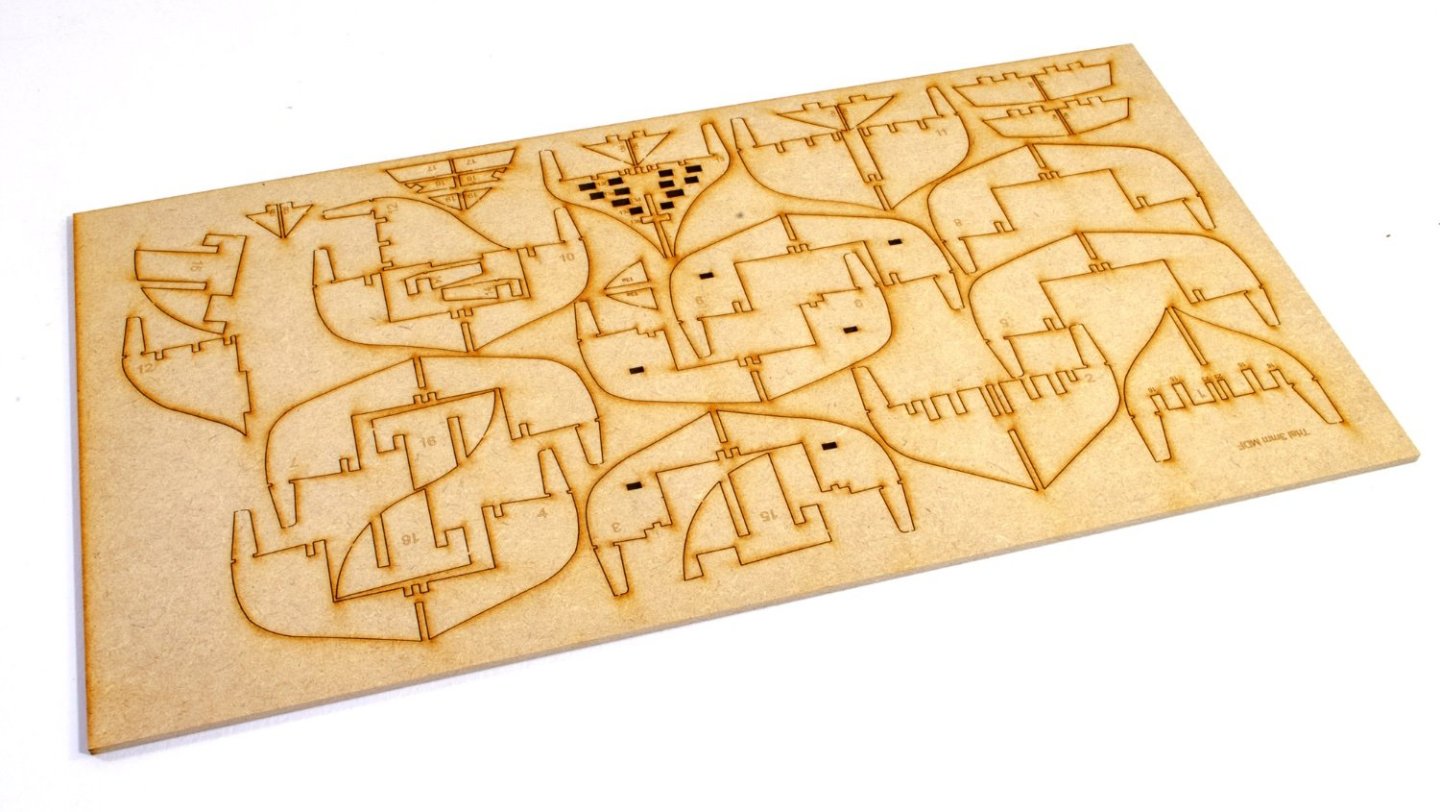
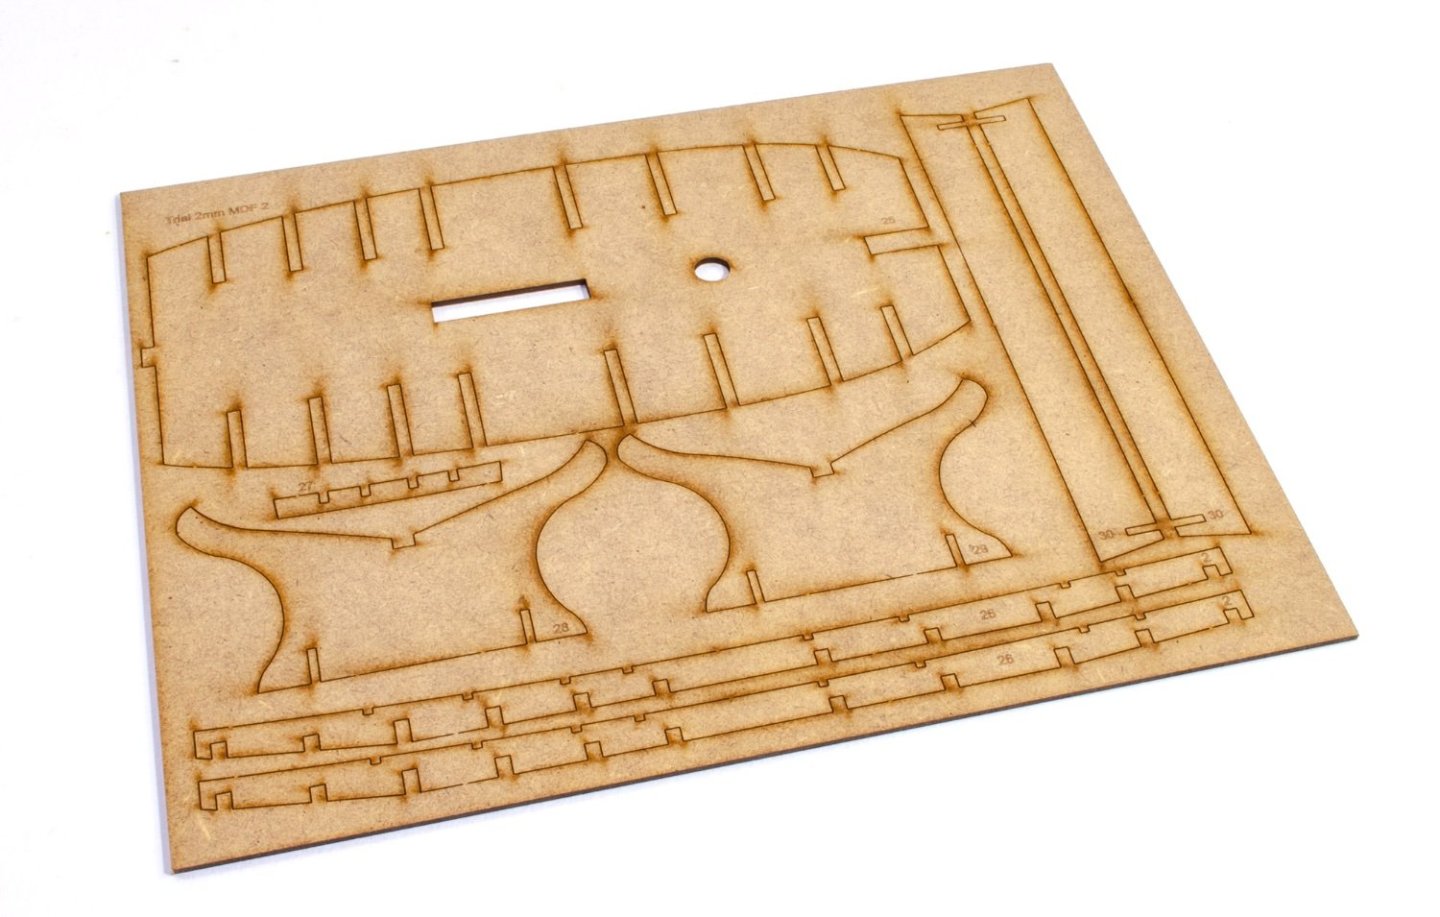
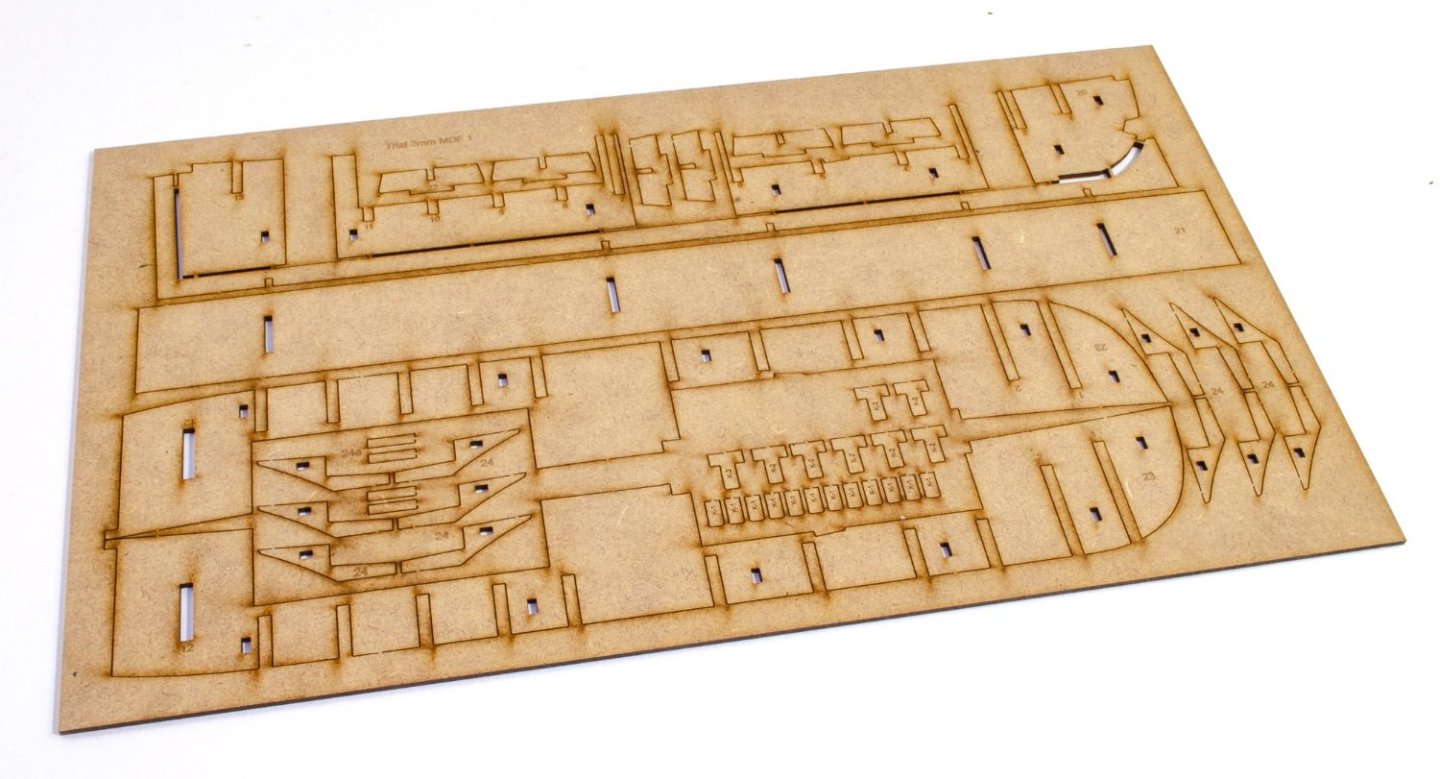
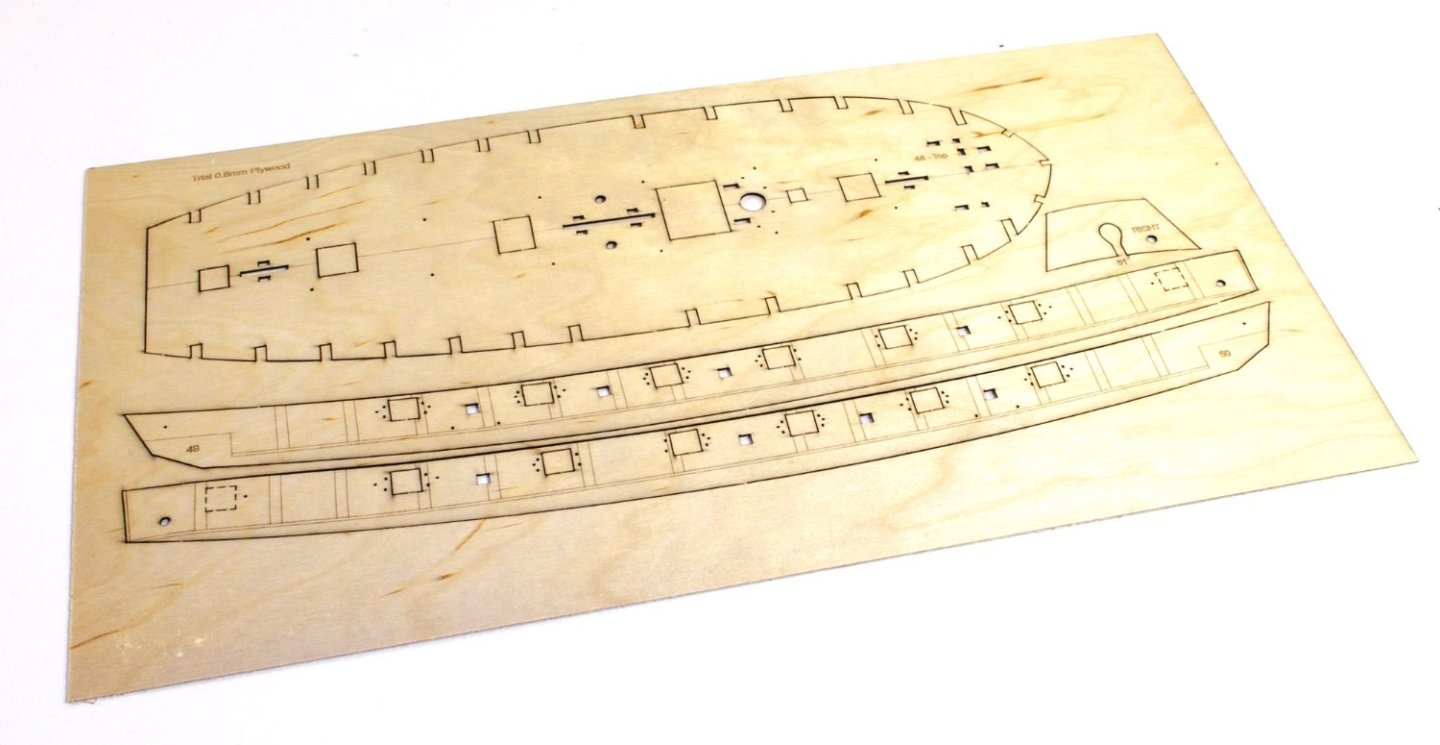
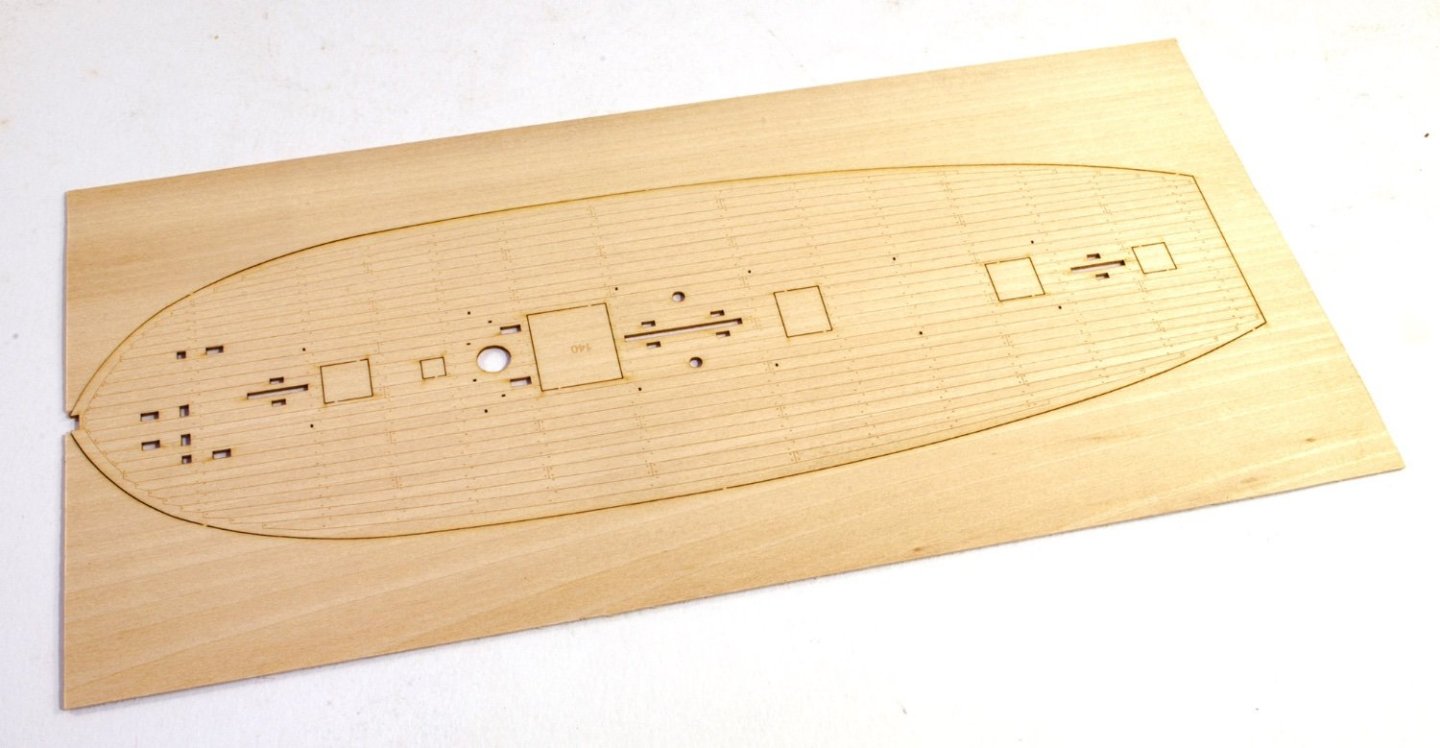
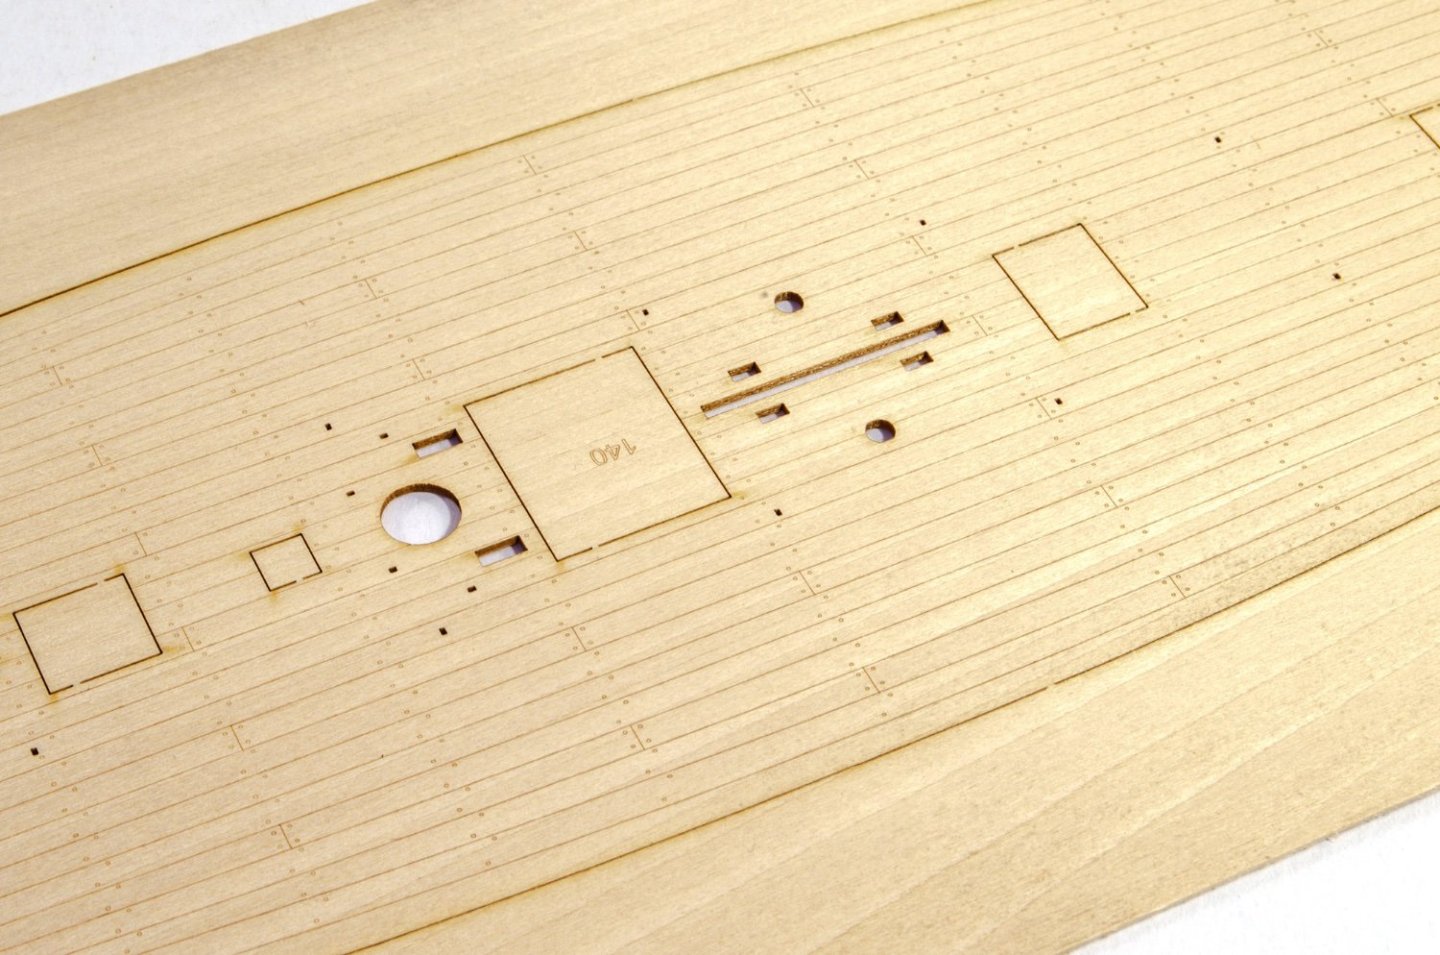
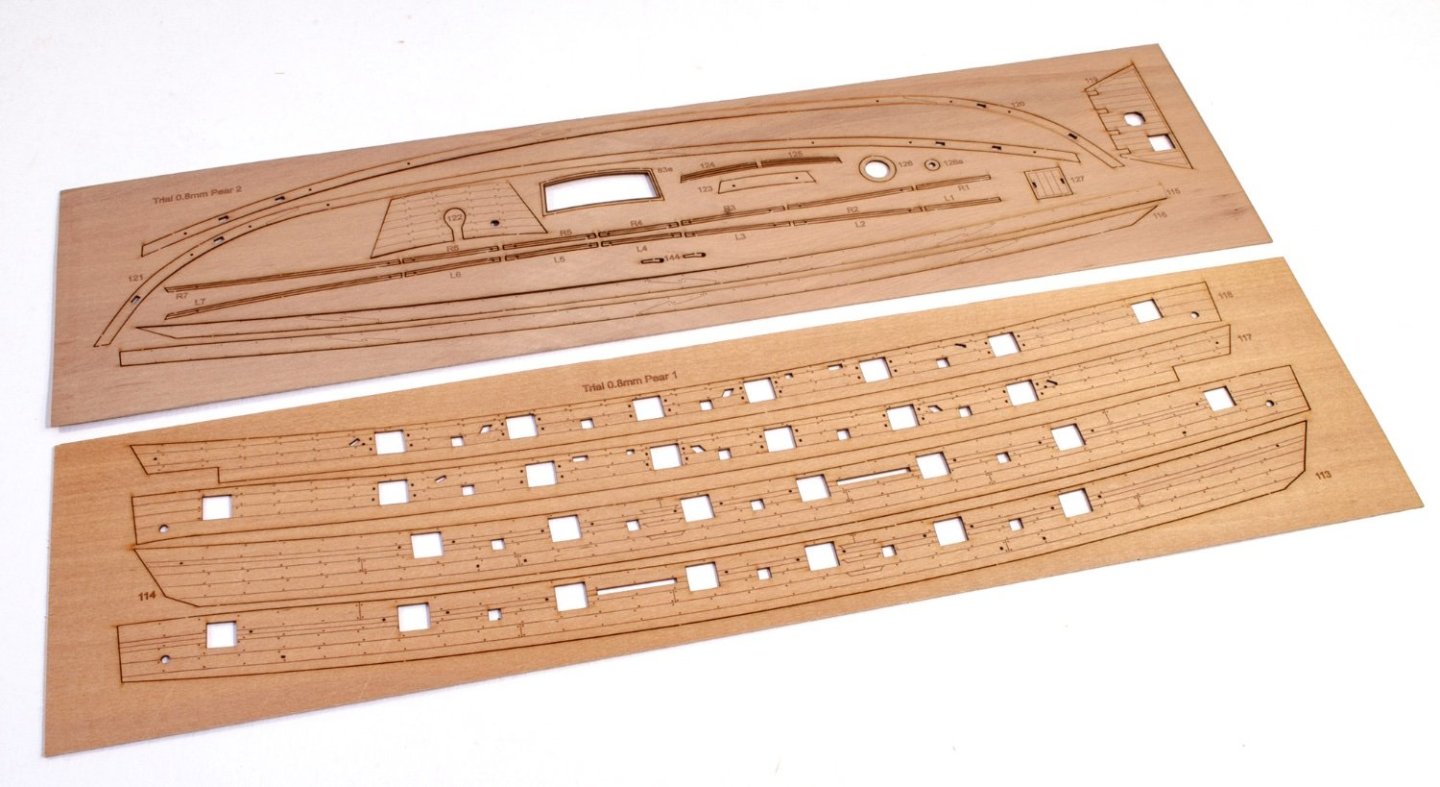
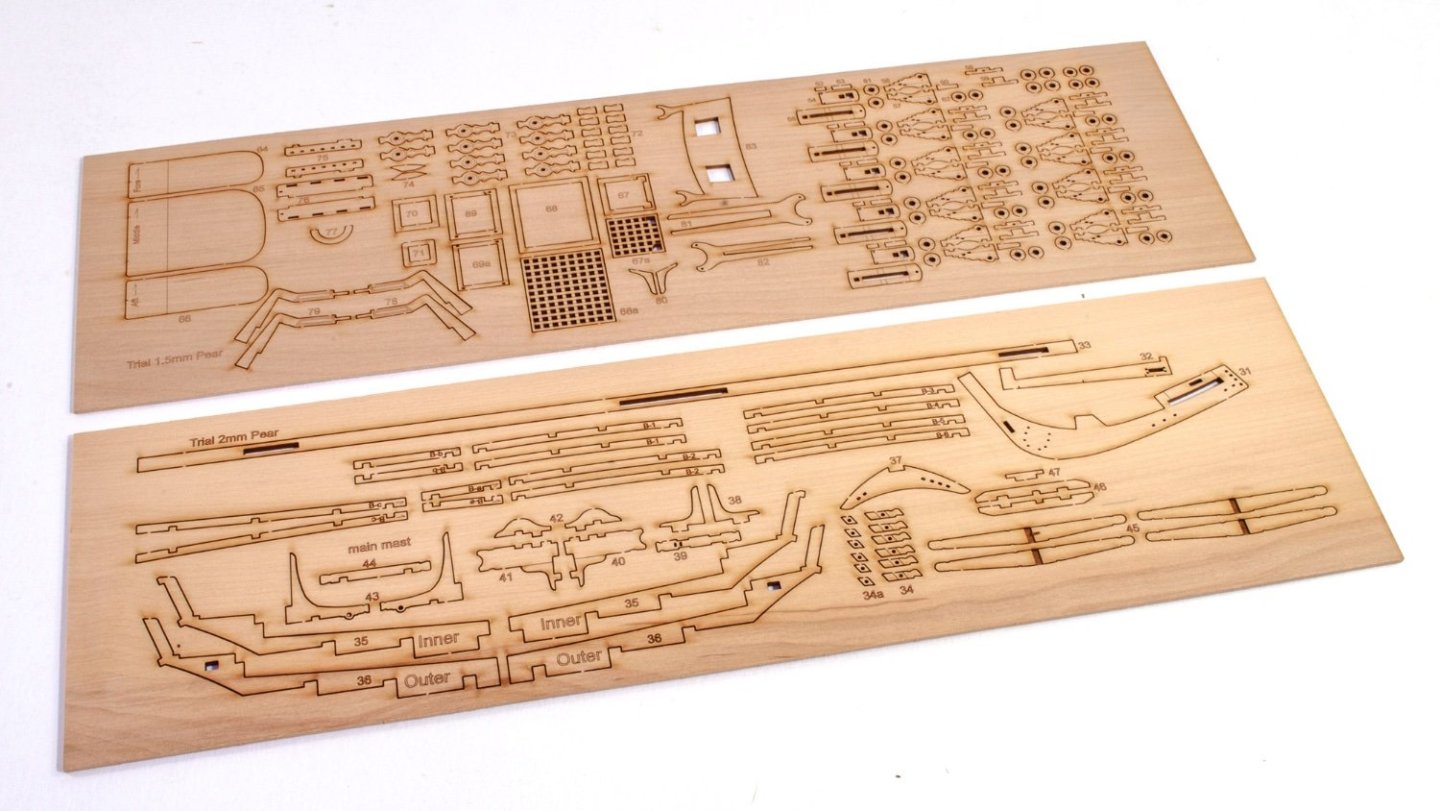
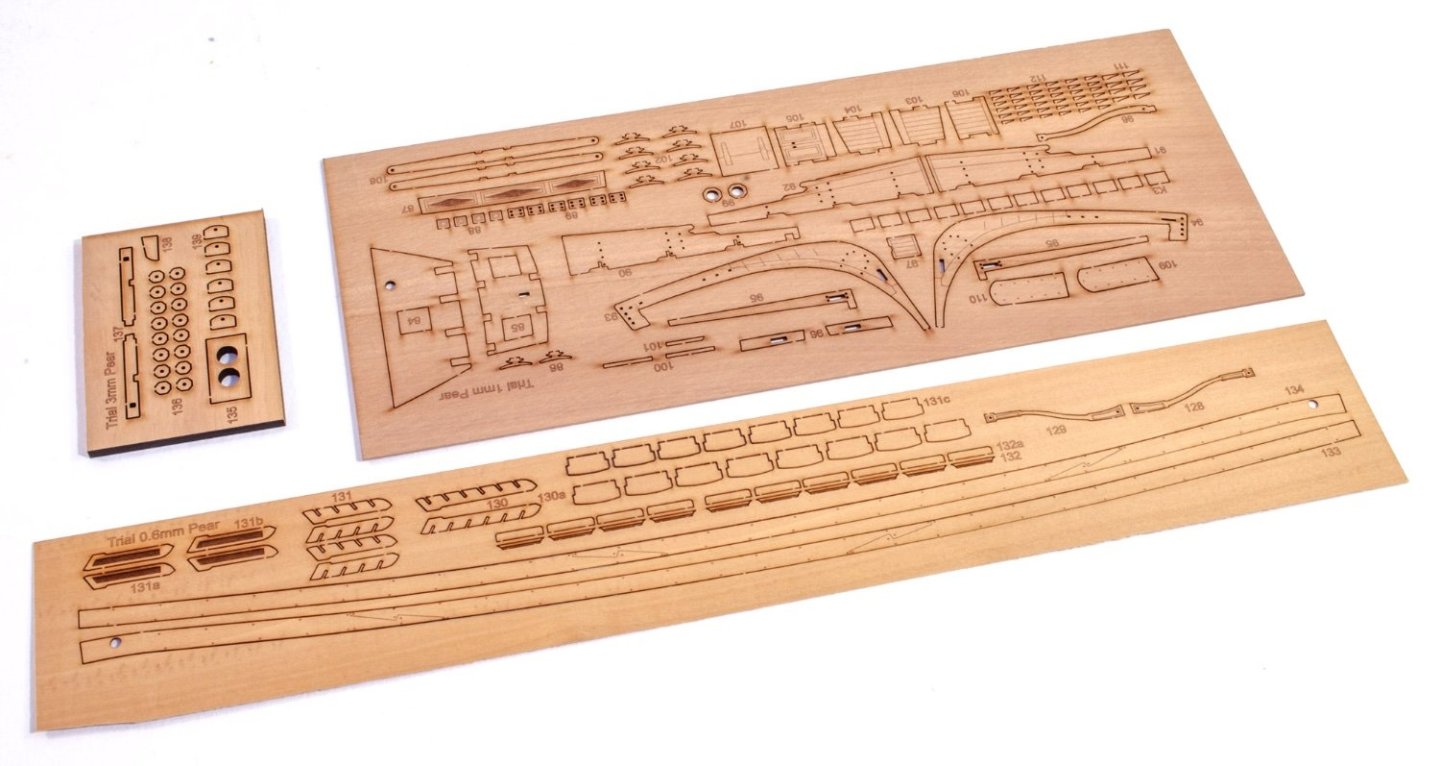
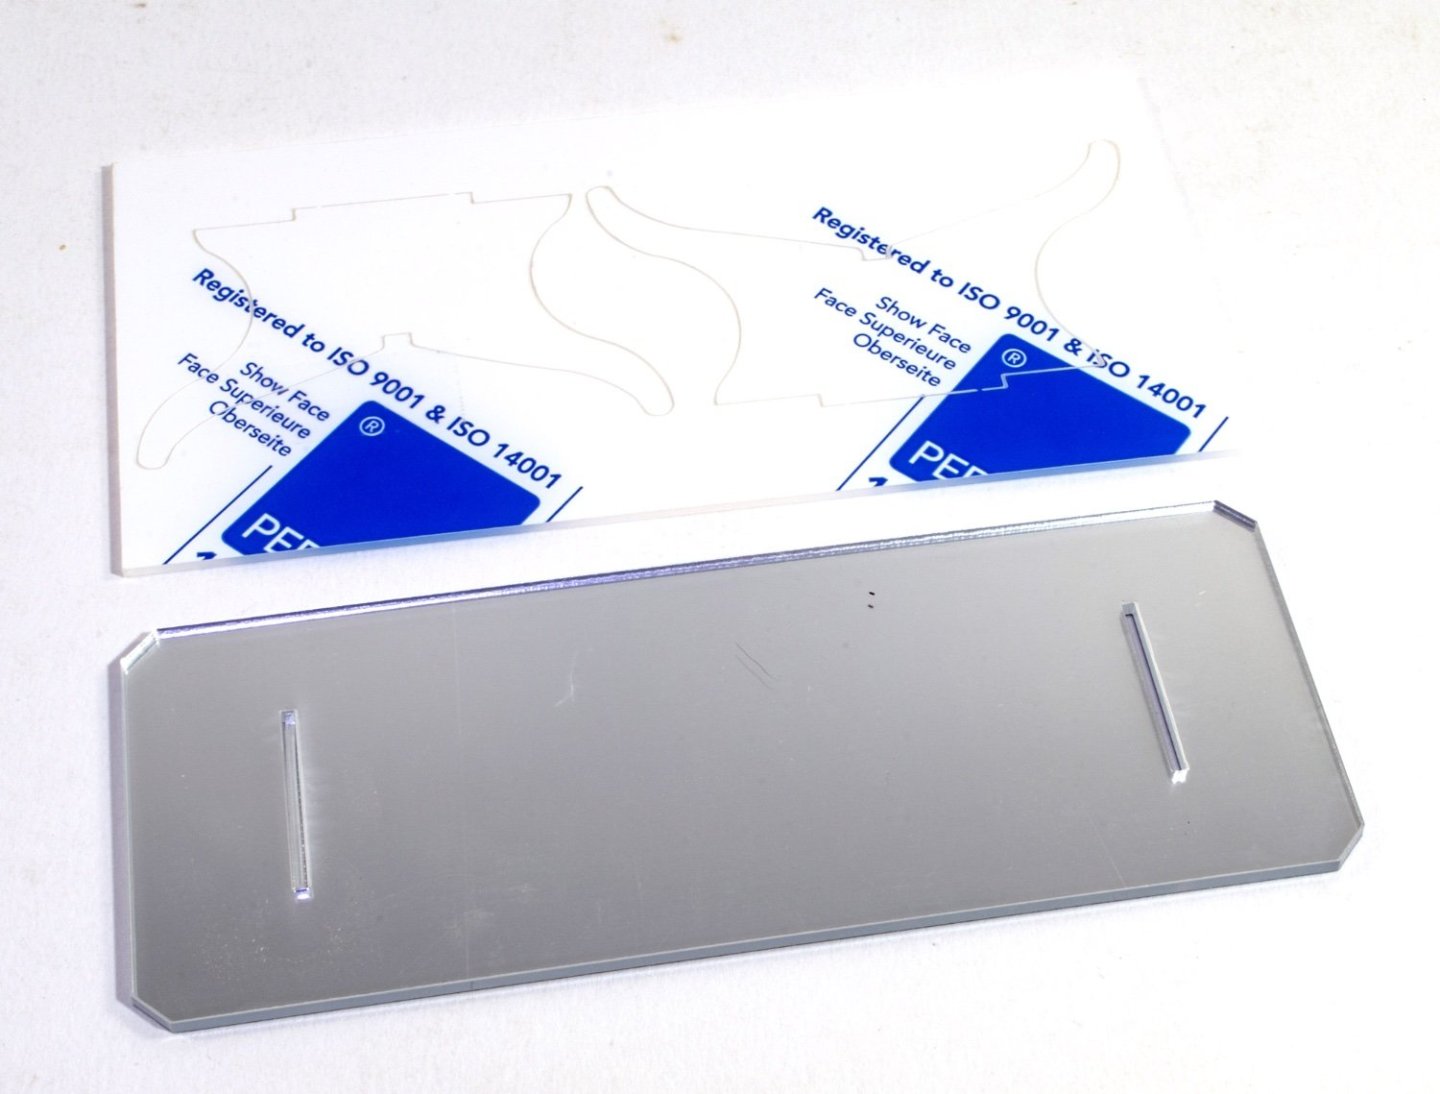
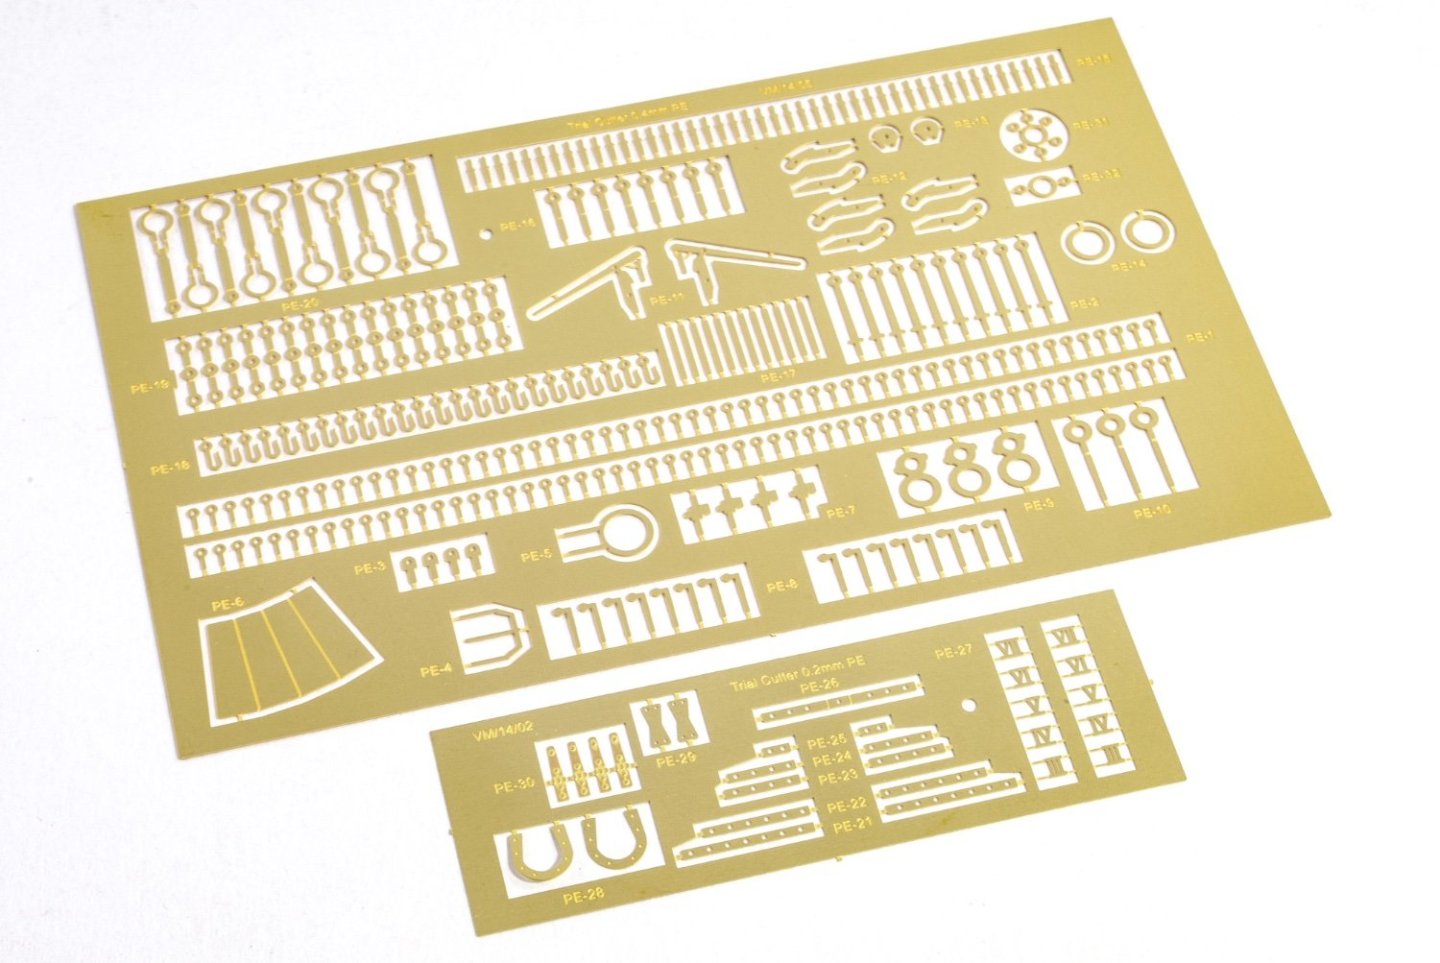
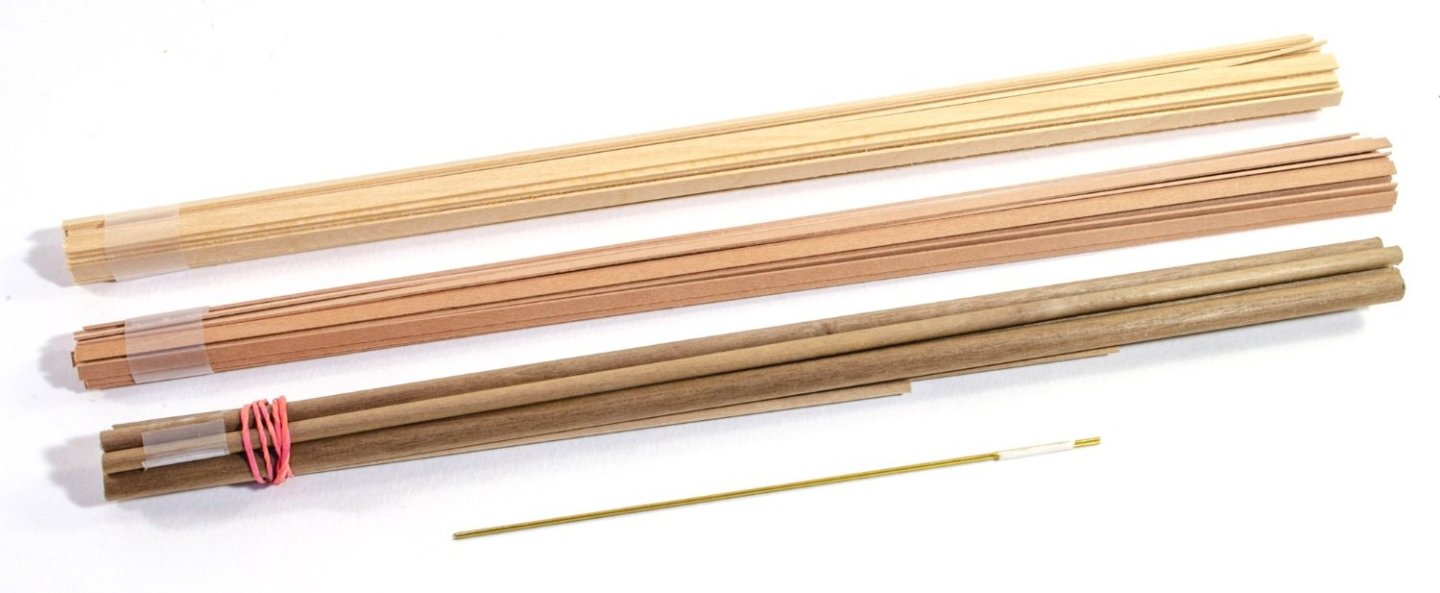
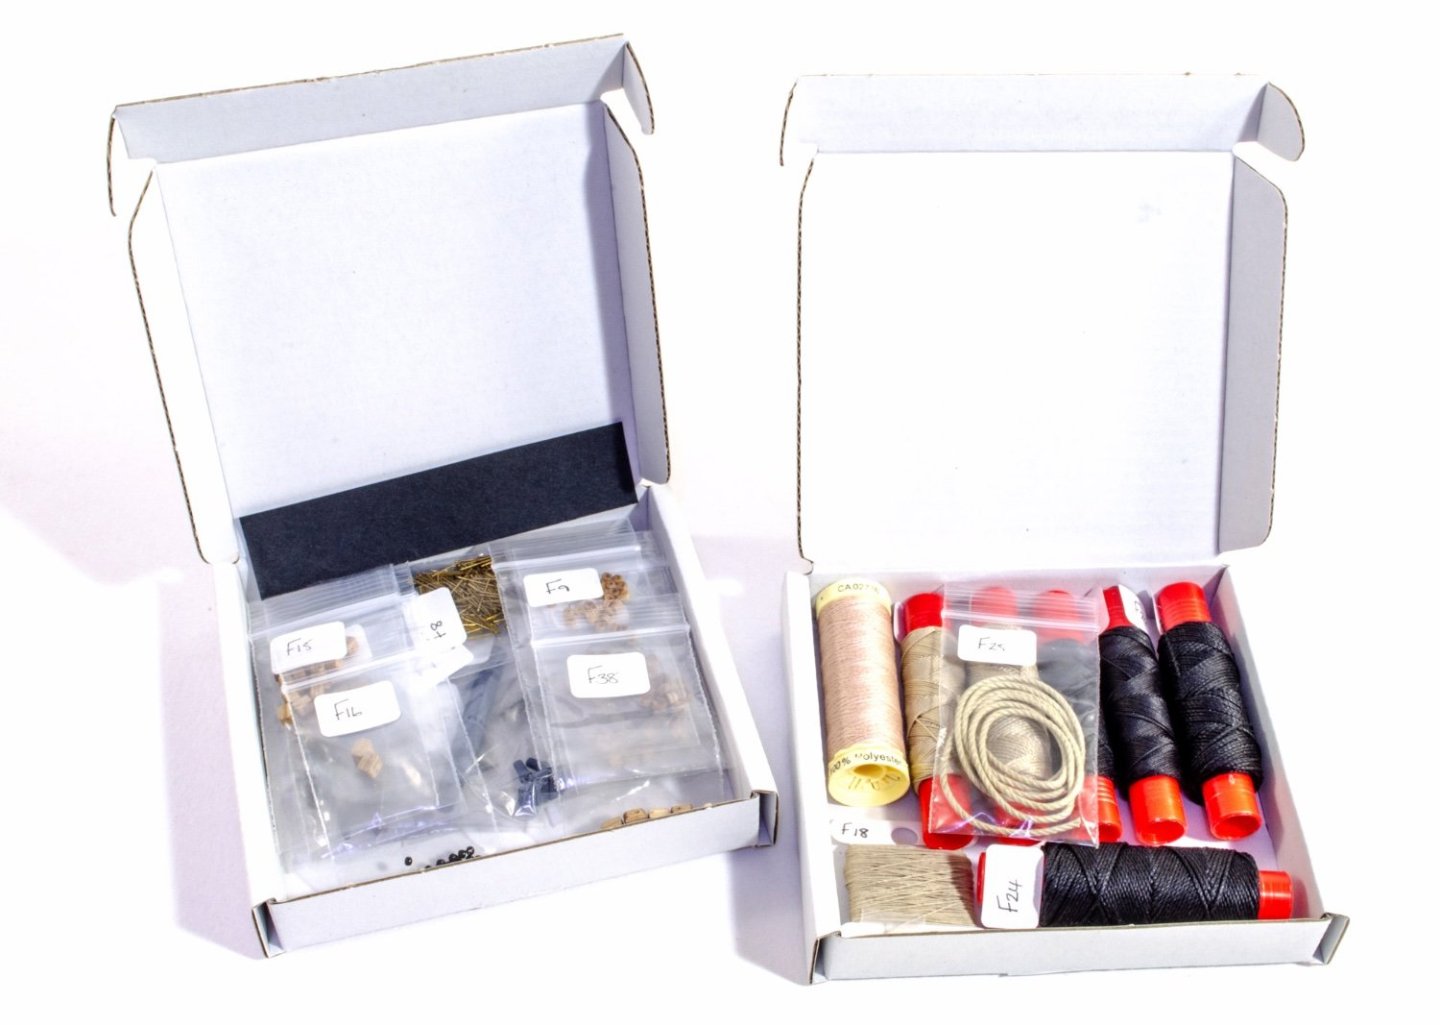
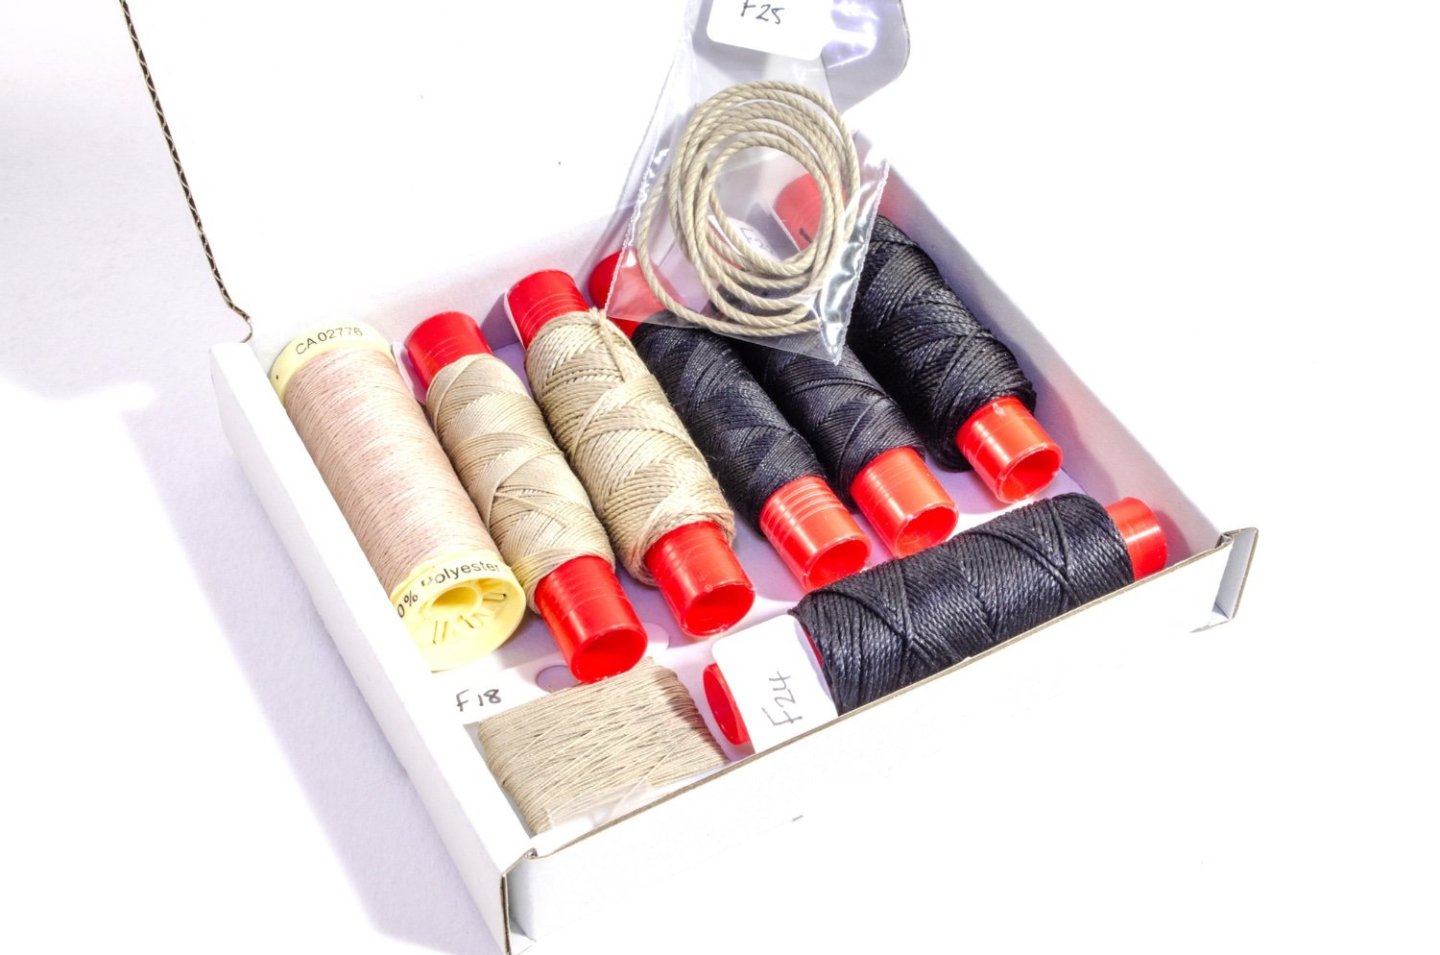
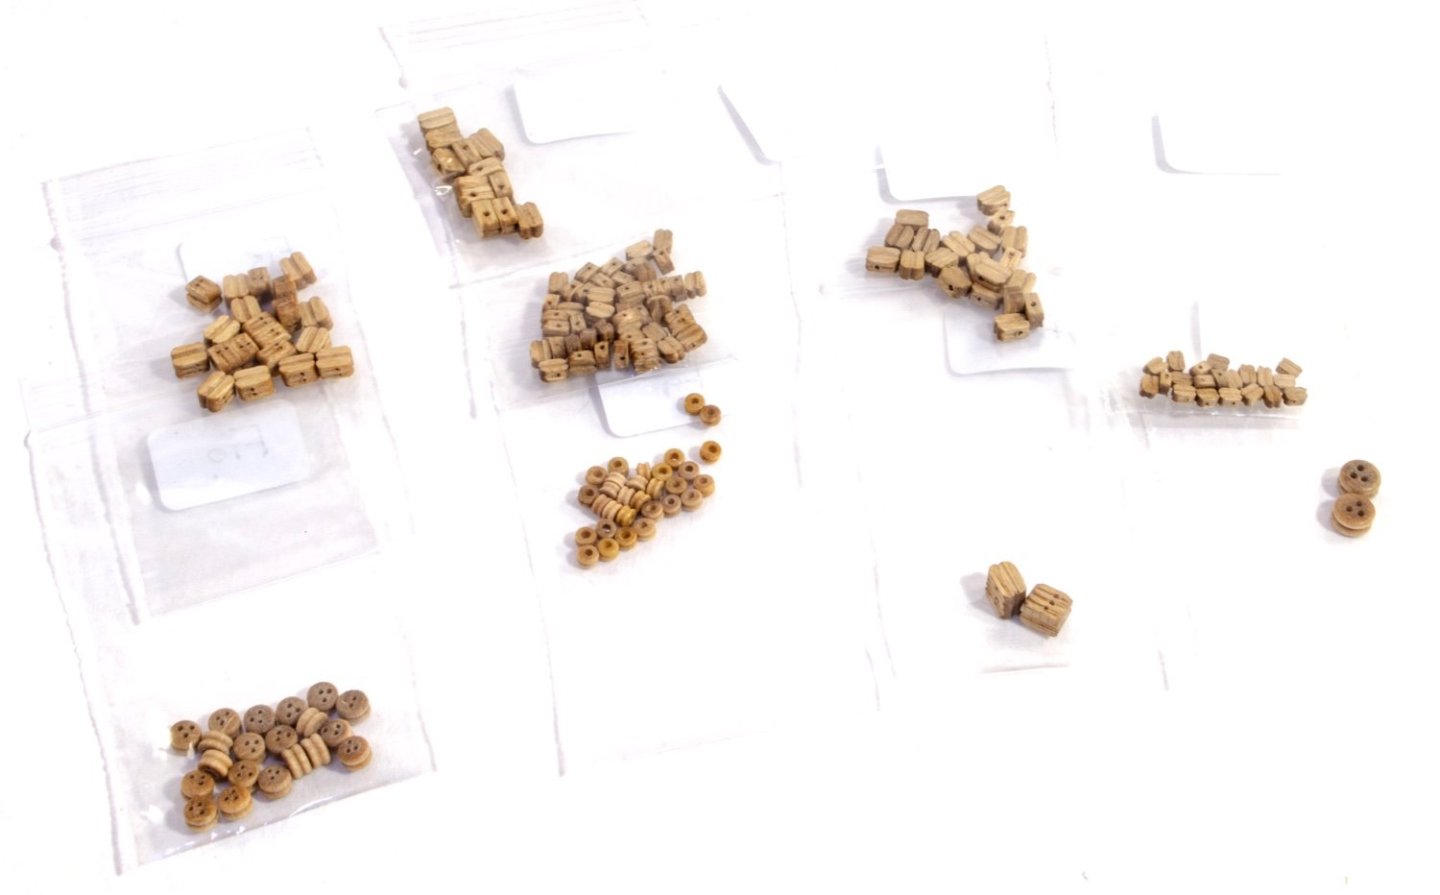
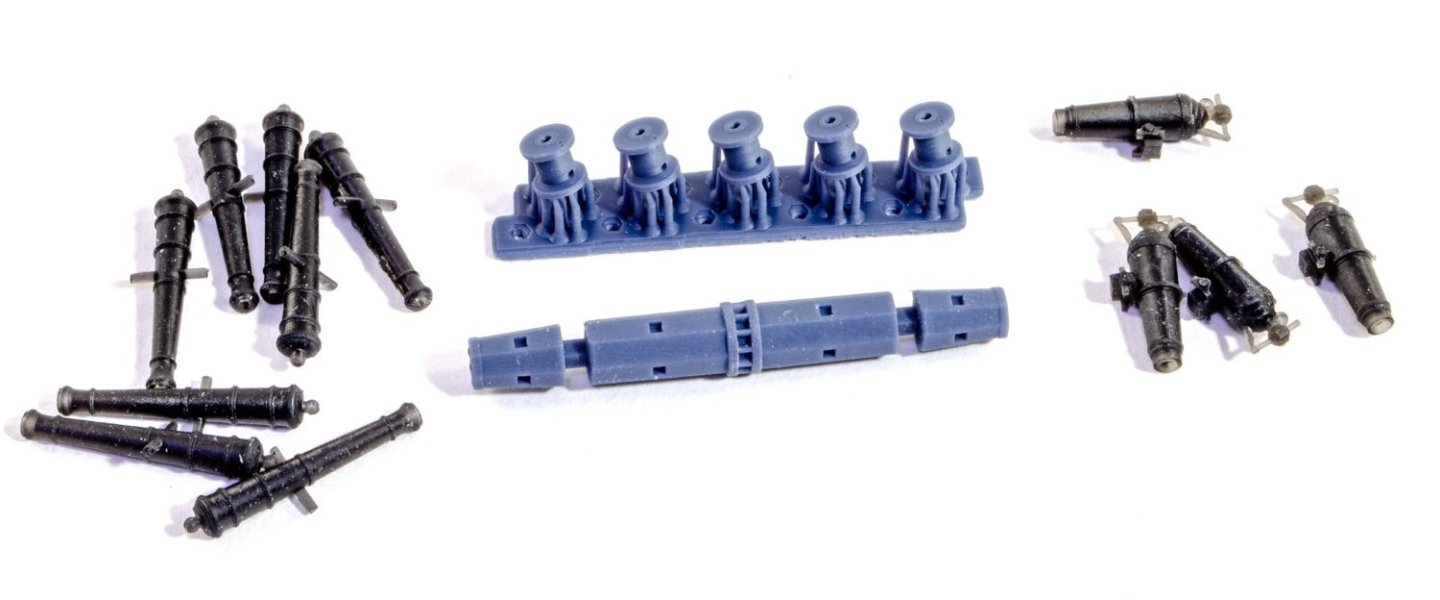
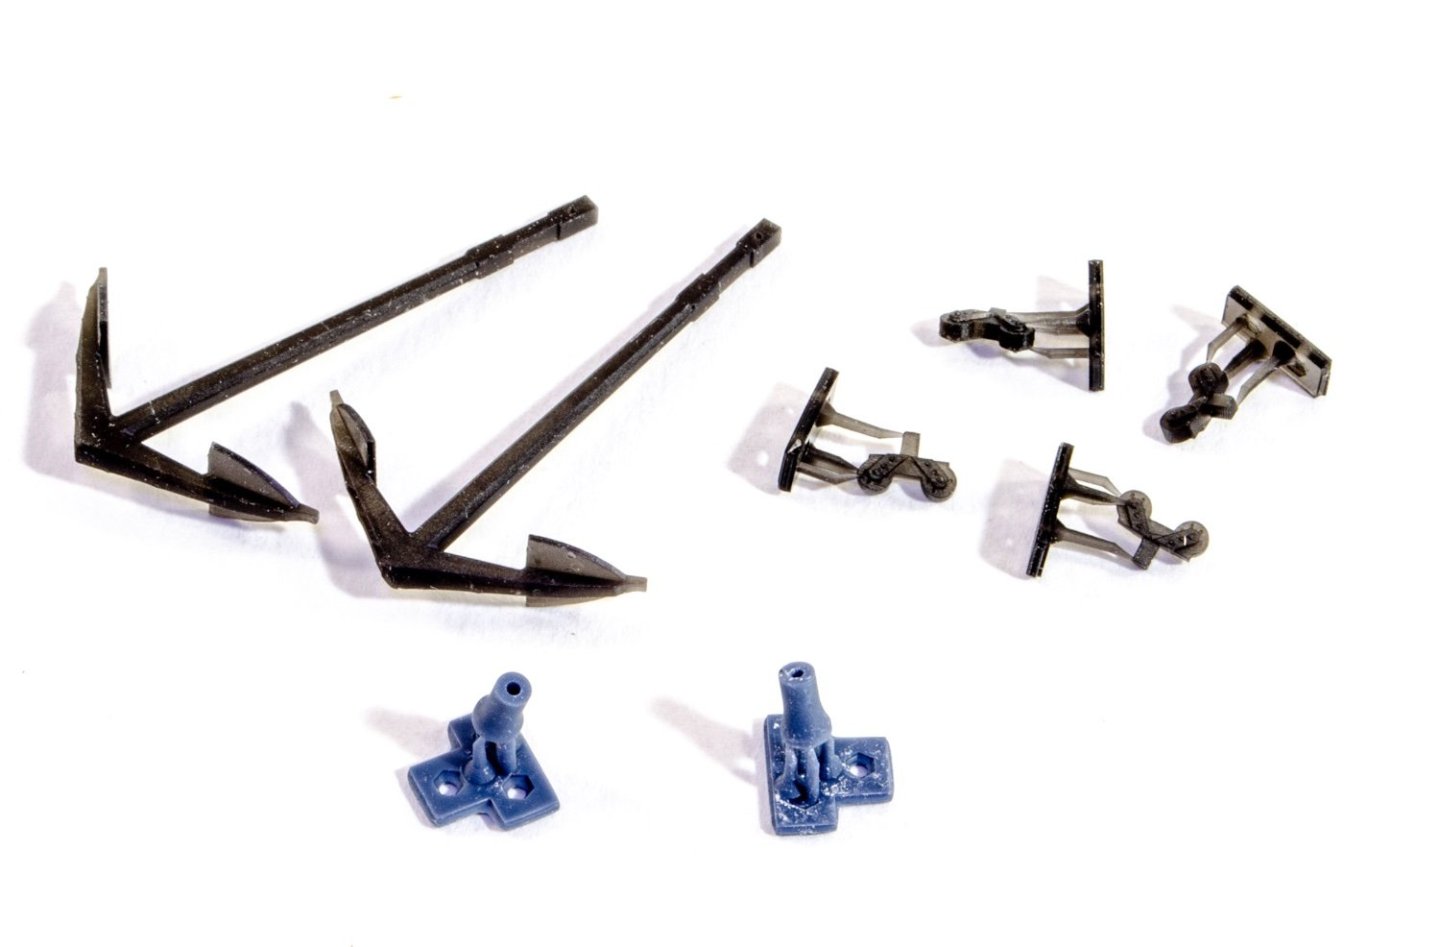
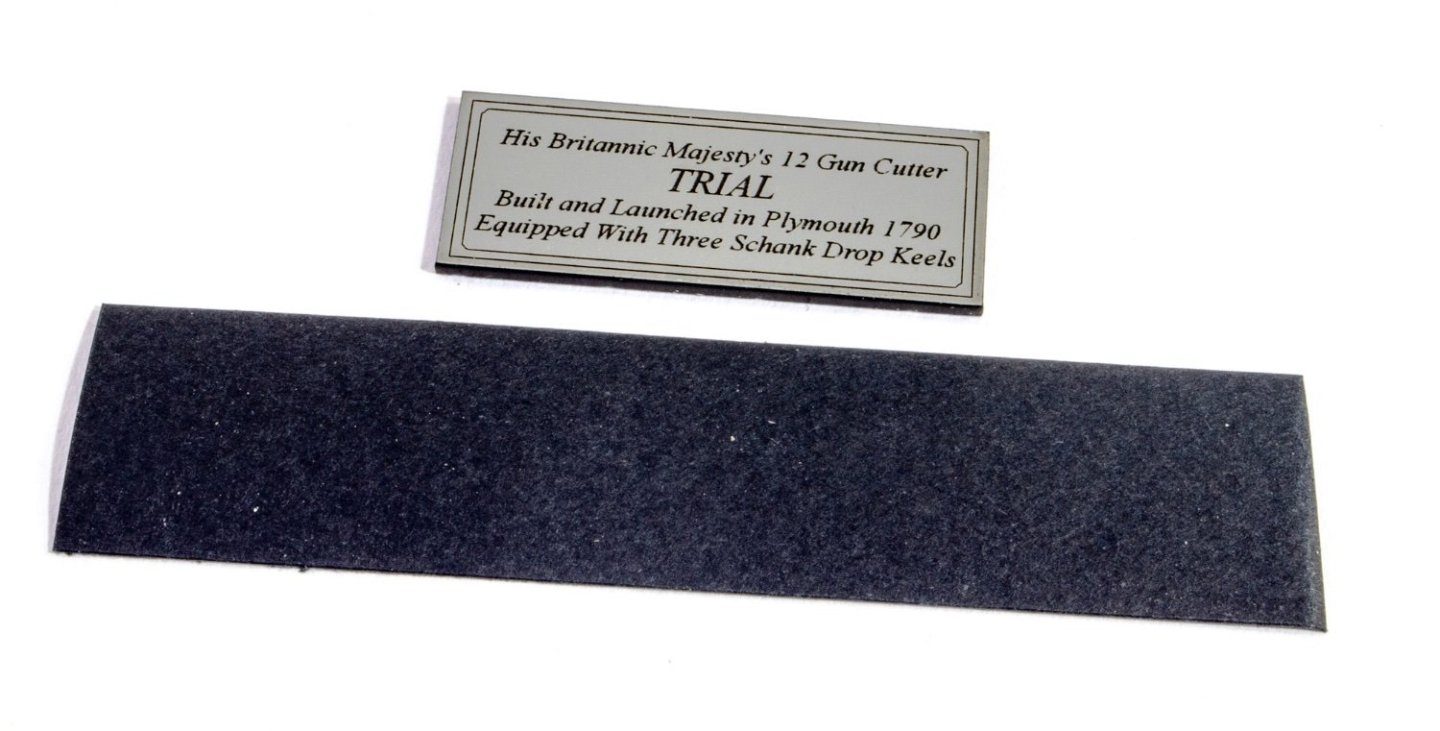
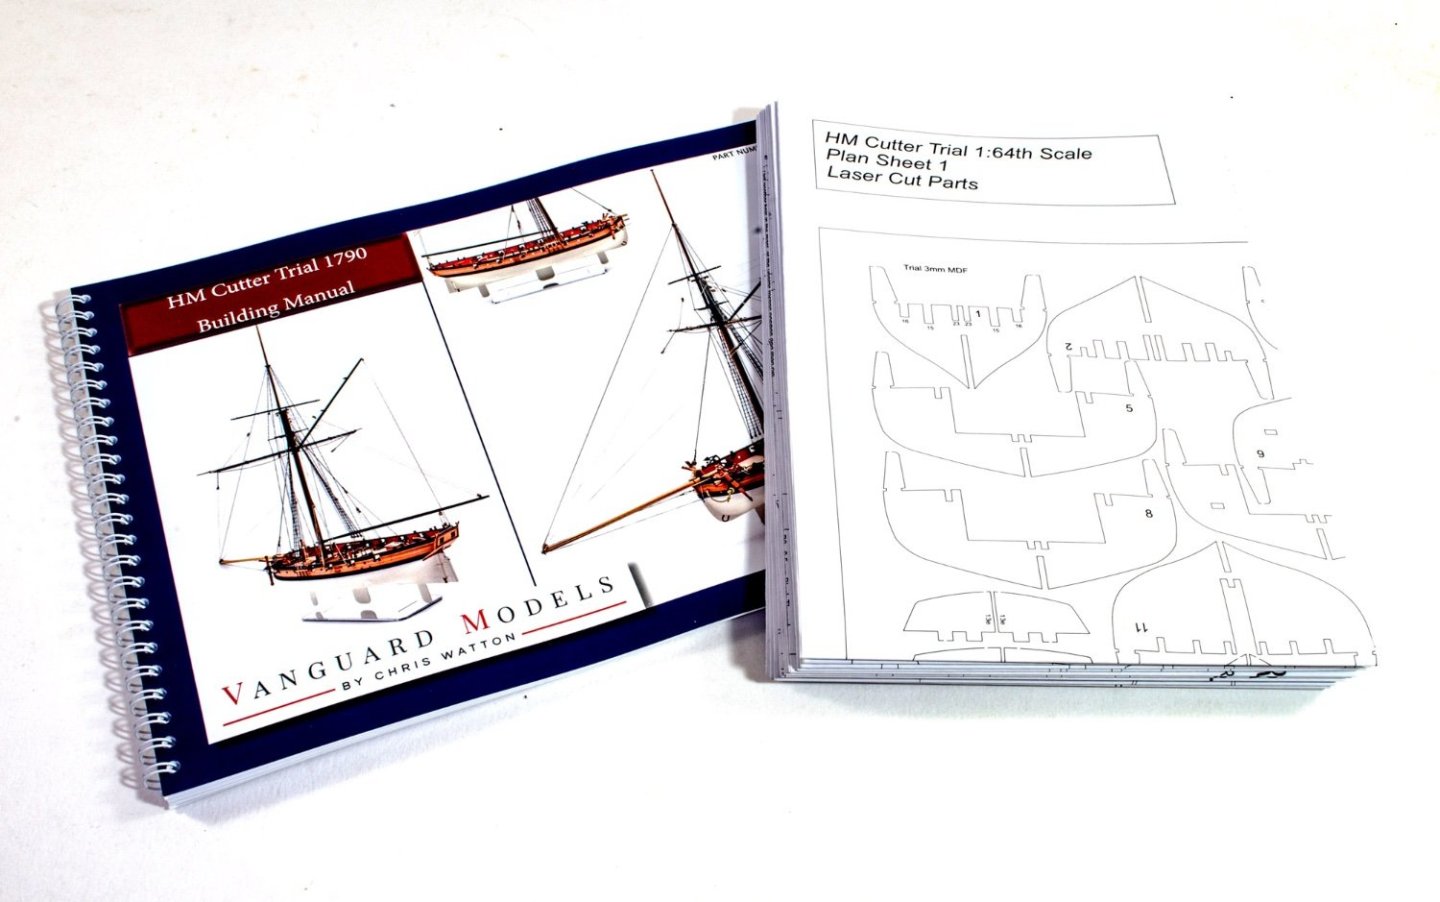
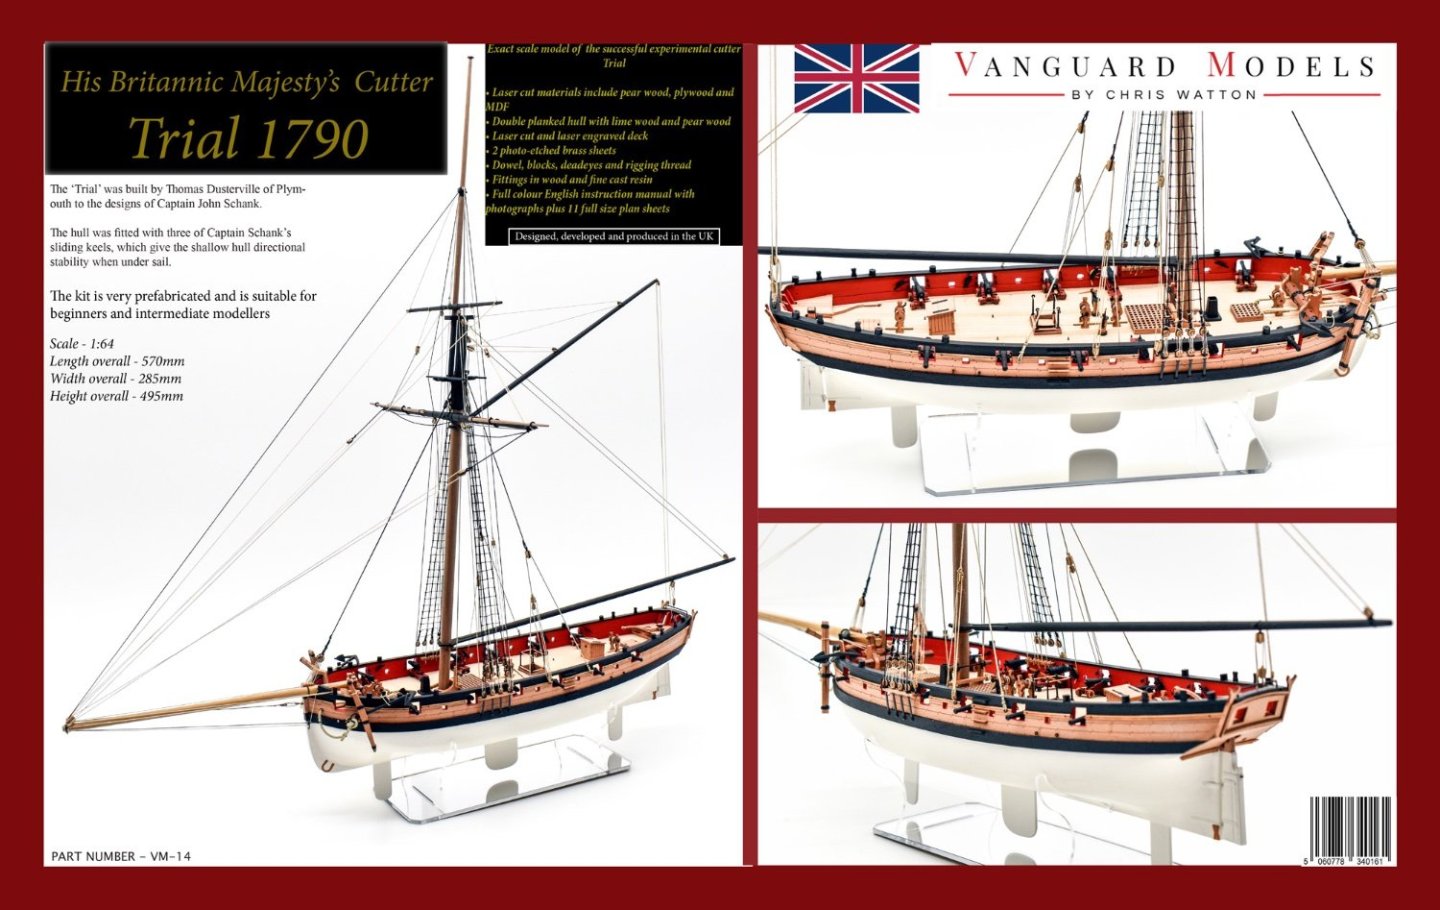
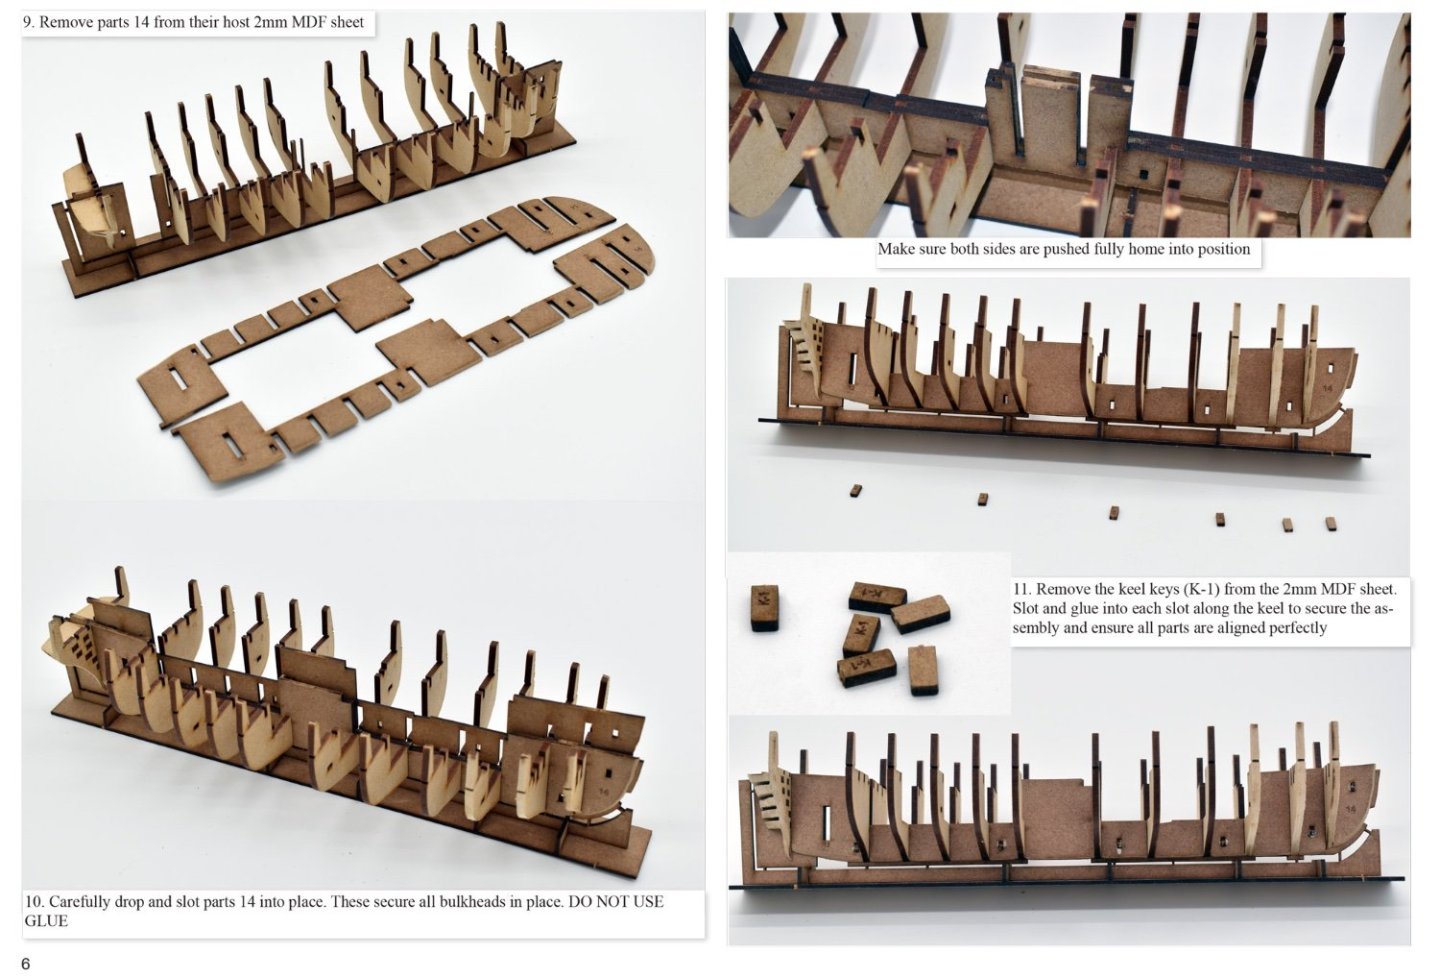
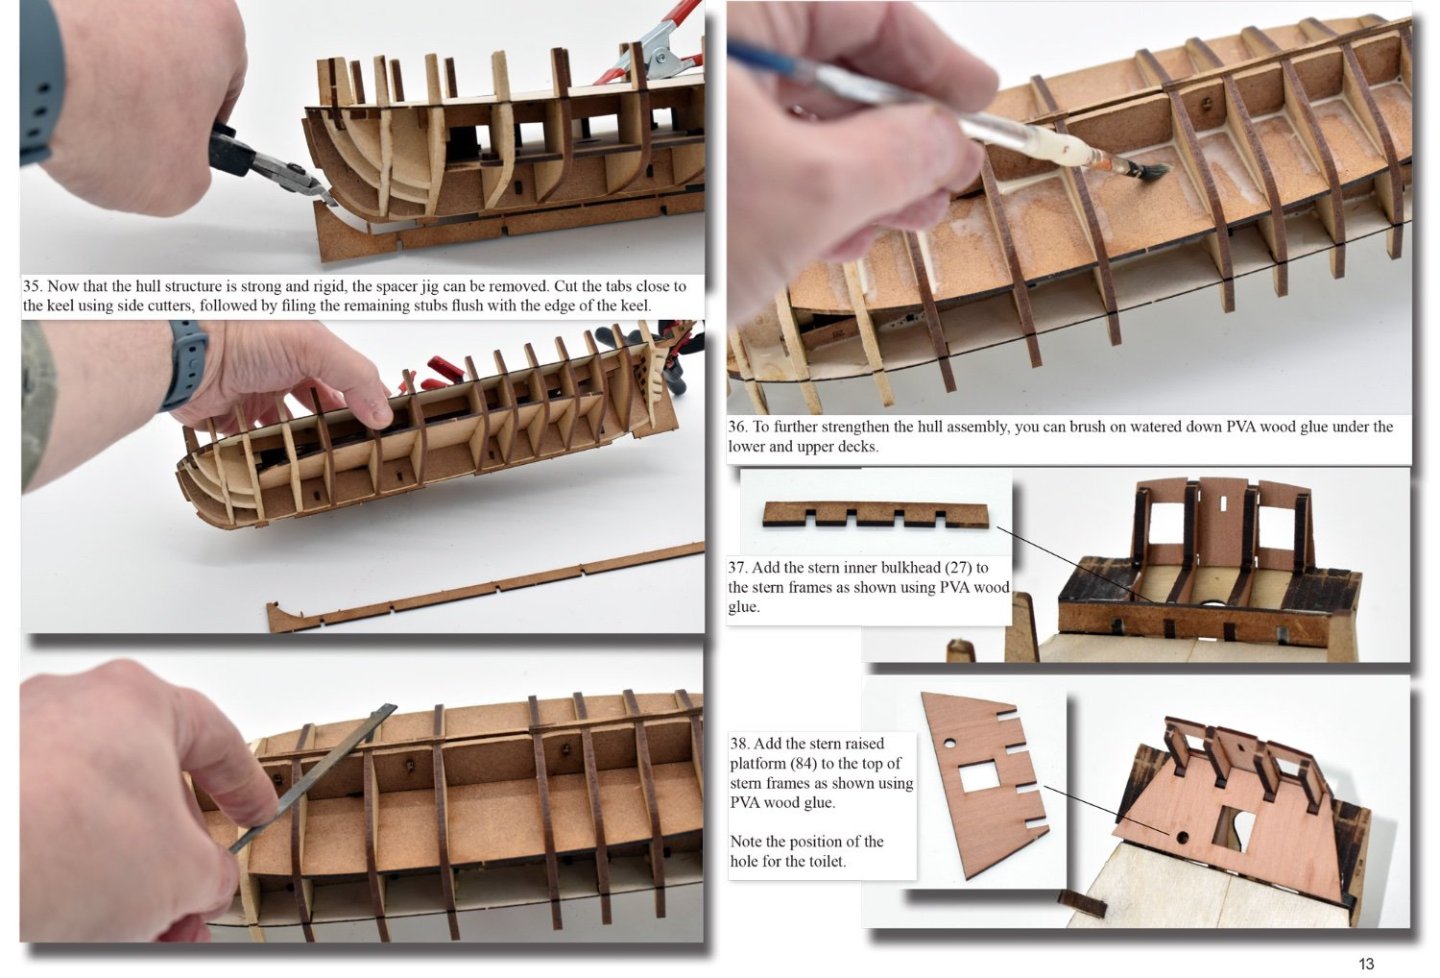
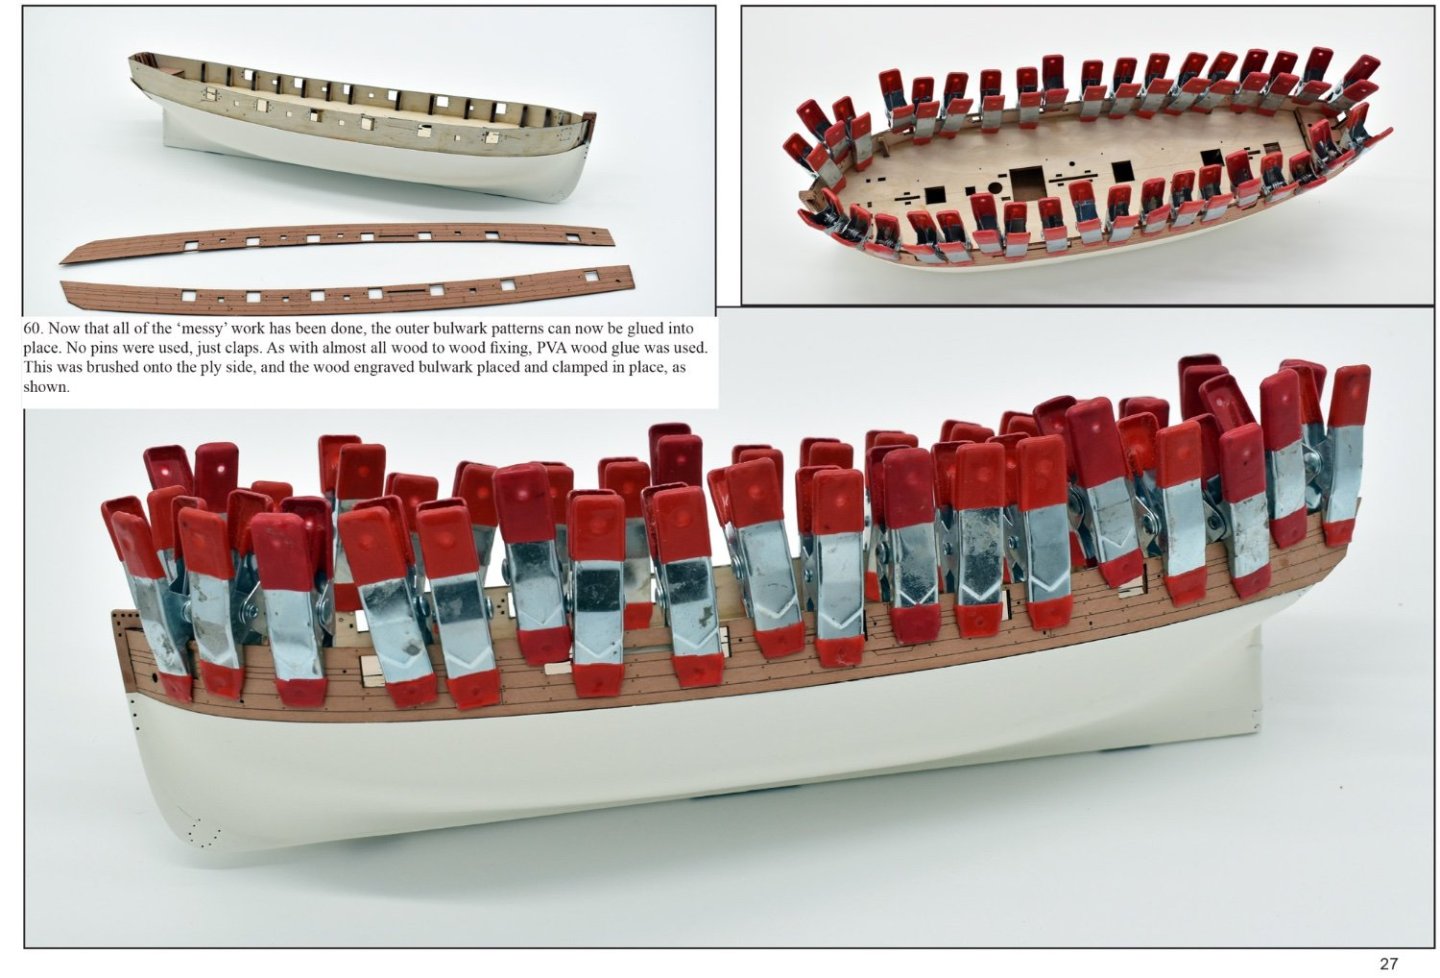
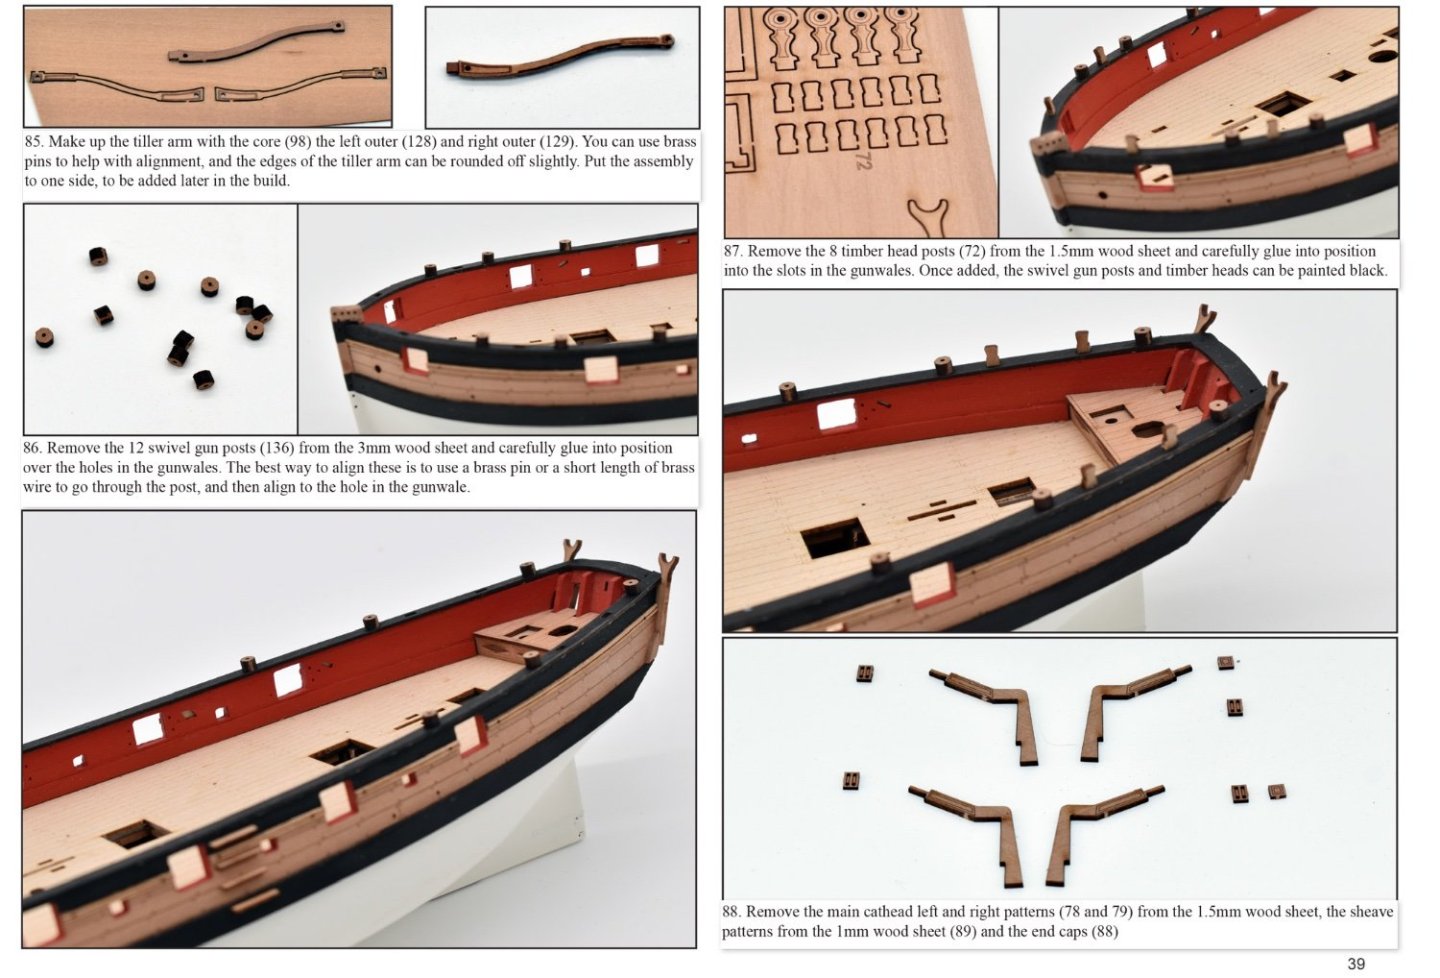
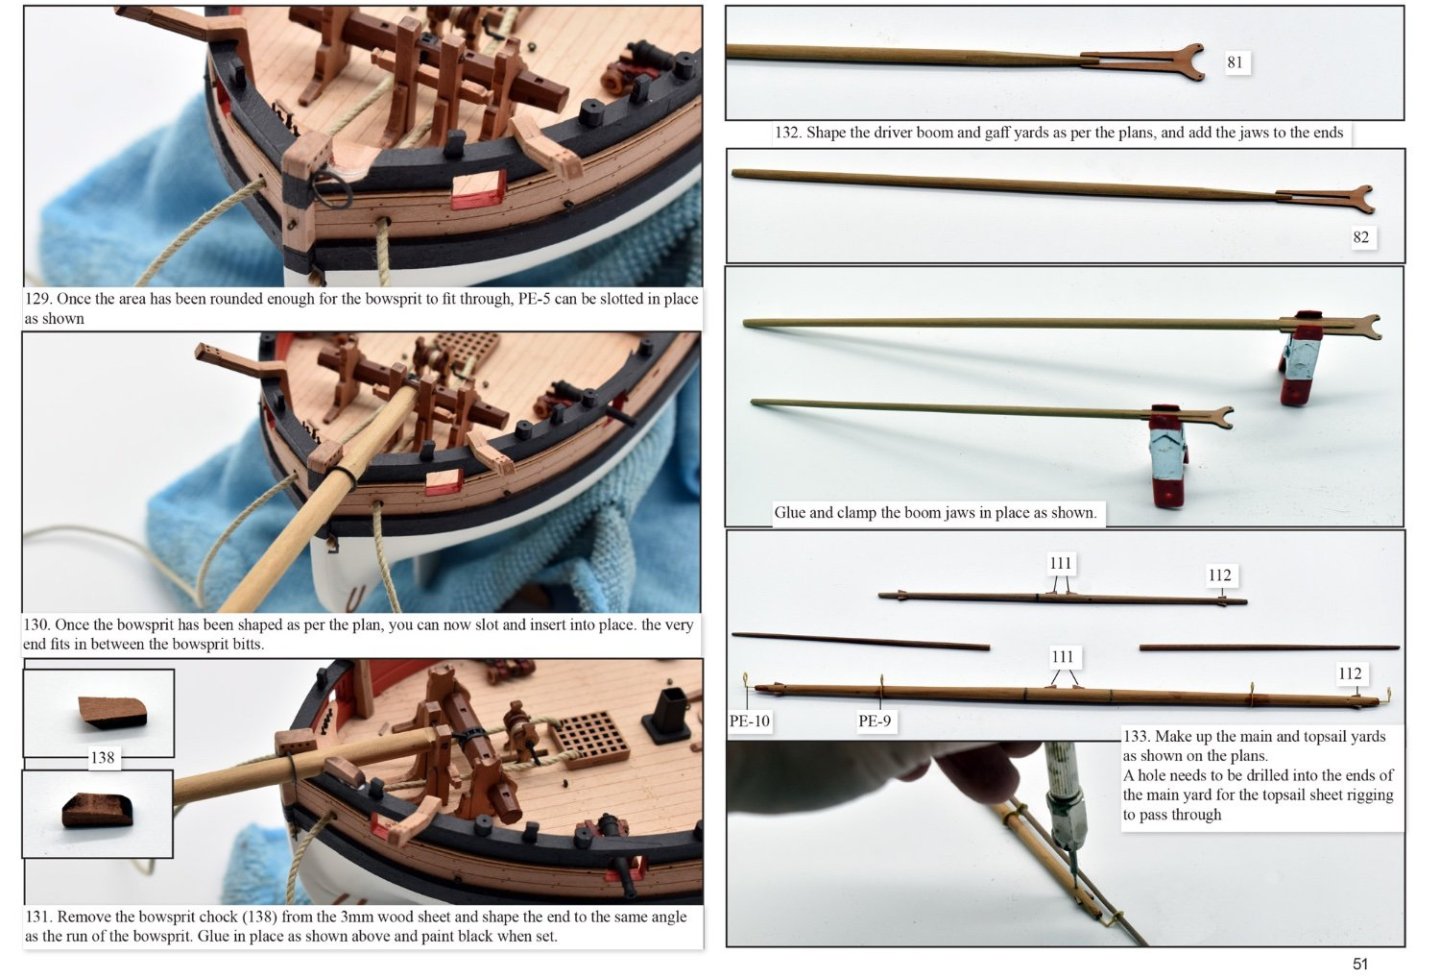
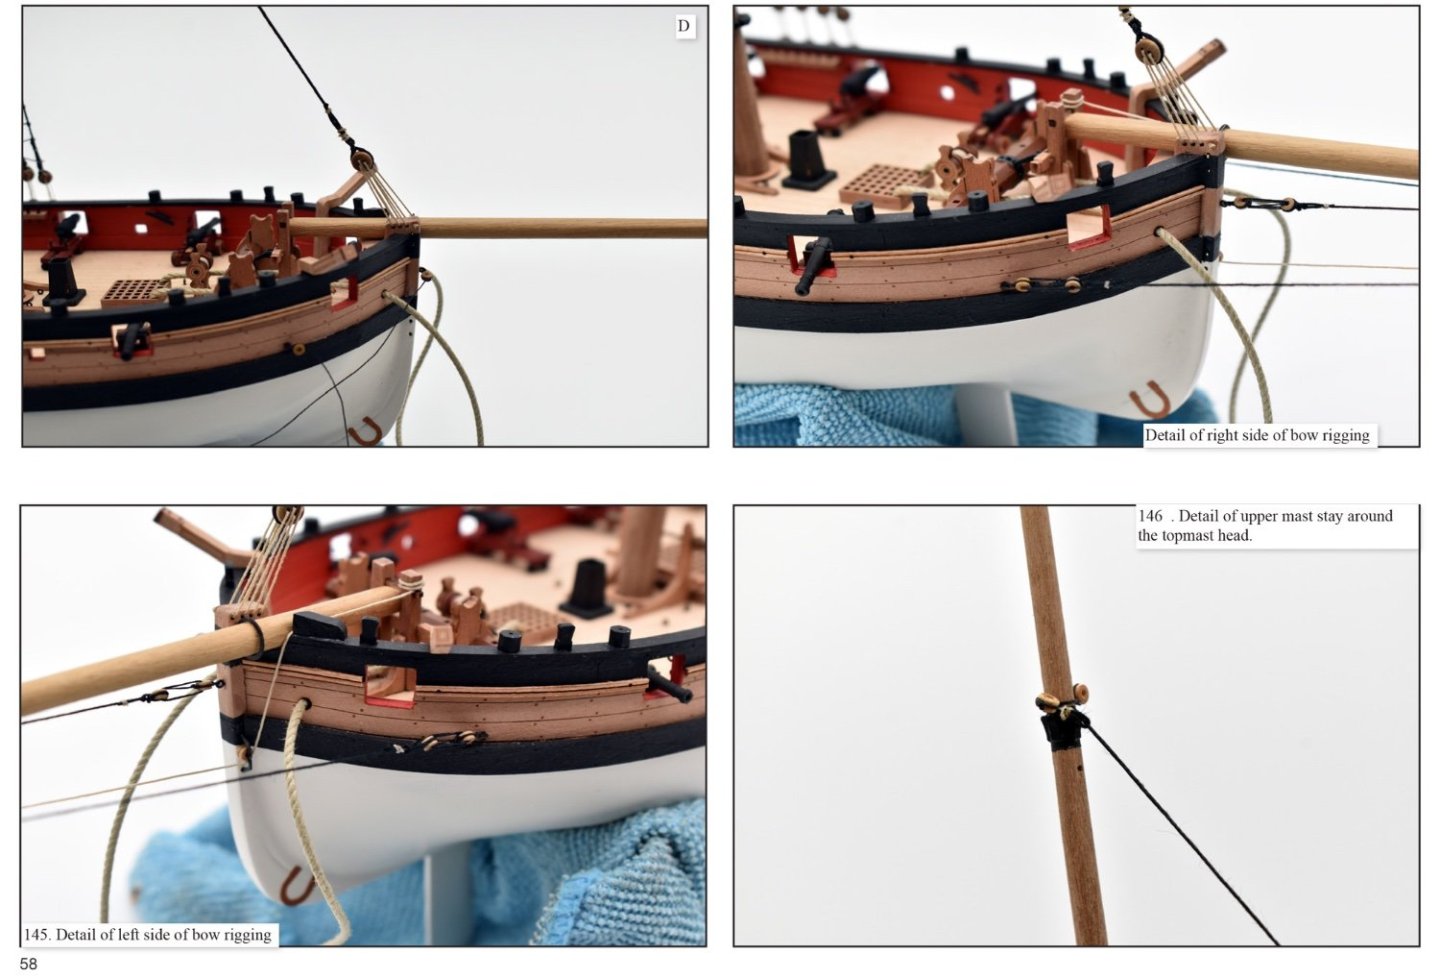
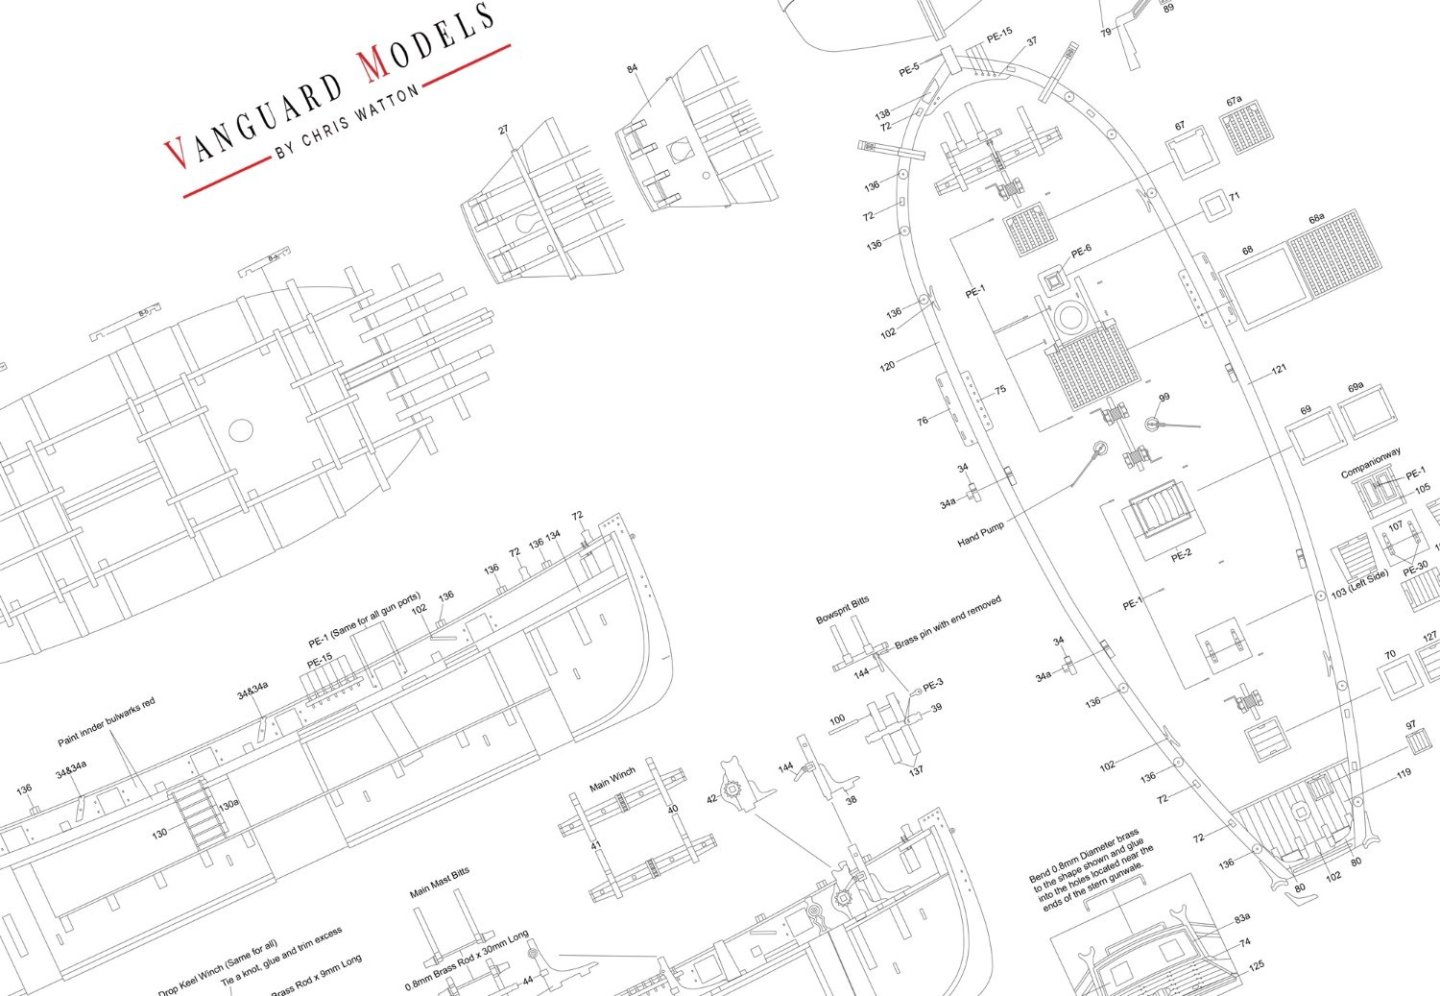
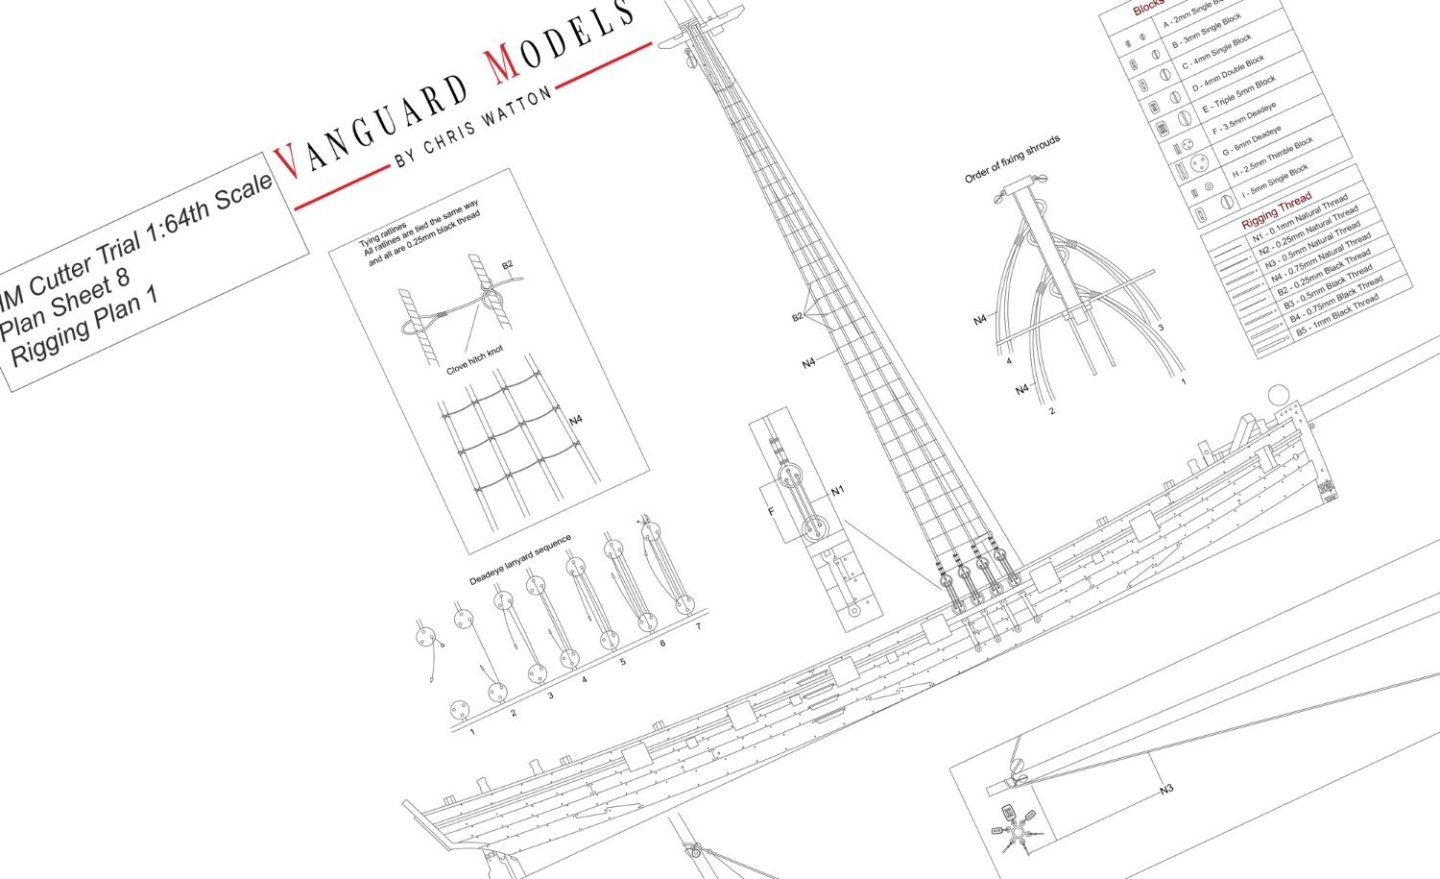
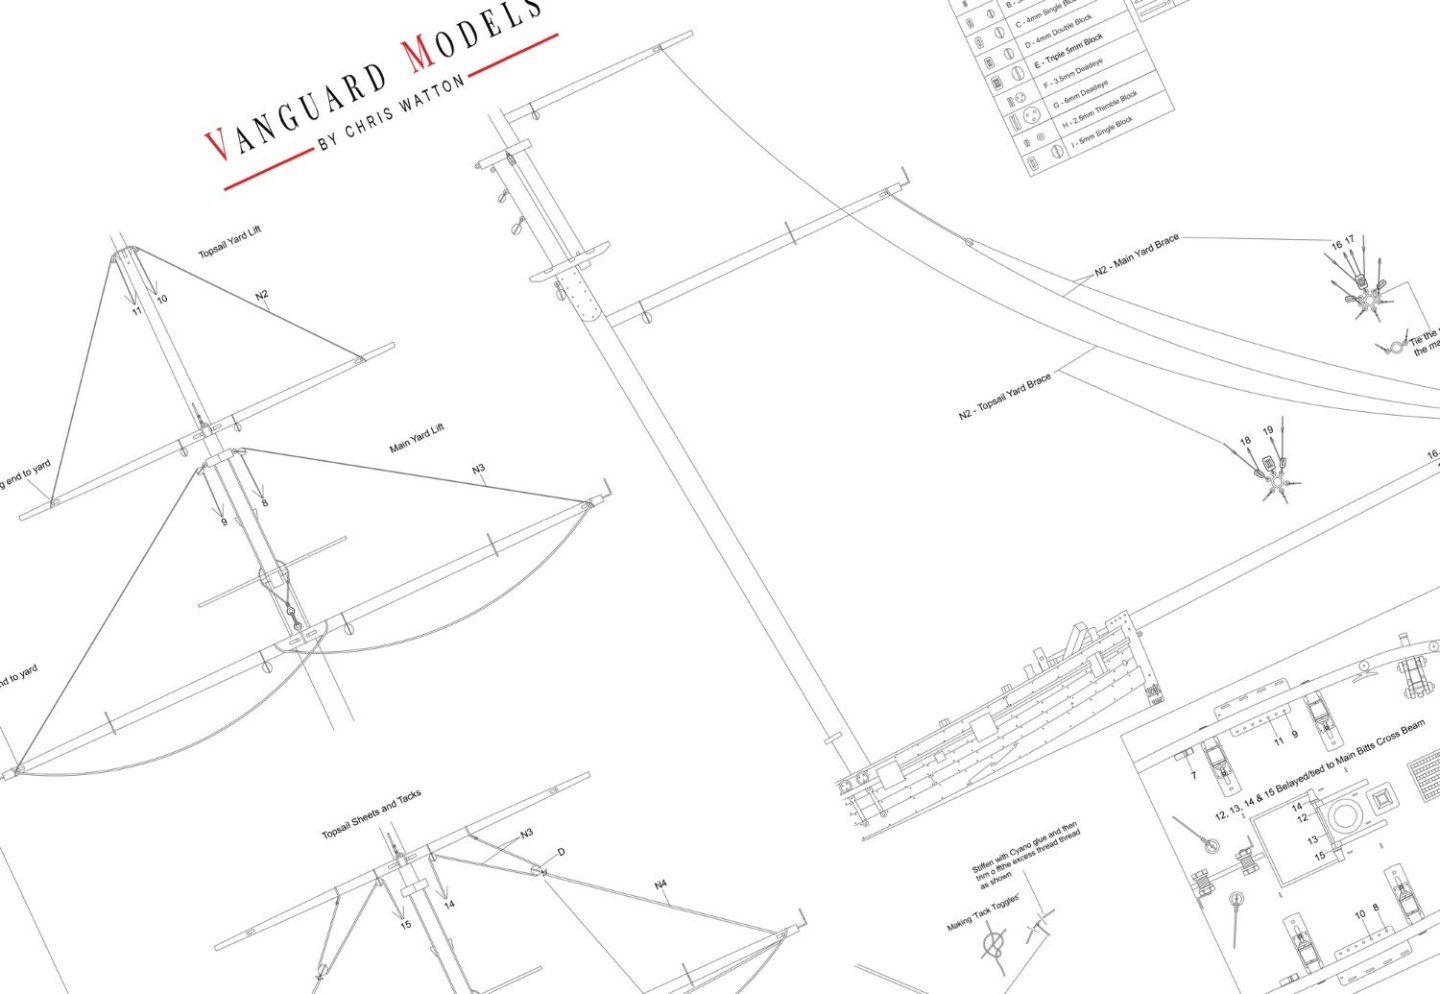
1:64 HM Britannic Majesty's Cutter Trial 1790 - Vanguard Models This is the latest kit from Vanguard Models. I don't feel I can review this as I would with any other product, per se, as I already have a well known connection to the company. I don't want to be accused of having an agenda or bias. This will be an overview/in-box look at this release which is VM's 14th kit since the company began. It's also, for me, the first release in around 3½yrs that I haven't had any involvement with. The aim of this kit is to bring a relatively low cost naval vessel to market which is at a level where novices can try their hand. It's set at a skill level 2. We do go to great pains to make sure that these levels reflect the build as much as possible, and that they are benchmarks that can be trusted when you shop at VM. For more info on these skill levels, check out this page: https://vanguardmodels.co.uk/understanding-our-skill-levels-ratings/ The box for this kit is quite compact and there's very little room left inside it, so I had to be careful in repacking this afterwards. A lining of bubblewrap lied within the box and inside that, all timber and acrylic parts are also wrapped in the same. There's no chance of stuff getting bashed about during transit. As with the rest of the range, the model is built around a laser-grade MDF skeleton and then lime planking is set for the first layer. Above water, the inner core bulwarks are from laser engraved and cut ply, which is then later doubled with an exterior pear later, complementing the second layer of plank that are also from pear. Although I have included some images from the manual, you will be able to look at the entire manual online on the kit's product page too, for more clarity. You can see from those images that the MDF frame is another slot and lock affair, which is designed so the modeller may actually do a reasonable amount of construction before any glue is applied. This will ensure that the model is properly assembled and aligned to the modeller's satisfaction, before any of the more traditional work is undertaken. There are seven sheets of pear, in varying thicknesses. Nigh on everything is pre-cut for the modeller, such as the inner and outer bulwarks (no planking needed), wales, gunwales, keel facings, rudder, etc. The keel facings fit the central keel core before second planking. This allows a rebate to be naturally created, that then lets the modeller neatly plank within and up to it for the second pear layer. You will also see the gun carriages, stairways, and various deck structures on these sheets. I am perhaps at a point where I automatically recognise everything that's visible here. The details supplied are, in my experience, higher than those in contemporary kits, with parts that aren't generic, but created specifically for the release. The quality of the pear is also high. Great pains have been made with this over the last years, believe me! Here you can see the ply sheet which contains the initial deck. Also seen are the inner bulwark cores. These are engraved so the lowest, horizontal engraved lines sit along the lines of the ply deck. This ensures that the bulwark elevation and position are correct. On the ply sheet is also the innermost lower counter part. As standard, laser-engraved lime decks are supplied, complete with treenail details. These are very easy to fit and have no tendency to curl when installing. Three bundles of timber are supplied for inner and outer planking, plus materials for the mast, yards and bowsprit etc. This kit contains two frets of photo-etch parts in two thicknesses of material. You will see easily identifiable parts in these sheets, such as the depth markings, fishtail/horseshoe keel parts, eyelets, pump handles belaying pins, and chainplates. The latter are made from single pieces so there's no awkward assembly to be had. The kit supplies an MDF cradle for construction, but the display stand itself is made from a lower section of mirror acrylic, with two clear and parts that clip into it. The reason for the mirror is to emphasise the vessel's drop keel much better and make it a feature. There are two boxes of fittings. The first one contains rigging rope of various sizes, whilst the second has a wealth of other things, such as brass pins, cannon and carronade barrels, winch, rigging blocks, anchors, carronade wheels, glass parral beads, black card, and also a nicely made name plate for the mirrored display base. For those unfamiliar with VM kits, the manuals are typically printed in an A4 format, as here, with some of the larger vessels having A3 manuals. All manuals are full colour and spiral bound. This kit also has eleven plan sheets which detail everything from parts maps, through construction and then onto rigging. So, that is a look under the hood of VM's latest kit. I'm not here to pass my own comments as I am too close to VM to do so. The quality of this release is commensurate with the whole range and nothing has had any corners cut to bring it to market. I also feel the price is fairly pitched for such a kit, especially with pear being included. If you fancy trying your hand at this unusual little kit, then head over to the VM page and grab yourself a copy! https://vanguardmodels.co.uk/product/trialcutter/
-

2023 Donations drive
James H replied to James H's topic in How to use the MSW forum - **NO MODELING CONTENT**
Topic pruned to bring back on track. I adjusted our donations received figure yesterday too. We are now at about 40% running costs. Thank you all for your continued support.
About us
Modelshipworld - Advancing Ship Modeling through Research
SSL Secured
Your security is important for us so this Website is SSL-Secured
NRG Mailing Address
Nautical Research Guild
237 South Lincoln Street
Westmont IL, 60559-1917
Model Ship World ® and the MSW logo are Registered Trademarks, and belong to the Nautical Research Guild (United States Patent and Trademark Office: No. 6,929,264 & No. 6,929,274, registered Dec. 20, 2022)
Helpful Links
About the NRG
If you enjoy building ship models that are historically accurate as well as beautiful, then The Nautical Research Guild (NRG) is just right for you.
The Guild is a non-profit educational organization whose mission is to “Advance Ship Modeling Through Research”. We provide support to our members in their efforts to raise the quality of their model ships.
The Nautical Research Guild has published our world-renowned quarterly magazine, The Nautical Research Journal, since 1955. The pages of the Journal are full of articles by accomplished ship modelers who show you how they create those exquisite details on their models, and by maritime historians who show you the correct details to build. The Journal is available in both print and digital editions. Go to the NRG web site (www.thenrg.org) to download a complimentary digital copy of the Journal. The NRG also publishes plan sets, books and compilations of back issues of the Journal and the former Ships in Scale and Model Ship Builder magazines.

