-
Posts
158 -
Joined
-
Last visited
-
 maddog33 reacted to a post in a topic:
New Bedford Whaleboat by ziled68 (Raymond) - FINISHED - Model Shipways - Small
-
 maddog33 reacted to a post in a topic:
New Bedford Whaleboat by ziled68 (Raymond) - FINISHED - Model Shipways - Small
-
 maddog33 reacted to a post in a topic:
New Bedford Whaleboat by ziled68 (Raymond) - FINISHED - Model Shipways - Small
-
 maddog33 reacted to a post in a topic:
New Bedford Whaleboat by ziled68 (Raymond) - FINISHED - Model Shipways - Small
-
 maddog33 reacted to a post in a topic:
New Bedford Whaleboat by ziled68 (Raymond) - FINISHED - Model Shipways - Small
-
 maddog33 reacted to a post in a topic:
New Bedford Whaleboat by ziled68 (Raymond) - FINISHED - Model Shipways - Small
-
 maddog33 reacted to a post in a topic:
New Bedford Whaleboat by ziled68 (Raymond) - FINISHED - Model Shipways - Small
-
 maddog33 reacted to a post in a topic:
New Bedford Whaleboat by ziled68 (Raymond) - FINISHED - Model Shipways - Small
-
 maddog33 reacted to a post in a topic:
New Bedford Whaleboat by ziled68 (Raymond) - FINISHED - Model Shipways - Small
-
 Blue Pilot reacted to a post in a topic:
Some criteria for starting a new group project
-
Hola Cariña, It has been too long since you've posted anything and I have missed your passion. I am glad that you are settling down again in order to continue working on your model and hopefully finish her (it seems you are closer to it now). I hope to see more updates and remember to take care of yourself. In the event you want ideas for working with your sails you may want to take a look at these videos for inspiration. Tu amigo, Raymond.
-
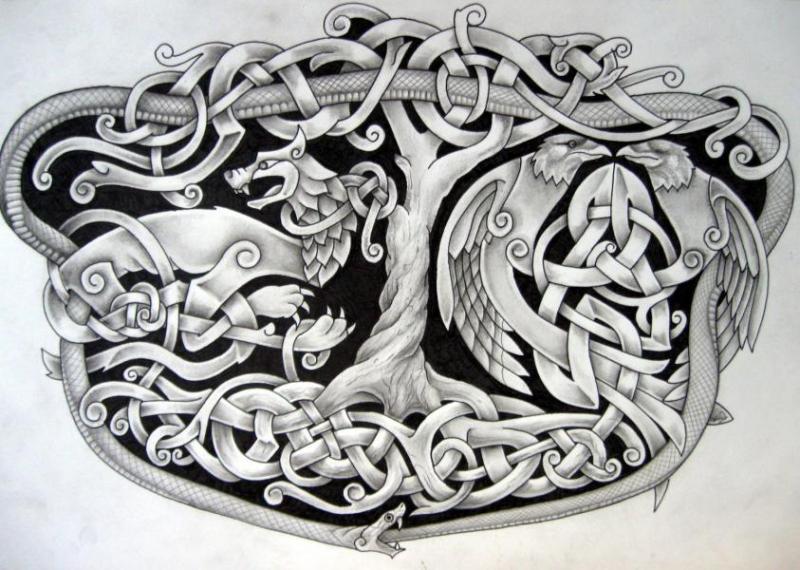
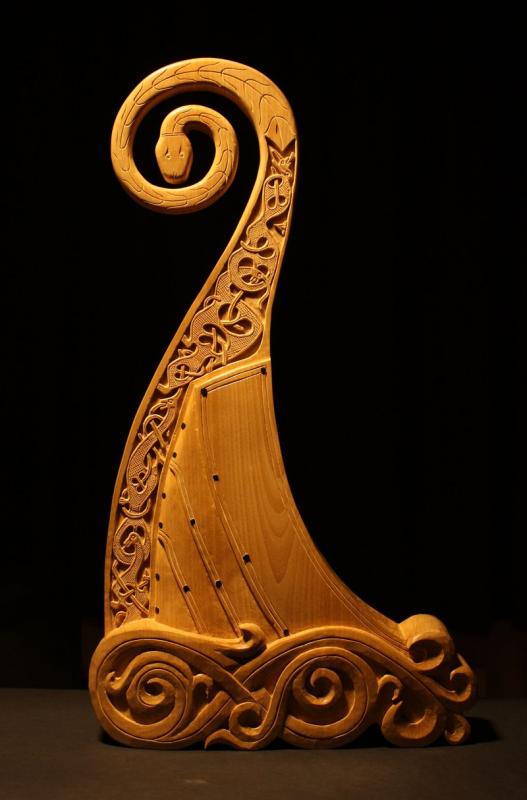
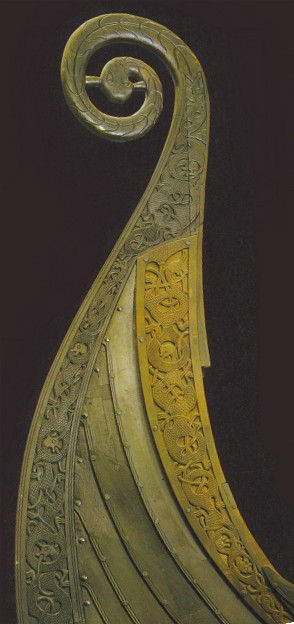
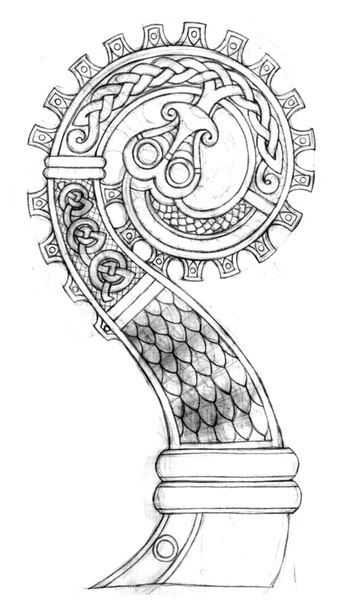
Hey Chuck, I am so glad that you've actually started this basic tutorial on carving. The concepts and ideas that you are implementing in your discussion is rather straight forward and easily understood. Starting the first cut to have a clean stopping point for the inevitable shave insures that you don't overshoot the mark. Now I know that what I want to say next may be a little off but I believe it shares the same concept. Traditional Celtic Viking tattoo designs show where one knot work goes beneath another via shadows. The line that goes above is clear and sharp while the line beneath has shadows to represent depth. Attached you will see a photo that serves a dual purpose. It will show neat lines and shadowed depth areas while at the same time give people ideas for Viking longboat carving. Ray
-
Chris, What can I say but, Outstanding!!!!! Your attention, and care to details have made this little beauty a joy to look at. There are many aspects/procedures that you have used on your build that I wish to incorporate in future builds. Many thanks in advance to the assistance you've provided by simply posting your progress. Ray
- 144 replies
-
- corsair
- bermuda boat
-
(and 1 more)
Tagged with:
-
 ziled68 reacted to a post in a topic:
Some criteria for starting a new group project
-
 ziled68 reacted to a post in a topic:
Some criteria for starting a new group project
-
 ziled68 reacted to a post in a topic:
Some criteria for starting a new group project
-

Some criteria for starting a new group project
ziled68 replied to Chuck's topic in Group Projects on Model Ship World
Thanks Daves, I figured it would be a great small/side project that would give the modeler new skills in this hobby. Jack's Oseberg Viking Ship is a great looking model and I think this type of project would be a great supplemental model/piece to add along side of her. -

Some criteria for starting a new group project
ziled68 replied to Chuck's topic in Group Projects on Model Ship World
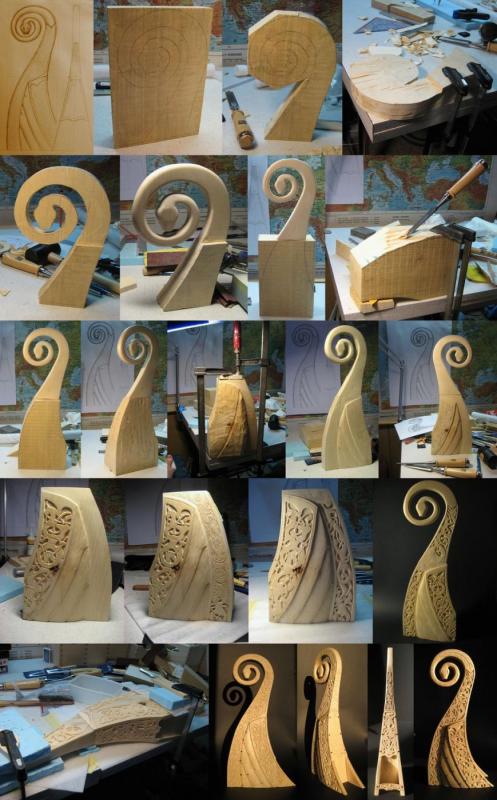
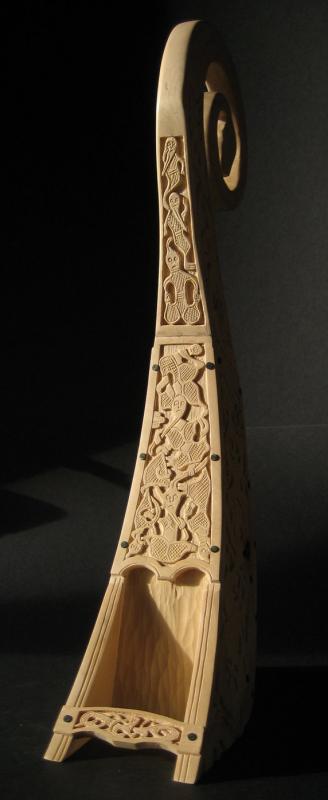
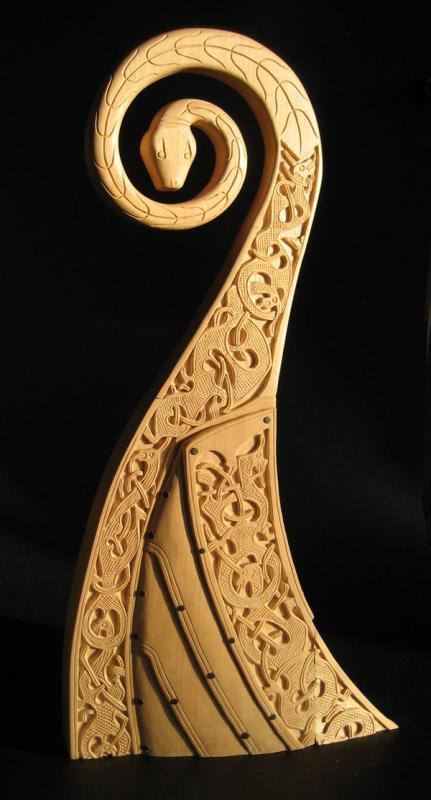
Hello Everyone, I like the concept that Chuck is trying to get started in regards to group projects, be they small or large. One idea that I've been mulling over in my mind would be a group projected dedicated to carvings of Viking longboat prows. I've come across many pictures on the internet and it has stirred my imagination into incorporating it as a side project. Now the prow can be as large as one would want to tackle it. One must ensure that they do show updates and what carving techniques they are using. While at a larger scale, it will give people the opportunity to start practicing their carving techniques in the event they may want to try their hands at a carved ship's figurehead. Attached are a few photos of what I am talking about in the event it stirs curiosity in fellow ship builders. -
Hey Tony, I'm glad that you've been busy with this little beauty. I've enjoyed working on this cross section and I hope that you'll enjoy it too. Attached you will see one of the Triton drawings which you'll be able to find on the full build section of downloads. Take your time and review everything before choosing what you want to do on your build. I look forward to seeing more progress on your build, Ray. MidshipCrossSection@48-1.pdf
-
 ziled68 reacted to a post in a topic:
H.M.S. Triton Cross Section by UpState NY 1:48
-
Hello Dan, I hope everything is fine on the home front. Sir, I must say that I've just finished going over your log and am totally in awe at your level of expertise. Your narratives are truly easy to follow along and I hope that one day I may reach a fraction of your skills. Once again, "Kudos" on a job well done. Ray
-
Chris, You are officially my hero. That was an excellent come back from what would have been thought a total disaster. It has happened to me before and it really scared me to think I would have to start everything all over again. Great job Buddy. Ray
- 144 replies
-
- corsair
- bermuda boat
-
(and 1 more)
Tagged with:
-
Chris, I am glad summer is over so that you can get back to your Corsair. I am gald that you corrected that little mistake on the transom. Like you, if I make a mistake I try to correct it because if I don't, it will be the first place I look at whenever I look at the model. The fact that you are using belts to evenly distribute your planks on the Corsair will make it a very attractive model. I hope to see more progress. Ray
- 144 replies
-
- corsair
- bermuda boat
-
(and 1 more)
Tagged with:
-
 ziled68 reacted to a post in a topic:
HMS Triton 1773. POF. 1:48. Daniel
About us
Modelshipworld - Advancing Ship Modeling through Research
SSL Secured
Your security is important for us so this Website is SSL-Secured
NRG Mailing Address
Nautical Research Guild
237 South Lincoln Street
Westmont IL, 60559-1917
Model Ship World ® and the MSW logo are Registered Trademarks, and belong to the Nautical Research Guild (United States Patent and Trademark Office: No. 6,929,264 & No. 6,929,274, registered Dec. 20, 2022)
Helpful Links
About the NRG
If you enjoy building ship models that are historically accurate as well as beautiful, then The Nautical Research Guild (NRG) is just right for you.
The Guild is a non-profit educational organization whose mission is to “Advance Ship Modeling Through Research”. We provide support to our members in their efforts to raise the quality of their model ships.
The Nautical Research Guild has published our world-renowned quarterly magazine, The Nautical Research Journal, since 1955. The pages of the Journal are full of articles by accomplished ship modelers who show you how they create those exquisite details on their models, and by maritime historians who show you the correct details to build. The Journal is available in both print and digital editions. Go to the NRG web site (www.thenrg.org) to download a complimentary digital copy of the Journal. The NRG also publishes plan sets, books and compilations of back issues of the Journal and the former Ships in Scale and Model Ship Builder magazines.


