James H
-
Posts
6,134 -
Joined
-
Last visited
Content Type
Profiles
Forums
Gallery
Events
Everything posted by James H
-
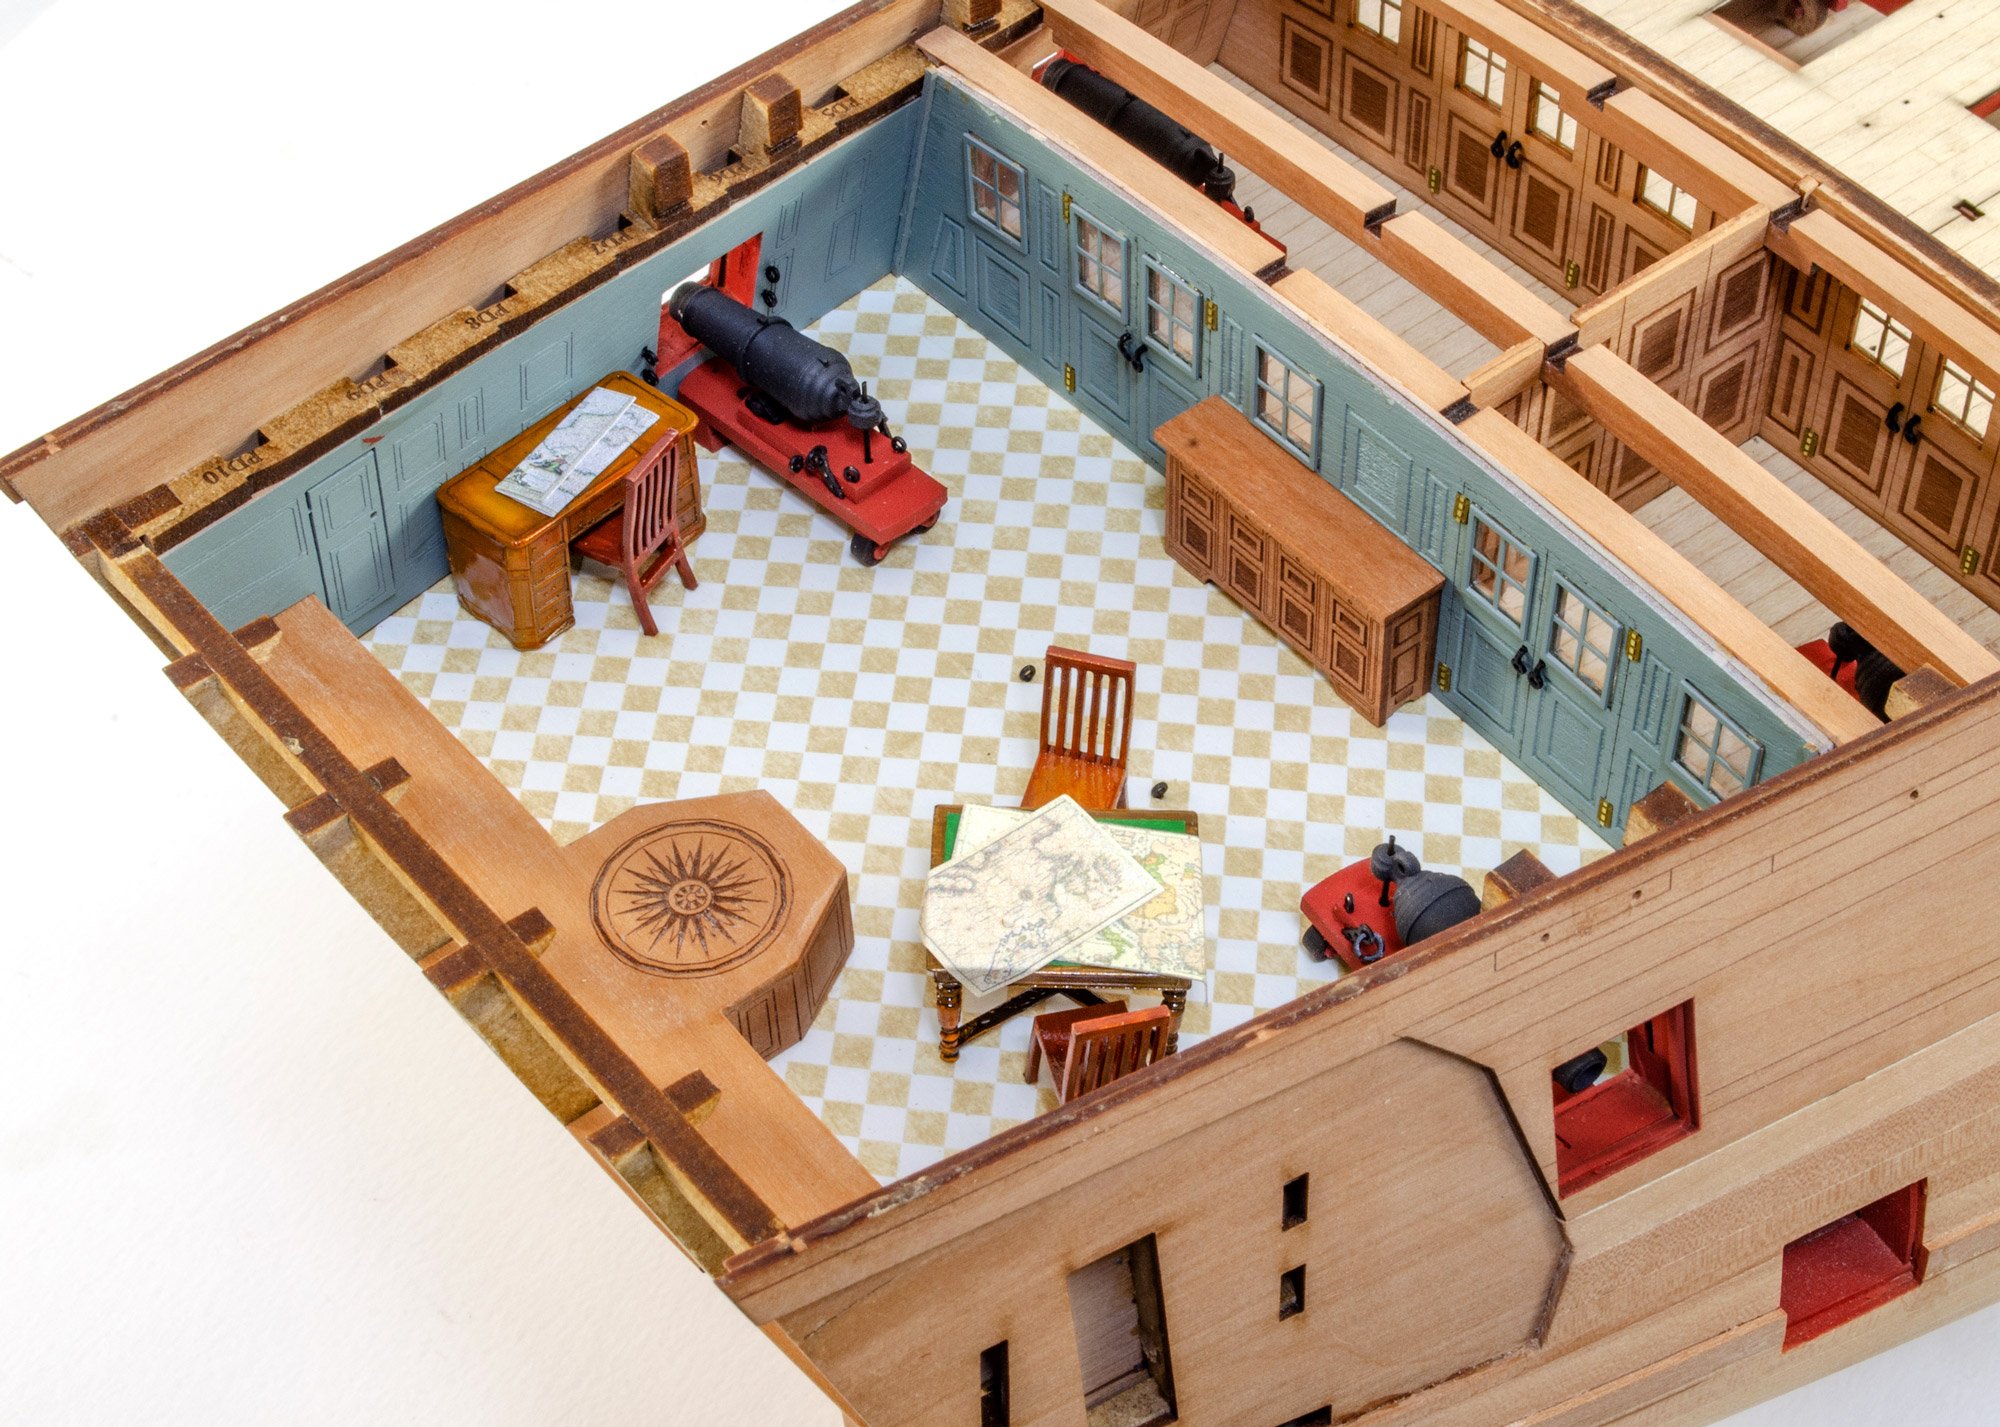
 Shhhhhhhhh......... 🤫 😉
 -
I still like the chequers you printed out, against that ivory white wall area.
-
CAFmodel Woodcarving Studio
James H replied to cafmodel's topic in Painting, finishing and weathering products and techniques
Beautiful work. I can't imagine they are quick to carve. -
If someone here has the knowhow, maybe they can make a vectored one in PDF form, that can then be scaled and printed to whatever size.
-
Beautiful start. This was my cabin on Indefatigable. This stuff is supplied with Indy, but is also available separately on the VM site.

-
Thanks guys, topic now moved.
-
Can someone give me an approximation of the year of this vessel so I can put it in the build logs, where it belongs?
-
Post links not working
James H replied to Isaiah's topic in Using the MSW forum - **NO MODELING CONTENT IN THIS SUB-FORUM**
That's precisely what it was. Glad it's sorted for you. -
Post links not working
James H replied to Isaiah's topic in Using the MSW forum - **NO MODELING CONTENT IN THIS SUB-FORUM**
Links can't fix themselves. I promise you. They need to be manually edited. -
Post links not working
James H replied to Isaiah's topic in Using the MSW forum - **NO MODELING CONTENT IN THIS SUB-FORUM**
That's what I meant. Those links take me to the correct place. -
Post links not working
James H replied to Isaiah's topic in Using the MSW forum - **NO MODELING CONTENT IN THIS SUB-FORUM**
Nothing on the website has been changed. I can tell you those links work perfectly for me. If you experience problems yourself, it's the same old advice to clear your browser cache and cookies. -
That's actually quite lenient for a kit like that. I've had deliveries from the US...one of them only $30 plus delivery, and I had to pay £25 fees!
- 422 replies
-
- 2
-

-

-
- Vanguard Models
- Sphinx
- (and 1 more)
-
Beginner looking for advice on first kit
James H replied to O-Nurse's topic in New member Introductions
It might be useful to set some time aside and read through this topic. This is aimed directly at the sort of questions you ask. -
Try sending him a direct message.
-
One issue that will likely crop up with the stern fascia being too low, is that the rails that run across the stern parts, should flow with those running around the quarter galleries. The correct placement of those stern parts is key to those rails flowing all the way around.
- 422 replies
-
- 1
-

-
- Vanguard Models
- Sphinx
- (and 1 more)
-
I’m not seeing anything that’s a problem here. Can you show some photos of the rear of the bulwarks where they match up to inner frames. Have you sat the main stern part 2mm above the bulwarks to check where the bottom edge lies?
- 422 replies
-
- 1
-
-
- Vanguard Models
- Sphinx
- (and 1 more)
-
When you have uploaded your photos, and completed a paragraph, just click on a photo to insert it and then write more text afterwards. Or...add all your text, and then when complete, click where you want an image to go, and then click on the uploaded image. I never use drag and drop. Here's info from the pinned topics in this area:
-
For me, it did start to move, but not not enough to start its cycle. I needed to push the flywheel to get momentum. I presume the initial movement was because the cylinder was at the start of its travel (at bottom of stroke), and needed external momentum to begin that cycle.
-
They sure are. Was a big surprise to me as the last two I bought for the school I work, were between £150 and £200, possibly. Certainly nowhere near £400. And let's be honest, they aren't great technical creations with their soldered joints and thin boiler jacket, faux chimney and rickety construction. This new one feels incredibly robust and 'sure' in its operation. If anyone wants a nice discount on this or any other model engine from EngineDIY, just use the voucher code: JAMESHATCH