


James H
-
Posts
6,134 -
Joined
-
Last visited
Content Type
Profiles
Forums
Gallery
Events
Everything posted by James H
-
 Please can you reply again to this?
 -
We have had a recent core software update (a couple of days ago). Just checked notification settings and I didn't see anything unusual, except the auto-notification to a member who starts a topic. That was unchecked. I've now corrected that. We've also had an update to the site's mySQL/MariaDB. As this site is driven by database queries, it could be that, but I would've thought it very unlikely.

-
Hello, The answer is in this very forum area, in the pinned topics.
-
MSW Spring Donation Pledge It’s that time of year when we ask our MSW members to help support the MSW website. This great website serves over 45,000 ship modellers, historians, and enthusiasts! The bills never stop and neither do we. All donations are appreciated, but to sweeten the deal, if you donate $10US or more, we will send you 2 MSW stickers as a thank you for your contribution. To receive your stickers, we will need your real name and address so we know where to send them. You can add your information to your PayPal payment, or contact Mary Van Dahm in the NRG office at nrghomeoffice@gmail.com if you prefer not to let PayPal have your information. If you have any questions, either send a PM to @ferretmary1, email nrghomeoffice@gmail.com or pop a PM to me. THANK YOU FOR YOUR CONTINUED SUPPORT!!
-
- 7
-

-
I 'glue' the frames over the acrylic windows with Klear floor polish. It's acrylic itself, dries rock hard and is commonly used in plastic modelling for fitting some PE parts. I've been using it for years with no issue. If it gets on the clear pane, then it's no problem.
- 648 replies
-
- 10
-
-
- Indefatigable
- Vanguard Models
- (and 1 more)
-
This is the same method used on all of the VM range, from the fishers, right up to Indy. I must admit that I never had any problems when building those prototypes and writing those manuals, including Sphinx. @chris watton
-
Just flex the deck so you can put it into place. From there, you'll see where you need to remove material from the edges. Do this until the deck lies flat across the camber. To remove the deck, just pop your fingers through a hole and gently lift.
-
As this seems to be a Samsung thing that has only just cropped up, then that is the issue. There's absolutely zilch can be done from my side. It's not unheard of for phone/tablet software to update and cause issues with a website, so hopefully that will be either something they fix soon, or maybe a future forum template can take into consideration if Samsung fail to sort their bad code out.
-
I can guarantee zero changes to our software for the last 5 weeks, as I update everything manually.
-
I quite like the tape. More of a scale thickness and cleaner to apply.
-
I'm not getting into a public slanging match for enforcing our rules. You do have fair reason to sell here, now you have furnished us with more information and not having staff here play guessing games as to whether something is legitimate or not. If I had to make the same decision again, I would, every time. Please let this be a lesson learned to those who wish to do the same. Maybe contact a staff member If this is on behalf of a deceased member, please let us know which member When registering an account on MSW, you have to state you understand the rules we have here. To plead ignorance after the fact, isn't an excuse. Topic locked.
-
Here was your first post. Sorry, I don't see anything there that you have just posted in your reply here: Can you see why, as an organisation, we have to be careful and not just let new members start to post about goods for sale? Surely you can?
-
There would be nothing stopping you contacting that same member.
-
Ok....an 'administrator' replies. How would you know that person is selling on items that have been bequeathed or are as a result of someone's demise? Anyone can join MSW to pretend to sell items that are part of an estate, and then take you for a ride......but hey, we allowed it 'in this instance'. That could also pertain to someone who just wants to sell their stuff, so makes a post saying it's part of an estate. You get stiffed, but hey, we allowed it 'in this instance'. You would be surprised the number of guitar gear groups I am a part of where a party is selling stuff because it's part of an estate, or a lady is selling because her 'husband cheated on her'. Anyone with an actual estate who can give us provenance, are welcome to contact admin, with a view to posting but we simply do not allow folk to come here and knowingly circumvent our system by posting in a forum area which isn't tied into the 25 post rule. New folk signing up here also click to say they abide by the site rules, which are there for them to read. It's a requirement of membership here. We have a responsibility to ensure that our membership isn't made open to vulnerabilities that can occur by being a part of an online community. While we can't negate risk fully, we will always do what we can to reduce that risk as far as we can go.
-
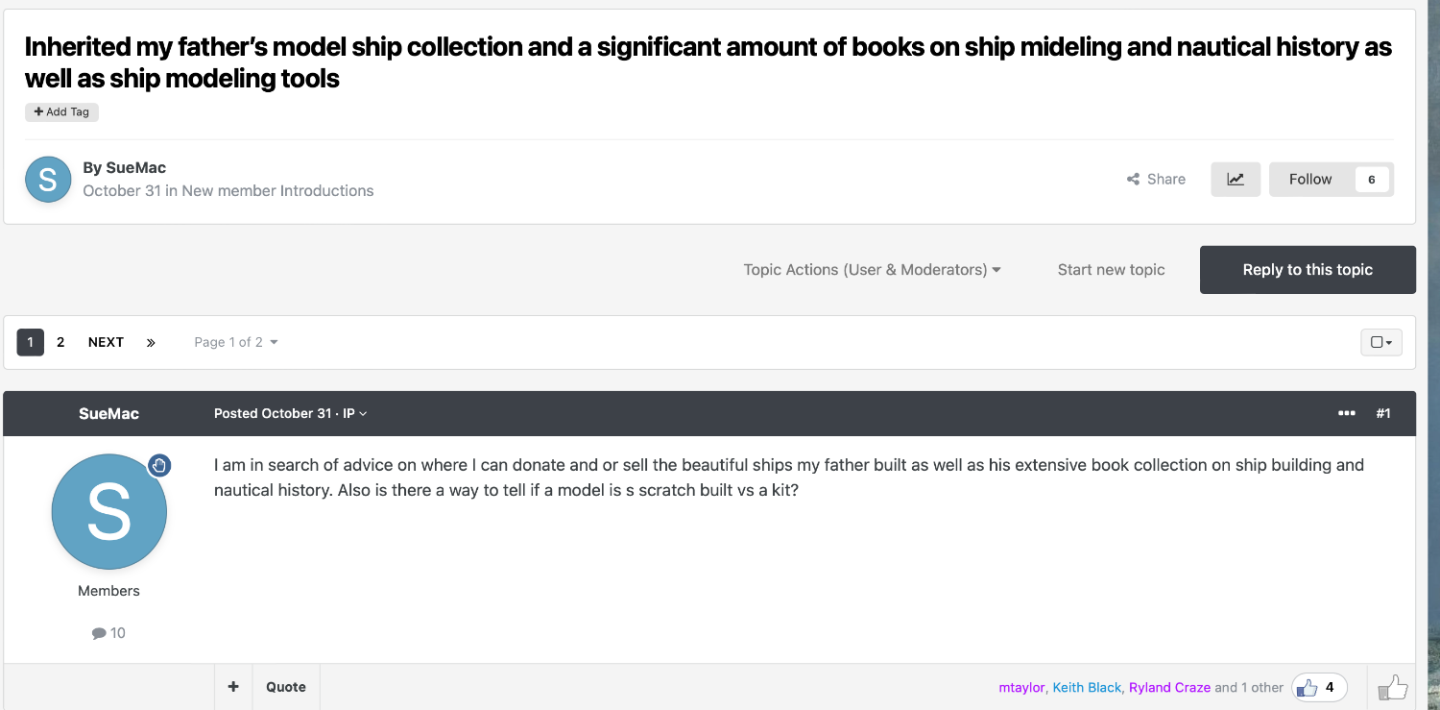
I have had to remove permissions from TWO new members here who have been using our forum to circumvent our rules. These posts have been made in here and the forum tech area, each selling items. REMEMBER: Please don't buy from anyone who has no provenance here at MSW. 25 posts are required to sell anything here, and these two members, SueMac and L Pecore have attempted to pass our system and sell to our membership. We have now put them on post moderation and disabled their messengers. PLEASE do not deal with these members. Admin
- 11 replies
-
- 11
-
-

-
Focus Stacking
James H replied to Dennis P Finegan's topic in Photographing your work. How to do this.
Can you tell me which model(s) have this and what you would advise? My D5100 is almost 14yrs old now and the sensor has a spot which I need to clean up on each photo I take. It's had a hard life and needs retiring. -
Pointing out inaccuracies is one thing, but maybe counter with ways to improve a problem. No builder would be wrong to buy the OcCre kit. Any kit can be anything to any modeller, be it subject, style etc. I see the same folk who will lay into some kits with their all so superior attitude, despite them looking down their collective noses at those who do build kits. It gets real tiresome. Tiresome for me, tiresome for our staff, and more importantly, tiresome for those who come here for encouragement and an air of general positivity. AND...it's ALWAYS the same small cabal of folk who colour the generally friendly atmosphere here. You all know who you are and it needs to stop.
- 56 replies
-
- 20
-
-
-
It's a possibility. At the moment, I don't know. I wouldn't surmise at this point.
-
Amati have been speaking to me over the last two weeks, regarding resurrecting this. It isn't forgotten about. Let's just be patient.
-
I refer you to post #194.
-
I've had since yesterday to compute this, and I am absolutely gutted. 64yrs is no age. He had so much more time that he could've given to his family. It's absolutely heartbreaking. A masterful craftsman and a gentleman. Irreplaceable. I can only offer condolences to his family, and that isn't anywhere near enough to go the million miles needed to ease their hearts.
- 44 replies
-
- 10
-

-
-
Kit review 1:84 Santisima Trinidad – Trafalgar 1805 by Artesanía Latina
James H replied to James H's topic in REVIEWS: Model kits
It is. -
Kit review 1:84 Santisima Trinidad – Trafalgar 1805 by Artesanía Latina
James H replied to James H's topic in REVIEWS: Model kits
I think that's it. These kits aren't aimed at those who have little experience. I would be able to plank that hull, no problems, even in 2mm, but that's because I've some experience. For those who have little experience, it would be a nightmare, and buckets of filler would be needed.

