James H
-
Posts
6,133 -
Joined
-
Last visited
Content Type
Profiles
Forums
Gallery
Events
Everything posted by James H
-
 First World problems 😆
 -
Kit review 1:20 Grand Banks Heritage 46 - Amati
James H replied to James H's topic in REVIEWS: Model kits
I think this one has new packaging. -
I've lost it....need a refresher to get my confidence back
James H replied to bigcreekdad's topic in Wood ship model kits
Take a look on the VM site. The kits are skill rated too so you can pick something you feel to be in your ballpark. -
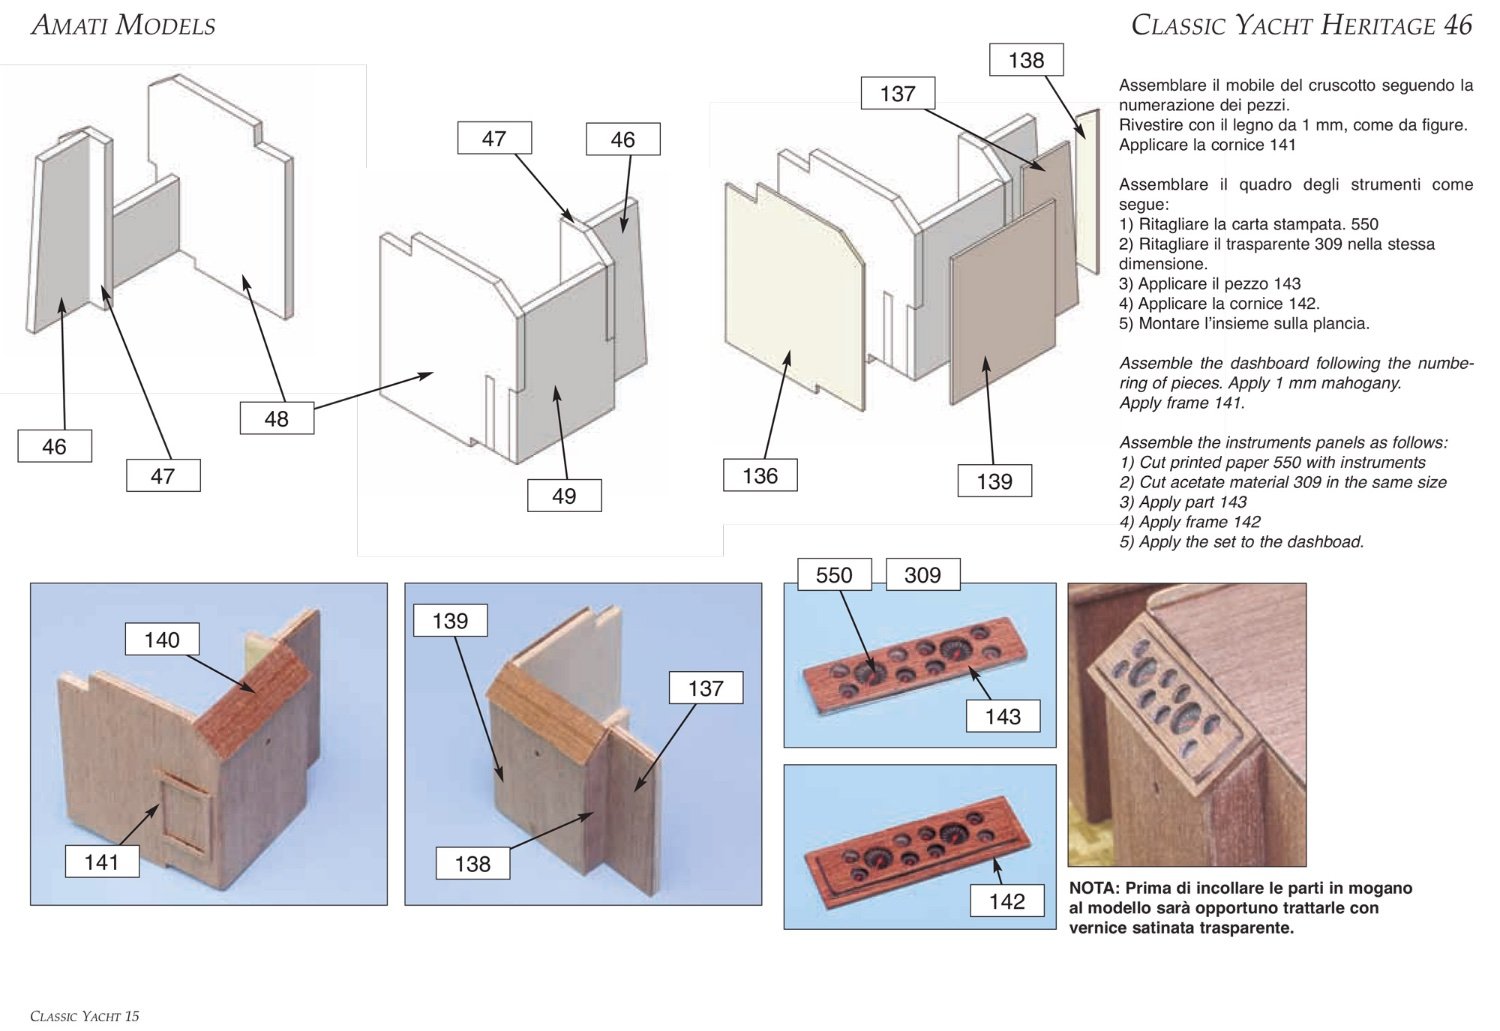
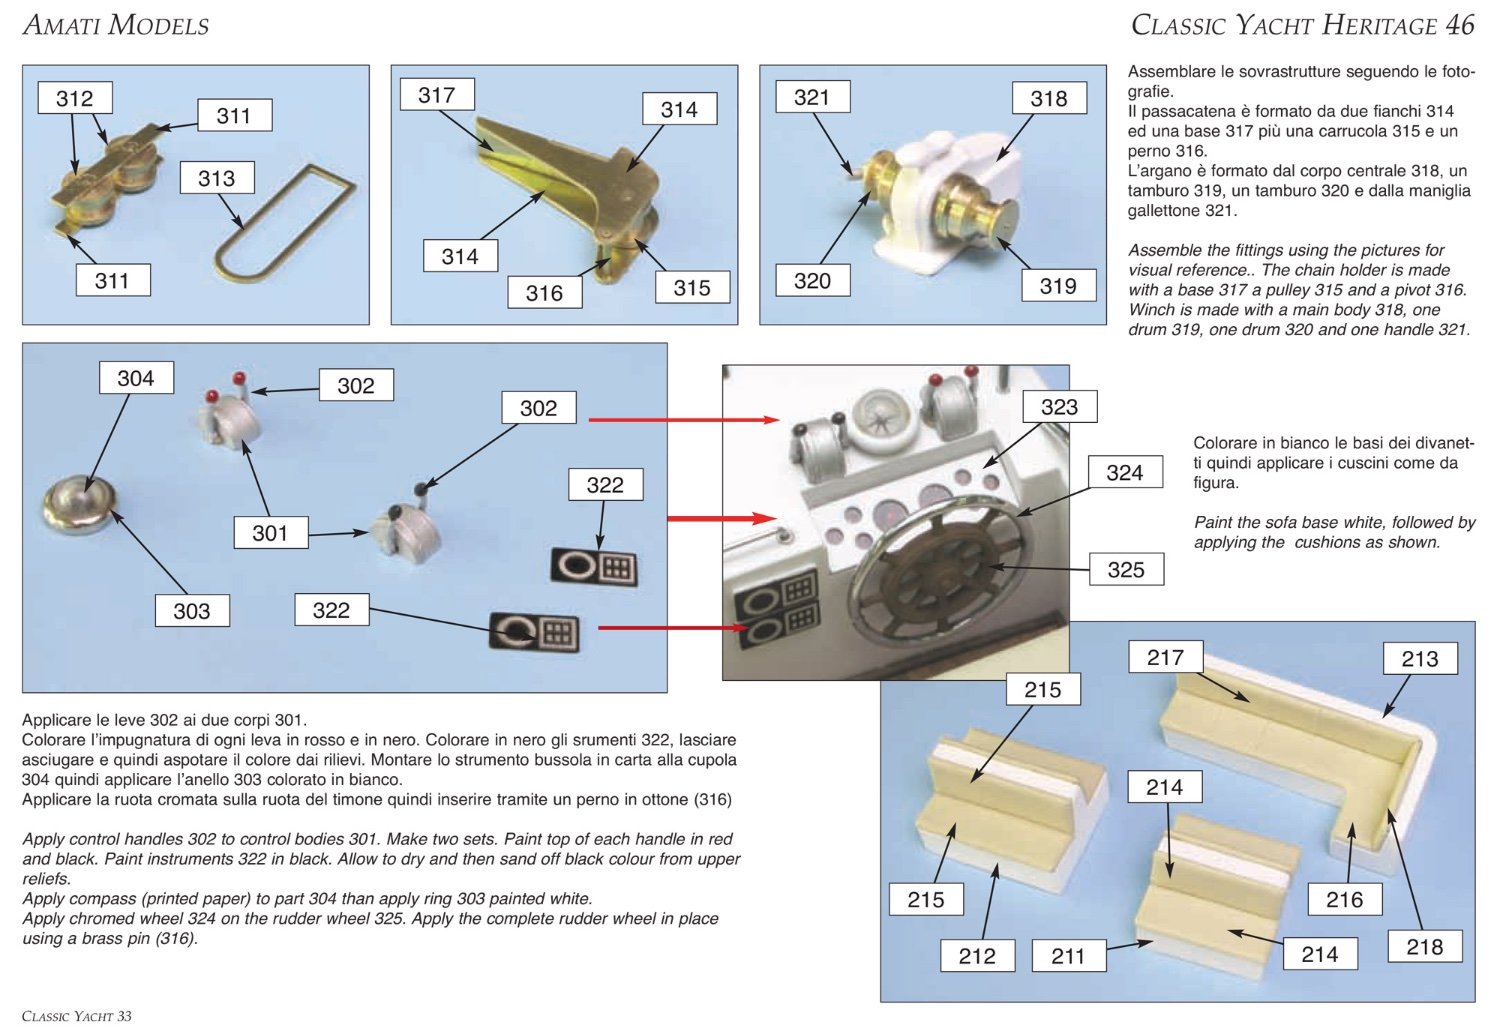
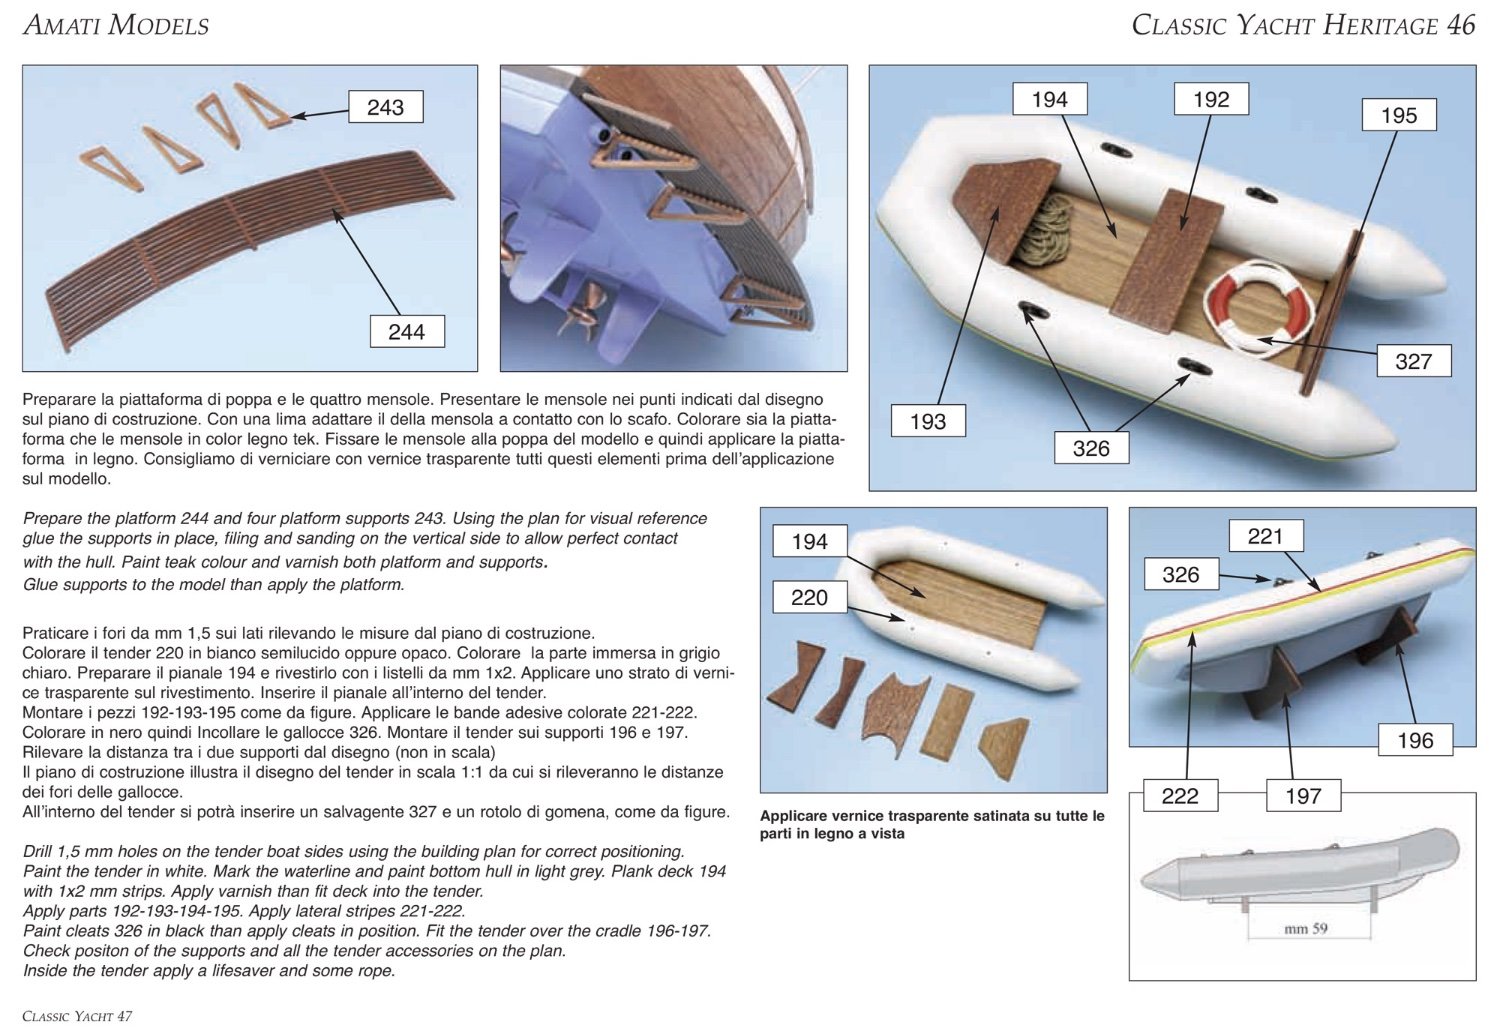
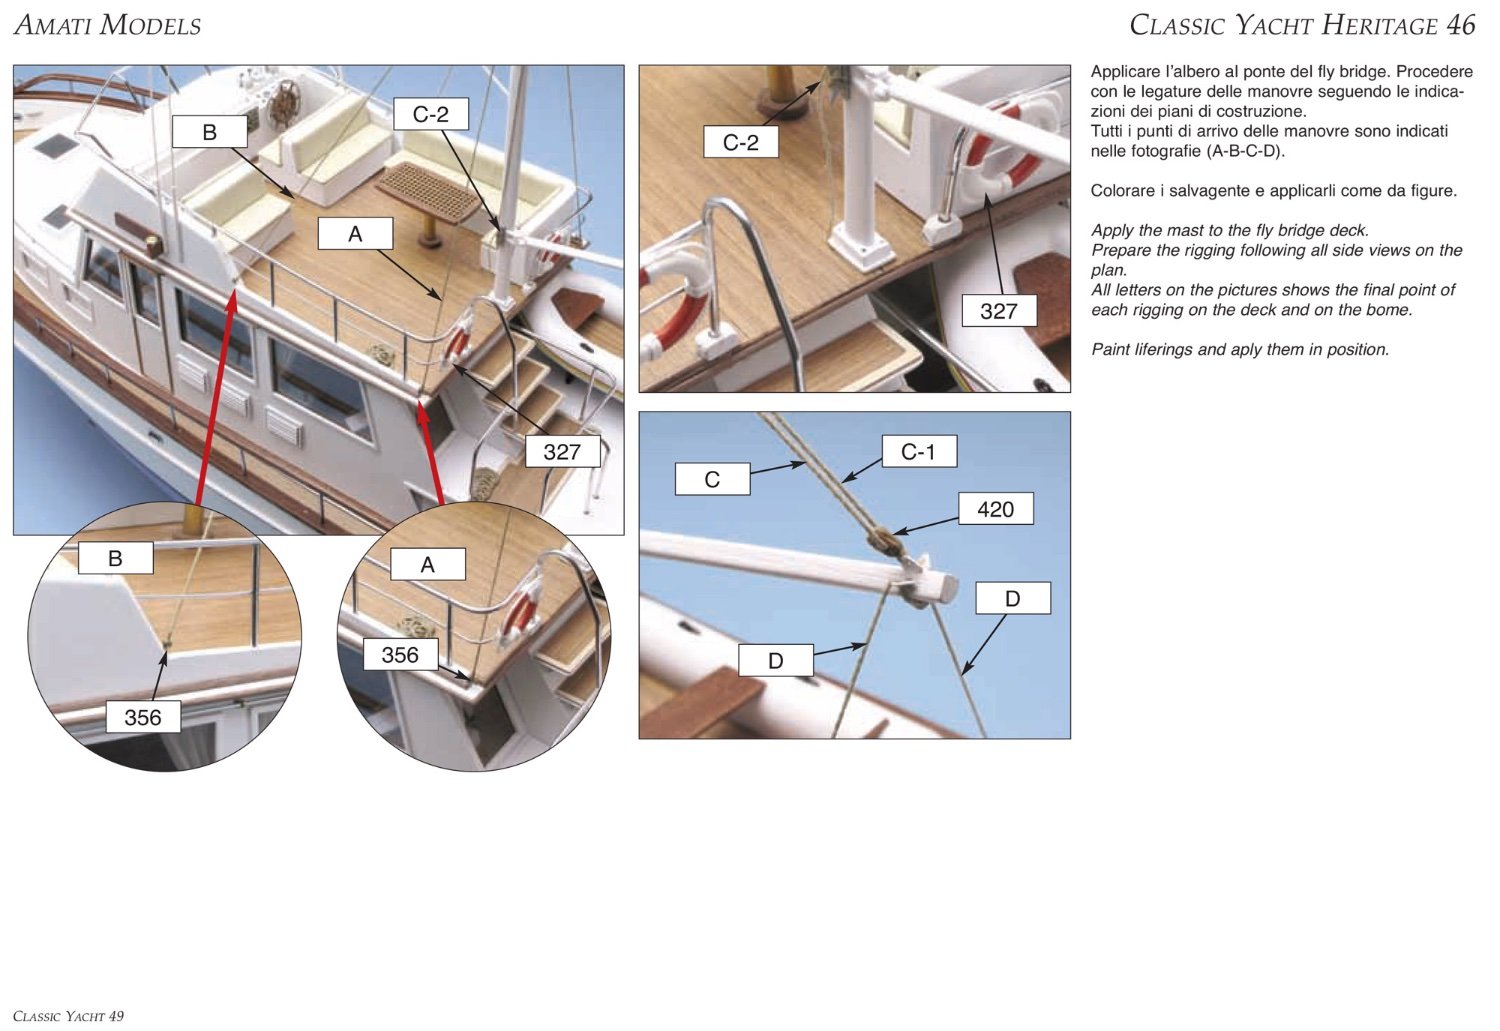
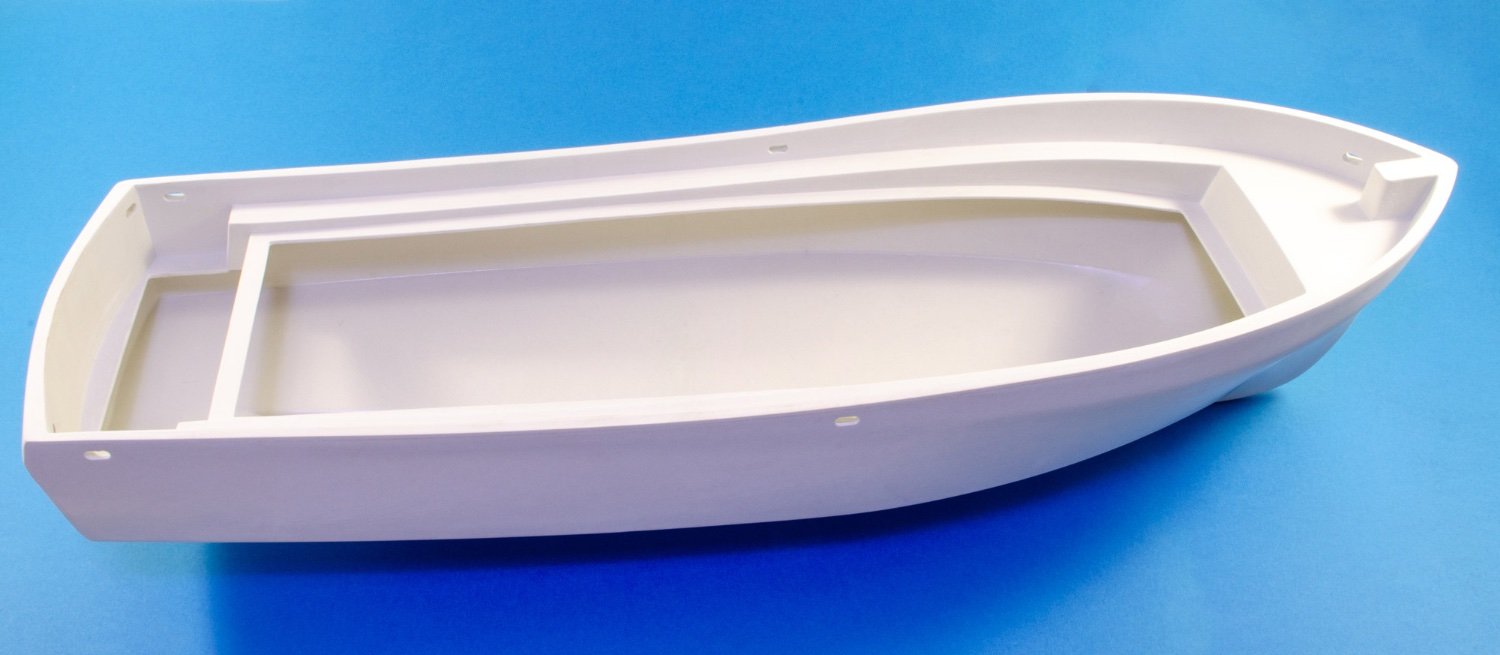
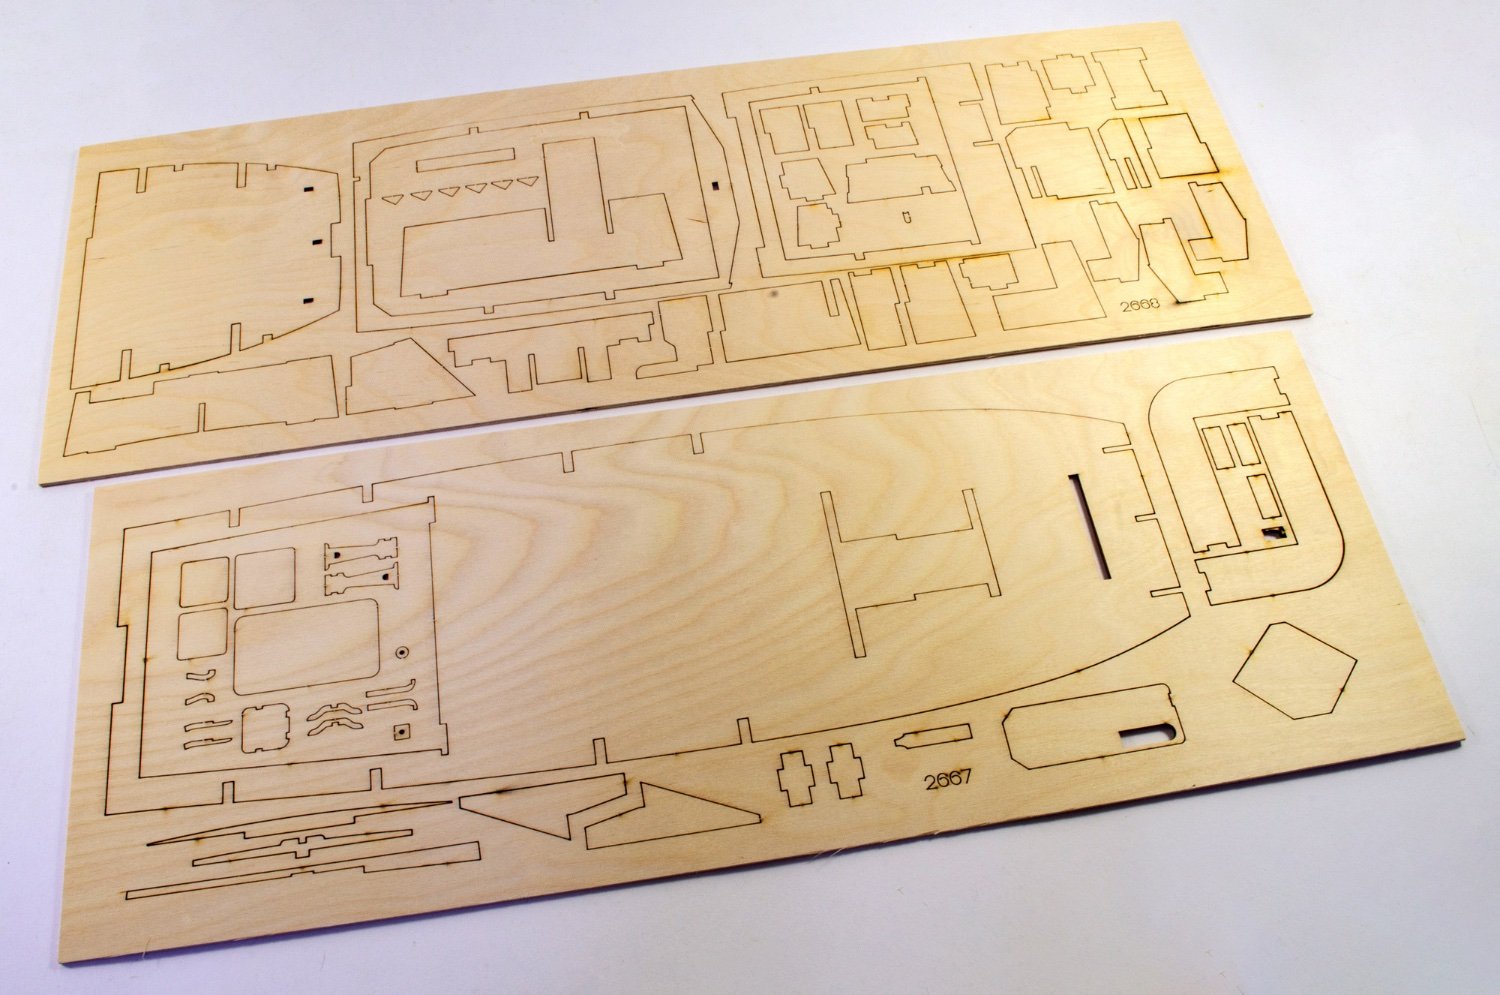
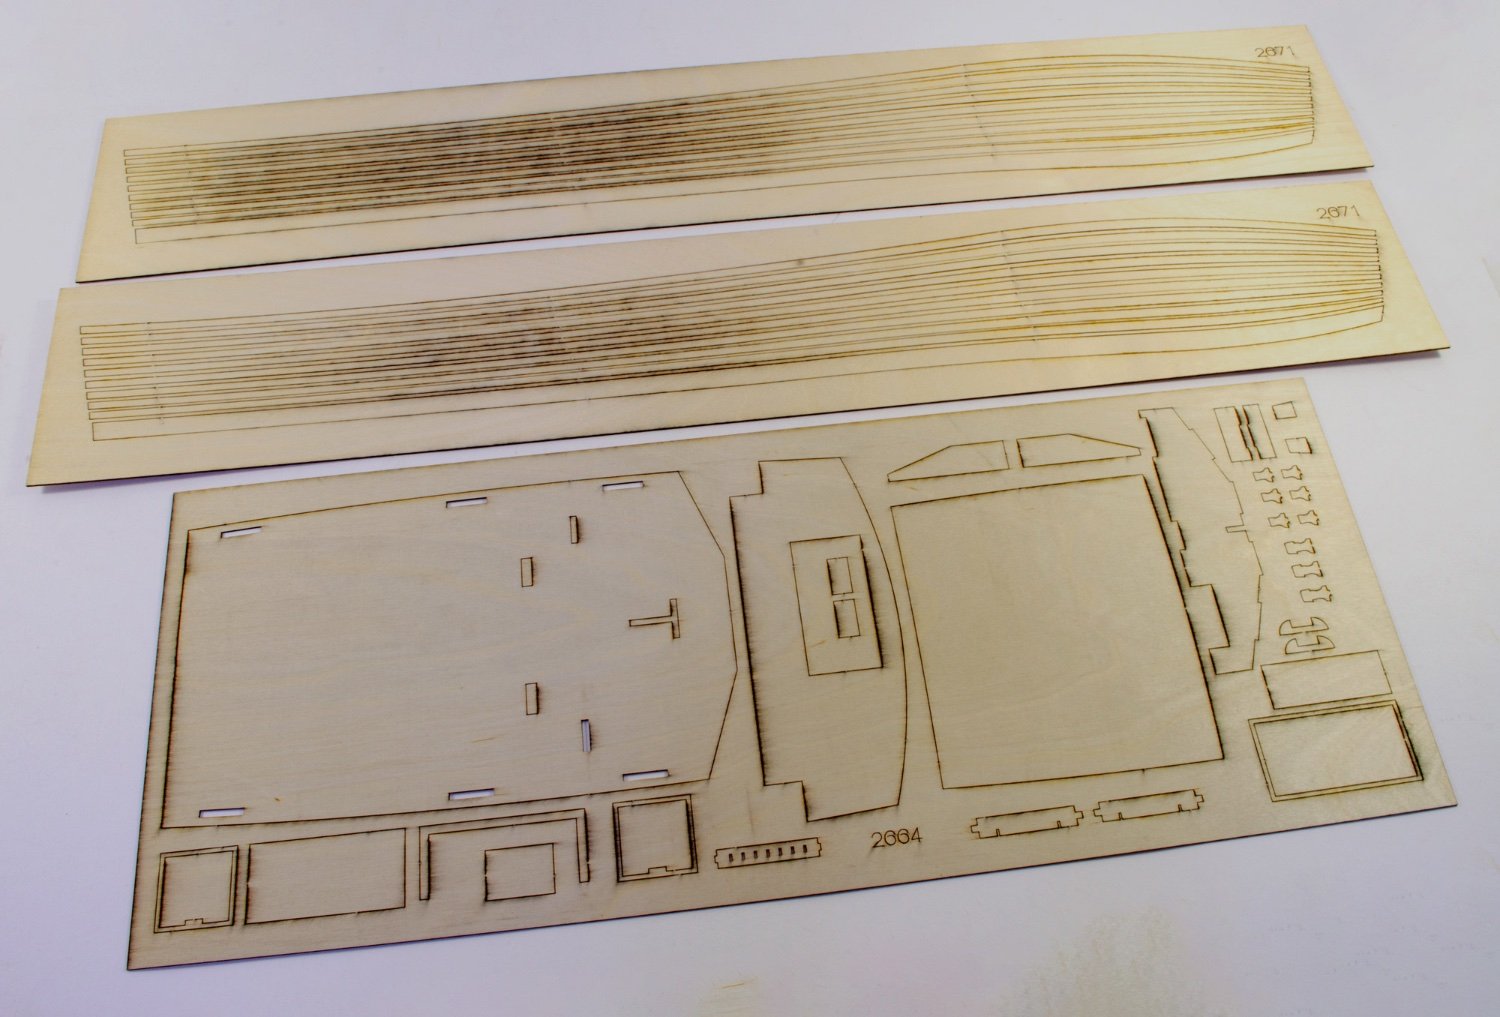
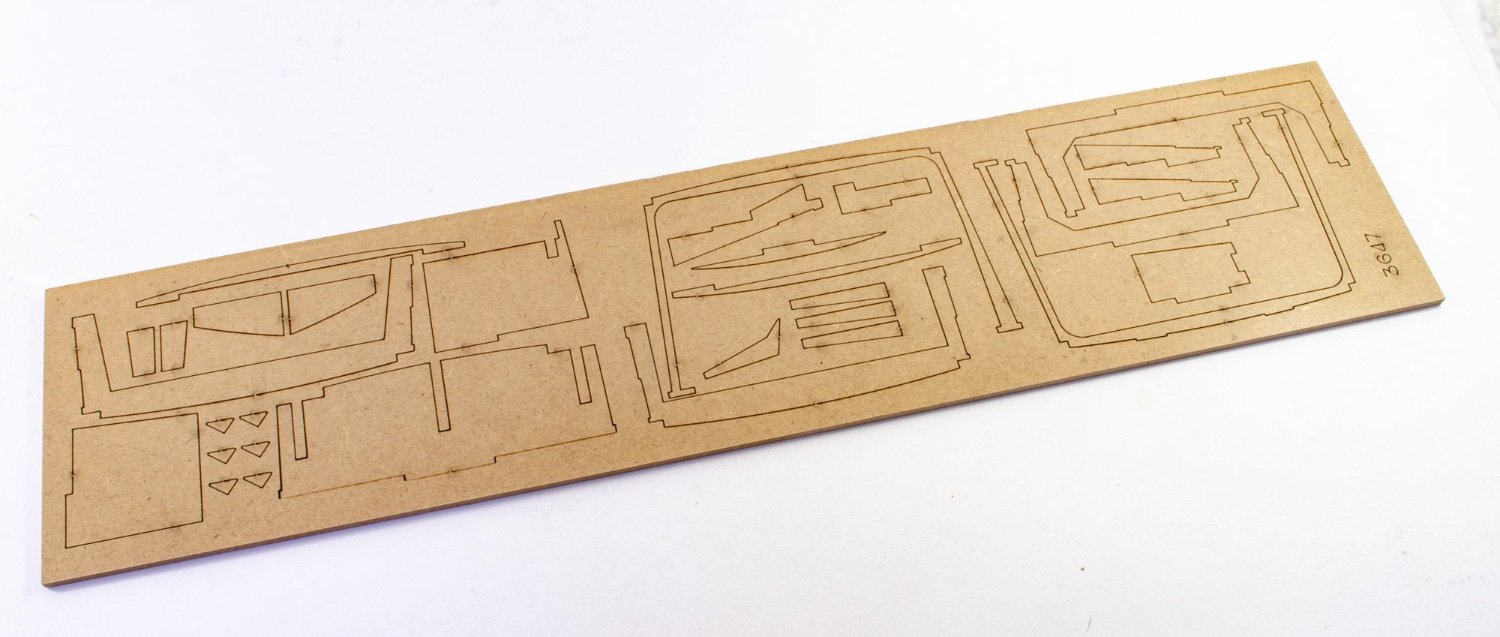
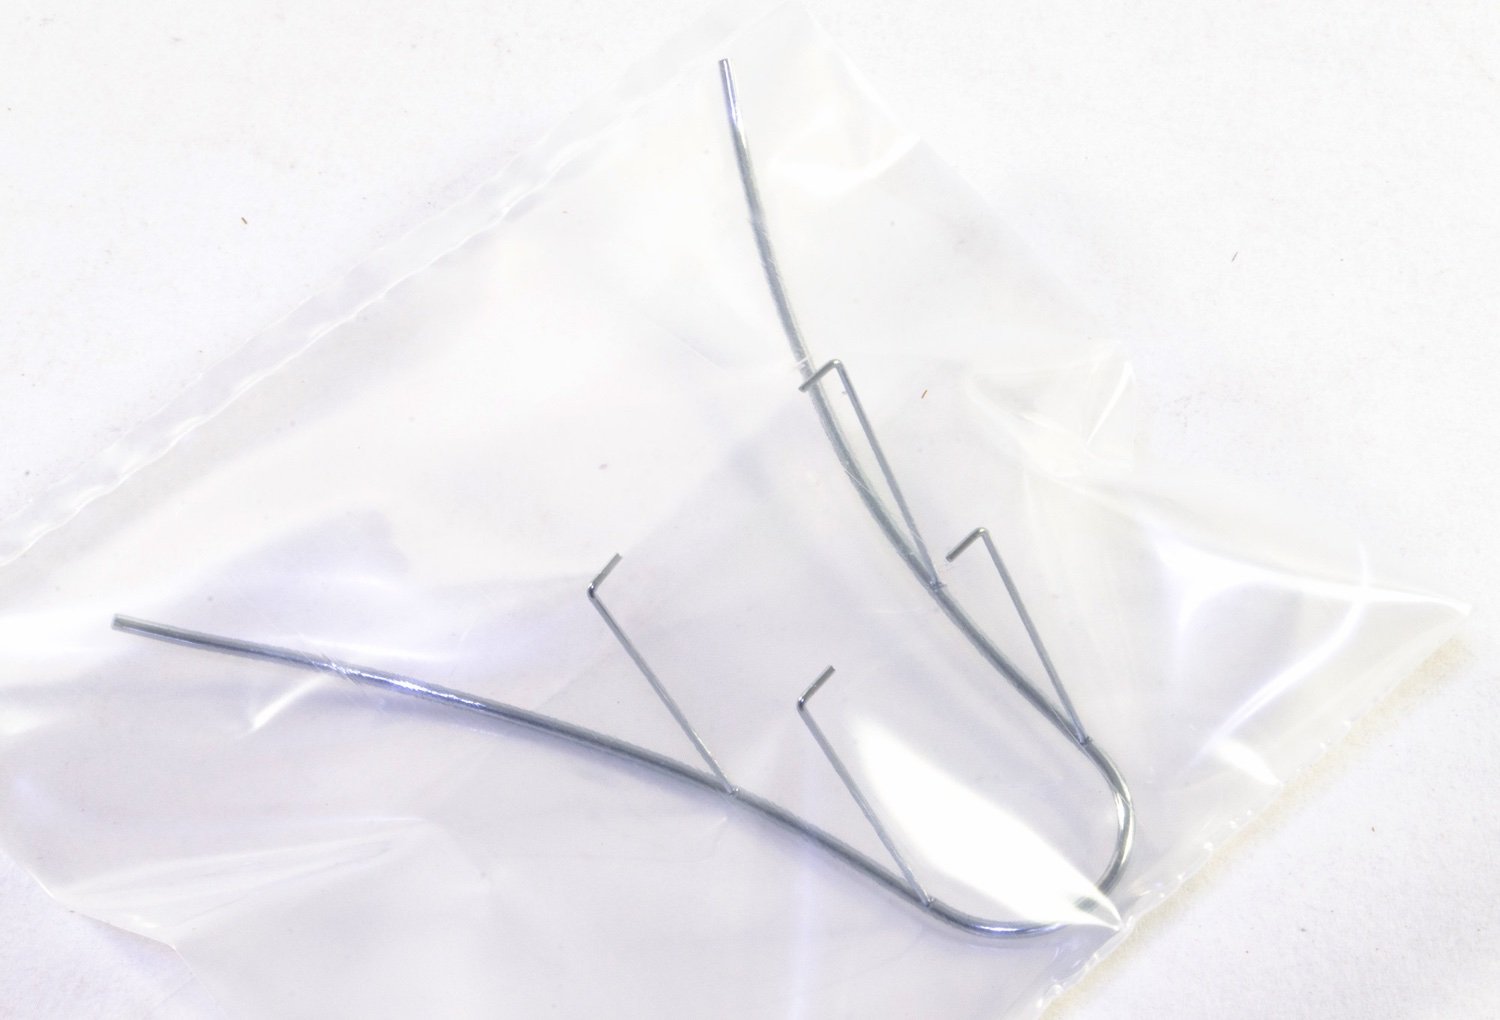
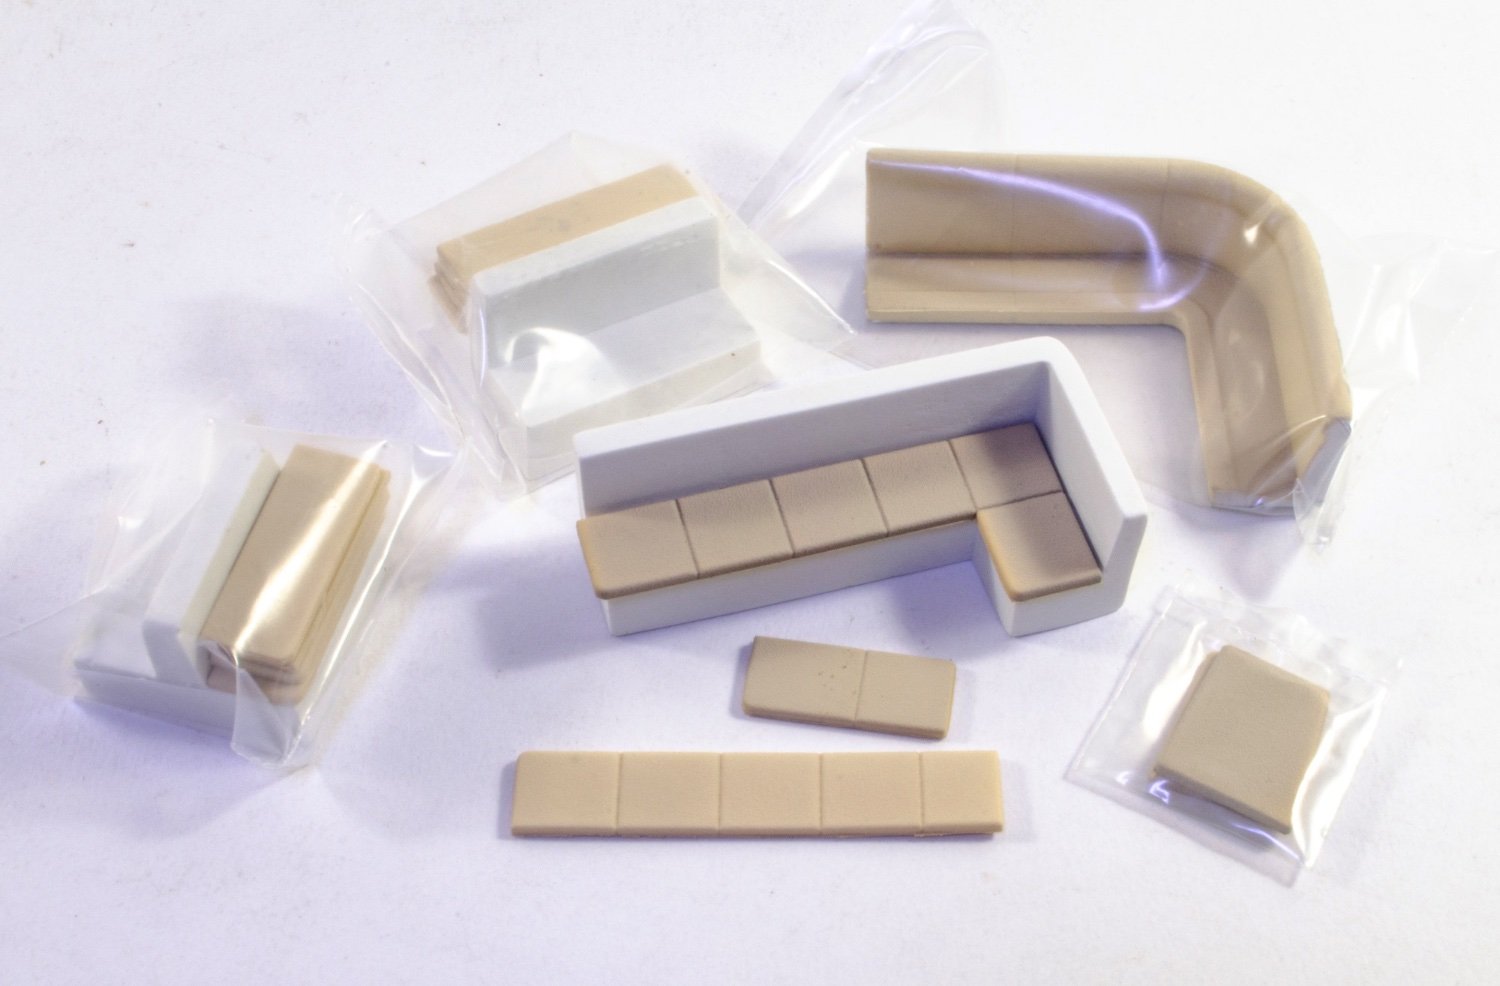
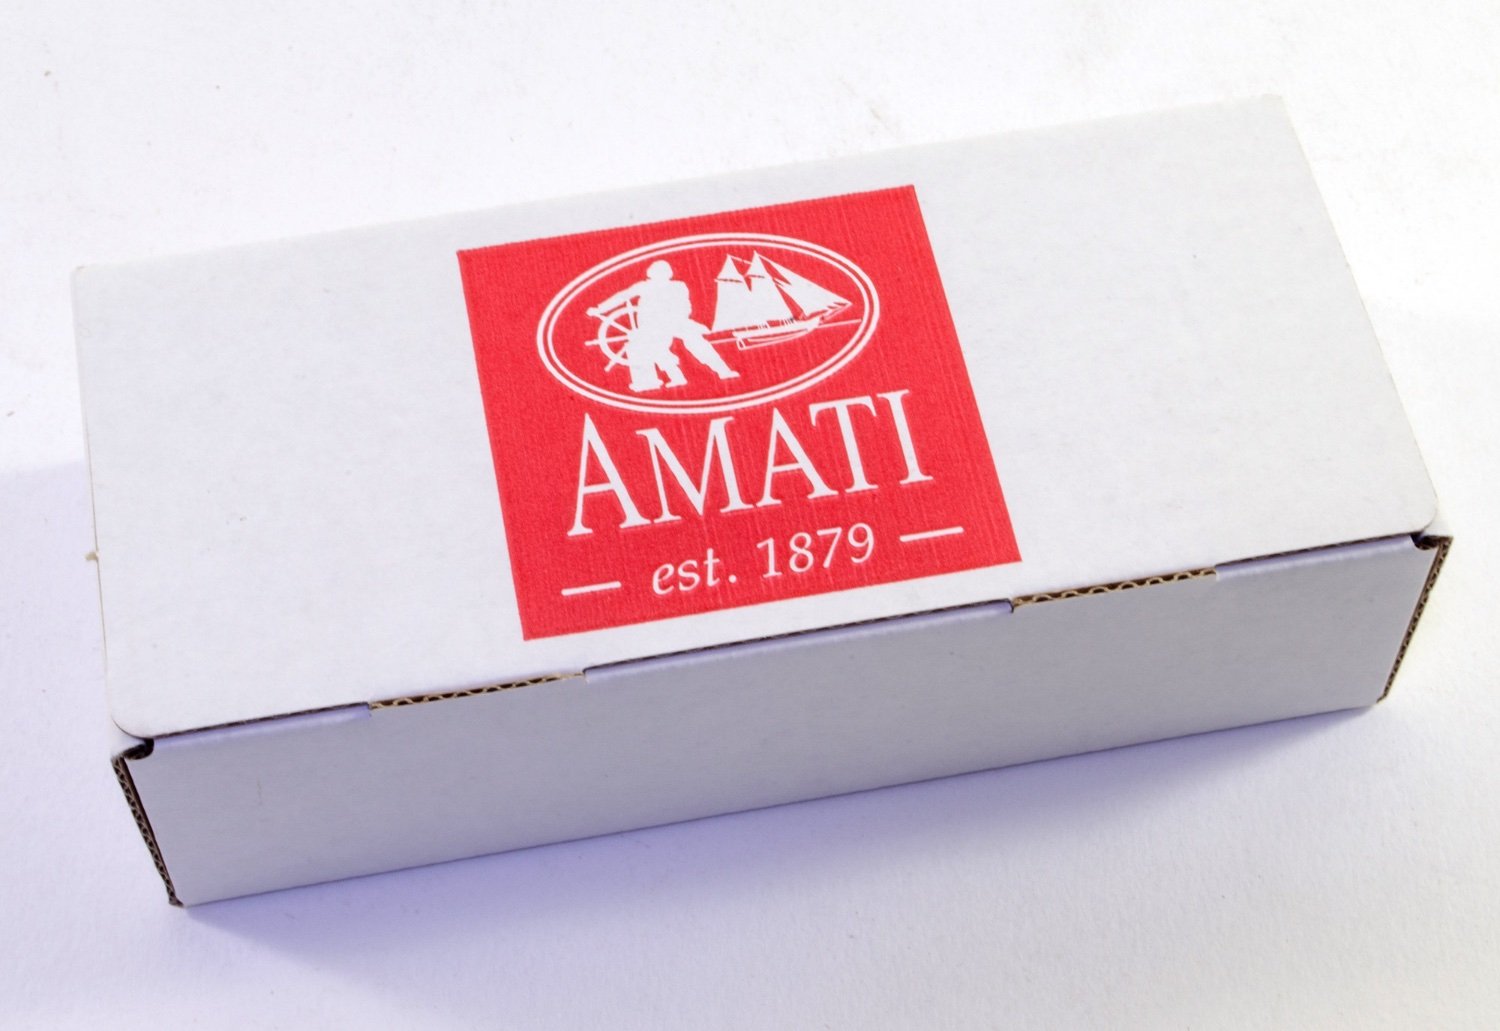
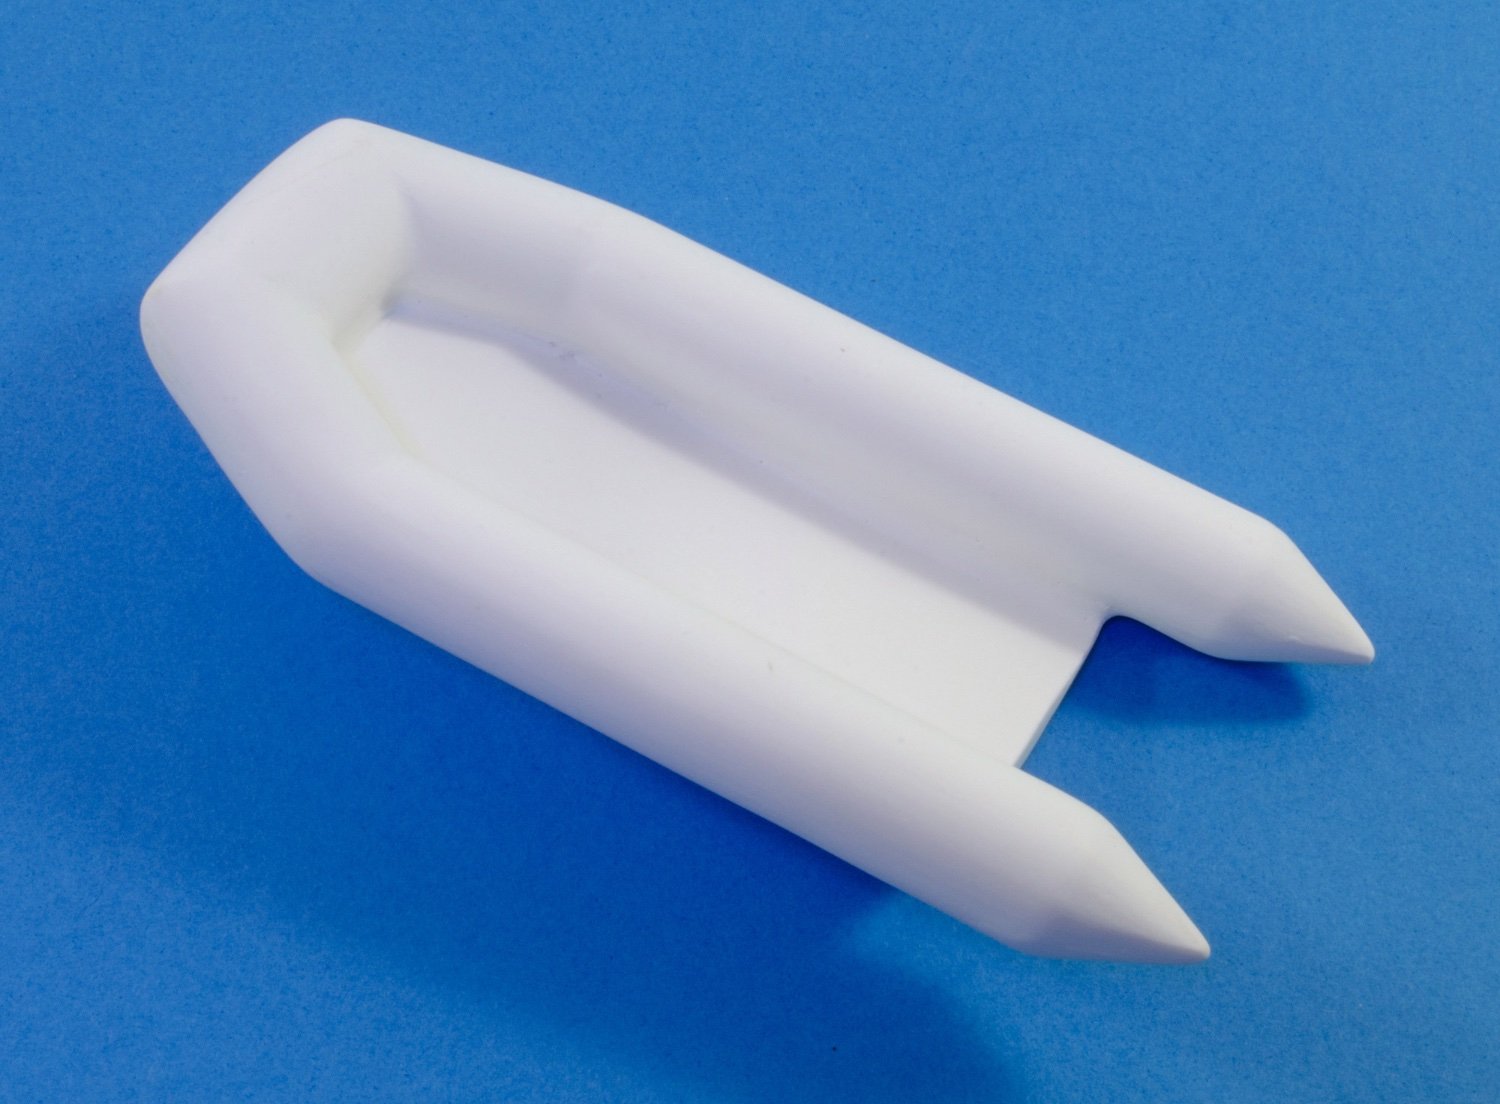
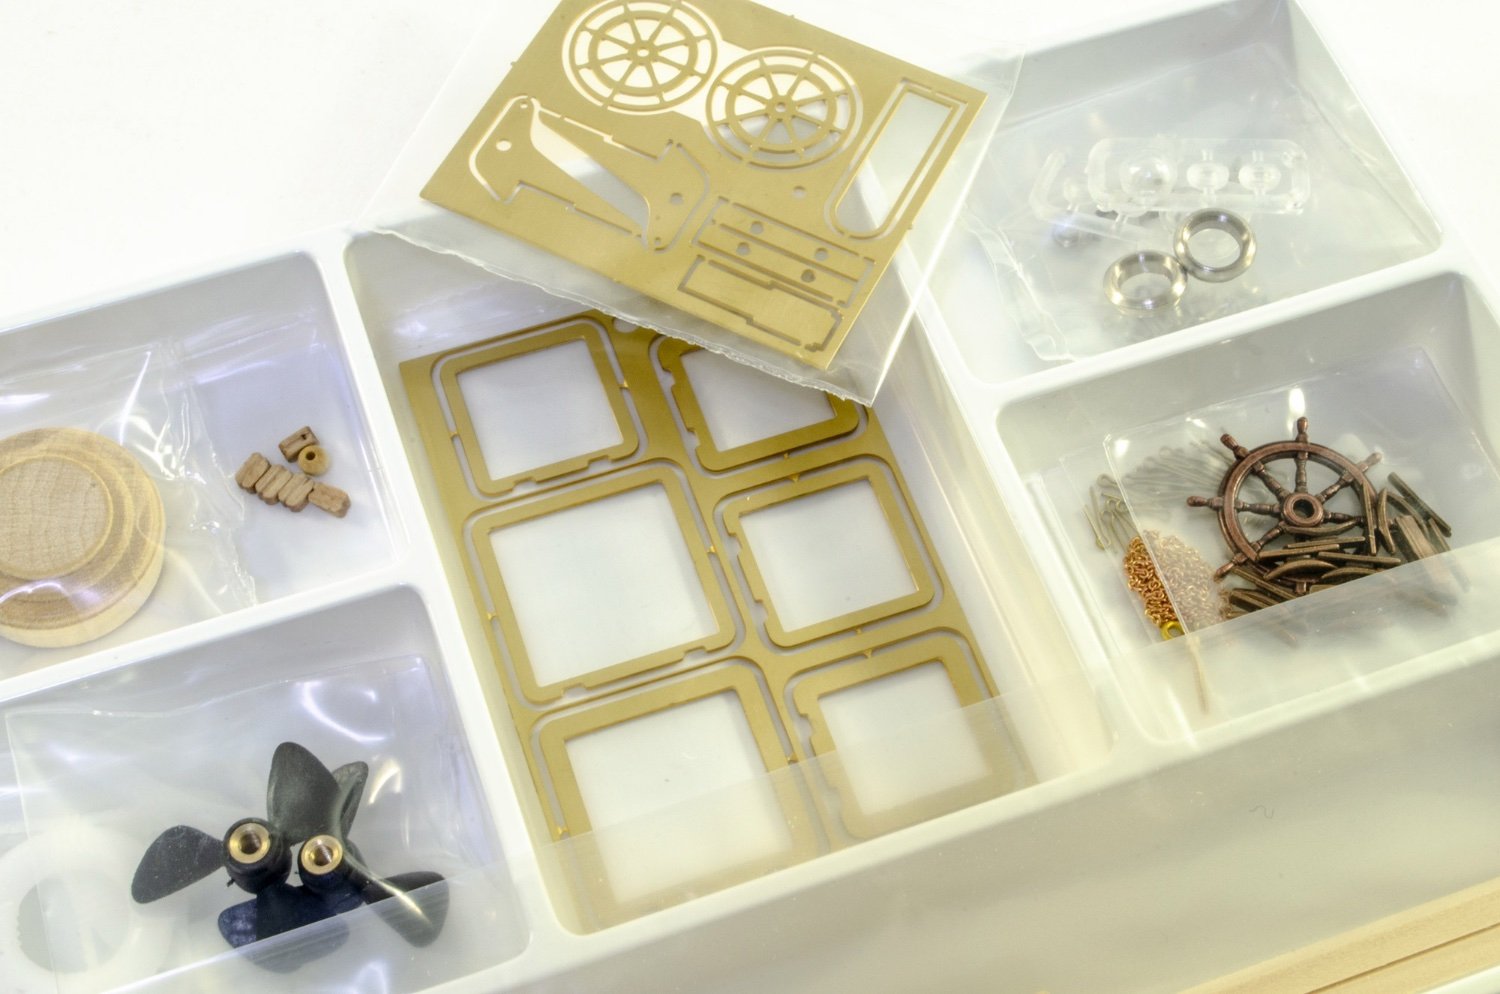
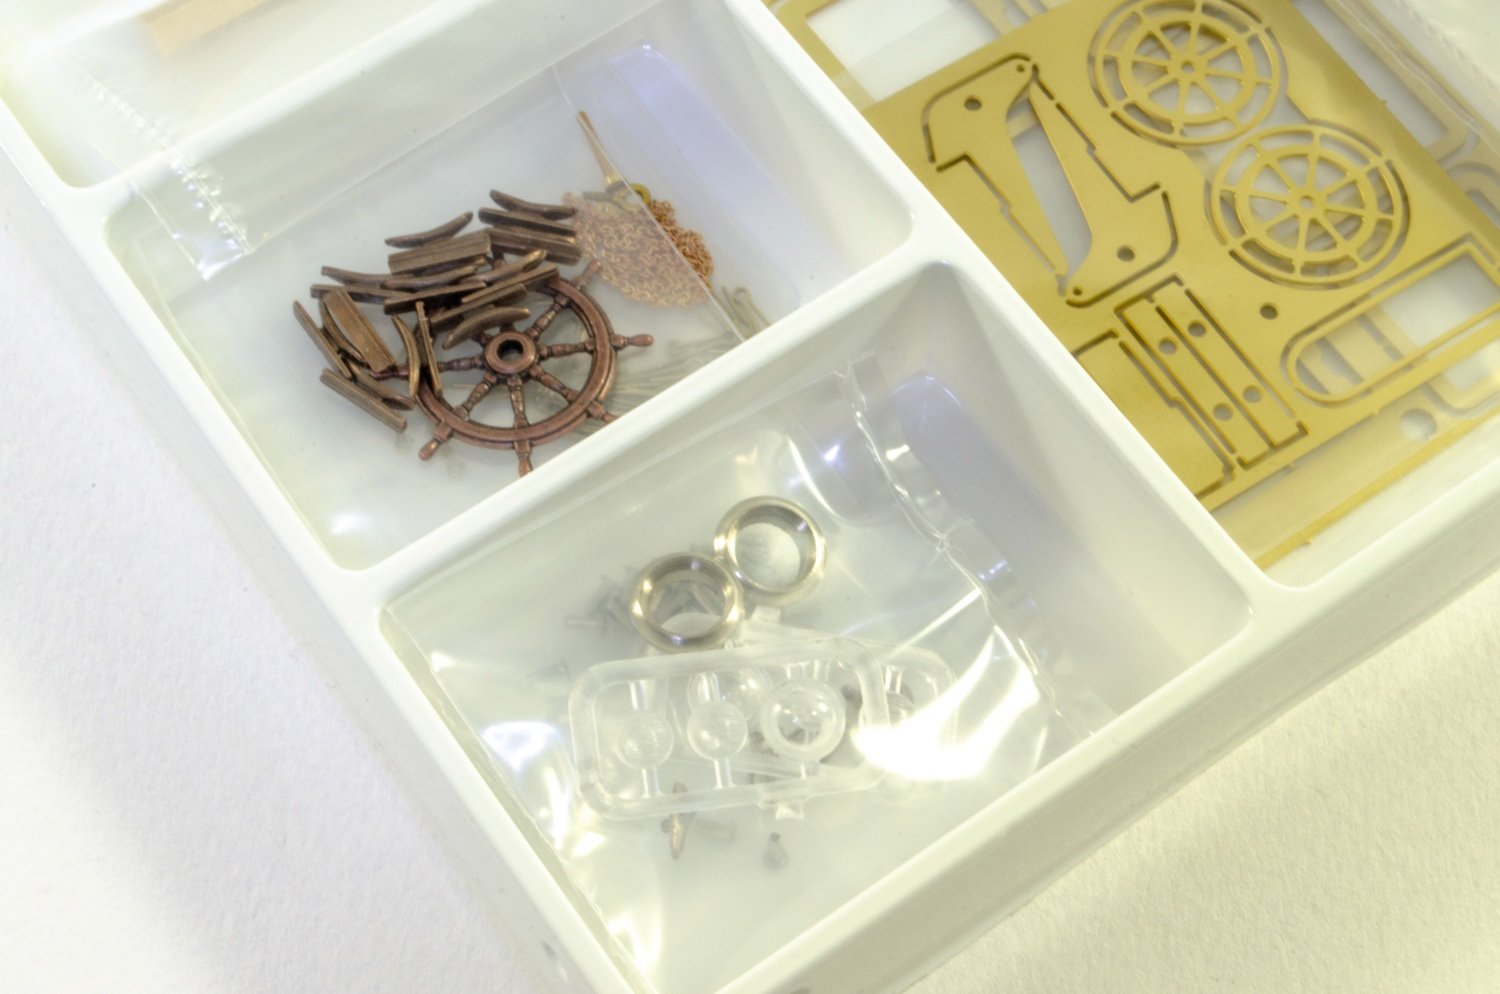
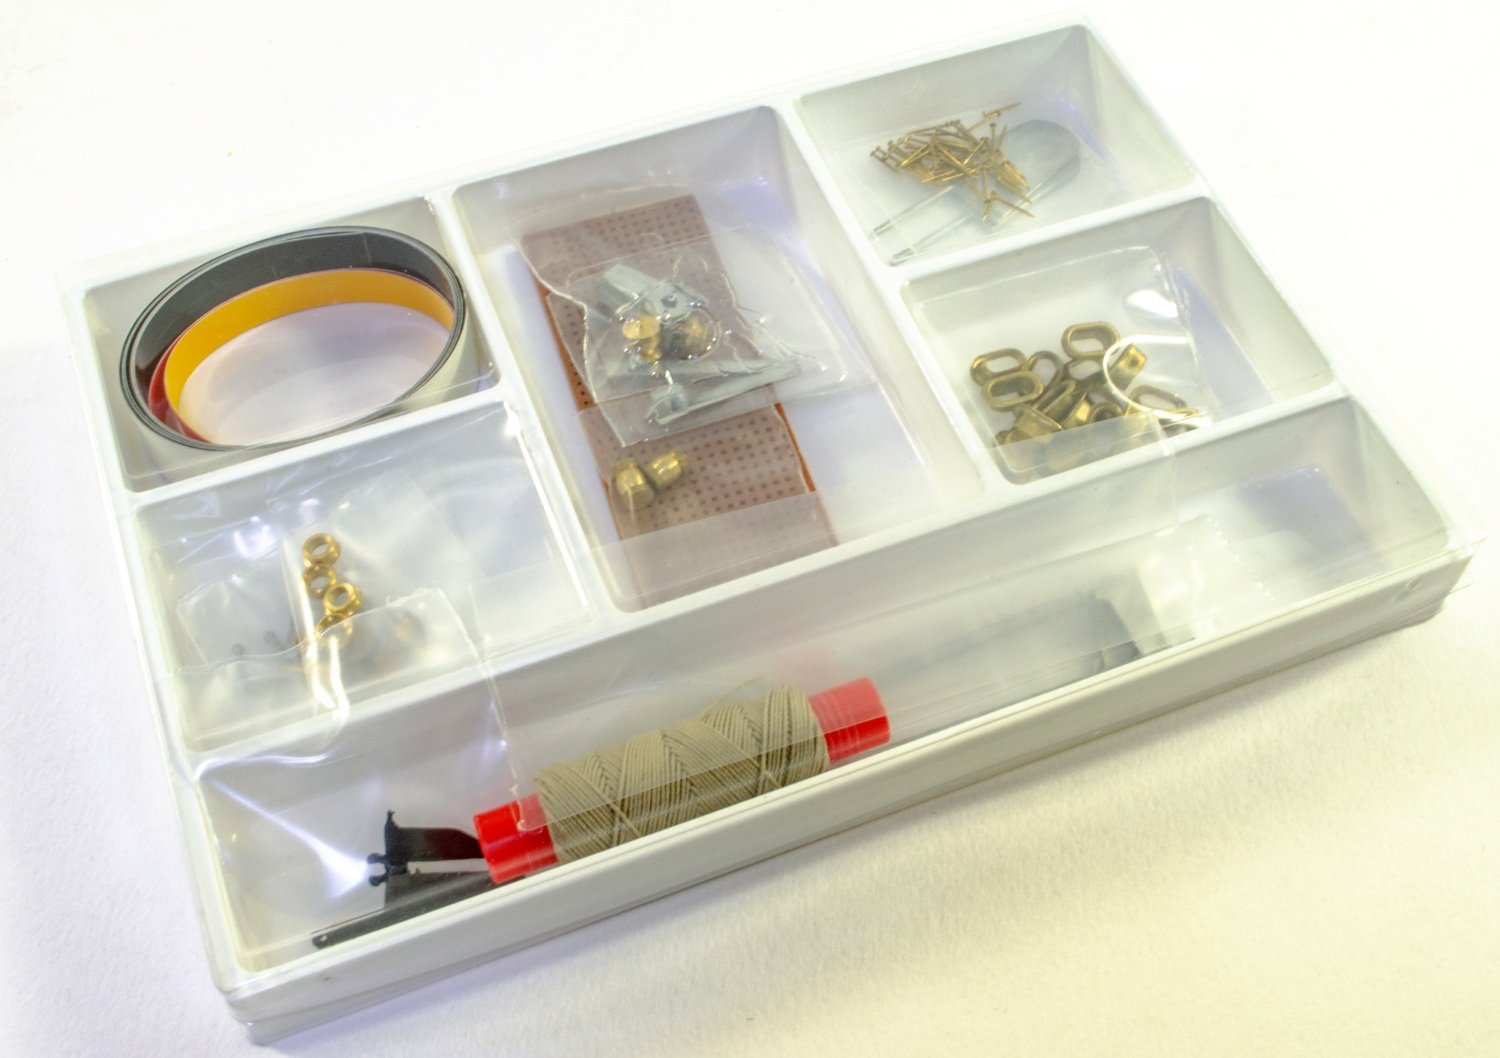
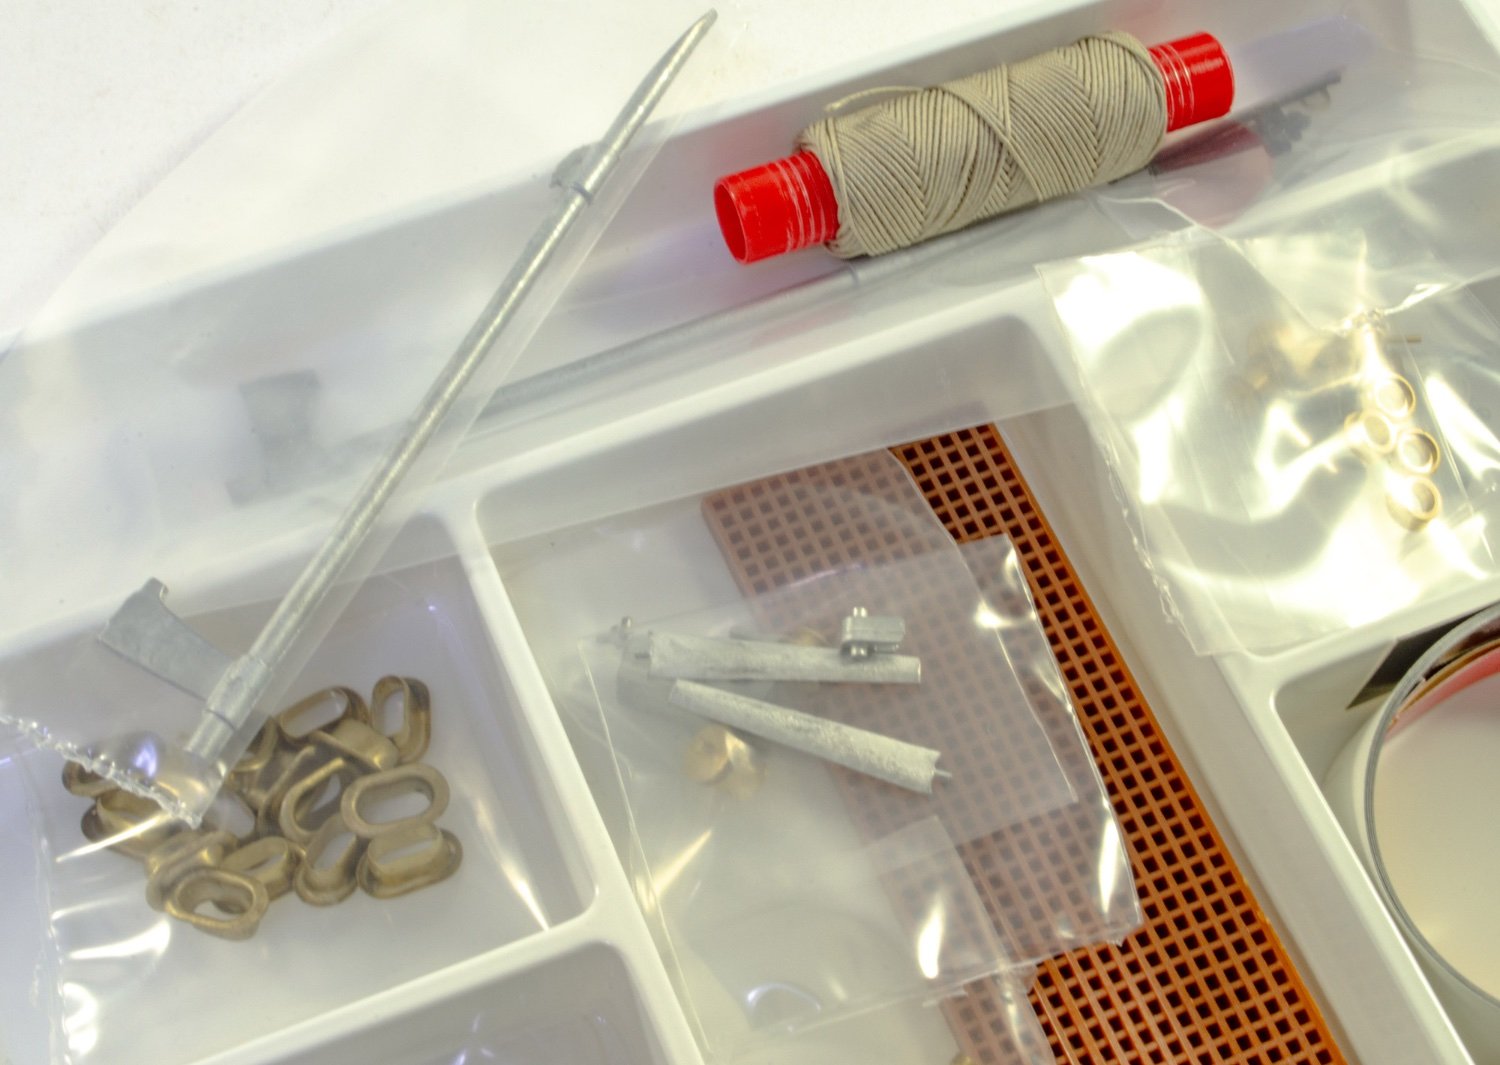
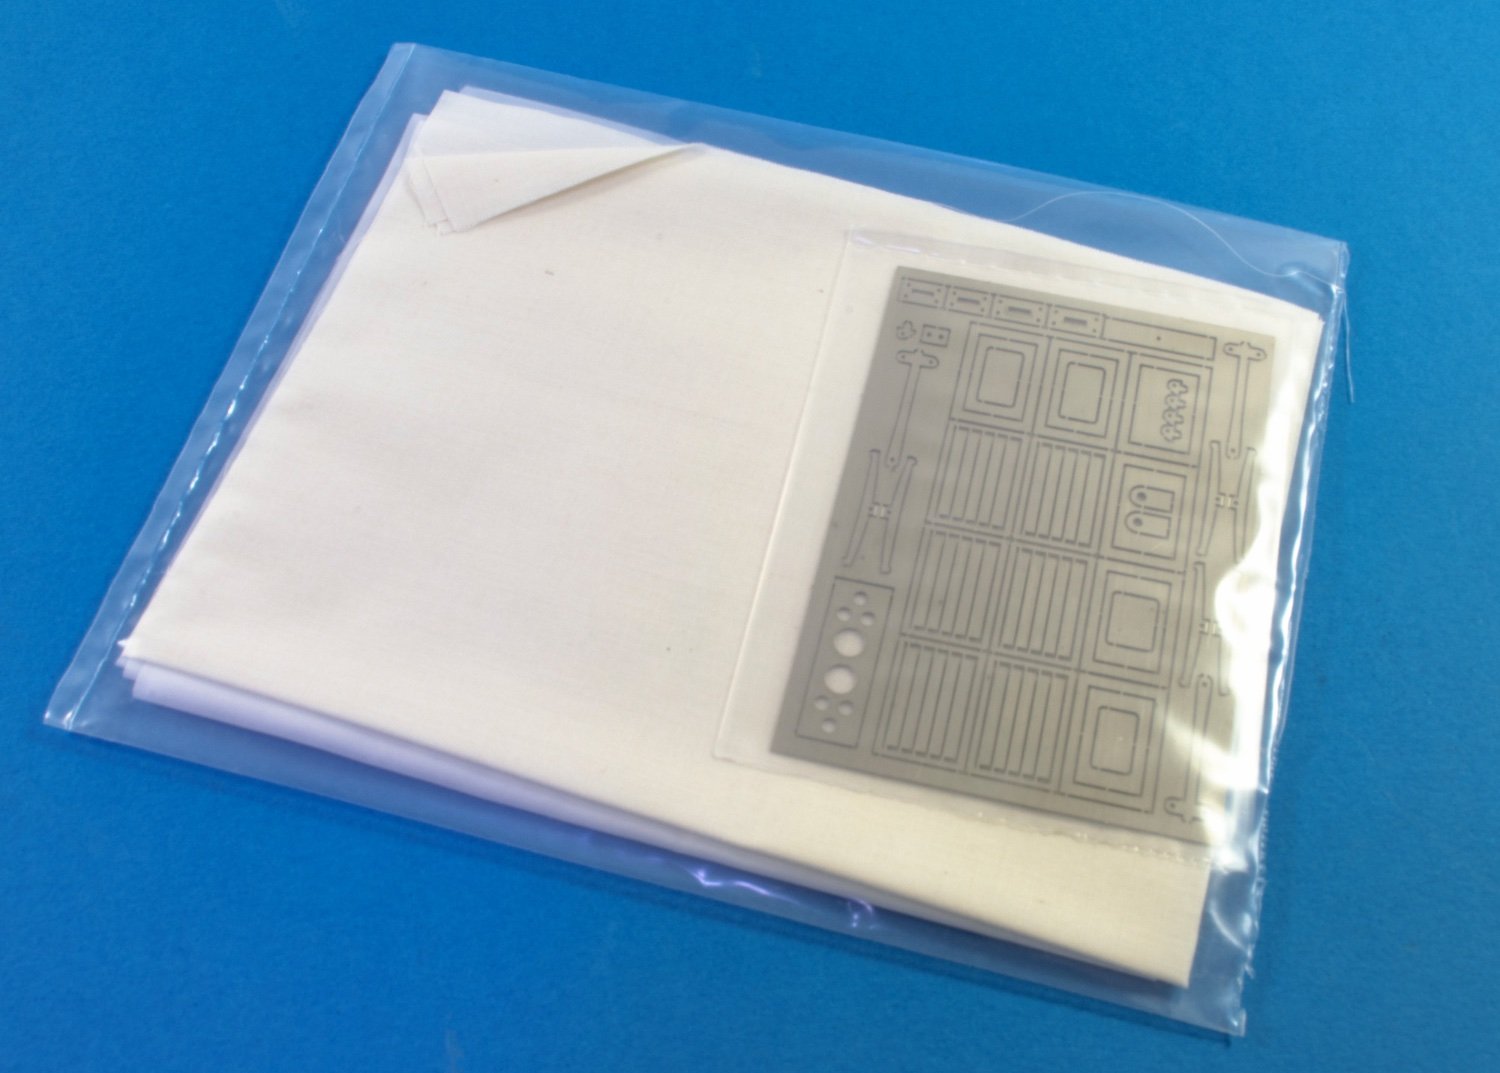
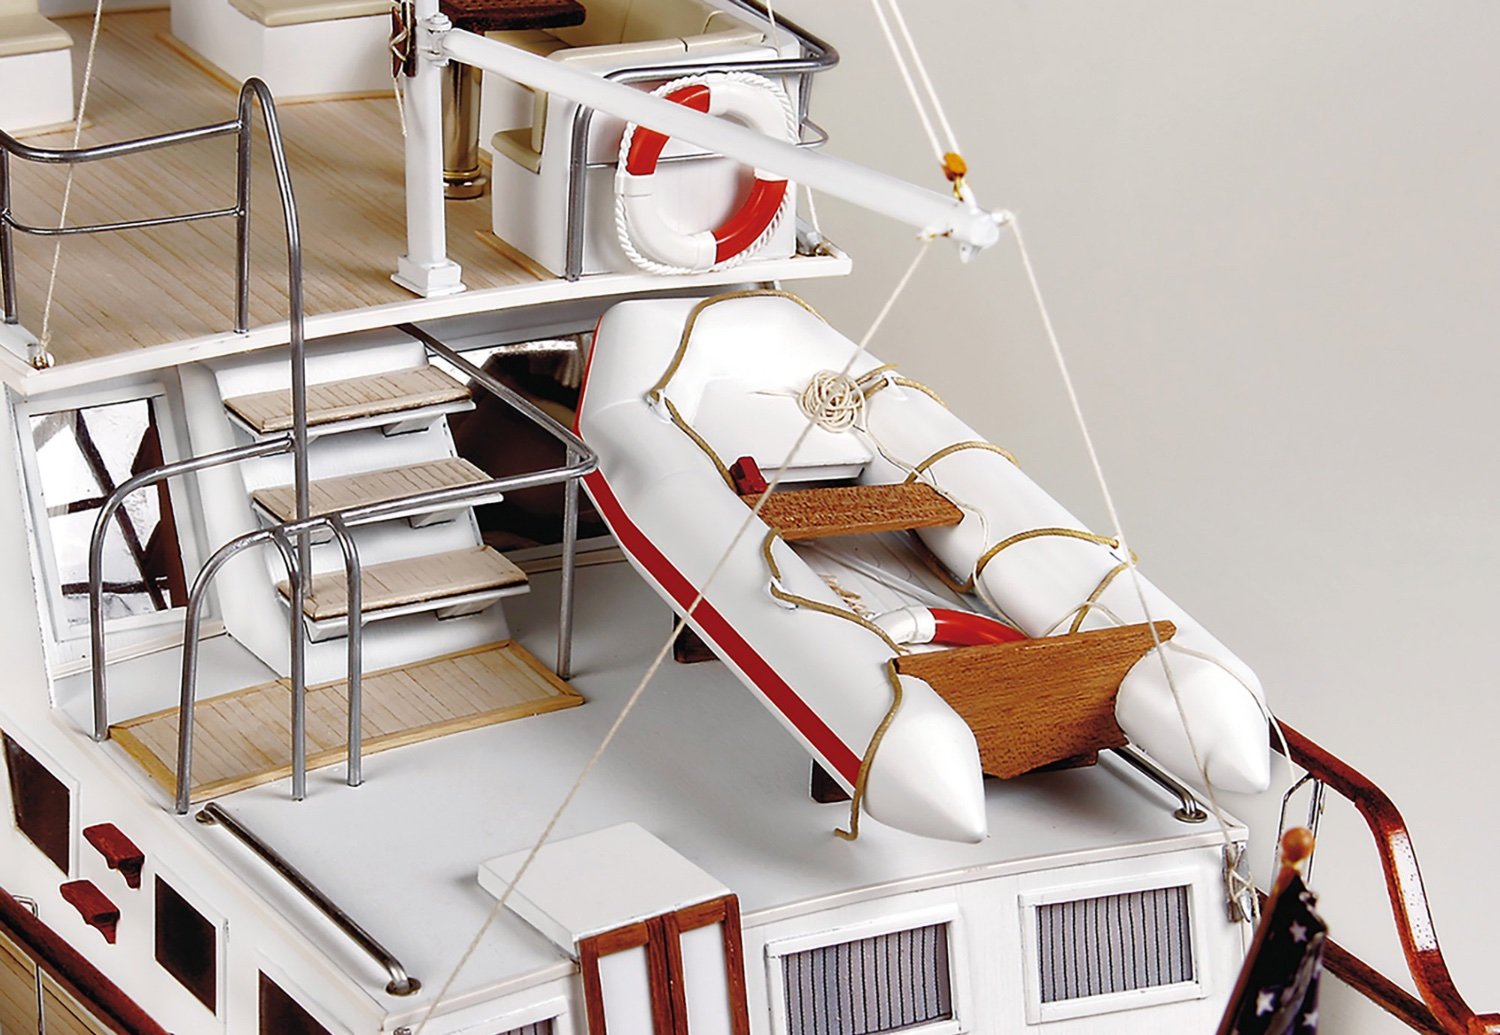
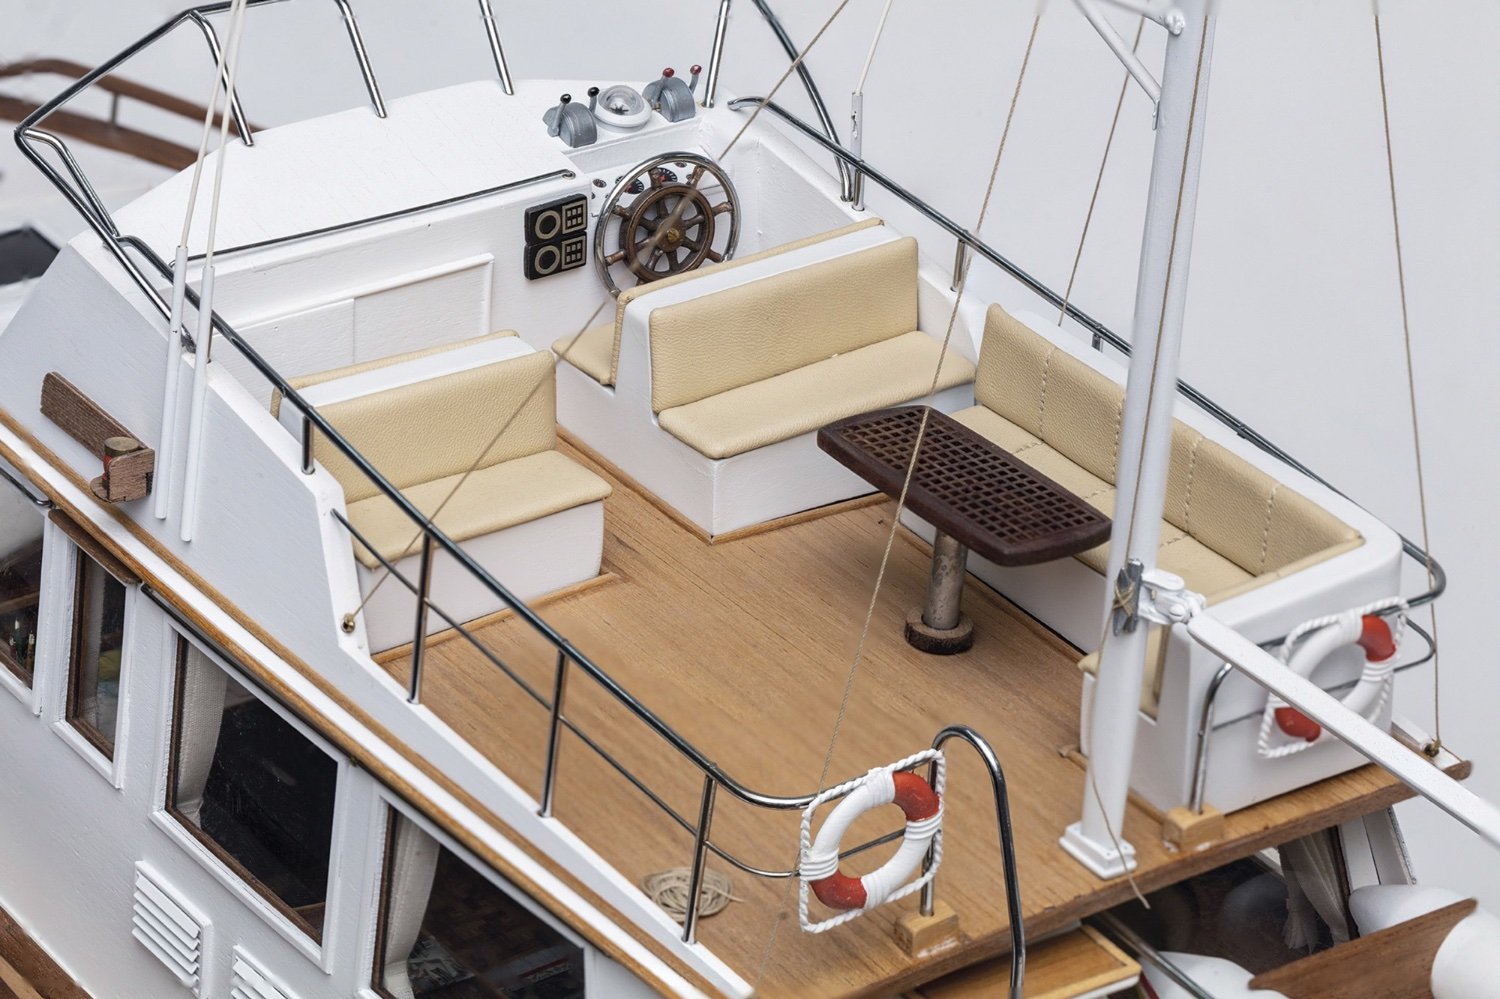
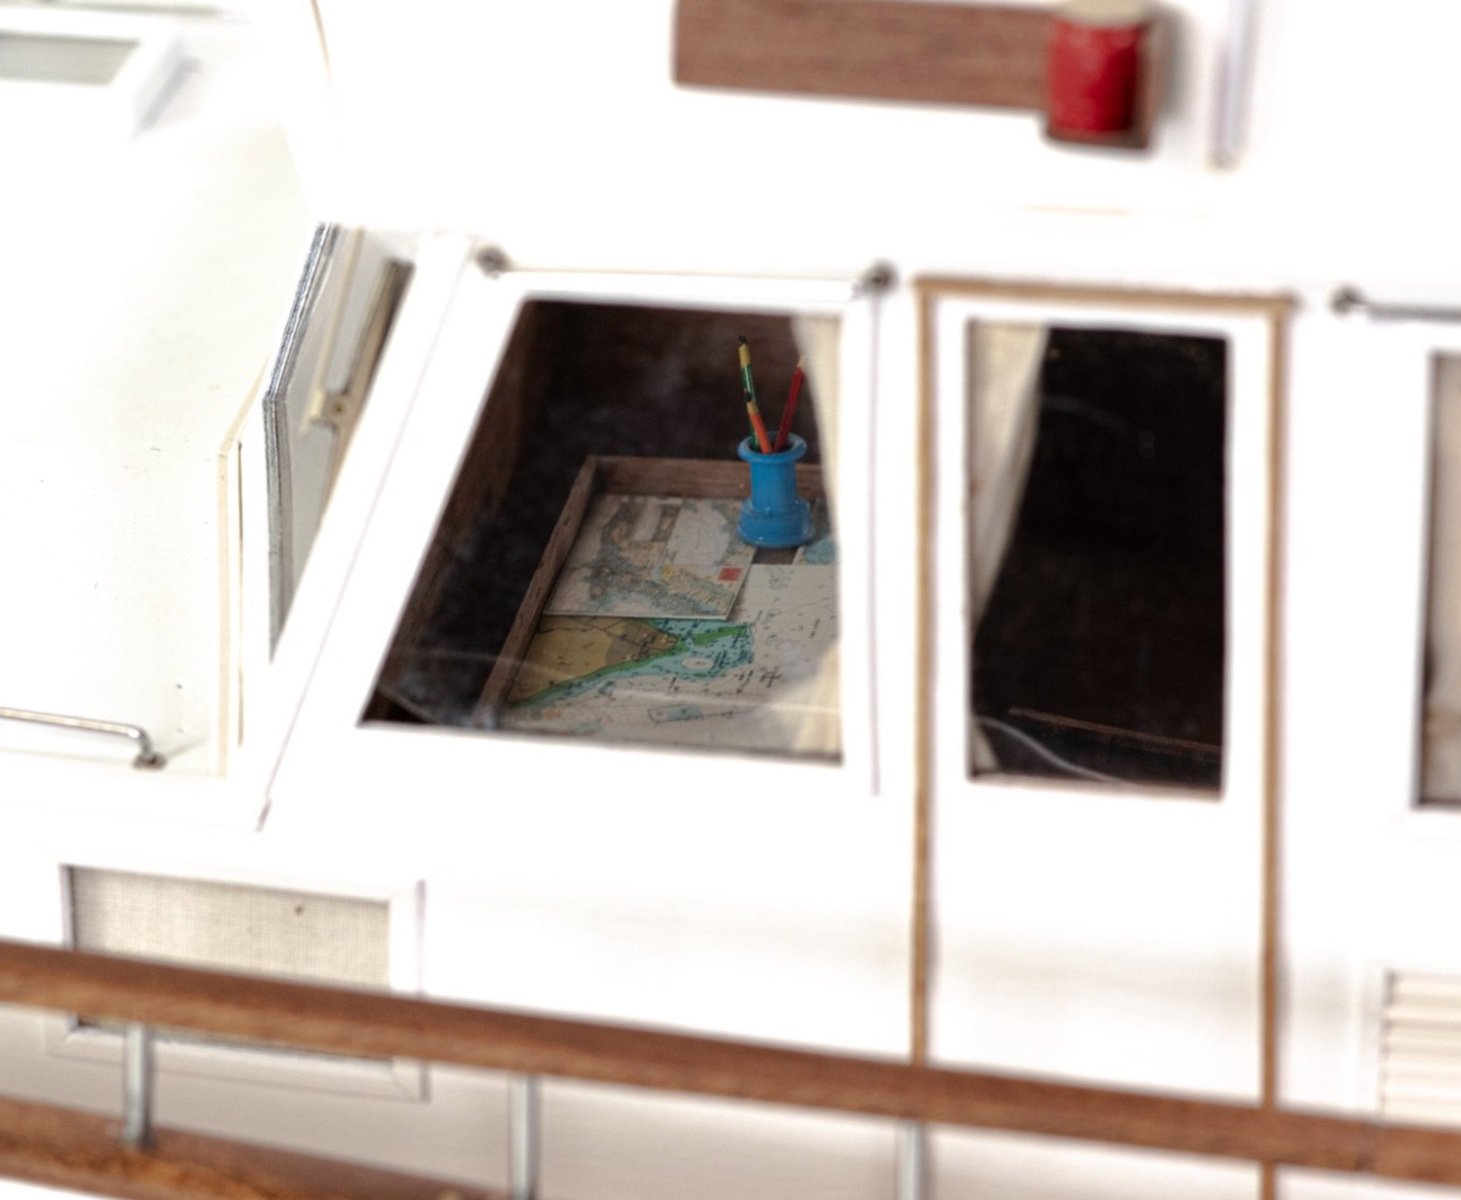
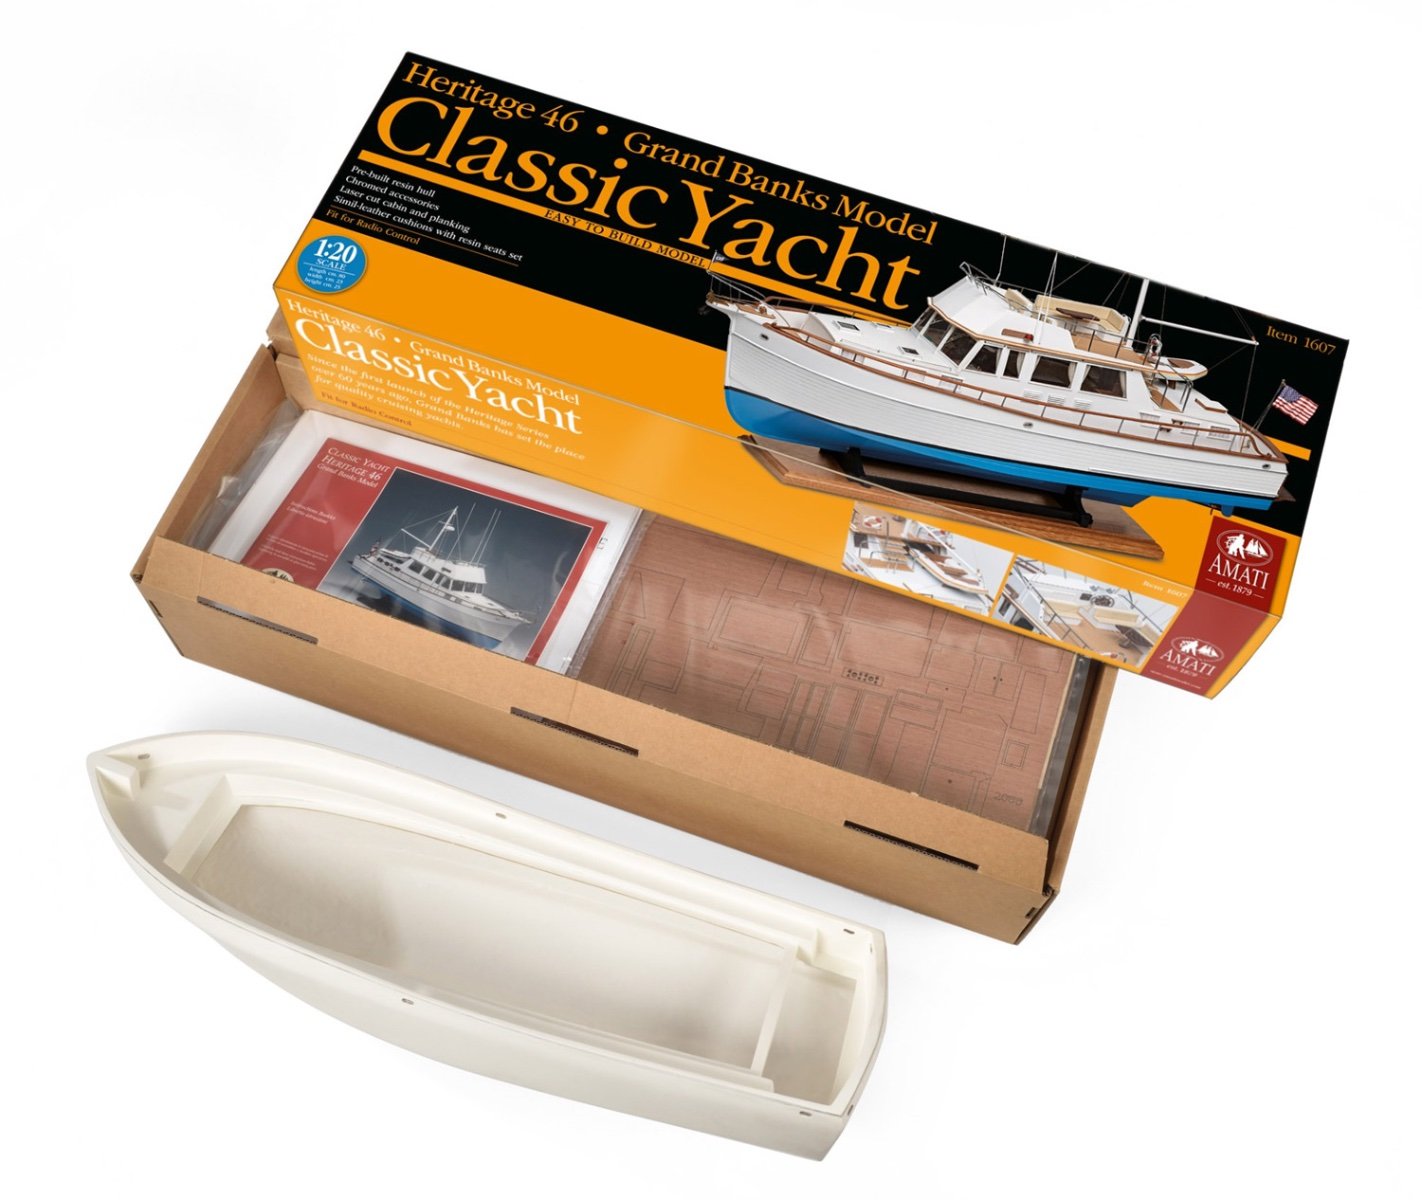
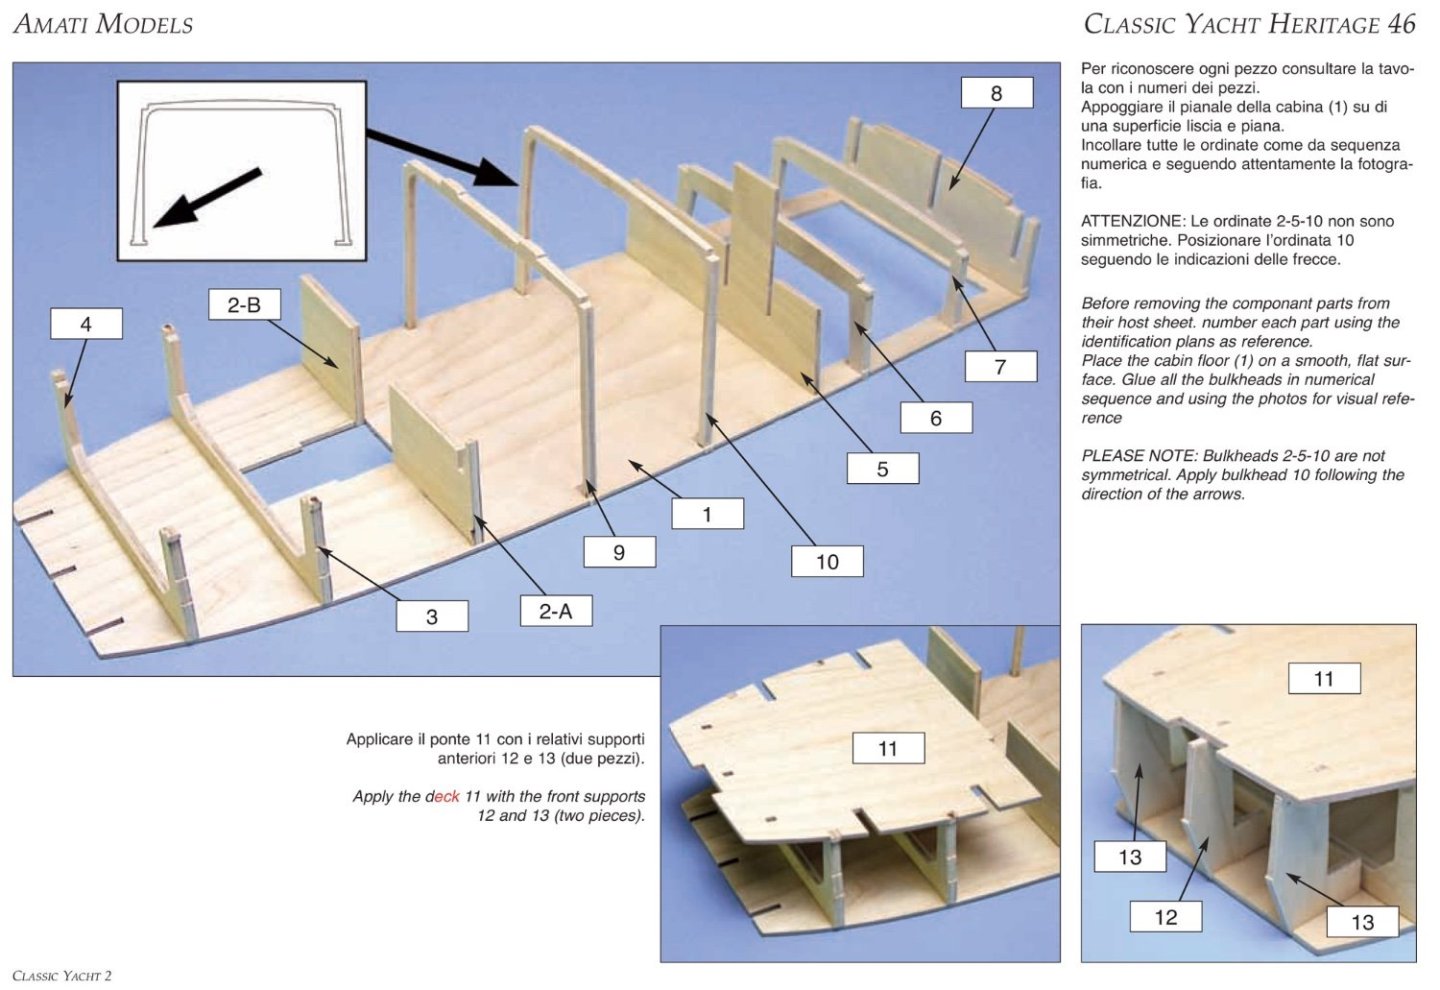
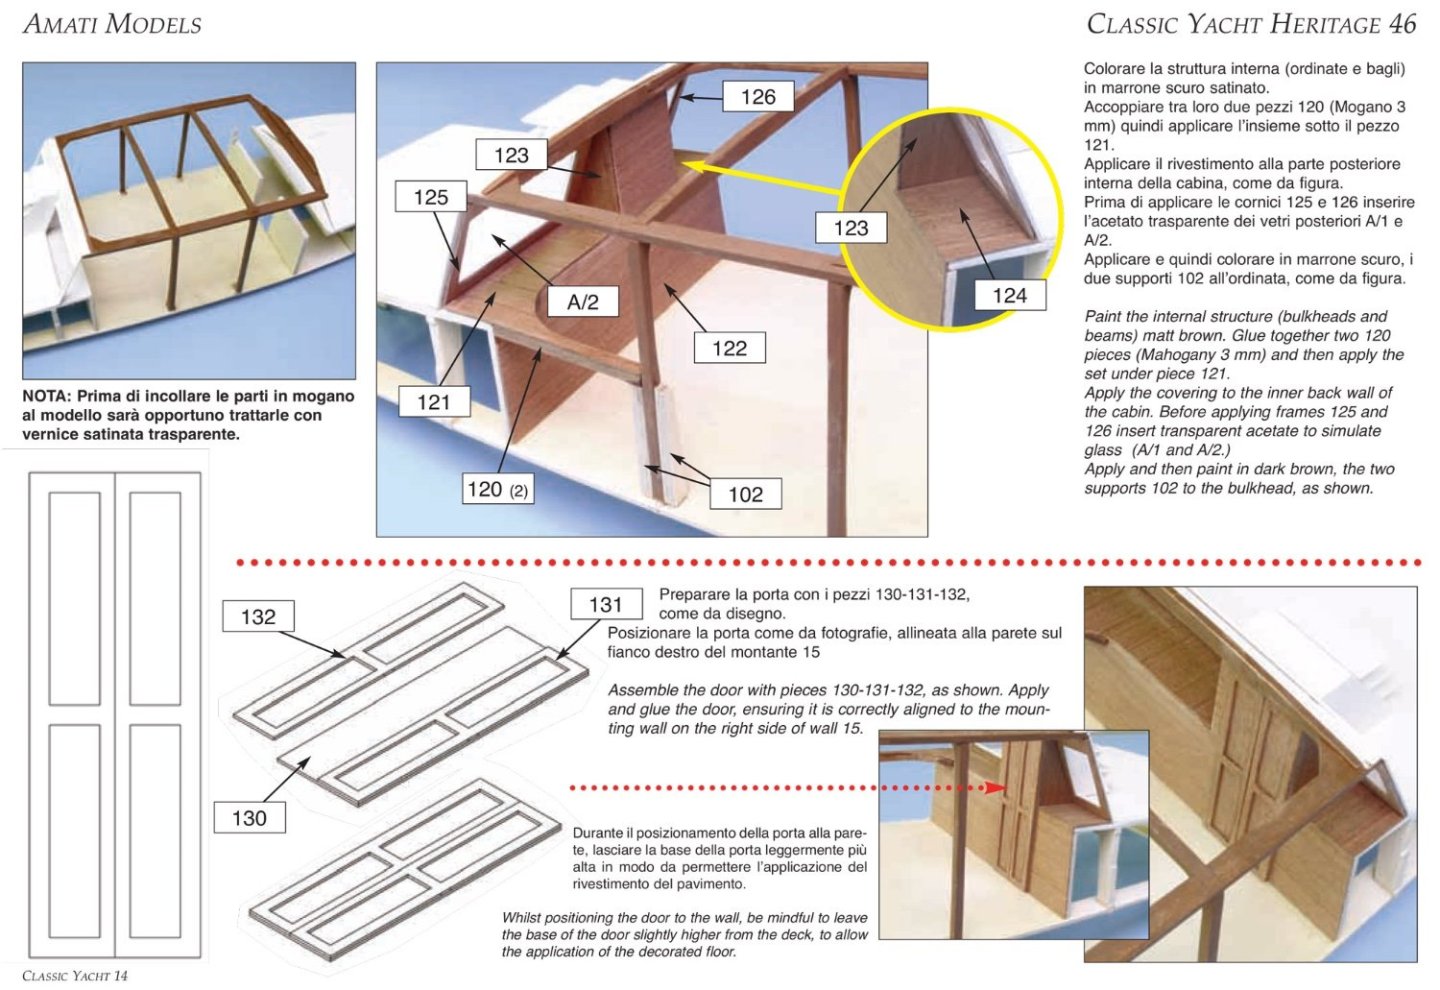
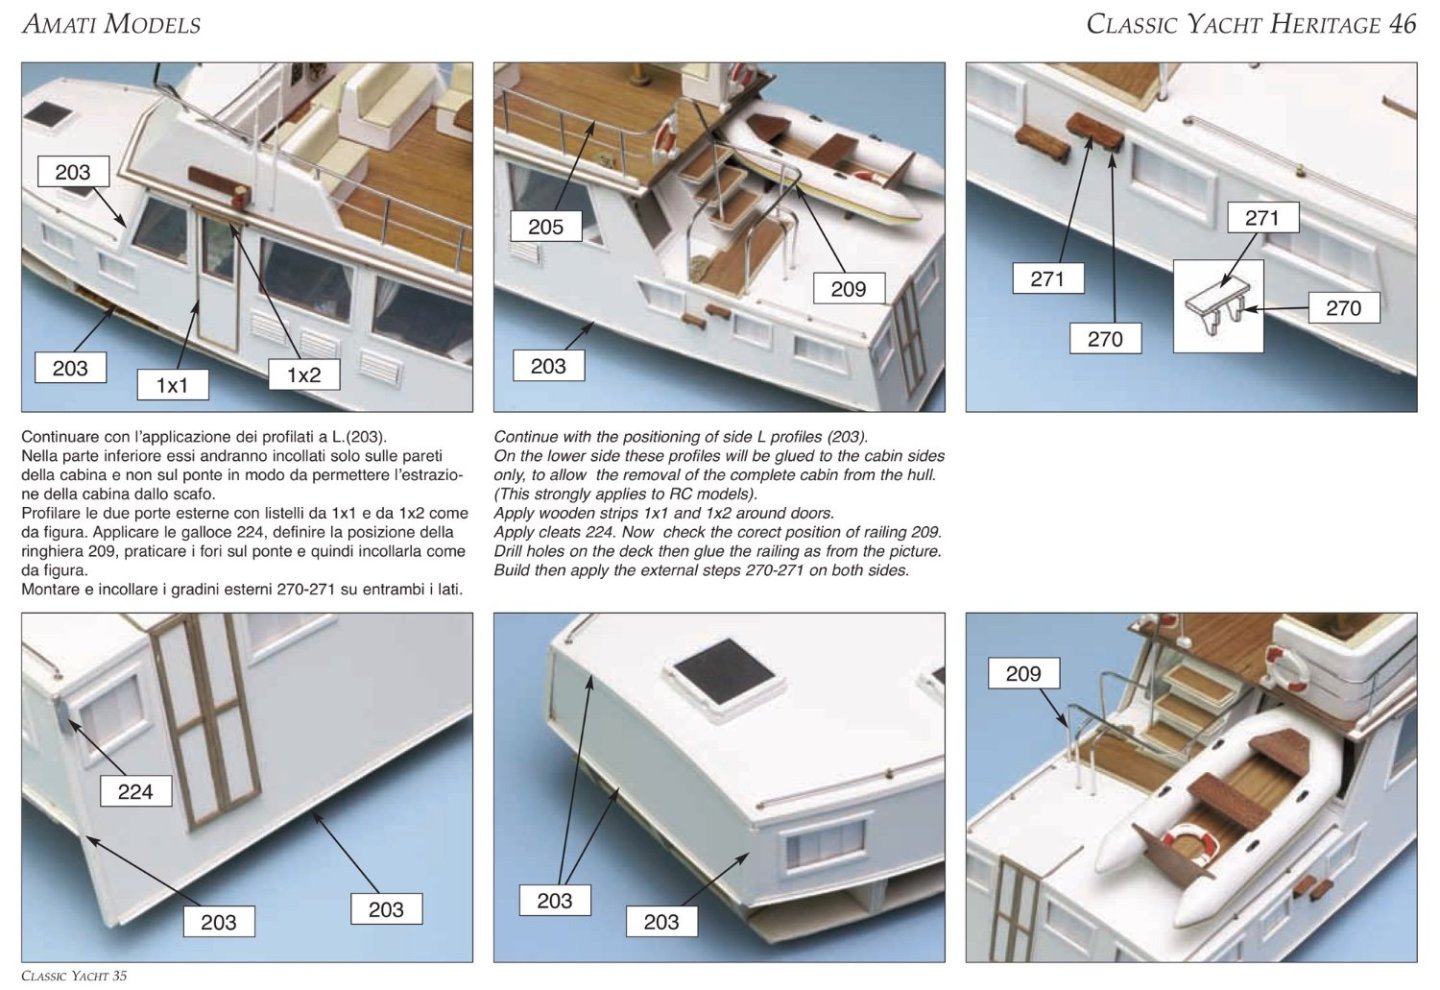
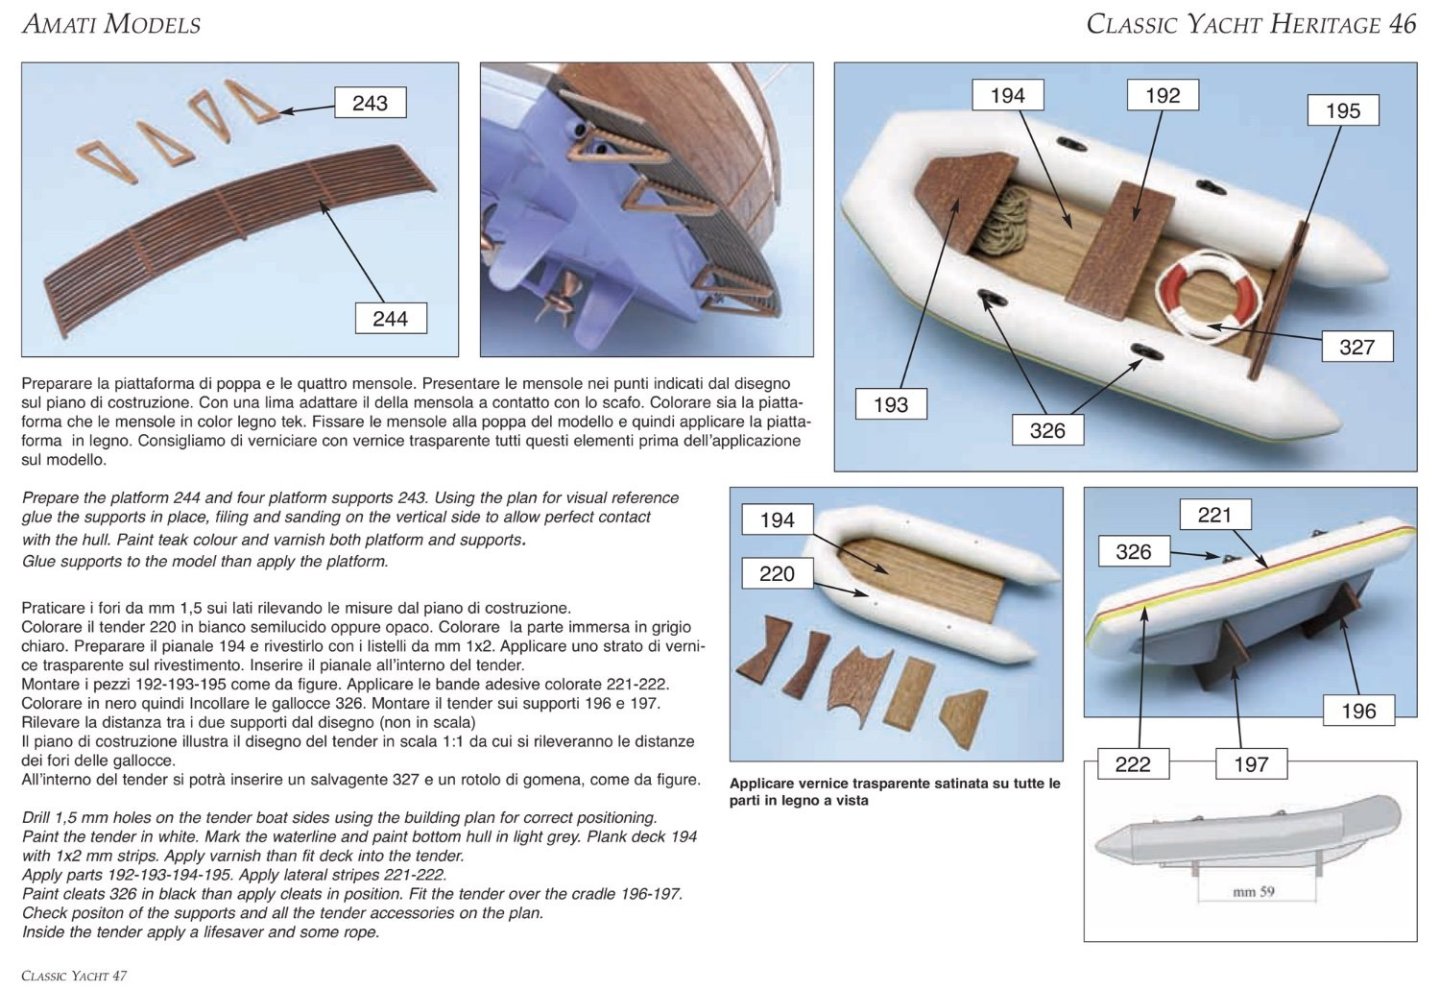
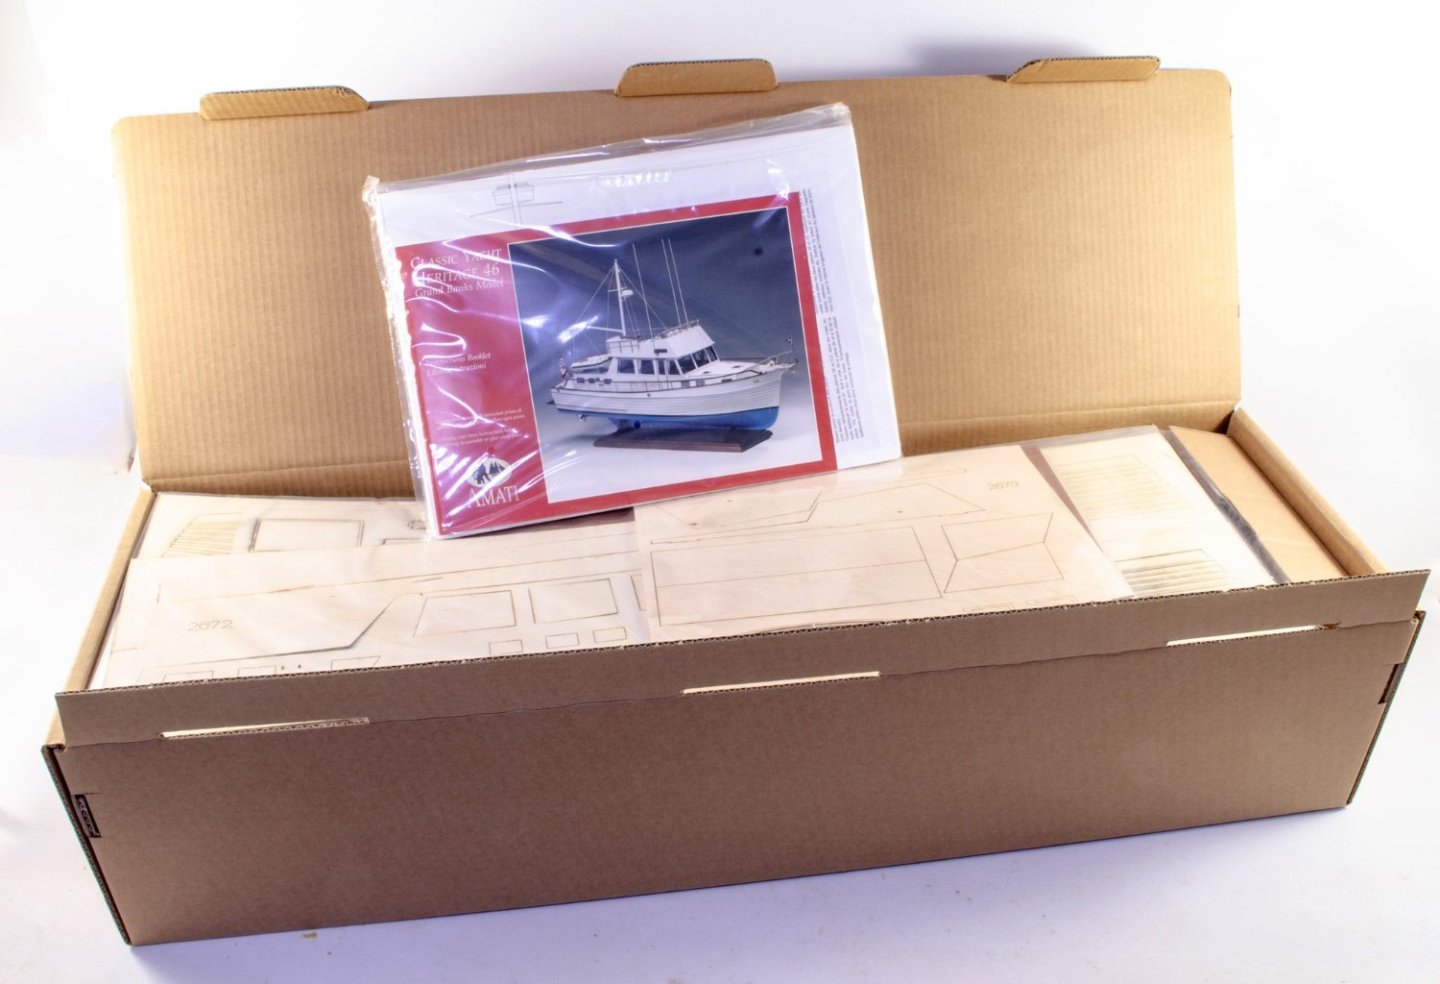
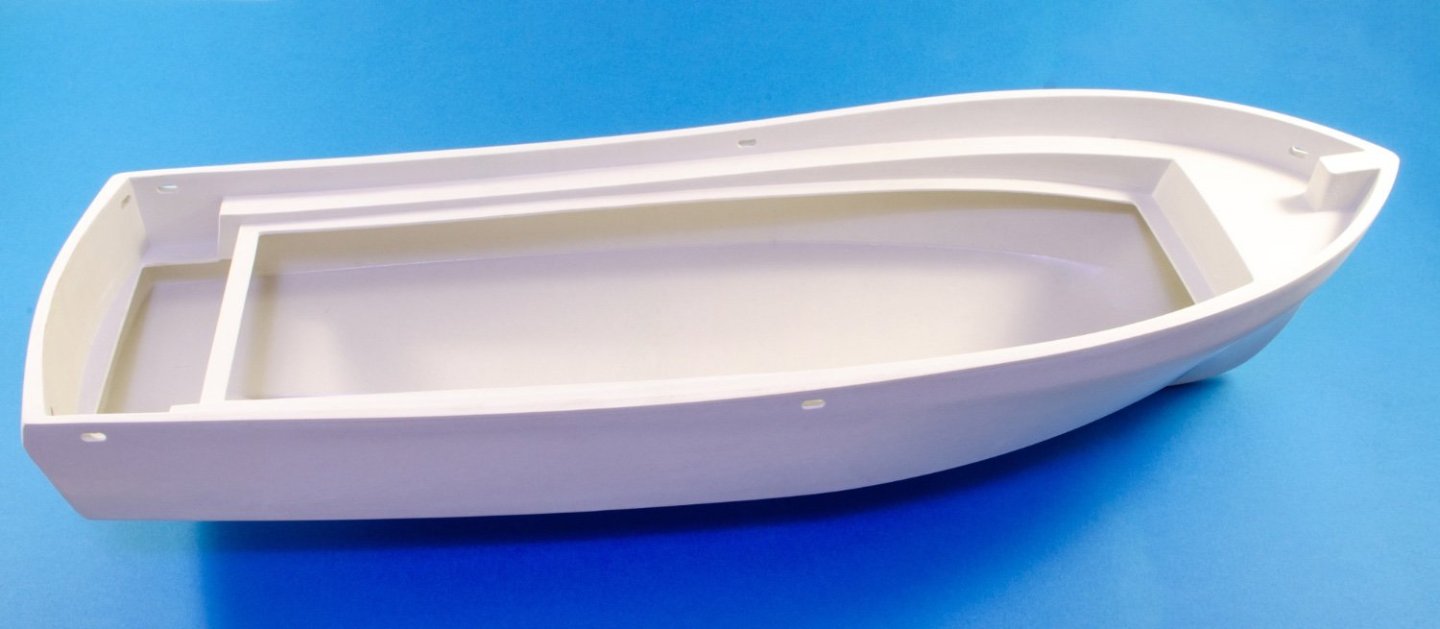
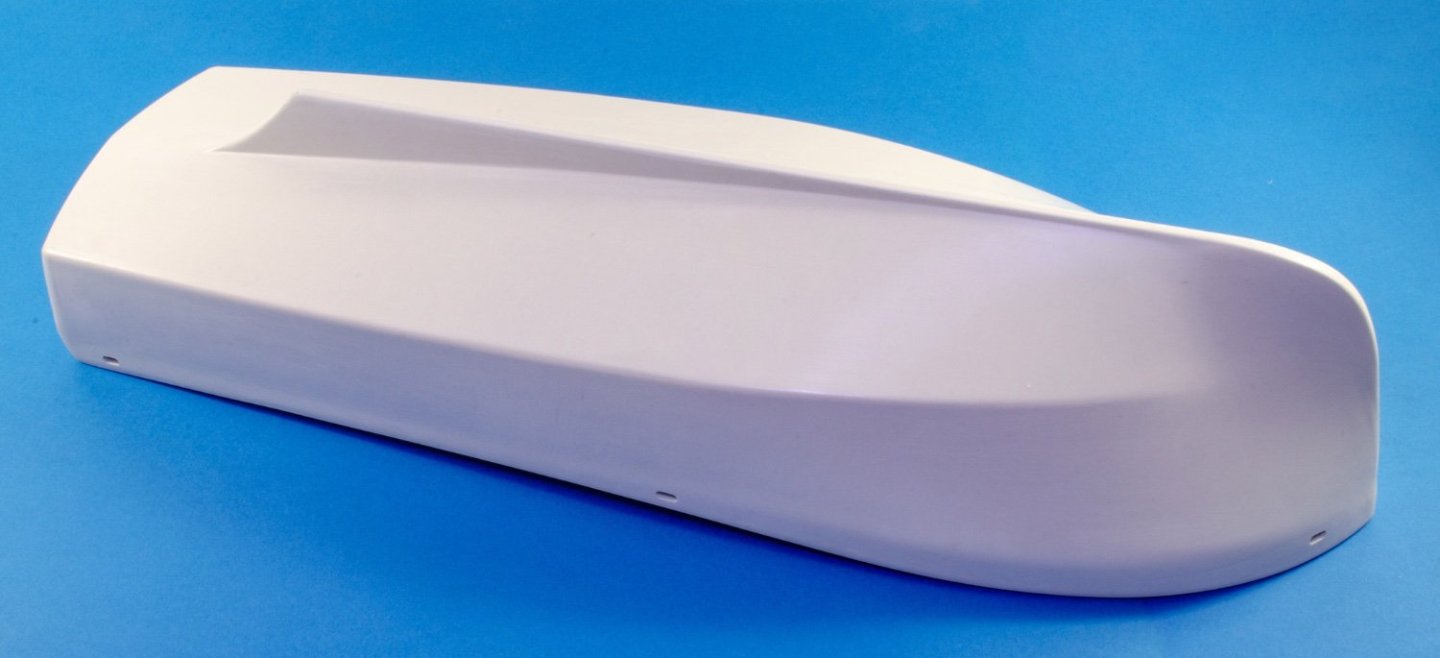
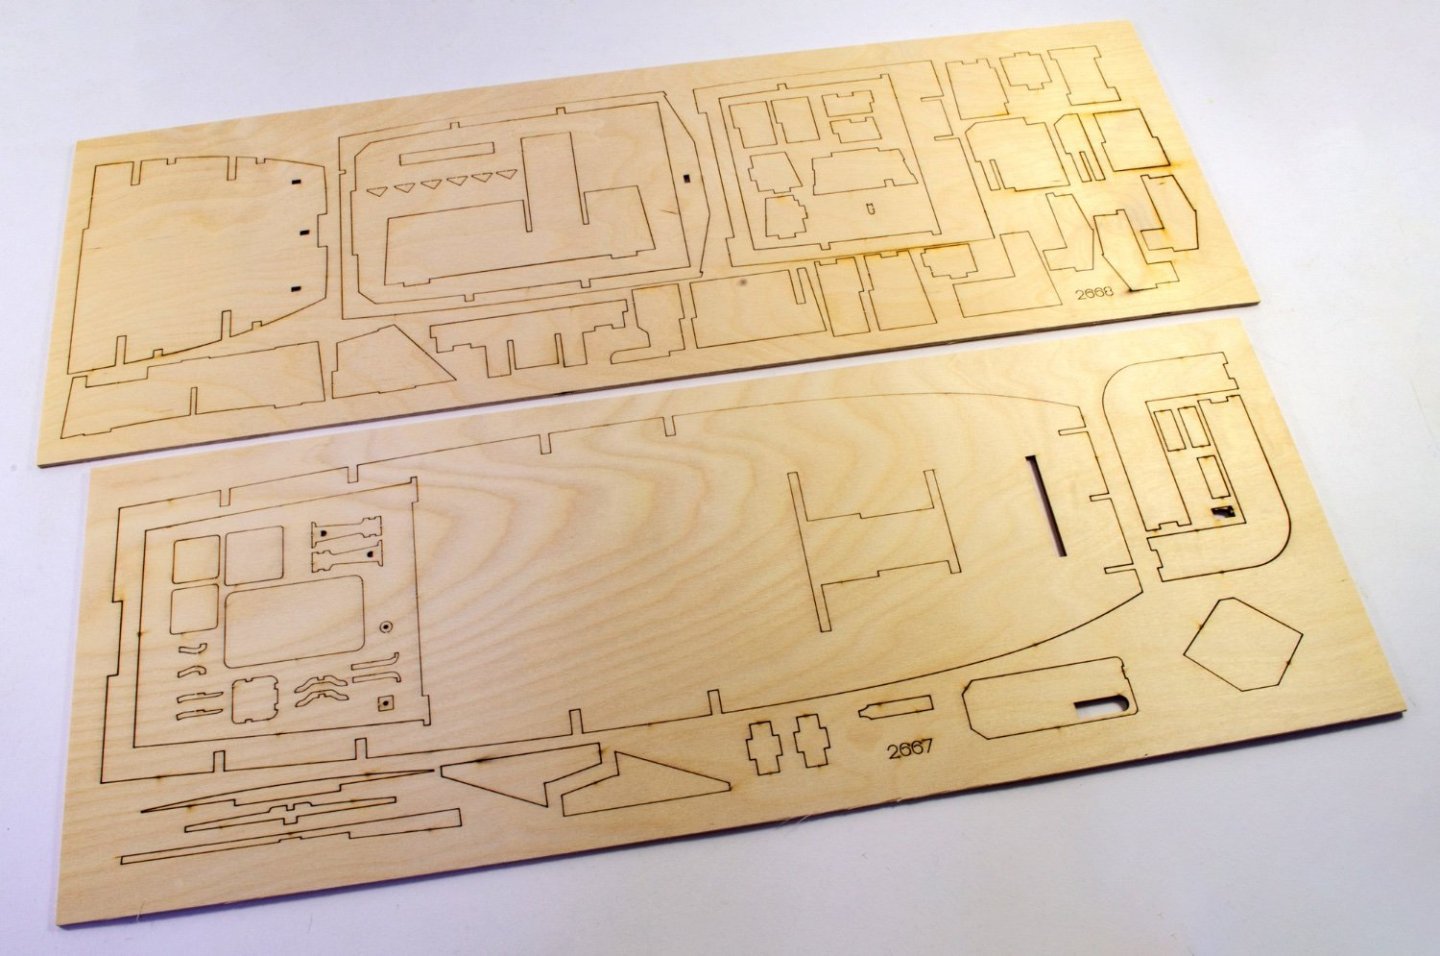
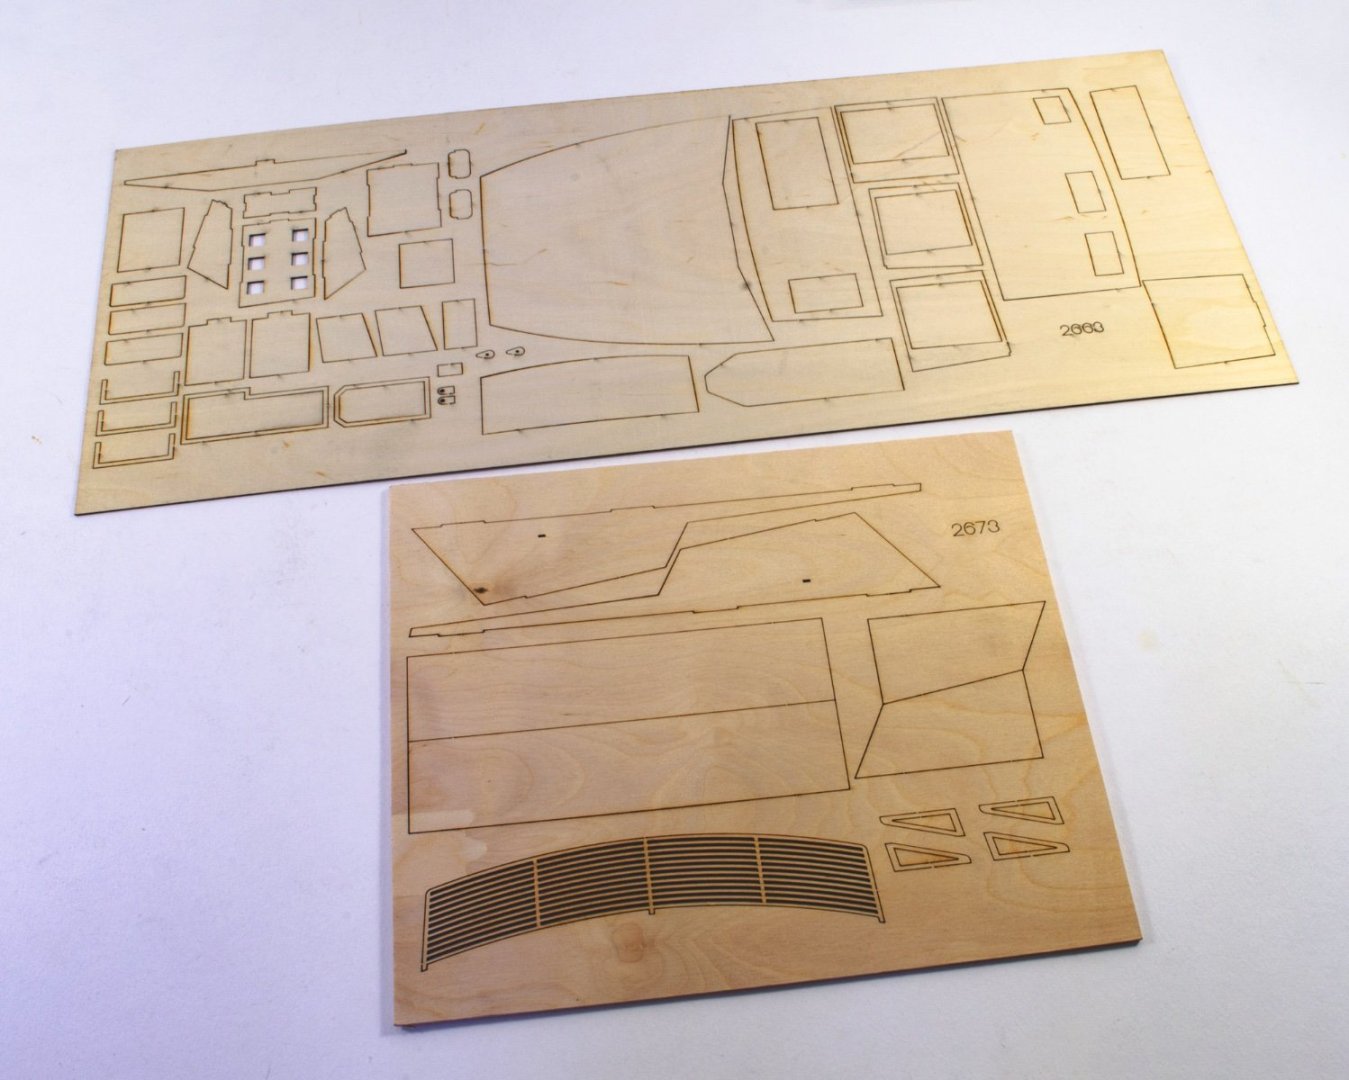
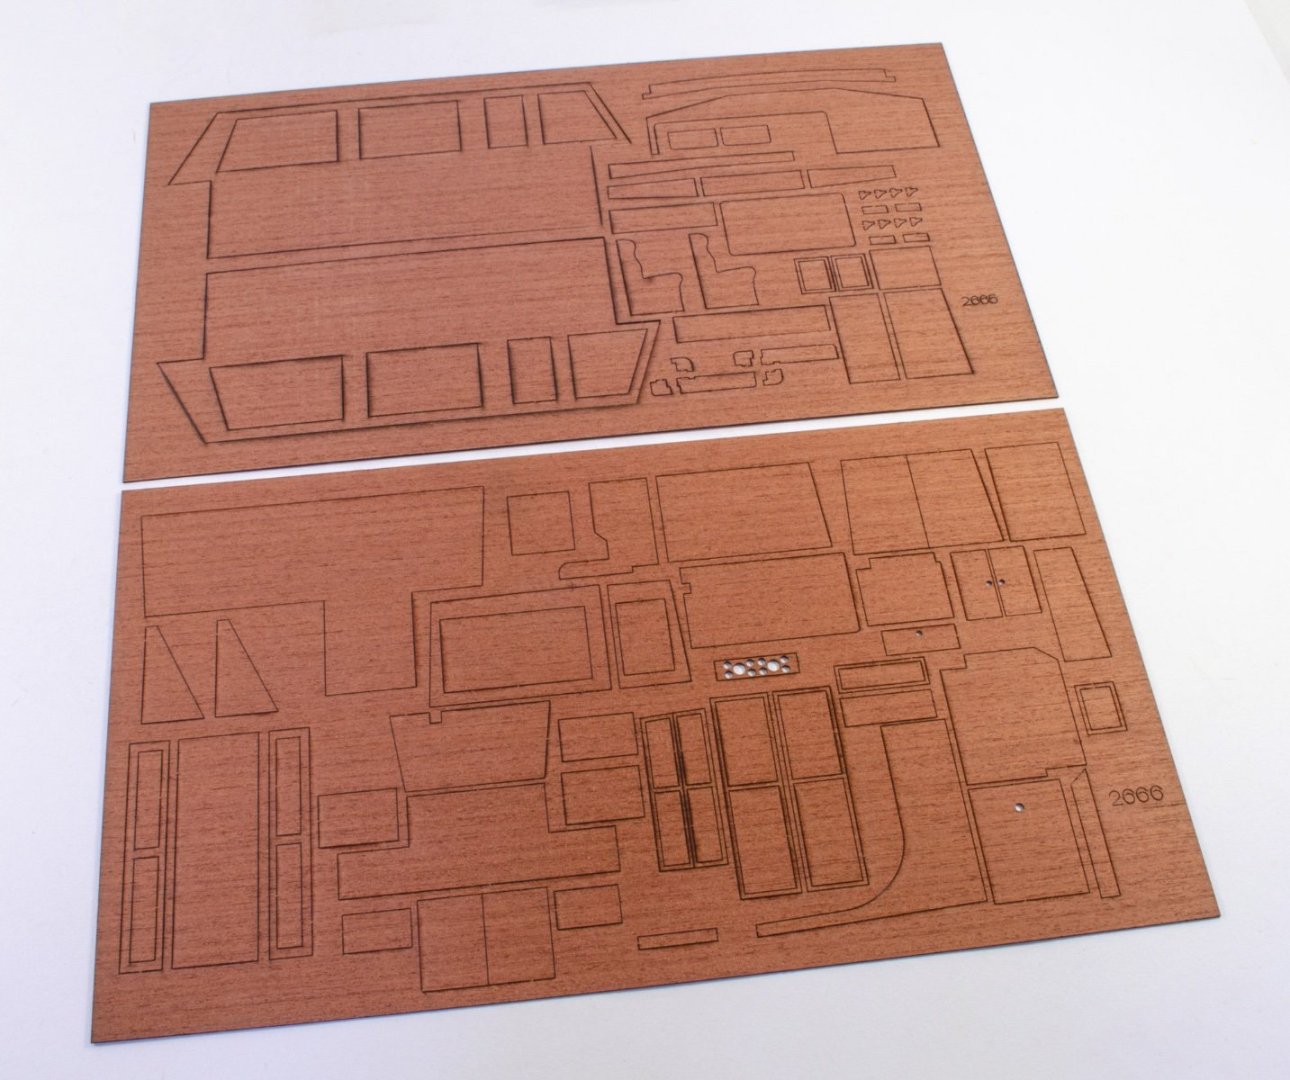
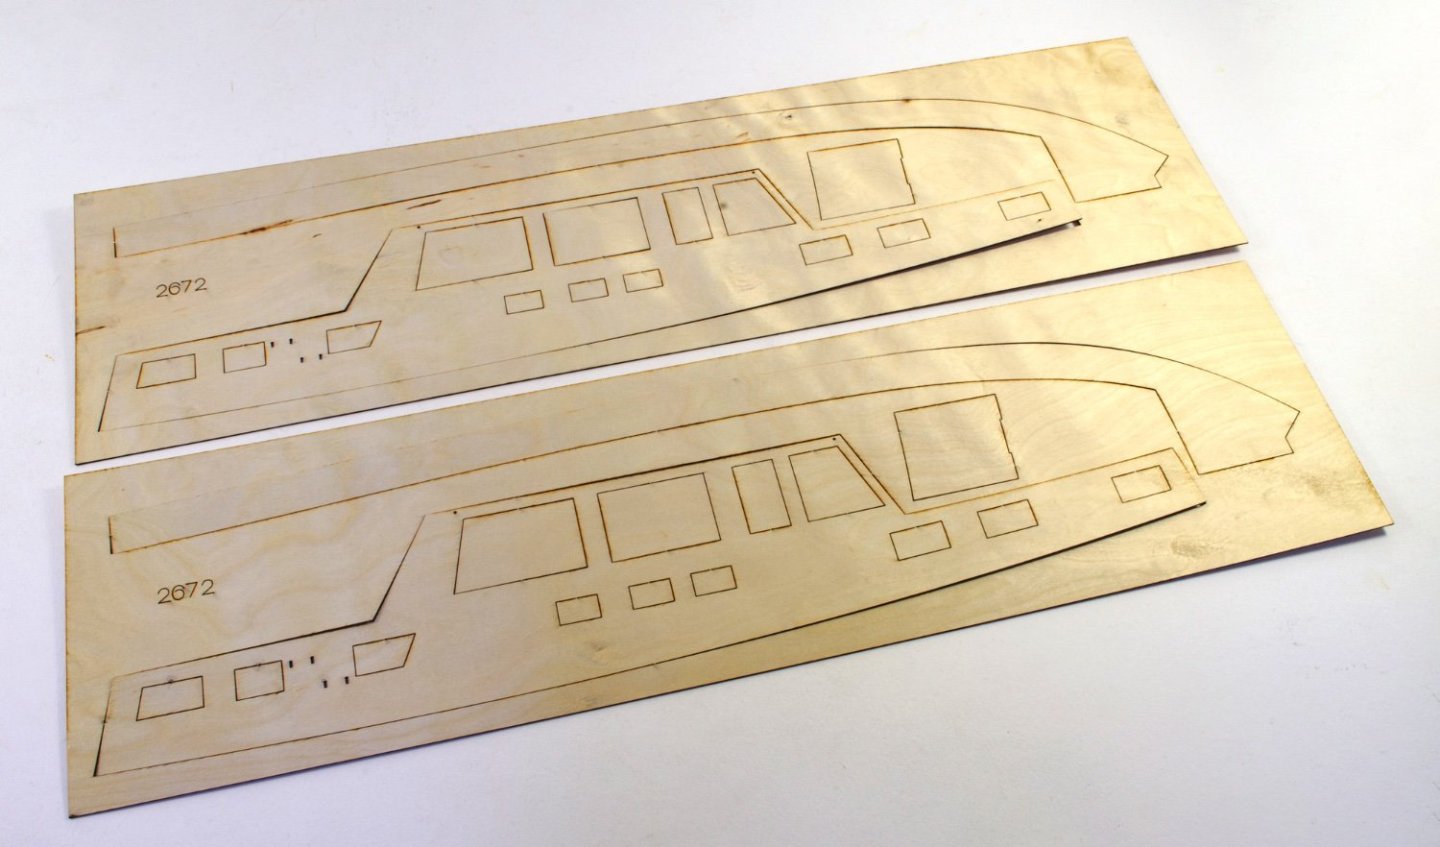
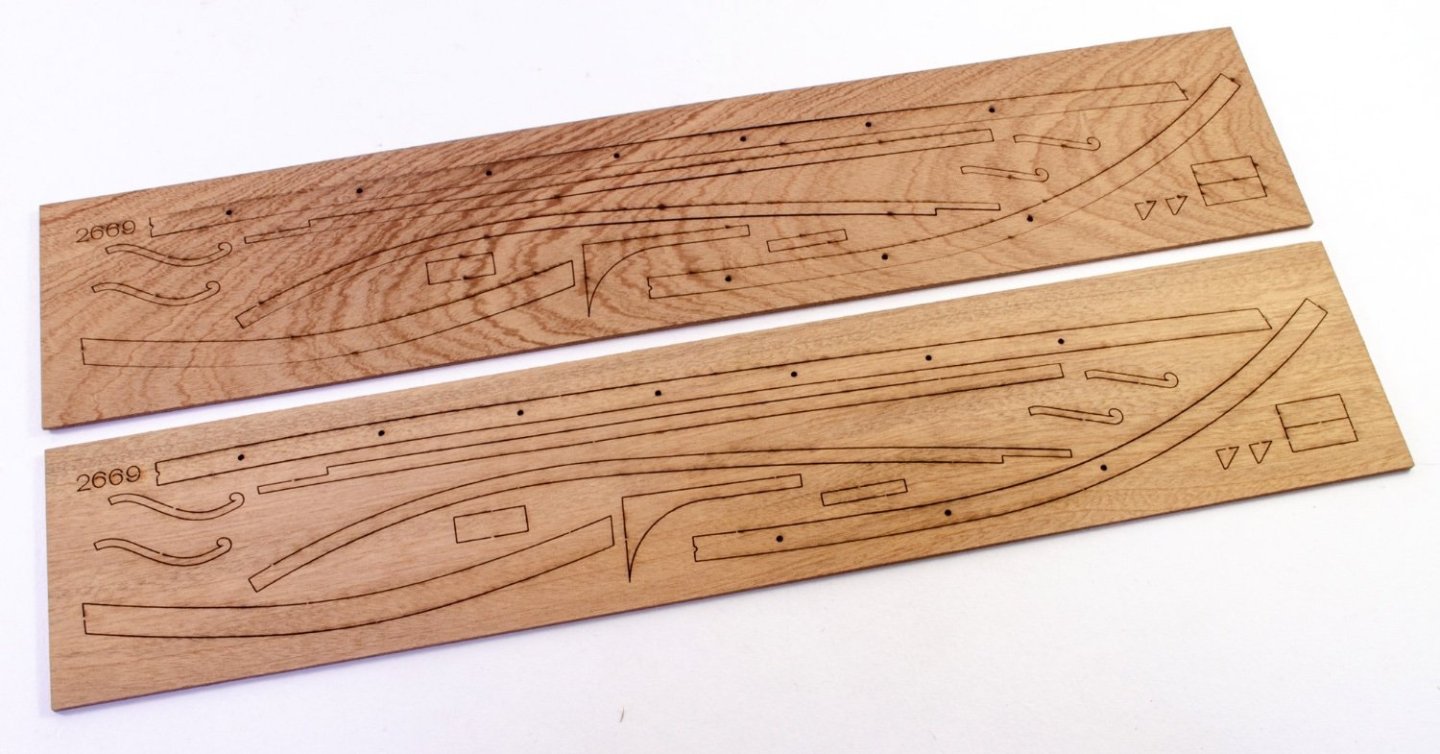
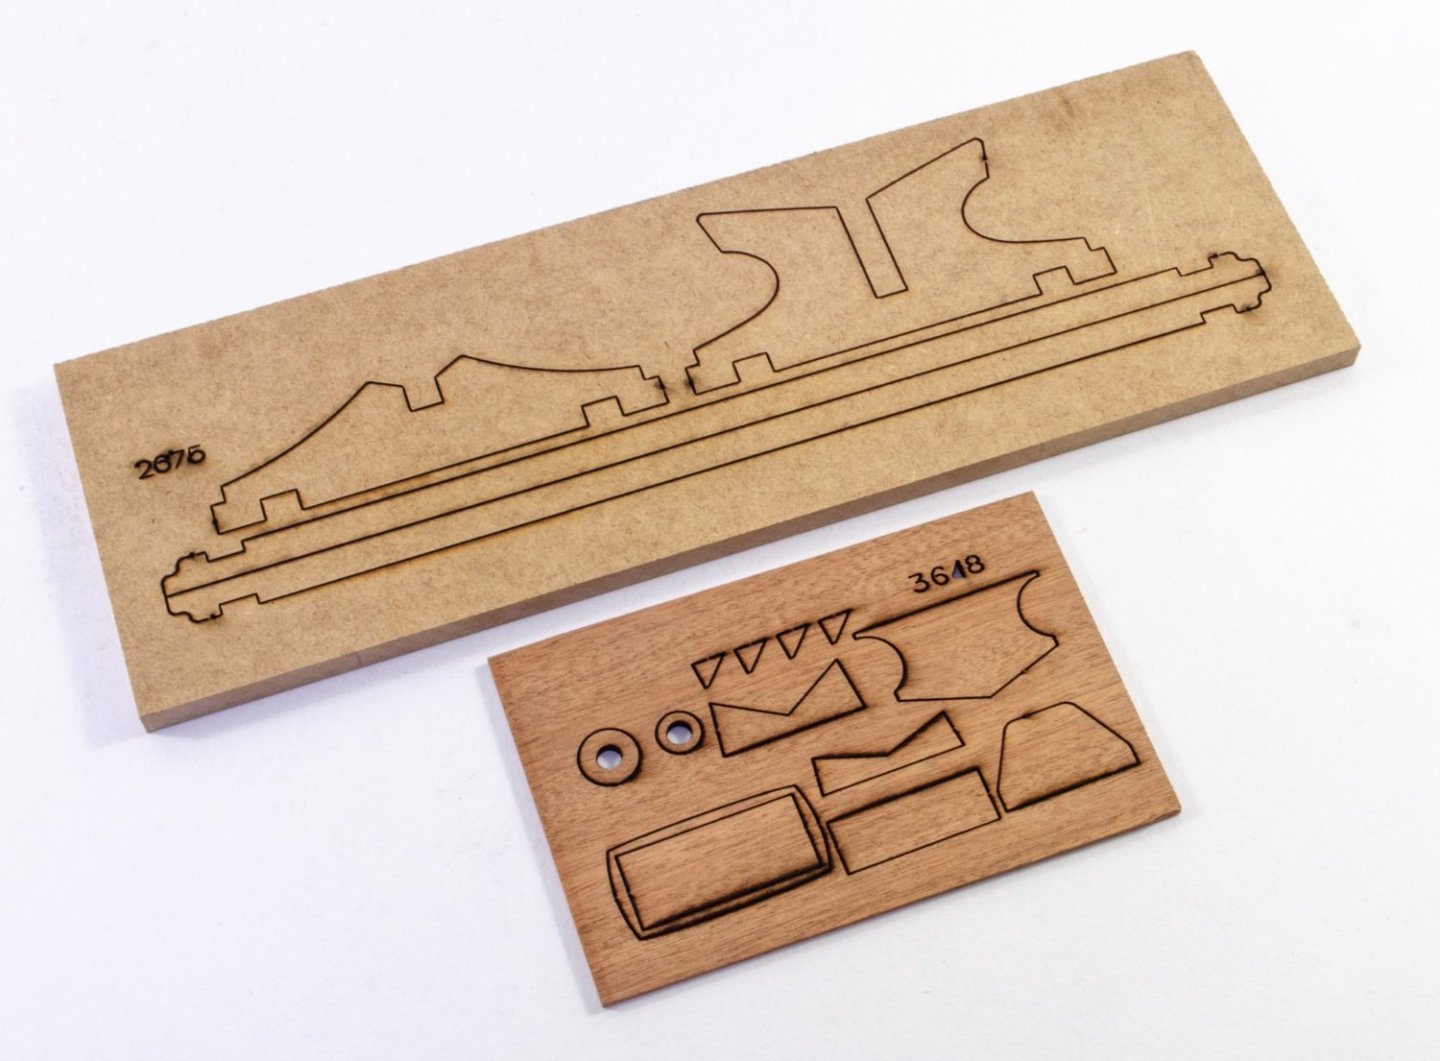
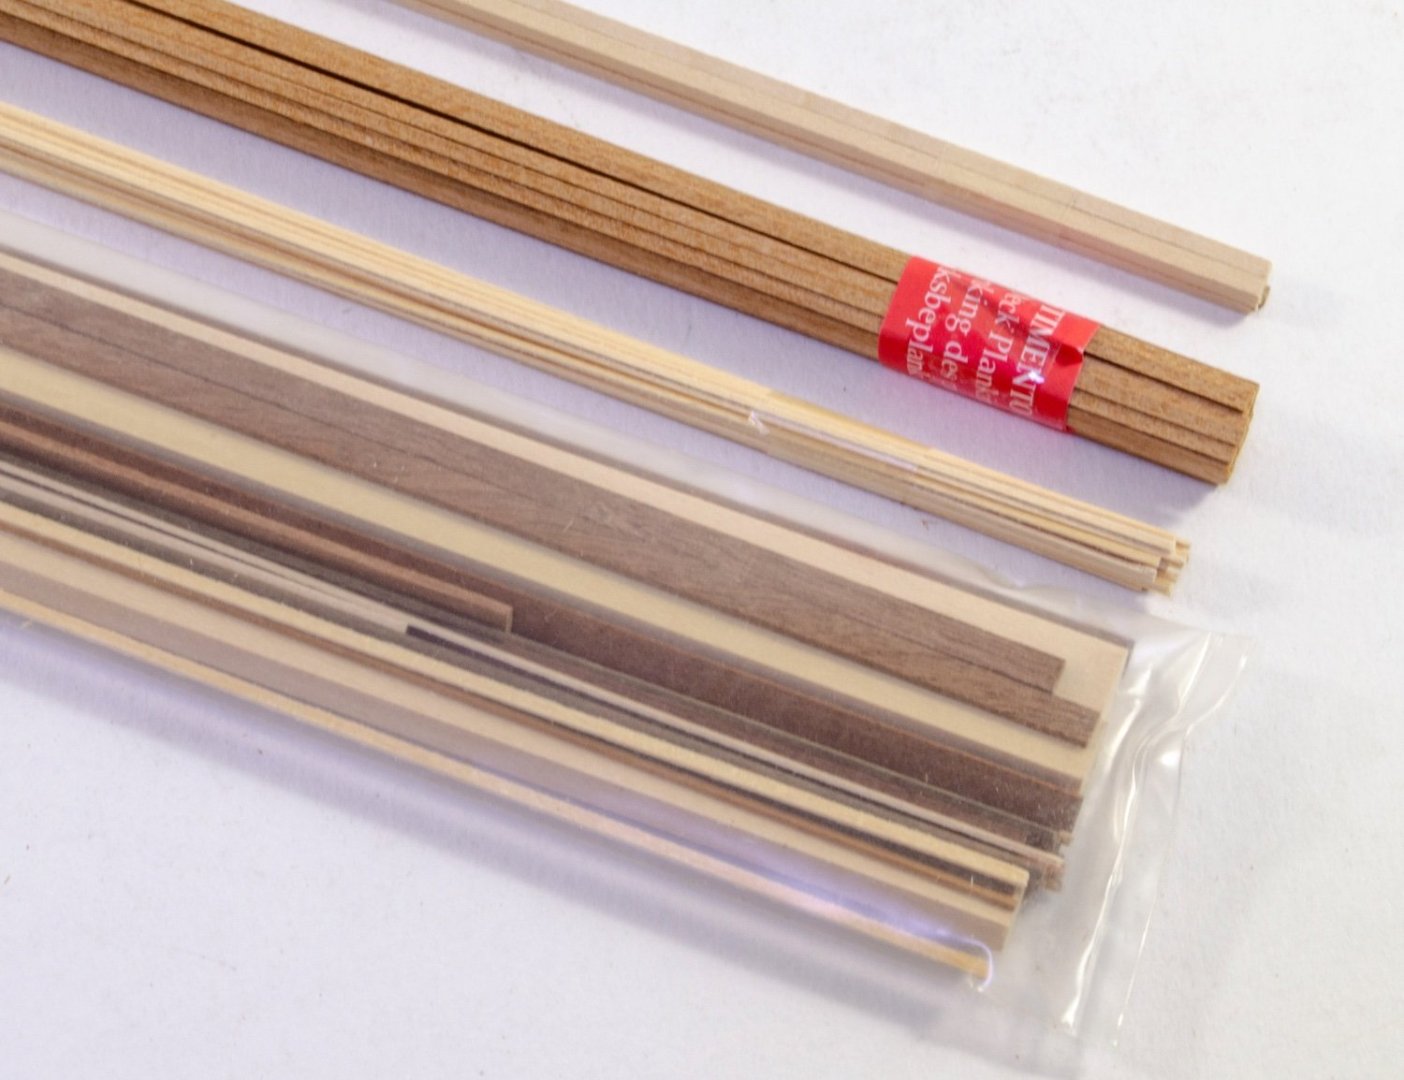
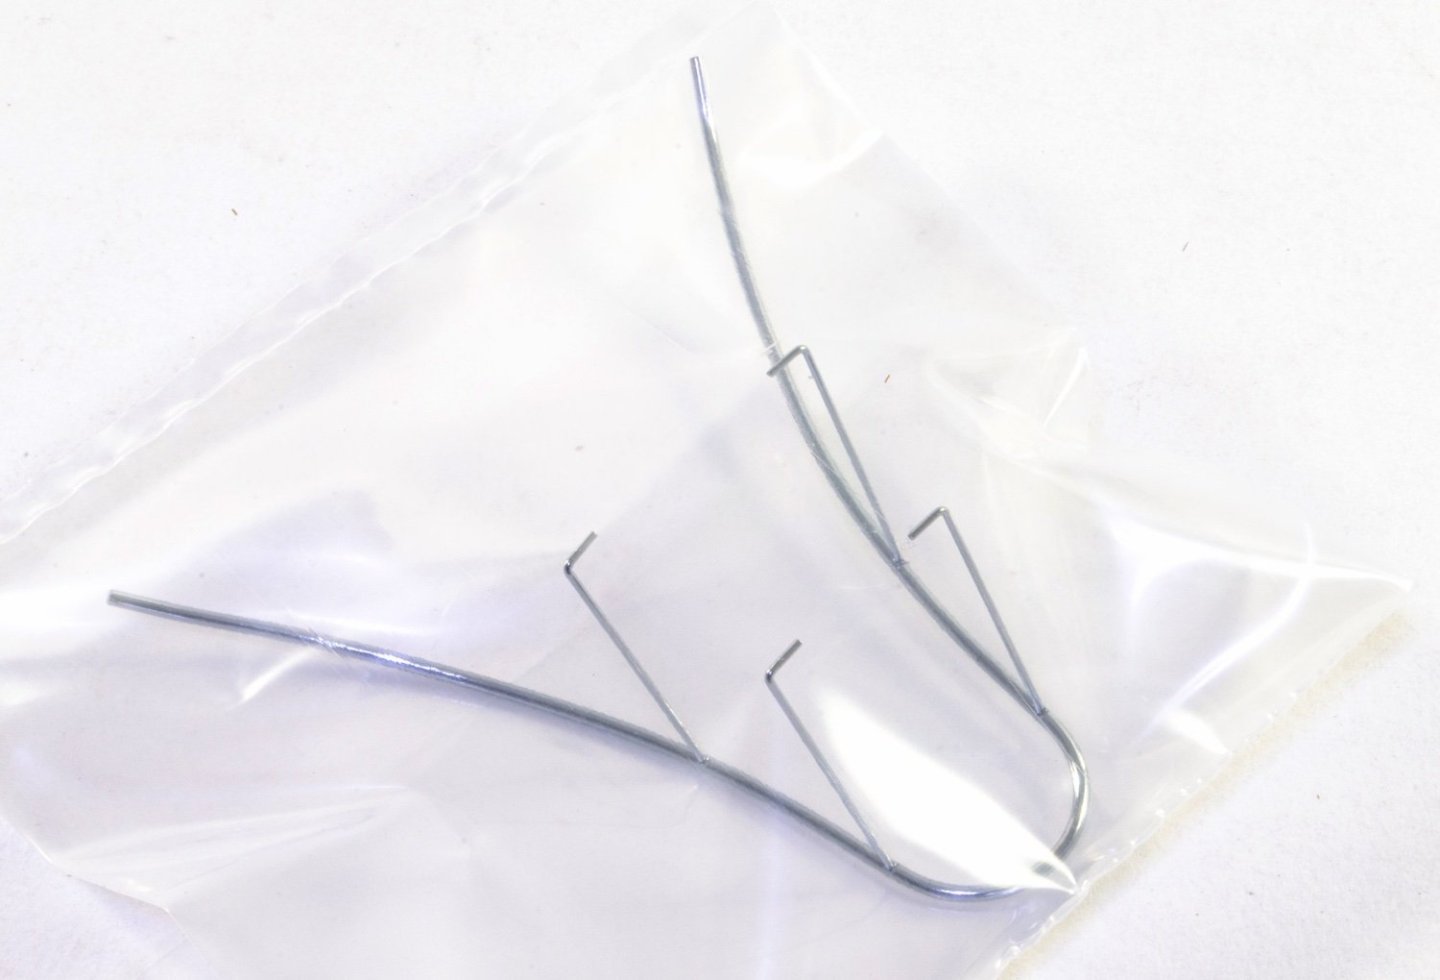
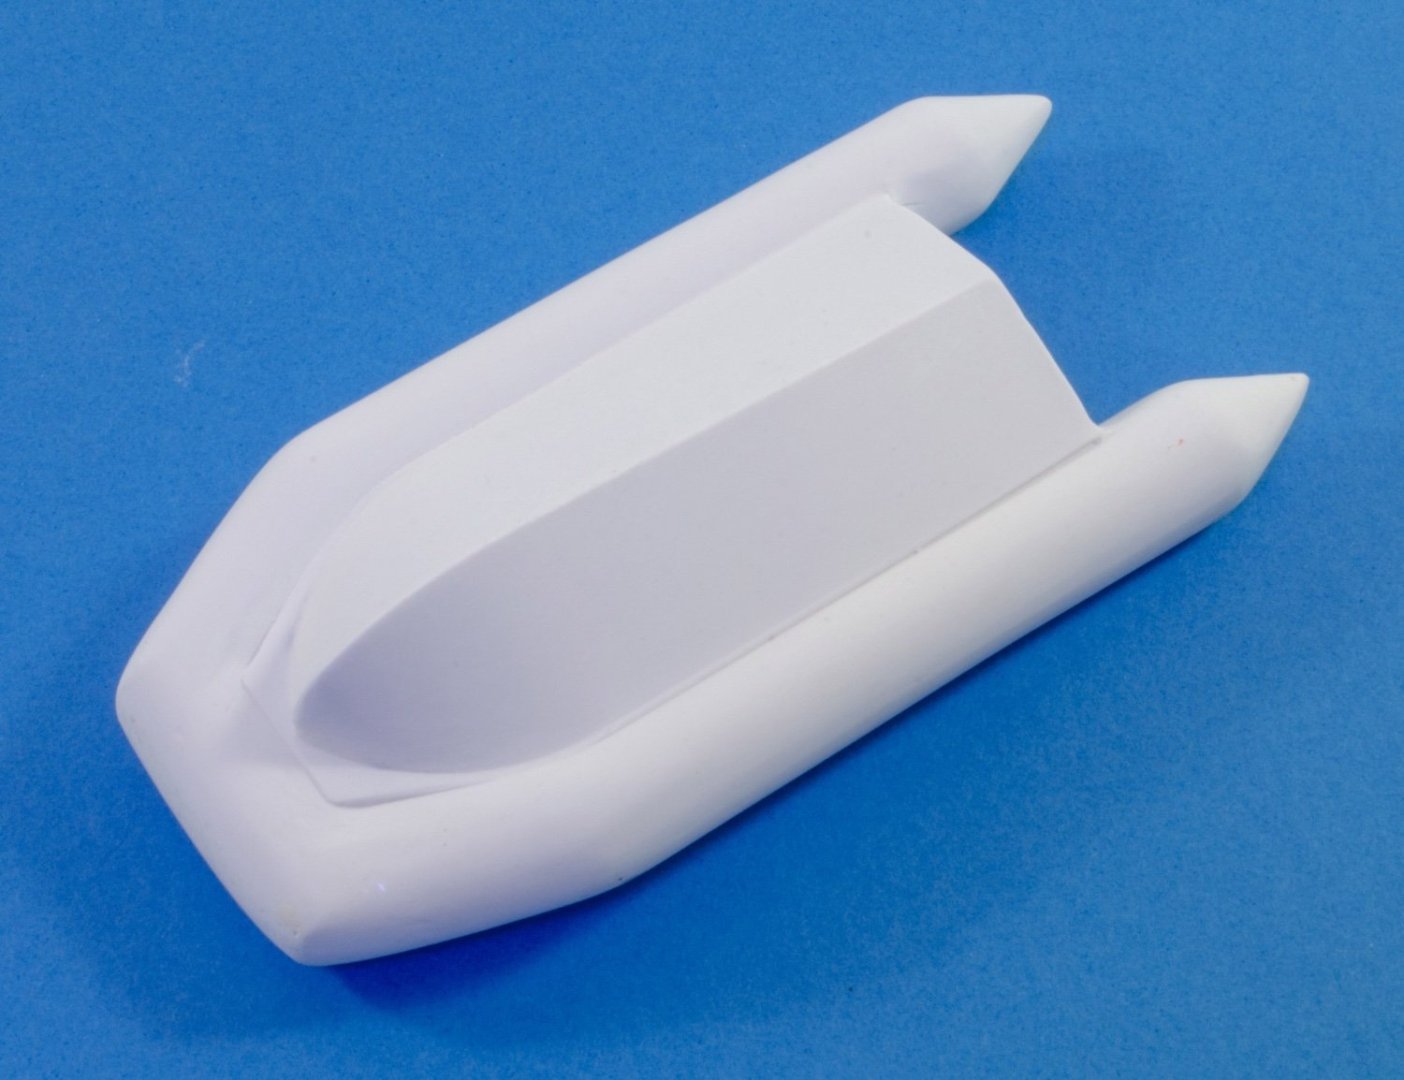
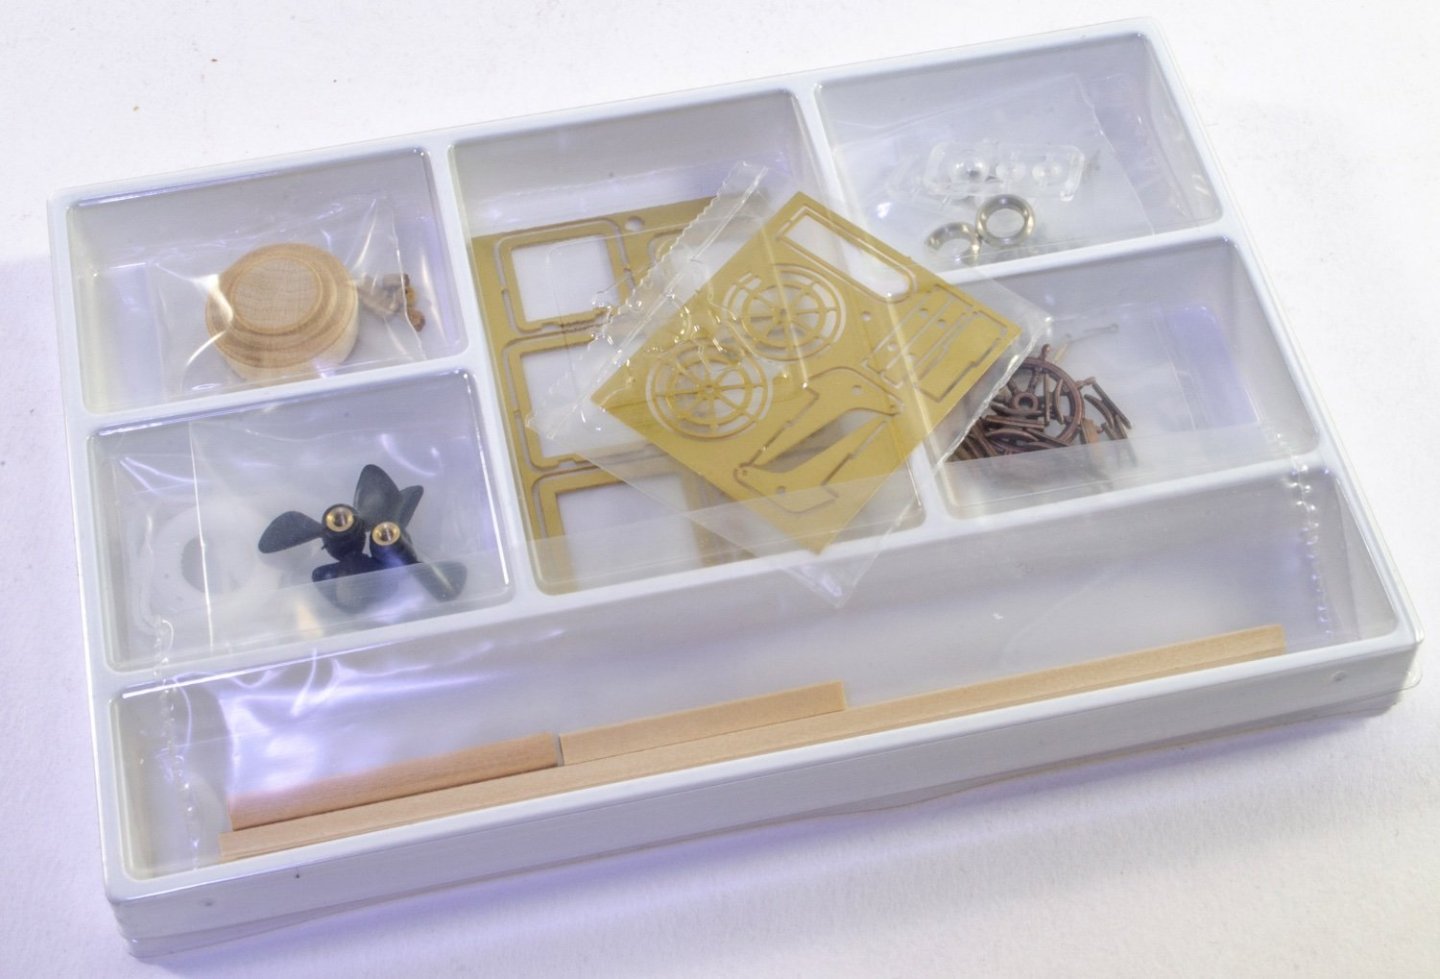
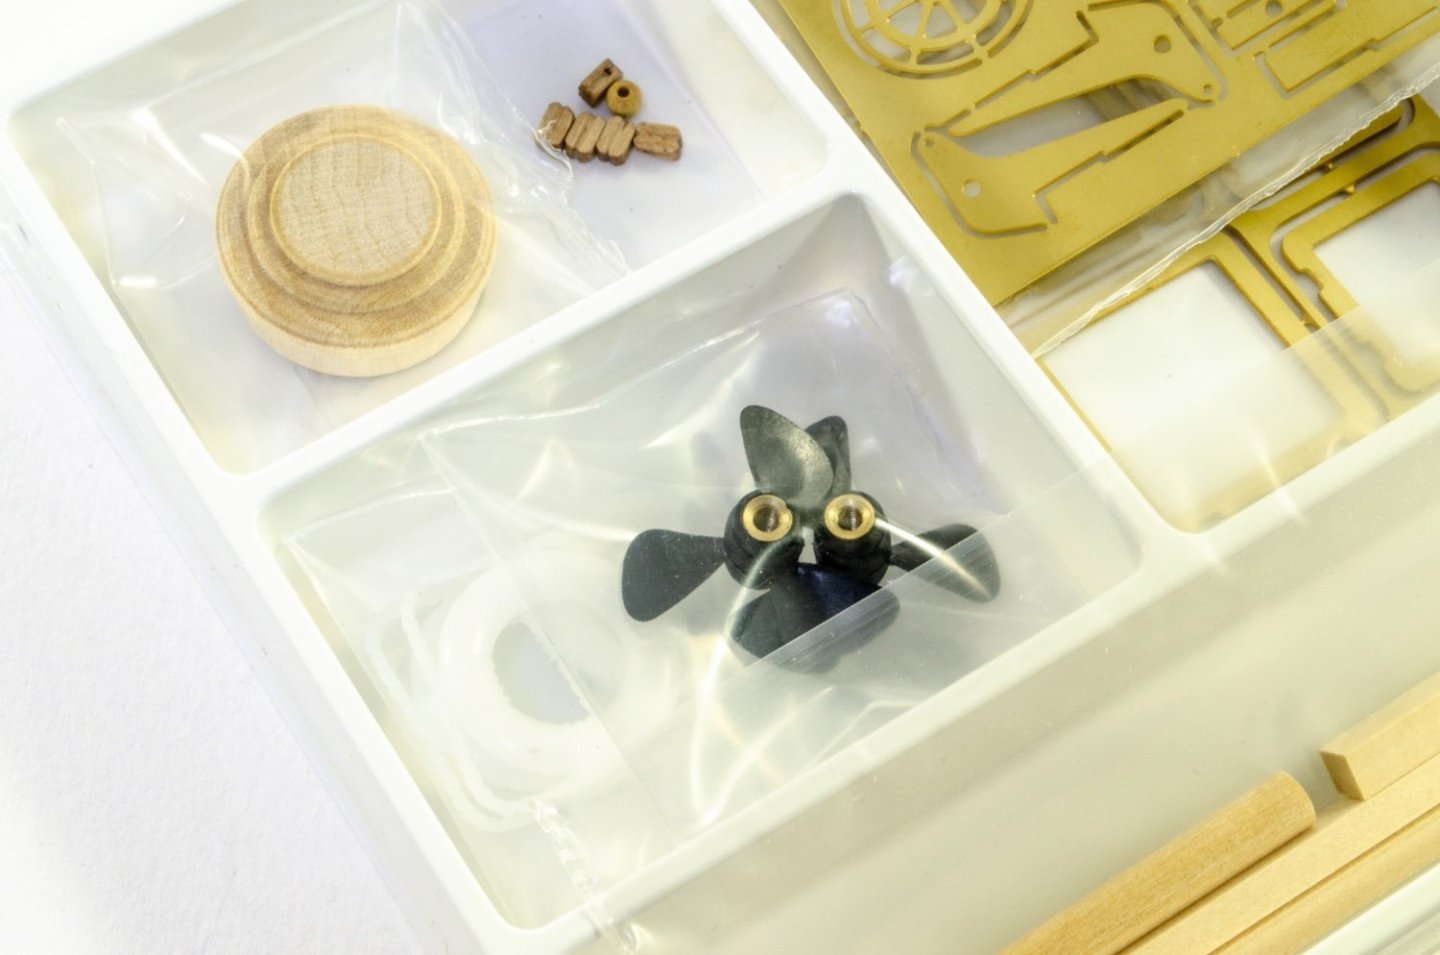
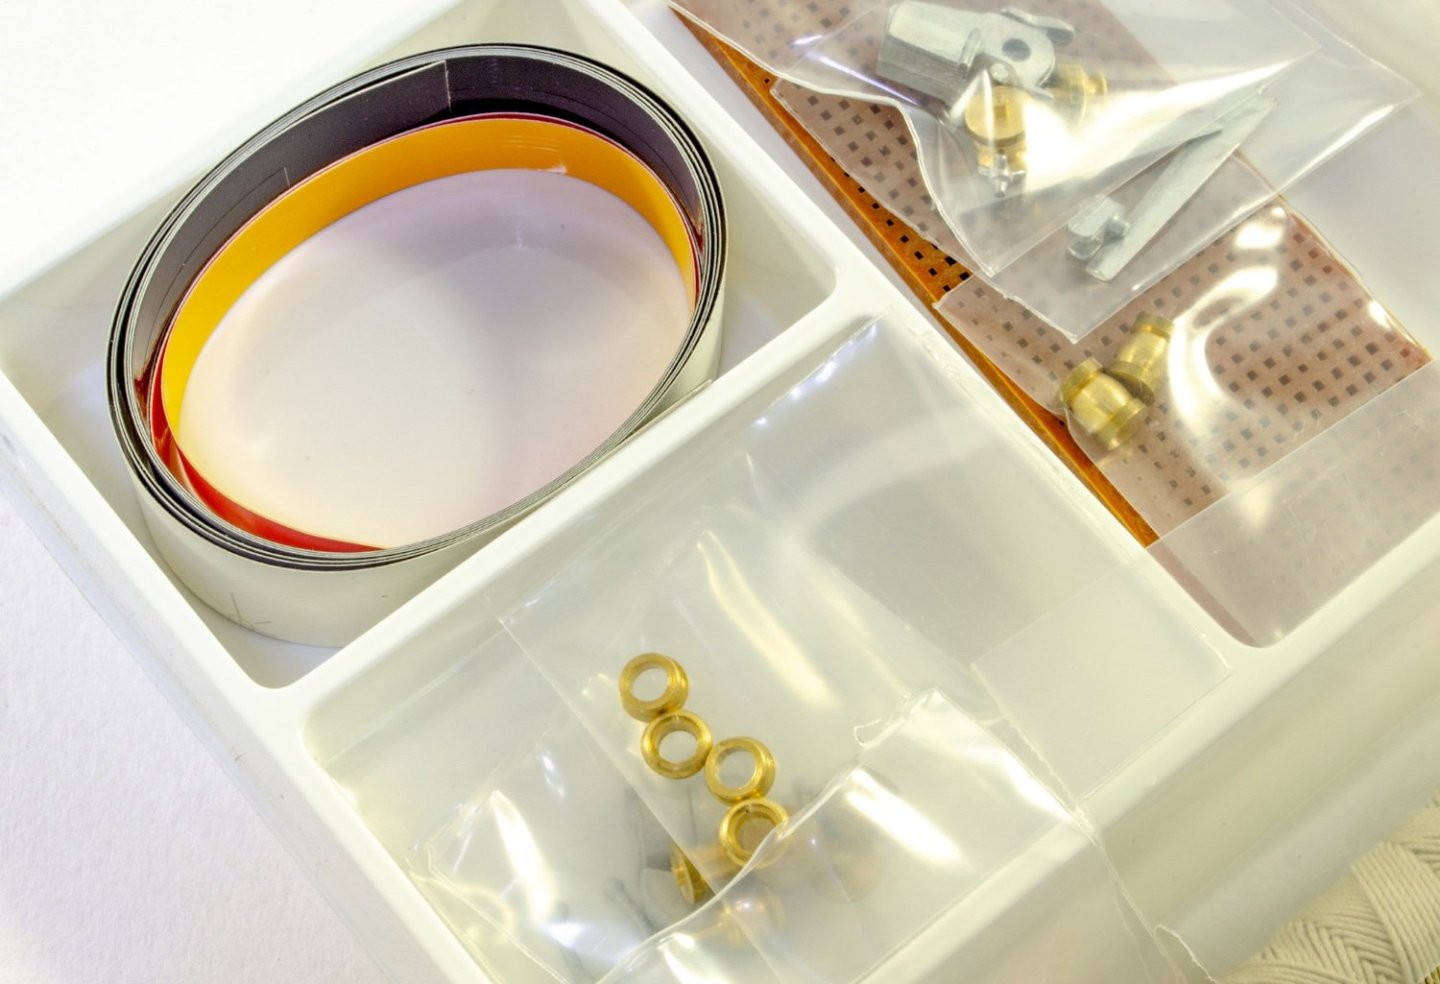
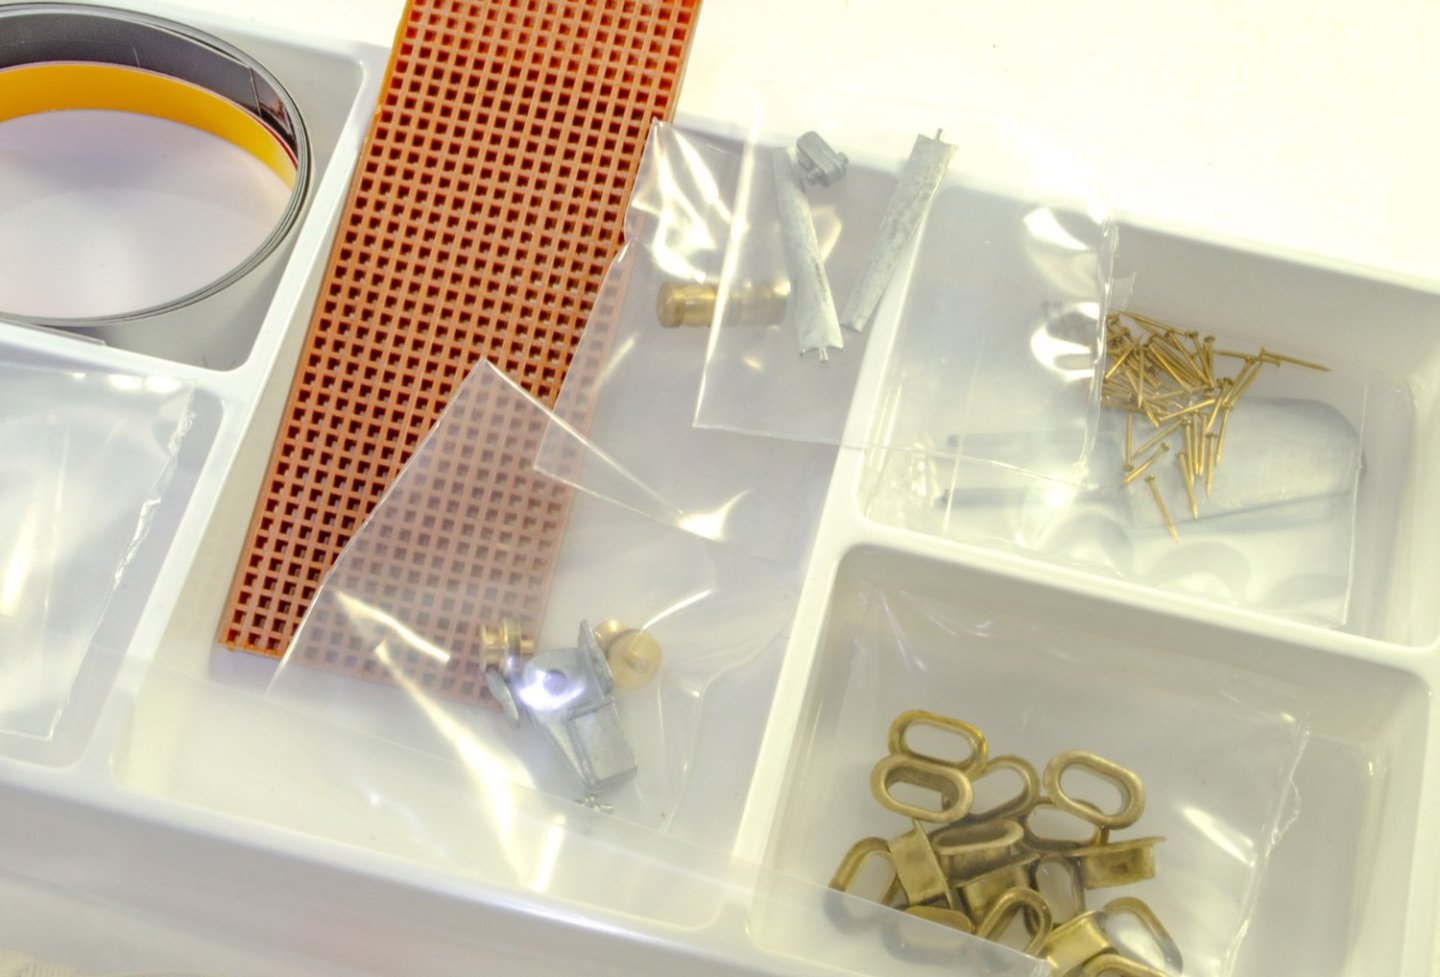
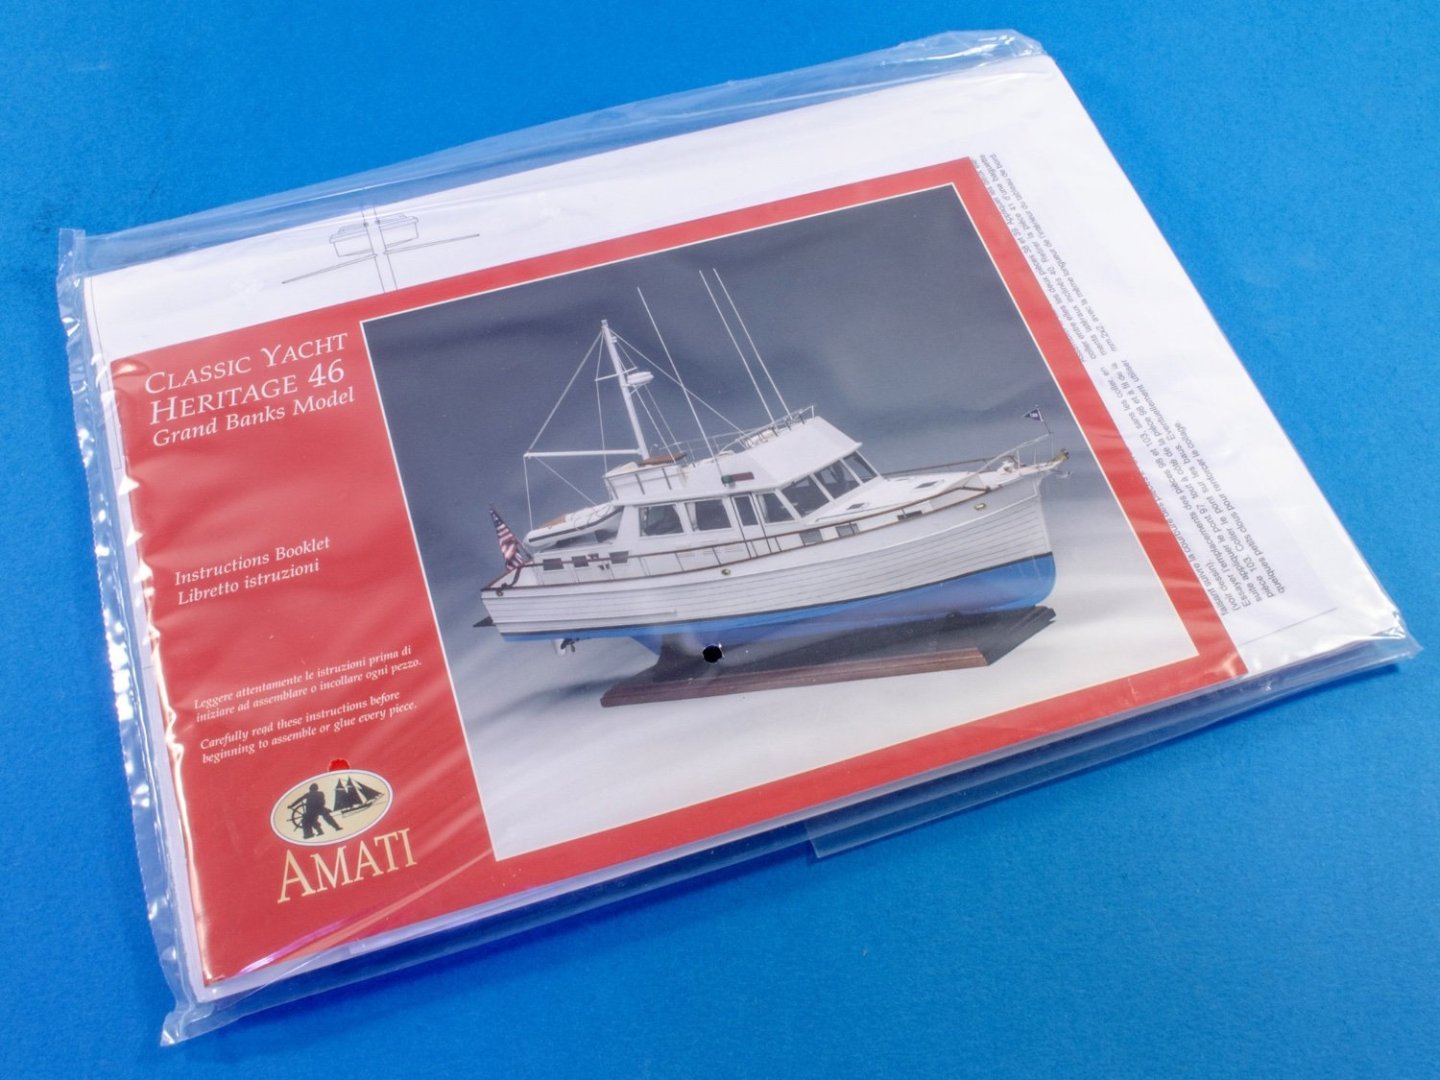
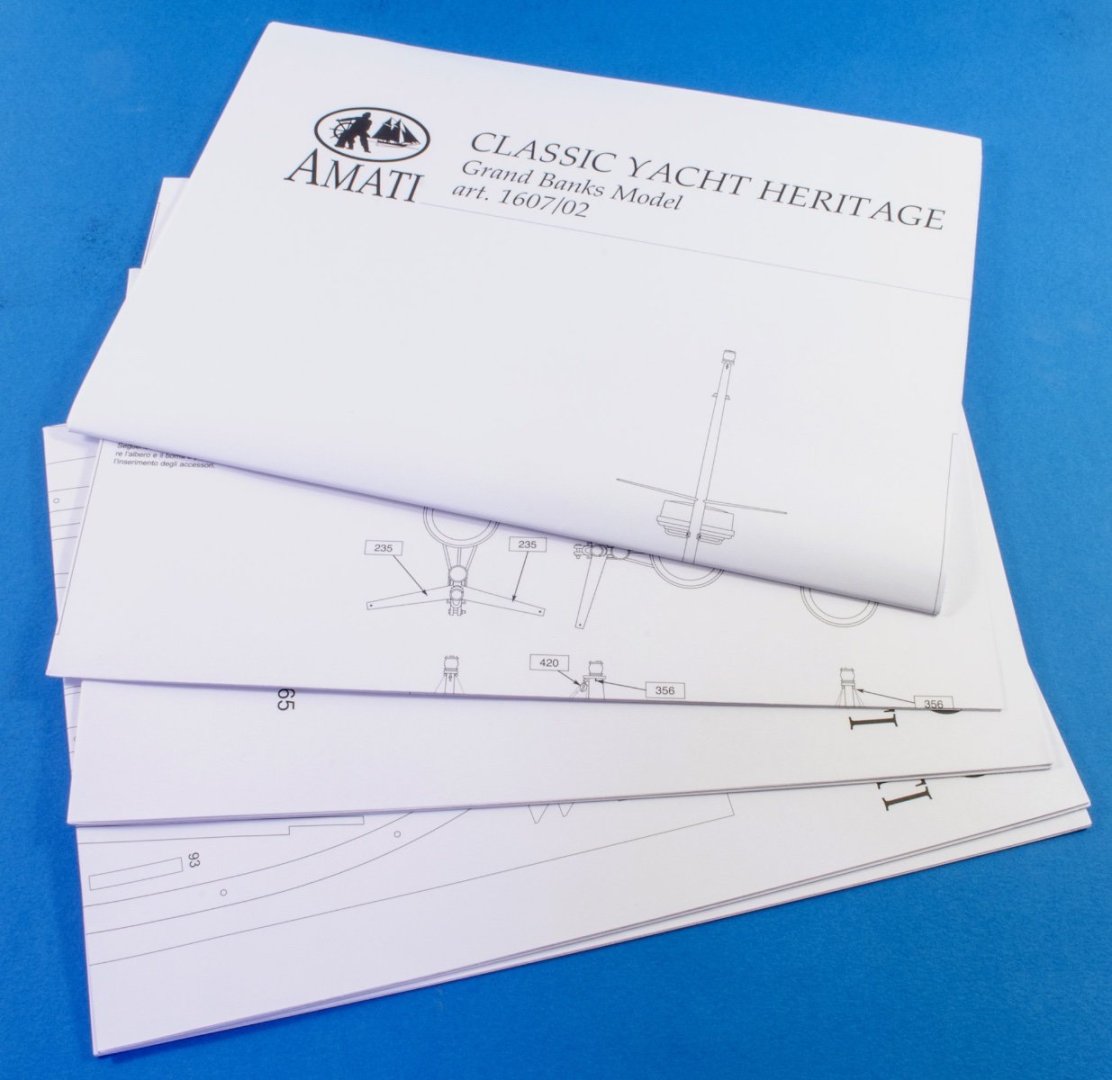
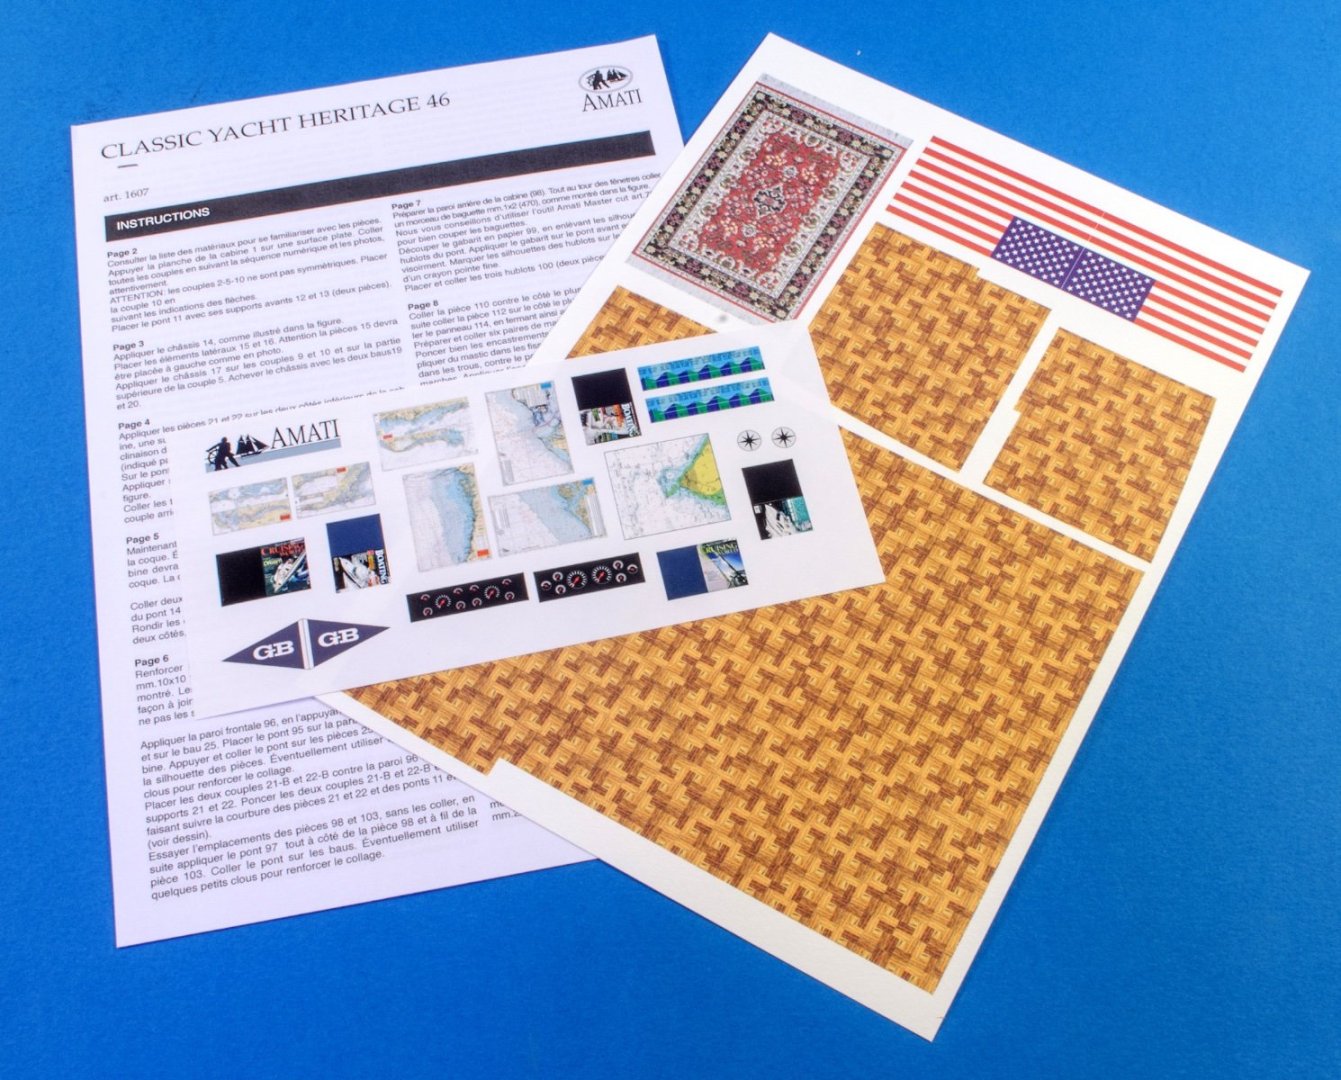
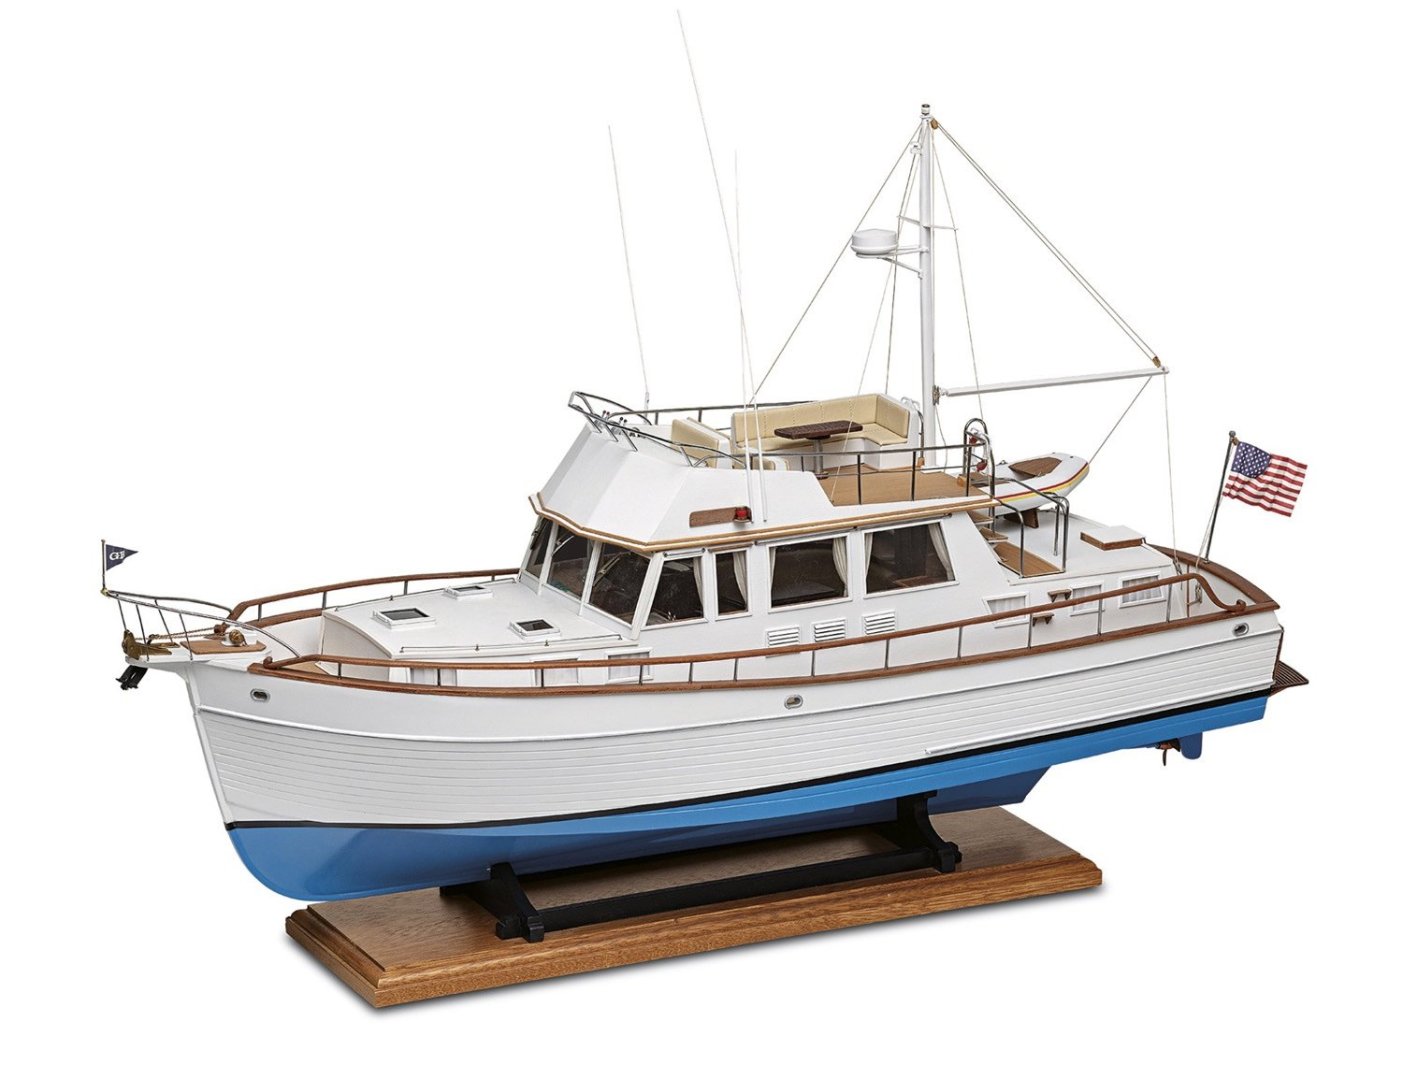
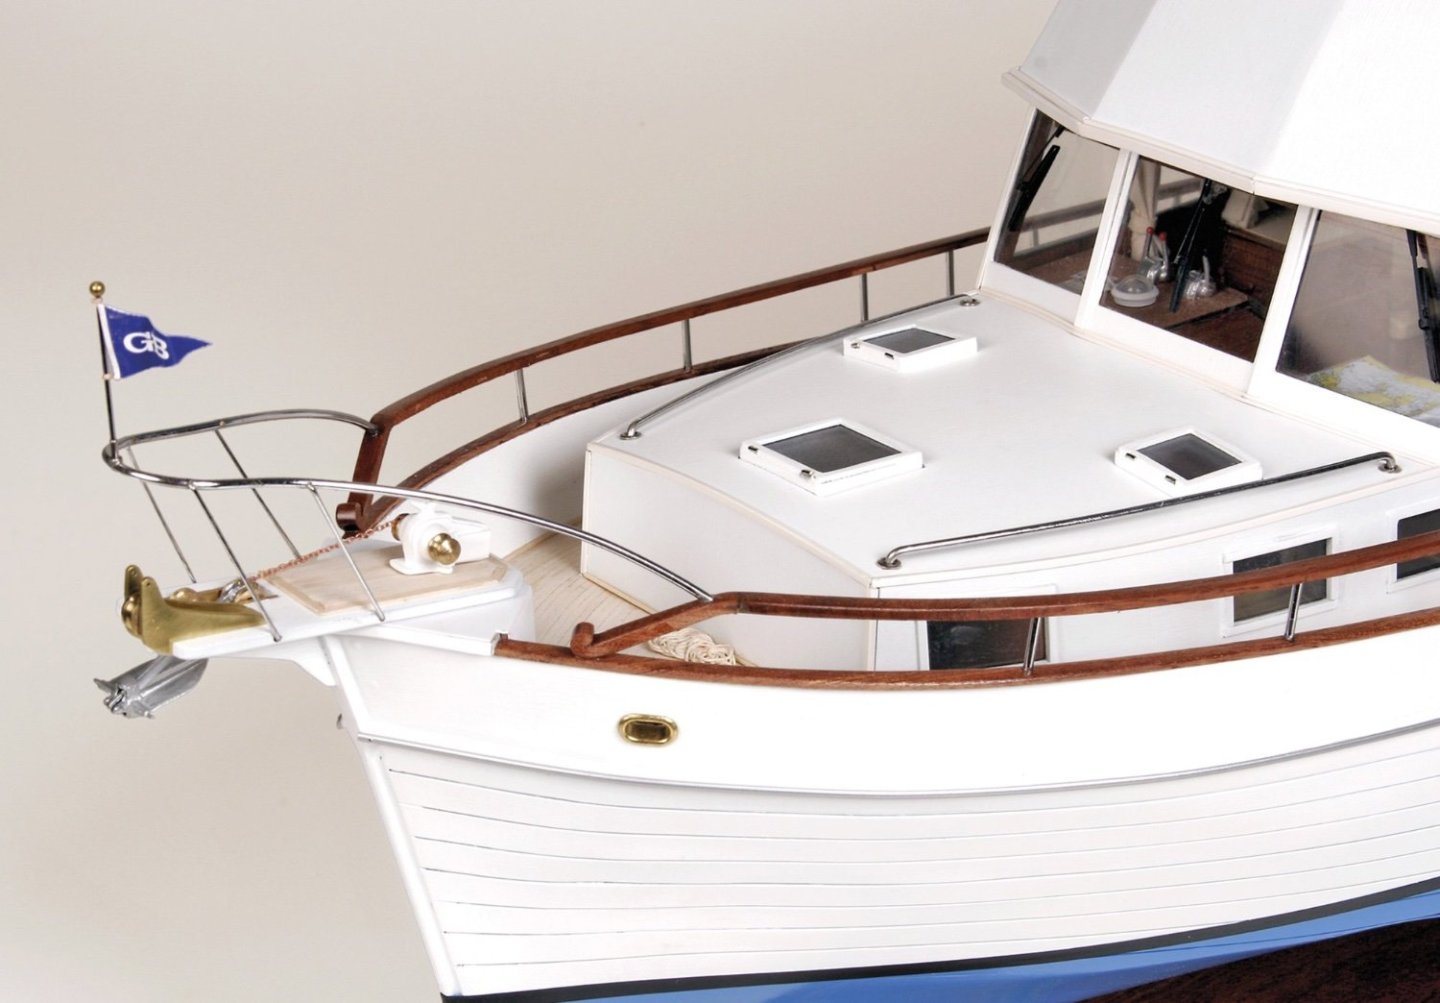
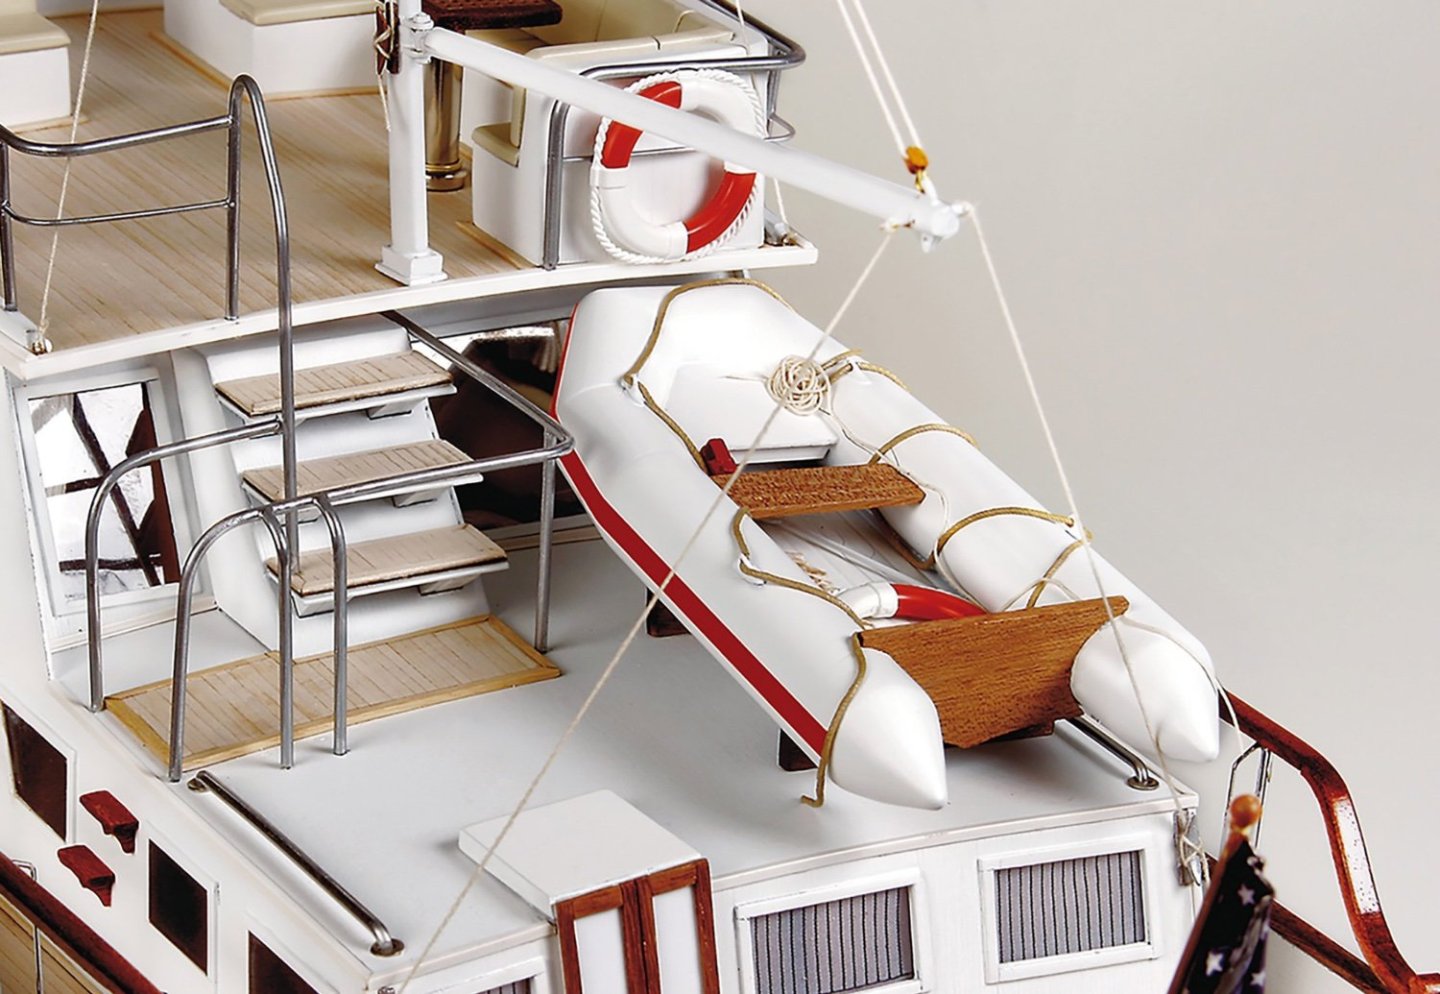
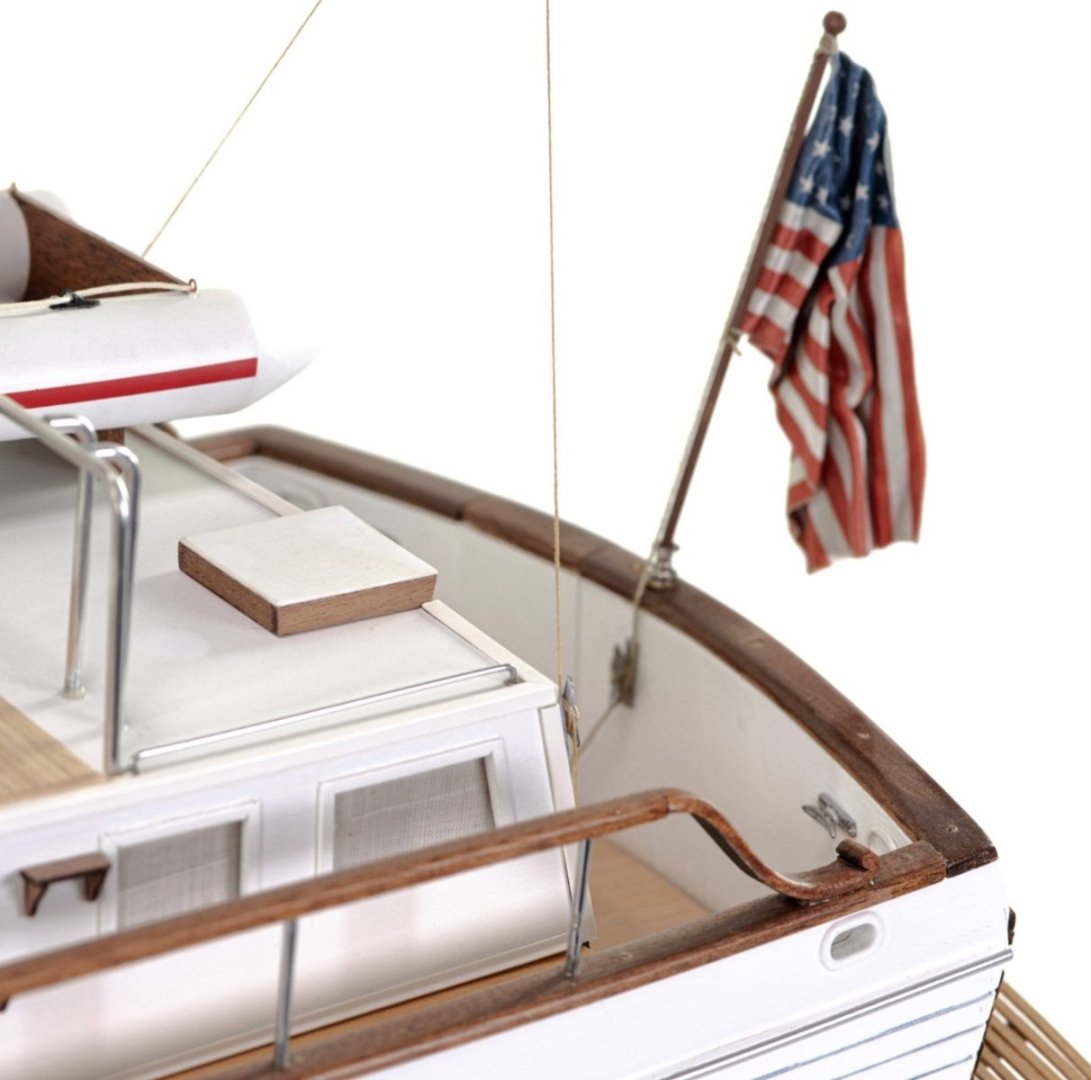
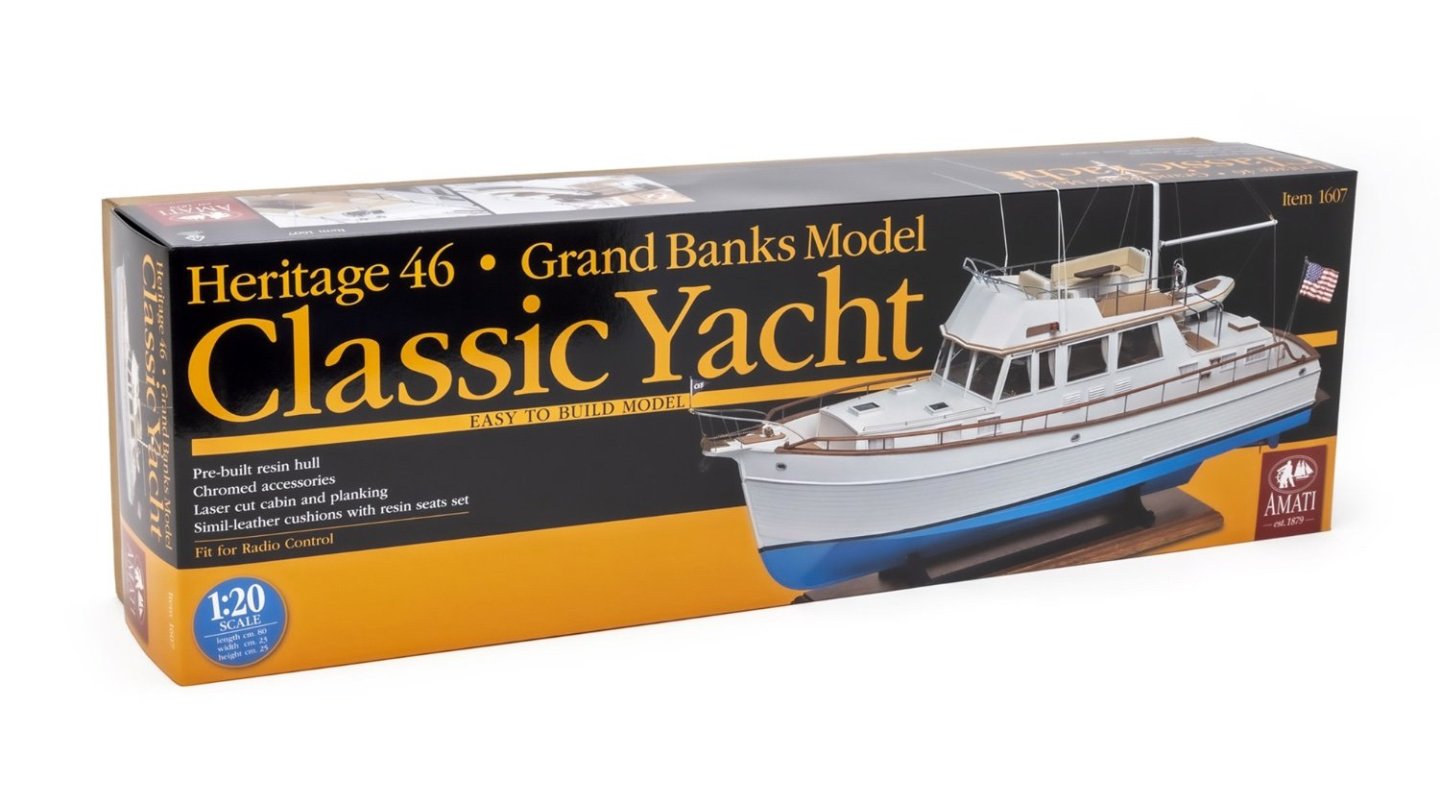
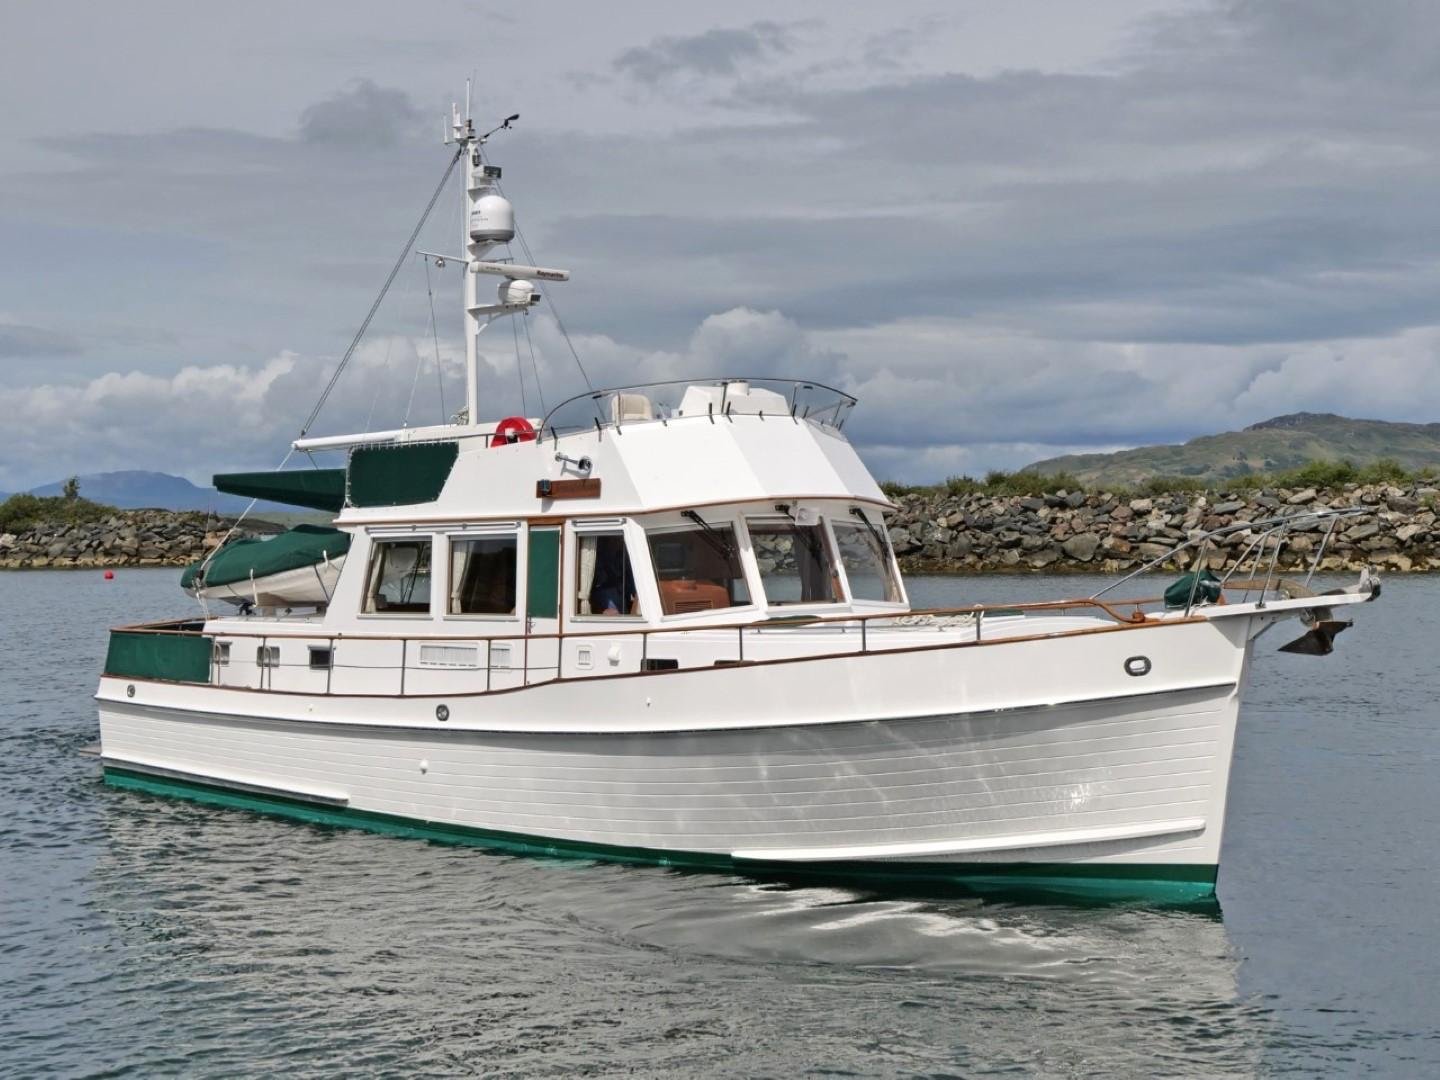
1:20 Grand Banks Model – Heritage 46 Amati Catalogue # 1607 Available from Amati for around €625.99 Grand Banks History The boatyard has its origins in Hong Kong, where it began building custom wooden sailing and motorboats in 1956, as American Marine. The Spray, a 36- foot -long displacement vessel, was designed and built in 1963 as a prototype trawler yacht. This new, robust, and visually pleasing type of boat was so successful that the company founders decided to put the vessel into production. Series production began in 1965, for the first time under the name Grand Banks, and the different models were each designated according to their length in feet. In 1968 the company moved to Singapore and since 1973, trawler yachts have been made of glass fibre reinforced plastic. The success of Grand Banks led to competing shipyards also beginning to mass-produce trawler yachts in the 1970s. Photo from boats.com The spacious living quarters aboard the Grand Banks 46 Classic provide ample room for comfortable long-range cruising. With top speed exceeding 20 knots, the 46CL is an ideal yacht to get you quickly to your favourite cruising destination. Safety and reliability are, of course, a built-in Grand Banks tradition. Wide walk-around decks, aft cockpit, and well-equipped steering and navigation stations both on the flybridge and in the salon are all part of the package. There are countless attributes of a Grand Banks that contribute to its reputation as one of the most reliable, high-quality yachts designed and built for cruising. The kit This Amati Grand Banks kit release is packaged into a highly attractive box with a glossy lid that depicts the completed model, including some scrap detail views. The scale of this one is a crumping 1:20! In real terms, that equates to a finished model which will be around This box appears to be the same size, or thereabouts, as the HS Vanguard and Orient Express kits, but possibly a little deeper. In fact, the kid itself doesn’t extend to the bottom of the box! One thing you’ll notice on the lid of this very heavy box is that the hull in this release is made from ‘resin’, or to be more accurate, glass-fibre resin. The large, single-piece hull is made from white resin and has a satin, slightly chalky but very smooth appearance. One thing I need to say here is that this model CAN be fitted out for RC and Amati sell an additional kit that can be used with this model. Ok, back to the contents. This is another of those kits where I don’t seem to be able to get everything back into the box once I’m done. Frustrating! The inner box has an integral lid which gives the box a load of rigidity as well as stopping anything easily piercing through the lid, into the contents. Lid off, and the first thing to be seen is an envelope with the manual and plans, with sheets of enveloped timber underneath. For the purpose of this article, I’ll tackle the contents in a different order. Many key constructional areas are laser-cut in a very nice quality birch ply. No parts numbers are shown on these sheets, and you need to cross match the sheet with the pictorial parts sheet that’s included. Of course, each sheet is numbered to identify it. Here you can see parts that will build up to create the entire superstructure. If you intend to make this RC, this whole area will lift out to provide access to the motor and servos/linkages below decks. Having looked through the instructions for quite a while, I do think that if you are capable, sheathing the entire superstructure in thin, white plasticard sheet, such as Evergreen, would produce a stunning finish. Anyway, that’s just me thinking out loud. Whilst the hull is glass-fibre, there are some thin ply strakes which fit below the gunwale. These can be seen in the two sheets at the top of this photo. There is some darker laser marking on some parts, but thankfully the parts aren’t degraded because of it, and some light sanding will remove it. Two sheets are cut from 1mm mahogany, and contain many cabin interior parts, plus window frames etc. The grain on these parts, in thinner areas, will be a little more fragile, so some kid gloves will be needed to handle them. It’s a case of not removing parts from sheets until they are needed. Of course, the exterior of the superstructure will need to be skinned, and these parts are for that purpose. Going back to possibly using styrene sheet to skin the model, you could in theory, use these as templates for doing just that. However, that’s not what’s intended here. Some parts are included on these two 3mm sheets, manufactured again in mahogany. These include more substantial parts, such as the multipart gunwales and ornamental scroll rails etc. The mahogany here is a little lighter and I think a staining varnish would be nice here to give the parts a deep, rich colour. A small cradle is supplied for the hull, and not the large stand shown on the box lid. This cradle is a simple MDF affair. Personally, if you are spending £500 on a kit like this, I’d look at buying/building a nicer mounting solution to this one. The smaller sheet contains parts for the dinghy/launch. There is a small amount of MDF in this kit. Here, the parts are for superstructure. A little area of familiarity is the inclusion of wood strip for various things, such as framing, deck planking etc. There is also a quantity of brass rod too. The two boxes supplied here are found at the bow and stern of the hull when packed. One of these supplies all the pre-shaped, chromed rails, and they are superb. These are quite complicated shapes and I don’t see any deformation etc. I really do suggest you remove this box to a safe place, right up until you need to fit them. Damaging these would be annoying. The other box contains a suite of various seating parts. The bases are cast in a matte white resin, and the seating is beige faux leather. All are very nicely made. A smaller box is included, containing the boat’s dinghy, cast in the same matte white resin. This of course will be fitted out with various mahogany parts etc. Residing in the boat’s hull are two packs of fittings. This first one contains two PE parts frets, some timber section, the boats props, wheel, rigging blocks, cleats etc. The second fittings box contains trim tape, brass ferrules, rigging cord, plastic grating, brass pins etc. An envelope contains a steel PE fret due to the nature of the parts on there, such as the grilles on the side of the superstructure. In this thickness, steel isn’t quite as flexible as brass, therefore not as easy to damage in key areas. There is also acetate in this package, for the various cabin windows. I think the cloth is perhaps for the cabin curtains. The last envelope contains a set of plans, full colour instruction manual, written notes and colour-printed sheets that have details for the parquet floor, flag, rugs, maps, charts, and even magazines for the cabin tables! Here a number of selected images from the manual. Conclusion On the box, Amati say that this is an ‘easy to build model’. Ok, everything is relative. Anything is as easy as you want to make it, but it’s the result which will define the effort you put in. This is by no means a beginner kit, but the construction of the kit, the beautiful fittings, chromed rails and small details, will make this an enormously enjoyable project to build, and if you’re like me, a very welcome change from regular masted, wooden ships. The plans and manual are also excellent and show all aspects of construction extremely well. It could be said that this isn’t a cheap kit, but I think it’s very reasonable for what you get, including that superb glass-fibre hull. There’s very little you can get wrong with this if you work objectively, and of course, it will make a really unique large shelf display model. If you’ve been thinking of taking the plunge with this, or in need of something a little different, I’d most definitely recommend Amati’s Grand Banks Heritage 46. My sincere thanks to Amati for sending out this kit for review on Model Ship World. To buy this kit direct, click the link at the top of the article, or head over to your local Amati distributor.


-
It is. This was one of the first kits I added to the site, after the site was initially built. The guy who set it up initially, created a rat’s nest of illogical decisions. At that point I had to continue until the site was totally rebuilt. That is a legacy page now as MS kits aren’t offered now. One day, when I have time, it’ll be reworked.
-
This is because the product has more than one main kit variable (usually Master Shipwright kit editions). All variables can be ordered from one page instead of having multiple pages.
-
I never added them to mine. It's a small detail that I'm sure most casual builders wouldn't even know about. It's not really feasible for @Glenn-UK to add them at this stage, and I don't think his beautiful build will look any worse off for not having them.
- 587 replies
-
- 9
-

-
- Indefatigable
- Vanguard Models
- (and 1 more)
-
There's a PE 'horseshoe' to add there. You'll see something similar towards the stern where a 'fishplate' will fasten. These were for strengthening the timber joints on the real ship.
- 96 replies
-
- 4
-
-
- Sphinx
- Vanguard Models
- (and 2 more)
-
It apparently did exist, but much of what you see in that design, is based upon Panart's interpretation of the vessel.
-
In light of the other SF kit announce, it's nice to see one of the Panart being built.
- 158 replies
-
- 2
-
-
- San Felipe
- Panart
- (and 1 more)
-
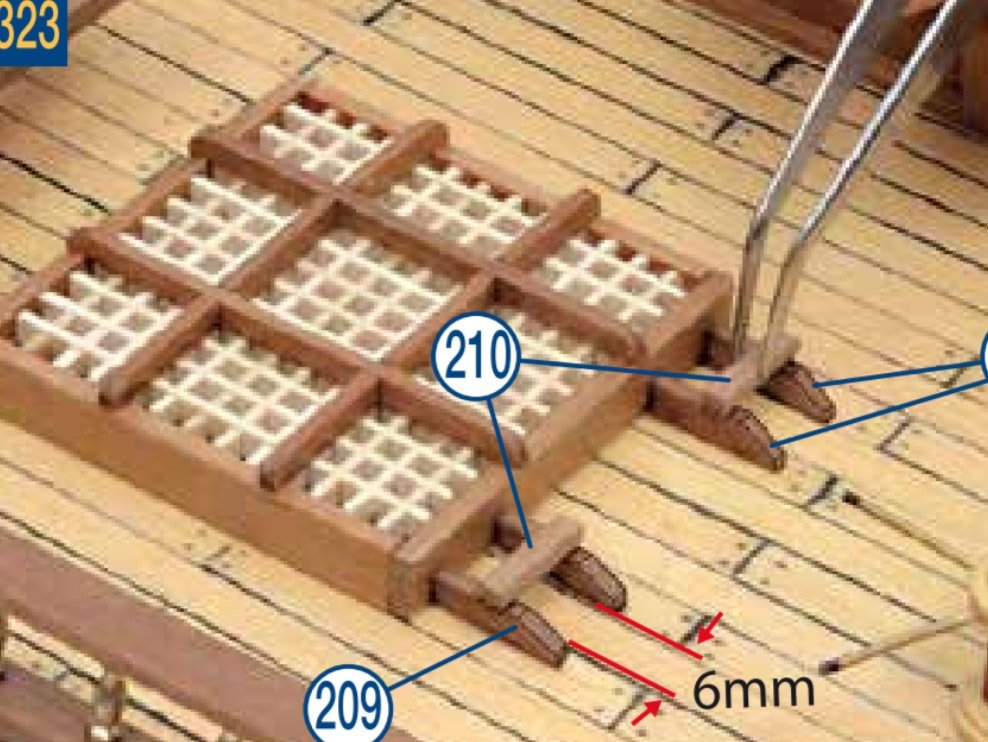
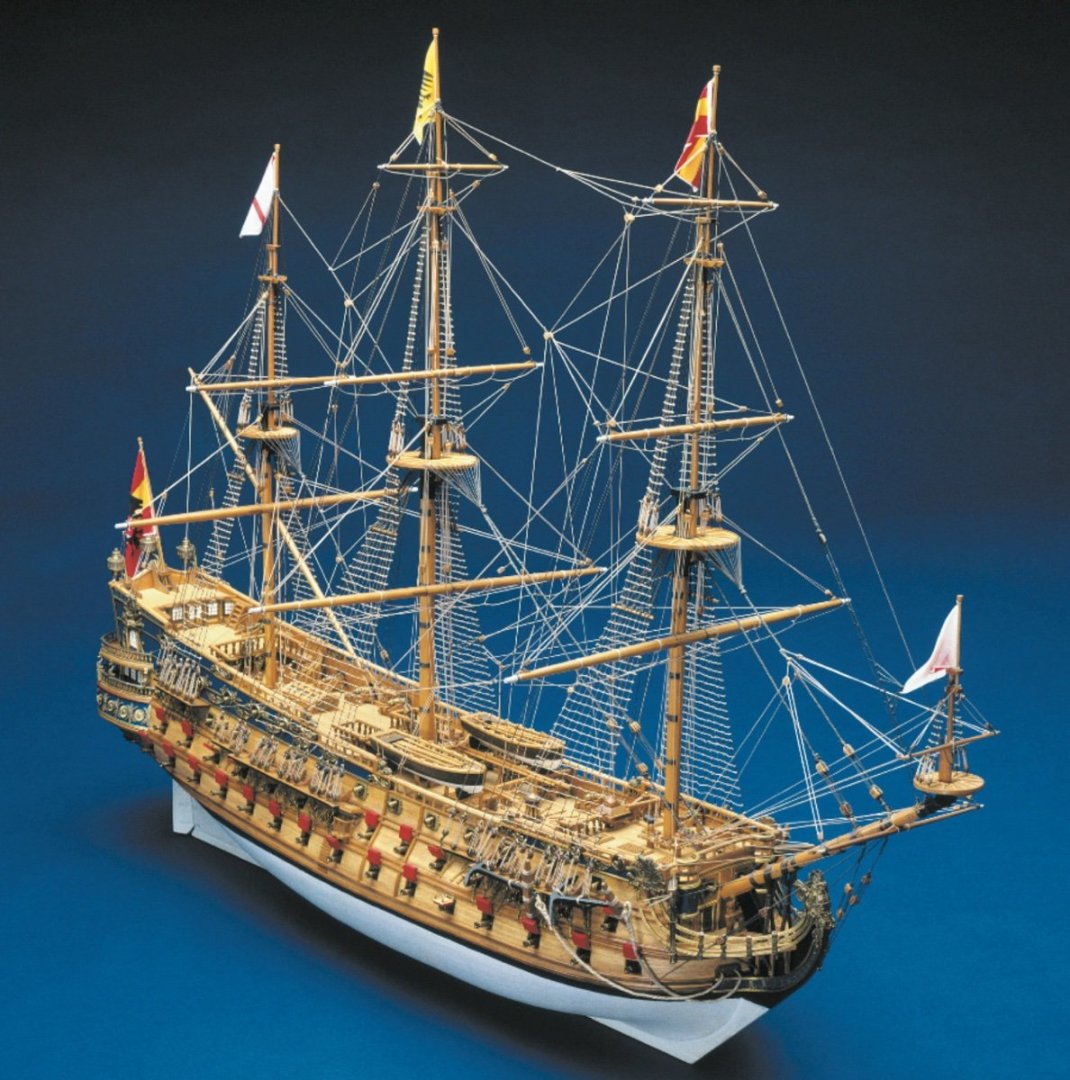
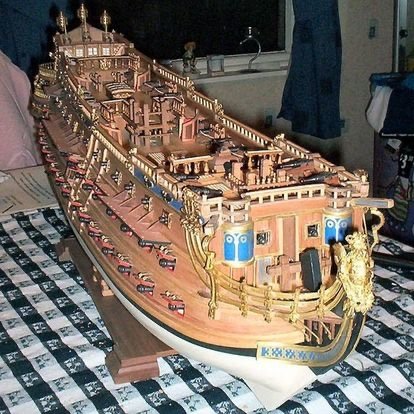
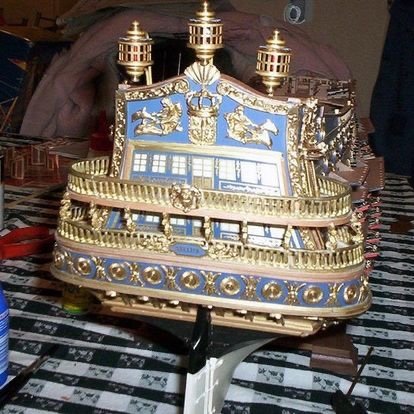
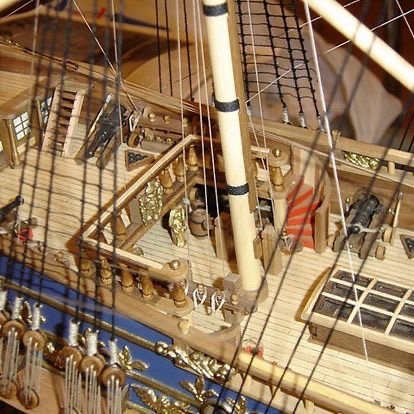
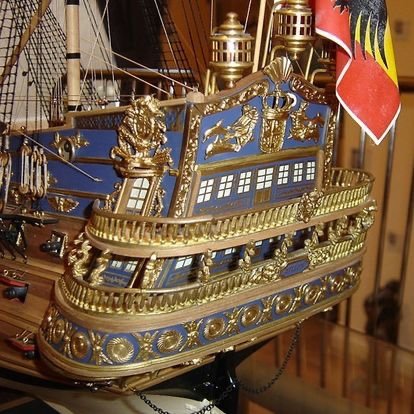
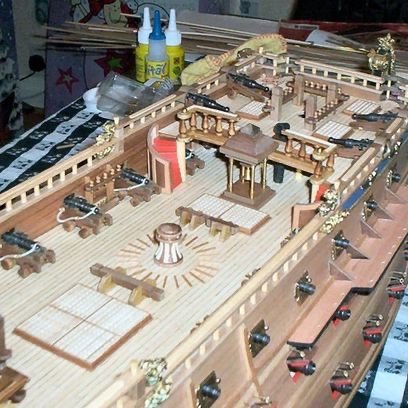
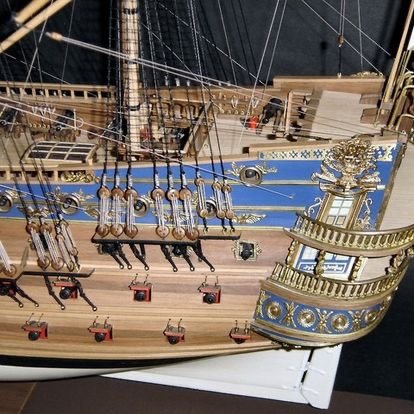
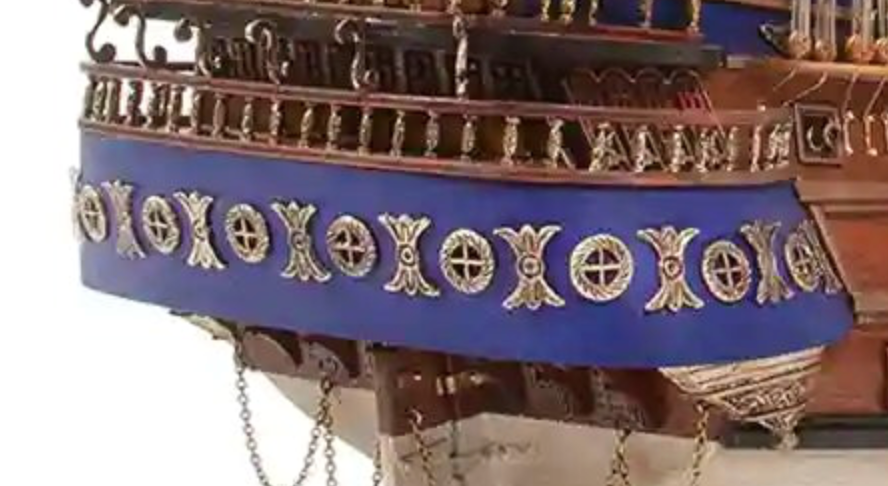
It's definitely the same kit that was out a good few years ago, sold as a magazine part-work by DeAgostini. Not exactly a 'new' release either. It's around 130mm shorter than the Panart kit, so that might be attractive to those who can't house the 960mm Panart kit, but there also appears to be quite a few trade offs too. Panart's kit layout is generally excellent, with things that appear to be in proportion to the vessel, and in positions that appear to be practical. I do know there have been some changes to Panart's kit in the past years, some for the better and some for the worse. Here's what I see with the OcCre kit. There is rig directly in front of gun openings. Clunky, oversized grates. Some cannon sit right in front of those oversize grates, so no chance for the recoil roll after firing. Unrealistic antiqued metal hinged port lids that were commonplace on kits from 30 - 40yrs ago. Strangely proportioned stern where the decor looks odd. Out of scale deck planking. Strange shaped metal cast boats with bizarrely wide gunwales, and thwarts that are sat way too high in hull, directly under those gunwales. That thin veneer style planking used on the external layer, as opposed to actual planks. etc. etc. I know that many will get some real pleasure out of the new OcCre kit, and I wish them all the best with it, but overall, the kit seems to already look like of of the most aged legacy kits, in a time where we can do so much more. The price probably reflects the overall standard of materials and parts supplied....possibly. It's rare that I'll pass comment on a new release like this, without actually seeing the kit at first hand, but as I knew the Panart kit so well, I felt compelled to reply. OcCre: Panart:

- 34 replies
-
- 12
-
-

-
I bought my Panart kit in Lido di Jesolo in 2002/3 for the equivalent of £350. The kit at the time was nearer £450 in the UK, so it was a bit of a bargain. I only needed 2 or 3 hotel towels and bin bags to wrap it in for the flight back 😆 The kit today is £740.
-
I built the Panart about 20yrs ago. Let's just say that if I could make a choice today, I'd stick with the Panart. This was mine. Please forgive me for the poor quality photos. This was an old Sony point and snap camera. Look at the proportions of the stern decor to the area they sit in. Compare to the new kit.

- 34 replies
-
- 12
-
-

-
Forgot Password
James H replied to Alvb's topic in Using the MSW forum - **NO MODELING CONTENT IN THIS SUB-FORUM**
The answer is simple. Contact me by the form at the bottom of the site and I can give you the new password to use across all your devices. -
Forgot Password
James H replied to Alvb's topic in Using the MSW forum - **NO MODELING CONTENT IN THIS SUB-FORUM**
Why did you register a new account? You only needed to ask me to reset the pass on the original, as I asked you to. I will delete the new account. Please use the contact form so I can do this away from the forum, as a change in password will mean you will need to login on your primary device and not access any PM I sent you. -
Forgot Password
James H replied to Alvb's topic in Using the MSW forum - **NO MODELING CONTENT IN THIS SUB-FORUM**
Resetting your password will affect your login on your computer too. Contact me via the form at the bottom of the website, and I will fix it. You will then need the new pass to login on both devices. -
Lag isn't as bad, but not completely gone.
-
Ok, how's things for everyone now. All my notification mail has been instant today. I checked them all as they arrived and checked the date/time stamp on each topic post.
-
Lag still exists. I'll look at this sometime this next week. As emails are still getting through, and some major email settings have been changed in WHM server panel, I'll add this to my list of jobs.
-
ok, can someone reply now?
-
Please check now.
-
I think this is server side. Looking into it now.