HOLIDAY DONATION DRIVE - SUPPORT MSW - DO YOUR PART TO KEEP THIS GREAT FORUM GOING! (Only 13 donations so far - C'mon guys!)
×


normanh
-
Posts
259 -
Joined
-
Last visited
Content Type
Profiles
Forums
Gallery
Events
Everything posted by normanh
-
When I built my Badger I installed the ply deck first as that gave an edge to bond and hold the gunport ply and also helped in lining the port ply correctly well better. Your barrels look good with the chemical blackener, thats what I will use next time for sure rather than paint on brass. Norman.
-
I believe that the bowsprirt is in yellow ochre and matt black not stained wood. norman
-
I have spoken to Jotika on a number occasions now regarding the Suprise when I have had queries with my Snake build and its pretty simple they are busy and have said the designs are ready for production but they dont have sufficient time to produce sufficient volumes to satisfy the market demand. I was told that a lot depended on a planned expansion of the business but I think that was gobbled up with the range of existing models marketed. I am sure it will be released sometime - its on my dream/wish list for one
-
The fittings to mount the rudder consist of two white metal castings , ones an "L" casting and the second is another white metal boss thats held in place by a pinned brass P/E strap. It can be a bit fiddly to mount the rudder but from memory the parts are pretty clear in the model booklet.
-
We are all waiting with baited breath for a release date, like the 74 both will be such a success.
-
I space my ratlines out at 5-6 mm on a 1:64 Model thats about 320mm to 384 mm thats about 12.6 inches to 15.2 inches which seems reasonable to me.
-
I would be highly suprised if you could as the area that a can would cover is no more than a square yard and the paint applied would be to thin to withstand the vigours of salt water and marine life - most would simple brush it on. large areas are without doubt sprayed but this is an industrial process on a huge scale. anyone looking for rattle can red oxide would be best to look up their local car paint shop for one and preferably an acylic suitable for plastic.
-
Jim you might enounter a problem with the carronades at those aft gunports as the ladders wont easily fit to the deck.
-
I like the chains , might add those retrospectively to my Snake.
-
Fabulous model, the detailed works are great and a credit to you well done.
-
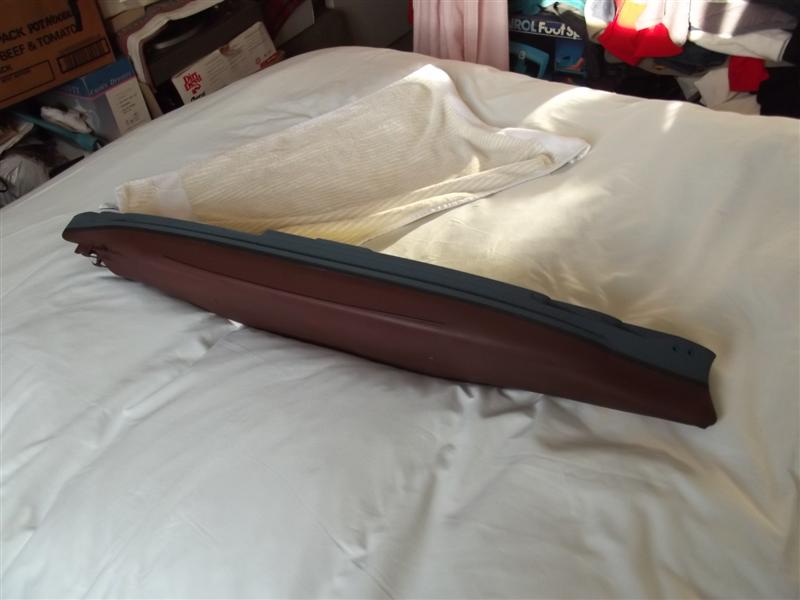
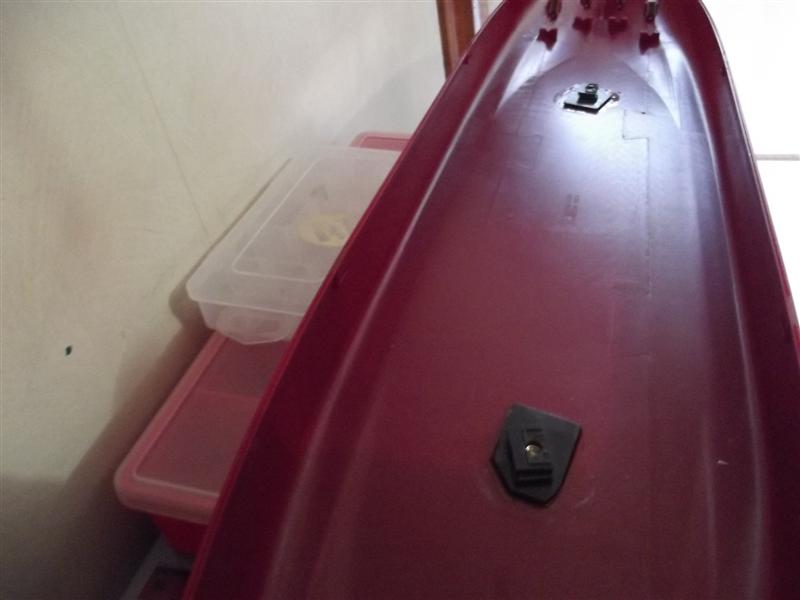
More progress this week, finally painted the lower hull last weekend in preparation of fixing the two halfs together, done yesterday and the upper wooden decks fitted. The decks arn't a bad fit by any means but they do need careful handling as some details are just not quiet right a number of hatches were typical 25 thou out of position as where the anchor chain pipes so a little bit of trimming was needed. the one frustating thing about the Nautalis deck is that its designed to use the plastic steps in the kit, I am using the White Ensign P/E so I have to fill several gaps in the deck. Some of the deck fittings are a bit more out to the deck and I am going to have to insert some pieces up to 40 thou wide in places. Paint the anti-fouling red oxide was on the limit for mt aztech airbrush even using the largest nozzle I have for acrylic paint it is a hard job and I had to start again after rubbing it all down - Tamiya XF9. Anyone considering a hull this size it might be worth looking for a rattle can of automotive paint, the colours are very much like that.

-
What is correct tension on rigging lines
normanh replied to Beef Wellington's topic in Masting, rigging and sails
Jason The best advice I can offer is dont tie off any lines permanently until the completion of all the rigging, tensions will constantly change during the rigging process, as you add more lines those previously tied off will change, remember the masts are not that strong 10 mm down to 2 mm the deflection can be pretty high. I have tried wetting and pre-tensioning the Jotika lines but in all honesty I dont think it made a blind bit of difference in any of my 3 models - the threads are polyester and as such dont seem to be prone to stretch like cotton or other natural fibres. I really tried hard to stretch the heavy black lines used in the shrouds - 0.75mm/1 mm from memory with no positive results. -
I just use simple clove hitches but you need to be careful cutting the tails off - too short and the knots undo.
-
I used acetone - nail polish remover, wire wool used carefully wont scratch the copper that you would notice, just be carefull about leaving the odd strands caught in the copper. If you are worried about wirewool try a small piece of a scotchbrite pad, these are used commerically to clean circuitboards in processing. I still wouldnt use polish even using a tooth brush to remove the residues as you will be adding water which will be trapped behind the plates and you will stand a chain of getting water stains if it drips out.
-
I just cleaned the plates with some fine wire wool and a little solvent, polish of any kind will leave unsightly residues in the plate gaps. If you lacquer the copper after a time it will tarnish in any small area where the lacquer is not perfect seen it so many times in brass fittings etc. I prefer to see the copper discolour naturally but in doing this you must remove all traces of an fingerprints as these will tarnish must faster and really leave unsightly marks - I know this all too very well from my days in the printed circuit industry as a quality manager.
- 1,144 replies
-
- 1
-

-
- snake
- caldercraft
- (and 1 more)
-
I am affraid my Snake build has go into cyberspace it was deleted when the site crashed unfortuneately, I am not sure I have all of ther pics in a handy place but I do intendten trying to post them all again when I have time - applies to all of my builds. Try using a sharp pair of sisscors to cut the plates rather than a Dremel that seems a real heavy weight tool and it wont be as accurate!
-
You may find it easier to cut the plank to shape at the bows first then plank towards the stern. lay the plank in position first and determine whether you need a tapering to remove the clinkering, usually the the first two or three will lay pretty well before you need to taper. Slowly work towards the stern pinning or clamping as you go ensuring you have enough adhesive present. I prefer CA to PVA as you get that fast grab. Are you soaking the planks first - you need to as it helps them become more flexible for positioning without spliting or even breaking. Leave the stern final detail till later just ensure the plank is bonded with a 25mm or so overhang. As you work down towards the keel you will possibly need to trim to the stern post and or beading line. Dont worry about stealers just yet those can be added later towards the end. The important thing is to get a pretty firm amd sound flat 1st planking to take the walnut.
- 62 replies
-
- 1
-
-
- badger
- caldercraft
- (and 1 more)
-
I have also seen a good few at the UK shows Telford and unfortuneately I dont think my version could compete with what I have seen - its a little out of my league in all honesty but has been an excellent learning curve for the next kit planned - Dreadnought.
-
Looking at my model of the Convulsion it looks like the rudder to tiller joint is a simple butt but I suspect I have reinforced the joint using a cut down brass pin. I would have used CA to bond it if that helps?
-
On the face of it it looks like the outer gunport ply is too low to the inner bulwark ply - two options build up the outer or reduce the inner , either is a lot of work I suspect. You need to keep an eye on the channel positions now otherwise you will encounter problems in the deadeye stropes and metal work being to long and terminating in the wrong position.
-
Try the Historic Dockyard at Chatham, Wooden Walls exhitbit is excellent, the other place that comes to mind would have been the Science Museum at Kensington but I am told the Maritime exhibit which had some excellent models has closed. Bucklers hard is excellent as mentioned - its where HMS Snake was built my last timber model.
-
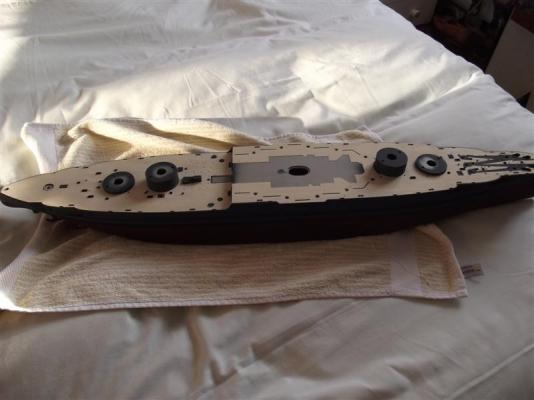
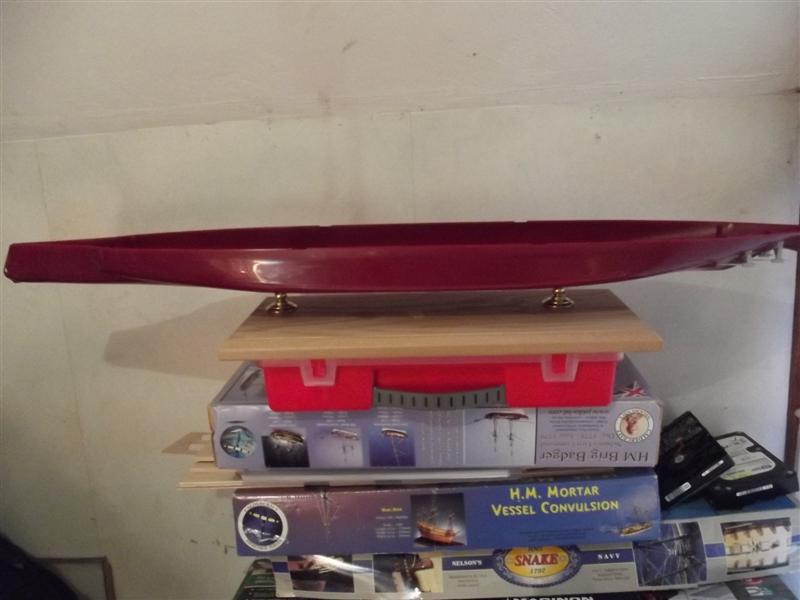
I am waiting for HMS Hood in 1:200 hopefully that will be on the cards with Trumpeter. Next to build is the Dreadnought but shes 1:350 a tad easier to move around, the Arizona has stretched my limits in both skill and space to maximum she is big at just over 36 inches long but its the level of detail as well in her. Currently I not a 100% sure on how I intend to mount the model - whether it will be on the plinth you see here or whether she will be mounted directly to the base of a cabinet yet to be purchased.
-
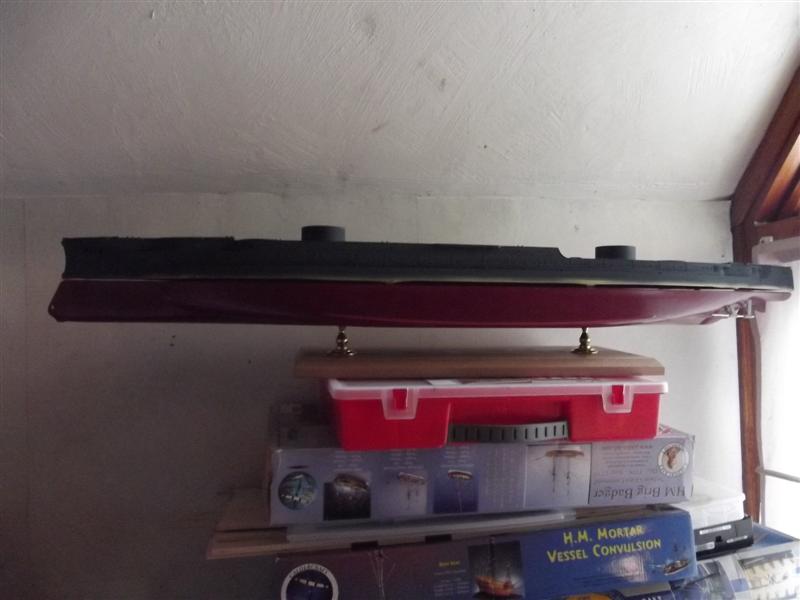
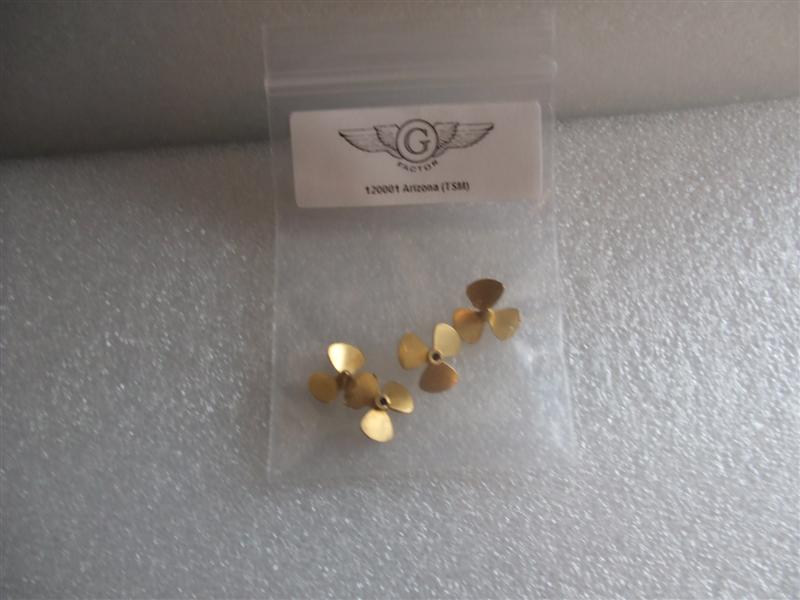
Progressing steadily again have started to paint the upper hull and I have prepared the lower hull for assemby. G Factor Screws ready to fit Pontos pedestals fitted to the lower hull with captive nuts bonded inside the hull with some old P/S i had laying around.
-
What finish are you using.
normanh replied to Snowmans's topic in Painting, finishing and weathering products and techniques
I only use a matt varnish now, I did try a silk finish once but wasnt keen on the effect - always solvent based as well. I find Humbrol works well. -
I simply rolled the edge over the keel absolutely no gaps and none to trim, looks revery tidy and authentic using a round knife handle.