DONATION DRIVE - SUPPORT MSW - DO YOUR PART TO KEEP THIS GREAT FORUM GOING!
×


normanh
-
Posts
259 -
Joined
-
Last visited
Content Type
Profiles
Forums
Gallery
Events
Everything posted by normanh
-
The Convulsion was my first build and a nice kit she is, the pictures show the detail well on the assembly, sadly my build thread has been lost.
-
Oh i forgot I am still hoping to recover a number of small parts from the rug monster.
-
Have had issues with the chain plate on ther forward deck as its not designed for use with the Nautilus wood deck, it was designed to correct errors in the kit so I am leaving it out as theres to much bashing to do.
-
I have located the pictures relating to this build and I am hopefully going to post them in same order but withouth the build comments I am affraid.

-
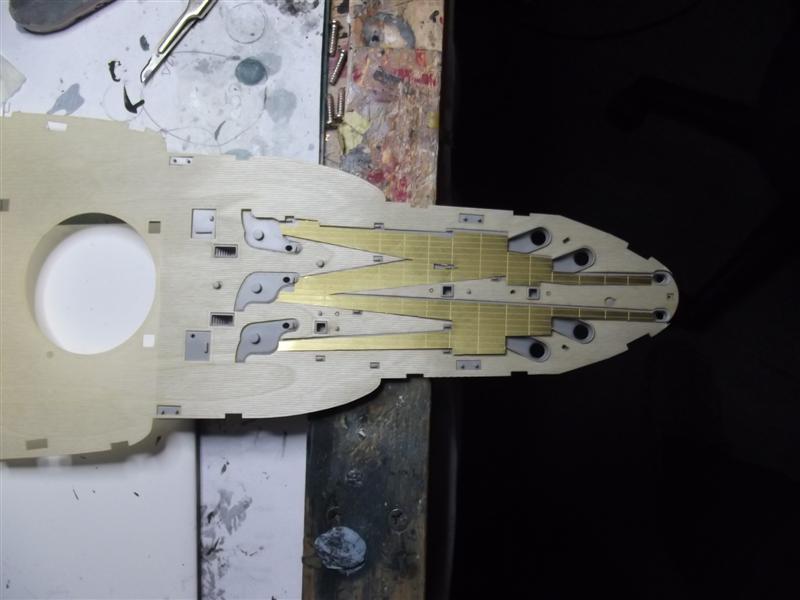
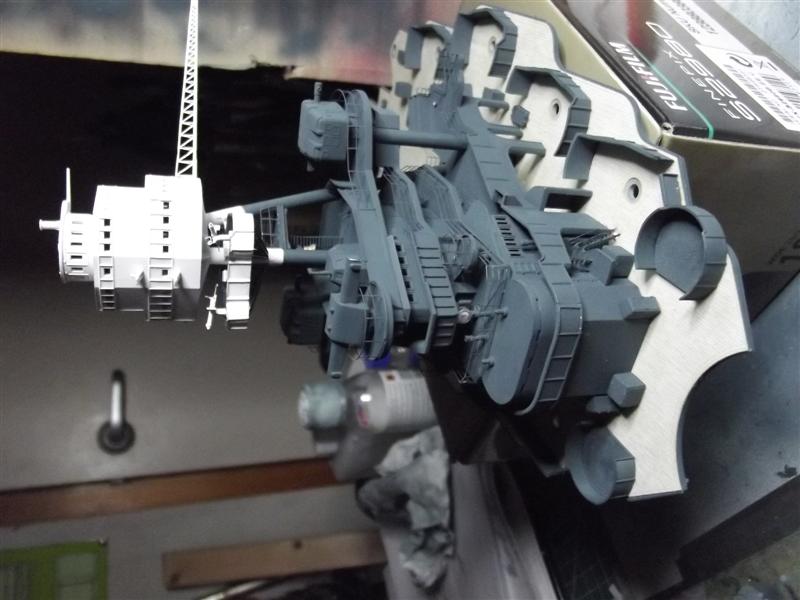
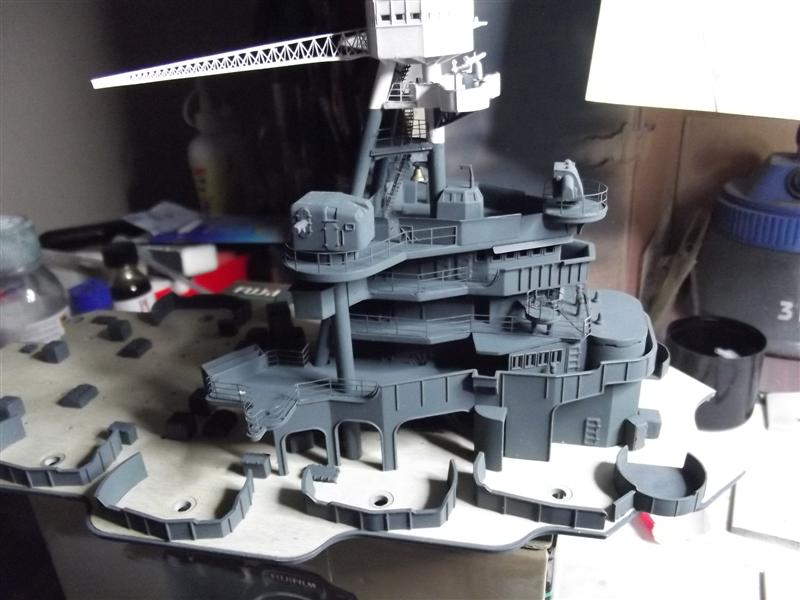
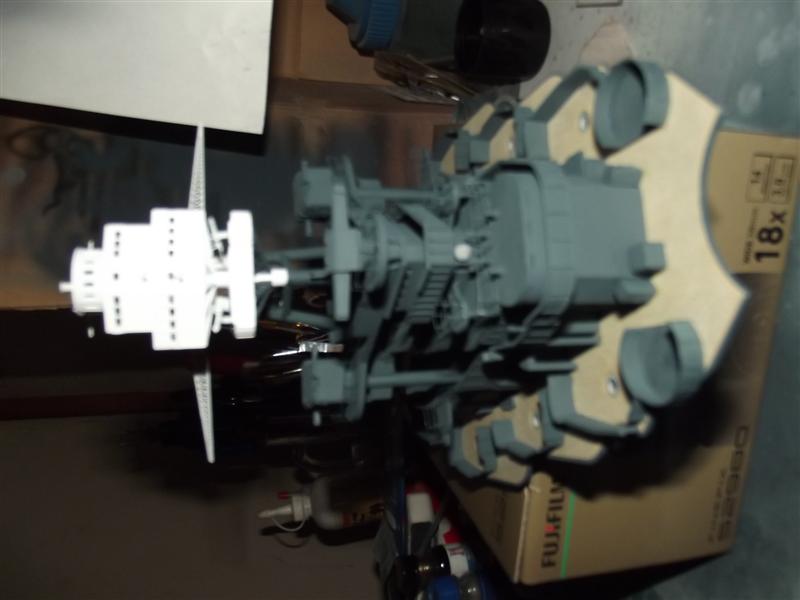
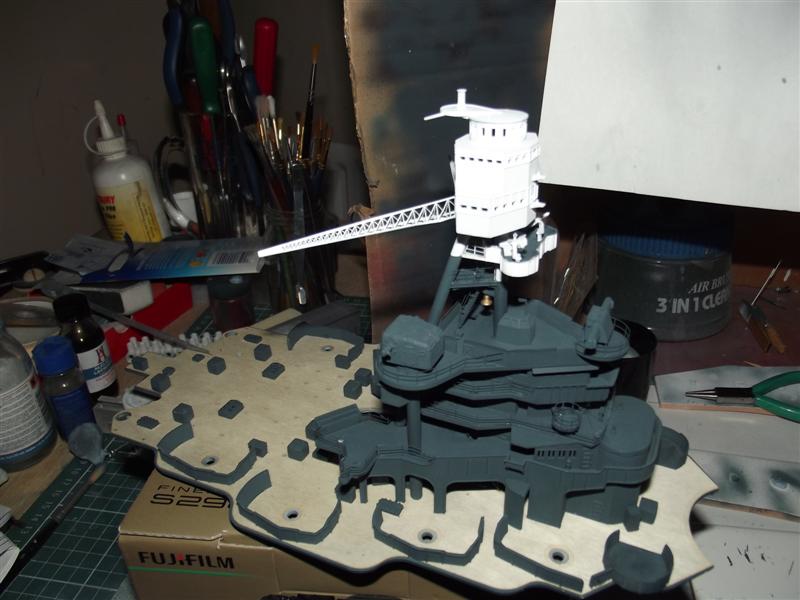
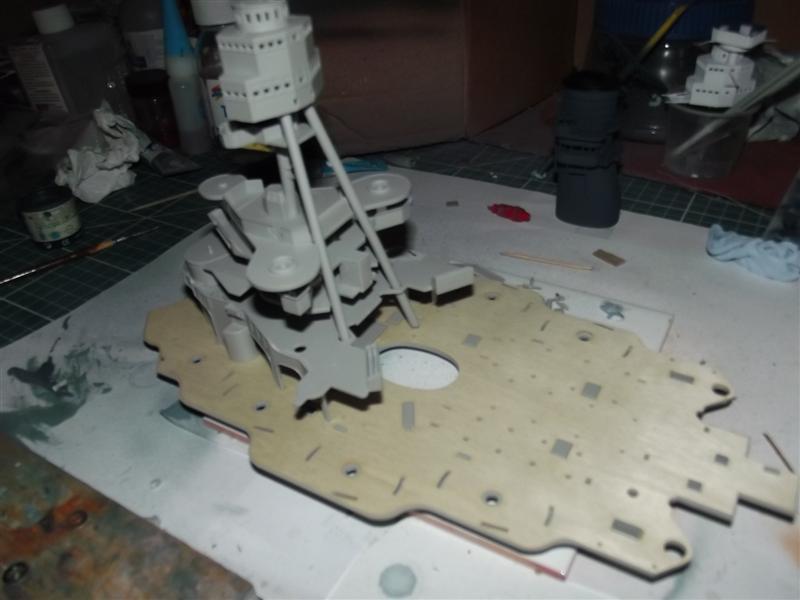
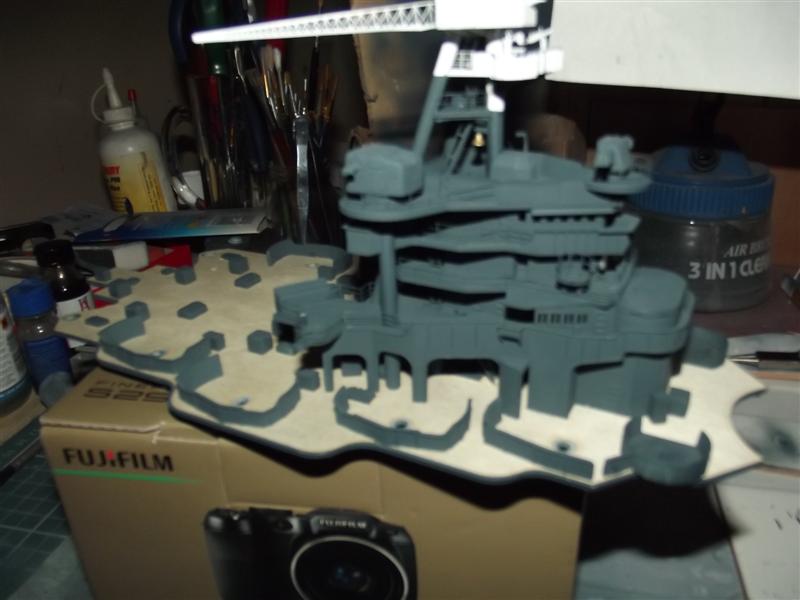
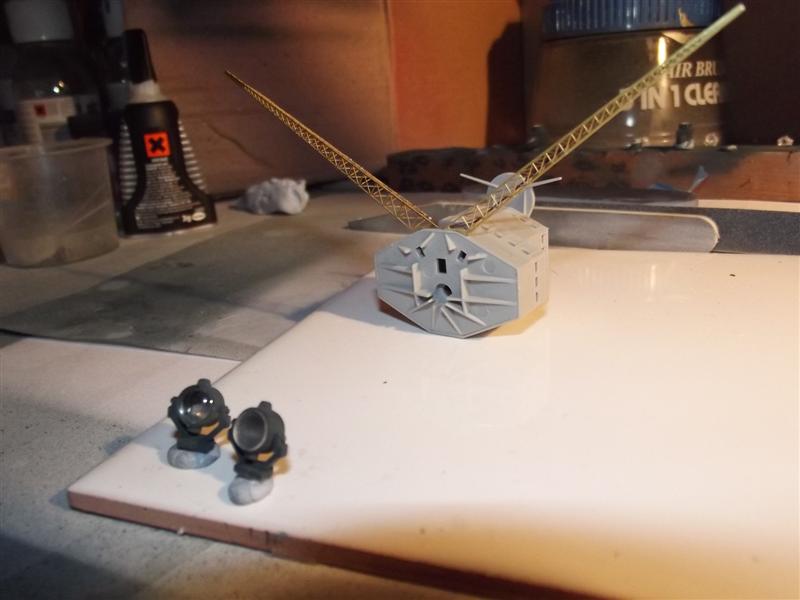
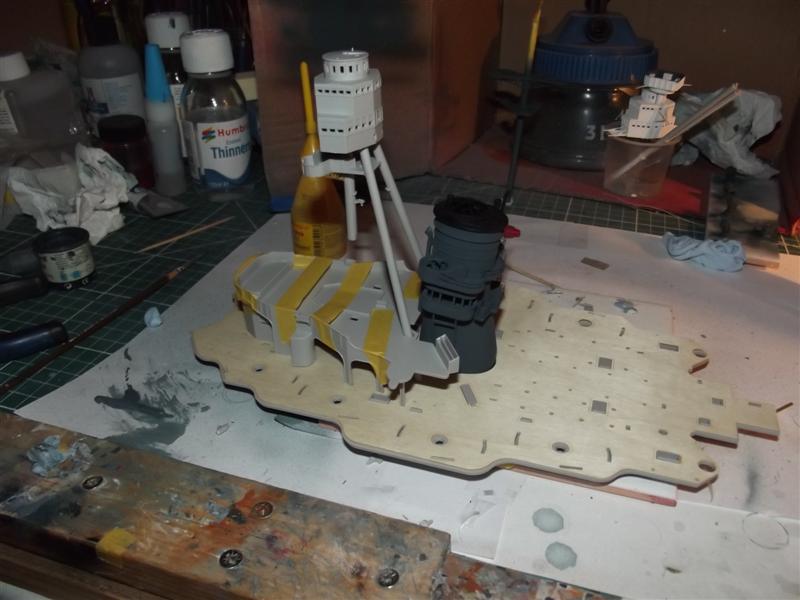
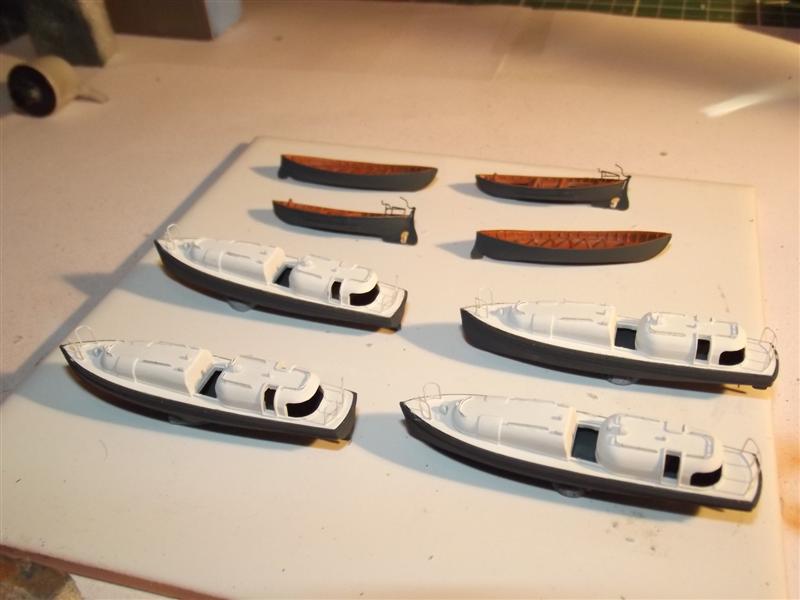
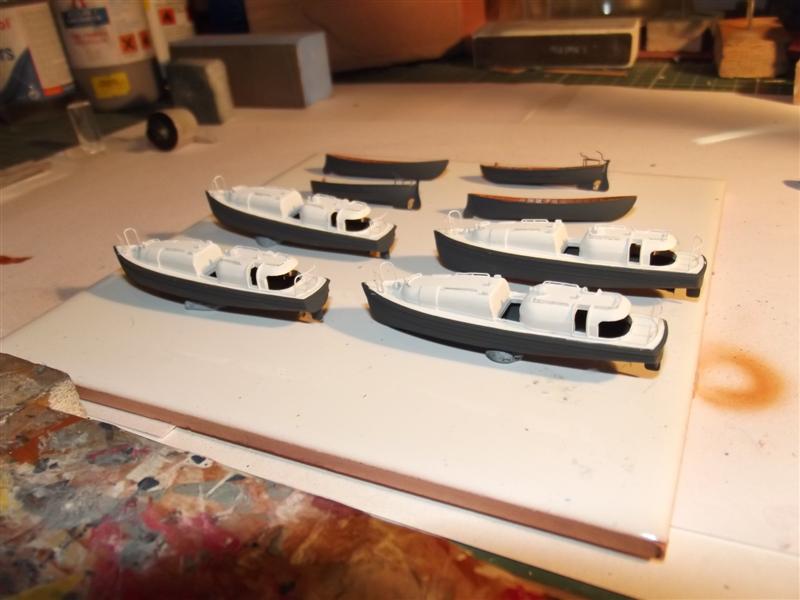
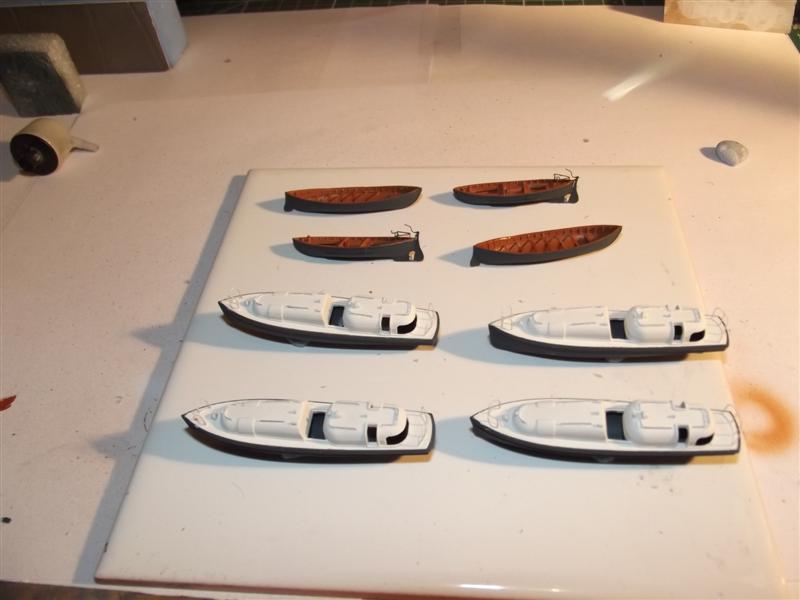
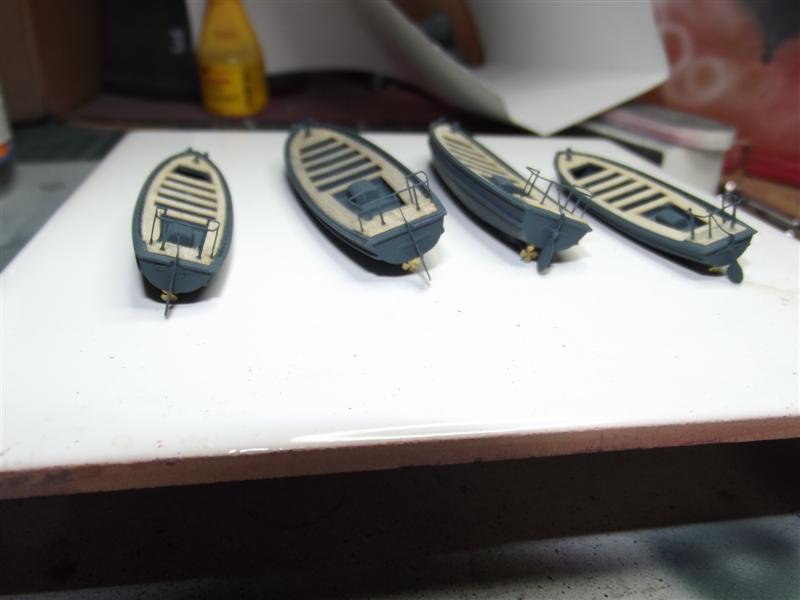
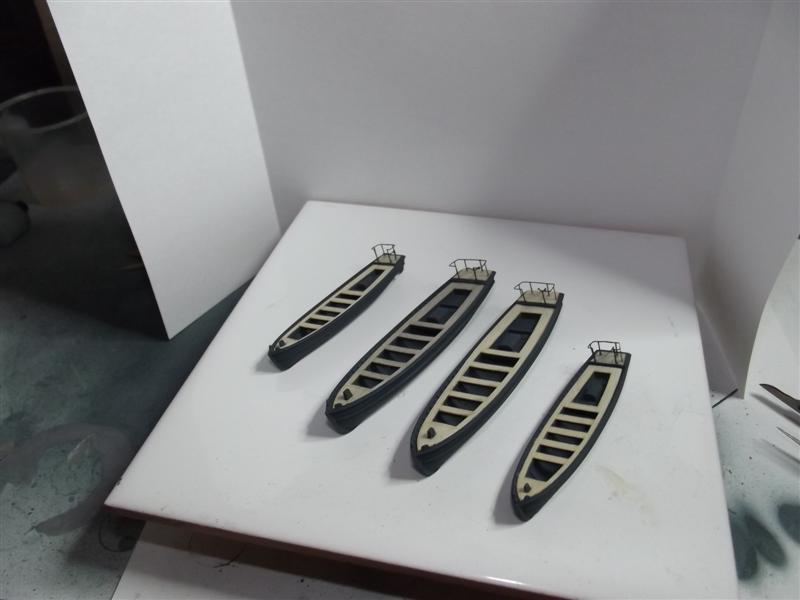
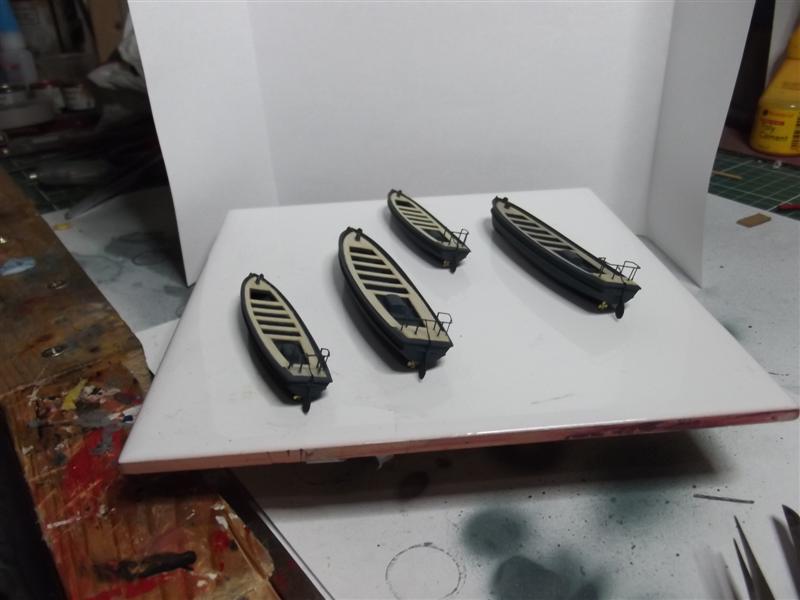
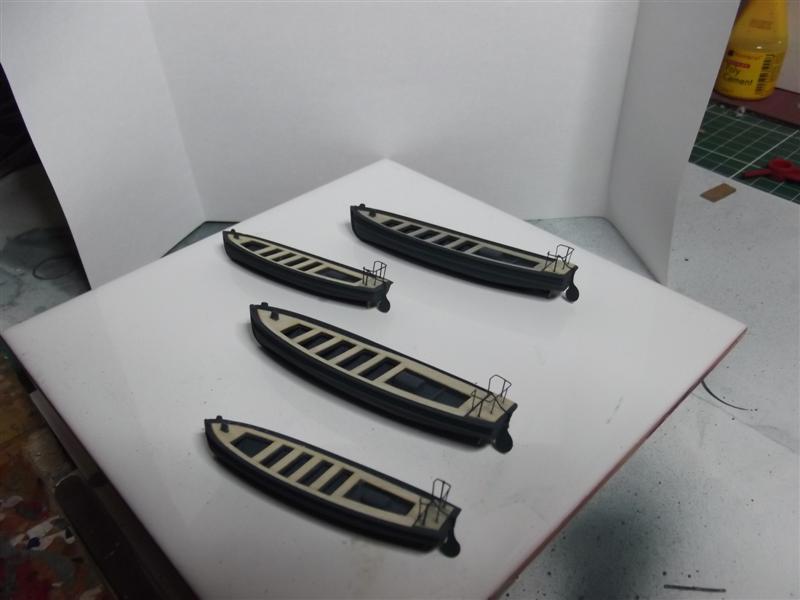
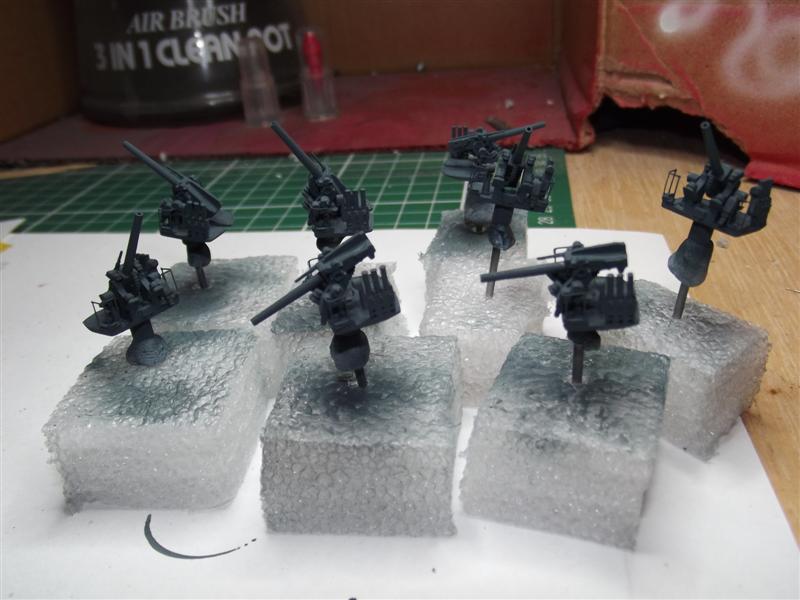
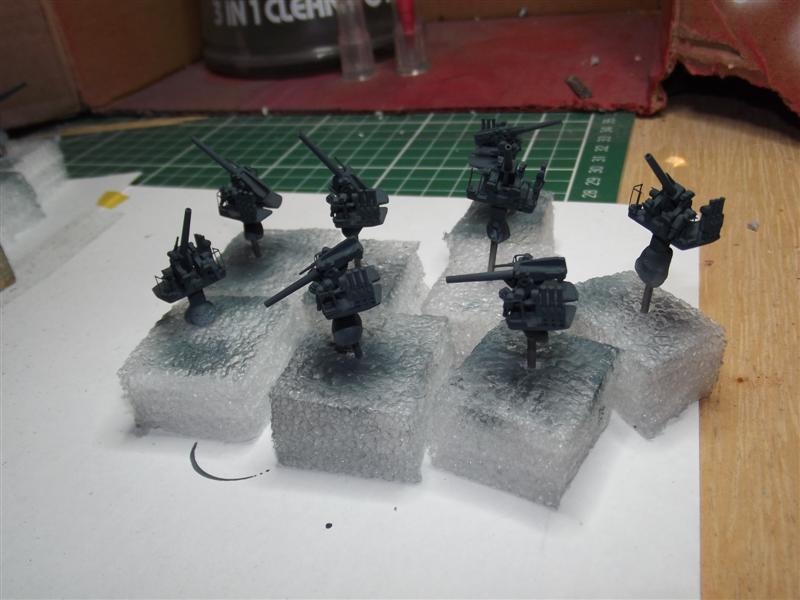
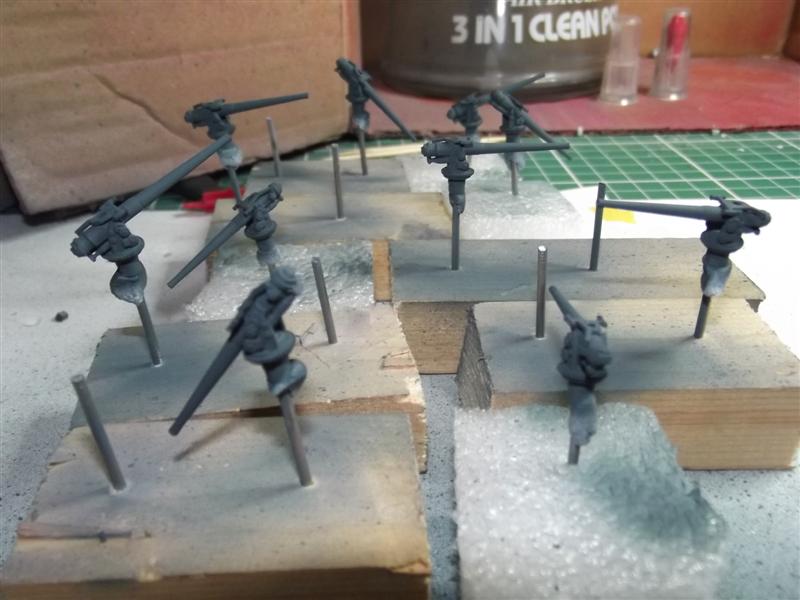
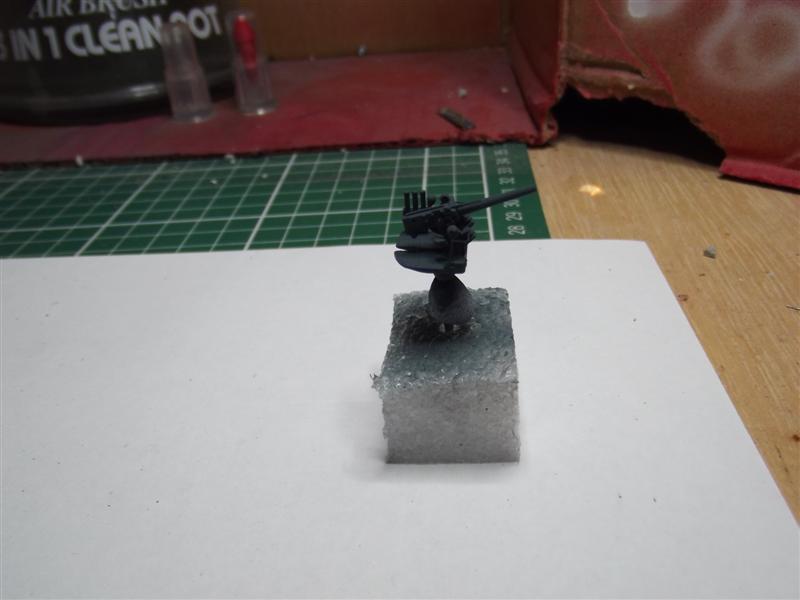
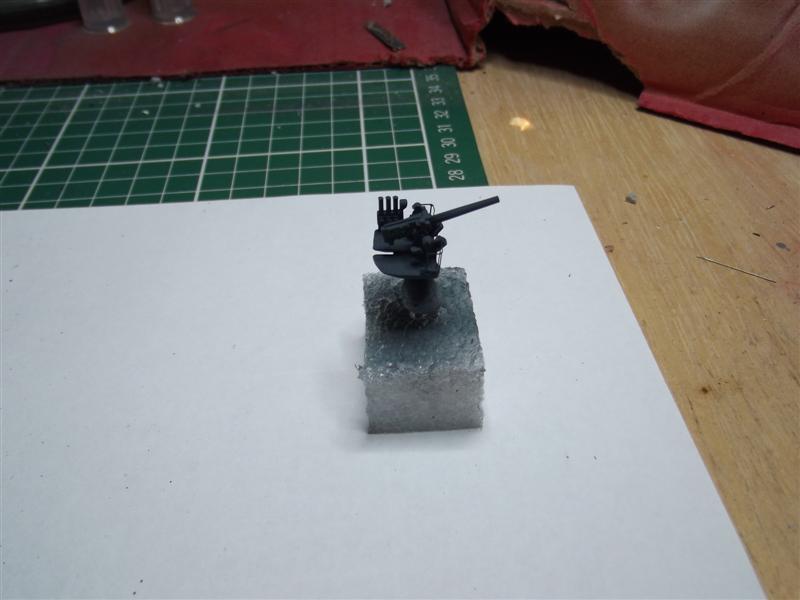
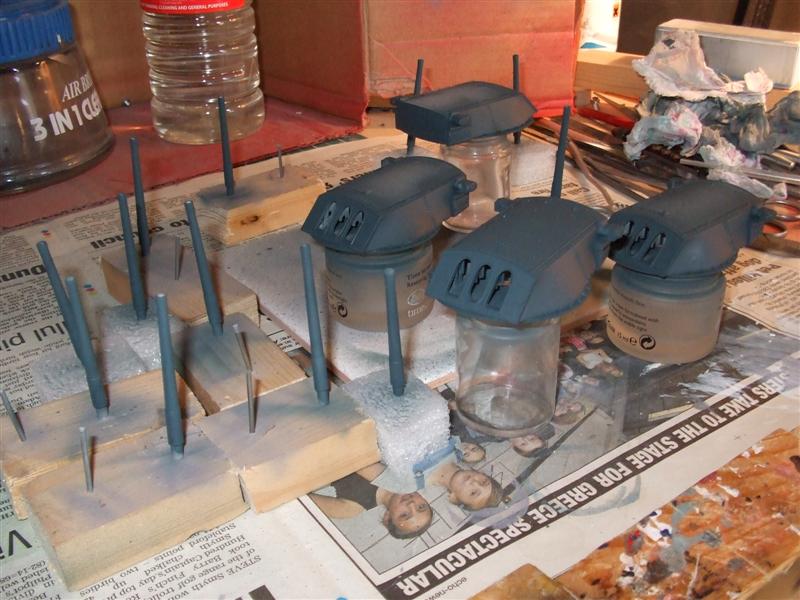
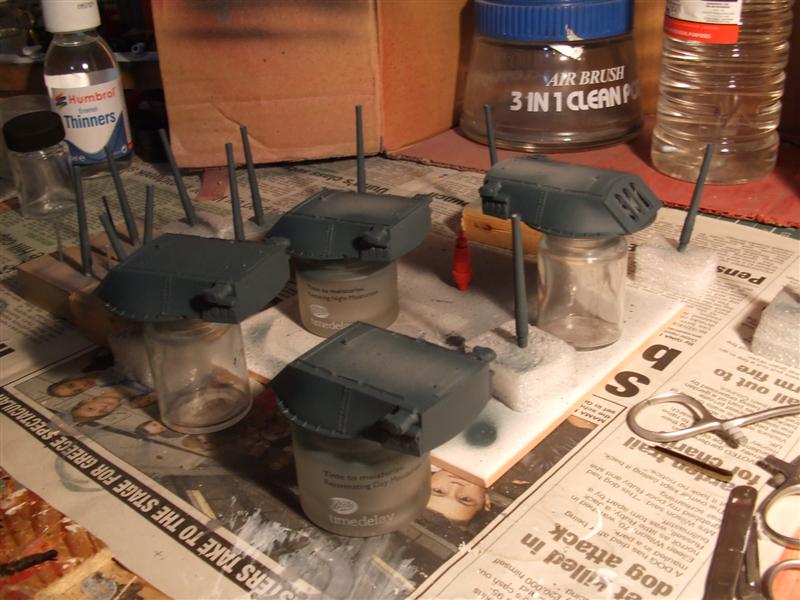
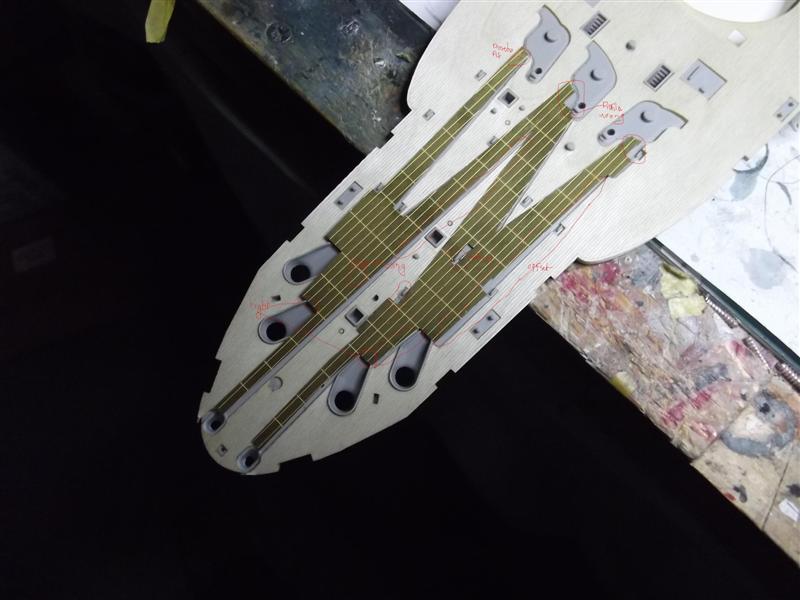
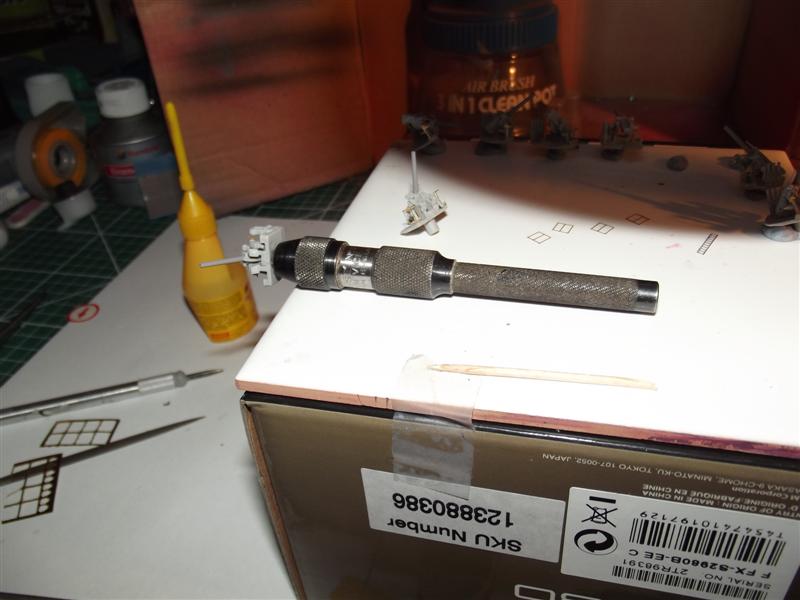
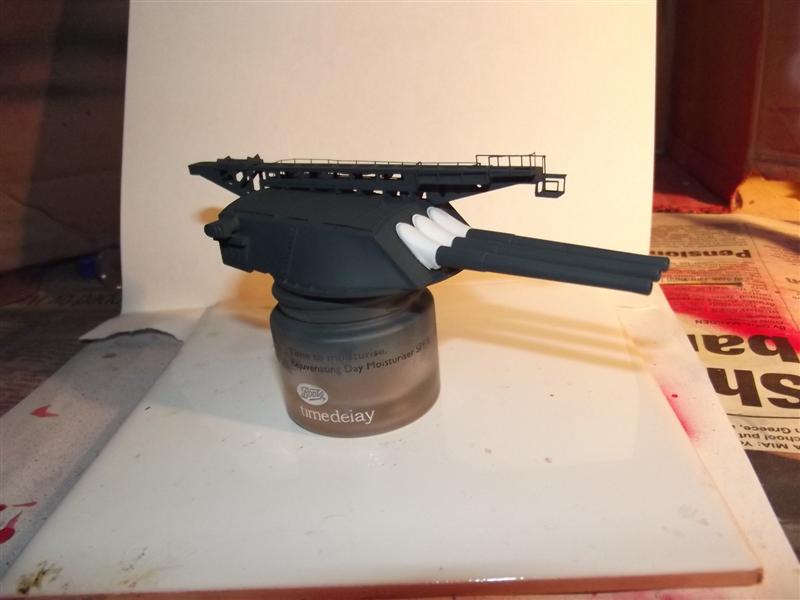
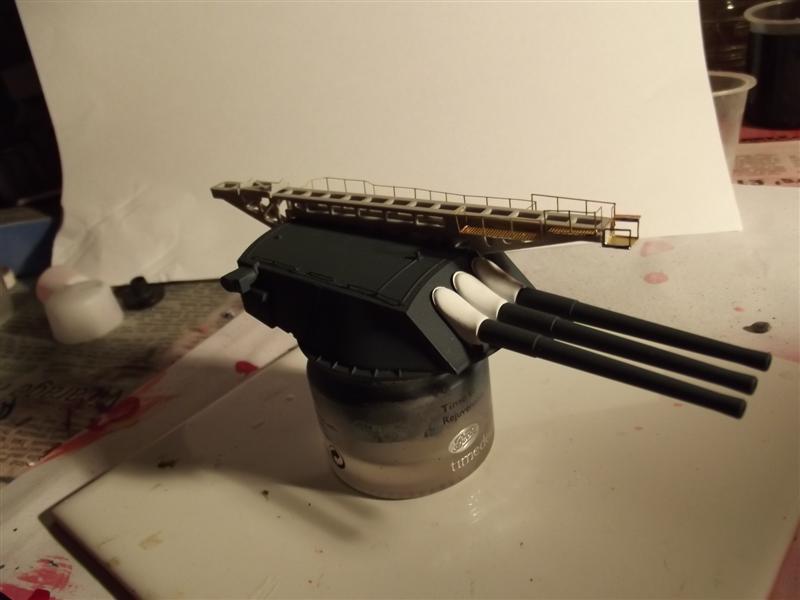
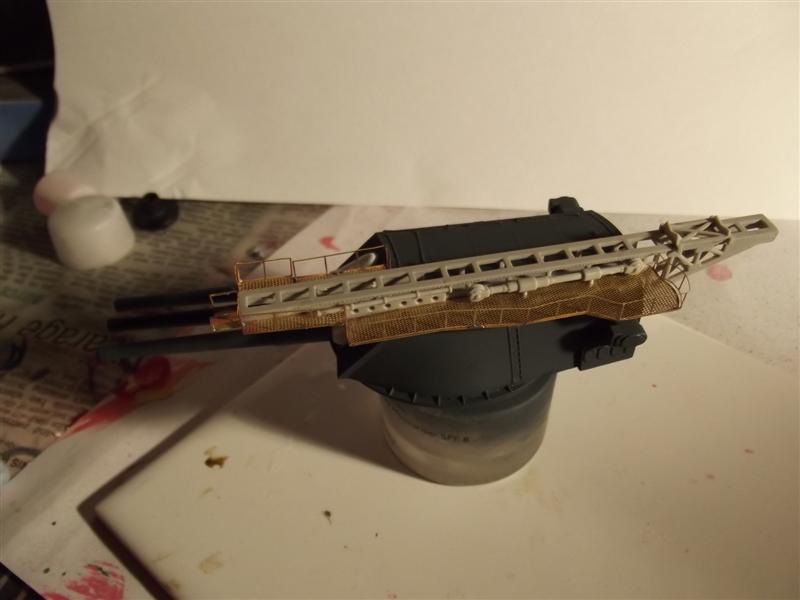
This not the start of the build but is the current stage which is about 80% complete as i have been of the model for several months now, the previous stages I am affraid were lost in the old site crash. I will be adding the picture trail from the start once I have knocked then into a suitable order. The kit comprises of the Trumpter Arizona plus upgrades from Trumpeter which includes all of the 5/6 inch barrels, Nautilus Wood deck, White Ensign P/E upgrade, Brass Screws to replace the plastic ones in the kit, White Ensign Anchor Chain Plate. One thing I have noted is that the Trumpter P/E is really soft and the stairways fall apart far to easily - anyone comtempating their use should consider heat treating them to harden the up. New anchor chain is now planned - its likely I'll purchase a self colured black chain at 16 links per inch. The main superstructure has been completed ready for locating on the main hull, the stack and ships boats are compete as is the main armament and AA Guns and ^ inch guns. The Lower hull is in preparation for paint with the "A frames and shafts located" The Upper hull has been partially painted in Grey and the black bootstrap applied - I have made that at 4 mm wide as its the smallest width tape I could easily locate. Latest news is I have been looking to fit the anchor chain plate on the forward deck but have encountered some problems with the compatibility of the 3 main components - Trumpeter forward deck section, Nautilus Wood deck and White Ensign Anchor plate. Whats transpired is that the wood is exact as far as I can tell is acurate to the moulding but the chain plate has been designed to overcome the faults in the moulding and is exact to the orignal drawings which renders its use difficult in the planned configuration I have. For the builders who count rivets to the nth degree thats fine but for those who are looking for a practical build it becomes difficult. White Ensign have been great in trying to assist in the build throughout. i have decided to make a compromise at this stage and now omit the chain plate P/E even though at first I thought I could work around the issues but in the end I have decided its not worth the effort. I intend to post the long file of pictures on the build from the start possibly at the weekend as I have been holding back until the site stabilizes having lots the 3 Caldercraft builds adding up to some 2000 posts.
-
Implacable (Duguay Trouin) - moved by moderator
normanh replied to Matrim's topic in Nautical/Naval History
The sinking was most likely due to the shortage of funds for restoration in post war England , money was tight and she was right at the bottom of the list of needs, we had lost a vast majority of our capital ships by this date. -
Running rigging yes I find it much easier but always working close to the mast first then work away.
-
I use both the nipper and a soaking - using a thermos flask full of boiled water cant remember soaking an plank for more than 20 minutes off the top of my head. Thats a 2mm basewood or 1mm walnut plank, once shaped I have allowed the plank to dry a little before glueing. The real problems usually occur after several planks have been installed as you move down towards the waterline, thats where the nipper can come in handy. Tapering the planks to avoid clinkering is usually clearly seen as you progress with the lines developing.
-
I have always fitted the shrouds and ratlines as the first stage of rigging as you are most likely to get the tensions on the mast correct and have little disturbance of the tensions, working from stern to bow working on each mast as to cause the least hassle and entanglement of the rigging - usually top down on the mast and closest to the mast first.
-
I suspect the sloop Wellington as we have been discussing the Embankment where she is preserved.
-
The strange fact is CA is not classified as either hazardous for industrial uses in both the USA and UK for health and safety purposes - check on google!
-
Copper Plating Pattern
normanh replied to capnharv2's topic in Building, Framing, Planking and plating a ships hull and deck
I added the additional wale/battern at the waterline on my Snake to make the copper terminate to a nicer finish, there has been debate on this for sometime in MSW 1 and I took the view its far easier to copper to the battern than leave a possible uneven edge at the waterline. I started the coppering at the keel offseting the plates by a 1/2 size like in laying bricks. The pattern of the plating is then fixed and the orientation of the plates will change naturally with the lines of the curving hull at the bows and stern. I like the end result and the ease that it gives coppering part of the build and will use this technique again right or wrong. -
I am still looking to restart my Arizona log but in all honesty I feel so disheartened at loosing everything from the last 5 years, I can understand why some like me are holding back.
-
Never had any sucess with either a lathe or plane so I cut the dowel to the required length, mark the with a flet pen dot to the required finished yard diameter, then mark off the taper profile on the dowel. Rough shape the yard with a small fine file, usually resting the dowel in a small notch on the edge of my bench, file and rotate the dowel slowly to get the profile finishing with various stage sanding with good quality abrasive papers, not cheapy sandpapers. Must have made 30 odd by this method to date its accurate and fast. I check the diameters using a vernier and I can get within 0.2 mm normally or better without much fuss.Considering I have yet to find a concentric dowel.
-
I found it was easy enough with the soft copper to roll a slight edge over the timber at then the final plate hides that ccut edge - produces a more realistic seam then.
-
Caldercraft have always scored well in past surveys since I joined the site some 5 years ago, whilst I have ony built their kits to date I love the service they offer and maintain which means a lot to me as an ex Quality Manager in industry for too many years now. The quality is great and even if they do get it wrong correcting that error has been so simple in my experience.
-
Thread for Thread
normanh replied to sephirem's topic in Rope Making/Ropewalks's Discussions about Rope Making
Guttermann sell both a linen and polyester thread thats ideal for rigging in particualr ratlines - its been well discussed in MSF 1 over the years. These are much heavier than standard sewing threads by Gutterman. Beiges and Black are readily available. I have bought mine in Hobbeycraft in the UK. -
I would have thought that 5.6 inch diameter would sound about right for an anchor cable based on the samples I have seen at the Chatham Ropery through the years.
-
I am just letting my Snake coppering tarnish slowly naturally, I have no intention of polishing the the copper. I cleaned it carefully when completed with a fine wire wool and a quick wipe with acetone just to ensure no fingerprints remained which would tarnish at a differing rate. Metal polish will leave residue typically a white powder in the joints that I have avoided.