


fnkershner
-
Posts
1,595 -
Joined
-
Last visited
Content Type
Profiles
Forums
Gallery
Events
Posts posted by fnkershner
-
-
Peter - Purchased both the Wax stick and the jar of soft putty. I found the stick hard to use. I found the putty perfect. I can rub it in with my fingertip or a screwdriver. I then wipe away the excess with a wet rag. If you go to my log you will see a picture of the putty I use. I am not sure if it is available to you down under. Let me know, if not I will send it to you by post.
-
Now back to the model. As mentioned above I was struggling with 2 problems. The first was how to drill the hold in the copper plate stamp. I hope the new replacement tool I ordered from MicroMark solves this issue.
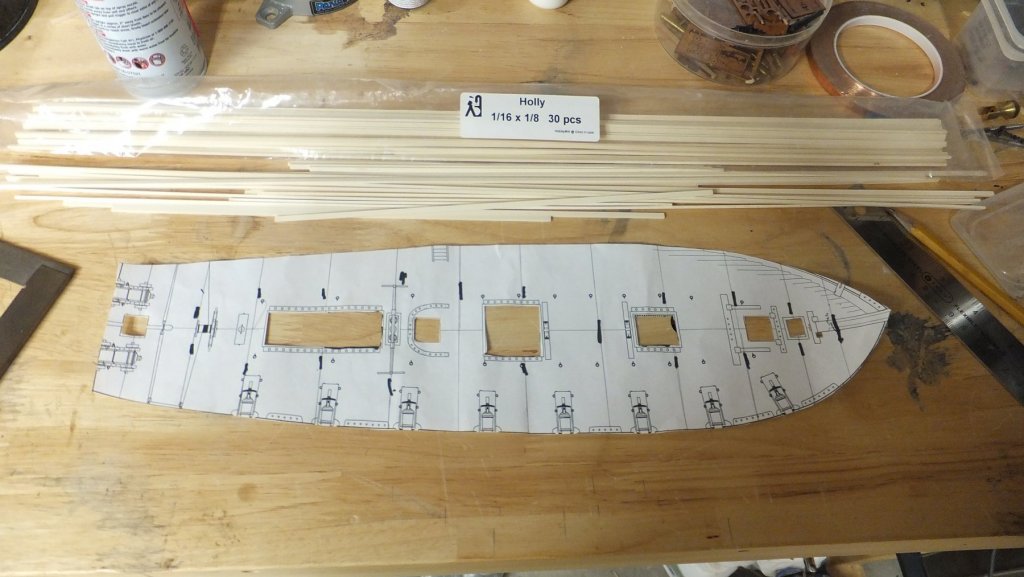
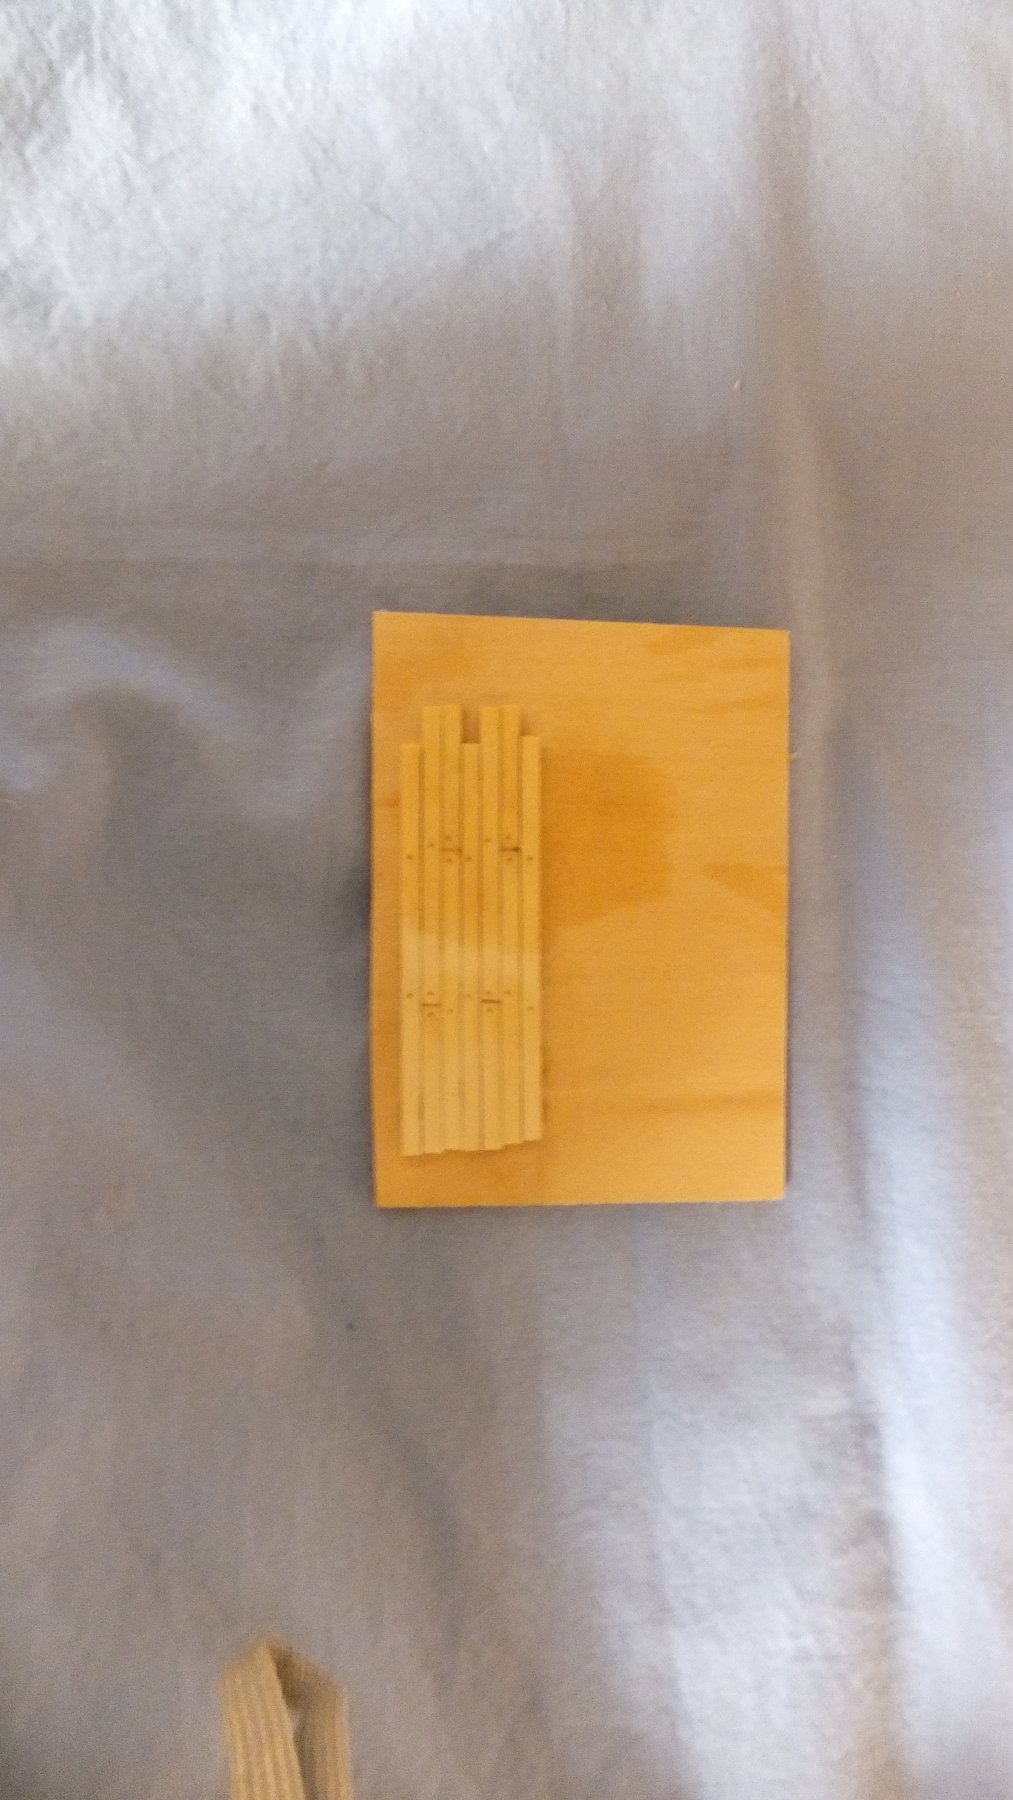
The 2nd was using Holly for Deck planking. You will see a picture below that shows a sample of the Deck. I think the indoor lights add a lot of yellow to the photos. Anyway I mentioned that scraping did not remove all of the putty from the Treenailing. Well I got the bright Idea to try a bit of Danish oil. This worked perfectly. So I am working on the deck now. In the picture below you will see the before and after with the Danish Oil. The picture is poor but you can see the smudging around the 2nd row of treenailing. the top show after 1 coat of Danish Oil. I think it also darkens the planks just a little bit. I really like the result.
First I cut out from a copy of the plans the deck layout. And I cutout the gratings from these Plans. I used this to mark the model for the gratings. Then I marked the bulkheads on the plan template. Next I painted the area on the model under the gratings Black. And finally I am now test laying out my deck planks on the plan template before I install them on the model.


-
Also I mentioned that I was rushing to get the model in a presentable state. I got far enough but did not get the deck on. I took it anyway to the Birthday celebration at the US Navy Station in Everett, WA. Unfortunately almost no one understood what I was showing. They asked if it had oars and many other similar questions. I guess I need to wait until I have masts. It was a good event. We had 30 people there. One of our members told about how he had to bail out about 40 years ago. He is till the only person to bail out of a US Navy plane and end up floating in Crater Lake.


-
Ok time for an update. First let me comment on the help above. Alan I have a draw plate. All I can say is do you want to add another year to the length of this build!
 Now that I have used the putty method. I will never go back.
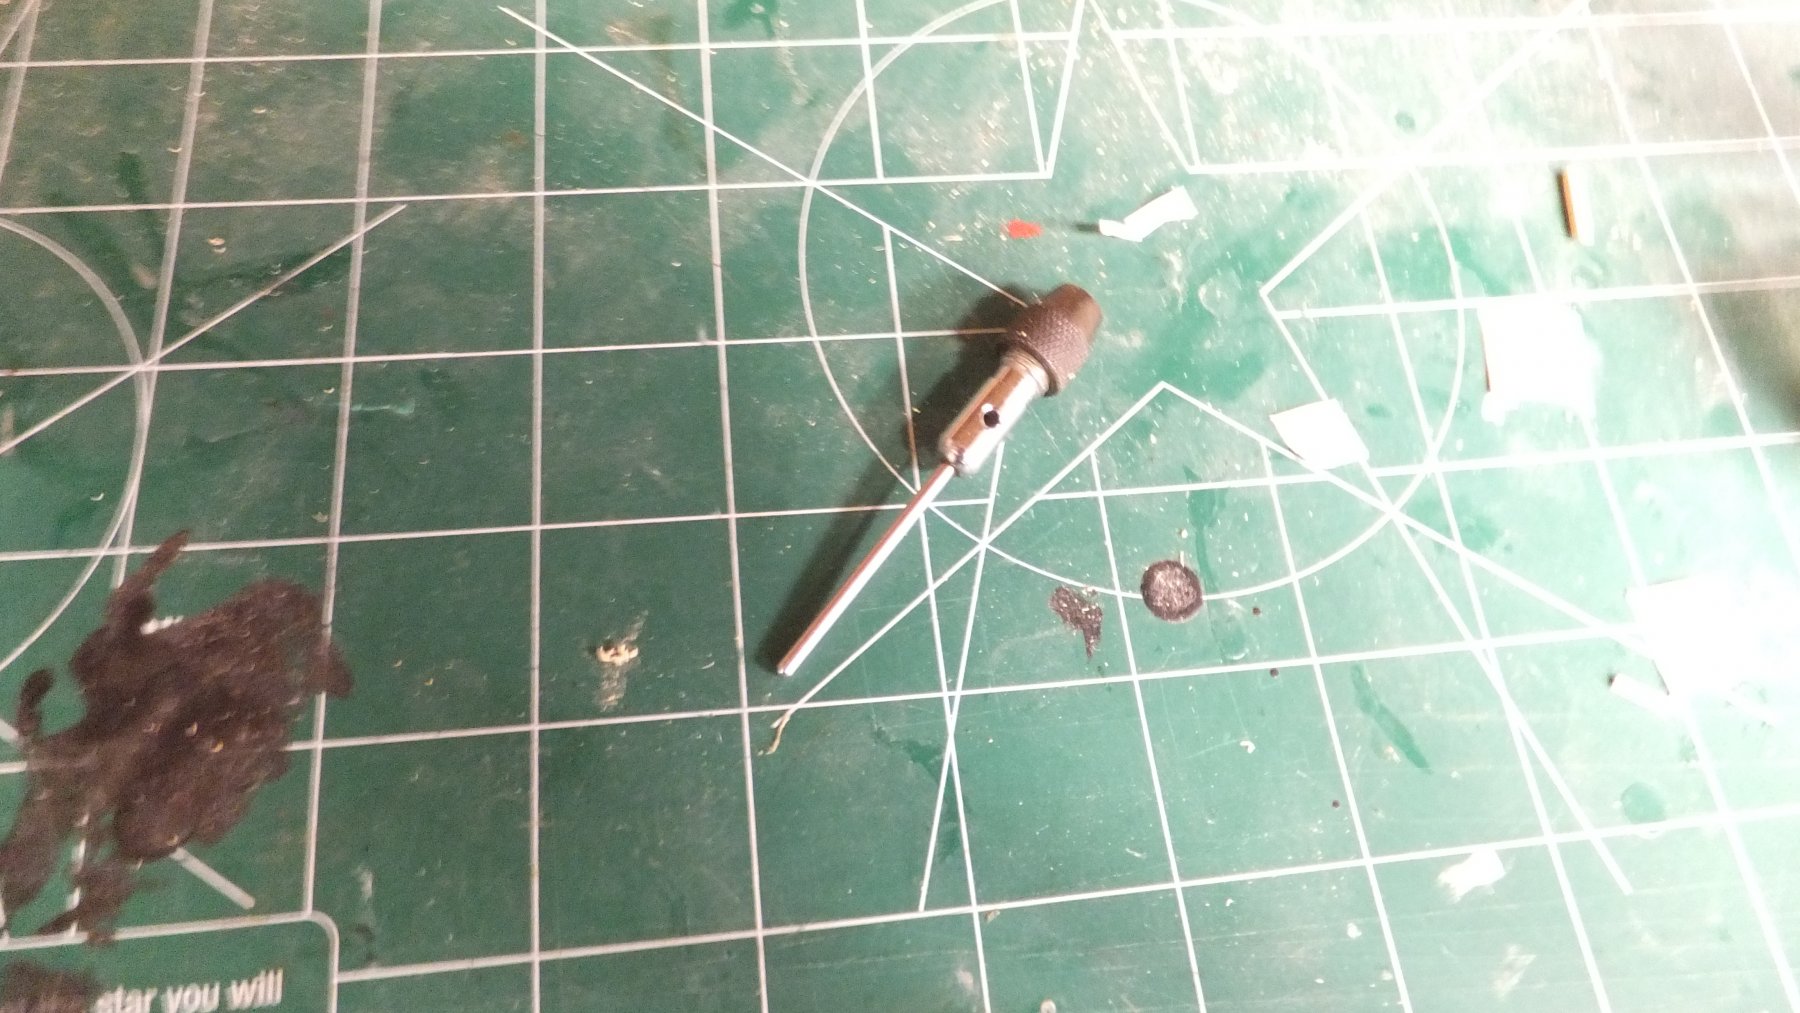
Doug I am using MDF as well. I might want to rethink this. I also discovered my problem. in the picture below you will see the tool I use to hold tiny bits in my Drill press. I found the shaft was just a tad bent. Unfortunately that was after breaking 3 drill bits.

-
Ok Guys, I am work again so I can't post any pictures. But I have a couple of questions. First the Admiral has requested a deck of Holly. I have some beautify lumber so I was going to do this. To experiment I created a sample section of deck. I also used the drill and paste method for the trenails. But when you wipe away the excess paste the lumber nearby takes up some of the color as a smudge. I tried Scraping with a one sided razor blade but so far no luck. Suggestions?
2nd question to the Syren club - I have completed the building of my copper plate jib but I am having difficulty drilling the holes in the stamp. So far I have broken 2 bits and another bit drill thru to the side of the stamp. How are you accurately drilling the holes in the stamp to hold the pins?
-
-
I believe Christening with blood is a requirement to bring your work to life. On my Syren build I have successfully sanded the tip of my finger off with a power sander and stabbed my palm with a #11 Xacto knife. It only makes you appreciate the model even more.
-
I do have a log. I am not nearly as far along as you are. I will use your log to help me.
-
Thanks for the details. I struggled with this. I had decided this would be a nice project to work on while I waited for soaking or paint drying on my Syren. I must confess I got so frustrated I gave up. You have given me hope. Thank you!
-
Please tell us more about your process. How did you get her sanded down so nicely?
Also what stain did you use? Are you soaking those ribs?
-
In Sailing Ships there is no such thing as Rope there is only Lines. Halyards are a specific type of line used for lifting. Sheets are another type of line used for sail trimming. Ropes are for land lubbers. Lines are for Rag baggers (Sailors).
Here is a brief list of the different types of lines you will find on a Sailboat: (I am sure there are more. I have never sailed a square rigger)
Halyards
Sheets
Topping Lifts
Down Hauls
Preventer
Stays
Shrouds
Pendants
(The last 4 above are Standing rigging and the others are running rigging)
Remember the pecking order on the water is:
- Rag Baggers (those who go to sea in craft propelled by wind)
- Stink Potters (those who go to sea in craft propelled by Noisy smelly machines)
- Landlubber (those who never go to sea - A fate worse than death)
- Don Quixote and Nirvana
-
 2
2
-
-
Well if you find your log on the bottom of the 3rd page. It is clear you have fallen behind on your posting. So here is my latest update.
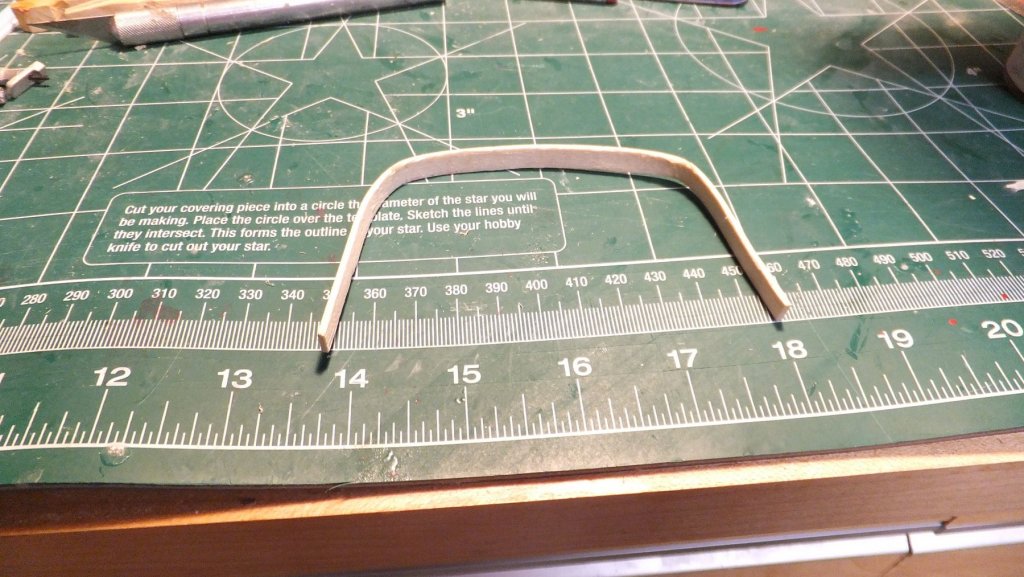
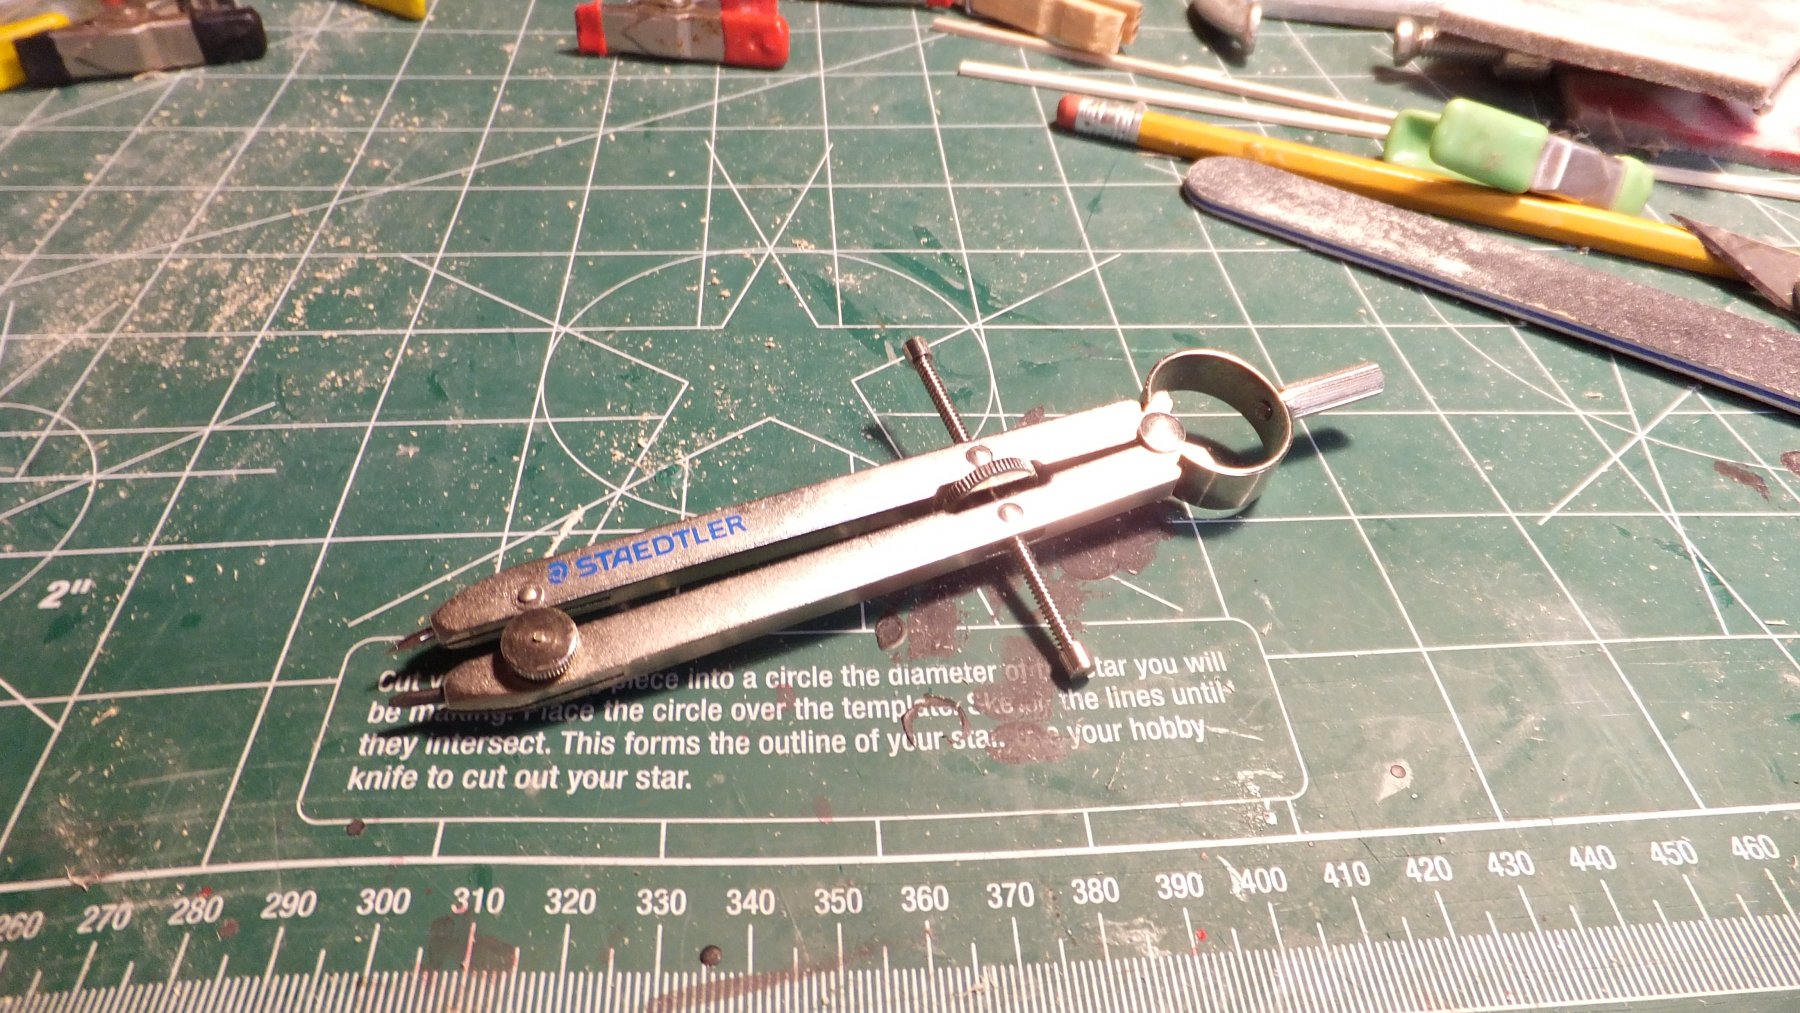
First off a quick bit if info. This may be obvious to everyone else but just in case. I will share. I was tracing the shape of the Cap rail onto a sheet of basswood. It is very easy to get the outside dimensions but how do you get the inside? Well you could spend a lot of frustrating time with a set of French Curves like I did. Or you could use the handy tool pictured below. Set the width to be the desire 1/4" and trace it out.
I should also mention I am pretty happy with my Molding. Both on the stern and the Port side. Starboard is in the works.
Enjoy!
Next Saturday is my deadline! the last Cap rail will go on and there is some painting to do. I guess there will be no deck before Veterans day. I should note that I painted the Hull below the waterline. This is just a substitute until I get the cooper plates on.

- Gahm, CaptainSteve, Dutchman and 6 others
-
9
-
I forgot to mention that I have broken a few bits. They are fragile. I buy them in packs of 5 or 6.
-
Steve - I worked this out to be a Number 75 or 74 drill. I am very happy with the size. It fits with the scale. Are you going to stain the planking above the Wale? if so what stain do you intend to us? I like Chuck's suggestion of Golden Oak. if you do I suggest you use a slightly different Oak. This should make for a subtle shade difference without looking like Chicken Pox.
-
-
Shawn - I had the same feeling, but I could not find a profile that is small enough for 1/16" wide. They are a great tool. And I look forward to using them but I guess not on this model.
-
Alan - Thanks for the offer. But the Jokita Carronades also have the same issue. Which is why I am reluctant to spend $80 and order a set and then have to add the same piece. I too have considered casting them myself. Did you cast in metal or some other material?
Does anyone have a 3D design for these Barrels. I am going to try a 3D printer. I am also considering Casting in resin.
Peter - I have tried to use a one sided Razor blade and a cut off wheel in my Dremel. I could not get the profile small enough. I guess I will go back to trying again. I had such high hopes for the AL scrapers. If anyone has had success with this process please share.
- Nirvana and Ryland Craze
-
2
-
I am so bummed. I ordered the AL Scrapers from Micromark. I even ordered both sets A & B. They even work well on Basswood. but none of the profiles is small enough for the Syren! Anyone find a different solution? I am getting to the point were there is no option but to install the molding without the contour.
Alan - I am looking at your Avatar. I see the Caronnades for the Syren. May I ask where you got them? I am reluctant to spend $80 on something that I have to do a lot of modifications.
-
Popeyes you absolutely correct I have had mine for a few years. It was inexpensive and did the job
-
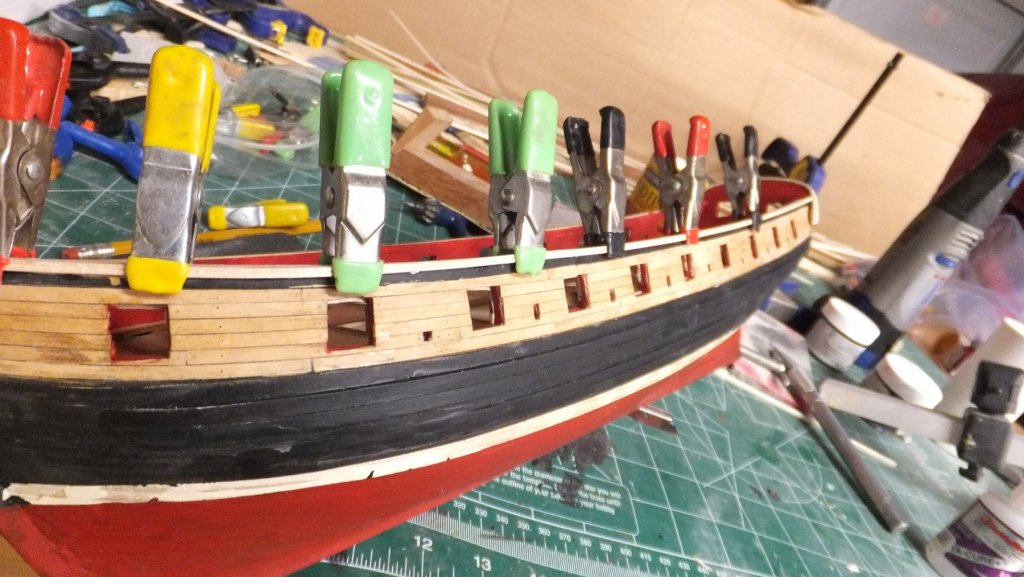
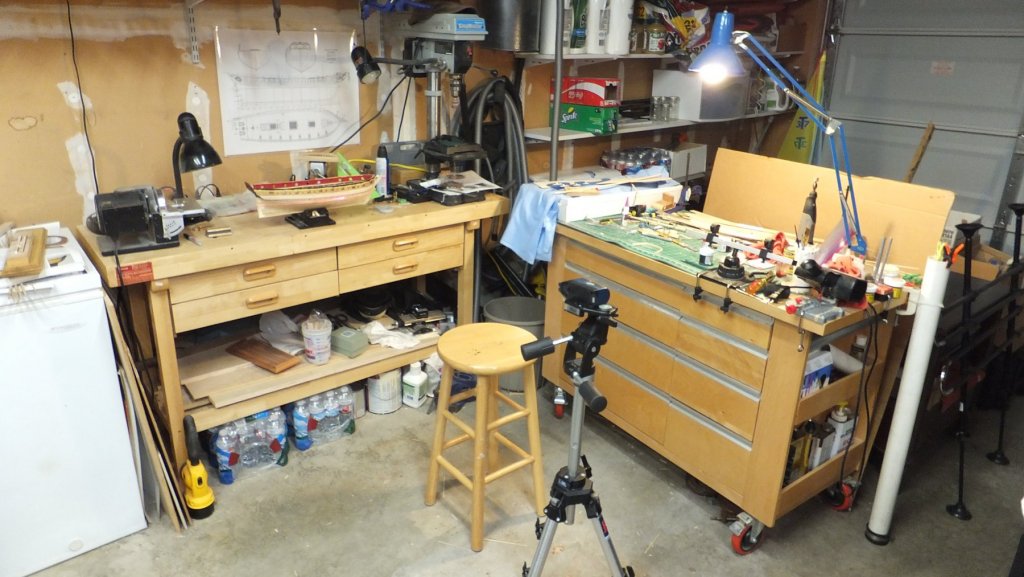
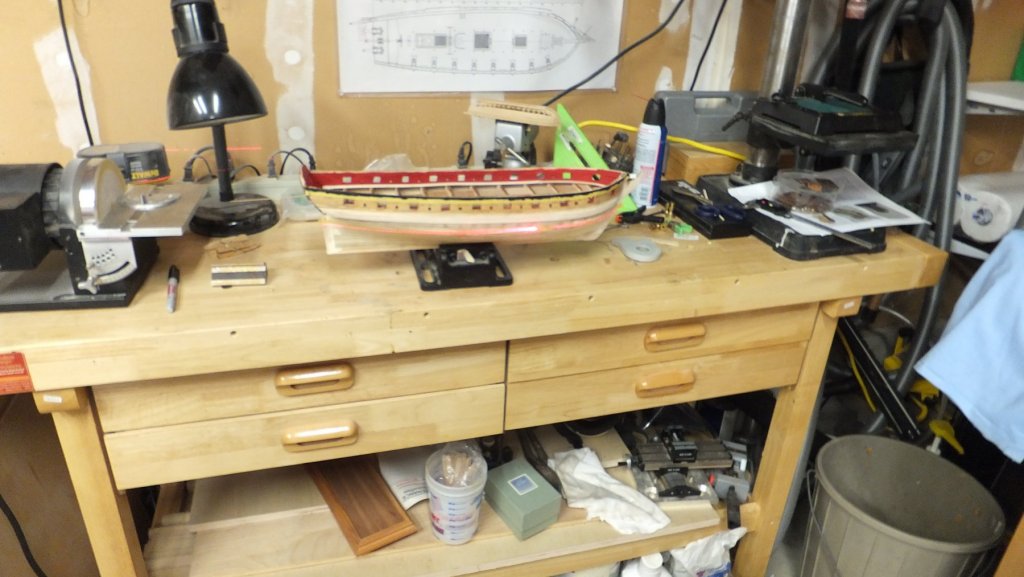
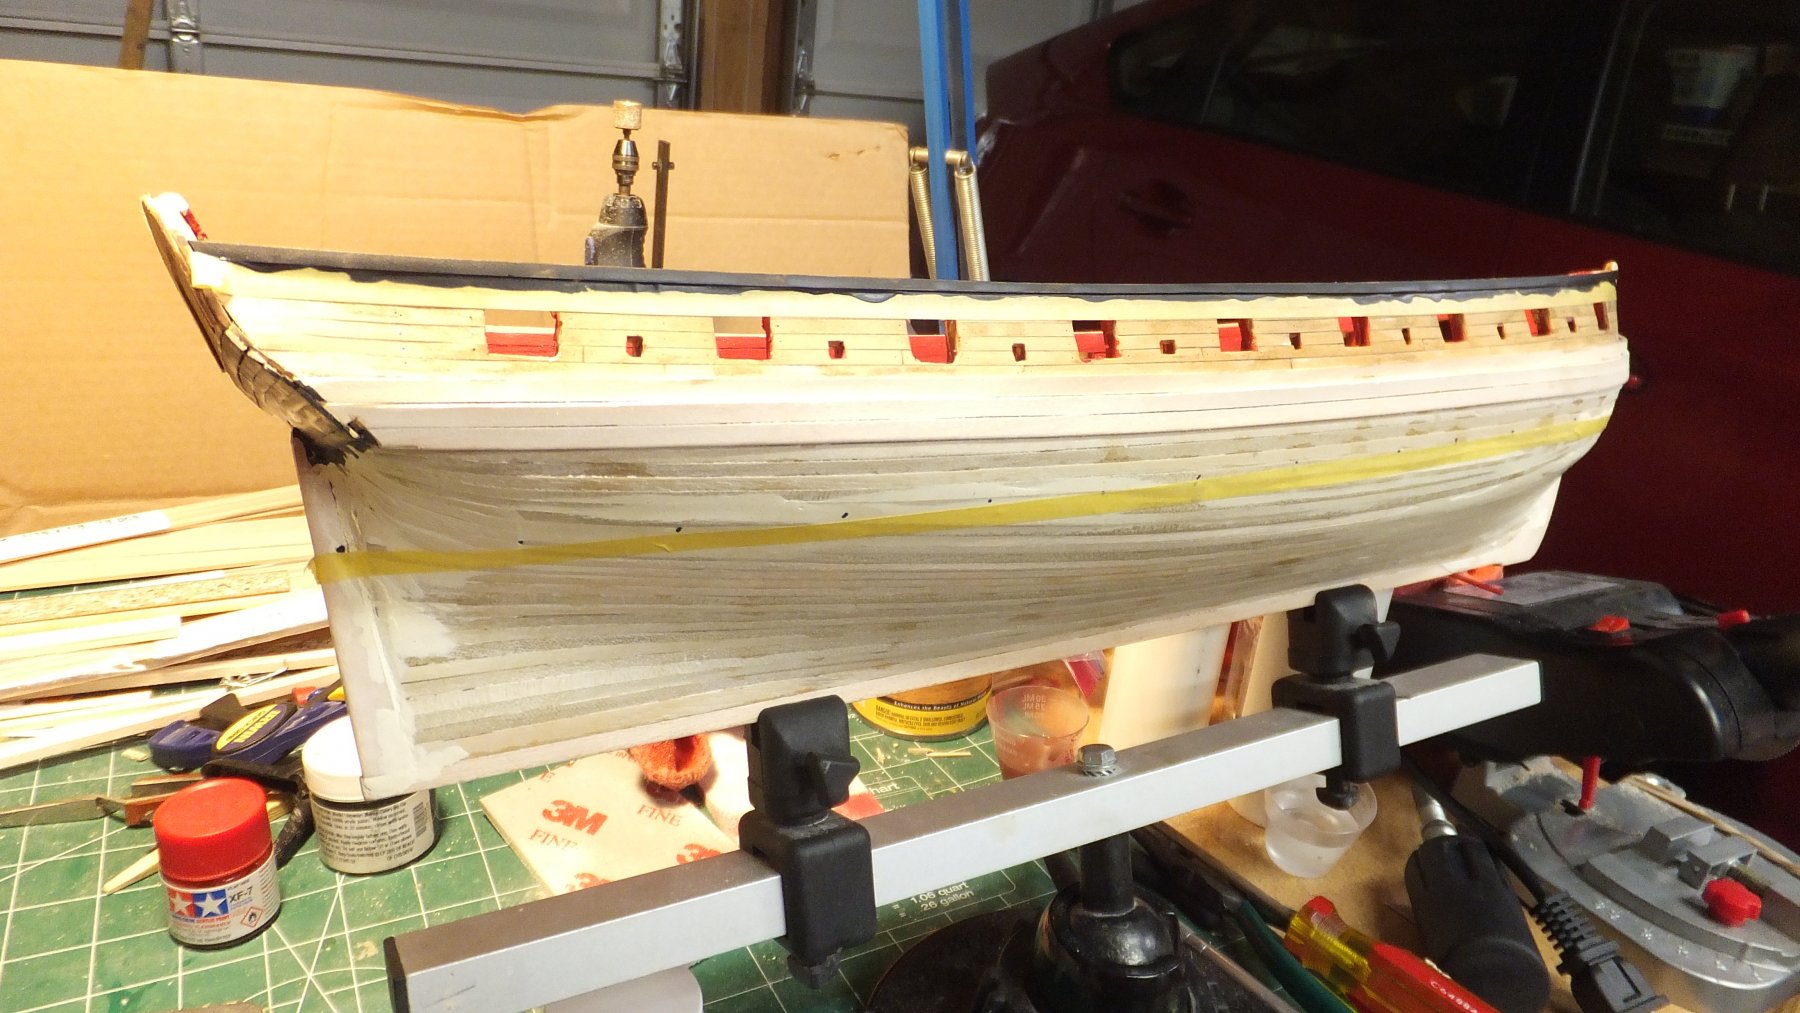
As I suspected the laser was not strong enough and got washed out in the picture above. So I also stepped back and you can now see a picture of the Shipyard. The laser is sitting on the tripod. I took my micrometer and measured the distance from the lower Wale to the waterline. I then used a magic marker to mark this location on the model. Finally I used the laser line to connect the 2 dots, and laid Tamiya masking tape on that line.
one of the pictures below is of the stand that the model will be mounted on. had to keep the hands busy while I waited on putty, paint, or soaking. You will also see the beginnings of the Copper plating jig.


-
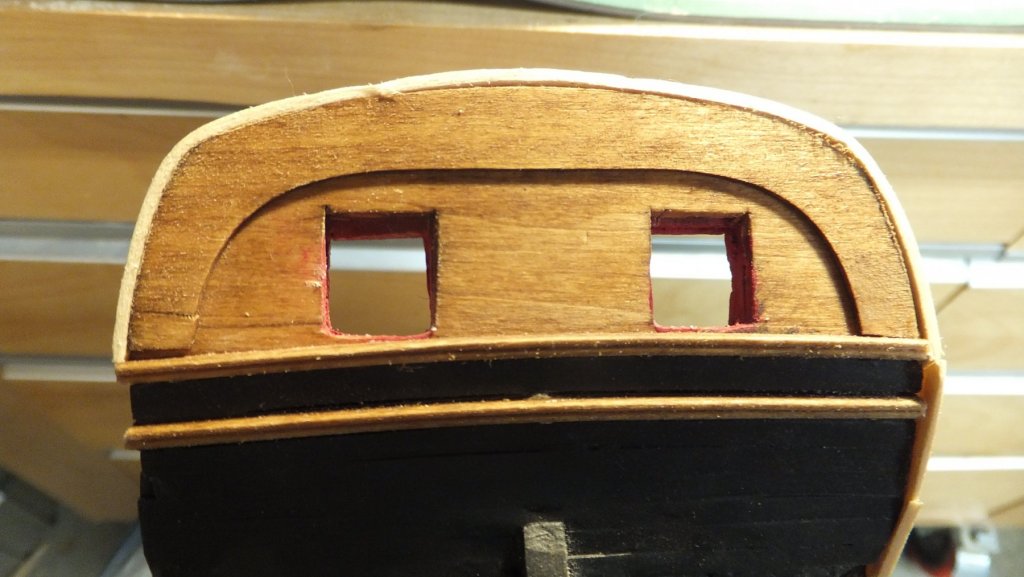
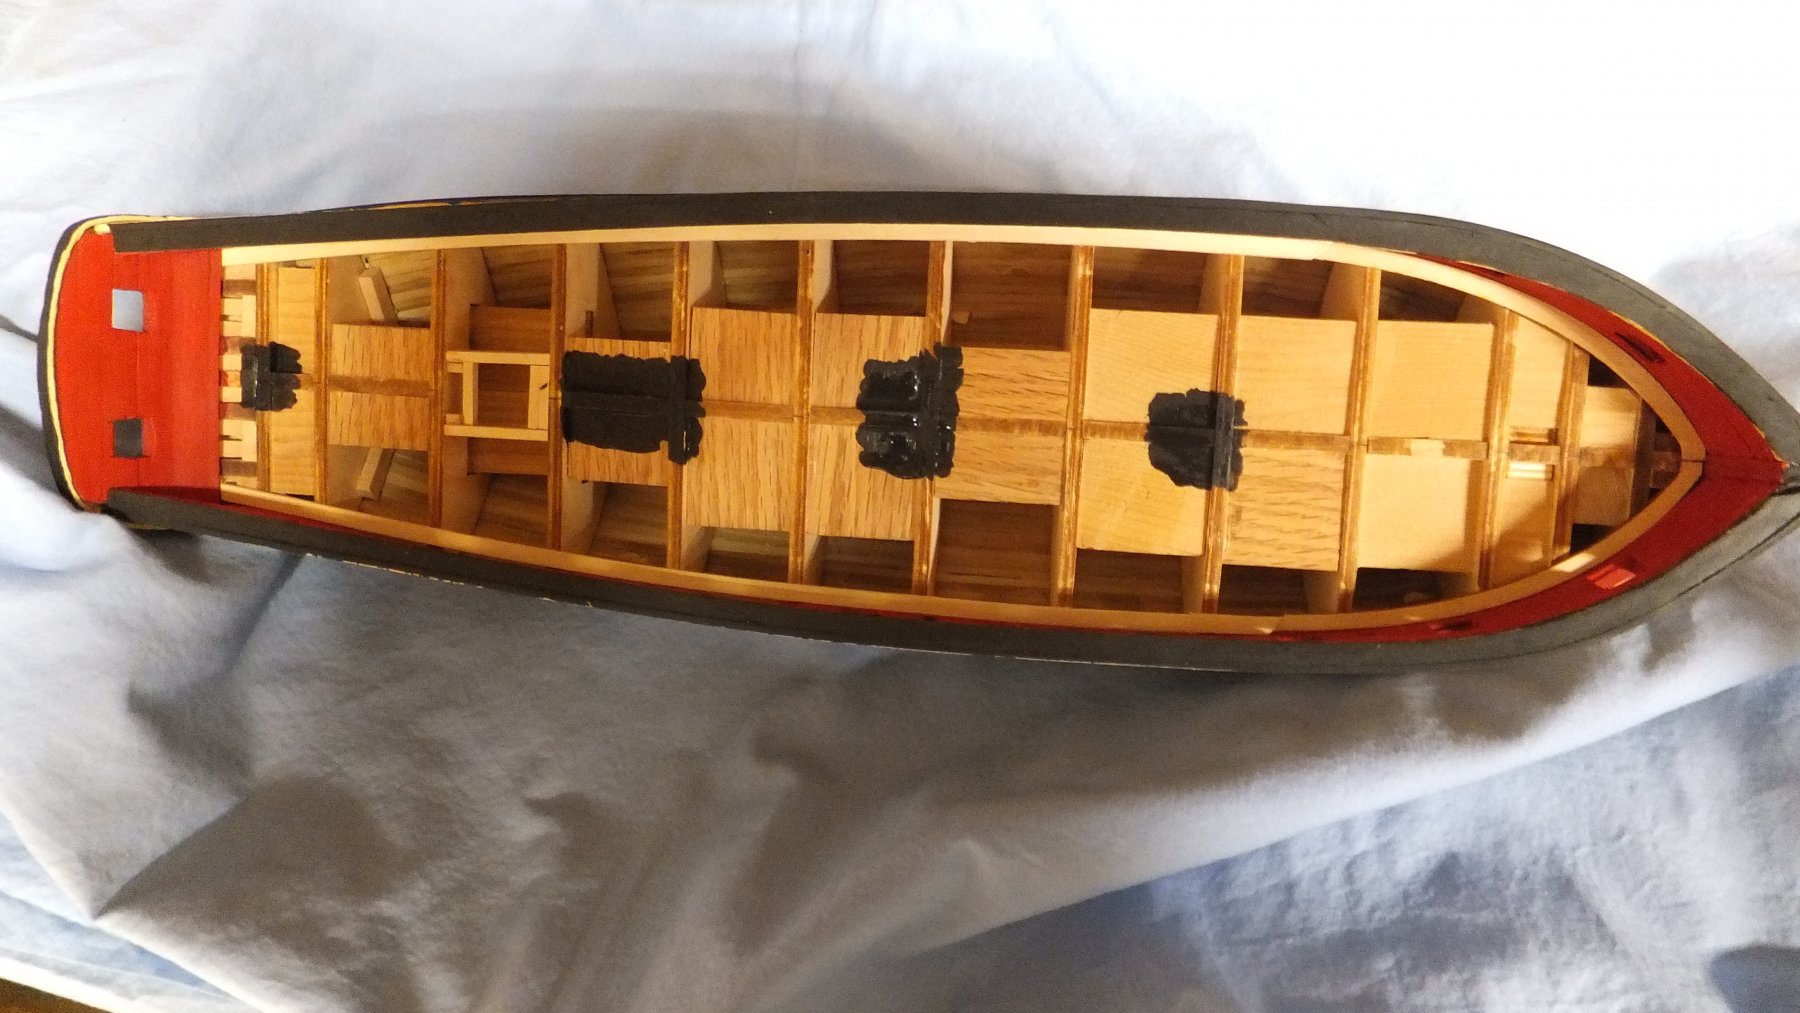
I want to thank everyone who has contributed to my log and all the likes. It has been an adventure. So let me bring you up to date. The Planking has been fixed. The counter has been replaced. The Stern Cap rail has been recreated again! The margin planks for the deck are installed. And the Water line has been marked.
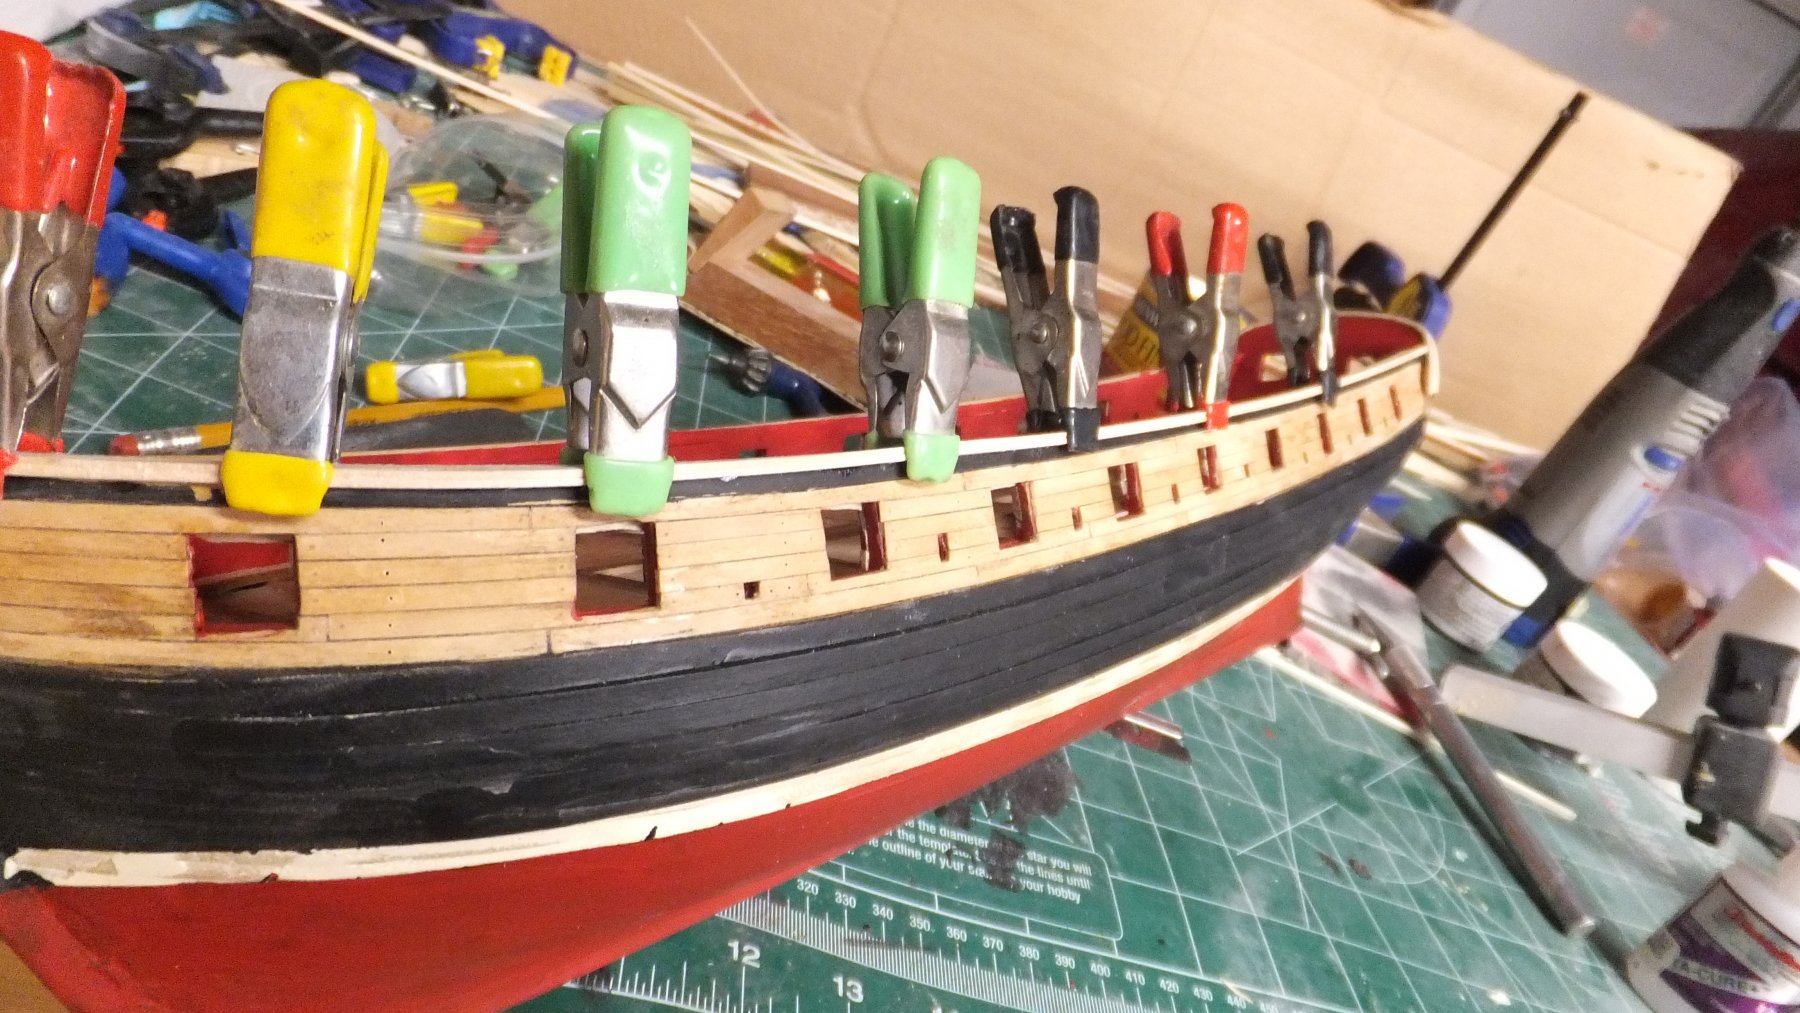
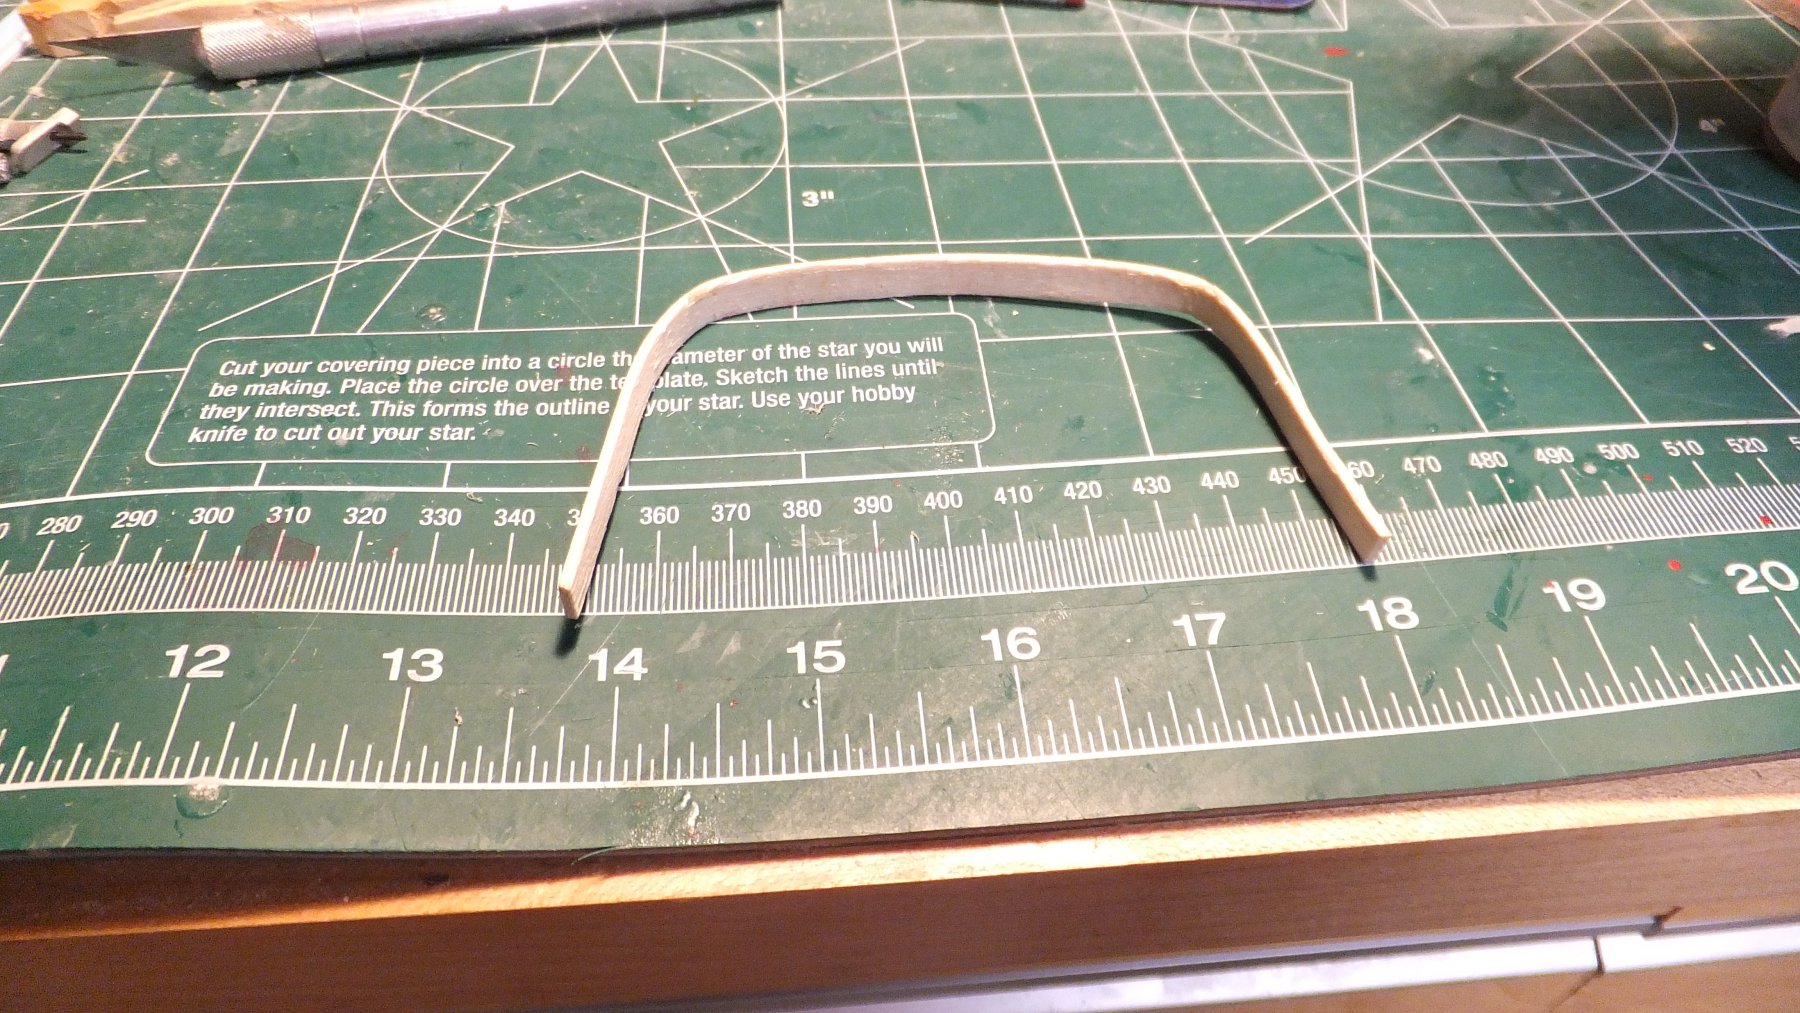
So a bit of detail on each of these. First the Stern Cap rail. As mentioned above I first started with a 3/16" wide strip and this was fairly easy to bend. Then I realized I needed a 1/4" wide strip. This did not bend quite so easily. My first attempt broke. For the 2nd attempt I soaked overnight then I clamped it to a large diameter can and let it completely dry. Then I soaked it again and did the final bend on the model, this worked. As you will see in the photo.
For the next challenge. I found the Waterline challenging so I used some high tech, as you can see.
 The Laser worked perfectly and the Tamiya tape works very nicely.
I also stained the transom.
I found that the margin planks require some significant lateral bending, just a warning.
-
Peter - I like that extremely large Cannon you have.
 Also I see you are learning from my mistake and not planking the counter yet. Good Idea. Also I suggest you fill in between those heavy planks at the stern. I found I needed more as a gluing surface. Create Stern blocks.
-
Like you I am wary of the damage that can be done with a sharp knife both to me and the model. I found a Sander did a great job. I just had to be careful not to take too much. Great start!


US Brig Syren by fnkershner - Model Shipways - 1:64
in - Kit build logs for subjects built from 1801 - 1850
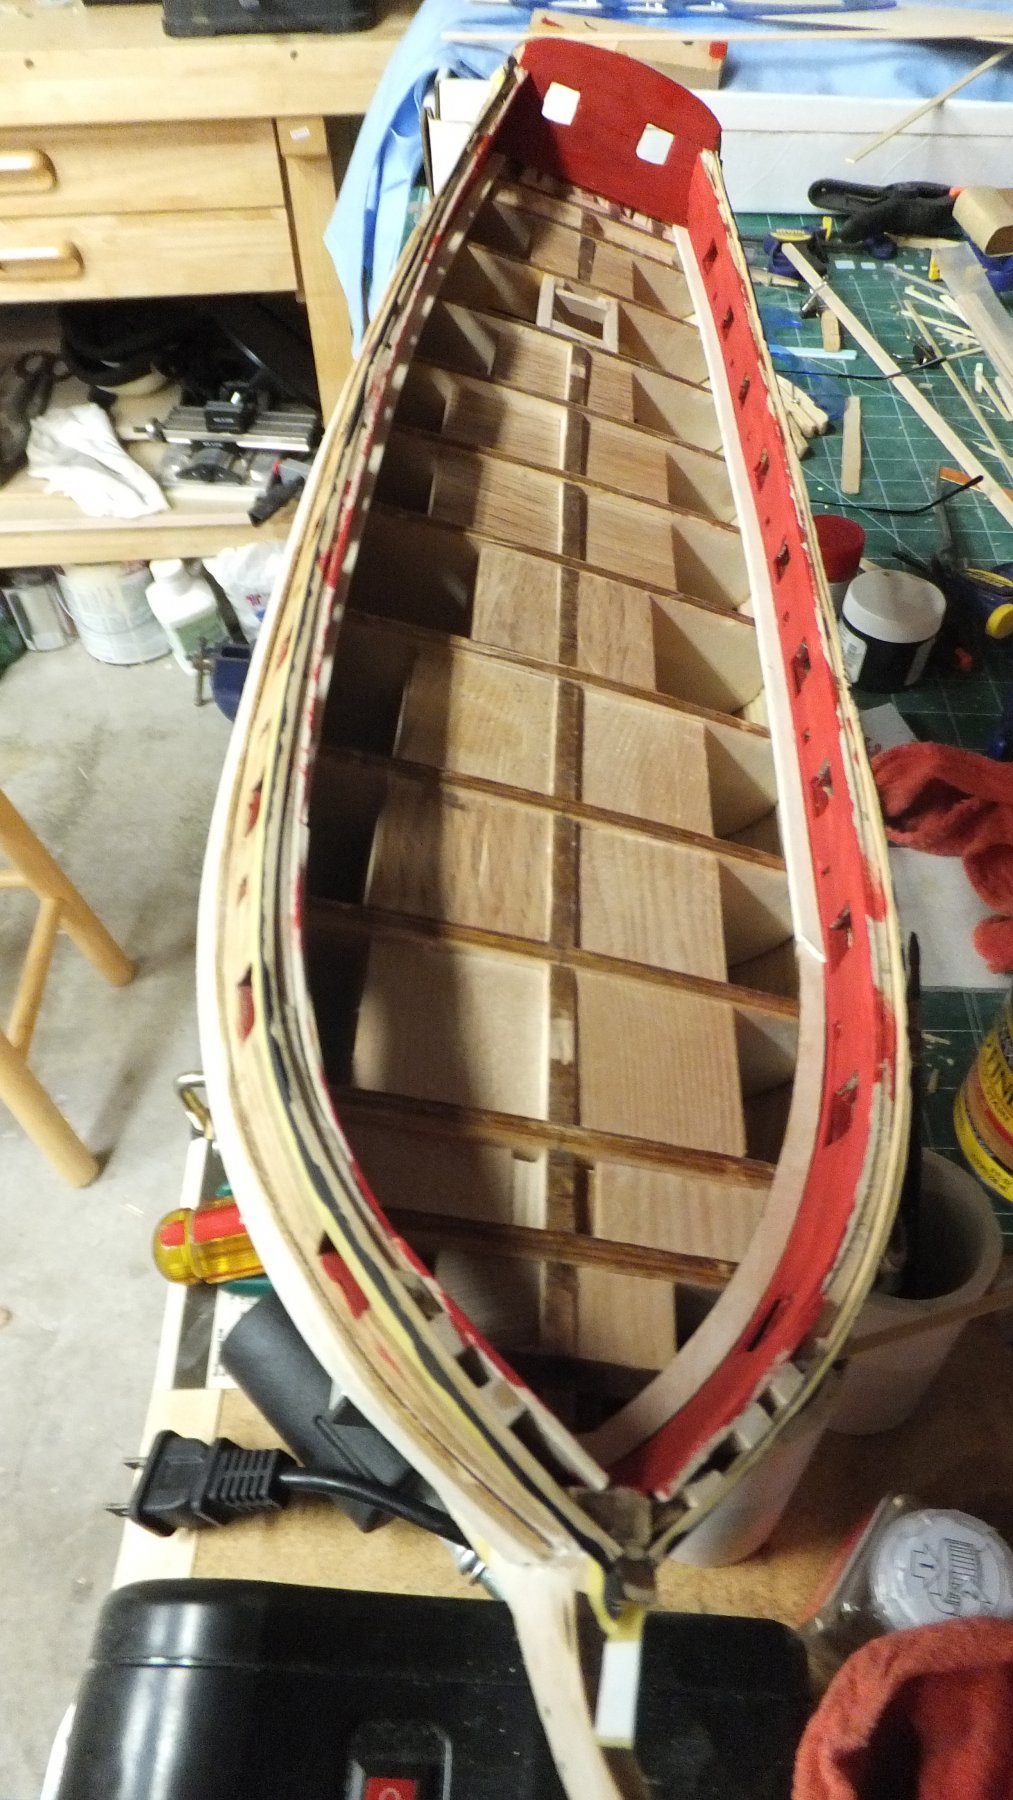
Posted
I am using my Holiday weekend to complete my deck. There has been some discussion on this site about whether or not to have a sub deck. Since I did not create one on my Bluenose I decided not to have one on the Syren. Well I have run into a problem. This is just a heads up for those of you trying to decide. some of the planks between the hatches are not long enough to reach from bulkhead to bulkhead. So they have nothing to rest on. So I had to take some scrap and fill in along the centerline. Pictures tomorrow.