HOLIDAY DONATION DRIVE - SUPPORT MSW - DO YOUR PART TO KEEP THIS GREAT FORUM GOING! (Only 20 donations so far - C'mon guys!)
×


cobra1951
-
Posts
947 -
Joined
-
Last visited
Content Type
Profiles
Forums
Gallery
Events
Everything posted by cobra1951
-
 Thanks Don Should be achievable with smaller scales but a bit more fiddly
- 206 replies
-
- 6
-

-
- battle station
- panart
- (and 1 more)
-
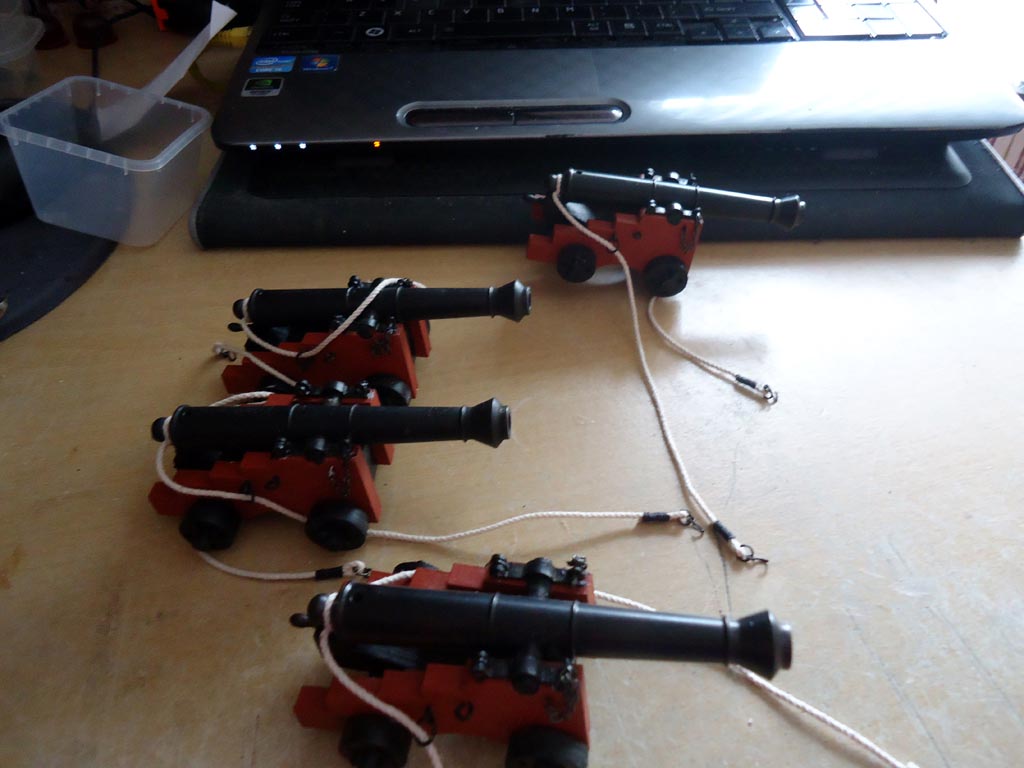
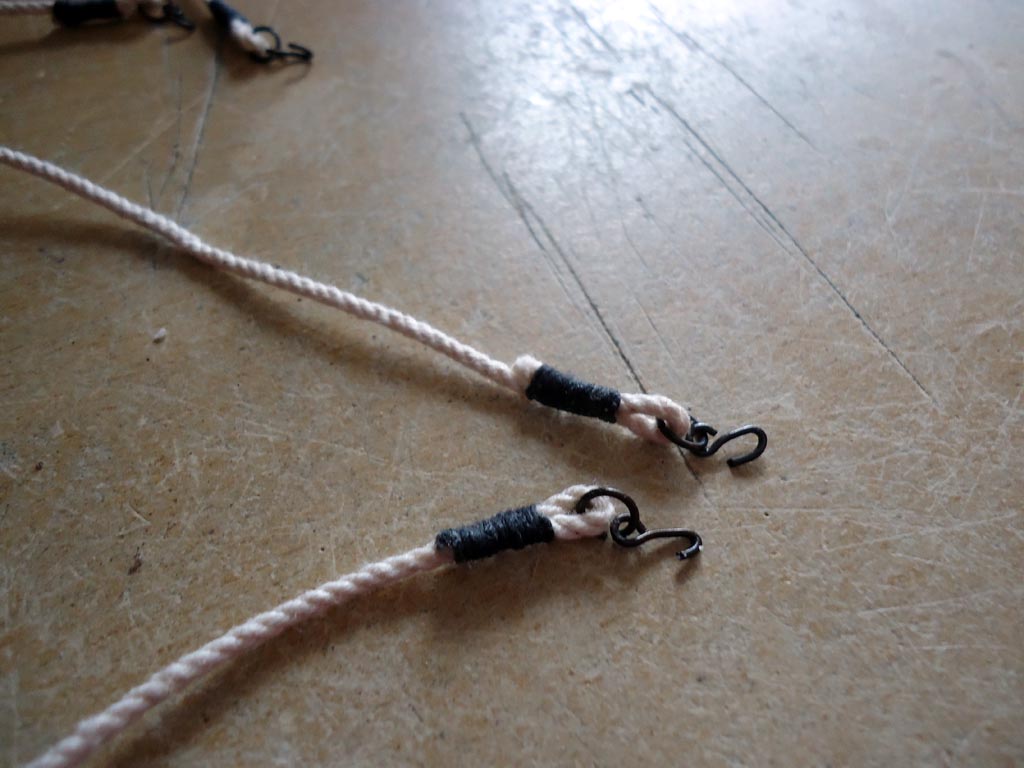
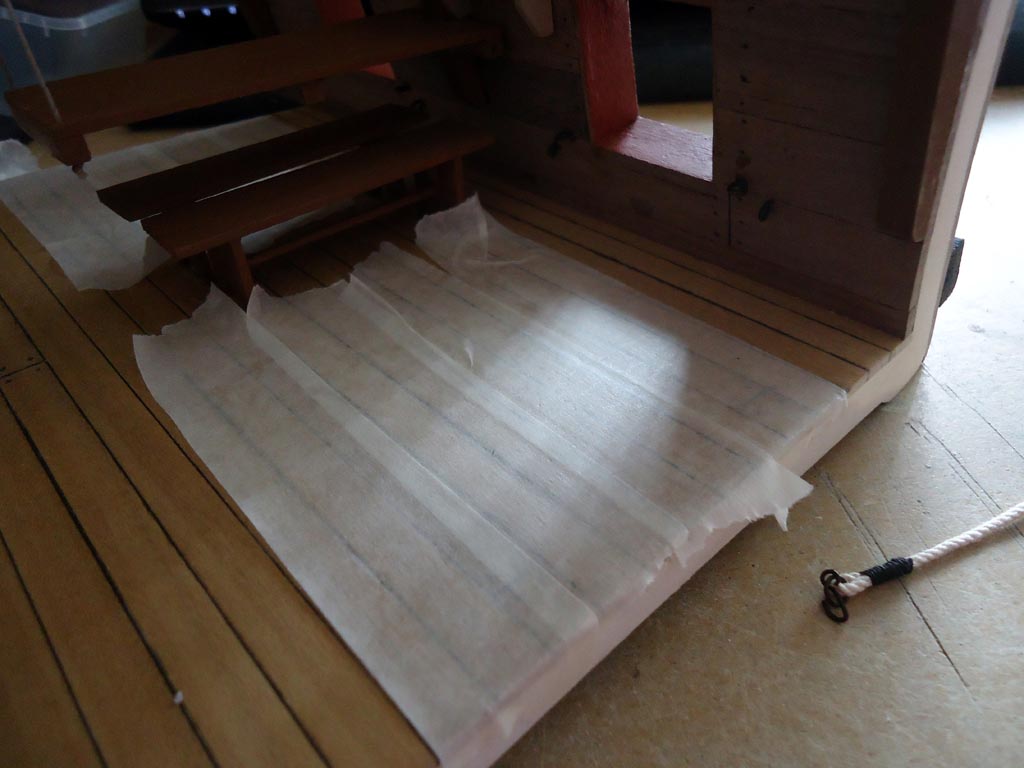
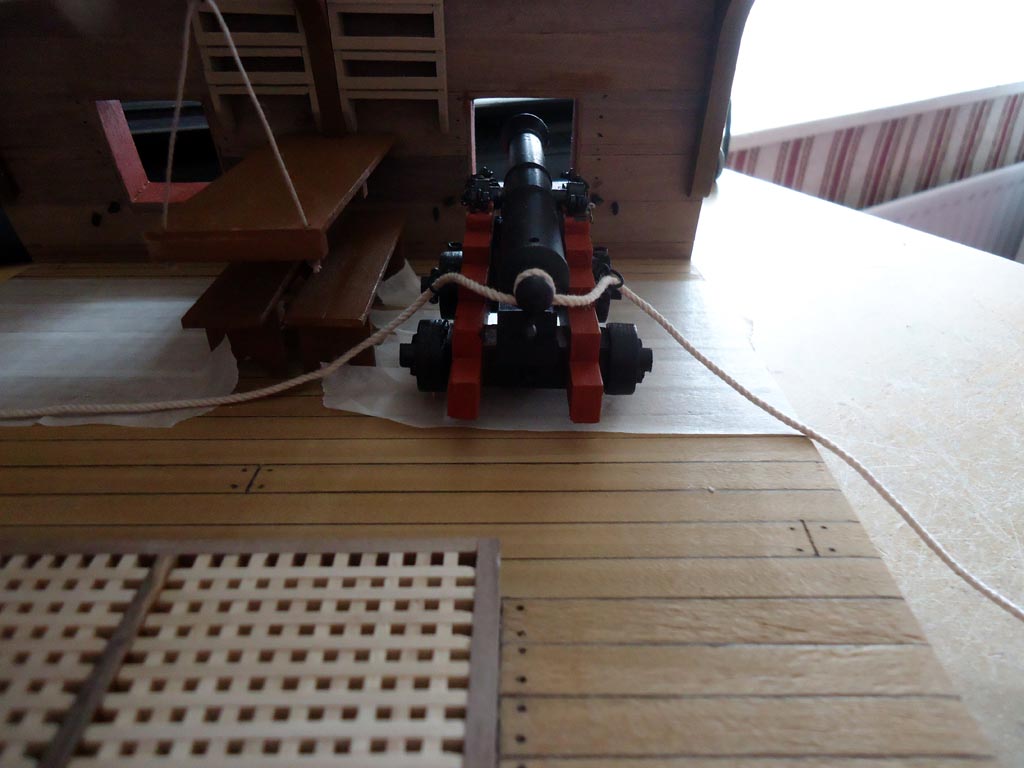
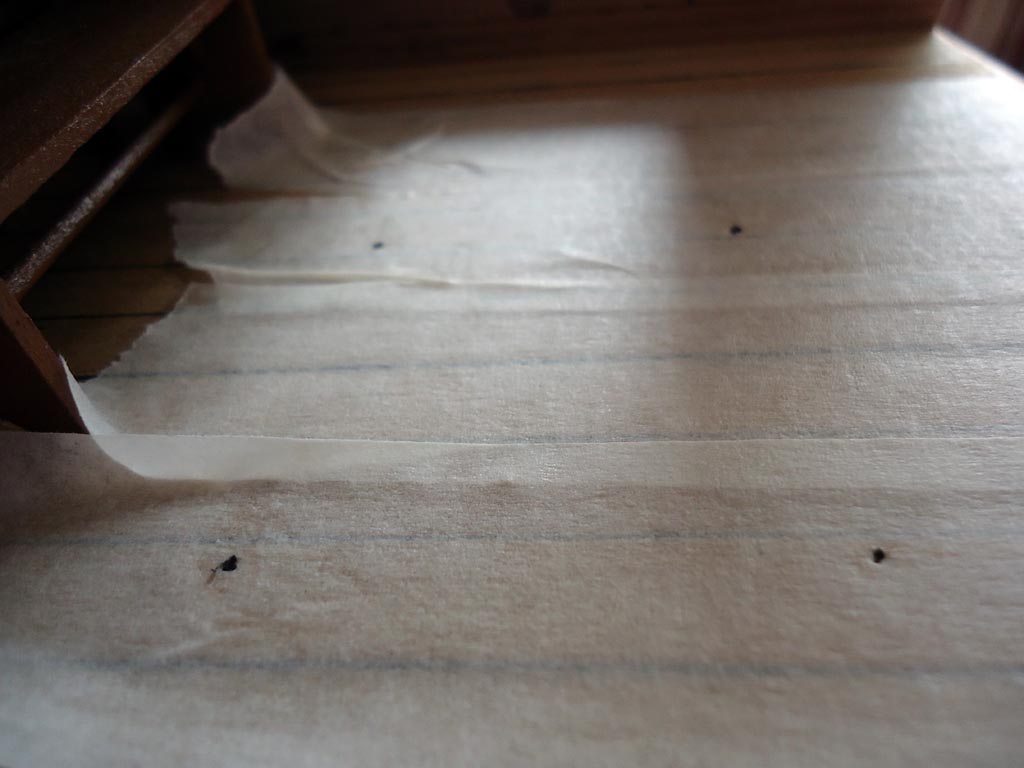
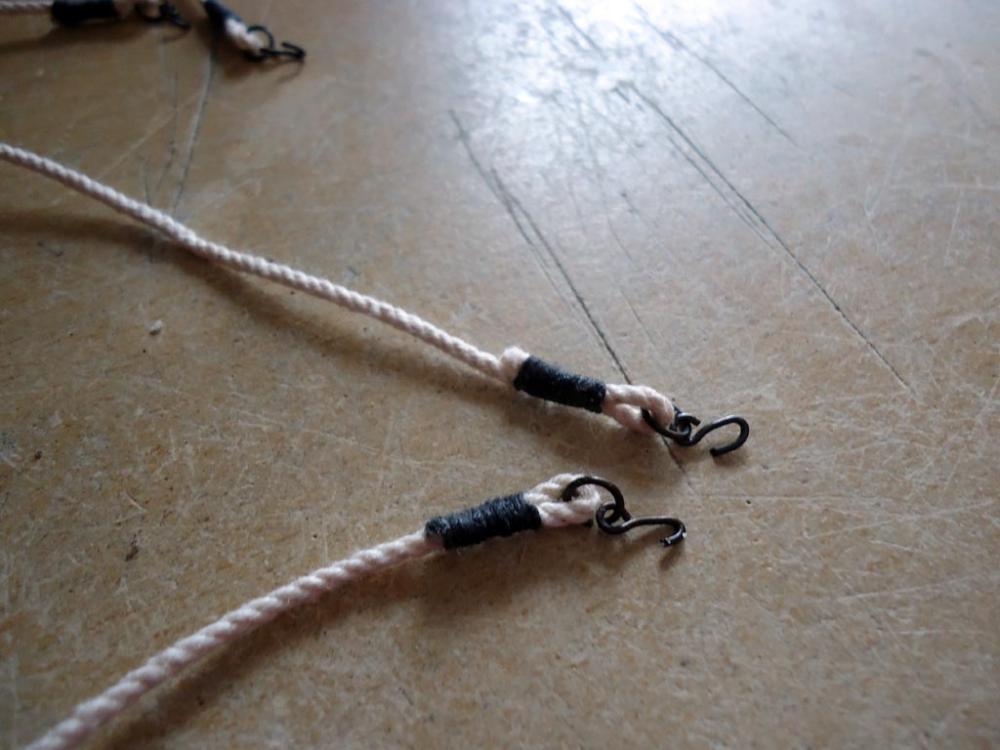
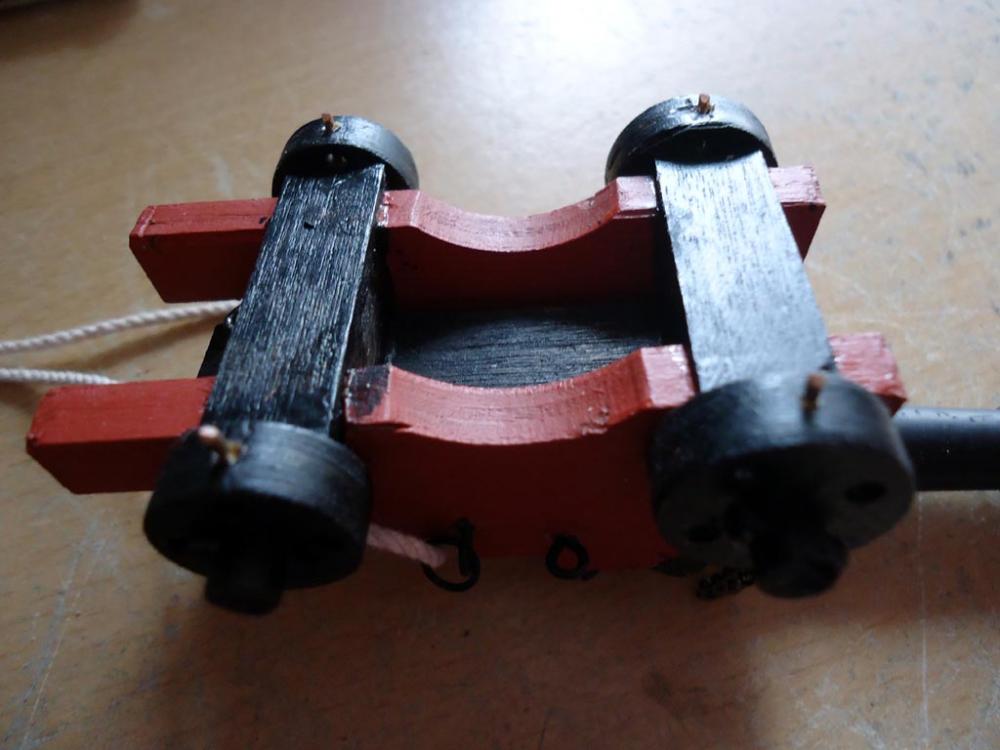
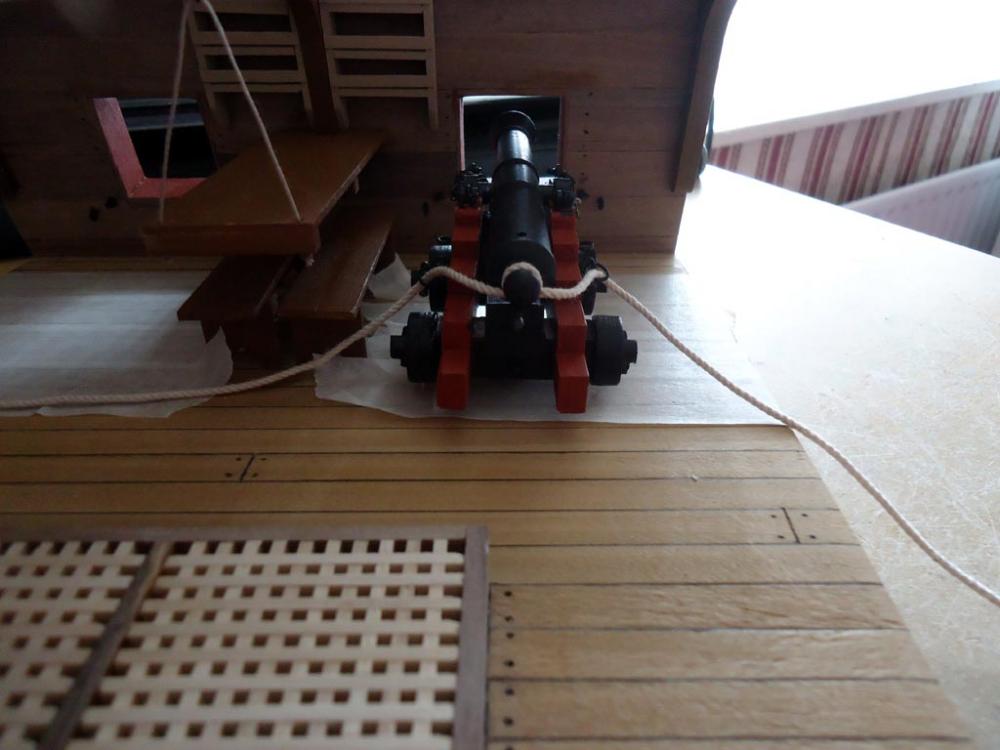
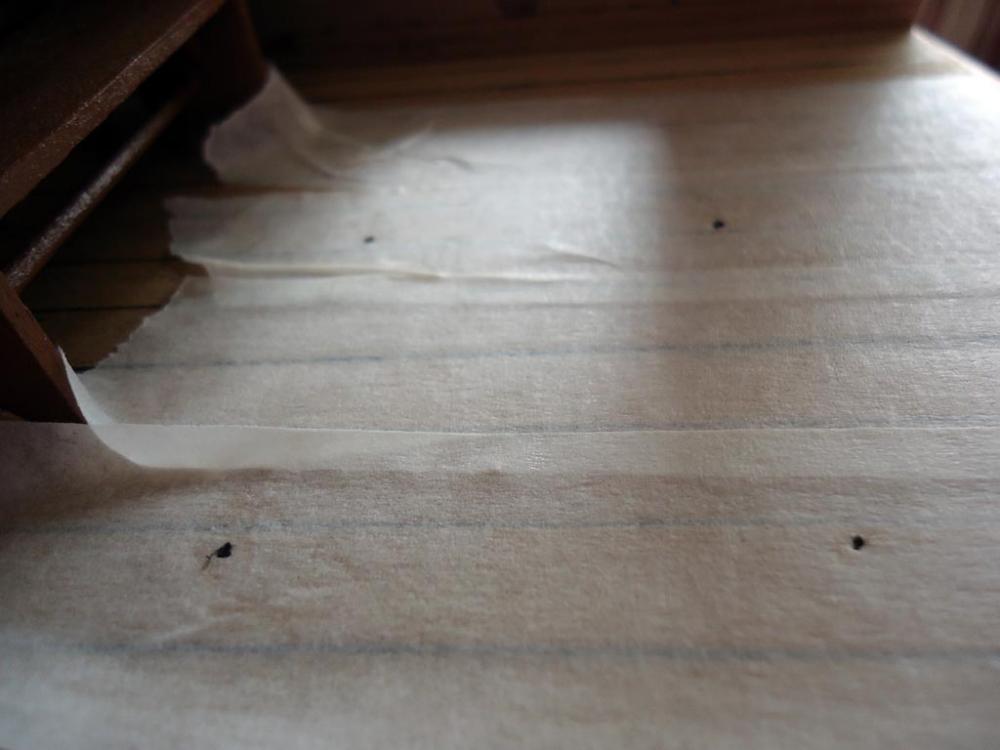
Made up the second set of cannons Made some rings and hooks and finished off the ends of the breaching ropes I do not want any movable parts that can come loose later on after the builds are finished, and then give me a nightmare of a job trying to get them back in place. So i drilled holes in the bottom of the cannon wheels and glued some brass wire in Next i laid some masking tape across the deck Then i carefully placed the cannons exactly where i want then to be and when i was satisfied with the placement i pressed down on the gun carriages with even pressure over each wheel Note : in this picture you can see i have also made and fitted the shelving to the inner hull above the table When the cannons are removed there are 4 marks left in the masking tape, i have highlighted them with pencil to make it easier for the camera to pick up the marks. all thats needed now is to drill out the holes where the marks are, apply glue to the brass rods in the wheels and place the cannons where i want them


- 206 replies
-
- 14
-
-
- battle station
- panart
- (and 1 more)
-
Hi Antony Cornwall model boats has some 2.5mm rigging cord here http://www.cornwallmodelboats.co.uk/acatalog/amati_rigging_thread.html and 2.25mm here http://www.cornwallmodelboats.co.uk/acatalog/caldercraft_C82250N.html
- 99 replies
-
- 1
-
-
- turtle ship
- korean
- (and 1 more)
-
Fantastic everything looks so clean and crisp. The red edge sounds good to me as it will emphasise the fact it is a cut away
- 99 replies
-
- 5
-
-
- turtle ship
- korean
- (and 1 more)
-
Thank you Bryan I appreciate your comment. and thank you to all who have commented and liked so far
- 206 replies
-
- 5
-
-
- battle station
- panart
- (and 1 more)
-
Hi EJ Right attitude, don't let it get to you and learn from the errors you find along the way
- 608 replies
-
- 3
-
-
- la couronne
- corel
- (and 1 more)
-
Hi Paul Thanks I have already test fitted the cannons in place before i fitted the tables and benches, and as long as i fit the hull end block and hook first then place the cannon and then fit the cannon block, all of it fits fine. Thanks for being helpful
- 206 replies
-
- 7
-
-
- battle station
- panart
- (and 1 more)
-
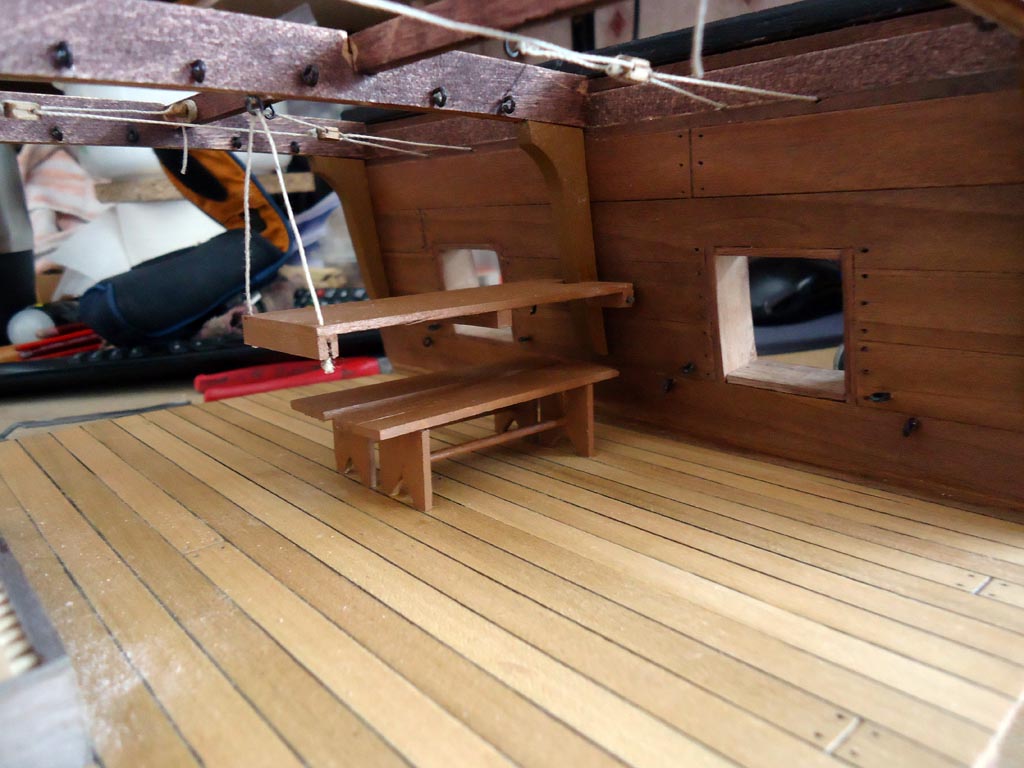
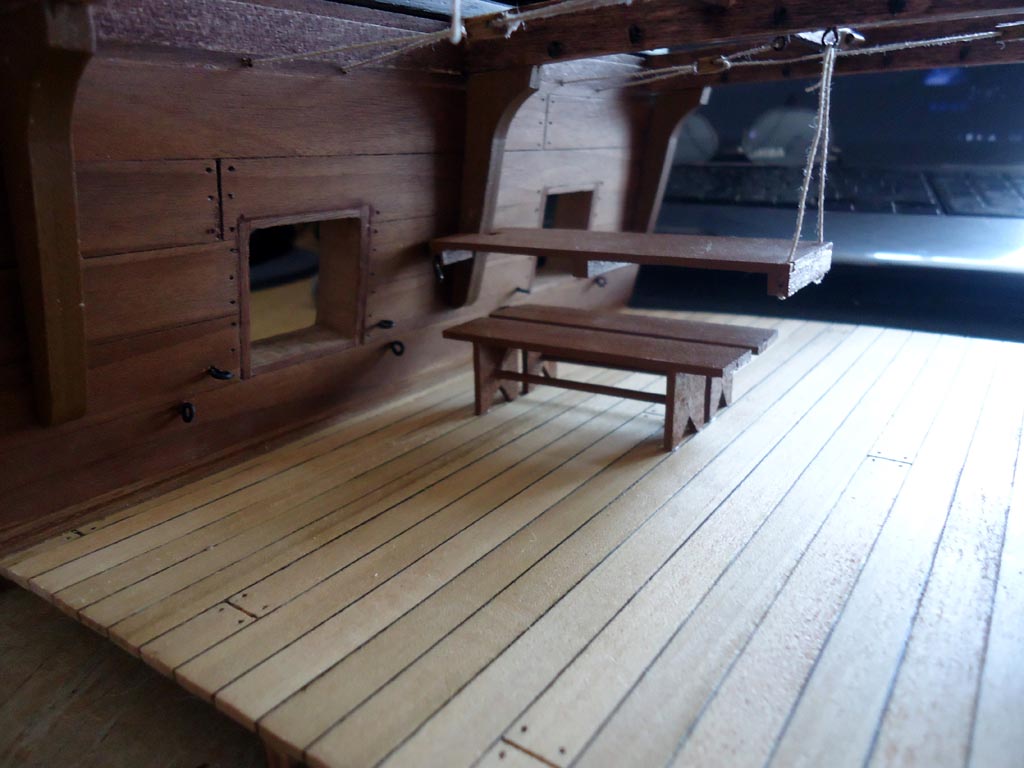
Made a little more progress Fitted the hanging knees and all the eye pins in the upper beams and also all the eye pins for the cannons, also made the tables and benches and fitted them


- 206 replies
-
- 11
-
-
- battle station
- panart
- (and 1 more)
-
Nice job on the support pillars EJ i like them But a poor show on the kit manufacturers part for not supplying what seem like essential parts, they could have at least designed the kit with some cross beams for deck support
- 608 replies
-
- 4
-
-
- la couronne
- corel
- (and 1 more)
-
Sanding the burn marks is a delicate and unenviable job, trying to get rid of the burns and at the same time keeping the size and shape of the part the same as the original laser cut
-
Nice progress Bryan You're into all the fiddly stages of the build now and doing a good job
- 77 replies
-
- 3
-
-
- cross-section
- hms victory
- (and 2 more)
-
Thanks Elijah . I thought it would be boring to do two at the same time but it's not that bad. Although i do my best on the first one i can then see if there is any room for improvement on the second one.
- 206 replies
-
- 6
-
-
- battle station
- panart
- (and 1 more)
-
An unenviable job and all credit to you for sticking with it, and finishing with a great outcome
- 653 replies
-
- 5
-
-
- trabakul
- marisstella
- (and 1 more)
-
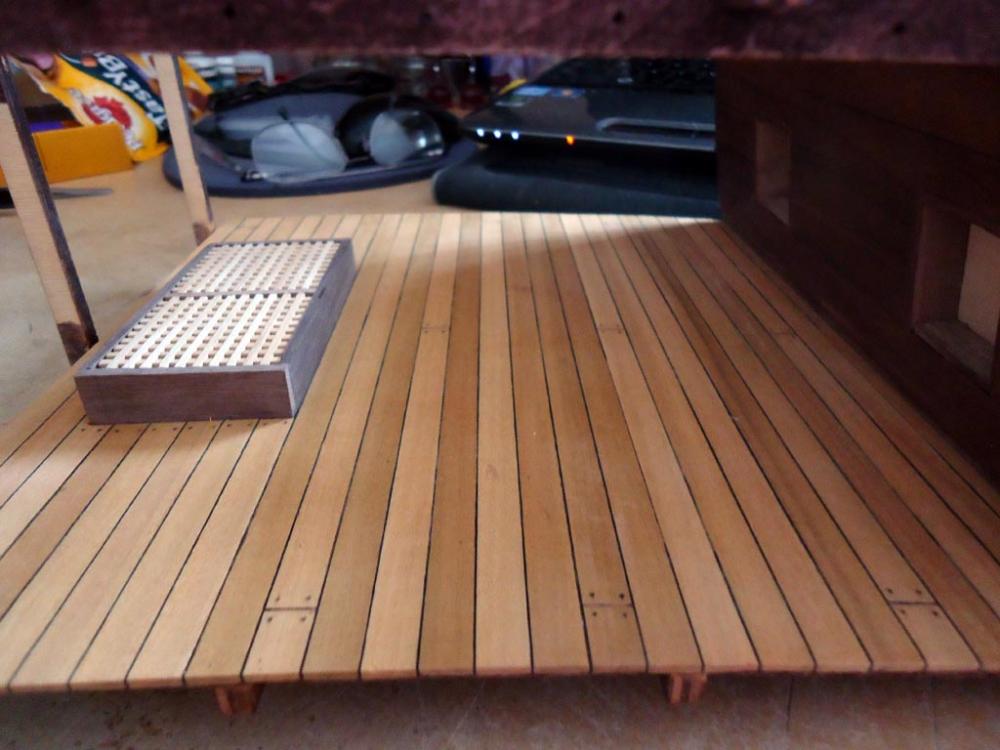
@ Don Thanks Don, he better be @ Paul Thanks Paul, basket weaving for a basket case, sounds good
- 206 replies
-
- 5
-
-
- battle station
- panart
- (and 1 more)
-
Both builds at the same stage, so i can carry on with them both now
- 206 replies
-
- 12
-
-
- battle station
- panart
- (and 1 more)
-
Nice job with the hinges
-
I agree with that, and seizing the block looks so much better too, the section deck builds i am doing say to use brass but i prefer to use the rope
- 608 replies
-
- 5
-
-
- la couronne
- corel
- (and 1 more)
-
Hi EJ I see you are fixing the eye pins to the blocks in the proper manner using rope, not with twisted brass wire like some manufacturers expect. Nice job
- 608 replies
-
- 3
-
-
- la couronne
- corel
- (and 1 more)
-
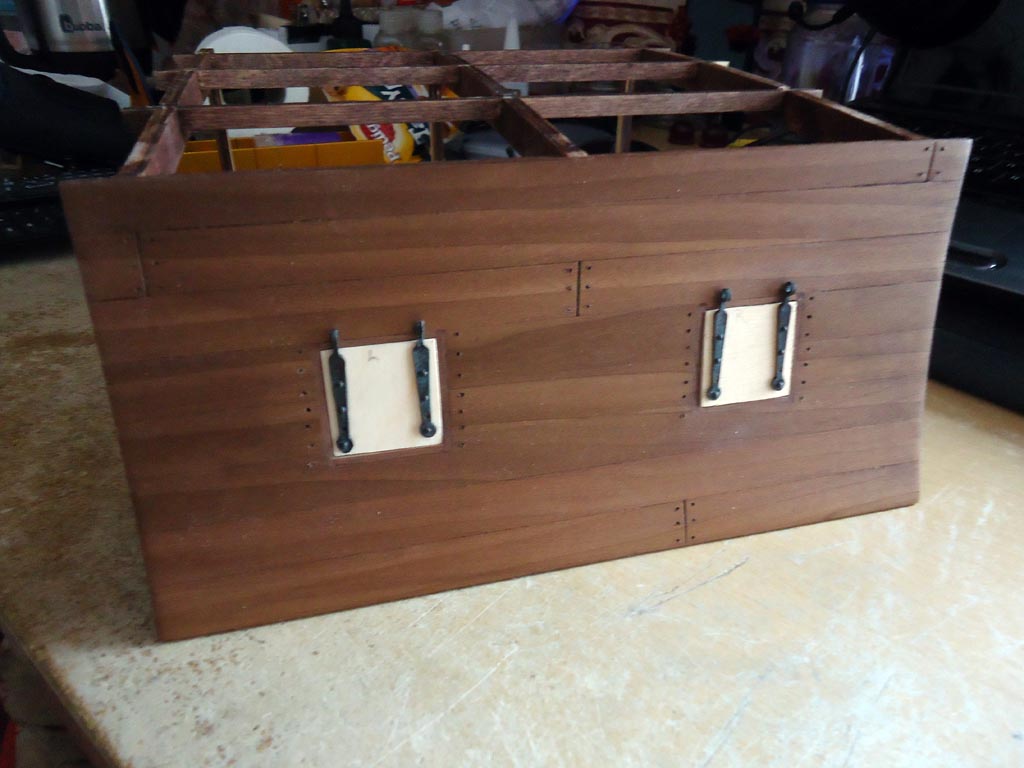
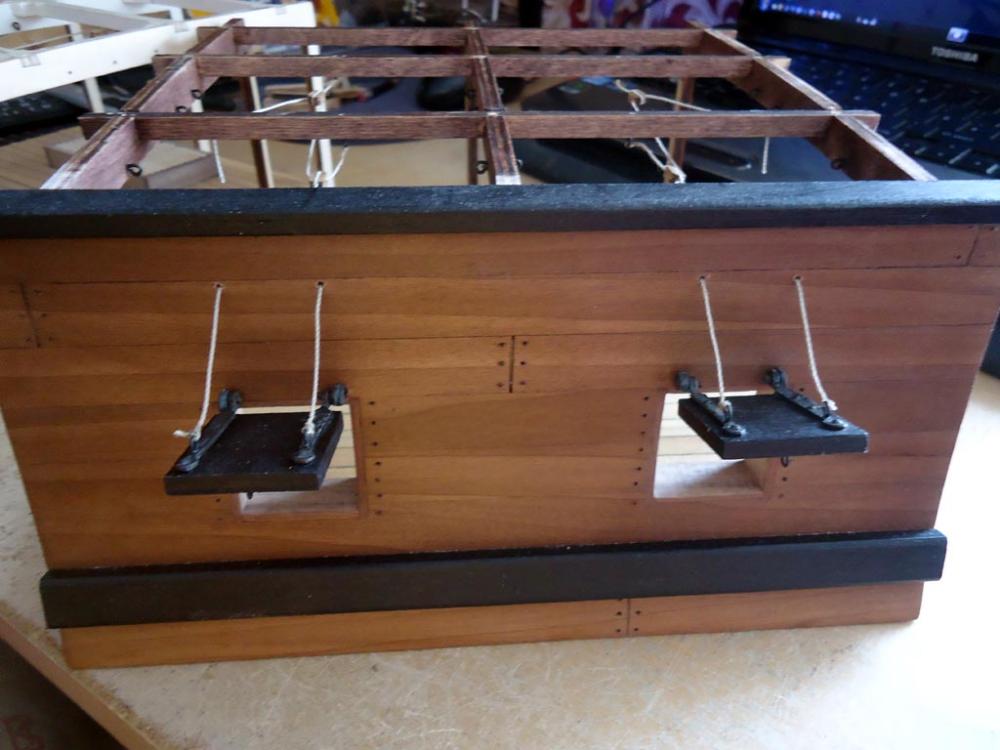
Thanks for the likes and all input so far, much appreciated Quick update I have almost caught up with the other one, just need to finish off the gun port covers and rig them then i will be ready to continue on with both of them together. You may notice that i have gone for a brown framework on this one, this is because i did not like the look of the first one in white. One coat of walnut wood dye gave it a mottled aged look which i liked so i left it at one coat

- 206 replies
-
- 12
-
-
- battle station
- panart
- (and 1 more)