HOLIDAY DONATION DRIVE - SUPPORT MSW - DO YOUR PART TO KEEP THIS GREAT FORUM GOING! (Only 20 donations so far - C'mon guys!)
×


cobra1951
-
Posts
947 -
Joined
-
Last visited
Content Type
Profiles
Forums
Gallery
Events
Everything posted by cobra1951
-
 I have to agree, we spend so much time looking at our builds we see every little fault. Anyone else looking just sees the overall effect of the planking. In my case it looks great and i would not have noticed anything if you had not mentioned it, as i just appreciate it for what it is (a great little model)
- 653 replies
-
- 8
-

-
- trabakul
- marisstella
- (and 1 more)
-
Yes you are correct it is an Austro-Hungarian flag. Some info about the Stefano in the link http://museum.wa.gov.au/maritime-archaeology-db/wrecks/stefano Looks great Don. Like you say unusual way with the bulkheads but looks very sturdy
-
It might be worth your while building one of the cannons then as you are ready to add a deck you can check the gun port position relative to the deck before finally glueing the deck in place
-
Looks great Did you chamfer the edges of the planks ? looks like it in the pics Your plank count seems consistent with this build pic so it maybe the manual that's out or just look that way because your planks have not been fully coloured yet
-
Great progress, you say you can live with it, personally i would be extremely proud of such a great result :) This is an excellent idea and i for one will be using it
-
Love those little gold decorations especially the fish ones
- 608 replies
-
- 3
-
-
- la couronne
- corel
- (and 1 more)
-
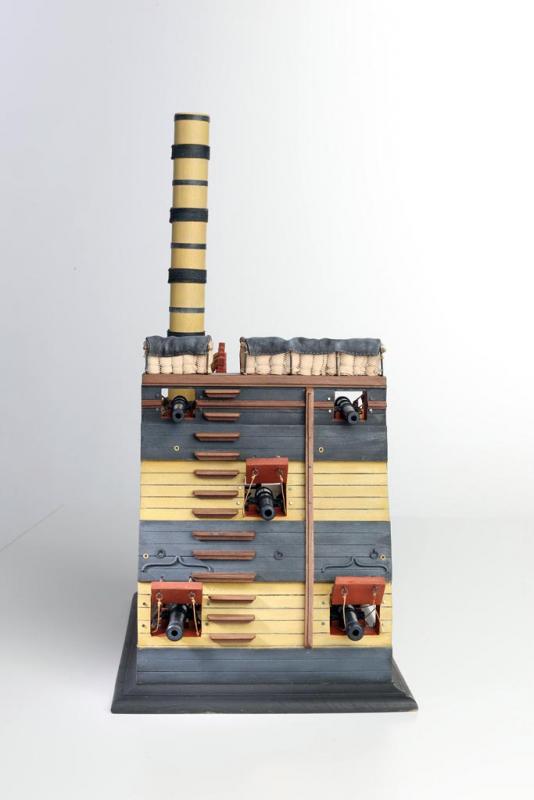
Thanks Antony The sacks are one of the easier thing to make once you get your head around what the drawings are meant to be depicting After looking at them for a while i didn't like the knots in the outer sacks so i removed and retied them, they look a lot better now

- 206 replies
-
- 12
-
-
- battle station
- panart
- (and 1 more)
-
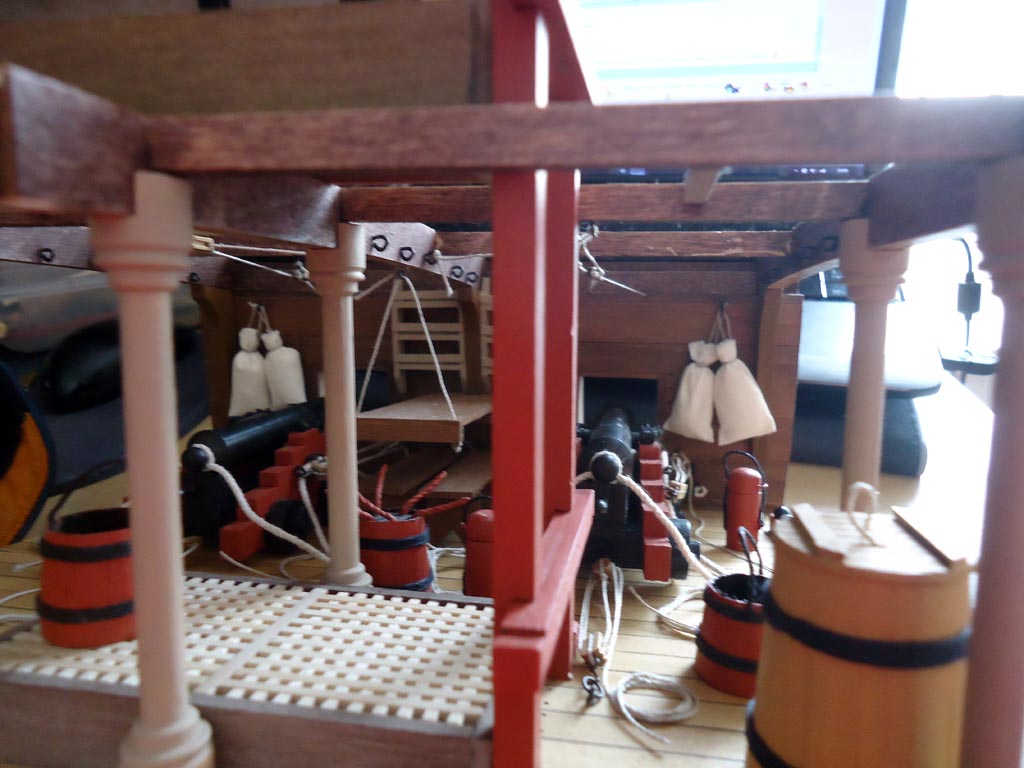
Thanks Paul Not having too much trouble with the tubs and bowls, mainly because i didn't use the Balsa as the main support pillar i changed to a more rigid wood made it a lot easier. Thanks for the heads up on the hammock sizes. Don't want mine stiff i want them to hang naturally with a slight curve in them. Also i am going to fit them lower than recommended as the recommended place would have the poor sailor trying to sleep with the gun port lid rigging across his chest and a massive block smacking him in the head And as this kit is only a representation and nowhere near accurate i have also altered the size and placement of the cannon ball racks, this allowed me to center the Bits with the gratings and fit regular sized planks not small filler ones as the instructions say
- 206 replies
-
- 6
-
-
- battle station
- panart
- (and 1 more)
-
Hi Mike Once you start it double check all measurement as the book and the plans give different ones for the same parts, and on some parts no measurements at all, the table and benches for example no measurements at all
- 206 replies
-
- 3
-
-
- battle station
- panart
- (and 1 more)
-
Nice planking on the deck and the structures, also love those little doors
- 44 replies
-
- 1
-
-
- king of the mississippi
- artesania latina
- (and 1 more)
-
Hi Bryan. It's obvious that nobody at Disar has built this kit following their own instructions, if they had they should have picked up on all the discrepancies in the measurments. If they got it sorted they would sell more kits IMHO.
-
Looking at picture 2 from the instructions it is supposed to be slightly higher than center. Also if you check out the frontal view and rear view photo's in the PDF of the finished build you can see there it is slightly above center, but as yours is still in skeletal form it is hard to see how far out if any it is. Paul and myself found out from our section builds that no matter what the measurements say they are often telling you lies. as you said before you are better going with the precut material sizes where possible Also it looks like the early stages are also a balancing act as well as a Mensa test
-
Looking at it again I noticed that when fitting the uprights it gives the distances between them as being measured between the inner parts. But in picture 2 the distances are measured between the outer edges. Check where parts 4a are fitted. If that distance is really 5mm then your materials would be about 1mm thick which they obviously aren't. I think your problem is where they are depicting the measurements differently between the two pics. Check if measuring the hull uprights from the outer edges make it any better Hope I'm making myself clear
-
Hi Bryan. I had similar problems with my sections. Clearly what is depicted in the pics are the main hull side frames and the 5 gun port openings. I would start by checking the size of the supplied gun port lids this should give you an idea of what the actual size of those openings should be. Although I don't know the thickness of the material they might have mistakenly added the extra mm onto the larger measurements. I also notice they give you the measurement of how far back know to place the 4 uprights on the Base but do not give the measurement of how far in the 2 outer uprights fit, if they had there would at least be a better basis to help figure it out. Sorry I can't be anymore helpful at this stage
-
It looks like it will be really nice once built, it is very reasonably priced too considering it's pretty big for a section. Here's a link to a PDF you can download with a lot more pictures of the completed model might help with the build just click on the pictures to open them and then click again for bigger views http://www.afizon.es/es/productos/disarmodel-navio-rayo-20148-detalle?tmpl=component&format=pdf
-
Glad this has turned up Bryan, As you say getting half cut laser pieces out is a pain. Minimal instructions make a mockery out of their advertising that it is done in the English language as matching part numbers doesn't need a language However it's a nice looking kit and will make a good display piece and is going on top of my list of what to get next
-
Looks good, i like that last pic very atmospheric almost like being in the real thing
-
Looks great Bryan and that window looks like a nice home for it :) BTW did the Rayo Spanish ship of the line turn up yet ? EDIt: Forget that question i just found your log for it
- 77 replies
-
- 2
-
-
- cross-section
- hms victory
- (and 2 more)
-
That idea is perfectly feasible extending the gun port cut out and covering up with the planking, but remember you will also have to alter the stern end of the template so that the stern plate and stern facia fit squarley