HOLIDAY DONATION DRIVE - SUPPORT MSW - DO YOUR PART TO KEEP THIS GREAT FORUM GOING! (Only 20 donations so far - C'mon guys!)
×


cobra1951
-
Posts
947 -
Joined
-
Last visited
Content Type
Profiles
Forums
Gallery
Events
Everything posted by cobra1951
-
 Thanks guys you seem more concerned than me It's only wood and i would rather i landed on it than the dog, imagine trying to find the splinters in all that hair I am already partially through another build i have been doing alongside the Bounty. Also i am thinking which boat kit to get next probably not another AL because of the quality issues i had with their wood
 -
Gun deck planking done except for the last plank which cannot be fitted until the three rear upright supports have been removed later in the build. They will be removed once the six support pillars have been put in place Next job is the inner and outer hull planking

- 206 replies
-
- 10
-

-
- battle station
- panart
- (and 1 more)
-
Just letting everyone that has been following this log know that Bounty is no more. Do not place your model on the bed then play with the dog on the same bed, because once you land on top of it this is the result It was my own stupid fault and the dog is not to blame I would like to thank everyone who has replied to or liked the posts in this log Now onward with more builds, the left over wood and parts will come in useful in the future i'm sure

-
Hi Elijah. I don't know if you have already seen this or not but you might find the download helpful with your build. I think you have to register on the site to download the files not sure as i haven't registered there http://shipmodeling.net/vb_forum/articles56.html
- 701 replies
-
- 3
-
-
- phantom
- model shipways
- (and 1 more)
-
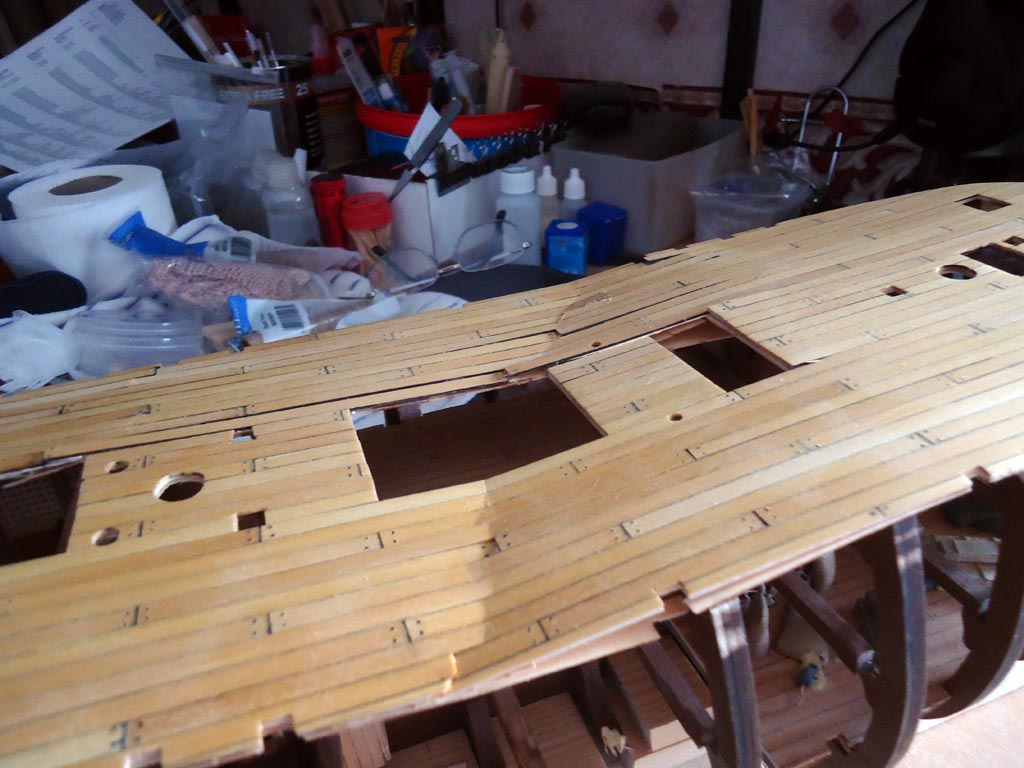
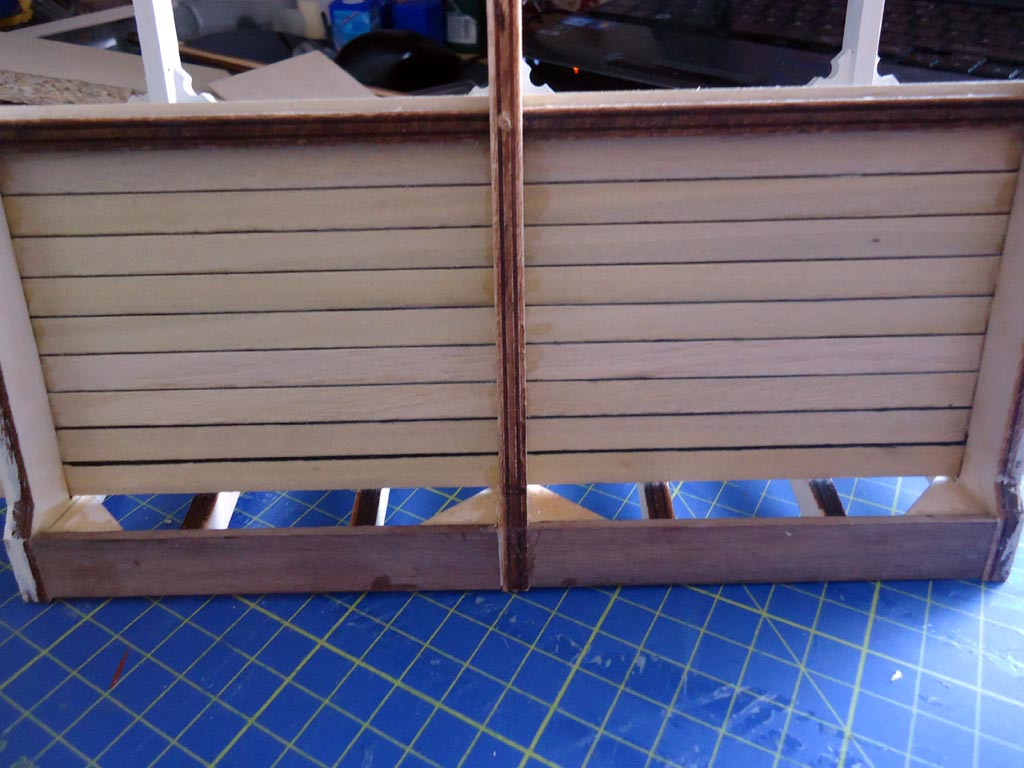
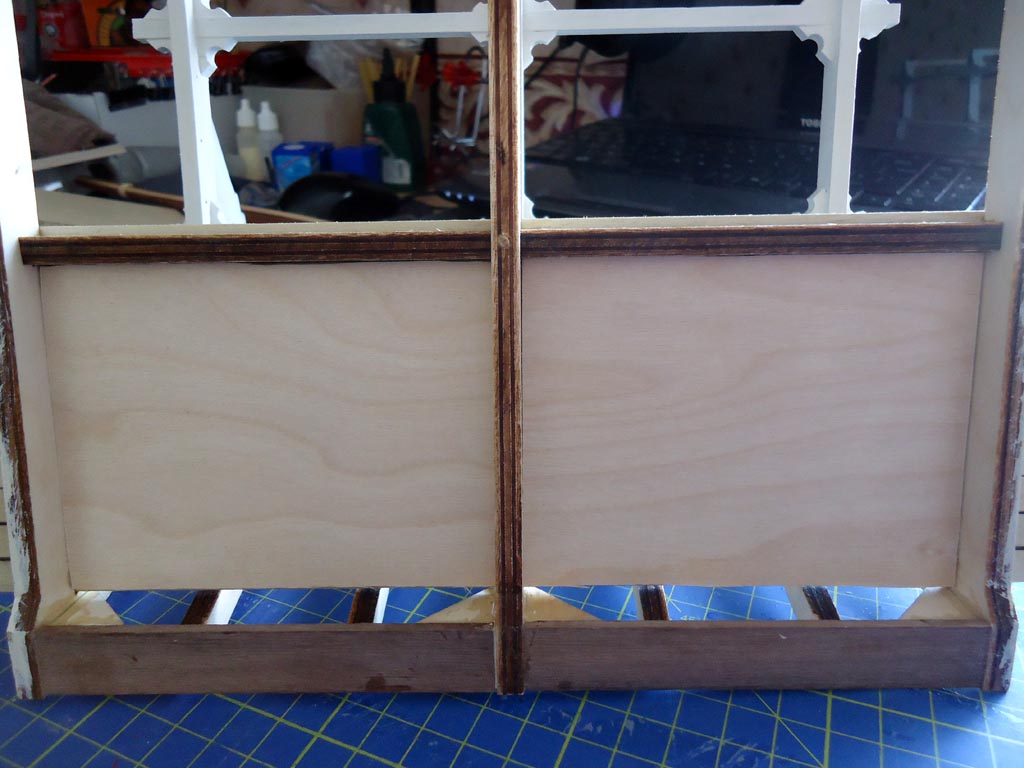
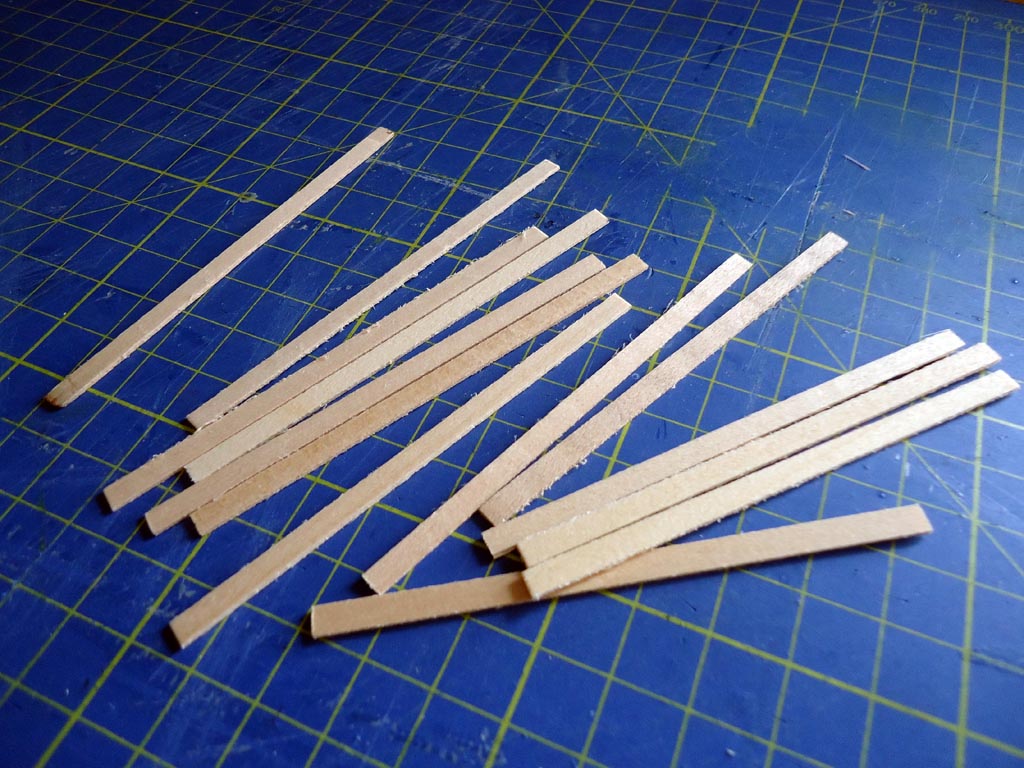
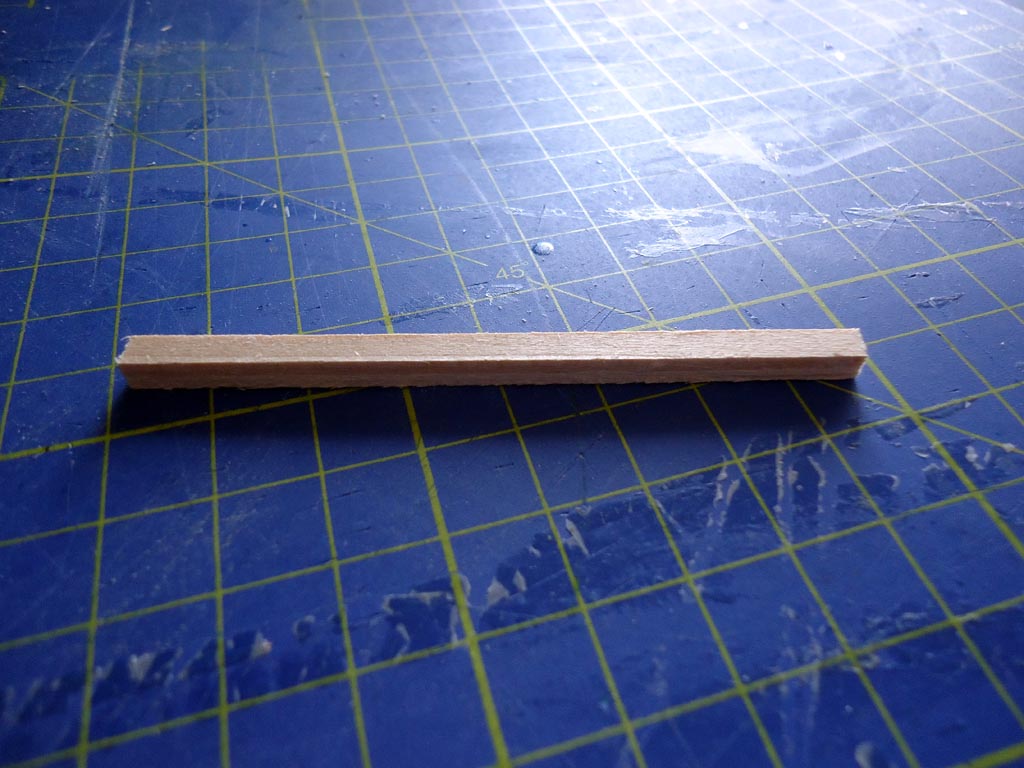
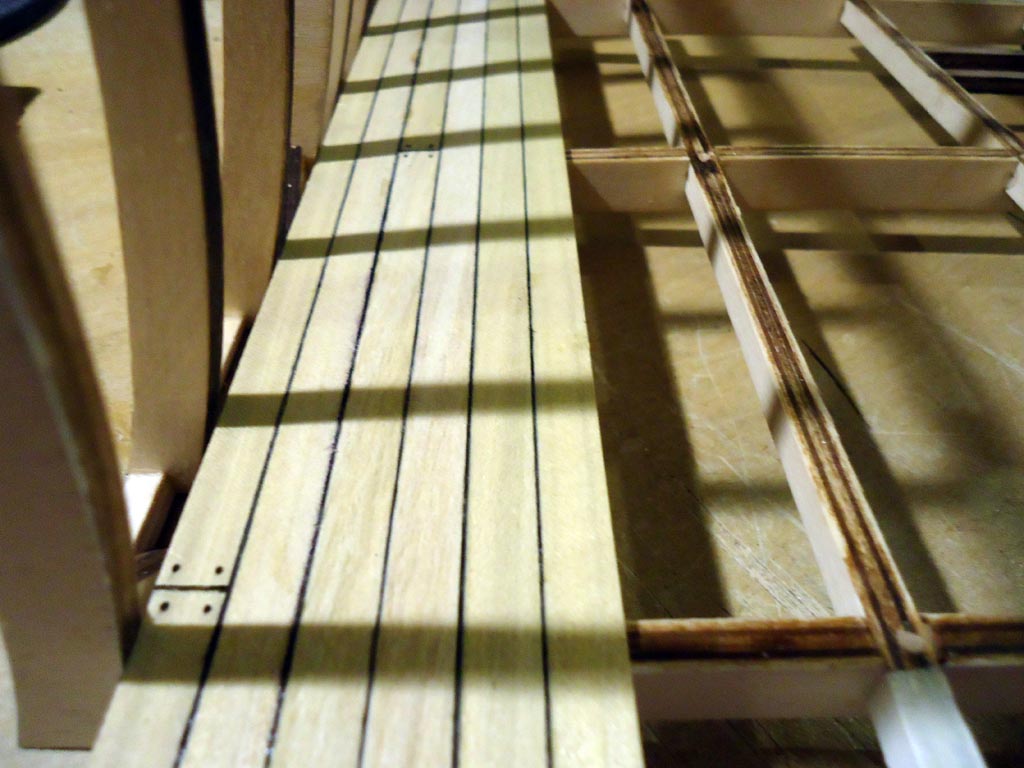
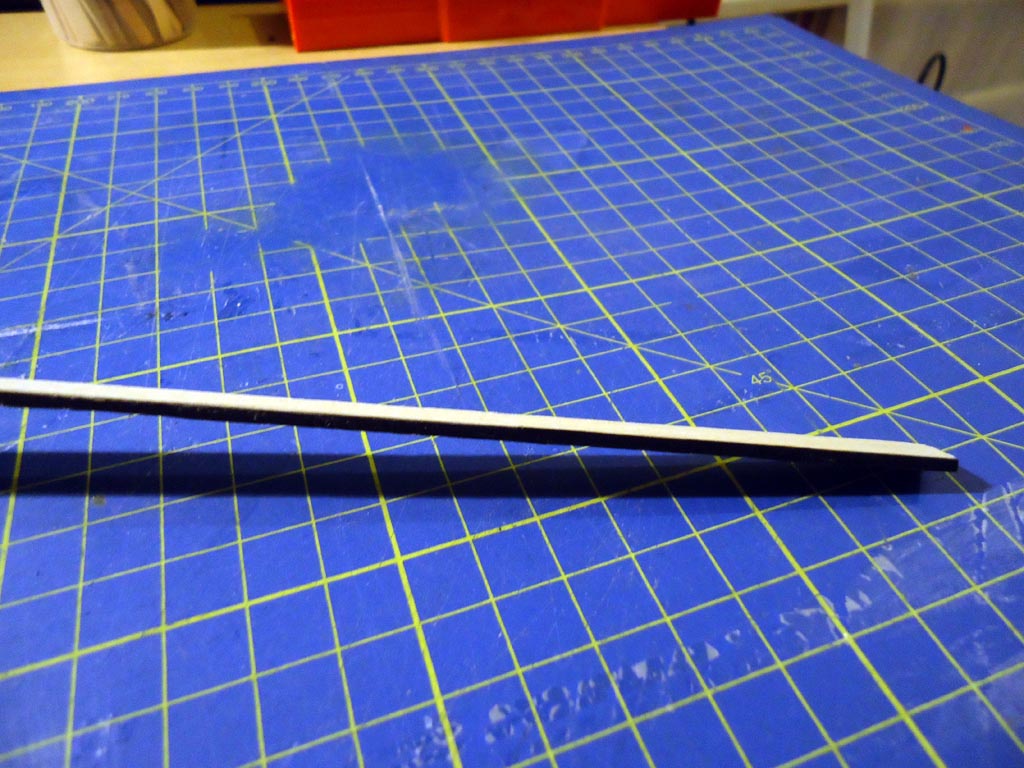
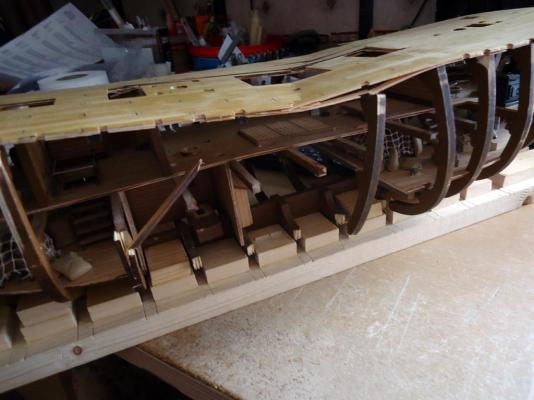
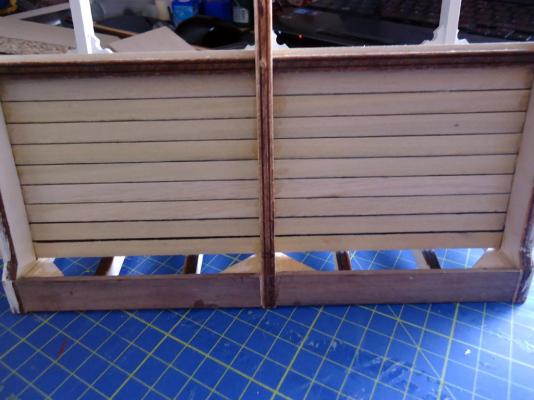
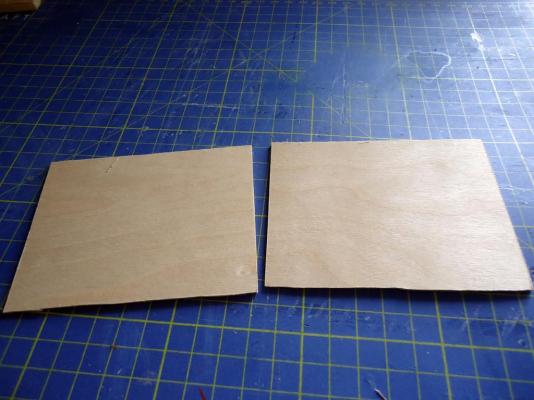
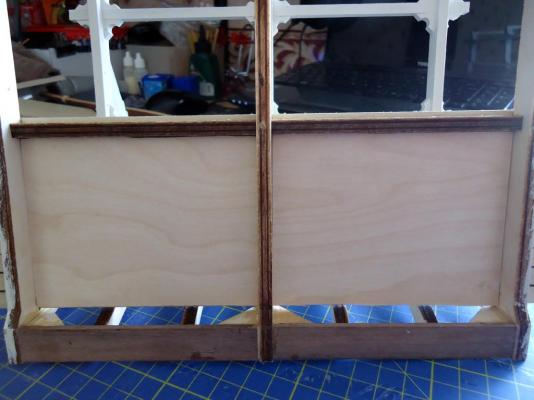
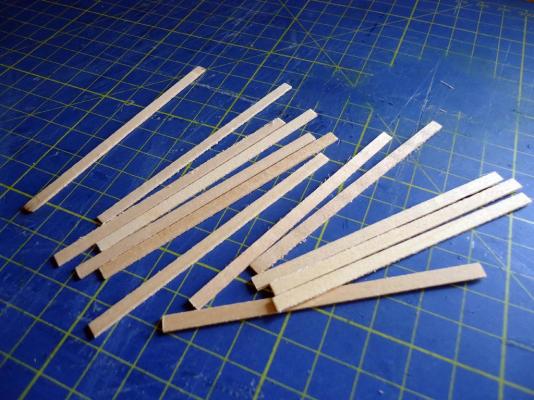
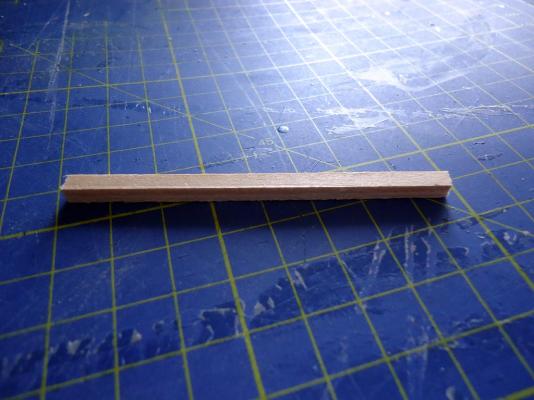
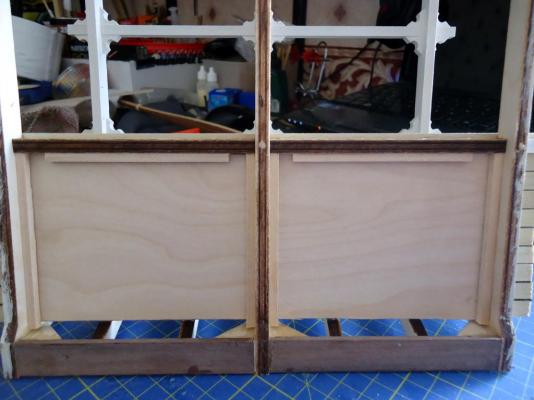
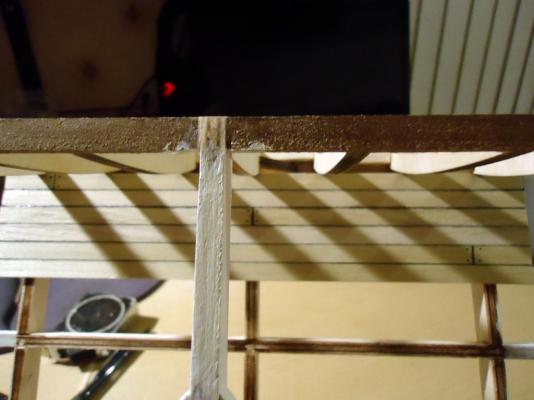
Extended the planking to about halfway now, but not happy with the kit design of not having any support underneath the planking. This meant there was a danger of cracking the planks when it came to sanding them. Picture is planking seen from underneath Got out my supply of 3mm birch plywood and roughly cut out two pieces to act as false decking Once cleaned up they were glued to the underside of the planks to strengthen them I then took some off cuts of 1mm x 4m lime i had already cut up for stirring paint and other such jobs Glued 4 strips together to make a 4mm x 4mm beam, made 6 beams altogether The beams were then glued to the main frames and cross beams and also to the bottom of the false decking i had made. Planking is now a lot more stable and will enable me to sand them without worrying about cracking them. The same will be done to the rear half where needed
- 206 replies
-
- 8
-
-
- battle station
- panart
- (and 1 more)
-
Great job getting rid of all the paint spill All the work on the ladder is extremely well done, i really like the addition of the non slip tread plates on the rungs and also the big non slip plate at the top of the ladder before the planking starts
-
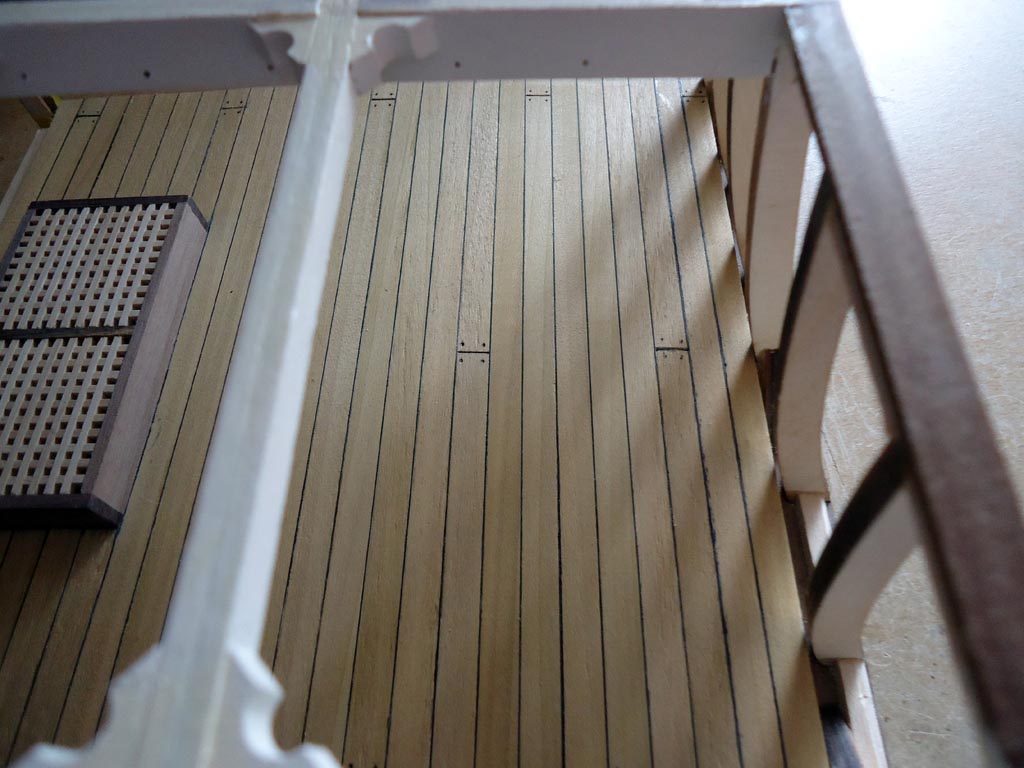
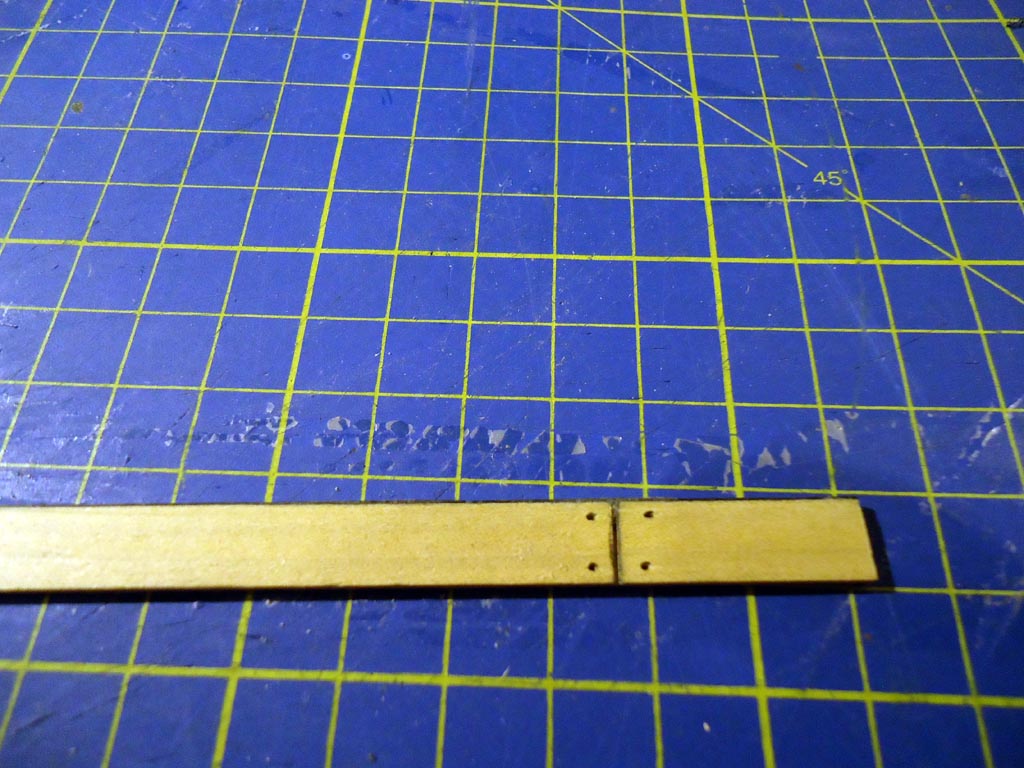
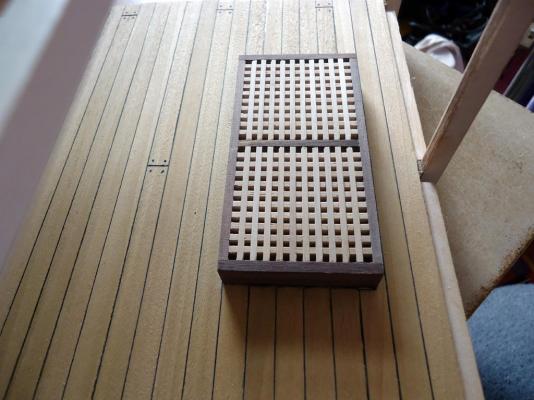
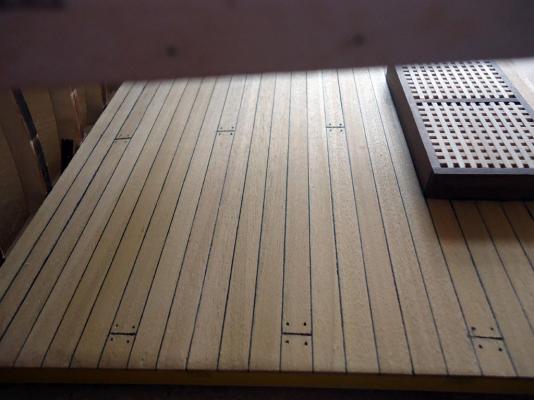
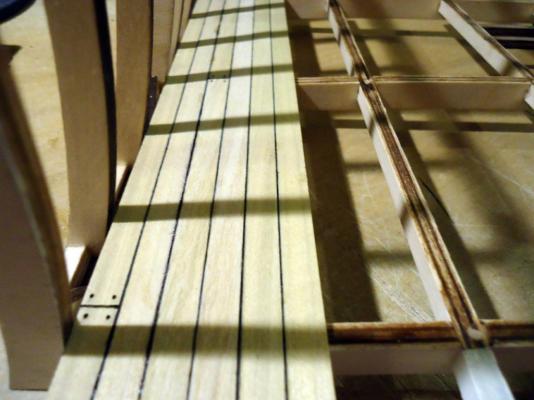
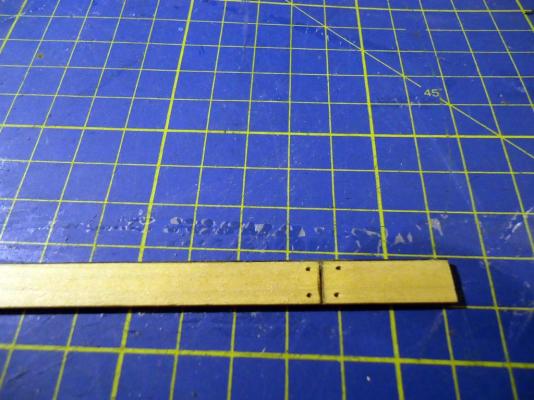
Hi all First welcome to all and thanks to everyone for all the likes and comments While waiting for planks to dry on my Bounty i started the deck planking on this build The instructions supplied some 0.5mm x 2mm walnut to do the caulking in between the planks. i decided not to use this as it was a bit on the brittle side and more of it was ending up stuck in my fingers instead of on the kit To simulate caulking along the length of the plank i used some 0.25mm thick black styrene sheet i have, i glued a strip along the length of the plank and once dry i trimmed it to fit For the butt joints i went with the instructions which meant cutting a slot across the plank without going all the way through, The reason for this is that except for the 3 frames there is no support beneath the planks to use a proper joint. Then i simulated tree nails either side if the slot.
- 206 replies
-
- 10
-
-
- battle station
- panart
- (and 1 more)
-
Hi Mike. Welcome to the log. Going is slightly slow because i am doing it alongside my Bounty build so pull up a chair or ask Per to make room on the couch for you
- 206 replies
-
- 4
-
-
- battle station
- panart
- (and 1 more)
-
Thanks Paul. Once again great attention to detail and well carried out
-
Hi. You will enjoy this kit i had it a while ago. Except for the figure head it's the same kit as the Zvezda's Black Pearl kit. You got the better one as it's a lot cheaper than the Black Pearl version but exactly the same quality.
-
My vote goes to cajoling the kids, you can blame them if you don't like it
- 77 replies
-
- 3
-
-
- cross-section
- hms victory
- (and 2 more)
-
Hi Bryan. Looking good, surprising what a bit of paint can do to change the whole look As for the gun port template i think you have done the right thing in moving it along a bit, not only because it misses out the ribs, but also if you left it and removed the rib parts it would seriously weaken the hull IMHO. I too am building the same gun deck section as Paul is and you are correct in thinking the materials are good quality, they are. What Paul says about the book versus the plans is correct they do contradict each other in places, you just need to read both for the part you are doing and decide which best suits the way you build. A bit like your template problem, but it's all part of the fun
- 77 replies
-
- 4
-
-
- cross-section
- hms victory
- (and 2 more)
-
If you want something to glue clear acetate to wood without it misting up try this http://www.ebay.com/itm/Deluxe-Materials-AD55-Glue-N-Glaze-Glue-/231851041327?hash=item35fb66222f:g:p7kAAOSwjVVVkwHO I use it on all sorts you can even use it to make a window in a small space check out the video
-
This looks great, even more so seeing as you only have photo's to work from
- 99 replies
-
- 4
-
-
- turtle ship
- korean
- (and 1 more)
-
Love the work on the cannons