MORE HANDBOOKS ARE ON THEIR WAY! We will let you know when they get here.
×


cobra1951
-
Posts
947 -
Joined
-
Last visited
Content Type
Profiles
Forums
Gallery
Events
Everything posted by cobra1951
-
 Looks nice
 -
I wouldn't worry about them not being uniform, in fact they're probably more historically accurate that way. I'm thinking that in the 18th century they would have been hand forged and would have had slight differences in them. The way they have turned out is really good IMHO. Well done
- 335 replies
-
- 3
-

-
- 18th century longboat
- Finished
- (and 1 more)
-
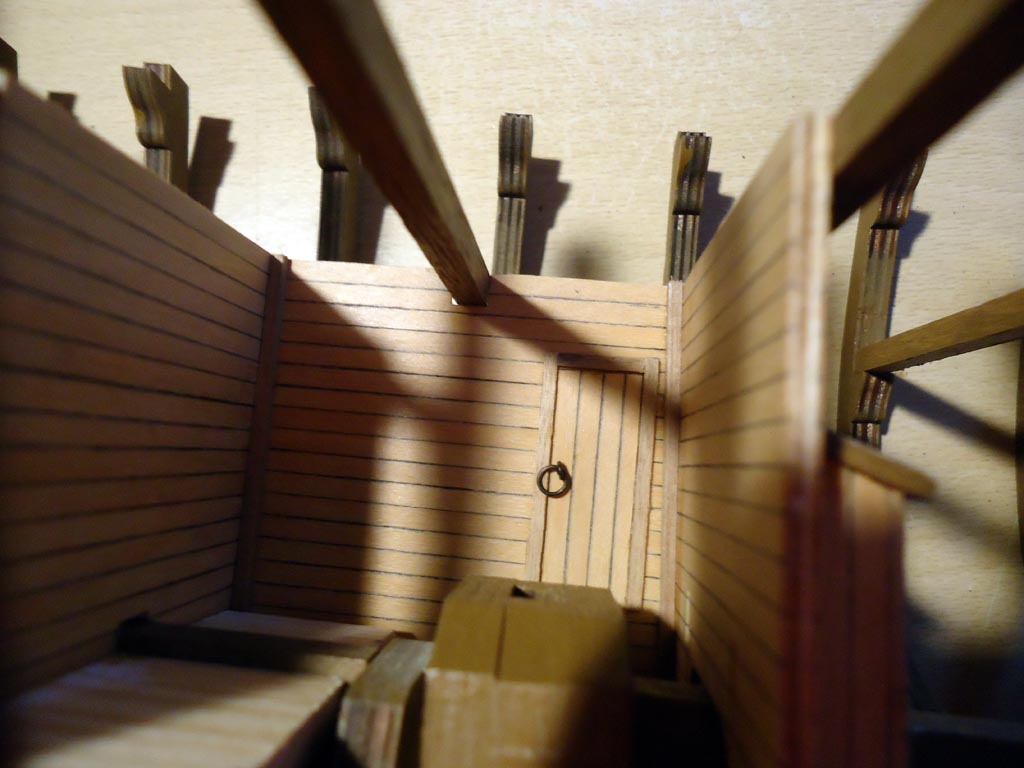
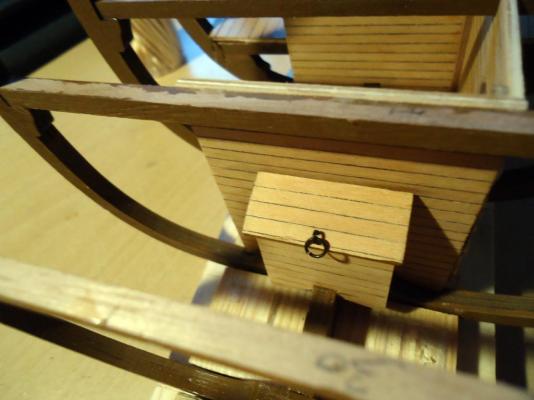
Hold well bulkheads planked and fitted. I decided to use more Boxwood to plank the bulkheads and i used a smaller size just to give some contrast to the wider deck planking. Also i didn't go with the recommended 3mm x 1mm Sapelli for the door frame, to my eye it looked oversized, so i used 2mm x 1mm walnut instead. i then added some 2mm x 2mm the the bulkhead corners just for added strength and because i liked the look it, lol. The ring bolts on the door and the hold well box lid were treated with brass blackener before fitting

-
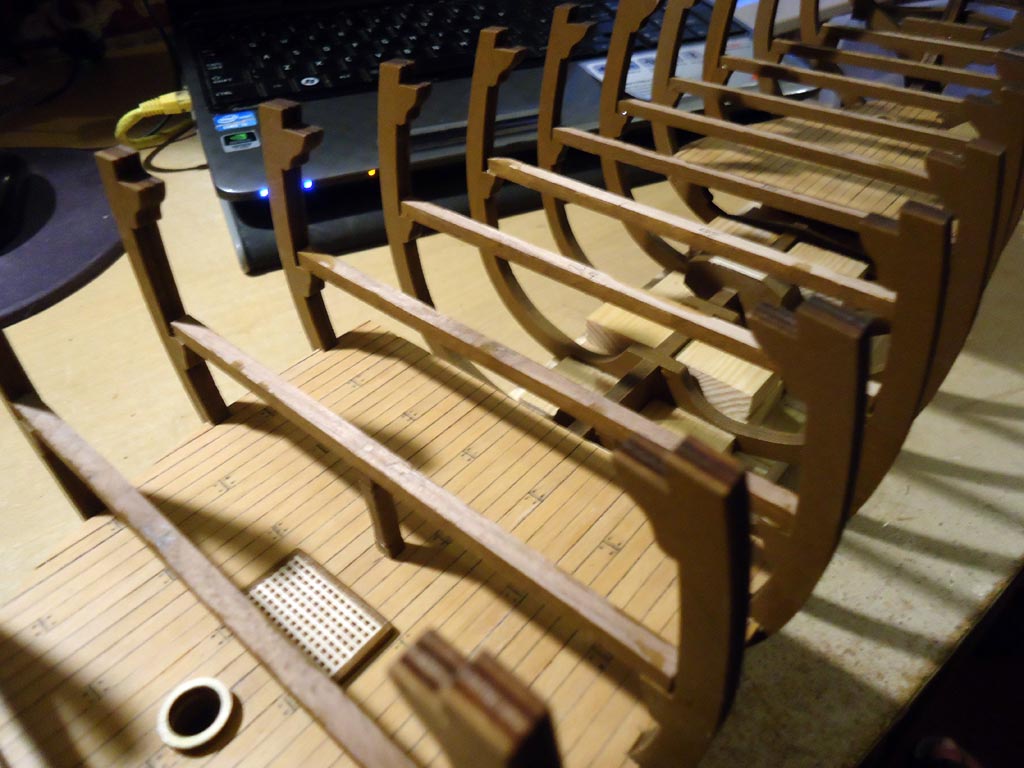
Hi Capt Of course it's allowed, all tips and hints should be welcomed by everyone, no matter how good the modeller is, there are always more things to learn especially if someone is trying to be helpful All the mast heels are already fixed but i did dry fit all the decks and pass the masts through the holes before i fixed the heels in place, the same method was used for the bottom support rings, and i will use the same method as i build upwards hopefully this will keep it all lined up, I say hopefully because you never can be sure until the last deck is permanently fixed
-
I use both oil based and water based depending on what i am varnishing. The oil based seems to soak into the wood a bit better but even when using clear oil varnish it still stains the wood slightly. The water based seems to leave the colour of the wood almost the same as it was before varnishing, and to help it soak into the wood i water it down slightly. But it is all a personal preference on how you want the finish to turn out. I tend to only use matt varnish as naturall wood doesn't shine. Remember though once you varnish it the normal wood glues will not be as effective as they are on bare wood
-
Hi Thomas Your build is very neat, excellently done and the extras are a pleasure to look at, hope mine gets somewhere near as good as yours
-
Thank you Antony, and can i also say thank you to all those that have liked my posts so far Currently planking the hold well bulkheads
-
Fitted the forward and aft middle deck crossbeams and painted them except for where glue will be needed later When fitting the pillar chock under the 4th crossbeam i did not want to get any glue on the deck planking so i only applied glue to the top of the chock, to make sure it was still secure i drilled a hole through the crossbeam and fitted a large treenail in with glue to strengthen the joint.


-
Coming along nicely well done
-
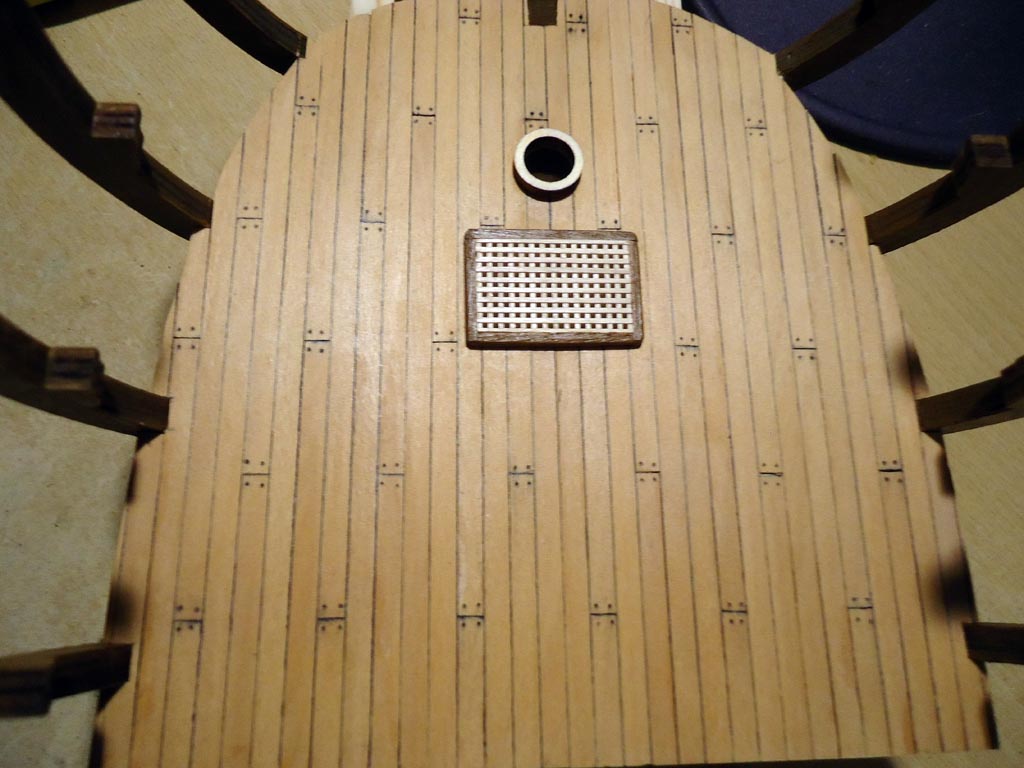
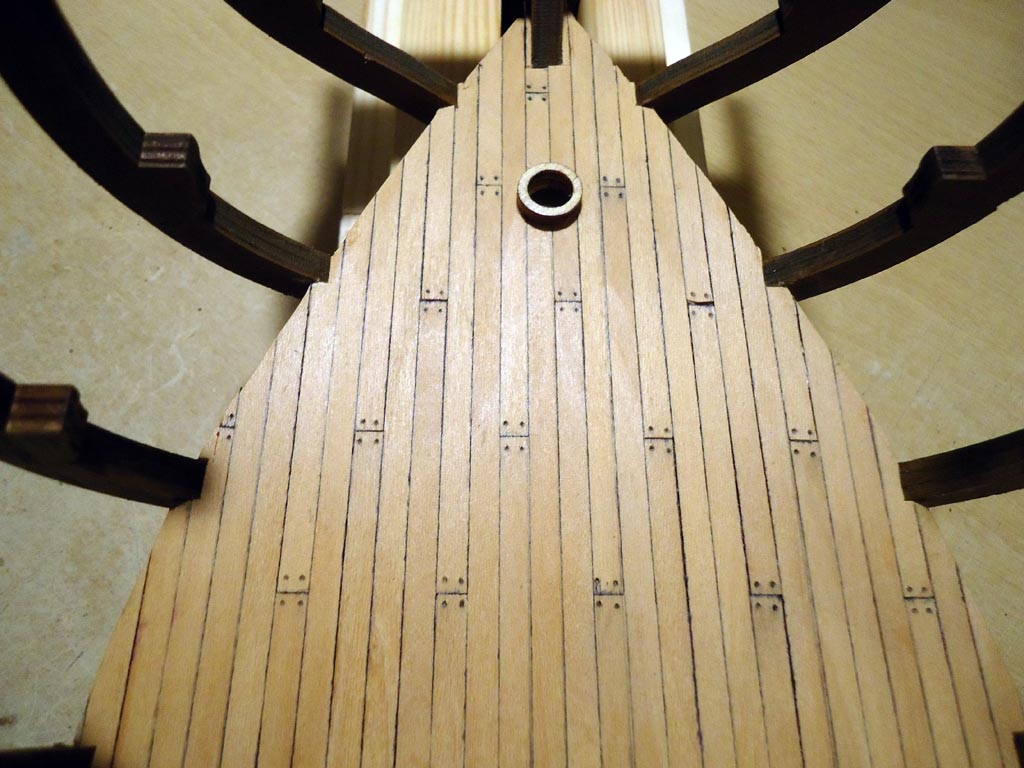
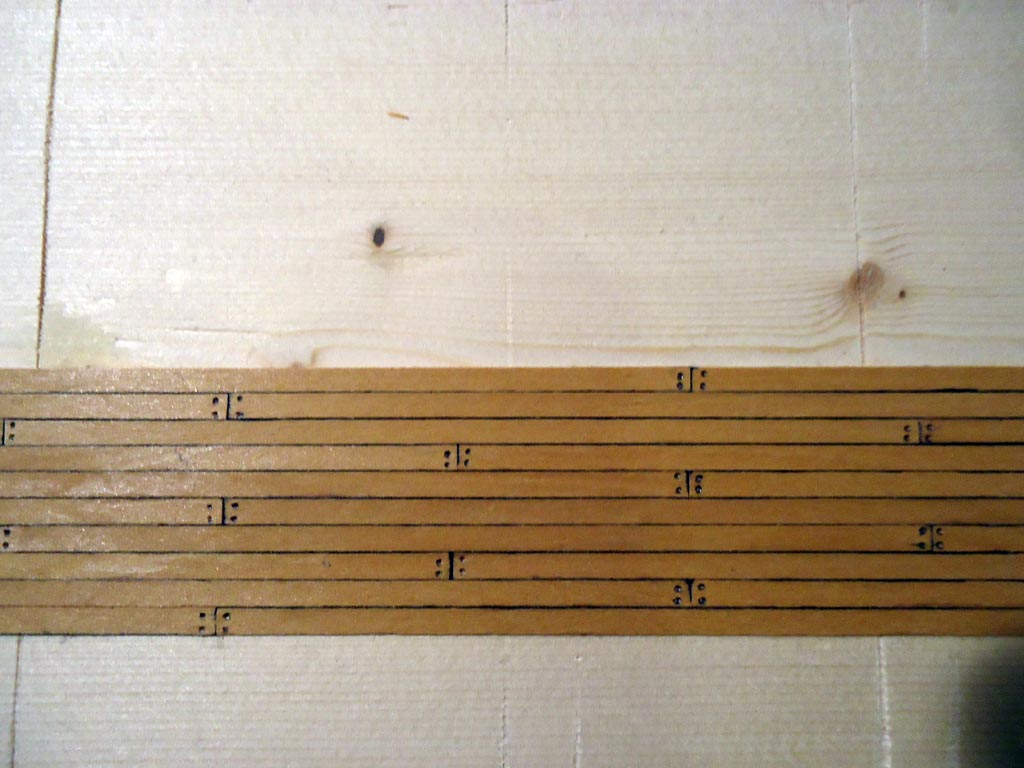
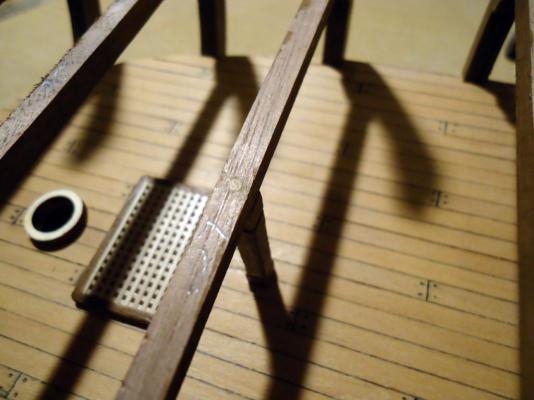
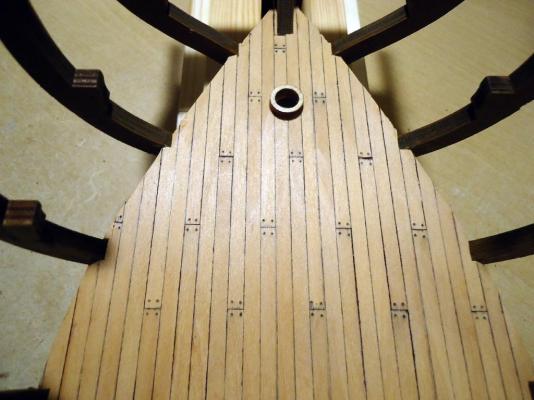
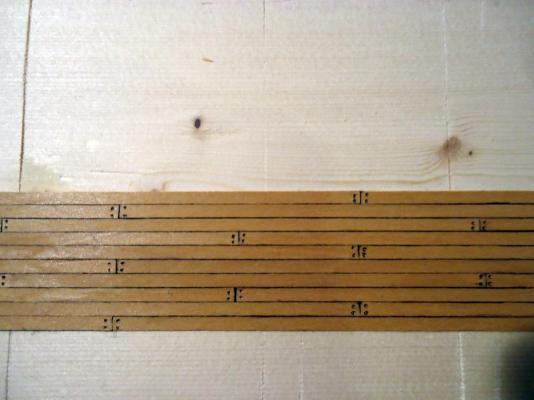
Forward and Aft hold decks planked. Planks were cut to 120mm, at 1/48 scale this equates to a 20ft plank. The planks were then laid in a 5 butt shift system using a 13524 pattern. Mast support rings were then fitted and then i made up a grating to cover the bilge entry. This was made of some old grating material i had left over from something else. not quite the same scale but it's better than leaving the hole there and the scale difference will hardly be noticable once the middle deck is on and some cargo dispersed around the deck. Then the aft hold deck was done in the same way. Once done they were given a coat of matt varnish to seal them.

-
Hi Thomas Thanks for the comment, I find spending a few hours going through other logs saves a lot more time in the long run so it's well worth the effort. Also it's nice to see how others building the same kit are progressing with theirs
-
You can if you want, but make sure non squeezes out onto the outside of the plank or it will stain, and with the plank you're using being so thin you won't have much to play with to sand it away before painting or staining.
-
Hi Giant The second planking looks a little thin to me, it won't leave you much room for sanding out any errors.
-
All the planks should have a slight taper on them. You should taper the plank before you bend it and do it while it is wet with a ruler and a sharp blade making a few passes, not all in one cut. This helps to stop the blade trying to follow the grain of the wood and leaves you with a smooth edge. Of course others may have different ways of doing it
-
I haven't used that one. I use Titebond original, but i suppose they both do the same job

-
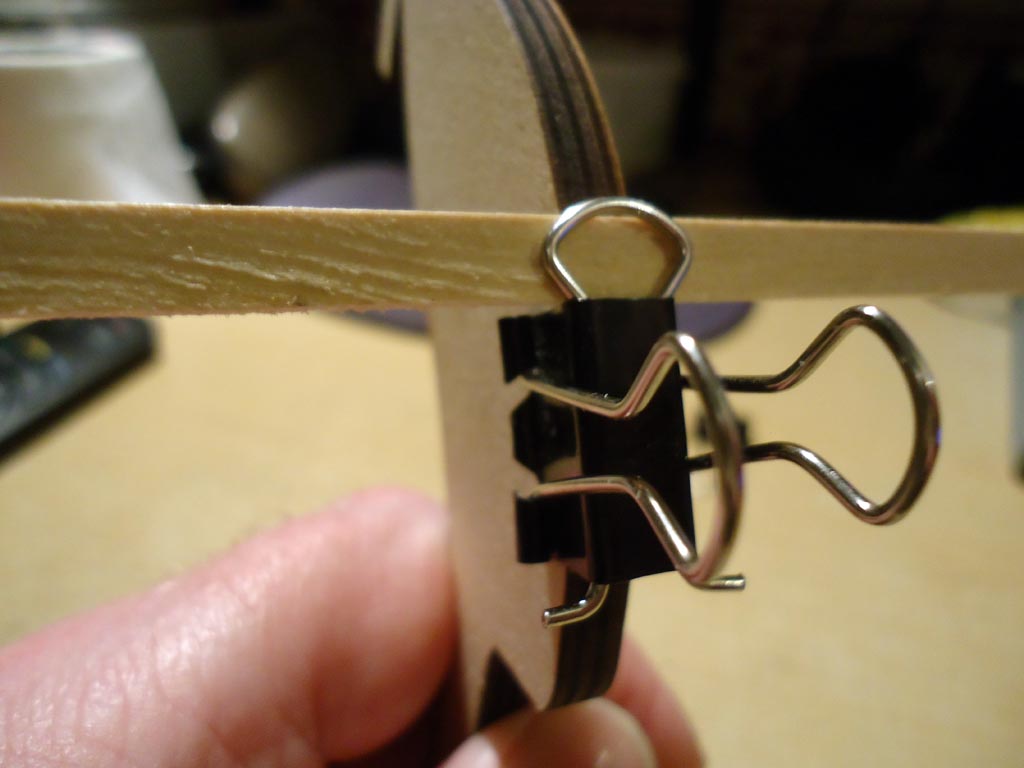
Hi Giant you can use the same clips as you the ones you are already using but re-arrange them like this and then put them on the frames, and they will do the job better. Also i use a faster setting type of wood glue called Titebond it grabs a lot faster too. And for the second planking i use the Gel Super Glue. However i am going to try the single planking as per the instructions, because i have not done single before and it's worth trying just for the experience.

-
The lighting looks really good. Very atmospheric looking. Great job
-
Just had another look at the plans and pictures and i noticed there is no cover over the hatchway on the forward lower deck. I strongly suspect this is another error in the plans. I am pretty sure that an entrance to the Bilge would have had a hatch cover over it. Anyway i have some spare material for making hatch covers so i am going to add one
-
Thanks Captain. More coming soon
-
Hi Just found this log. You're doing a great job on this little boat very neat especially at such a small scale which makes the job even harder. Also i like the conversion from the kit supplied wood to Boxwood it makes it look so much better.
- 335 replies
-
- 4
-
-
- 18th century longboat
- Finished
- (and 1 more)
-
Got bored so i dug out an old plank and some spare narrower Boxwood i had left over from another project and quickly laid a bit of decking for practice. Didn't take any particular care as i just wanted to see what shift pattern to use. I used the 4 butt shift pattern for this one but on the actual build i might change it to a 5 butt shift pattern. have to see what it looks like with the wider planks on the Bounty. The ones i used are about 1mm narrower so the effect will change when i use the wider planks.
-
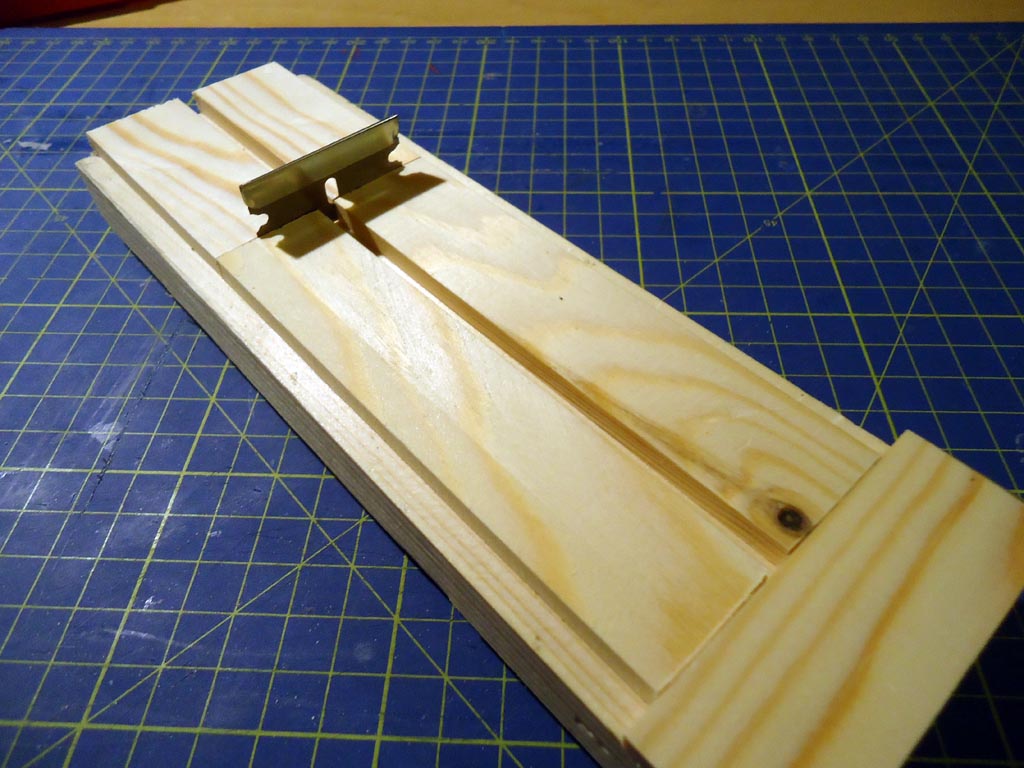
While i wait for my Boxwood to arrive i knocked up a quick jig that will enable me to cut all my planks to exactly the same length. I'm using single sided razor blades to cut the planks, so that i don't get split ends from using a saw. Have to change the blade regularly so the edges stay as good as possible

-
Hi Antony I'm not actually planning any kit bashing but as i progress i go back and read other build logs on this ship again and if anyone has had a good idea for an improvement i am not going to rule out doing something similar, after all a good idea, is a good idea lol. The planking on this model is two different sizes, the lower holds and the middle deck are 0.6mm x 5mm and the main deck is 1mm x 5mm. I had to use 2 different suppliers to get what i needed. For the lower and middle decks i used a company called Original Marquetry. They do Boxwood in 0.7mm x 4.5mm or 0.7mm x 6mm. plus other sizes but all 0.7mm thick I went with the 4.5mm as it's just slightly under but to they eye it won't really make much difference. For the main deck i got the 1mm x 5mm from Euromodels. They are dearer than the first company but the only place i can find the correct size in Boxwood, having said that Boxwood is pretty expensive anyway for what it is. hope this info helps