MORE HANDBOOKS ARE ON THEIR WAY! We will let you know when they get here.
×


cobra1951
-
Posts
947 -
Joined
-
Last visited
Content Type
Profiles
Forums
Gallery
Events
Everything posted by cobra1951
-
 Thanks Captain
 -
Just been looking at this kit on CMB looks like it will make a good model, quite big as well
- 77 replies
-
- 3
-

-
- cross-section
- hms victory
- (and 2 more)
-
Nice to see you took the time to make yourself a jig, well worth it to save spoiling such a good kit with a wonky gun Great looking results well done
- 527 replies
-
- 2
-
-
- caldercraft
- victory
- (and 1 more)
-
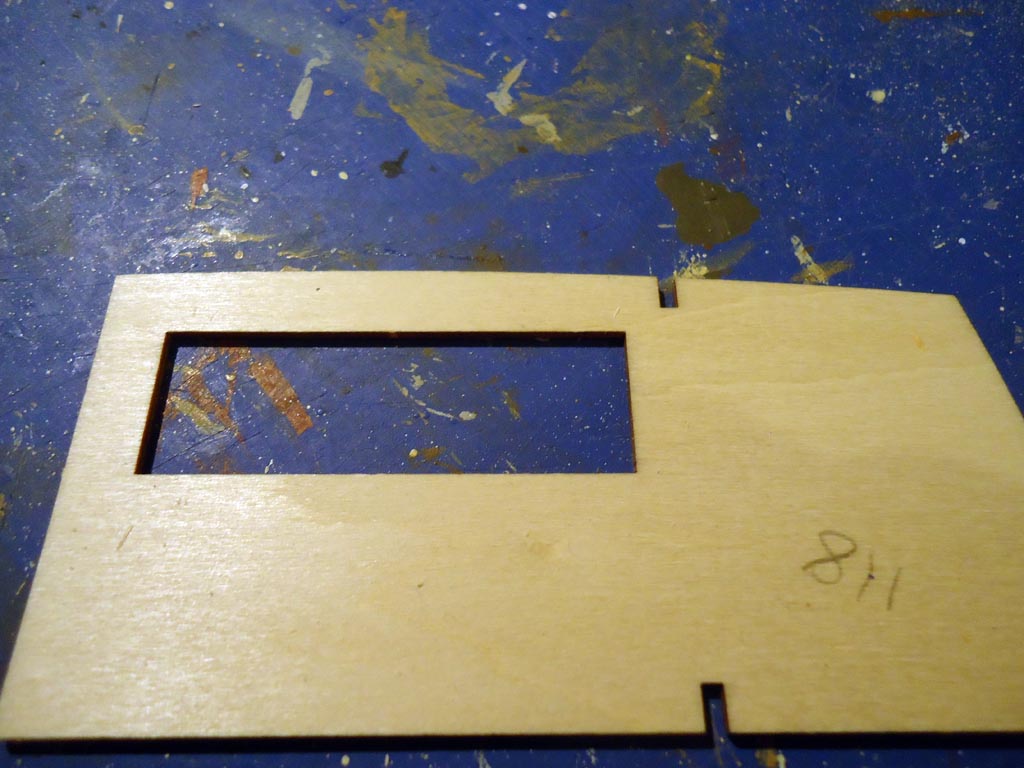
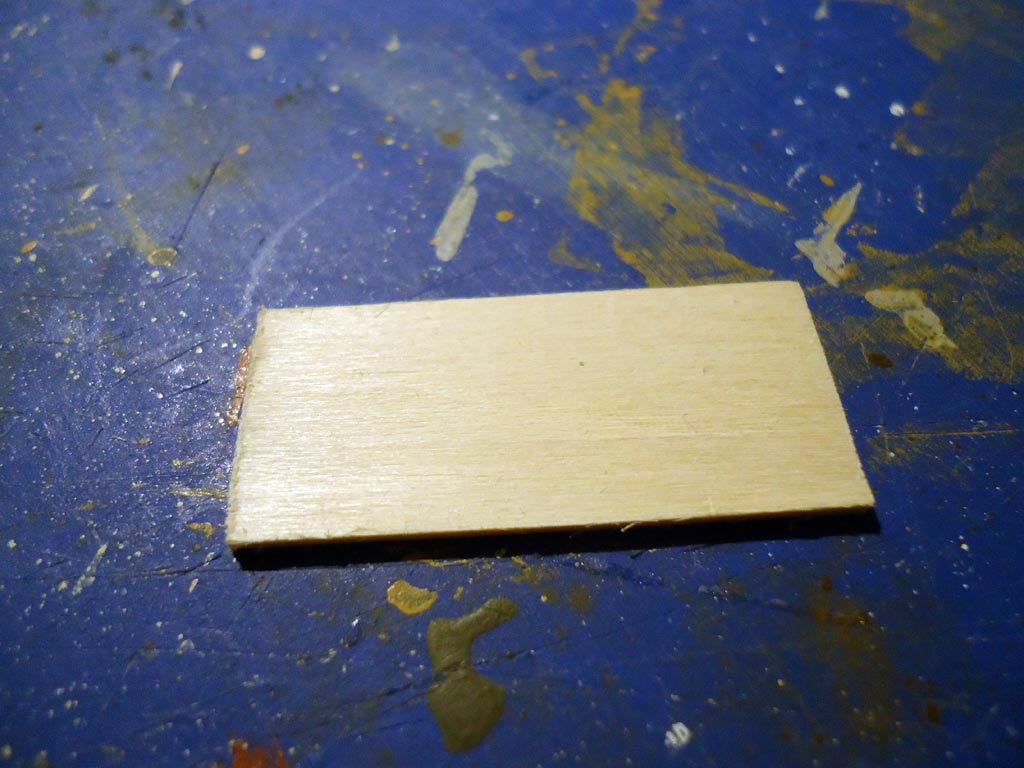
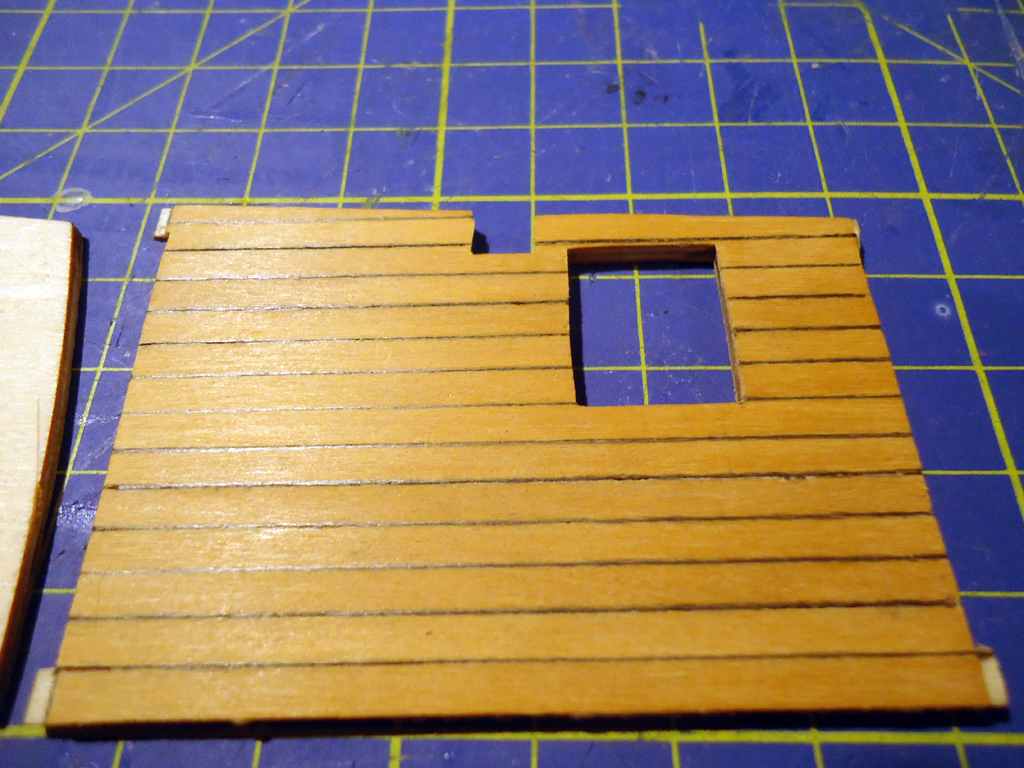
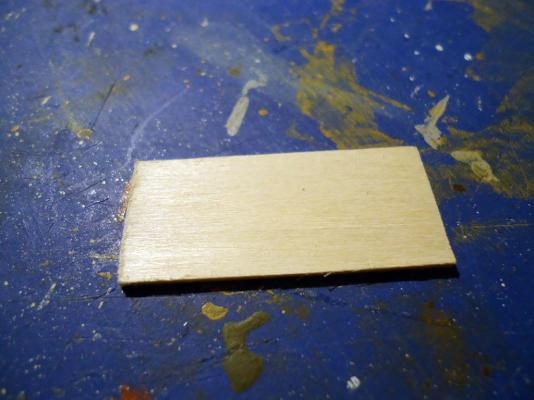
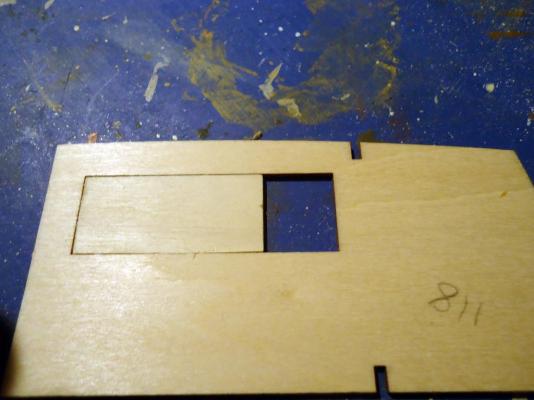
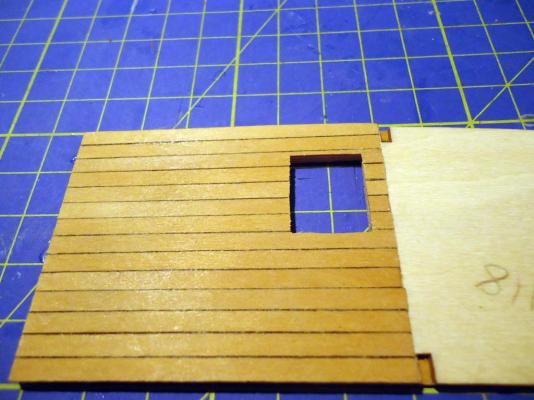
Started changing the bulkheads First i wanted to block up one of the doors that came out into the stairs and get rid of the middle window. Cut a piece of wood to fit the gap leaving the same size space as the other windows then glued it into the gap Then i planked all the bulkheads Just need to decide where to place a new door in the bulkhead in the last picture so that it doesn't open into the bilge pipes. Cant move it to the middle because then it will open into the mainmast so as far as possible to the right is most likely. Once done just a sanding and a coat of varnish on the planks before i fit the rest of the beams etc to the bulkheads


-
Hi Lawrence Thanks for your remarks. rats are cool so no traps lol I know what you mean about missing out on some of the building going on in this fine forum, when we have are own builds going on, because sometimes we get fixated on it
-
Hi Antony, thanks. yeah those supplied gratings were really horrible.... Must be getting near the time for your build being started now
-
Thanks Boyd didn't catch that one Looks like i will leave a window in that bulkhead and either move the door or eliminate it altogether I will work it out later, for now my brain hurts with this vast amount of research AL have done
-
Next is to build the cabin bulkheads, again i am doing it different from the instructions, one reason is the instructions look a mess IMO, but mainly because who in their right mind would design a bulkhead with a door that if you use it you will more than likely fall down the companion way stair well Door i am blocking off Reason for blocking it off
-
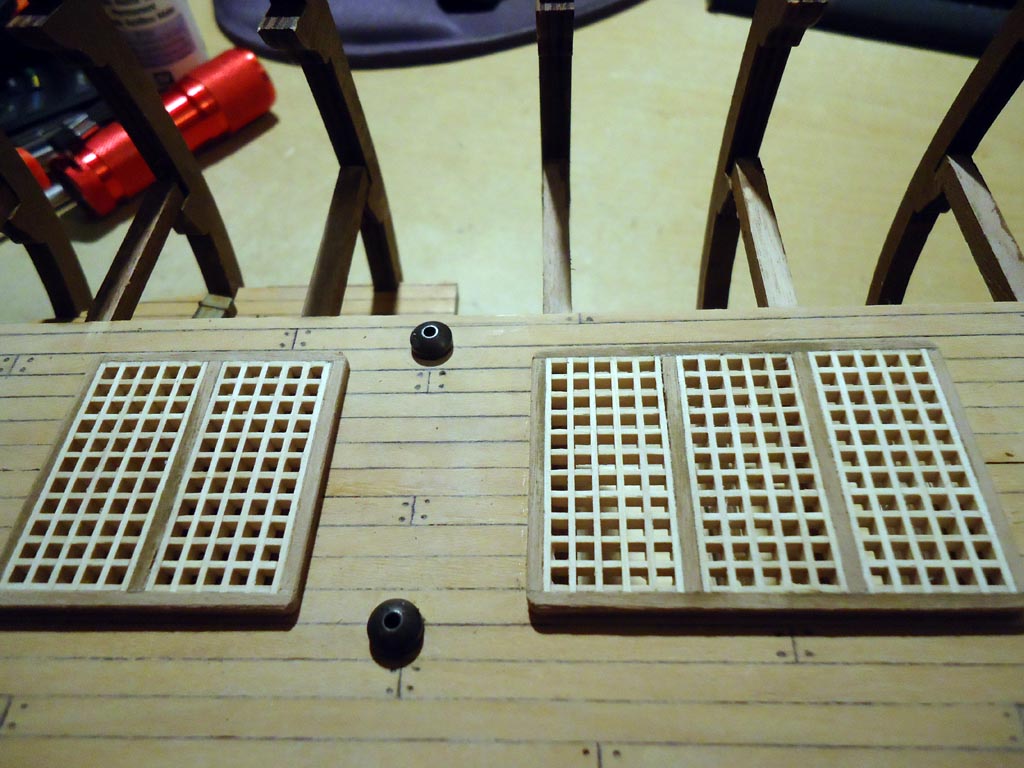
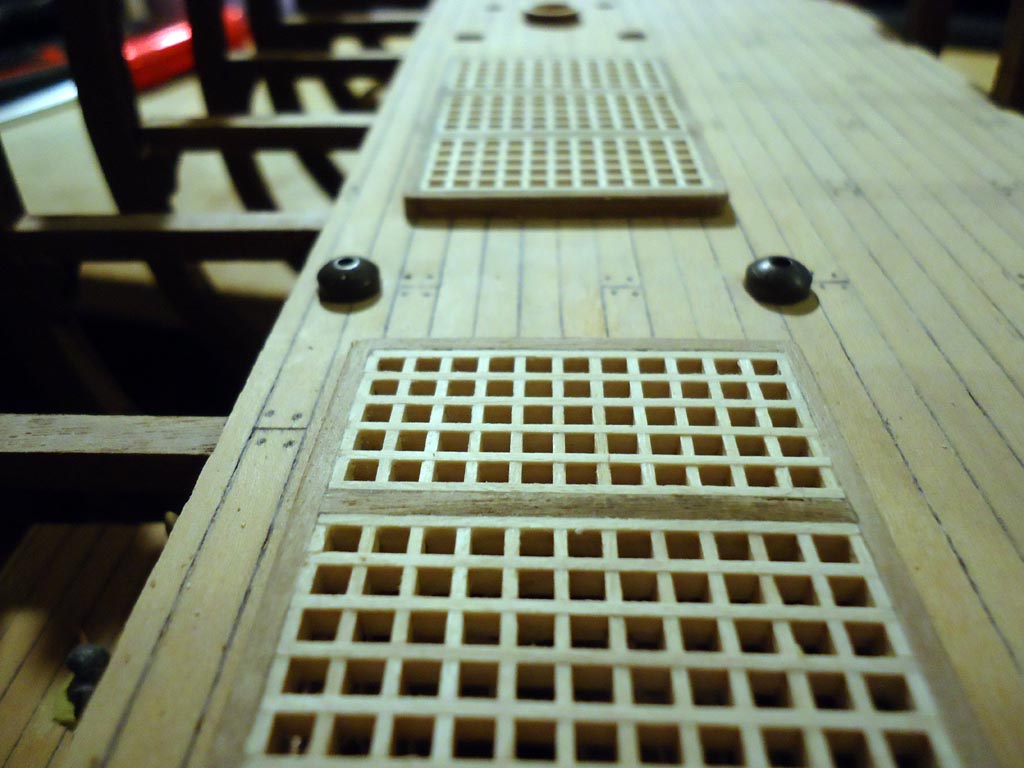
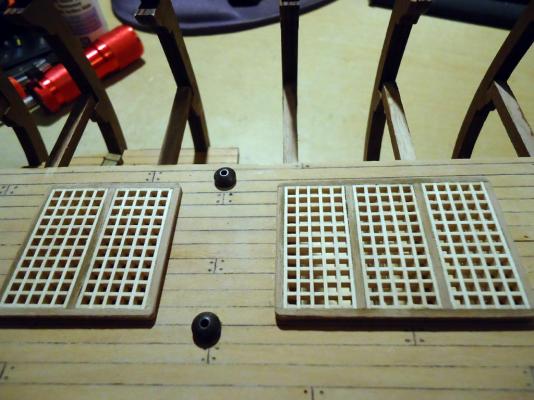
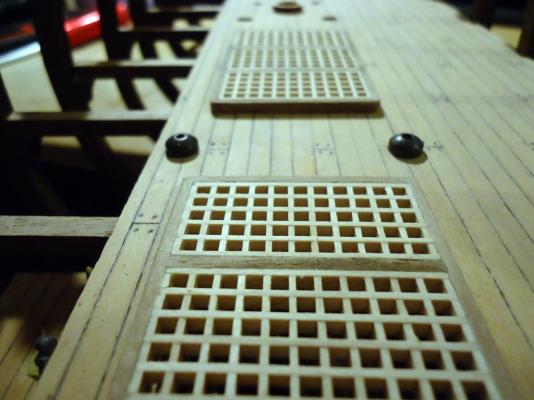
Made up the grating covers, chamfered the edges and rounded the corners, then fitted them to the middle deck. Also blackened and glued the anchor hawser fittings in place The instructions said to use 2mm x 2mm edging for the covers but as the gratings are 3mm thick i think this is another mistake, anyway i used 2mm x 3mm and got a much better result
-
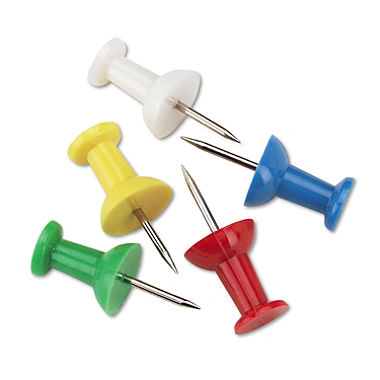
Patterns line up great, exactly were they should be, love it The push pins also eliminate the chance of hitting the patterns with a hammer and damaging them I didn't get a plant with mine (Picture 6) just a load of free sawdust
- 527 replies
-
- 1
-
-
- caldercraft
- victory
- (and 1 more)
-
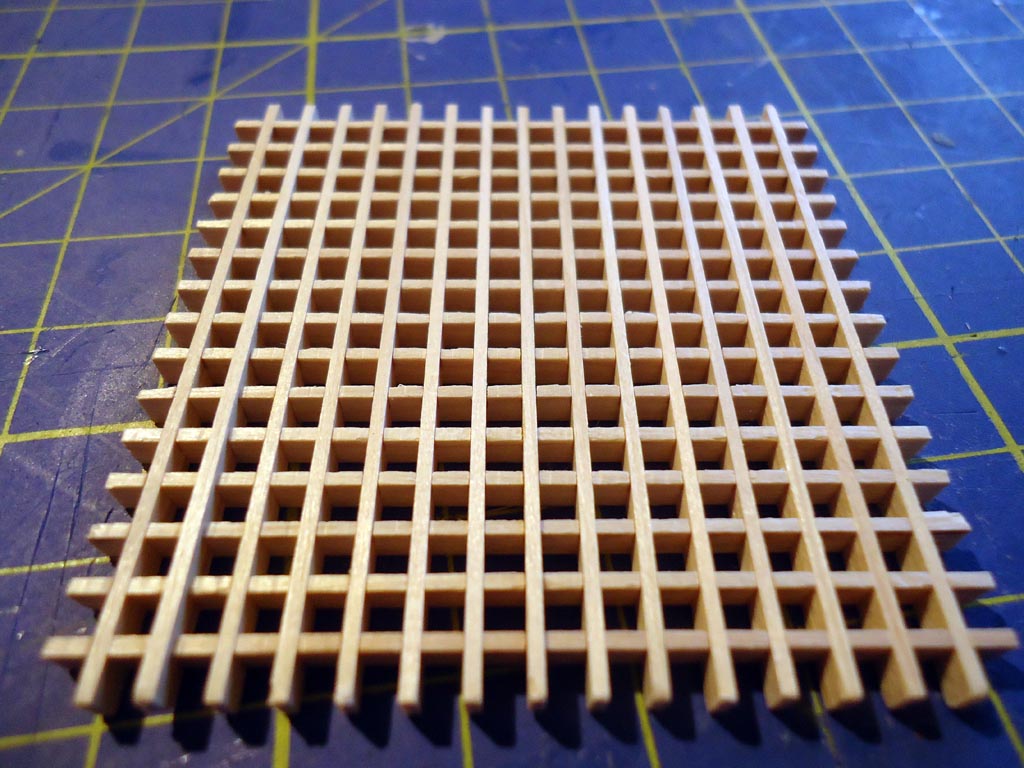
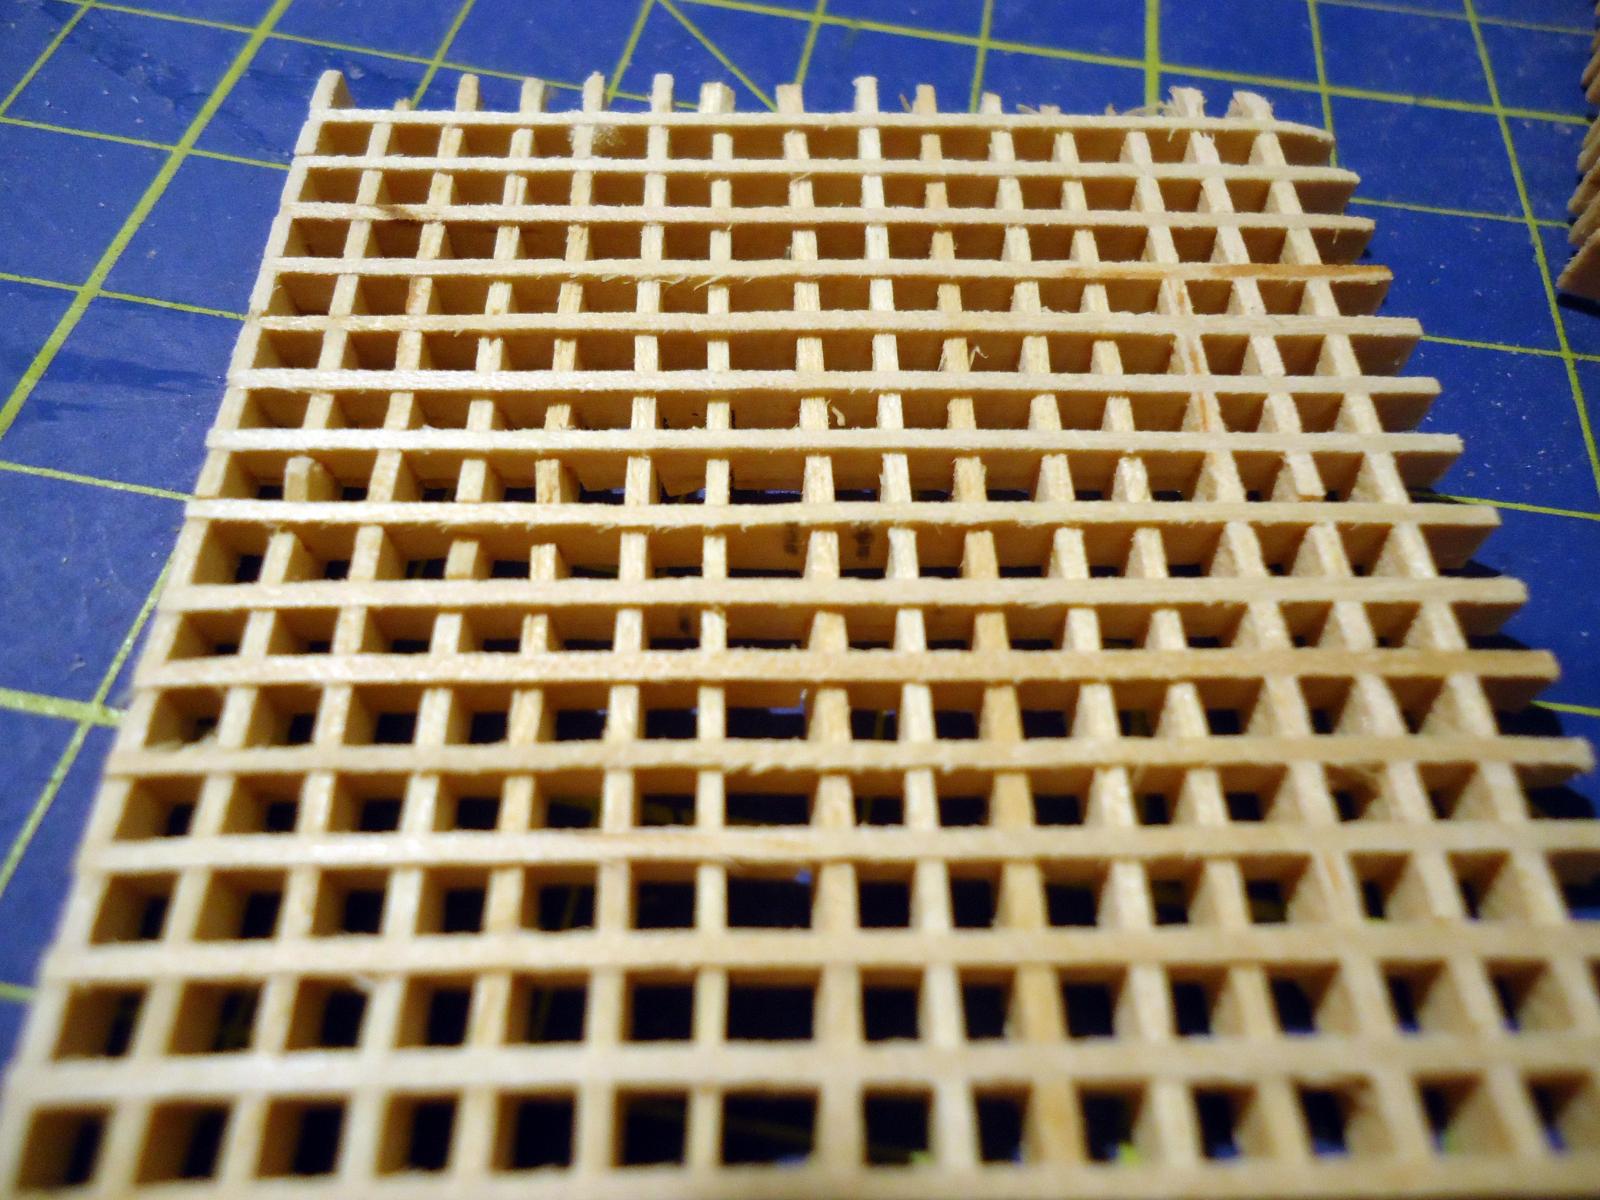
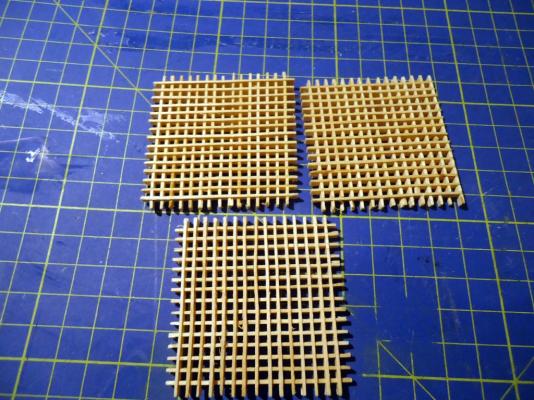
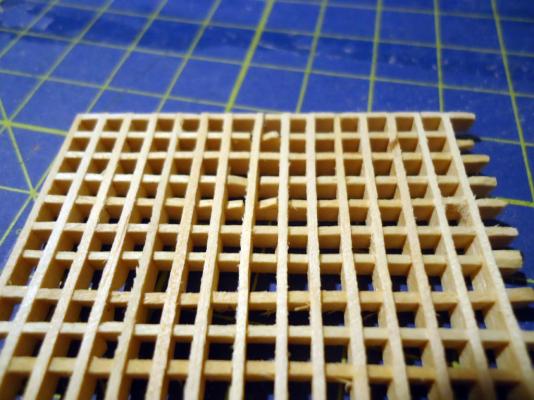
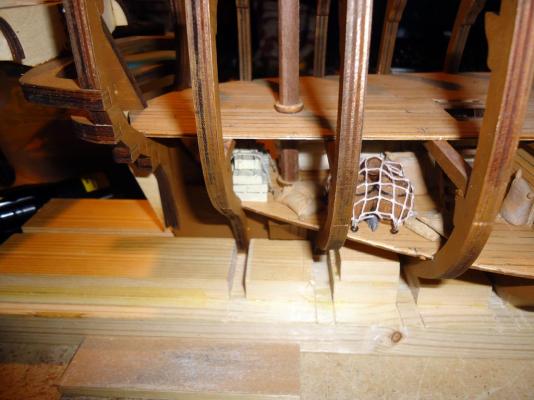
Received my new gratings kits earlier so i will be able to carry on with the middle deck. I think the quality difference between the new gratings (first photo) and the kit supplied ones is plain to see

-
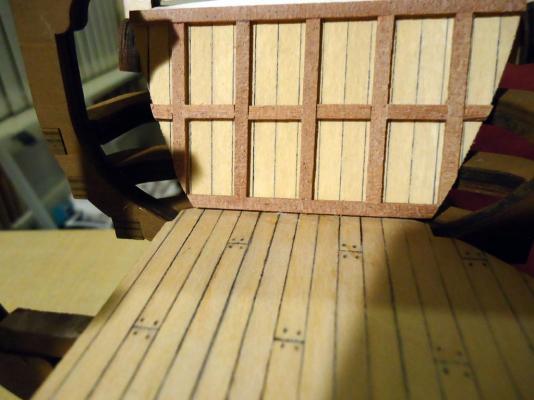
Wow that Acrylic varnish sure dries fast Rear wall now fitted in place in the hull

-
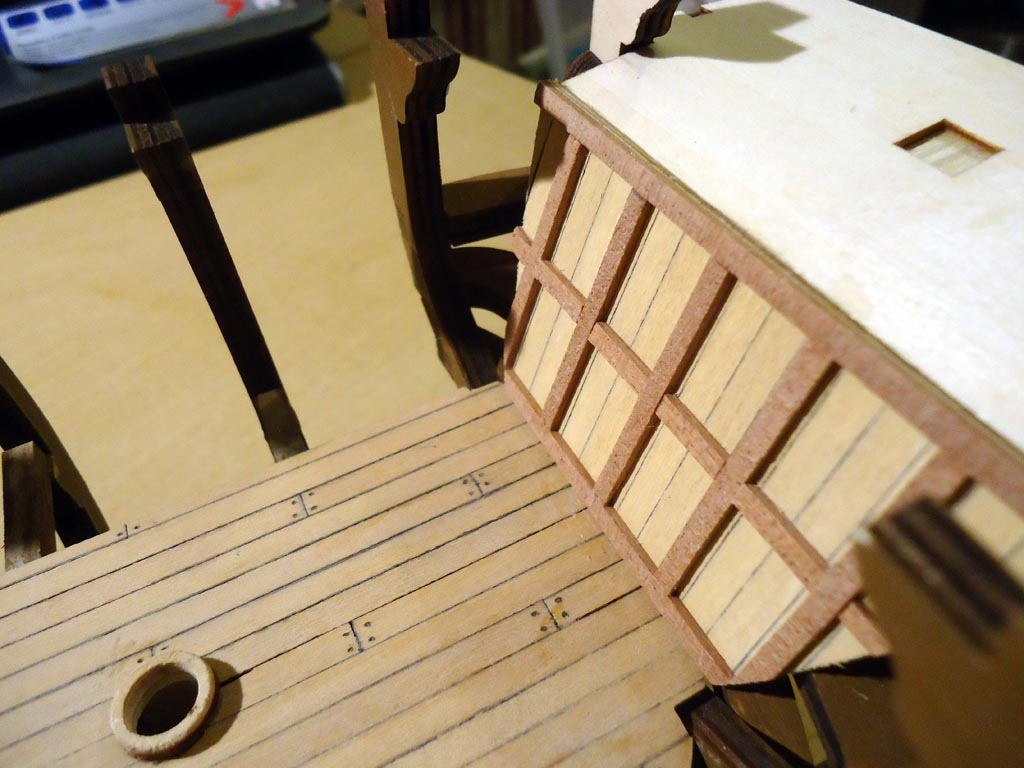
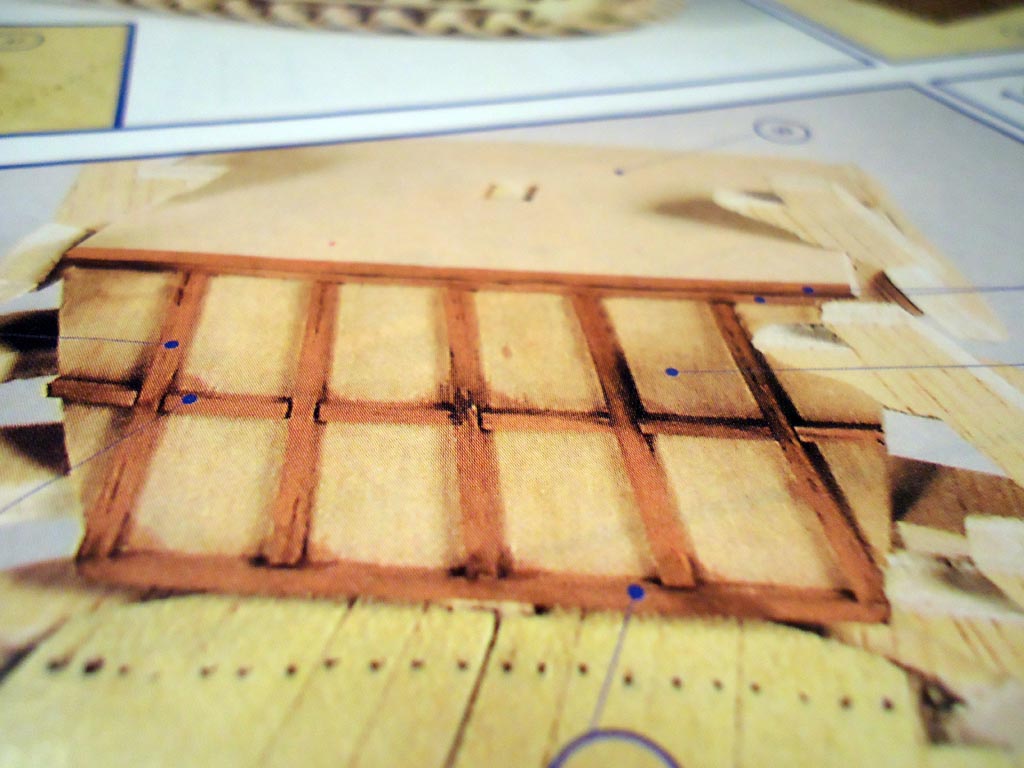
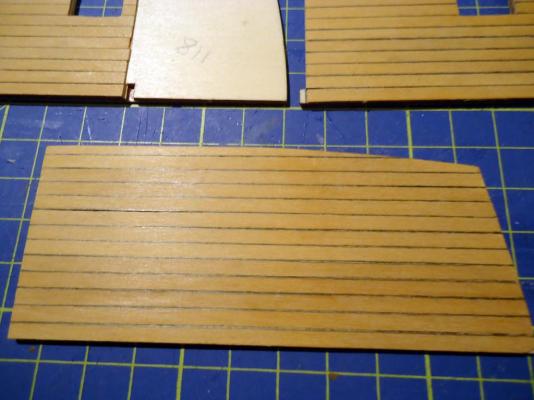
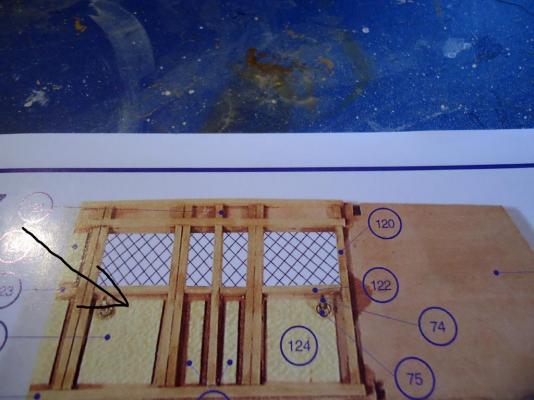
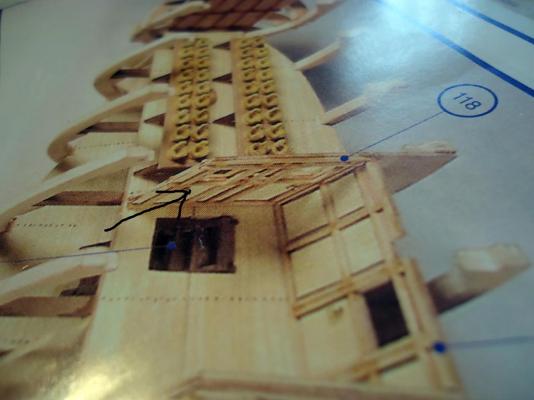
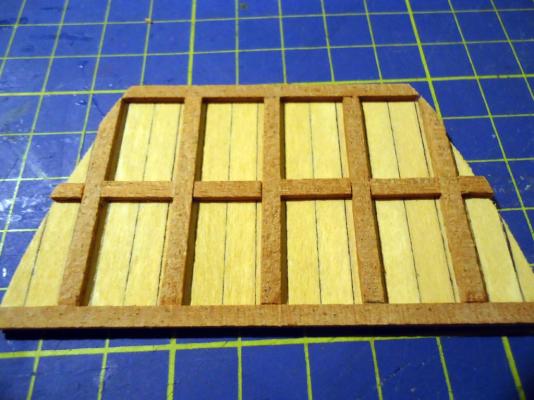
While waiting for the new gratings i made a start on the rear of the Cabin/Greenhouse Looking at the picture in the instructions, i did not like the look of it as it's just bare plywood and the decoration strips look strange at the angles they were fitted I decided to make mine a bit different. I used some of the supplied planking for the decks of the holds and planked the plywood background then laid the decoration strips over the planking square to the deck instead of the angled way in the instructions As this part is hardly visible once the model is built i was not too precise with the joints Once the matt varnish has dried i will fit it into the hull

-
Hi, just found this log and i must say you have done an exceptionally neat job so far, love the hull planking
- 191 replies
-
- 3
-
-
- victory
- caldercraft
- (and 1 more)
-
Hi Robert Nice job on the gun port patterns. I would leave some of the nail sticking out and remove them later. The holes won't matter as you will be planking over them later on. I used push pins on mine so the patterns couldn't ride up the shaft of the nails. Posted a picture of push pins just in case you call them something different where you are. If you decide to use them drill a pilot hole through so the pins don't split the bulkheads as the nail in them is a bit thick
- 527 replies
-
- 2
-
-
- caldercraft
- victory
- (and 1 more)
-
Thanks Antony Firstly good luck with your build when you make a start. Condition of some of the wood and the sad instructions apart it really is basically a good model Chucks stuff is good quality in fact i have just been looking at his miniature rope. Good job the manufacturer AL is in Spain. If they were local i'd be getting them to replace it all free. I'm going to ring John at Caldercraft in the morning and get some good quality gratings in the same size as the AL ones, these are really beyond rescue for my liking Note the jagged misshaped edges of the cross section in the 1st picture these are not broken that's the way they come In this picture you can see how the width of the cross sections vary greatly also they are not straight or the same height

-
Fitted both halves of the middle deck now, and double checked that the masts fit through both the middle deck and the forward and aft holds Made up the gratings for the middle deck. I must say these are the worst gratings i have ever had to put together. They are made of totally inferior wood and the cutouts in them where they fit into each other are not spaced evenly or even cut to the same depth. These are going to have a lot of cleaning up, if they can't be i will have to replace them. Normally i would just replace them straight away with Caldercraft ones, but i have already had to replace all the decking and the Walnut dowel for all 3 lower masts and the Bowsprit. I still might have to replace all the Walnut hull planking yet as some of it is warped. Really bad quality parts if you ask me and in the end replacing stuff could well double the cost of the kit Right Rant over lol, on with some work


-
Your hull planking is exceptionally neat and tidy
-
Thanks Captain Al I figured i would have to square the ends off but i was hoping there would be somewhere to tell you how much and also if the length given for the lower mast sections included the square end or has it to be added on to the overall length. My guess is it includes the square end in the length given in the instructions. I say instructions but i have barely started and i have found loads of errors in them, they are more like guesstructions lol I also have to agree with you, LA is being far to harsh on himself, his build looks perfectly respectable to me, and as it's his first then it's great
-
Hi your build is looking great hope mine ends up as good Could you tell me where in the instruction it tells you what size step to put in the bottom of the masts so they fit in the oblong holes in the mast steps. Had a look but can't find the place Thank you
-
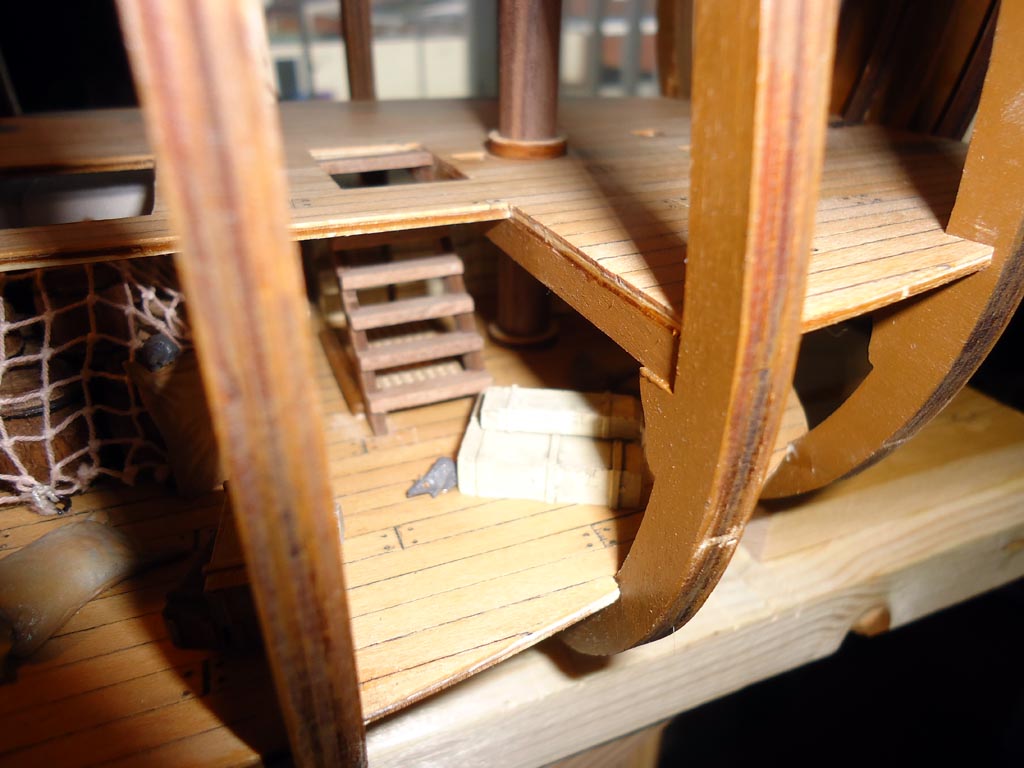
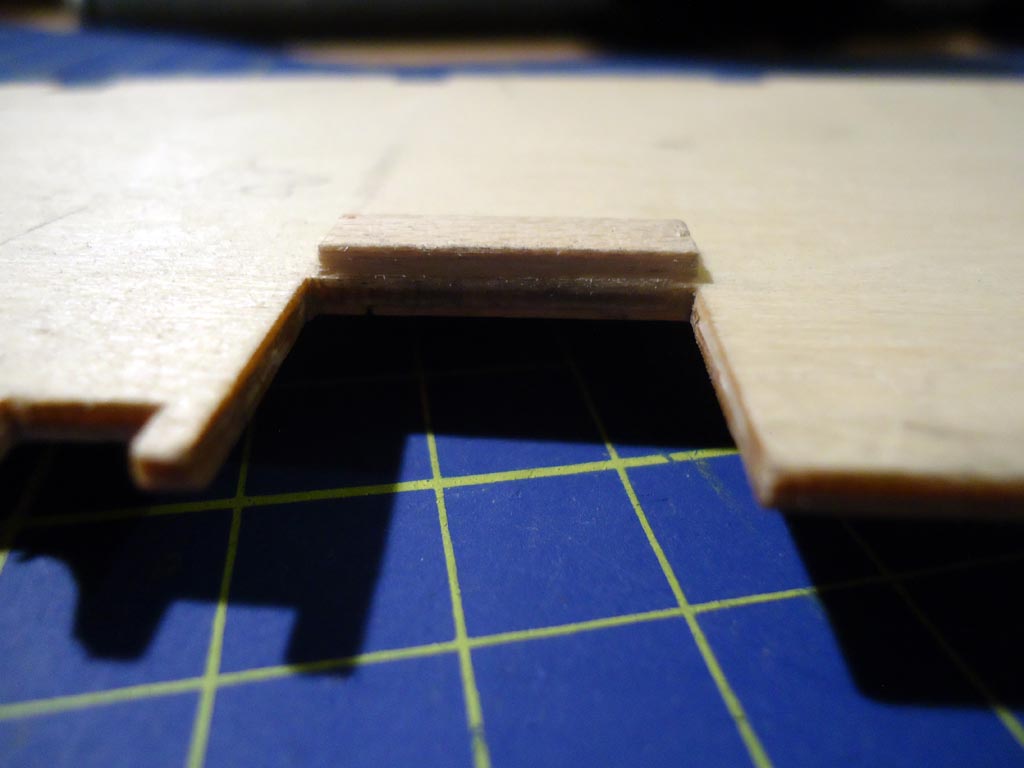
When i dry fitted the middle deck and ladders i noticed that the top rung of the ladder protruded above the deck height slightly. So i glued a small piece of spare planking to the underside of the middle deck to allow me to drop the ladder slightly so that the top rung is level with the deck. Then i fitted the first half of the middle deck onto the cross beams Fitted the ladders before fitting the other half of the middle deck as this made it a lot easier than doing it after fitting the other deck half as the instructions suggest Having the extra thickness has allowed me to lower the ladder so now it fits flush with the deck and the top rung also hides the piece of planking i glued in there


-
Thanks Robert It's all to distract from the bad hull planking to come lol
-
Those filler blocks are really great. Shaping the gun port patterns was a great idea, when i did mine i tried to fit them straight on but as the glue dried they moved because of the curvature of the bulkheads. I had to remove them, then soak and pre fit them like you have done, once dry they went on no problem Great job
- 527 replies
-
- 1
-
-
- caldercraft
- victory
- (and 1 more)
-
Thanks Frank And mighty tasty they be arrrrr