HOLIDAY DONATION DRIVE - SUPPORT MSW - DO YOUR PART TO KEEP THIS GREAT FORUM GOING! (Only 20 donations so far - C'mon guys!)
×


cobra1951
-
Posts
947 -
Joined
-
Last visited
Content Type
Profiles
Forums
Gallery
Events
Everything posted by cobra1951
-
 Hi Just popped in to check out your version of the Bounty, and an extremely detailed model it is turning out to be. Great build
 -
Hi Great little build you have going there. love the cutting out of the gun ports The shade of yellow looks fine to me, take into account that the actual shade of yellow has changed considerably over the years and now it's bordering on a Brown /Tan colour. Personally i prefer the shade you have used
-
Hi Vinnie You're off to a great start with your Bounty. If you carry on like that you will have a great model to display
-
Cheers Boyd I dry fitted all the stern parts and noticed that it would obscure part of the window by about 1/4 inch. if i had it that is lol I will probably fit ply on the sides. and a small piece of square wood to make a joint between the end of the upper deck and the stern plate
-
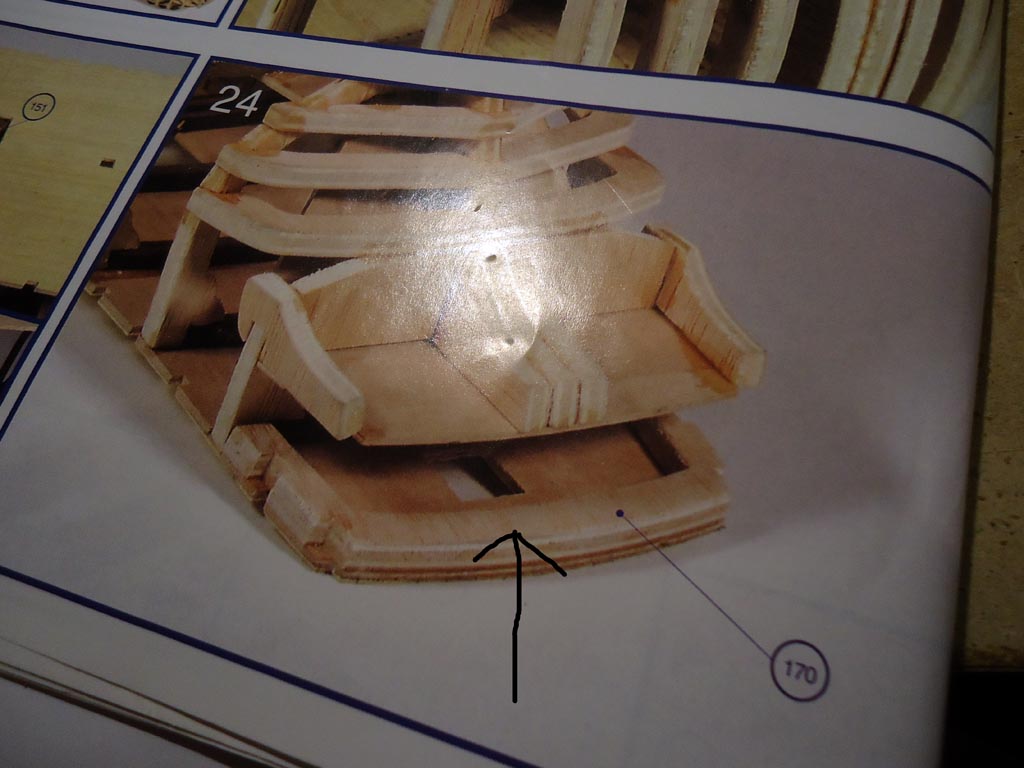
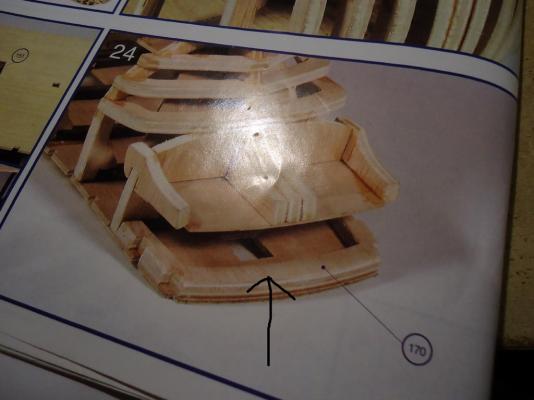
I have a small problem the part with the arrow in the picture is missing from my kit. As far as i can tell it's only there to stiffen up the aft section of the top deck because once the planking is on it will not be seen. If so i can just use some strips of plywood left over to stiffen the underside of the deck. Am i right in presuming it is only a stiffener and serves no other purpose.
-
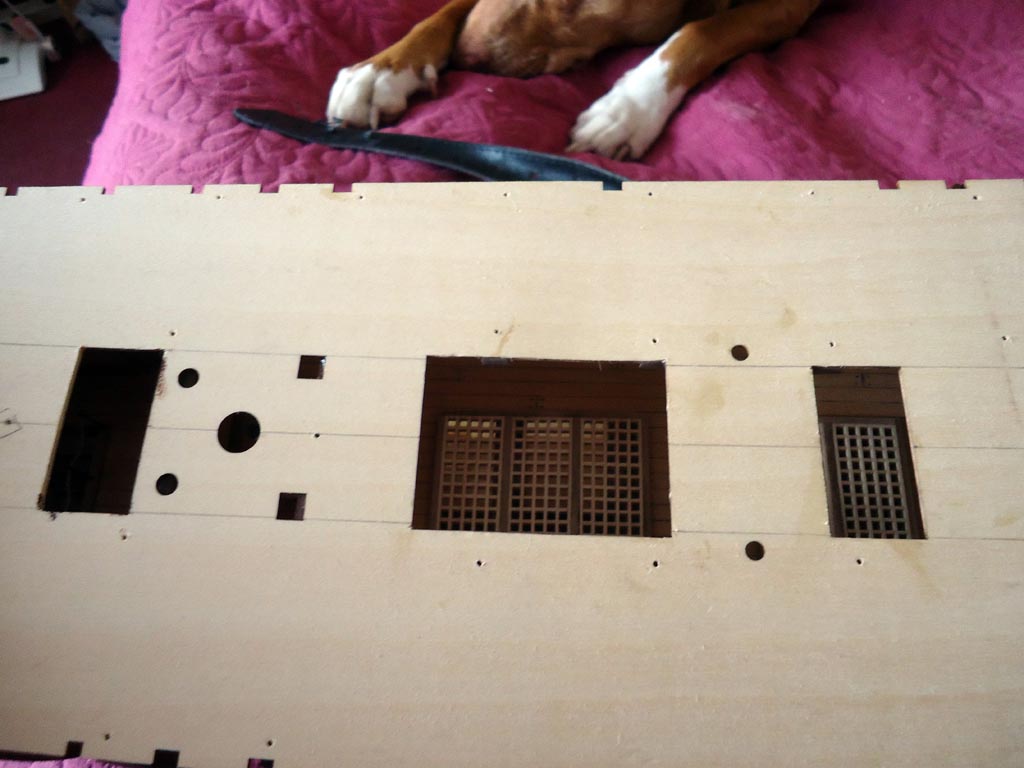
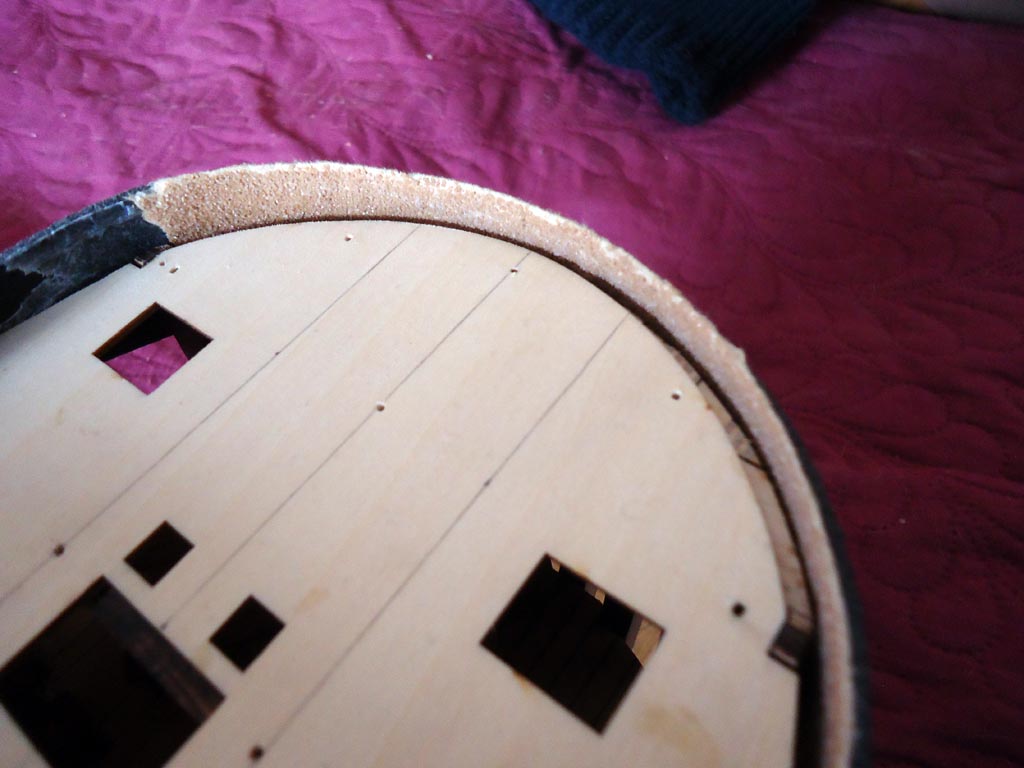
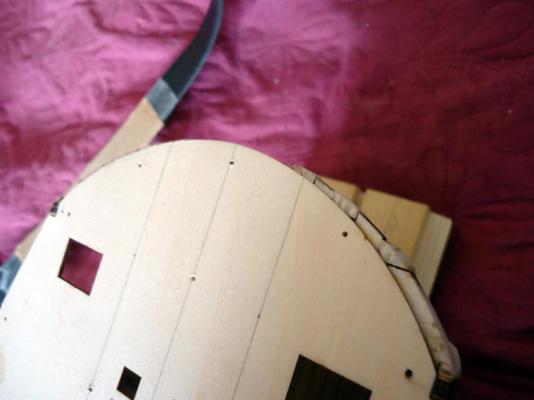
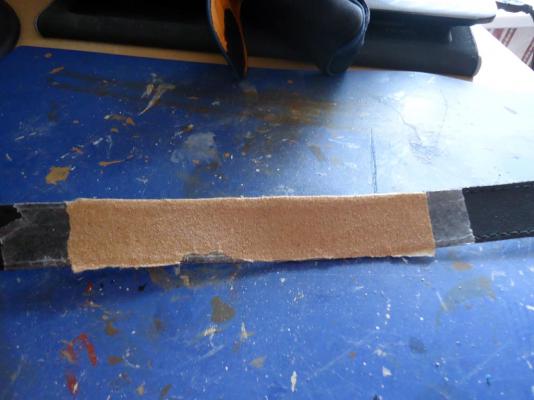
Once the deck had dried i cut out all the crossbeams that were interfering with the hold covers and the companionway stairs There is quite a lot of sanding around the bow area to do to make it the same size as the deck. Sorting this and fairing the bow frames is all one job. I do not like to use a block of wood with sandpaper fixed to it to do this on curved areas because the angle needed changes as the curve progresses. So i improvised a bit. I put some double sided tape on a leather belt and fixed some sandpaper to it. Now i am able to sand away the bow area and fair the bow frames all in the correct curvature


-
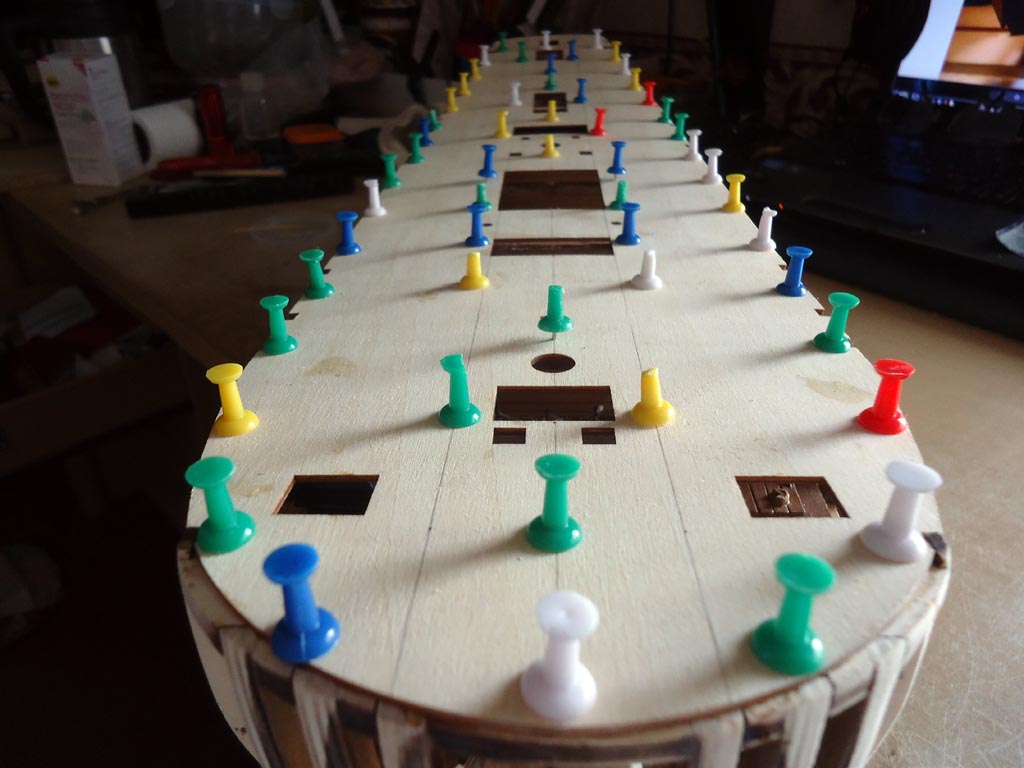
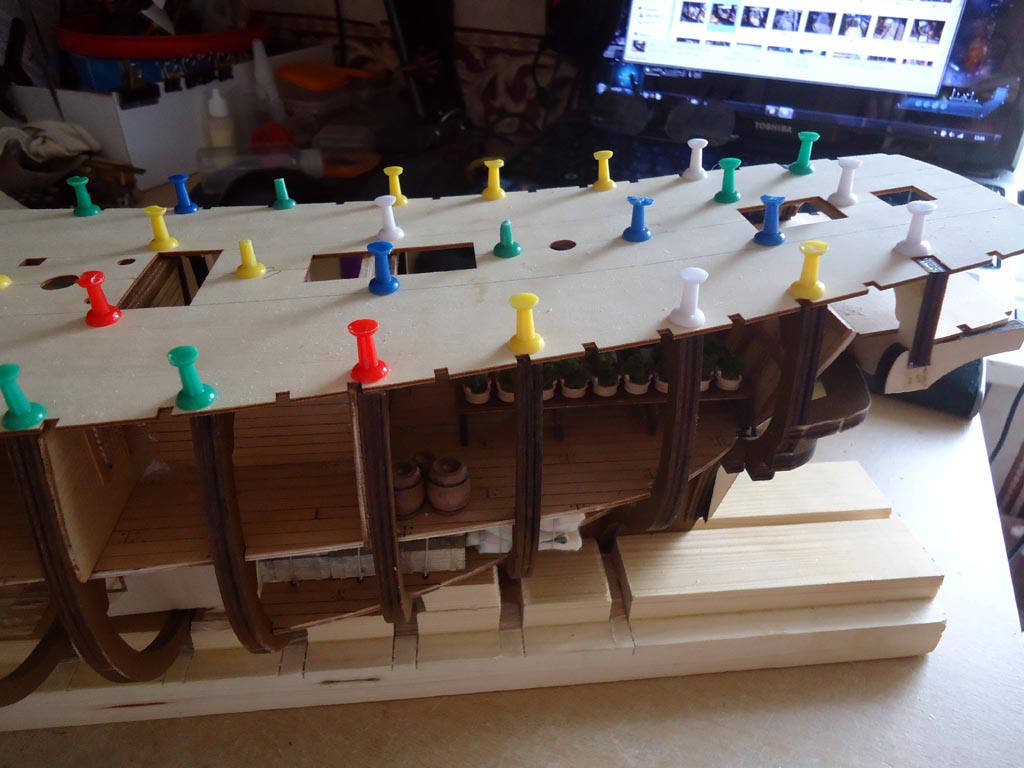
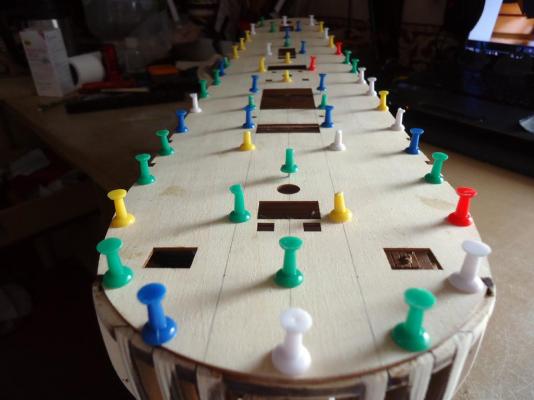
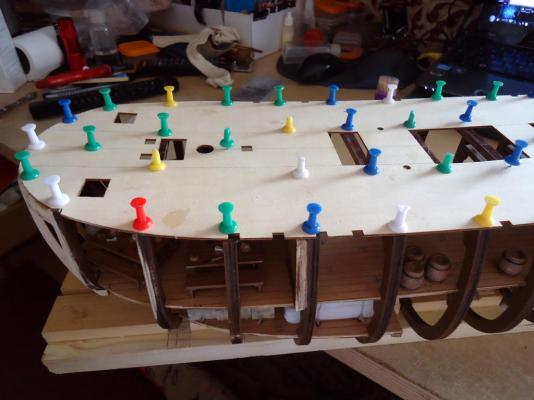
As i start this next stage of the build i would like to thank all those that have either liked or commented on my posts or helped in any way... cheers Top deck now fitted and glued and pinned in place. All pins had a pilot hole drilled first so the frames and support beams did not split under the deck. Once it's all dried and pins removed i can then check if any frames need building up or sanding down, hopefully not to many of them

-
Thank you Robert
-
Thank you Richard Sorry for being a bit late thanking you but i missed your post
-
I learned the error of taking measurements from the instructions as early on as the forward and aft hold deck support beams. if anything calls for things to be cut to length i measure the gap myself first, saves a hole heap of wasted timber and time. The Samson posts will have to be done by eye if the instructions are off there, as there is no gap to measure. Looking through the instructions ahead of where i am at they miss loads of stuff out. Parts just appear on the deck in the photo's with no mention of what they are or even part numbers, Adds to the fun of the build as well as the frustration working it out i suppose Edit: Maybe the designer of this kit had a few bottles of San Miguel before writing up the instruction book
-
Good idea Boyd, I have some 0.7mm wood so i will look into putting a shim on that same beam to cut down the angle on the deck
-
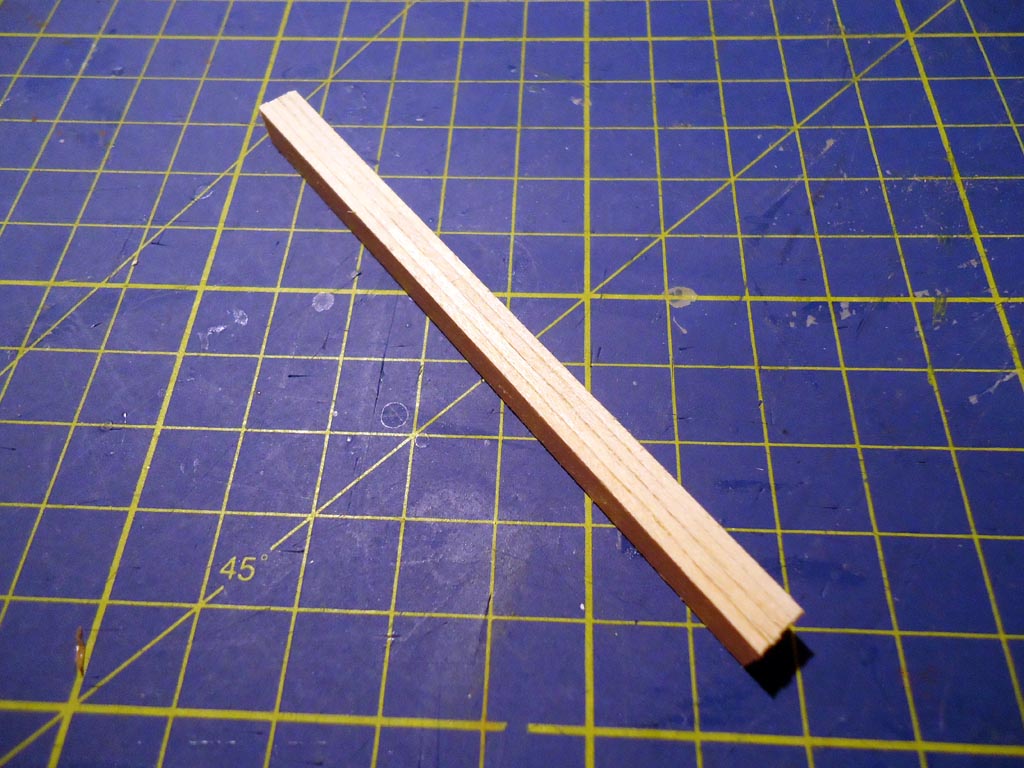
Found another mistake in the instructions (basically to save them money) All the upper deck support beams are premade 6mm x 6mm Walnut, but when it comes to fitting the forward beam it says to use a piece of 5mm x 5mm Walnut even though the gap for it to fit in is 6mm x 6mm. I suspect this is to save them supplying a piece of 6mm x 6mm. Anyway i dug out some old bits of Lime planking 1.5mm x 6mm and cut 4 strips and glued them together to make a 6mm x 6mm beam. This will be painted the same colour as the rest of the beams

-
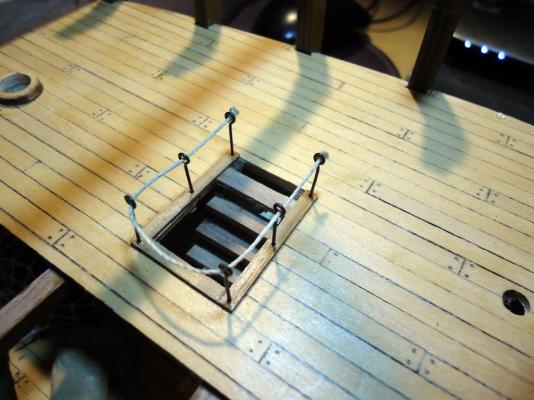
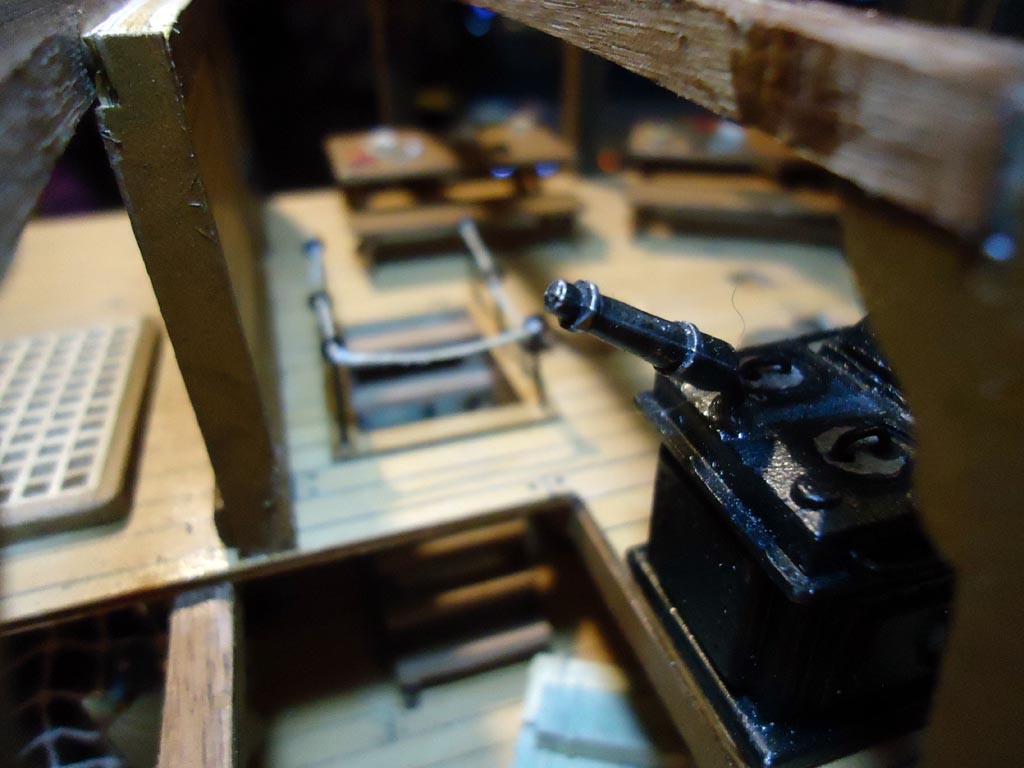
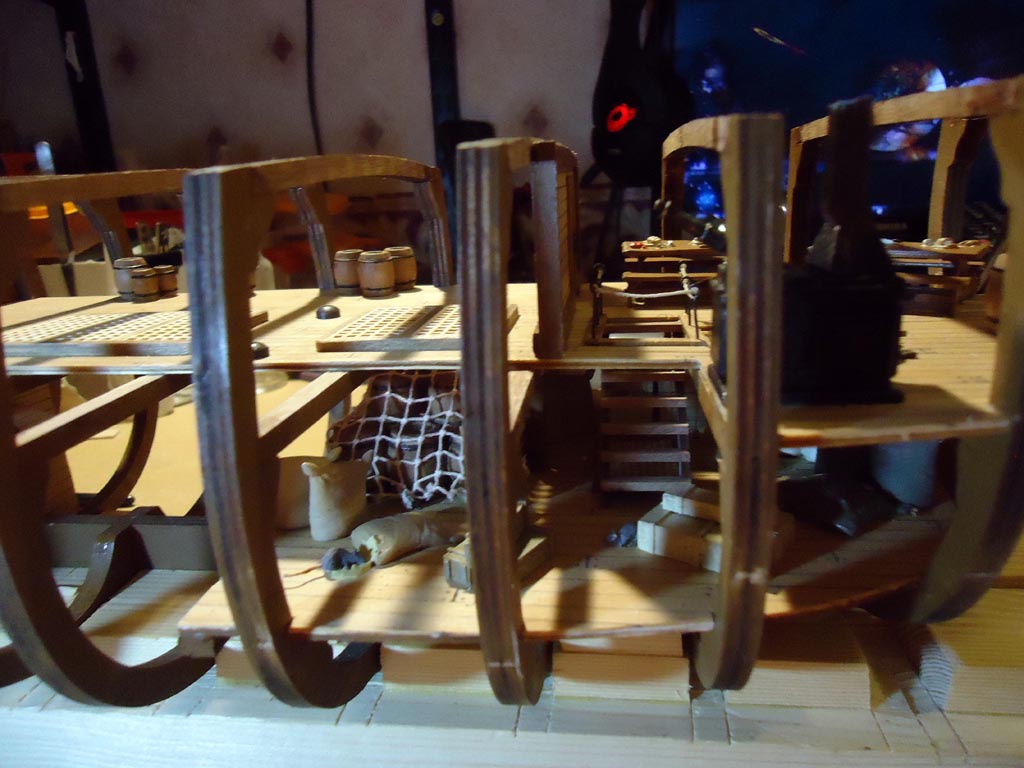
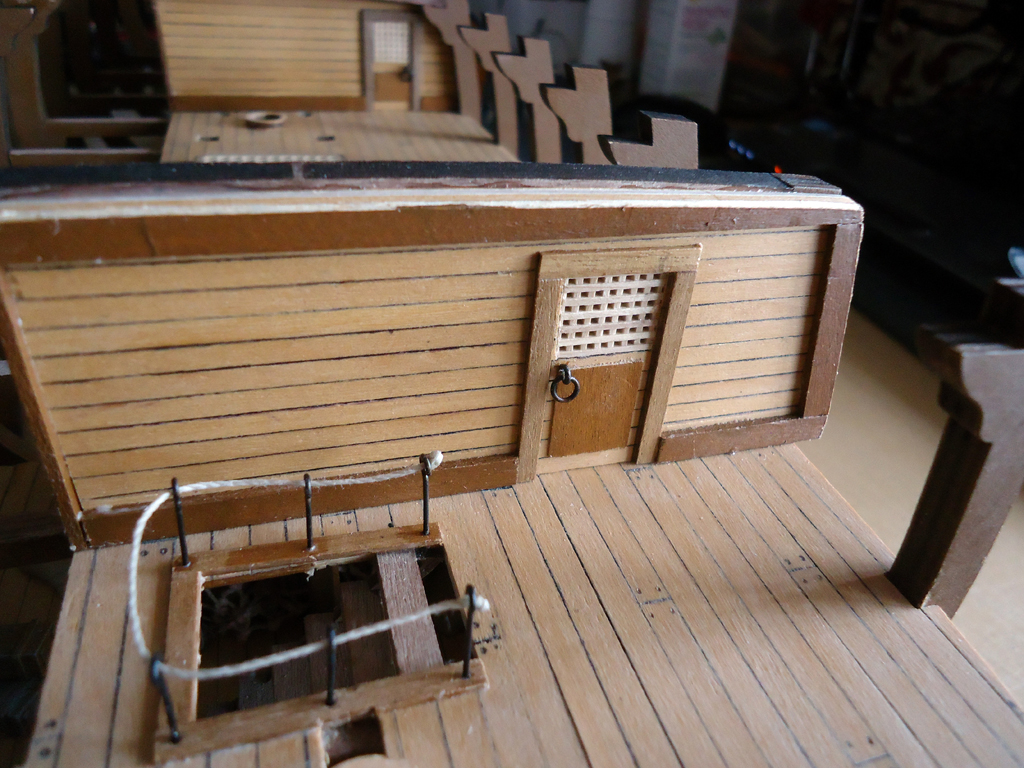
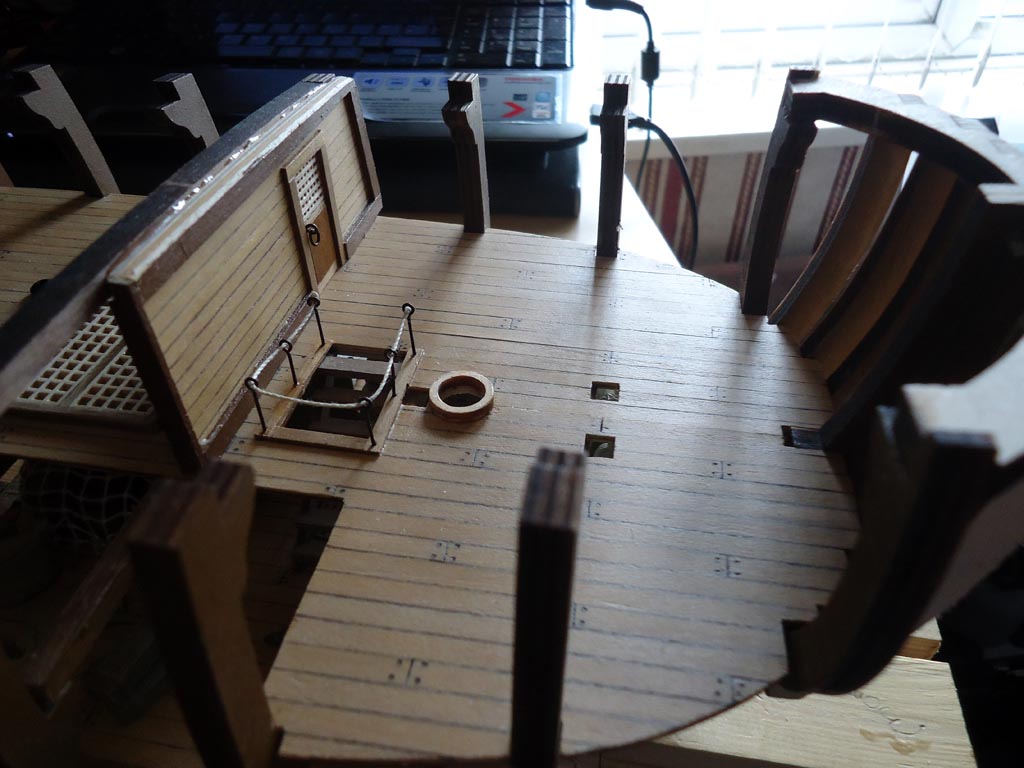
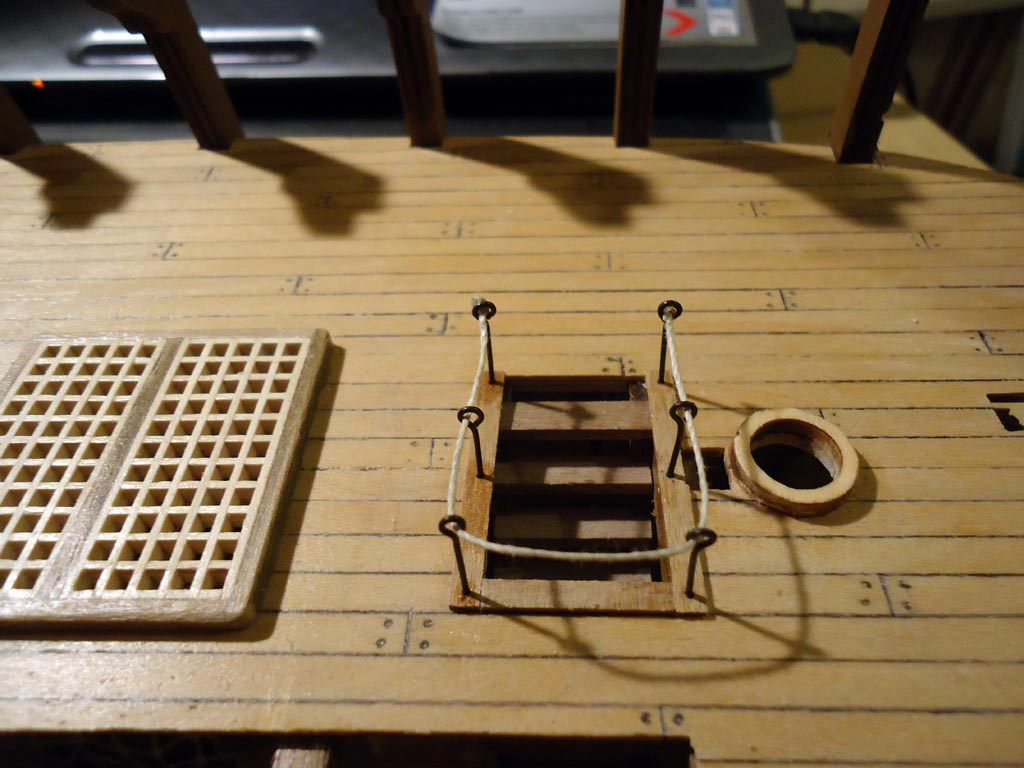
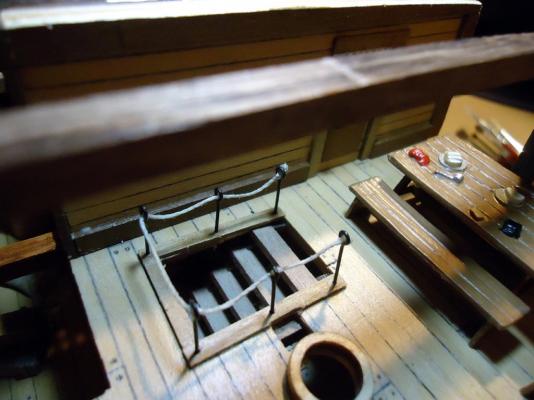
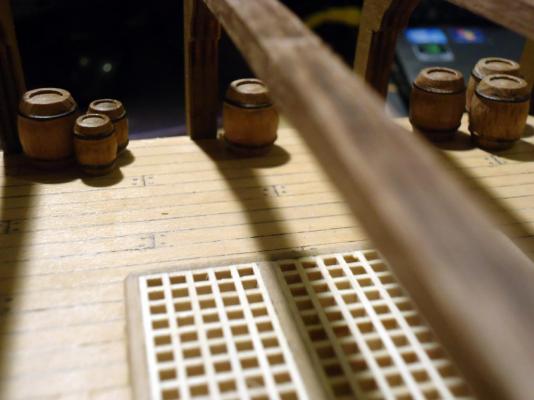
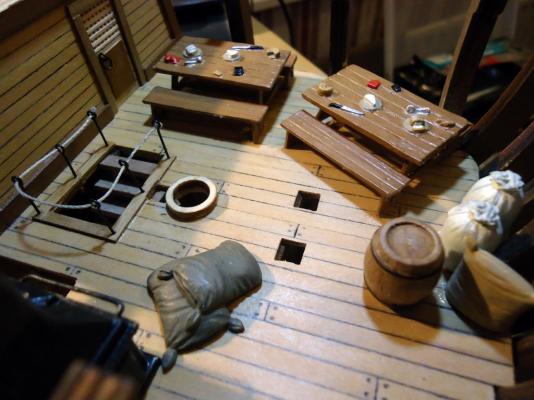
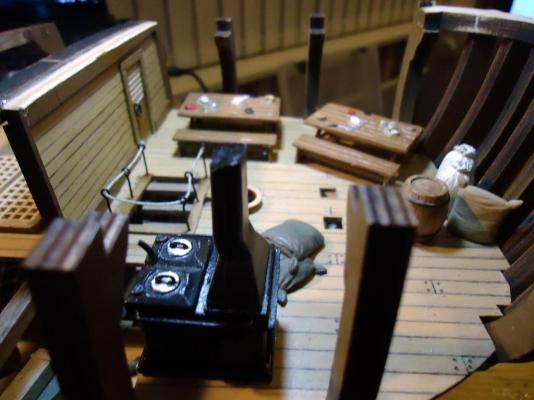
Fixed the condenser back onto the stove Sorted the rope balustrades, not perfect but far better than they were Added some more barrels around the middle deck Middle deck and holds now finished


-
Hi Capt.Fisher Yes i agree on the rope balustrade. The problem starts with the way the rigging cord is supplied, it is wrapped around a cardboard tube and once you unwind some it always wants to curl back up. I straightened it all out before fitting it but every time the temperature or humidity change it tries to bend again. I decided to leave it until i have finished the details on the middle deck then i will paint it with some diluted PVA and keep it in the position i want it till the diluted PVA dries. Hopefully this should hold it in the right place.
-
Galley almost finished, i just need to replace the condenser on the stove. It tried to jump ship
-
Yes they are almost the same scale as me (over scale)
-
Got some of the items for the galley ready

-
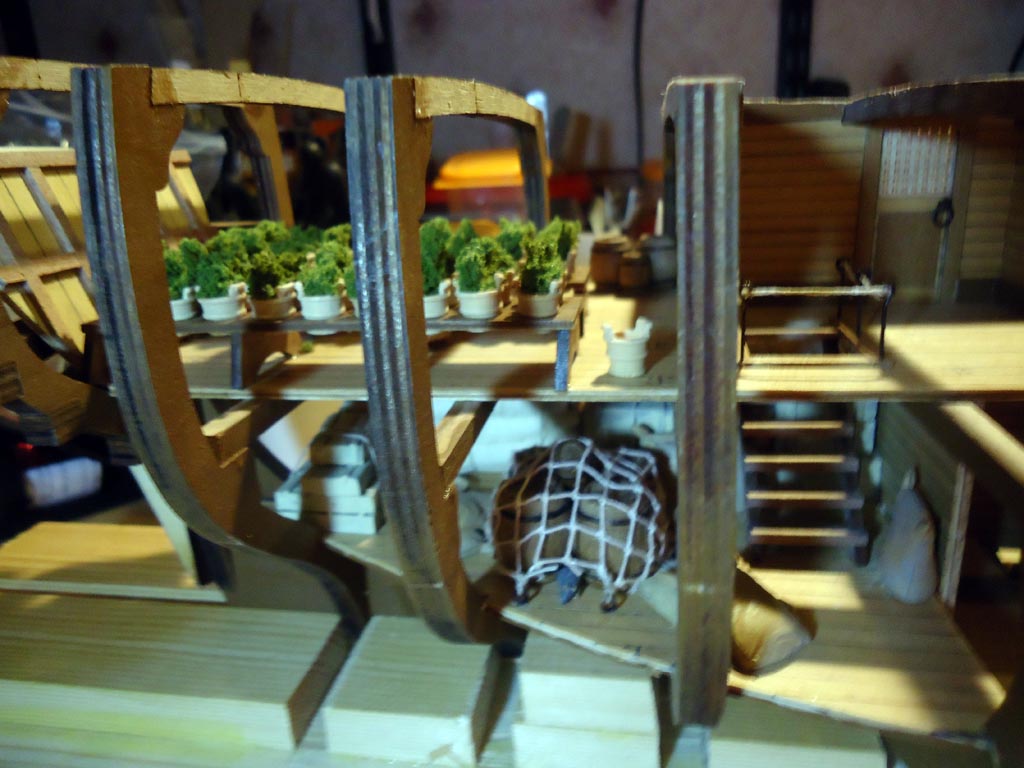
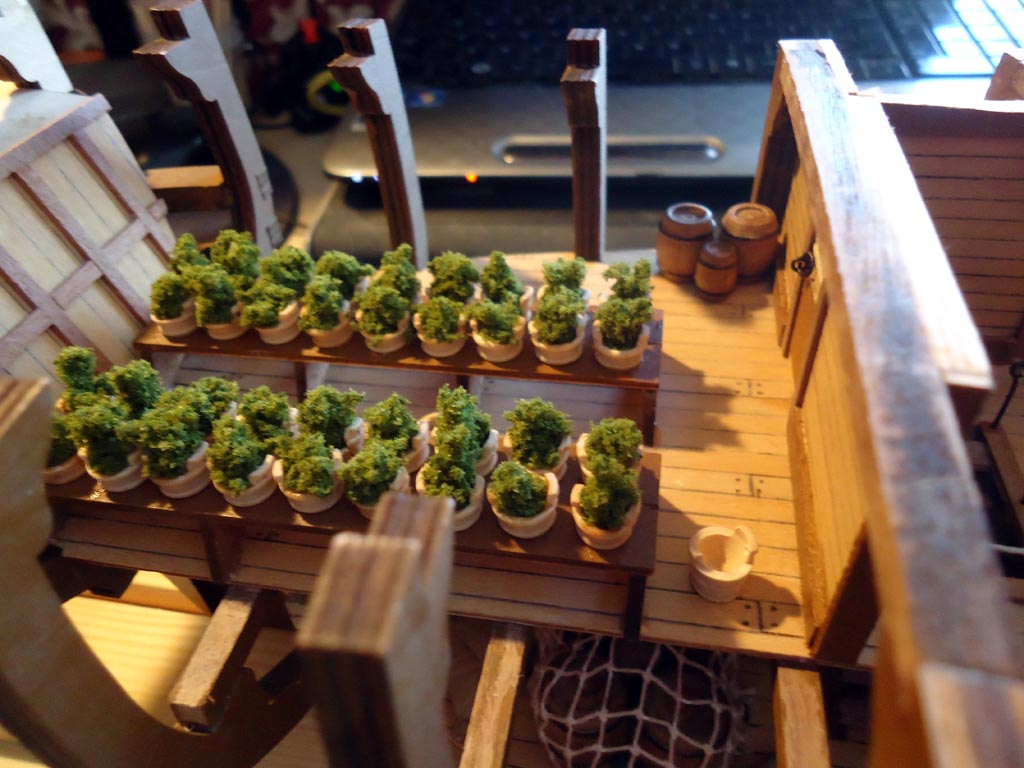
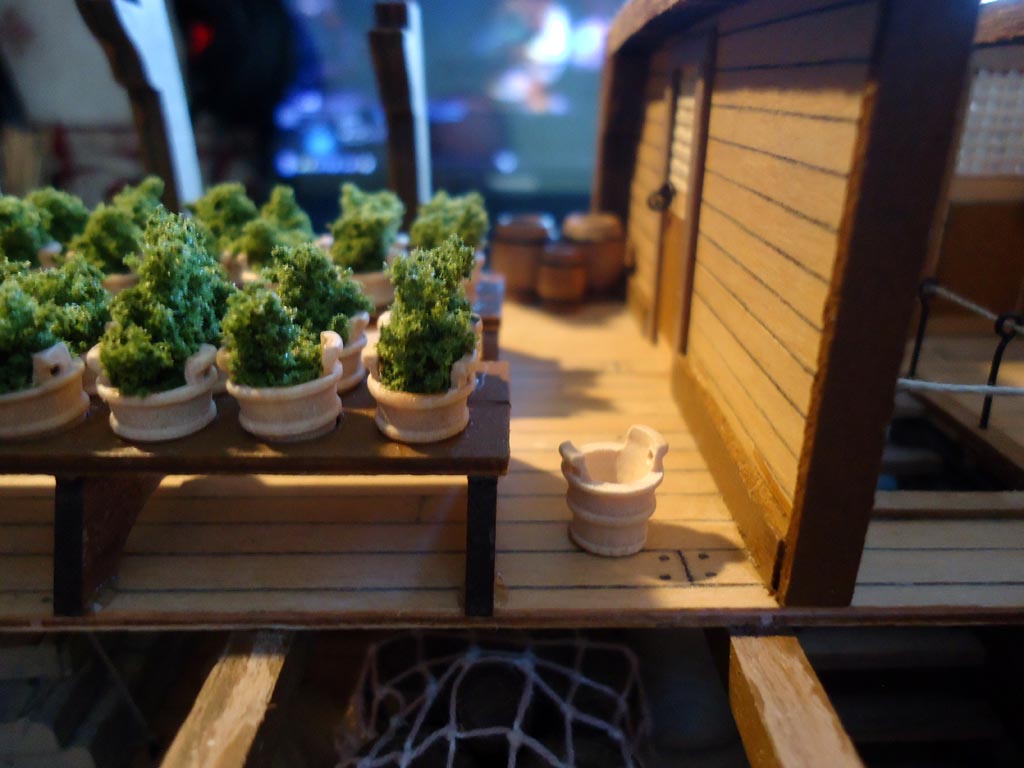
Thanks for your remarks Haha i hope the plants are legal too, i got them from some guy named Fletcher Christian, on the quayside
-
Finished off the Greenhouse/Captains cabin area


-
The gun port linings look great with the use of the Padauk, and the pattern on the deck looks quite attractive
- 191 replies
-
- 3
-

-
- victory
- caldercraft
- (and 1 more)
-
Hi Antony Thanks for your comments
-
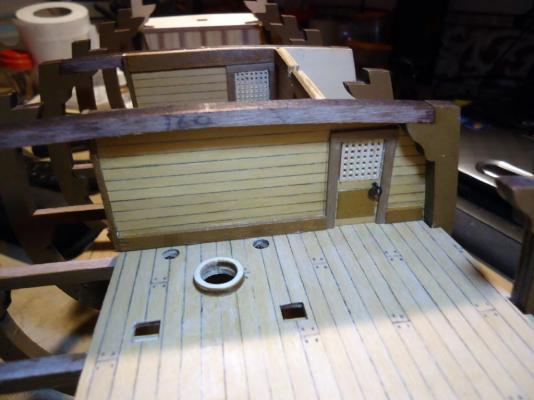
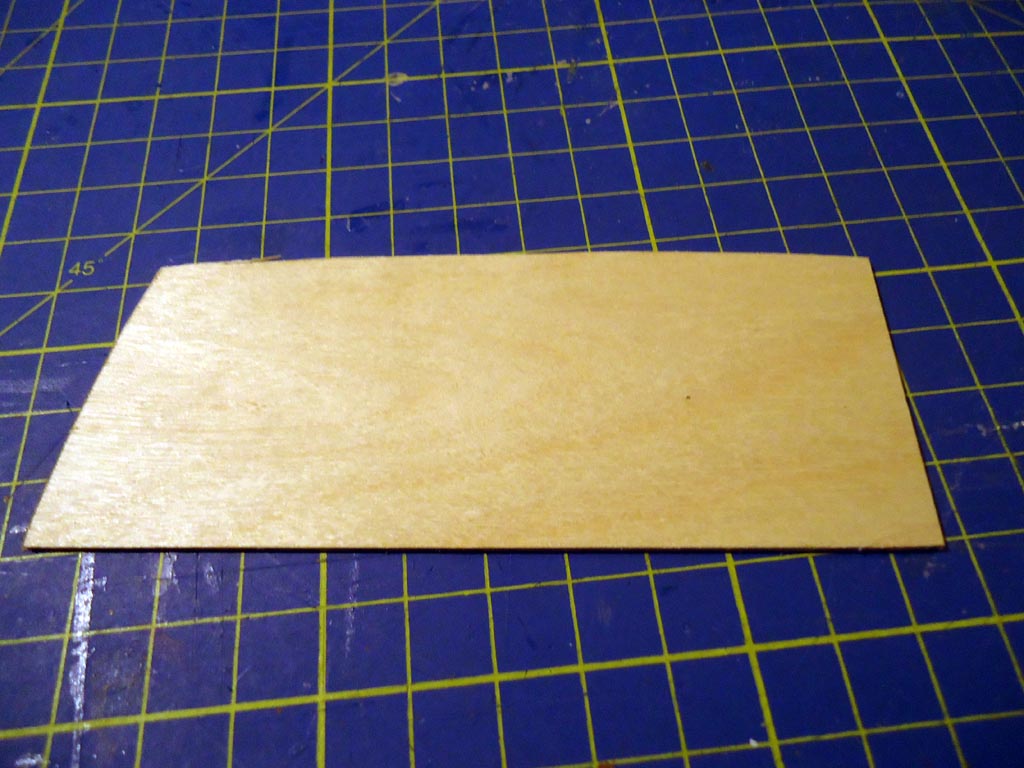
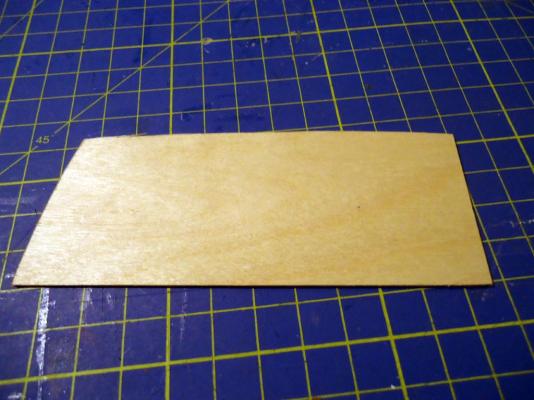
I cut out a piece of 1.5mm Birchwood ply in the shape of another bulkhead Then i planked it in the same manner as i did the previous bulkheads and then fitted it to the deck just aft of the forward middle deck stairway As this is where the stove is to be located, the bow area is now a separate galley area


-
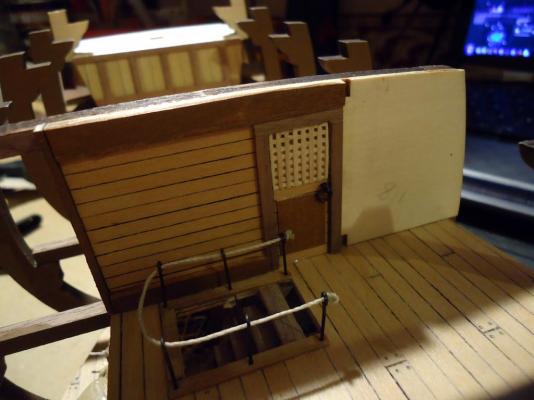
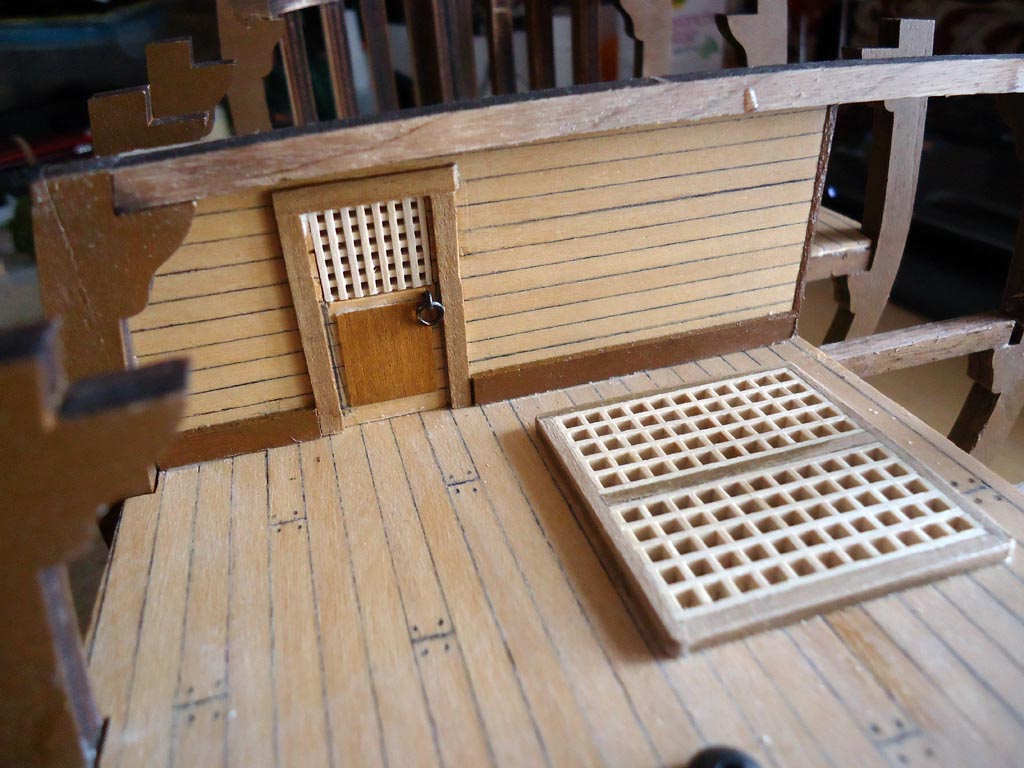
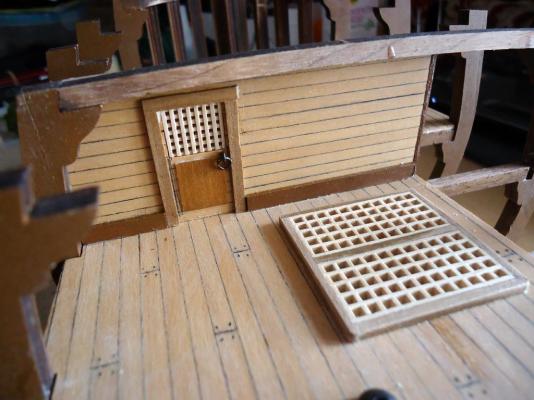
Hi Lawrence, Thanks for your comments The gratings in the doors are standard 1mm hole size from either Caldercraft or Amati fittings. Both are good quality and can be bought here http://www.cornwallmodelboats.co.uk/acatalog/caldercraft_gratings.html The deck gratings are from Caldercraft too and are 2mm hole size They should be available from any Caldrcraft or Amati stockists where you are too
-
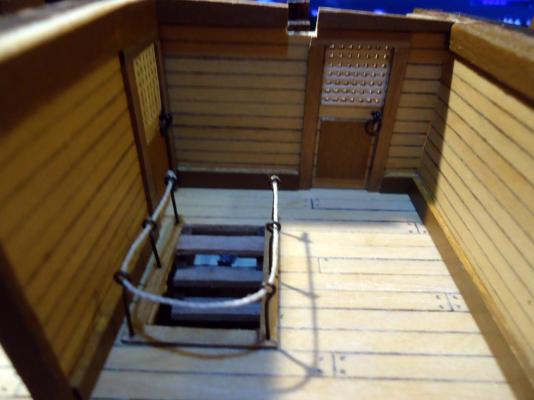
Fitted rope balustrades around the forward and aft middle deck stairways. Blocked off the outer door that opened up straight into the stairway and the window as well. Also made smaller rings for the door handles Fitted all 3 of the cabin bulkheads Blocked off the original doorway that opened out straight into the bilge pipes and mainmast Created a new one further over, however because of the slope of the main deck above this bulkhead is lower then the one into the greenhouse/captains cabin bulkead, so the door had to be made slightly lower than the others but i find it's better then having it open onto obstructions