HOLIDAY DONATION DRIVE - SUPPORT MSW - DO YOUR PART TO KEEP THIS GREAT FORUM GOING! (Only 20 donations so far - C'mon guys!)
×


cobra1951
-
Posts
947 -
Joined
-
Last visited
Content Type
Profiles
Forums
Gallery
Events
Everything posted by cobra1951
-
 Hi EJ Yes a break every now and then for me is compulsory because if i'm fed up or doing repetitive jobs then i tend to not take as much care as normal and that is a bad thing There is also another good build of this kit going on here if you want to follow 2 http://modelshipworld.com/index.php/topic/12974-panart-posto-di-combattimento-by-paulv1958-combat-place-between-decks/
- 206 replies
-
- 3
-

-
- battle station
- panart
- (and 1 more)
-
Hi Antony Some very competent scratch building going on here, i like it
- 99 replies
-
- 4
-
-
- turtle ship
- korean
- (and 1 more)
-
Hi Antony and Elijah and welcome to the build. I will be starting soon, there may be a delay later on when i get to the cannons as the brass trunnions are missing from the kit but CMB are sorting it for me.
- 206 replies
-
- 2
-
-
- battle station
- panart
- (and 1 more)
-
Hi Bryan I think you're right that the thicker planks are the first planking and the thinner the second planking, but i also think the kit manufacturer has supplied the wood sizes the wrong way around. I.E the thickest should have been the Lime and the thinnest the Walnut. That is the way it has been on the kits i have made before. So in my opinion it's not your fault, it's the manufacturers fault IMHO.
- 77 replies
-
- 5
-
-
- cross-section
- hms victory
- (and 2 more)
-
Hi Bryan Pull up a chair you might as well be comfy
- 206 replies
-
- 4
-
-
- battle station
- panart
- (and 1 more)
-
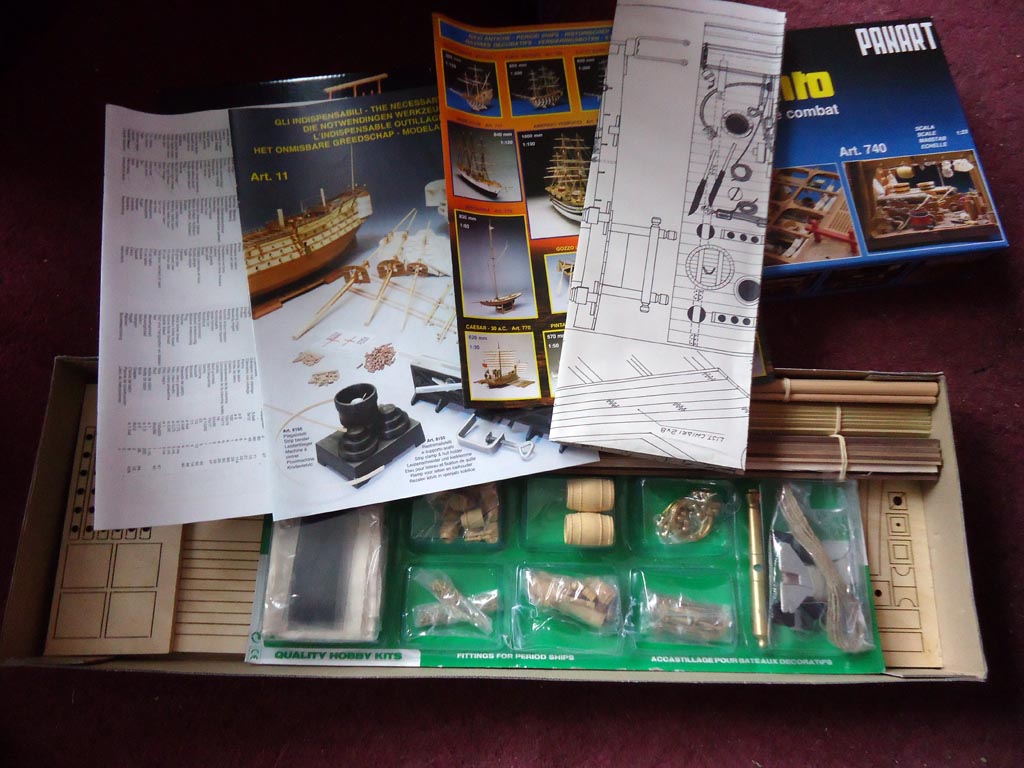
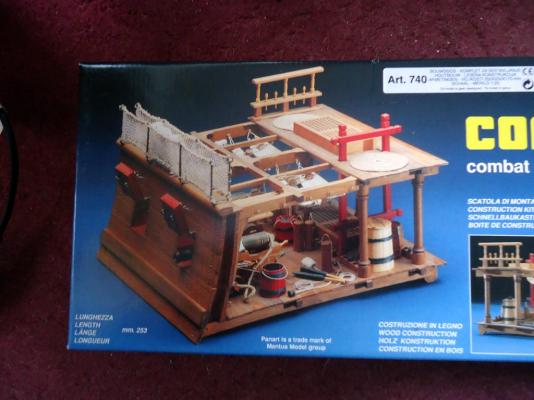
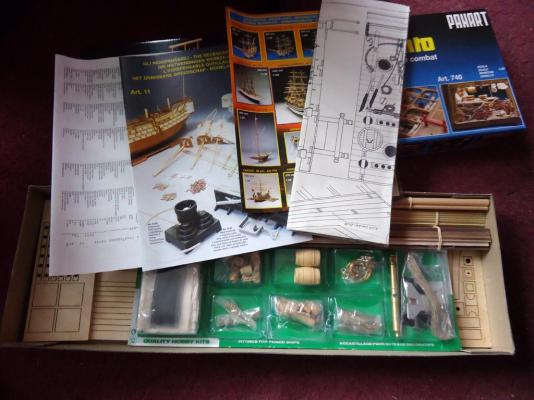
This will be my build log for the 1/23 scale Panart Kit, Section Deck Between Gun Bays also know as Posto Di Combattimento. This is a secondary kit i am building which will be done when waiting for things like glue to dry or things to be sanded (I hate sanding ) on my other kit H.M.A.V. Bounty. So it will take longer than usual to complete. Checked all the parts out and it all seems to be there but not sure if the Cannon trunions are missing or if they are made of dowel as the parts list doesn't say, either way it's a simple job to sort. The wood looks to be good quality but some of the metalwork looks a bit iffy

- 206 replies
-
- 14
-
-
- battle station
- panart
- (and 1 more)
-
Nice start to your planking Bryan, i like it 2 jobs i dislike the most are hull planking and sanding, seem to work for hours on them and get nowhere
- 77 replies
-
- 4
-
-
- cross-section
- hms victory
- (and 2 more)
-
Love the steering gear
-
Moving along quite quickly i see, and also neatly done too
-
Hi Gerhard Just found this log and i must say there is some breathtaking scratch work happening here, extremely well done
-
You've made nice progress since my last visit
-
Hi Daniel It's looking good, one of the main problems working with wood is keeping everything straight as wood will move, grow, shrink etc just with changes in temperature and humidity. Having it held the way you have now will be a great help as your build progresses
-
Thanks Capt
-
Hi Capt. The problem I had with the ply deck was with the cutting out of all the hatches etc. Not with the sanding as I haven't sanded it yet. I am going to use the scraping method of dragging a blade along the deck with the first lot of levelling and a light sanding to finish
-
Hi Antony. Thanks for you remarks, bummer on the delay you must be itching to get started having waited a long time already. You won't notice anything about the deck ply looking at it, mine looked fine. The problem comes when trimming the deck planking around the hatchways, stairways and other cut outs so be extra gentle doing it
-
Hi Daniel Thanks for your remarks. All the details on the lower decks were bought separately and are not part of the kit, except for the sails in the aft hold they were placed there instead of being put on the masts
-
This is looking interesting, i will follow along
-
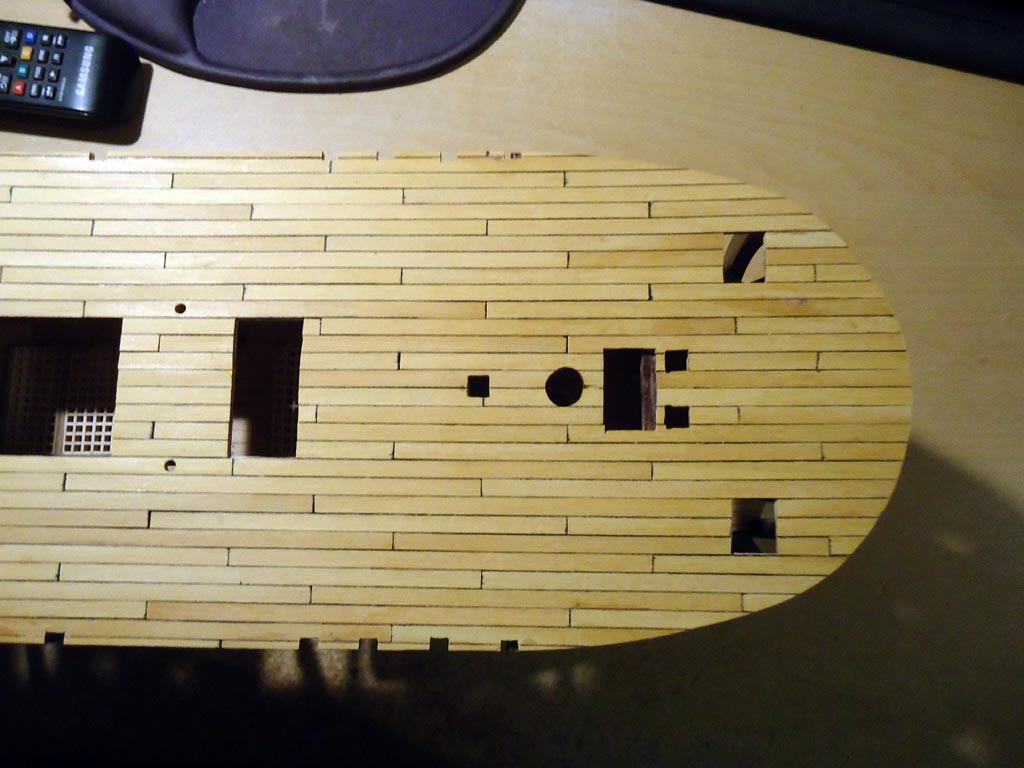
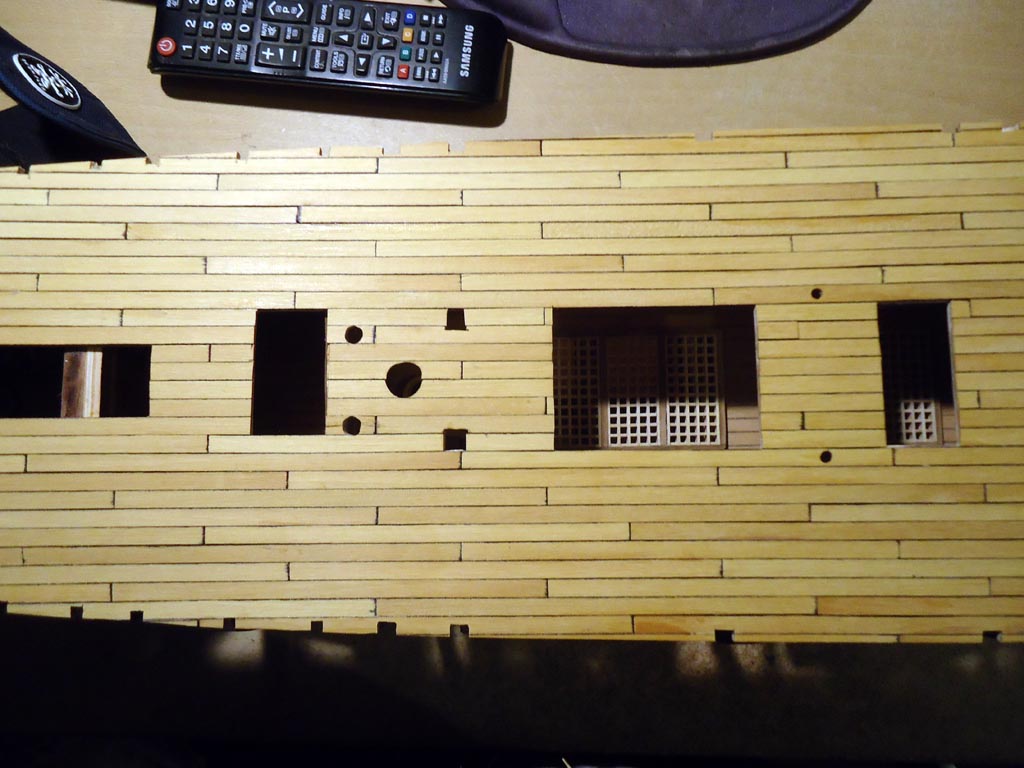
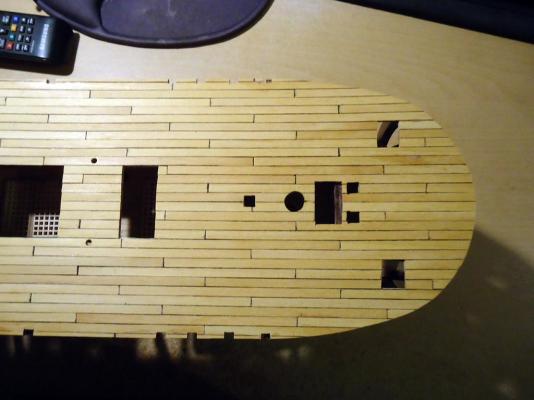
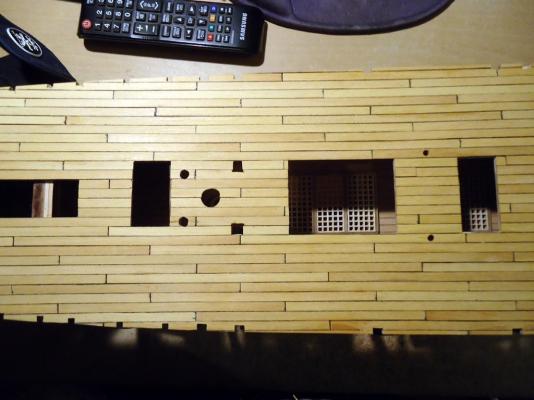
At last i have finished laying the planking on the main deck. It still has to be leveled off and sanded then i will simulate the treenails It took a long time because i was constantly having to repair the main deck plywood. It's such bad quality the 3 layers of ply keep separating at the slightest touch. It will have to be something special i can't get anywhere else to make me buy another AL kit
-
In mine the original wood supplied for the second hull planking was Brown walnut not Mansonia Instead of Black Walnut if you can't find any try Ebony. Good supplier of Ebony and Boxwood in the UK here http://www.originalmarquetry.co.uk/category_Lines_and_Stringing_1.htm
-
Exceptional job you are doing Robert. This will make the second planking a lot easier
- 527 replies
-
- 1
-
-
- caldercraft
- victory
- (and 1 more)
-
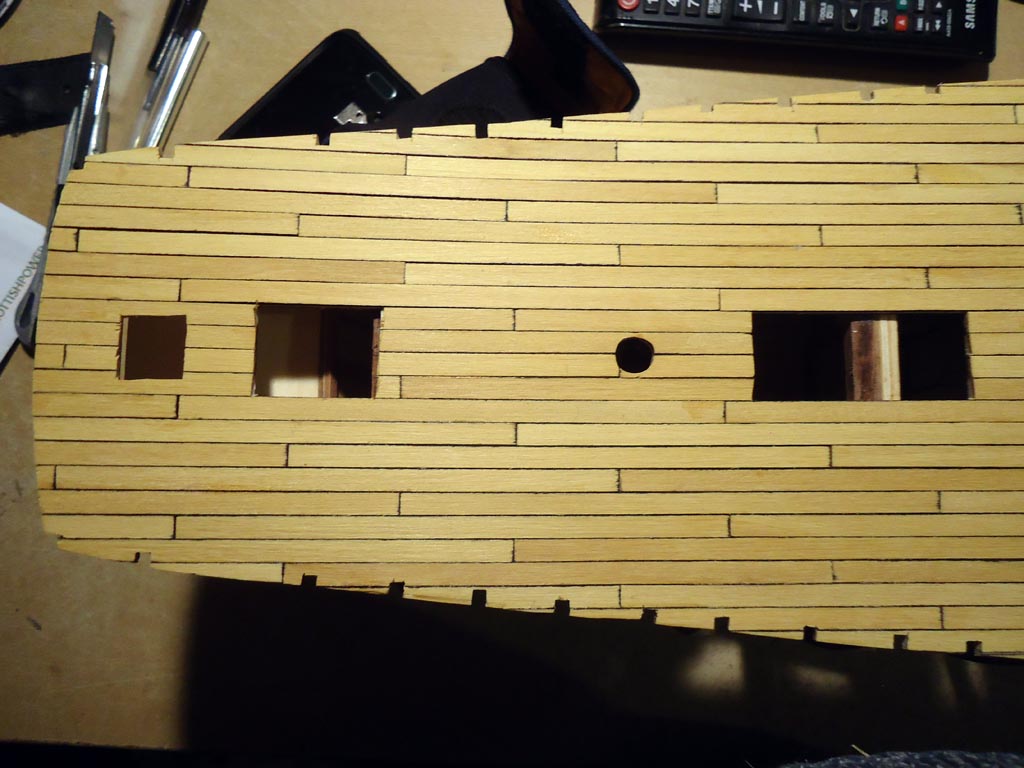
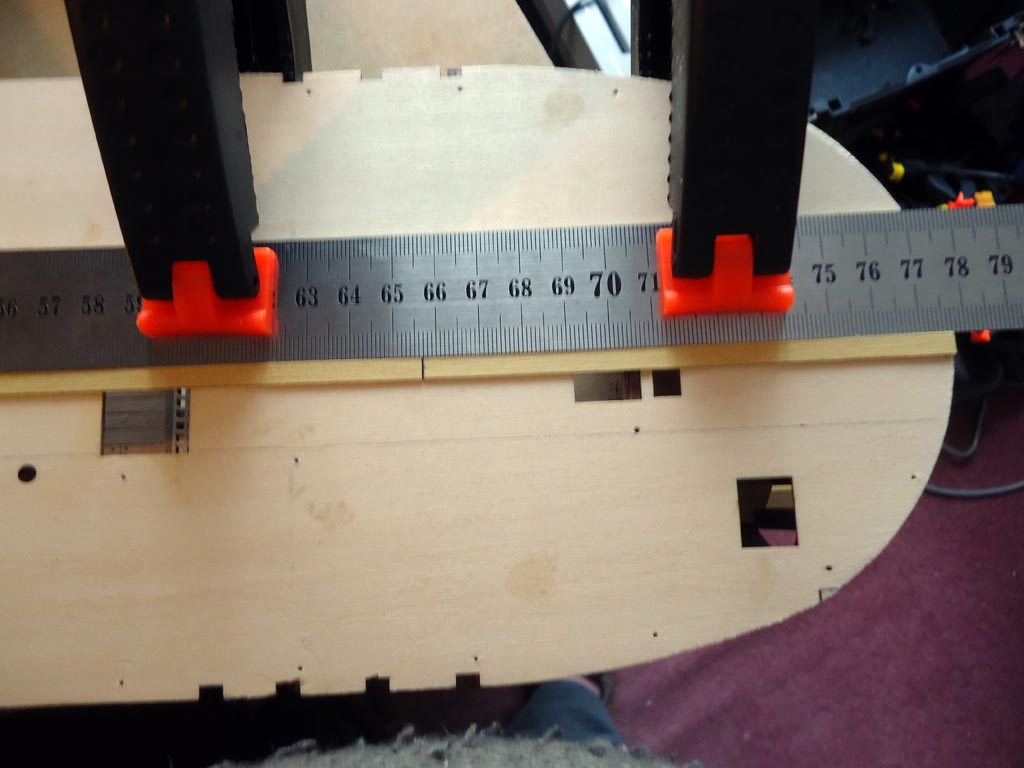
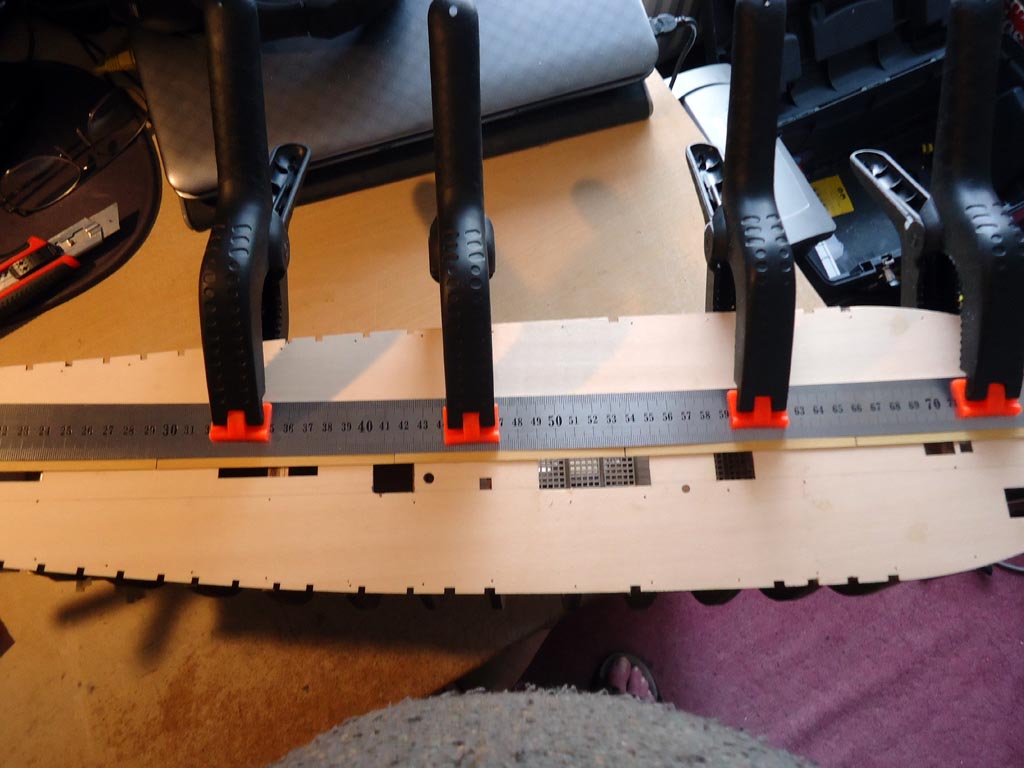
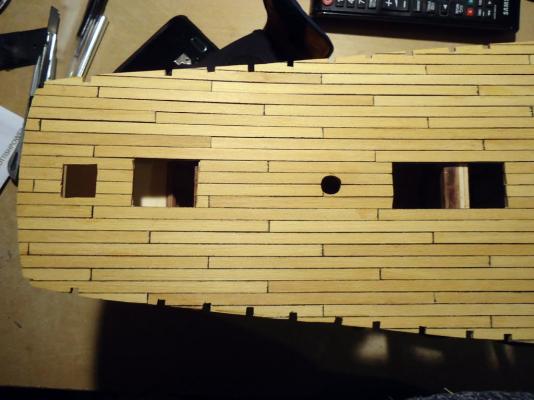
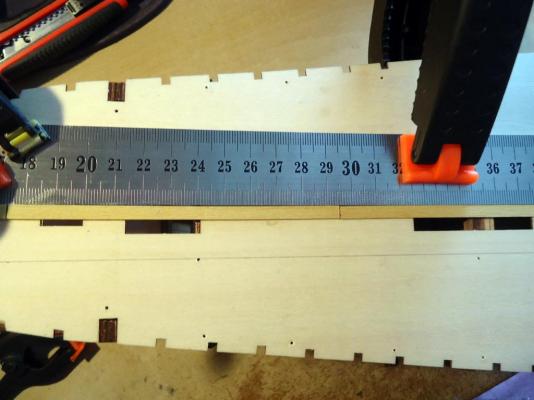
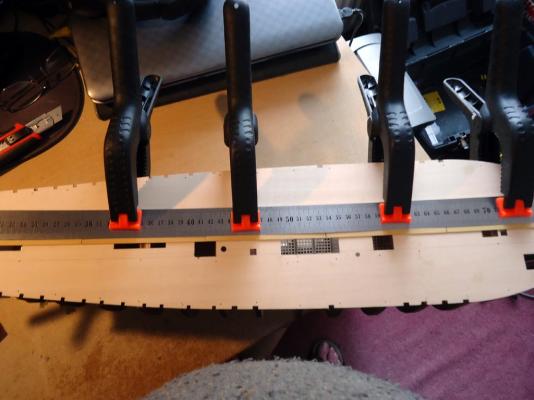
Sanded all the bow area level with the deck. To make sure that the center planks on the top deck ran directly down the center of the deck in a straight line i marked out a line then i clamped a 1 metre steel rule to the deck along the line and then glued the first row of planks butted up against the rule

-
@ Charlene Thank you for your good luck wishes You are right about the instructions mine are translated from Spanish but there are so many mistakes besides the language problem in the instructions it makes no difference lol. I usually build the Caldercraft kits as they are written in english from scratch and not translated @ Phil The plates they are referring to are located here http://www.cornwallmodelboats.co.uk/acatalog/amati-copper-plates.html The nearest scale plates for yours are the 1/64
-
Hi Robert Your planking is looking very neat and tidy, it will save a lot of time sanding and filling later on Also i love the idea you've had to put a spacer on the push pins so that they don't have to be driven all the way in