clearway
-
Posts
2,239 -
Joined
-
Last visited
Content Type
Profiles
Forums
Gallery
Events
Everything posted by clearway
-
 it never fails to amaze me every time i visit one of your logs Greg- you are like an upgraded warship constructing terminator😎! Keith
 -
Thanks Paul and for likes / looking in everyone . Little more accomplished with the main yard lifts now rigged (as per Lees masting and rigging), as mentioned in previous post wont be belayed until i get the topsail sheets rigged. take care all Keith
-
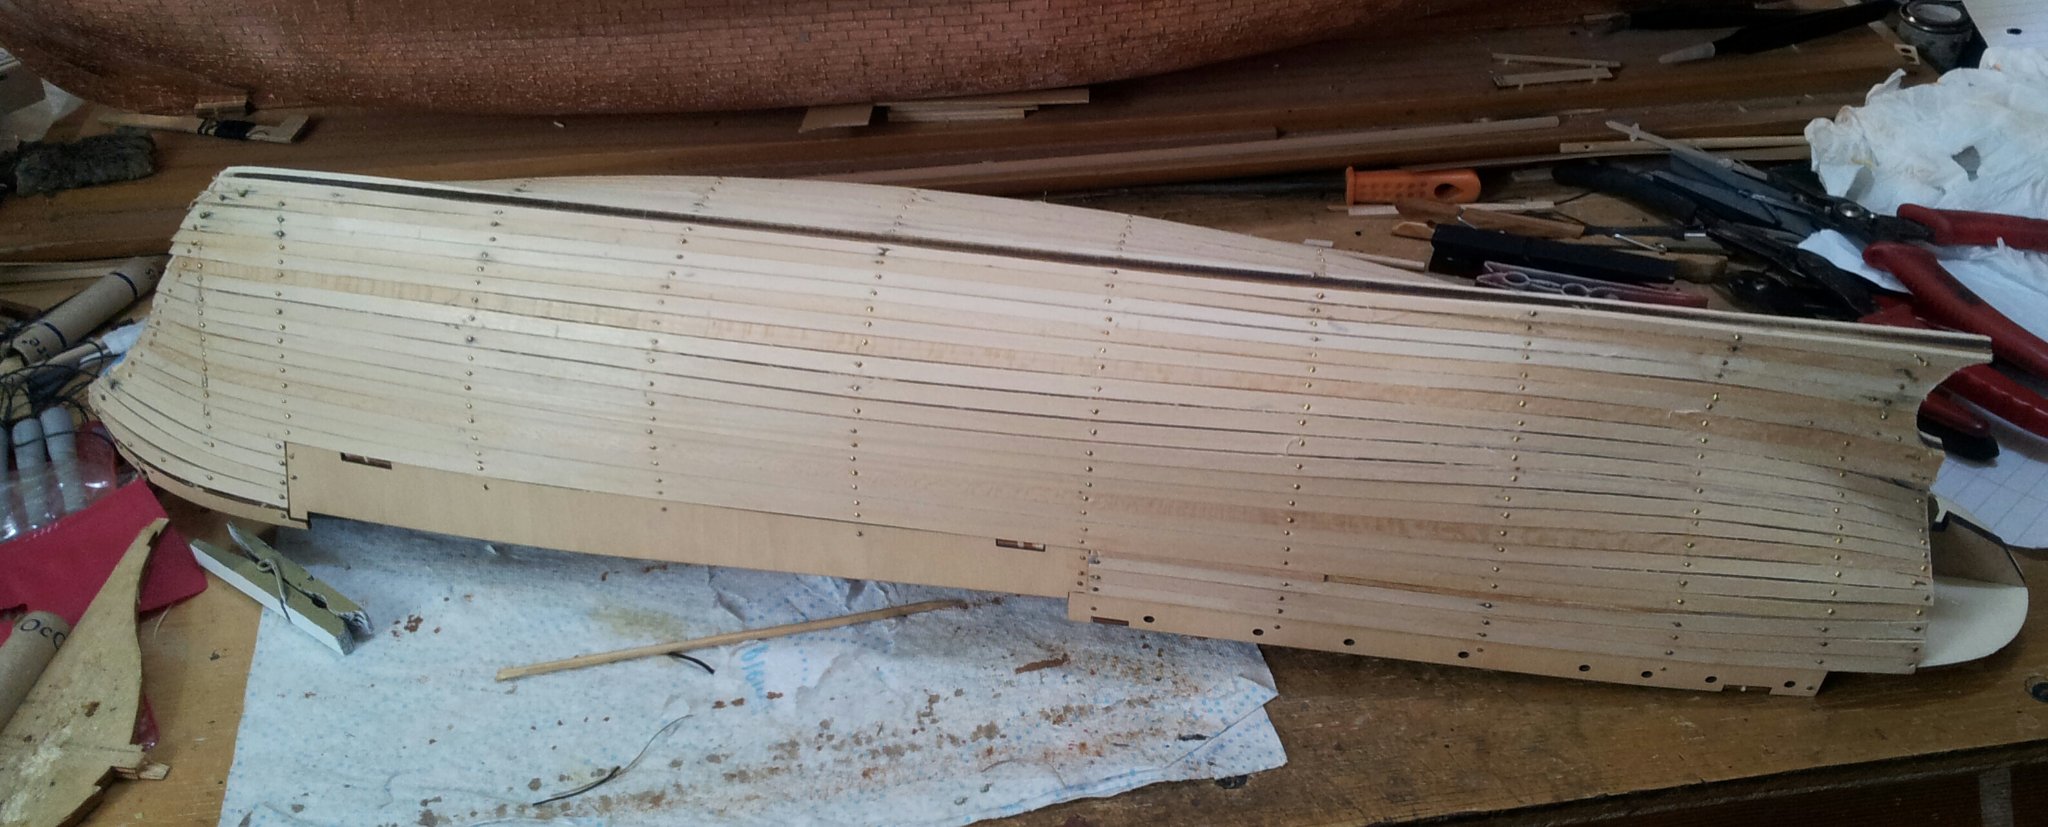
Thanks for looking in, 2nd walnut planking continues and the admirals clothes iron was commandeered again so i could curve the bow planking so it ended at the stem (more hot fingers)! Take care all Keith
-
i always wait until i have finished painting and use matt acrylic varnish which gives a nice deep dull finish, but only paint after all planking/ fittings have been glued in place. Keith
-
a sigh of relief i sense yes (as yoda would say☺️). i am not a fan of 2nd planking and my Occre HMS Terror was my first serious attempt! Make sure everything is firmly in place for when you glue the "rubbing" strakes on. Keith
-
i have this one lurking on top of the wardrobe in the bedroom as no room to store in my workshop- hopefully start her soon but i have a few projects on the go already! god speed and happy modelling. Keith
-
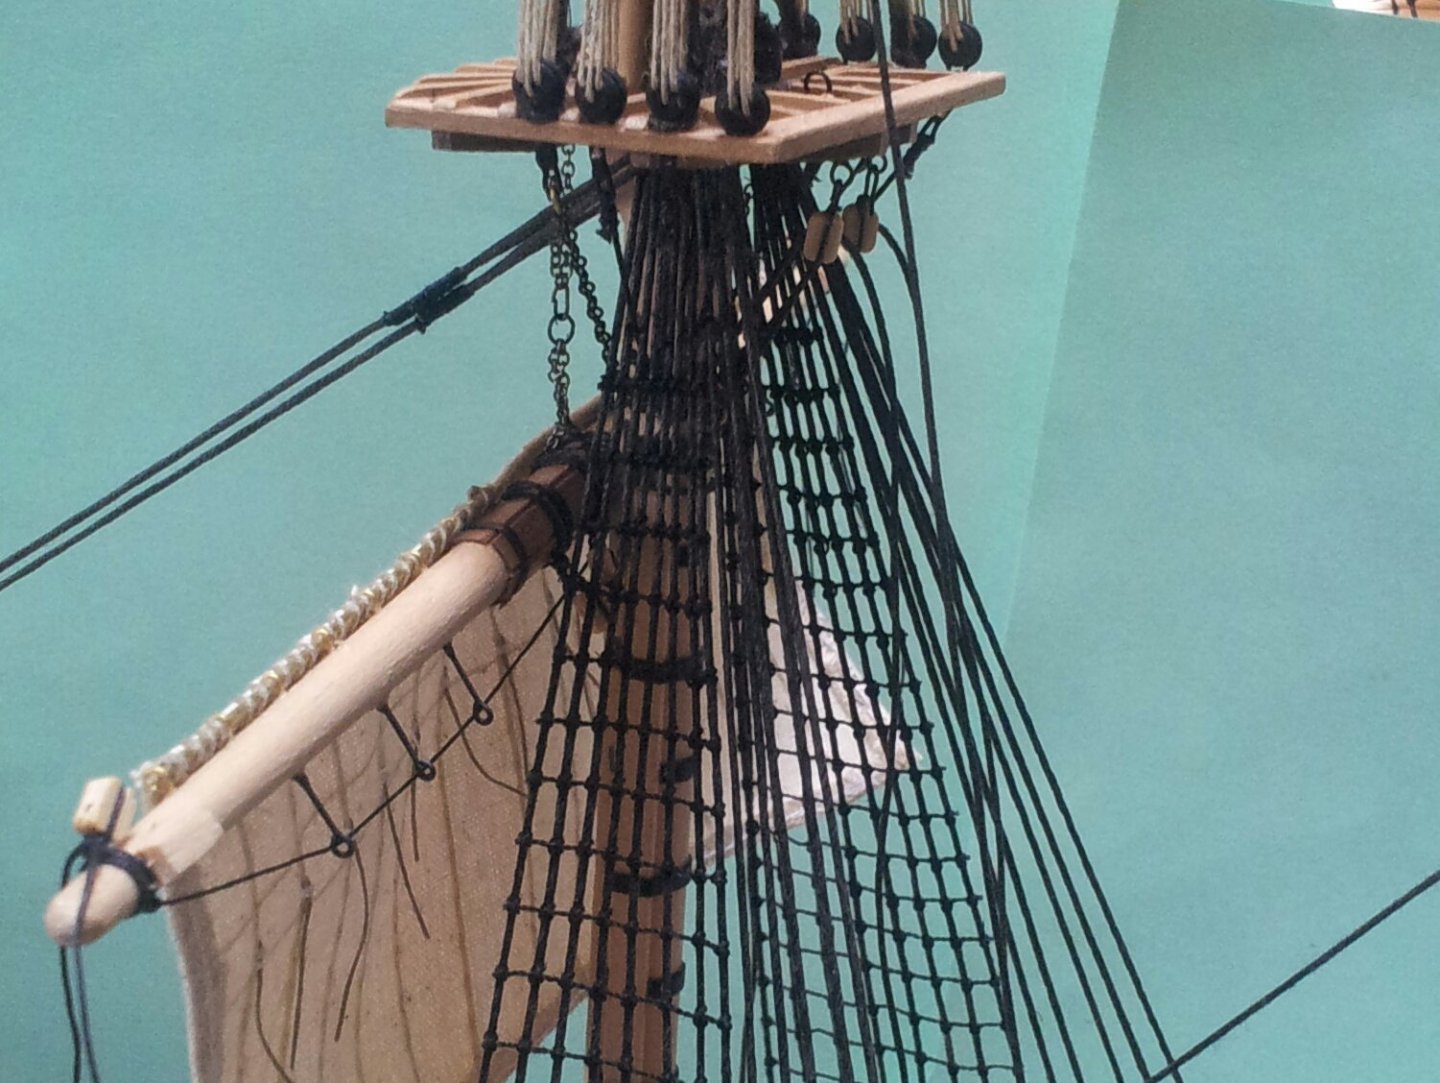
thanks for popping in for a look everyone, managed a little more work on Terror with the trusses now rigged through the blocks under the yards and rigged the blocks on the end of the yards for the lifts. Will leave final belaying of these til i have rigged the topsail as the topsail sheet is the only part of the rigging which will pull the yard down (everything else pulls it upwards). take care all. Keith
-
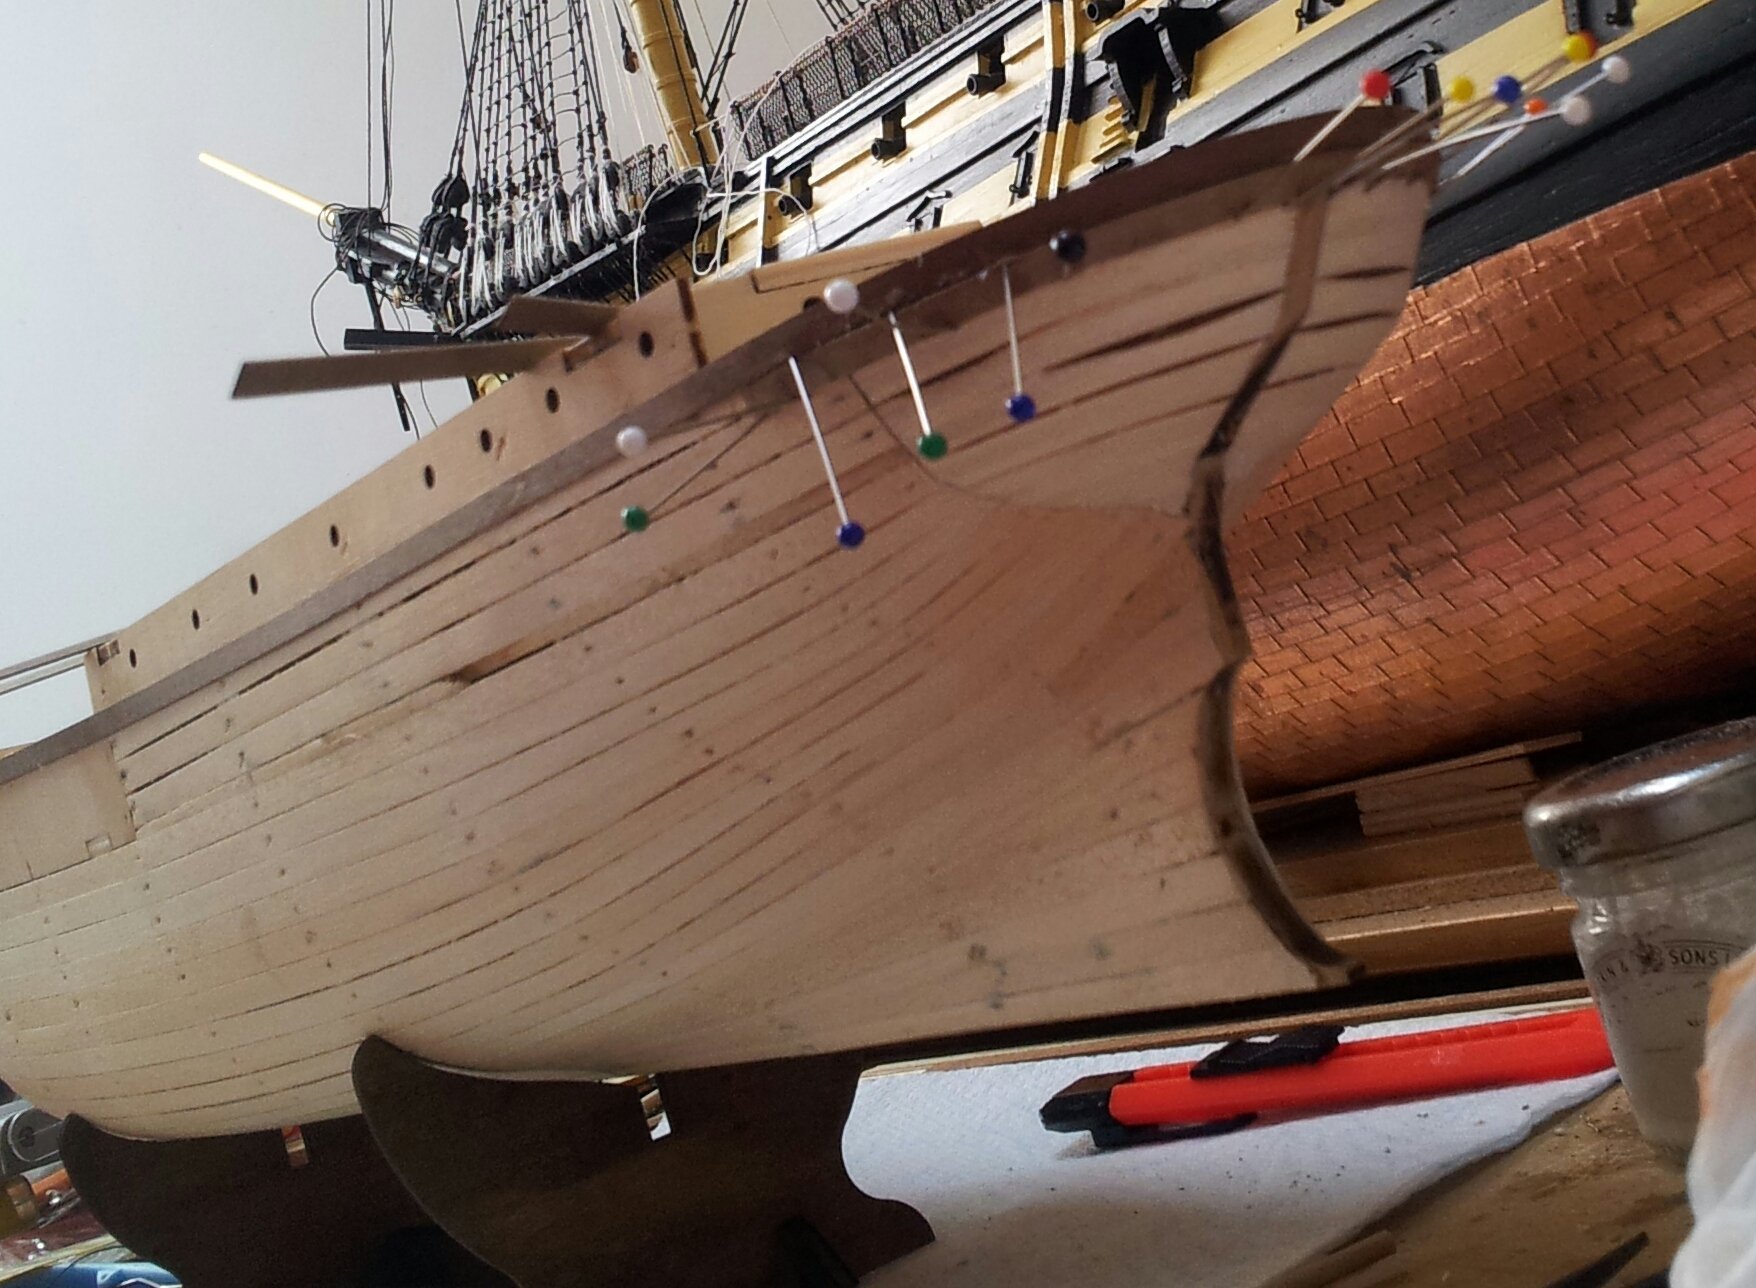
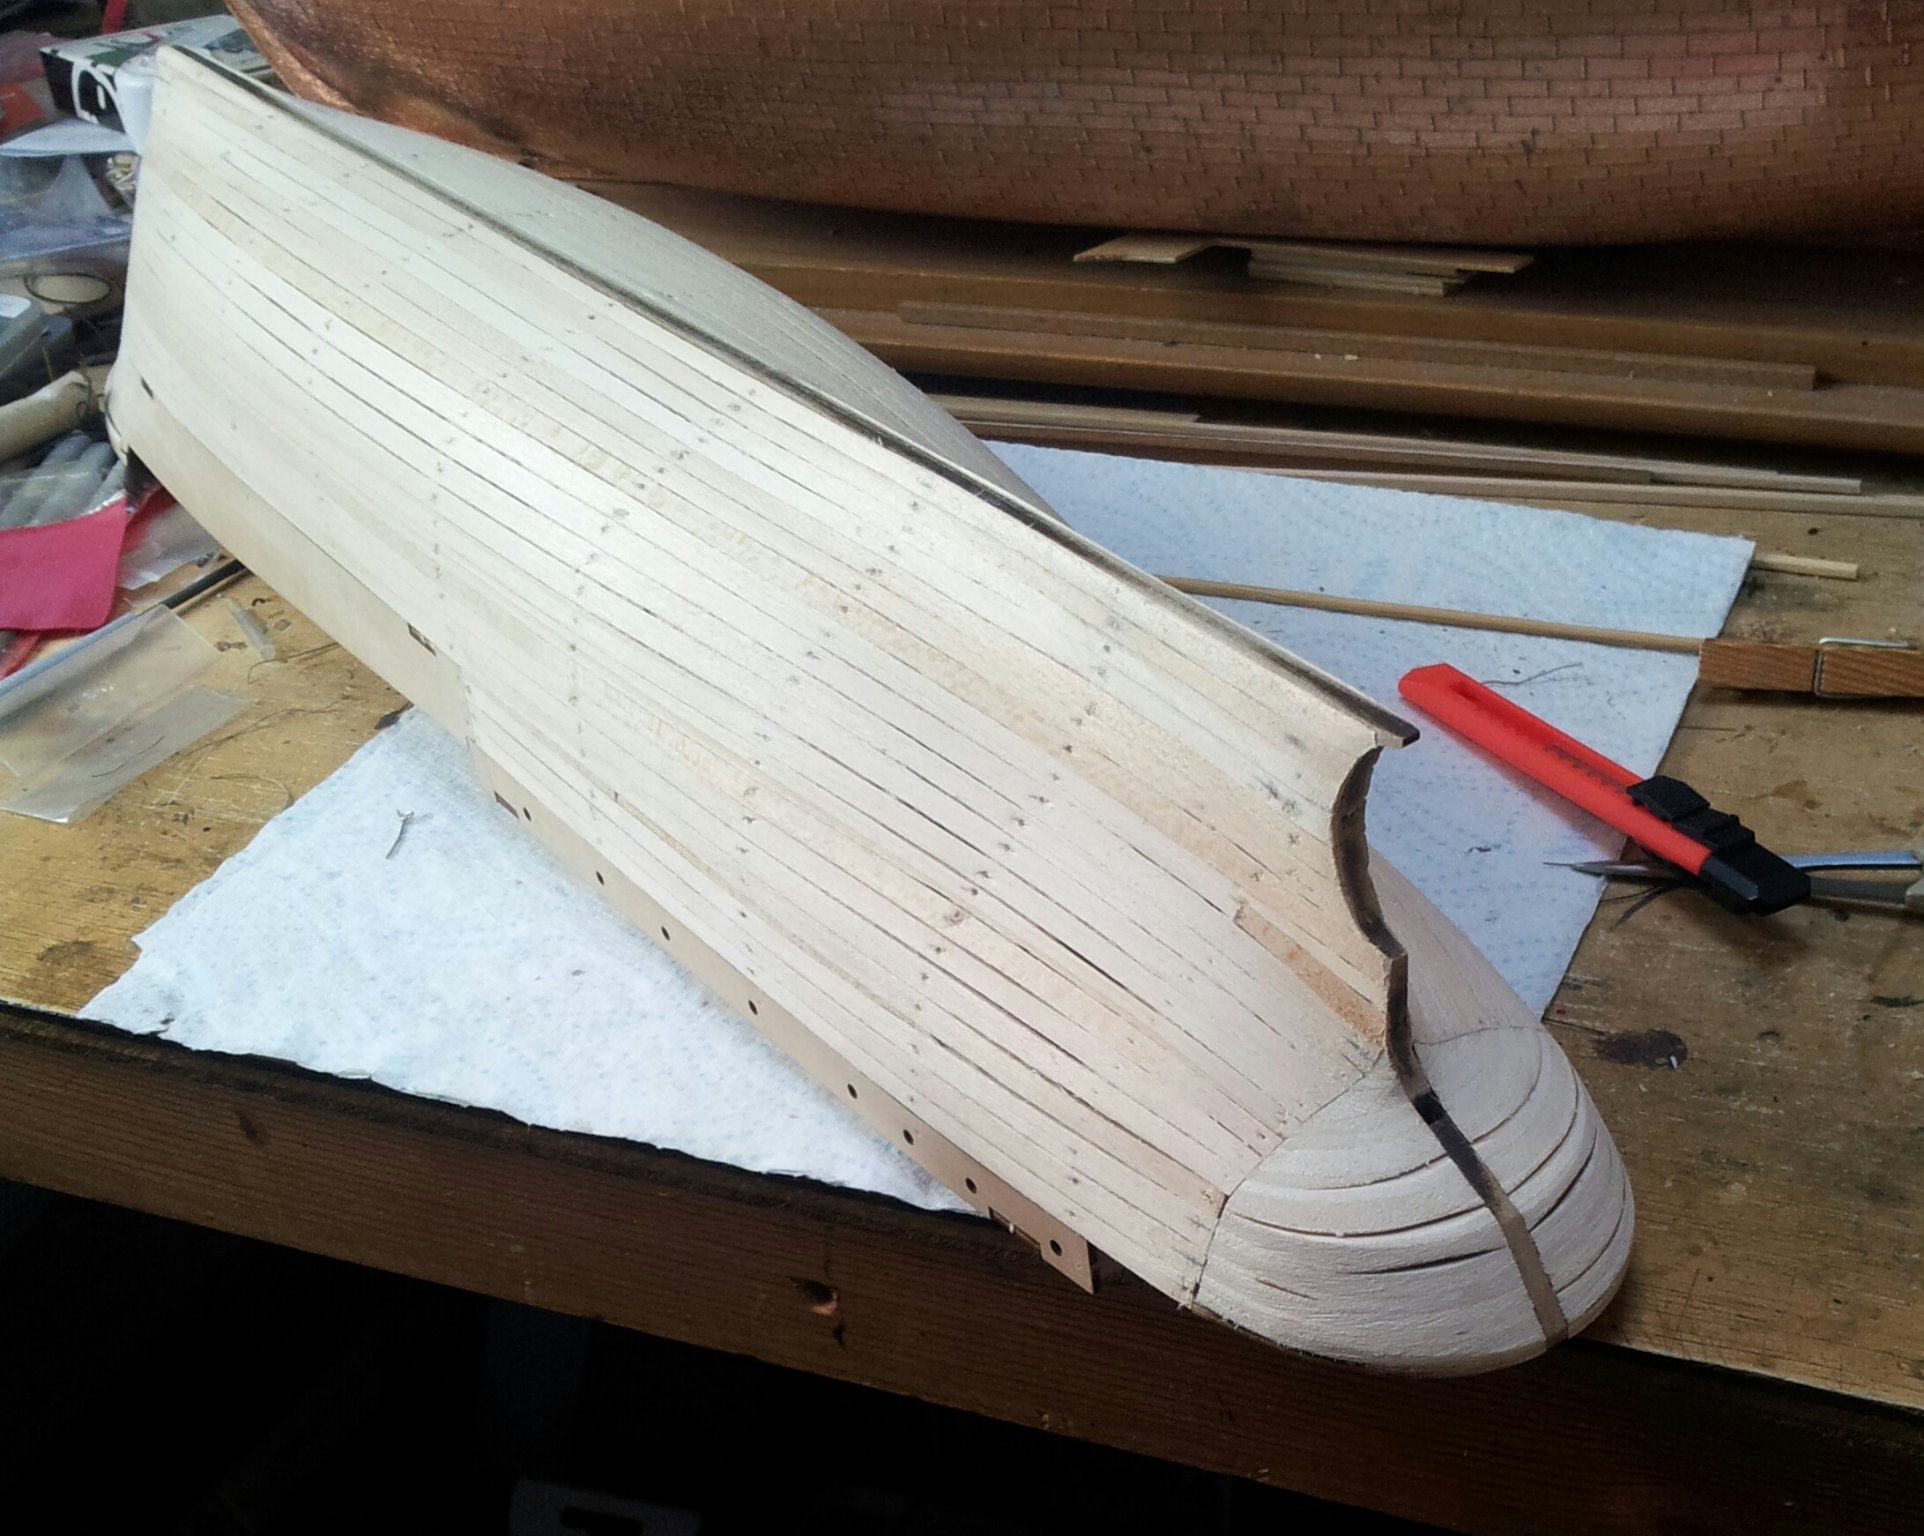
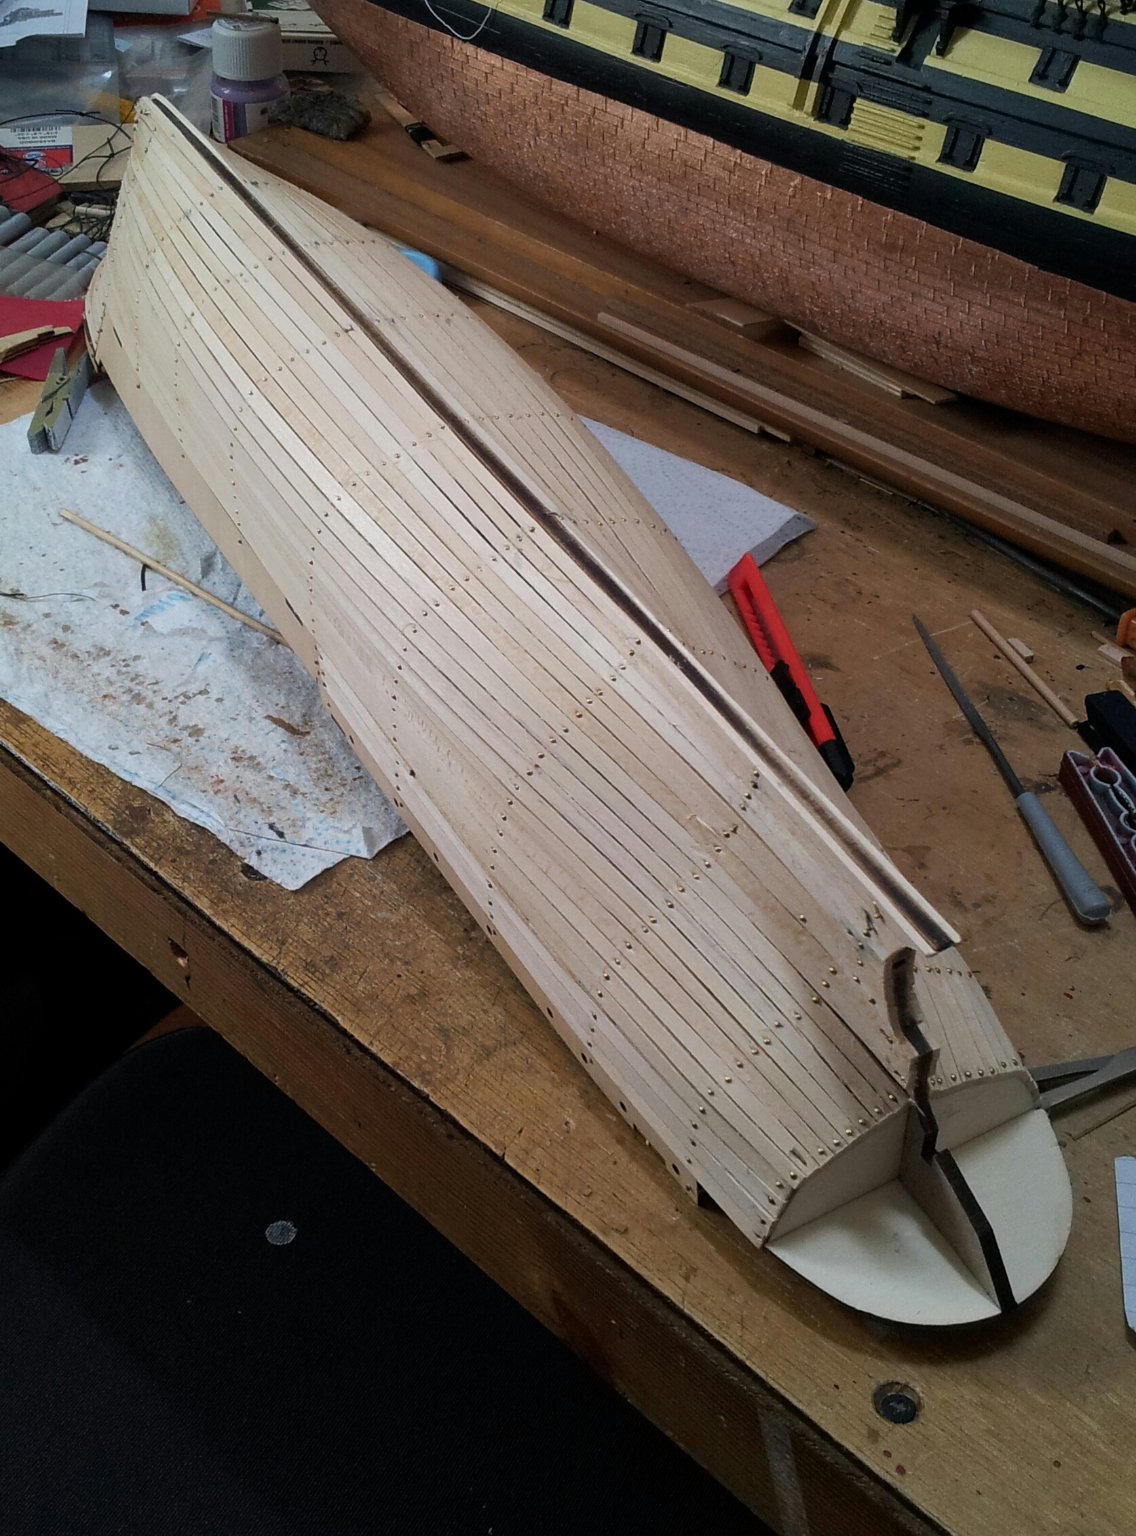
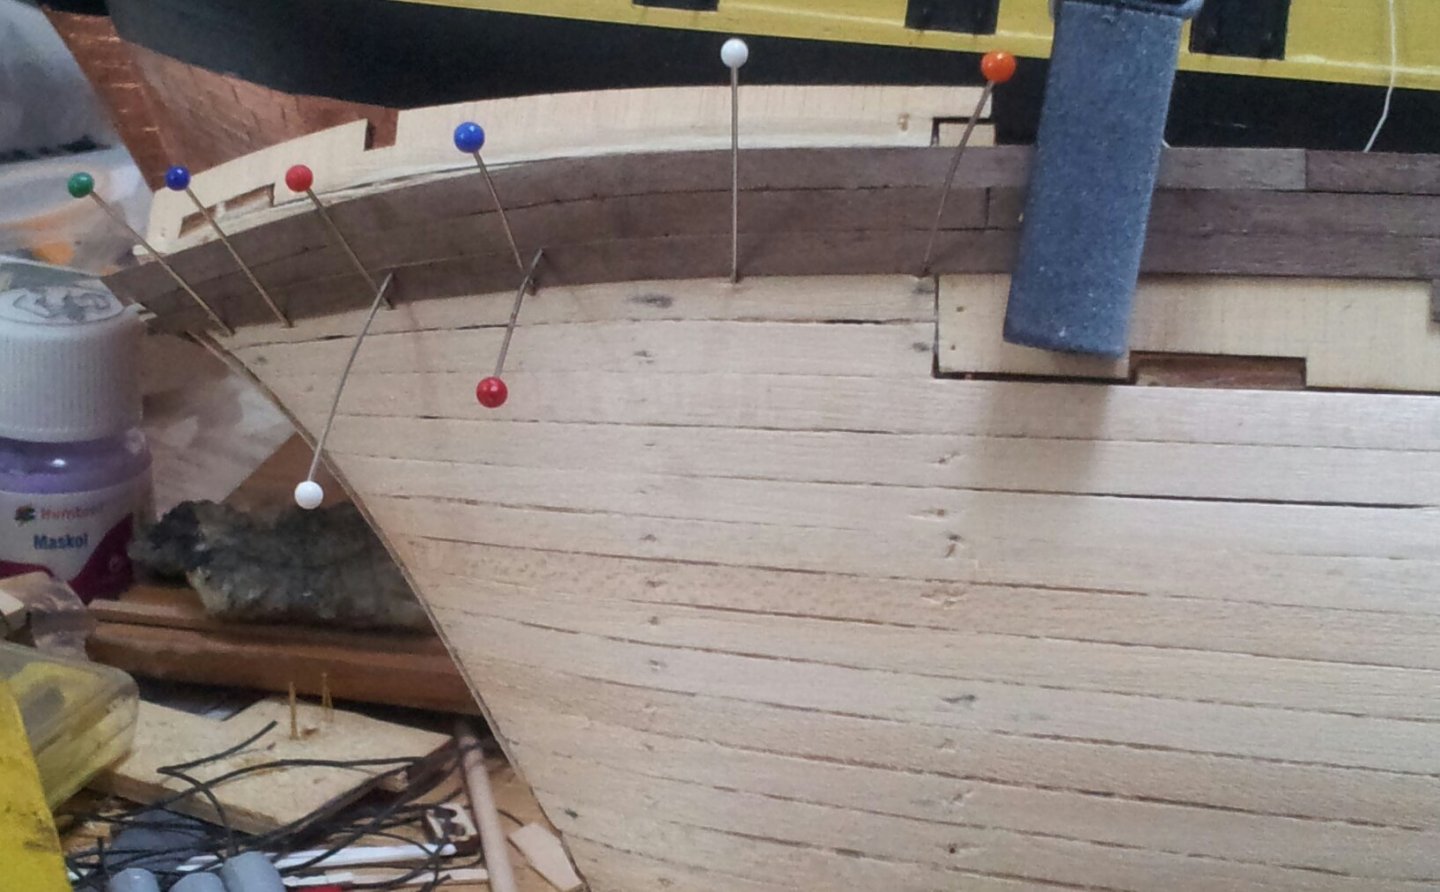
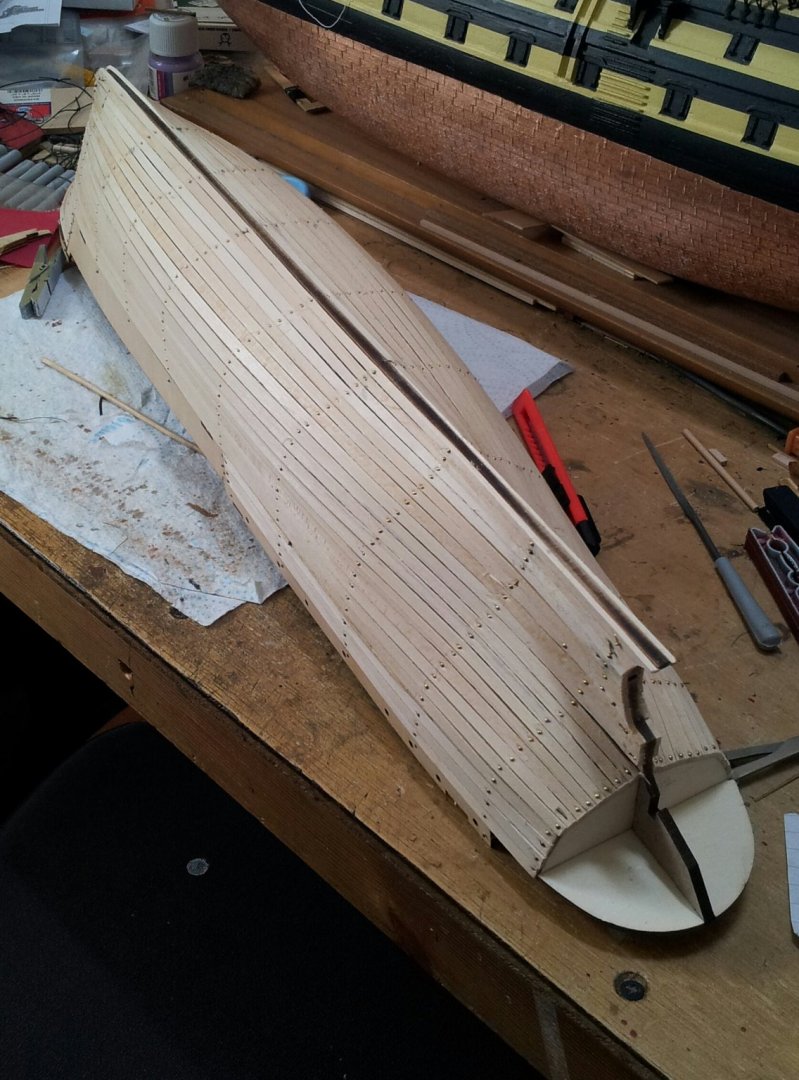
Ty HakeZou - as part of my research i have read lansing's endurance and the bought the book "south with Endurance" which is a massive hardback weighing a couple of kilos which contains Frank Hurley's photos. To get the planks to lie flat i had to steam them into the U shape you see which was hot and awkward with the walnut splitting for fun! To be honest if using the kit supplied veneer i don't think it would take the stresses, and if painting - so long as gaps are filled - won't really be noticed. Keith
-
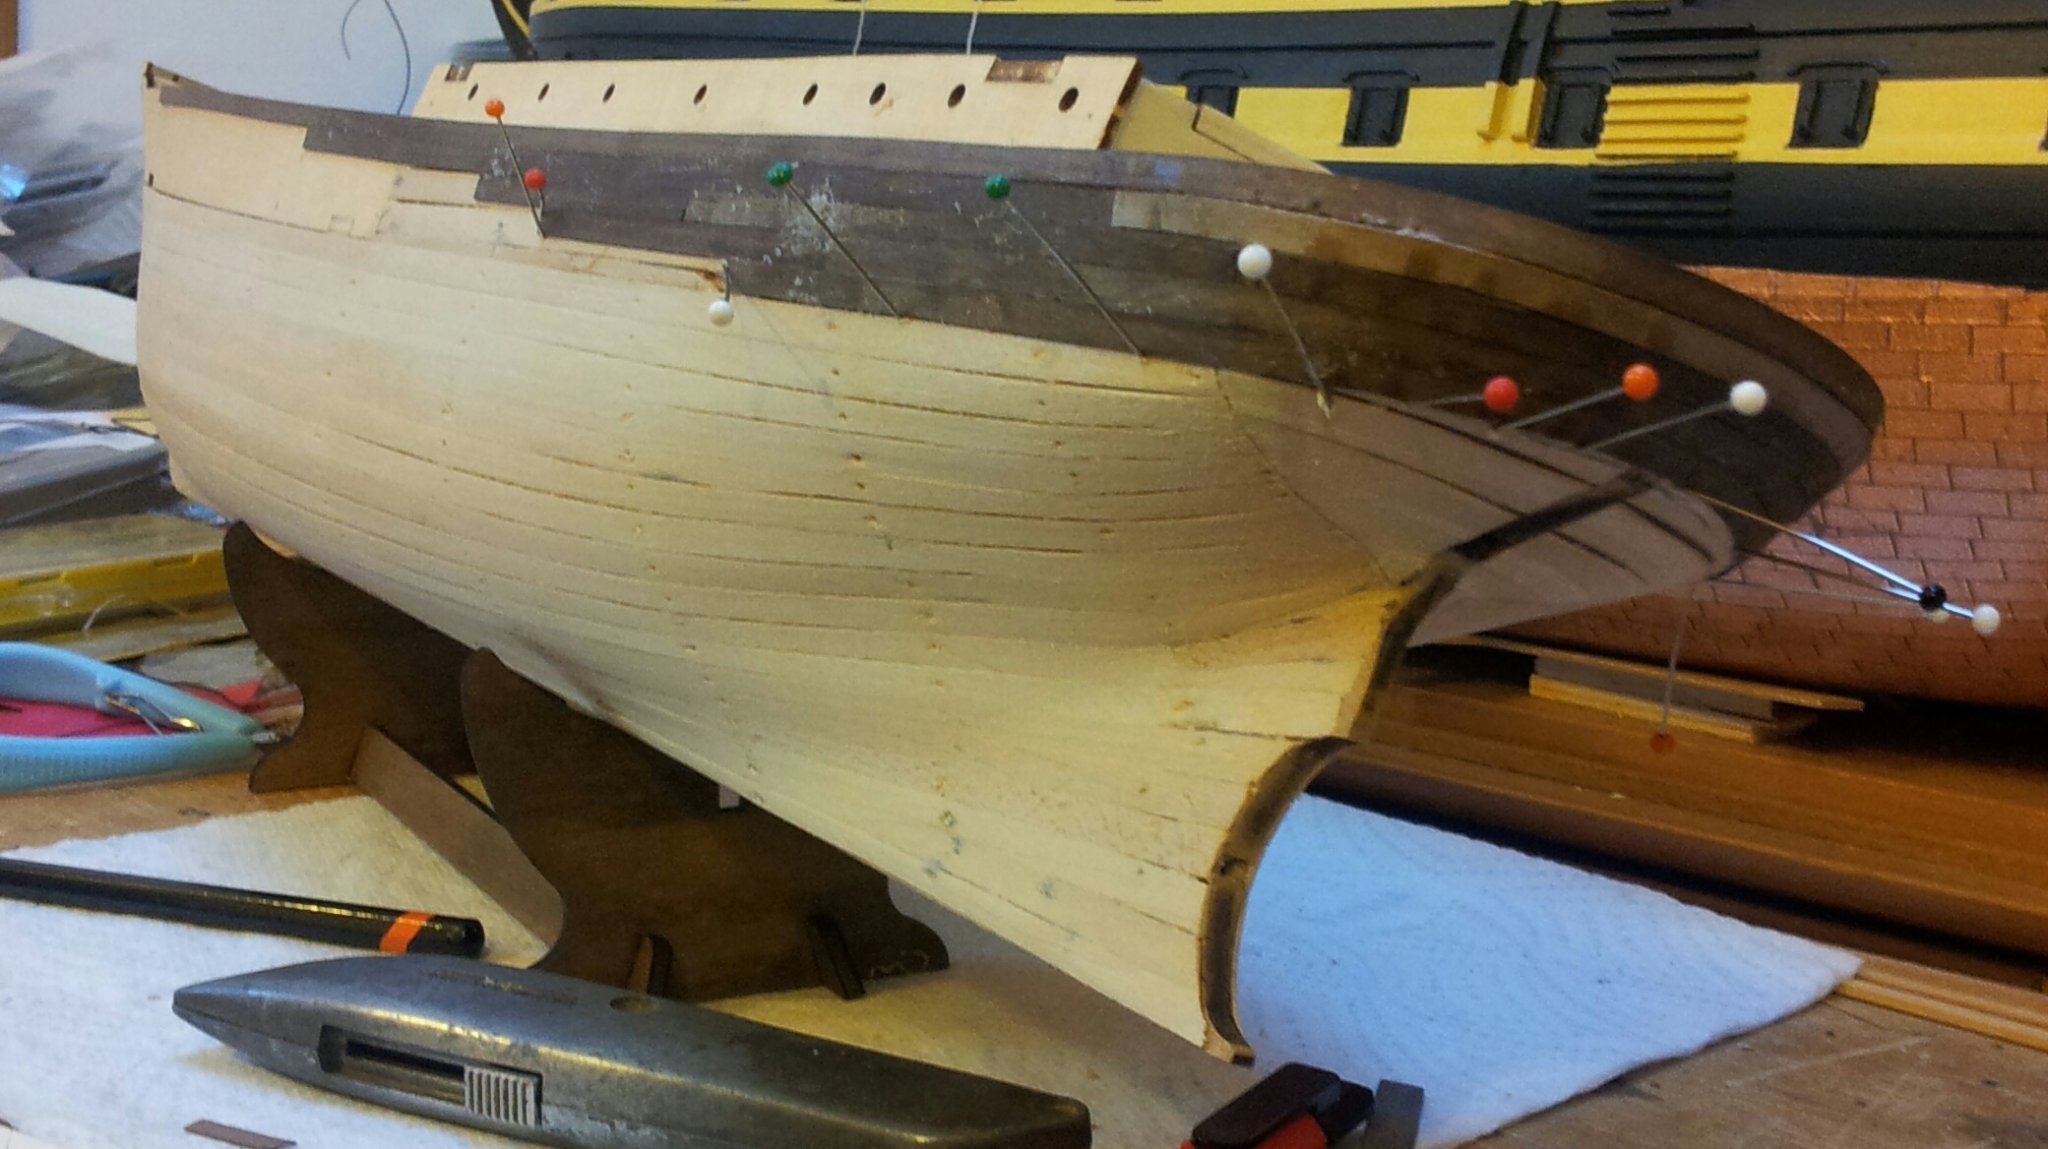
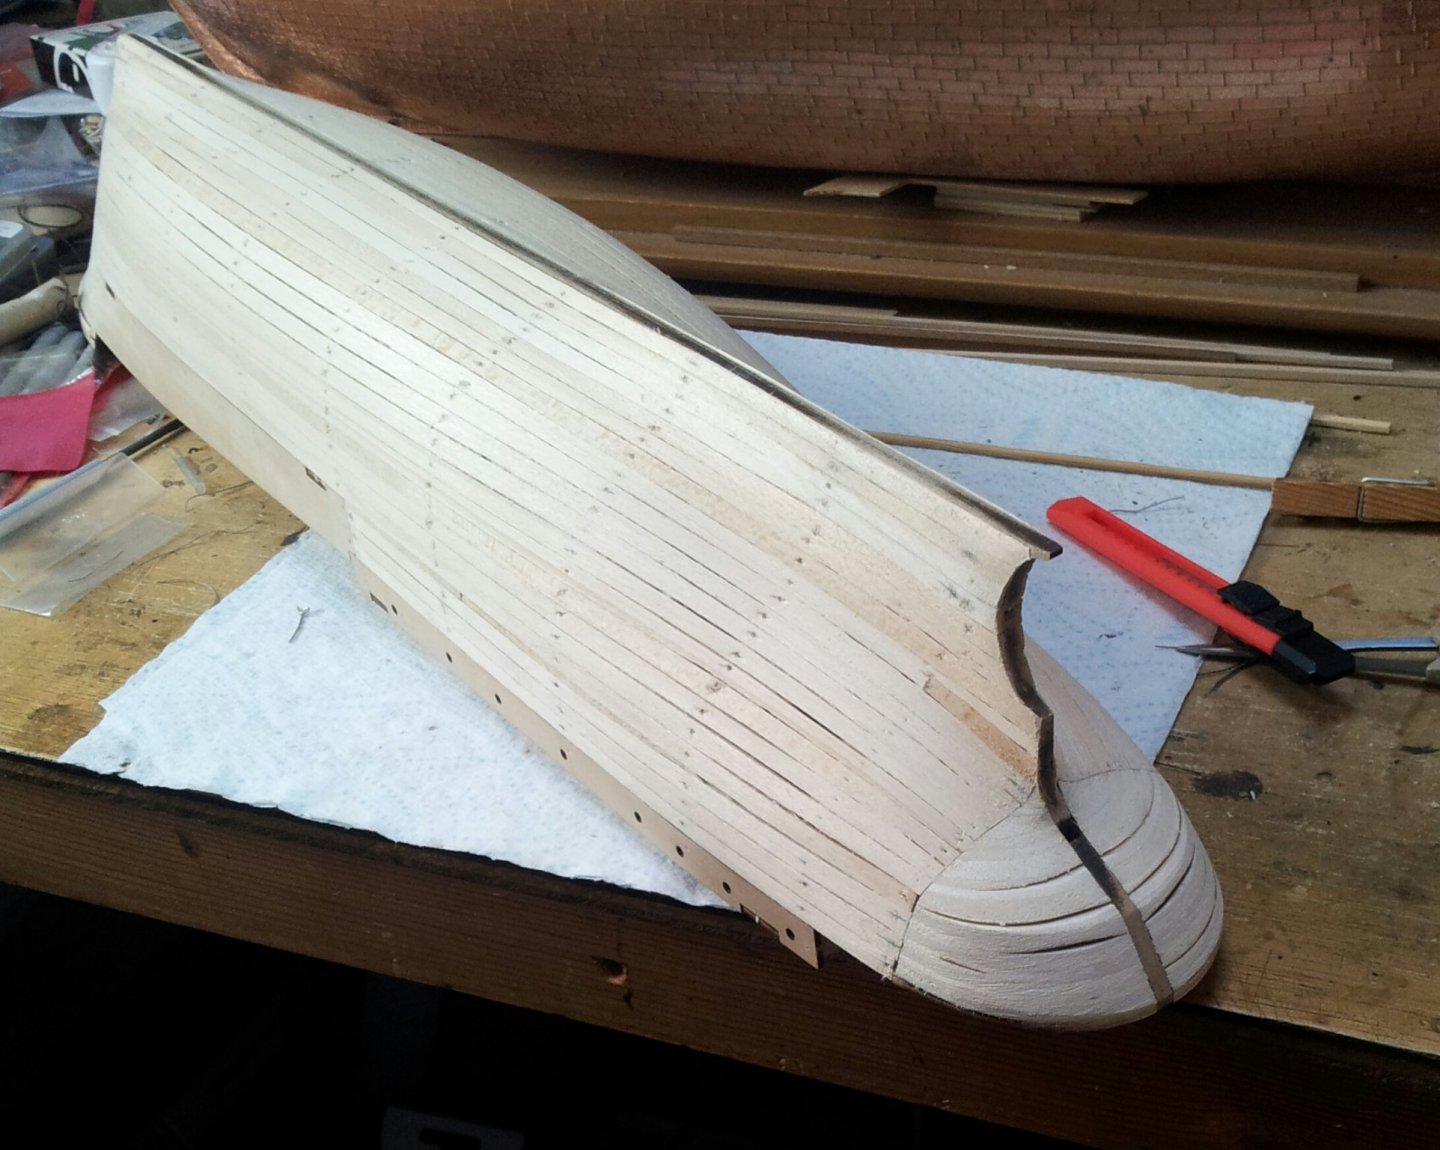
Thanks for looking in everyone, got the last of the "u" shaped timbers in place on the counter (looks a bit rough at the moment, but hopefully look better after sanding). I can understand why occre suggested the way they have it and if painting the hull the wrong run of the 2nd planks wont really be noticed. Next i will have to work the planking to form the tuck under the stern. Keep up the good work everyone. Keith

-
you are right there Keith- when you think you are ready to continue with a stage it's like oo need to add them and oops before i add them i best put those in while access is easier....... etc! Keith
-
She is coming along now Keith (see there are spars stored midships as well😉). It only seems like 5 minutes ago we were discussing last year abuot when we start masting and rigging her! Keith
-
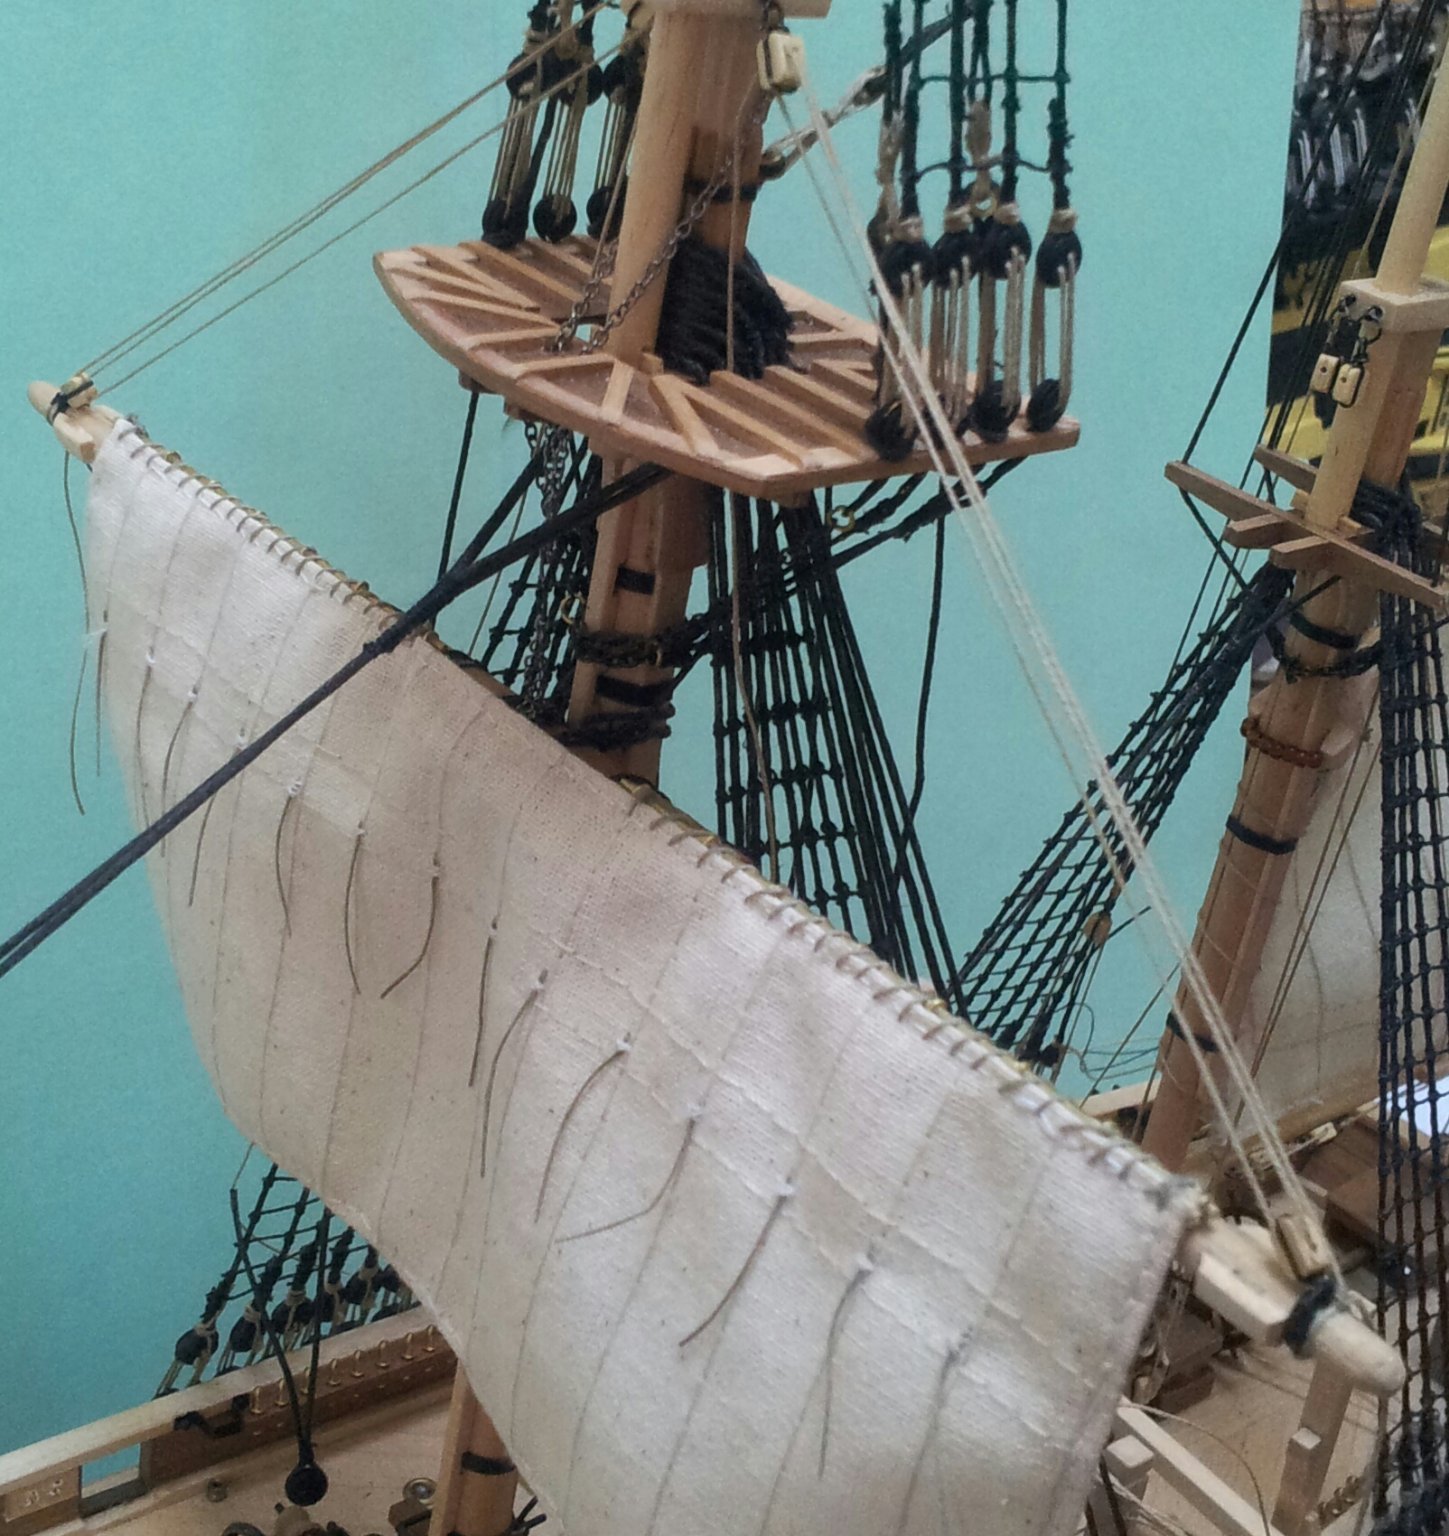
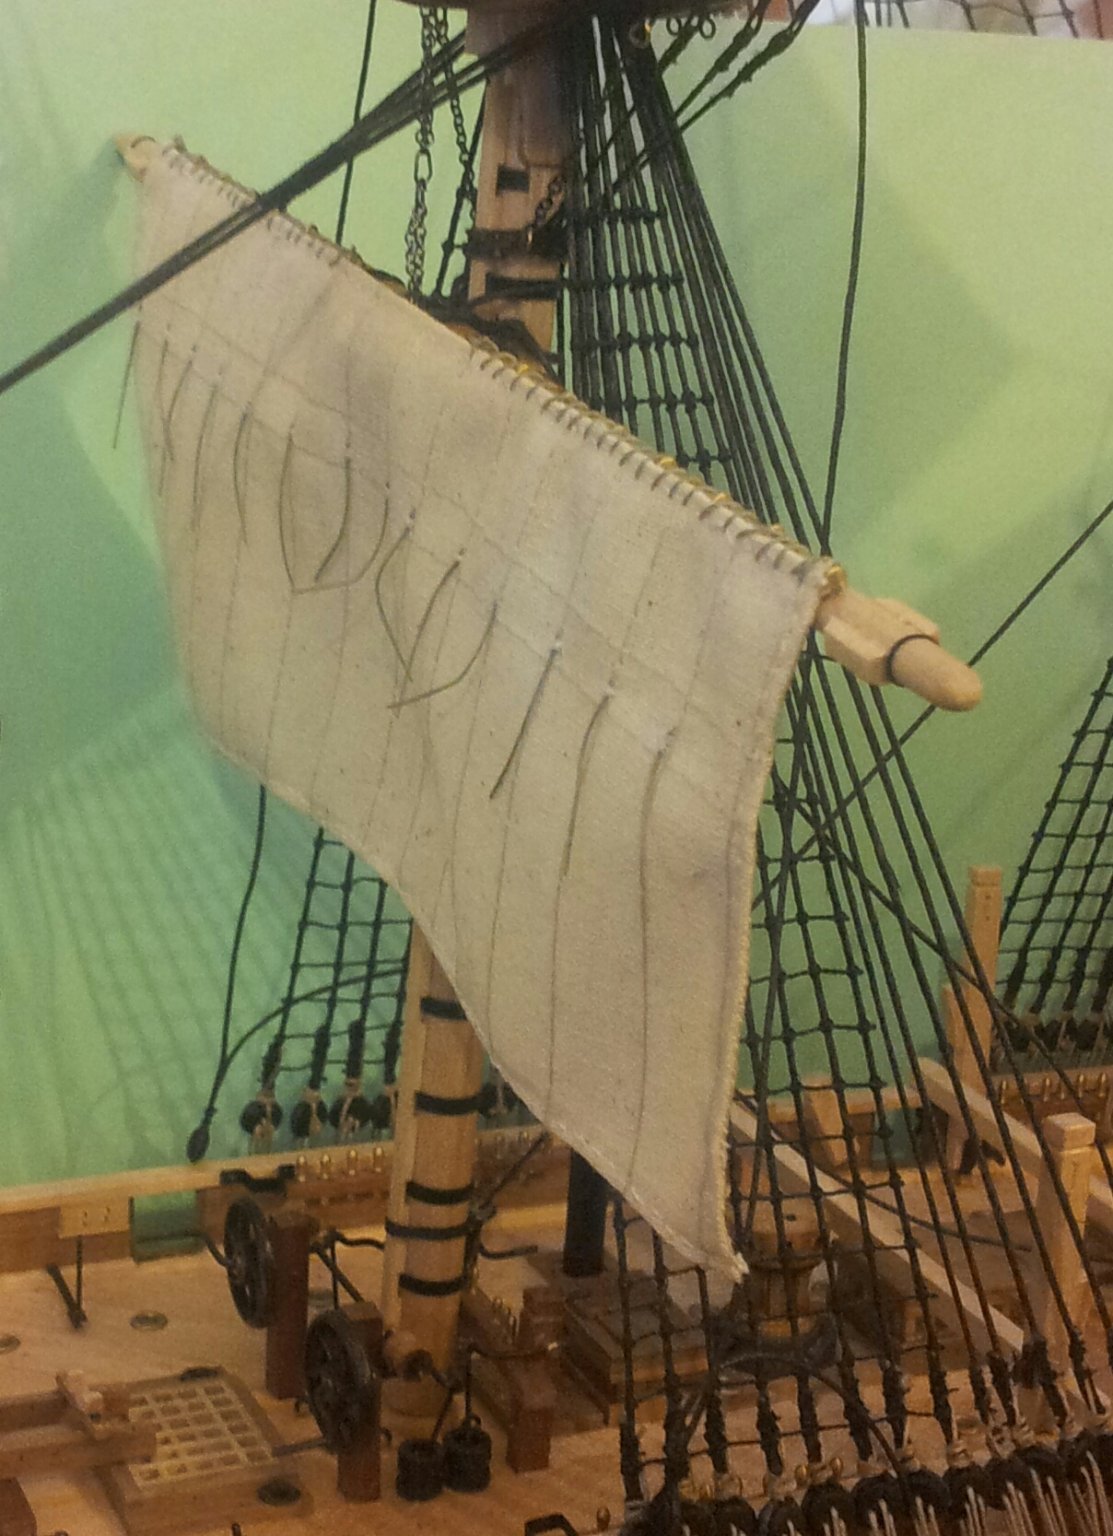
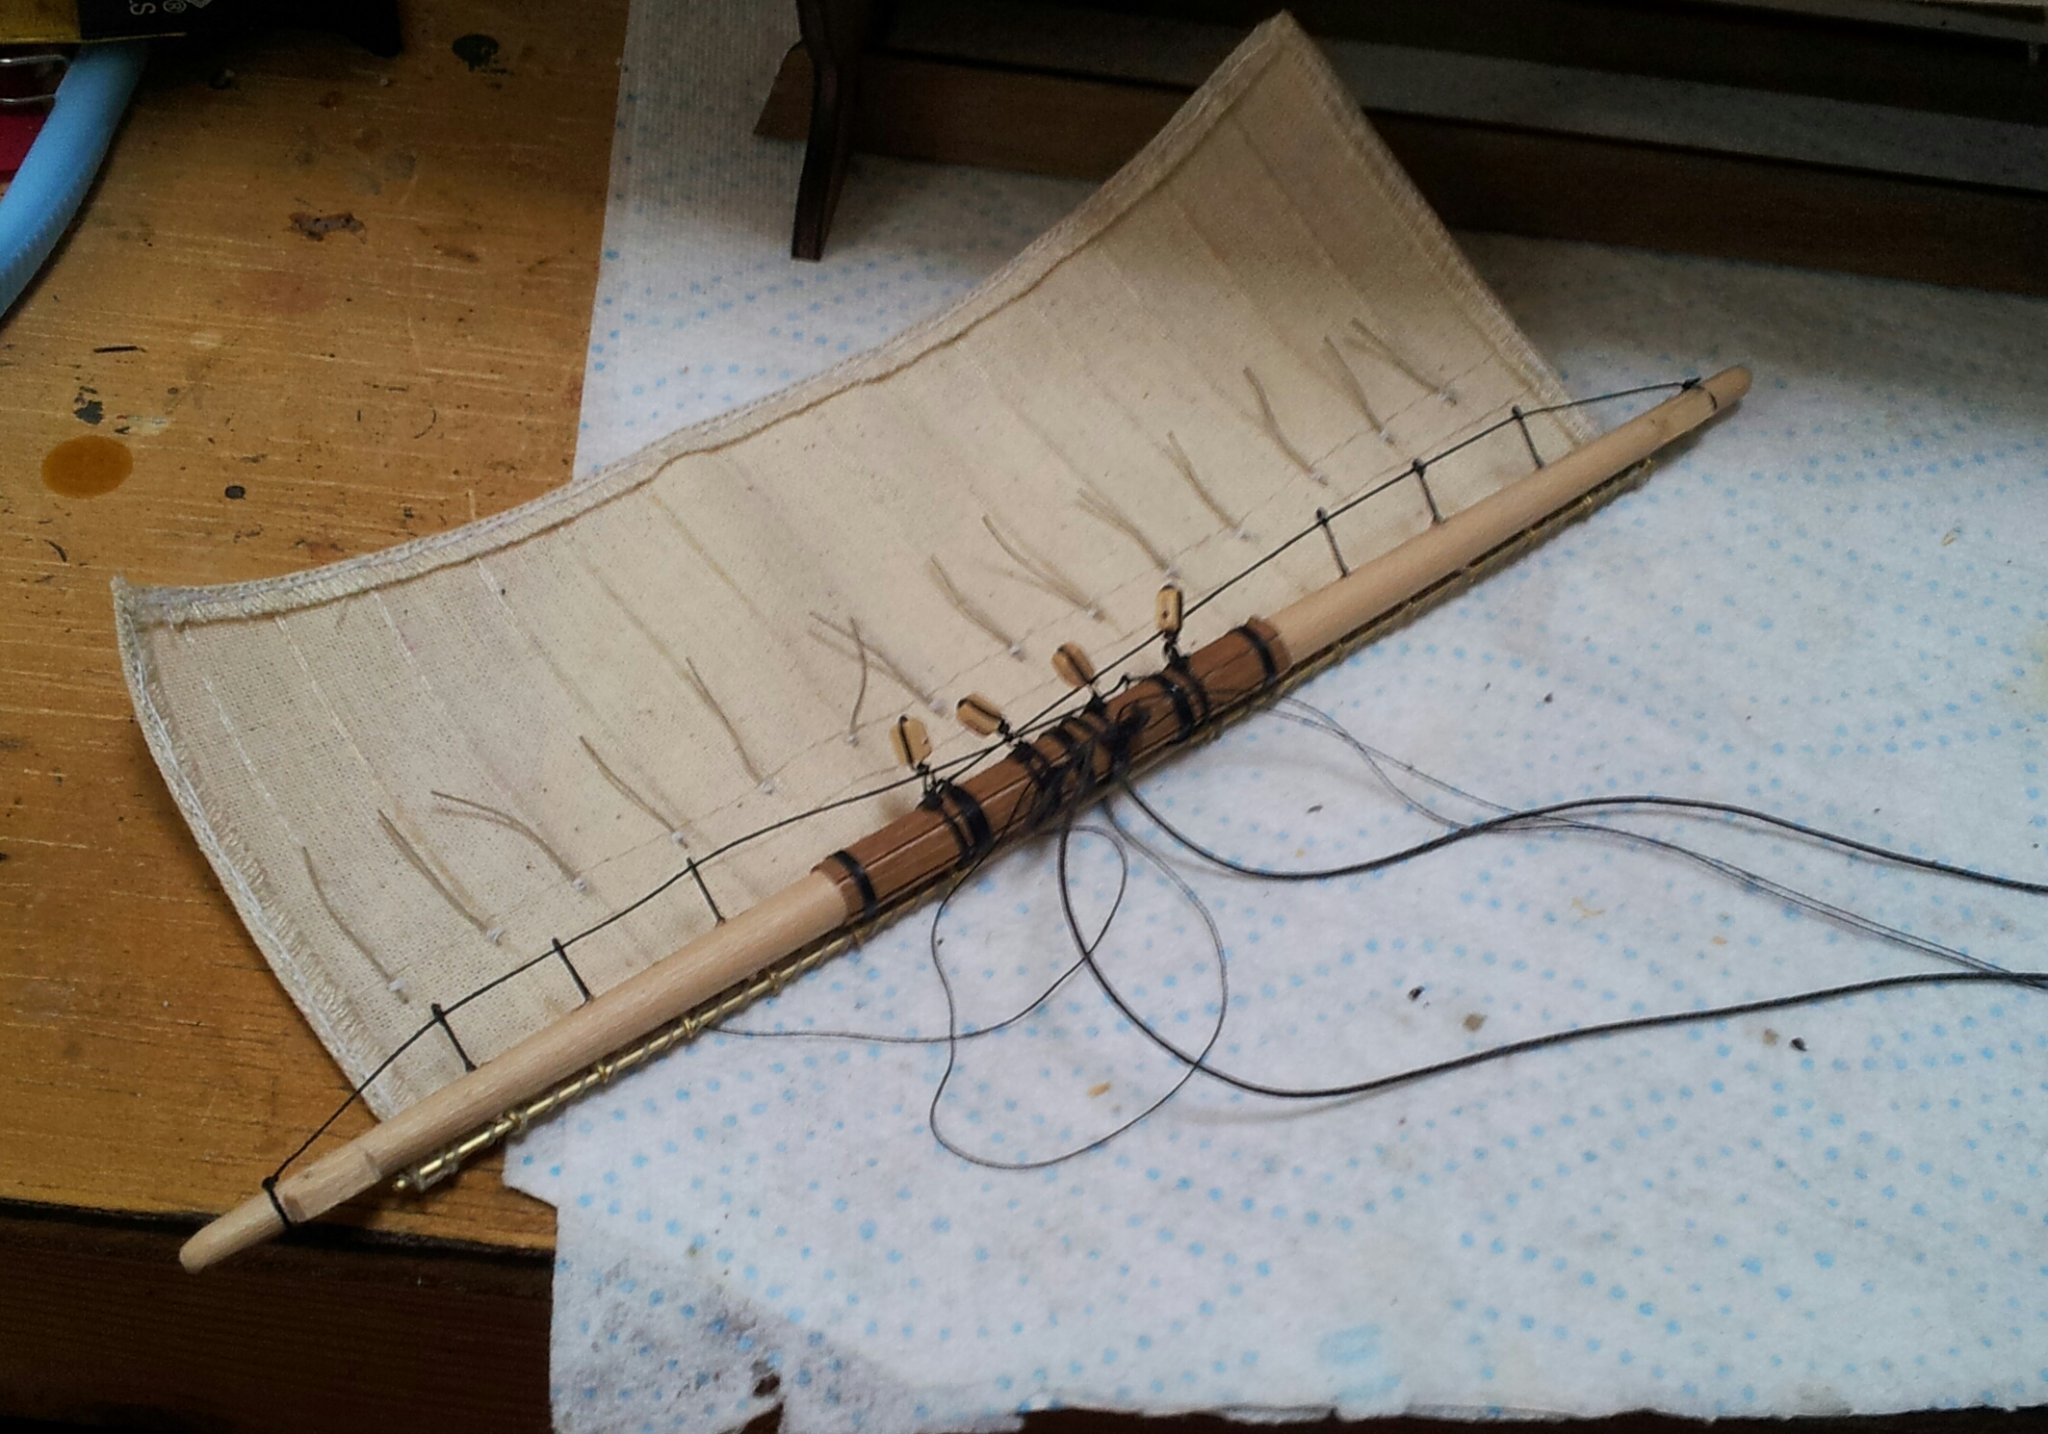
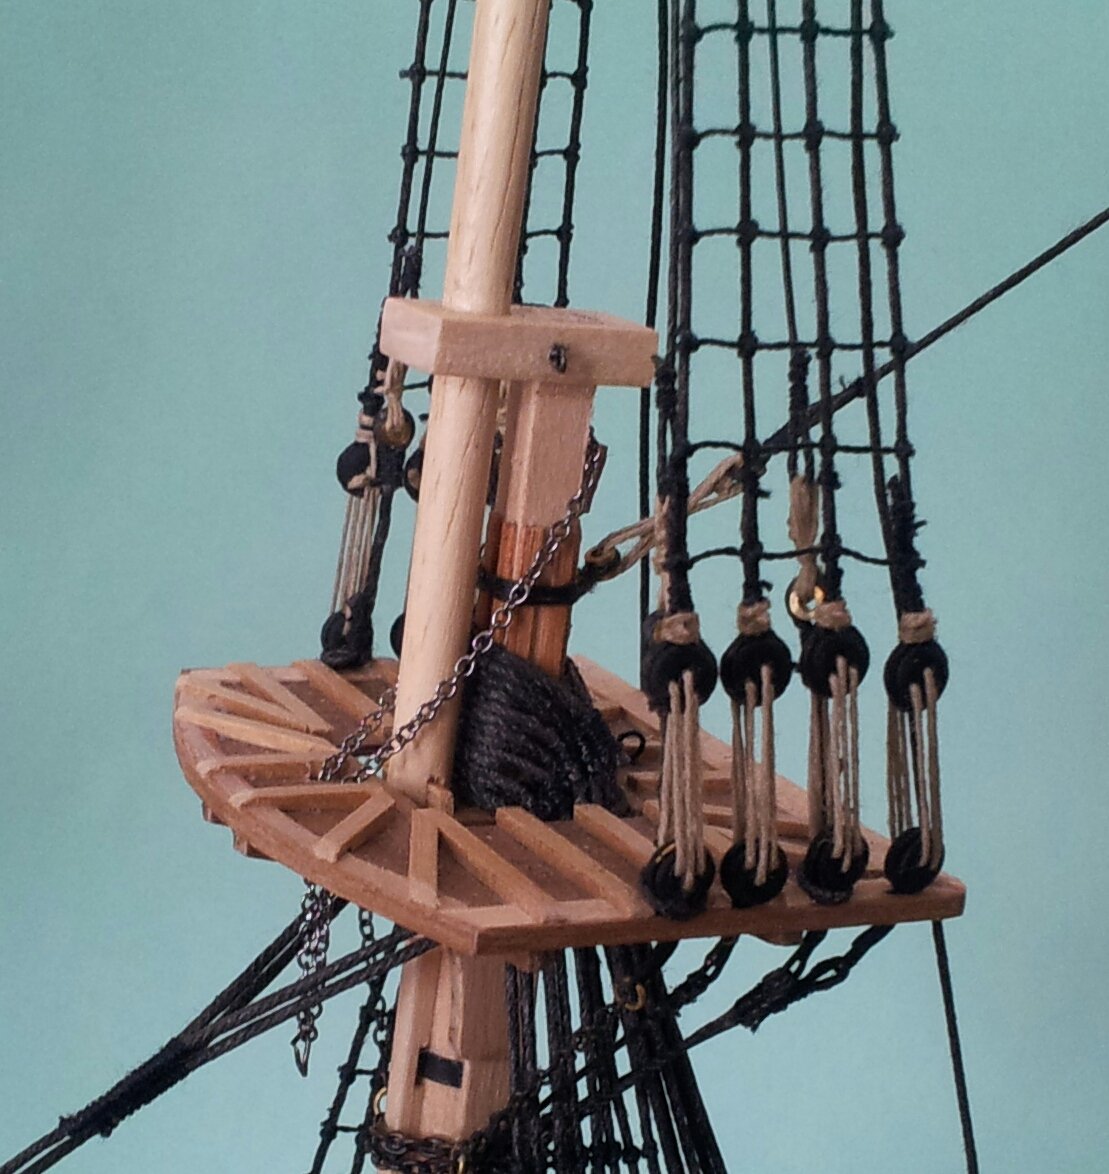
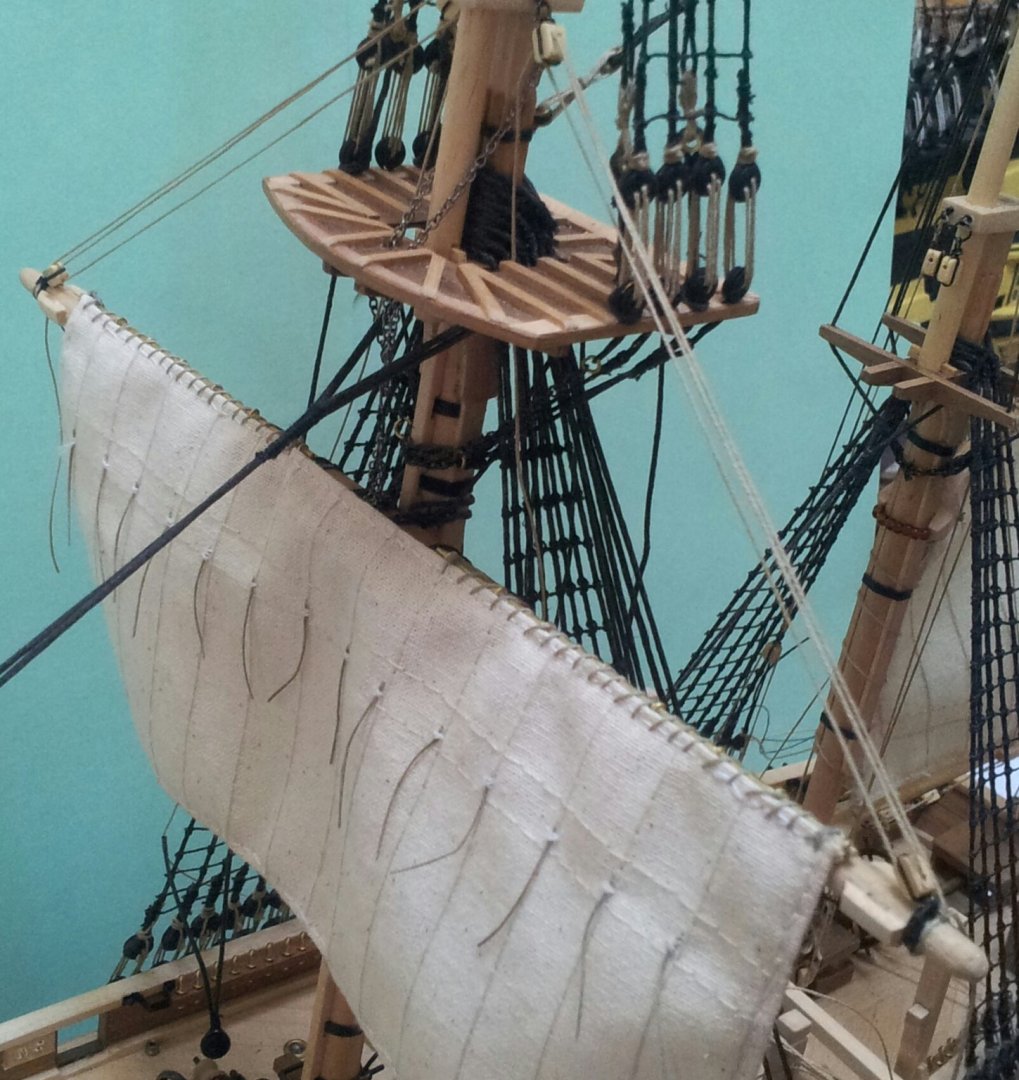
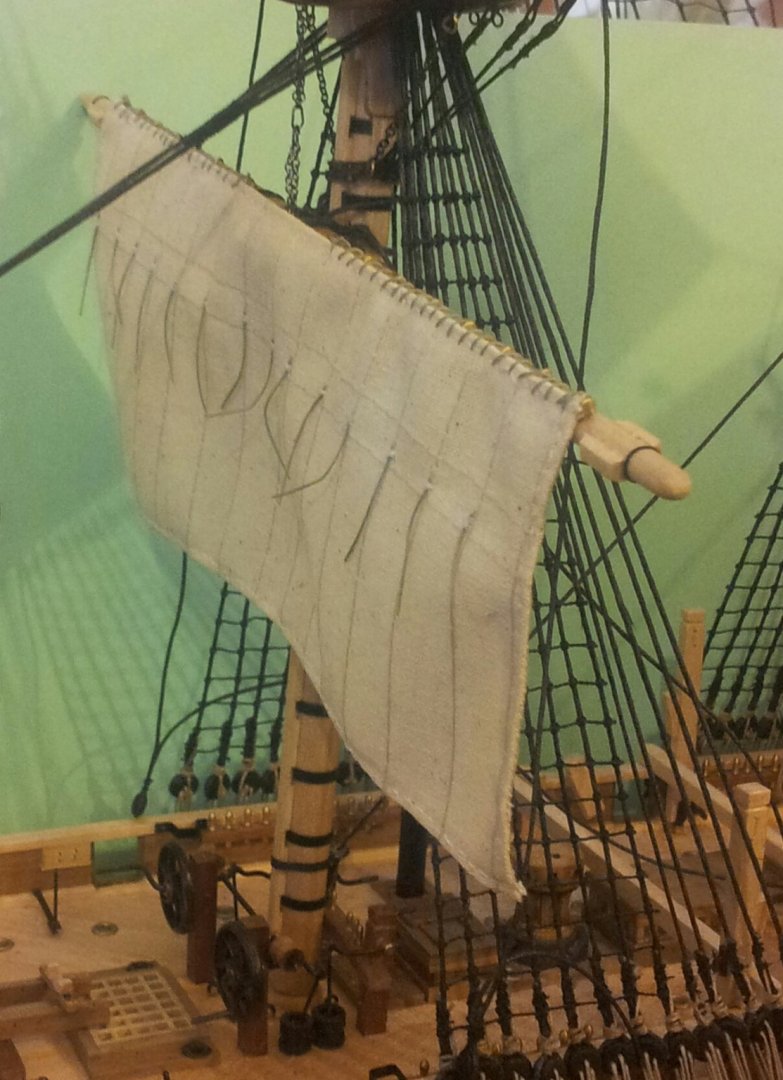
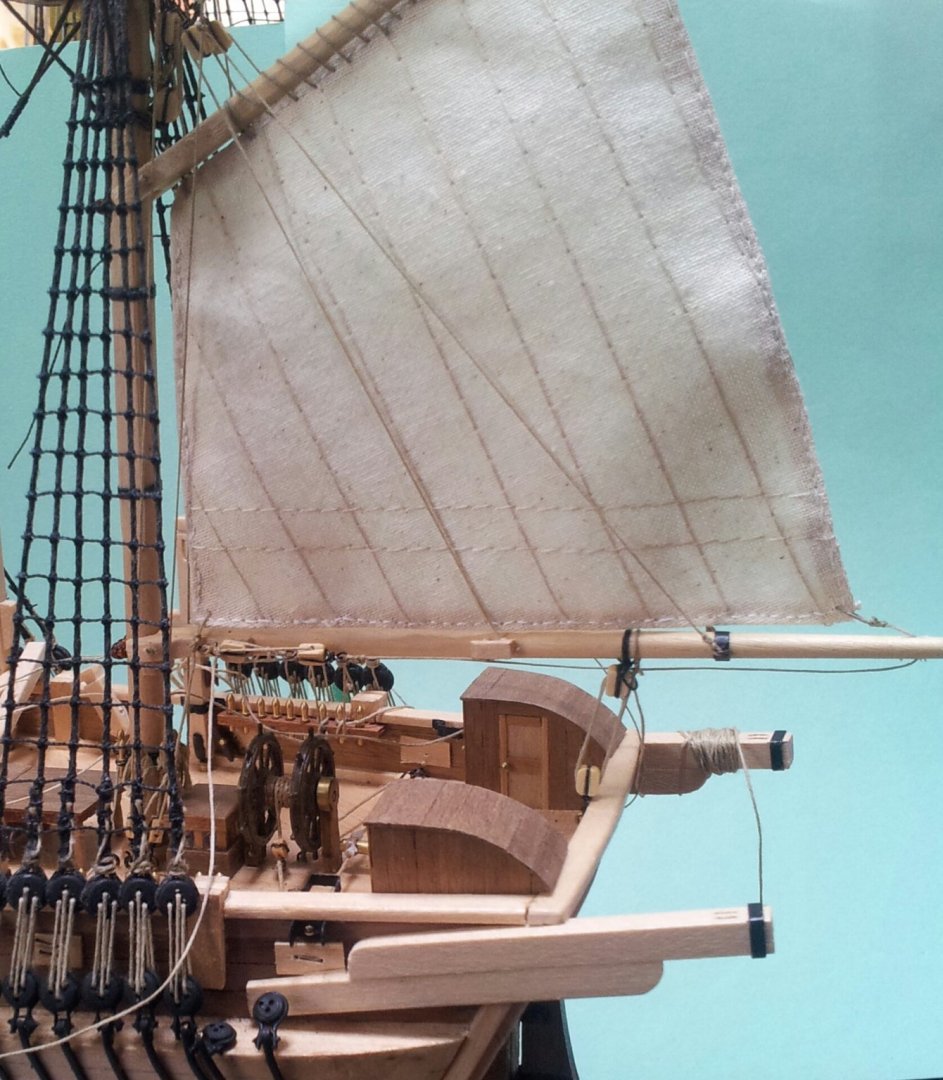
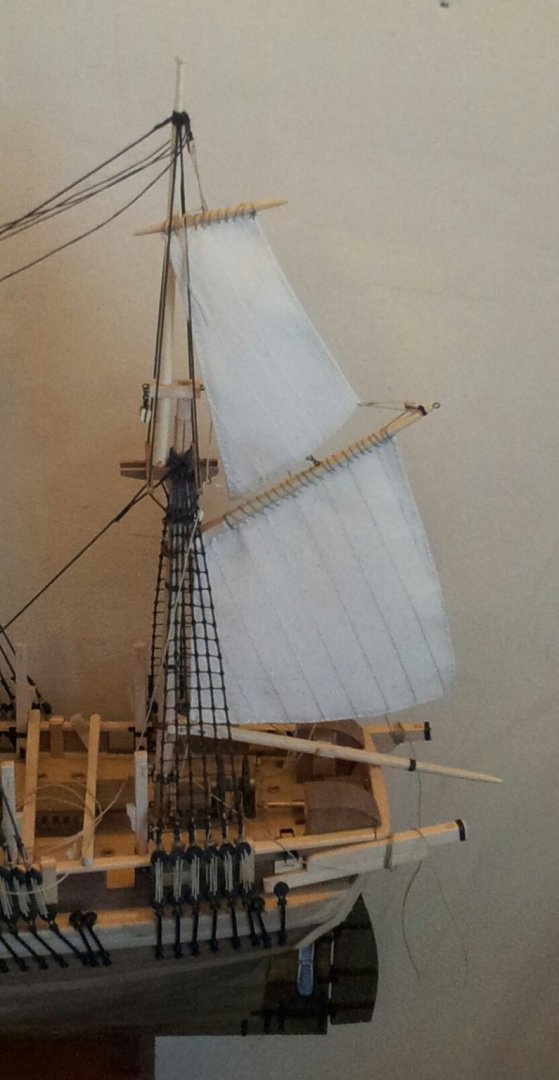
thanks for looking in peeps, not much progress with Terror due to work and family commitments. However have managed to get the main yard hung (just by the chain slings at the moment) the trusses have been led through the eyes formed in the other truss if that makes sense, but will need to lead through a block from an eyebolt in the after trestletrees, then to a natural coloured thread to the pinrails via blocks. at first the sail looked way too short as i had hung it from the jackstay as opposed to under side of yard, but then thought "actually it will need to clear the midship davits so i think all is good! Take care all Keith
-
Thanks for looking in. Back with Endurance and have planked the poop deck with the 2mm decking (actually Maple as opposed to Lime stated earlier in log). Also have drilled through the stern with a pilot hole so i can install a full rudder. The Walnut planking has been started with the planks for the stern steamed and bent (not easy and maybe planking with a softer wood would be far easier)! Take care all Keith

-
Thanks for looking in everyone, the mainyard/ sail are nearly ready to go in place. When dry the thread on the yard trusses will be trimmed back and the chain sling around the yard will need added. Not sure if i am right here but looks like Matthew Betts long awaited book has been delayed as i have it on order, but the website has gone from in stock to pre order with an October release date! Take care all Keith

-
Not much happening wit Endurance due to Terror, but have finished sanding the hull and the stern formers. I have some 4mm x 0.5mm walnut for the second planking and some 2mm x 0.5mm lime for the decking which equates to roughly 6" width. The hardest part will be bending the planks around the counter as per prototype (methinks the admirals steam iron will be abused again)! Take care all Keith
-
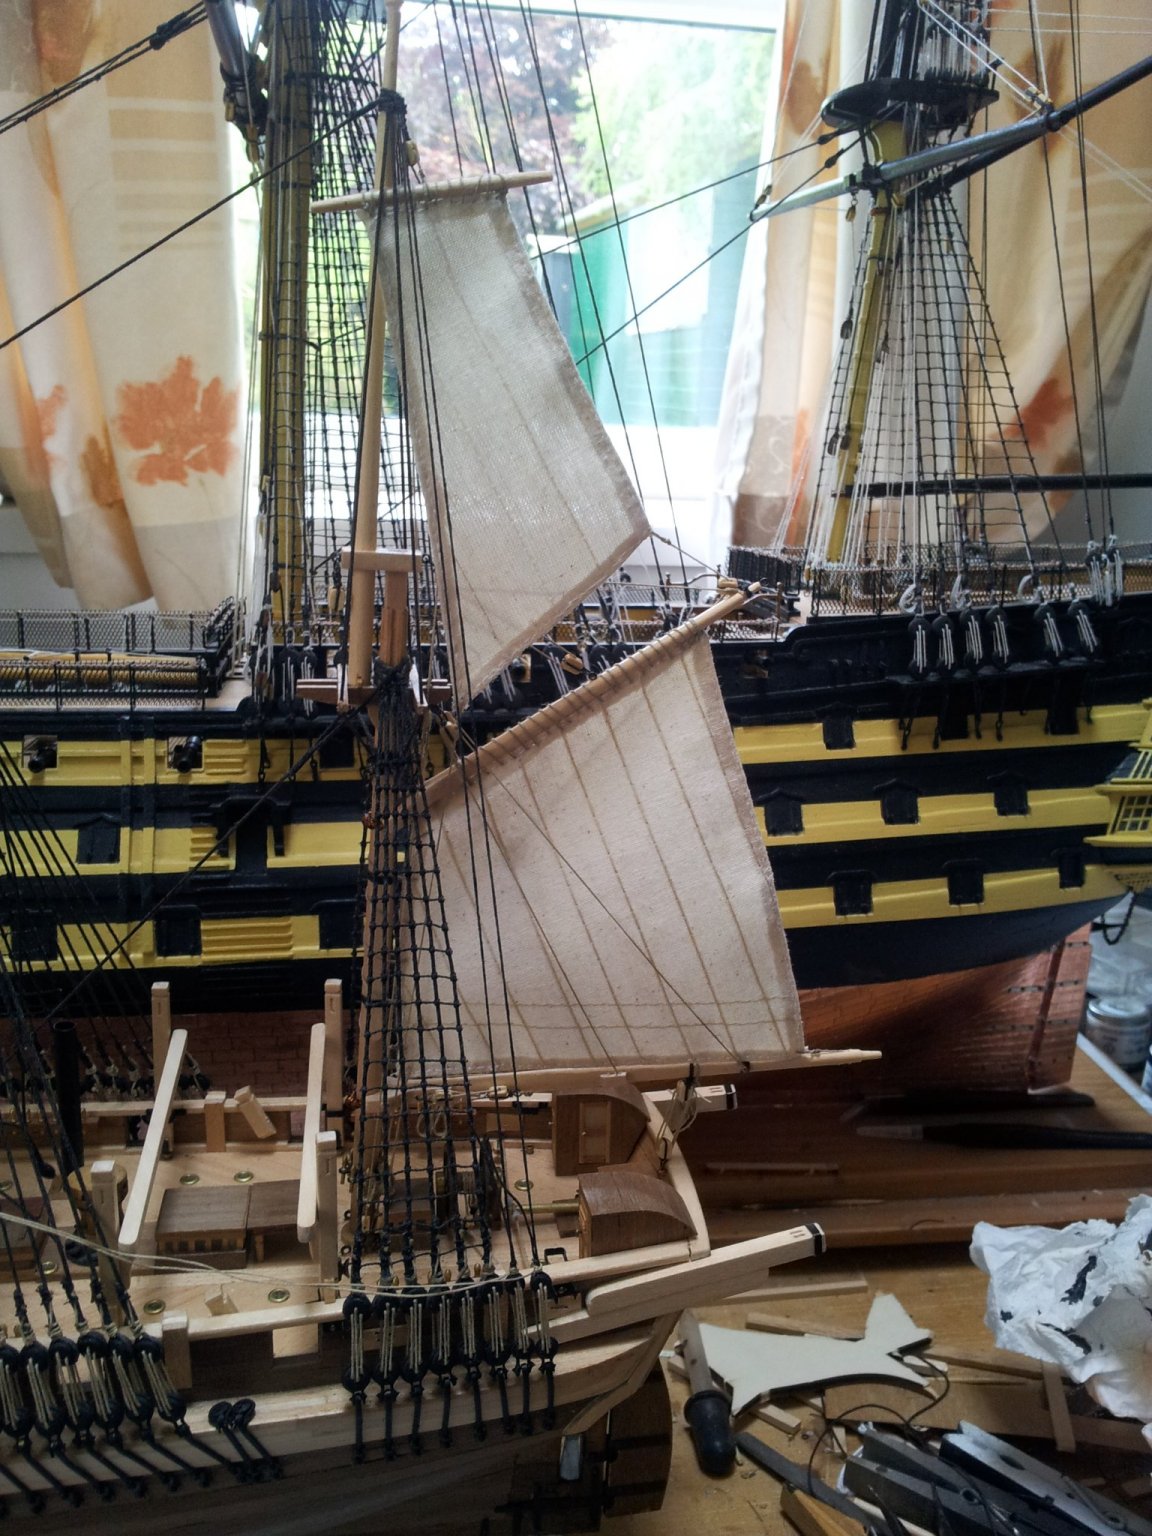
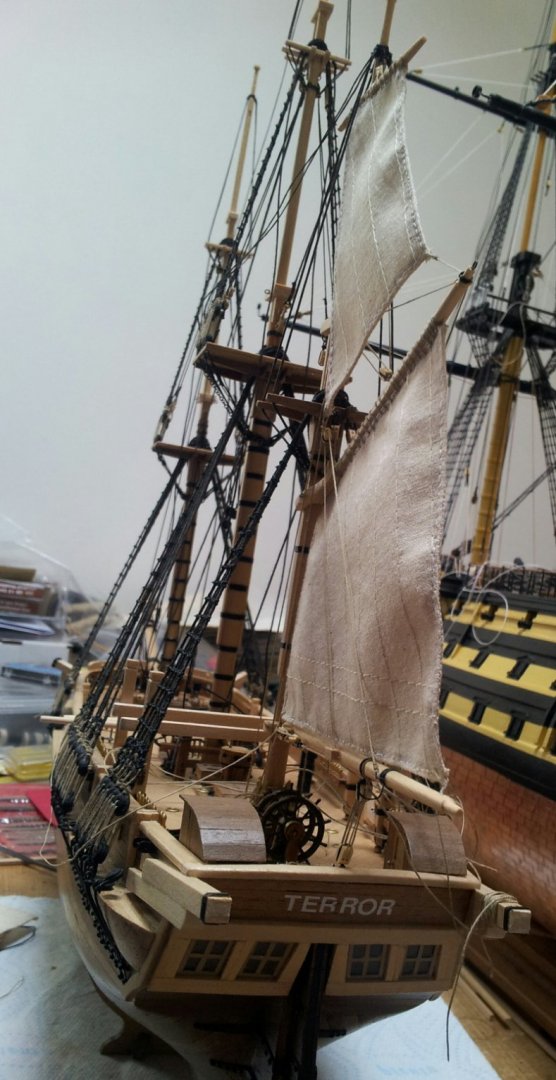
Ty Mike and thanks for the likes and looking in as always everyone. Bar the driver boom sheets all the running rigging on the mizzen mast is tied off and coiled, also rigged the mizzen backstays (just need halliards tidied up). On the main mast i have started on the chain slings and rigged the main sail to the yard. Take care all Keith

-
Thanks Keith- it's where the cleats to tie of the boom sheet are located which is causing doubt at the moment - also your little Terror is pretty outstanding too especially as it is your first model ship build 😉. Keith
-
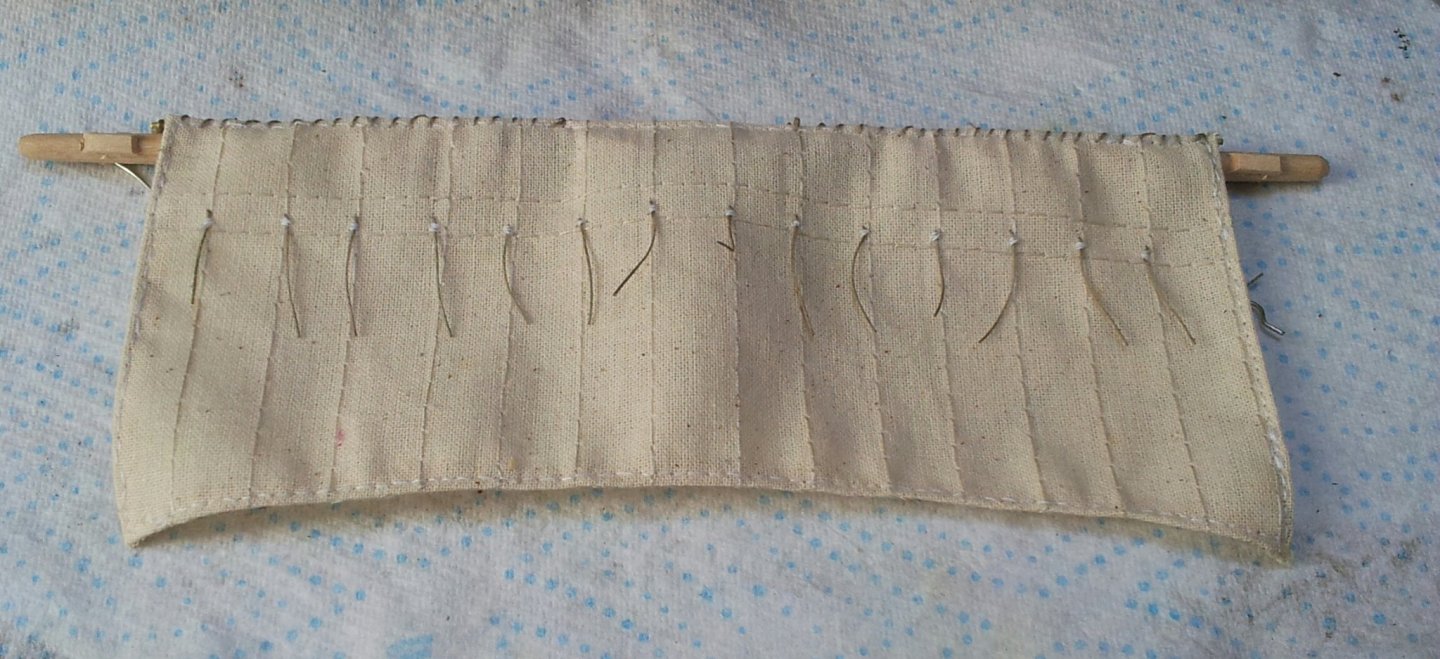
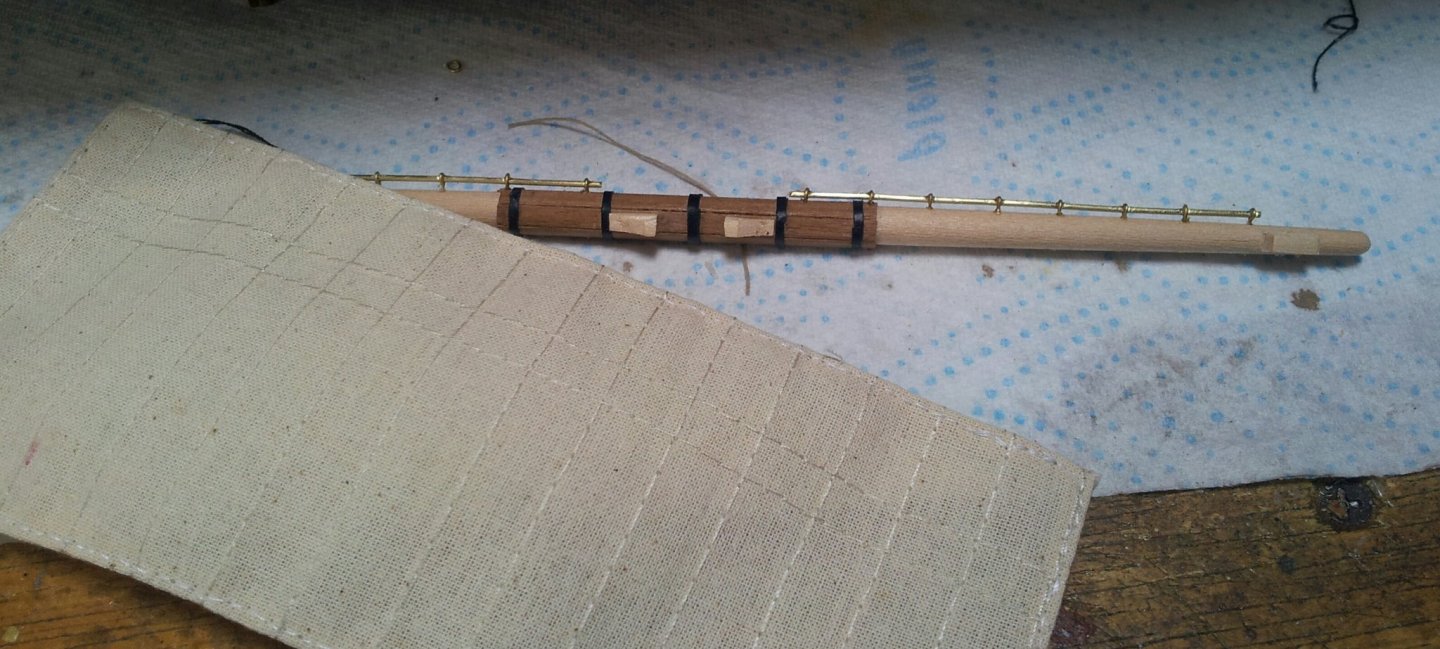
Thanks for looking in and likes everyone. Continuing with the mizzen mast and the boom topping lifts have been fitted , most of the rigging has been belayed now but not the boom sheet blocks as not sure where they led too (need Mr Betts book)! Also work continues on the main yard with the jack stays fitted and main sail hem stitched. Take care all, work is getting busier with less furlough which is good but equals less shipyard time ! Keith
-
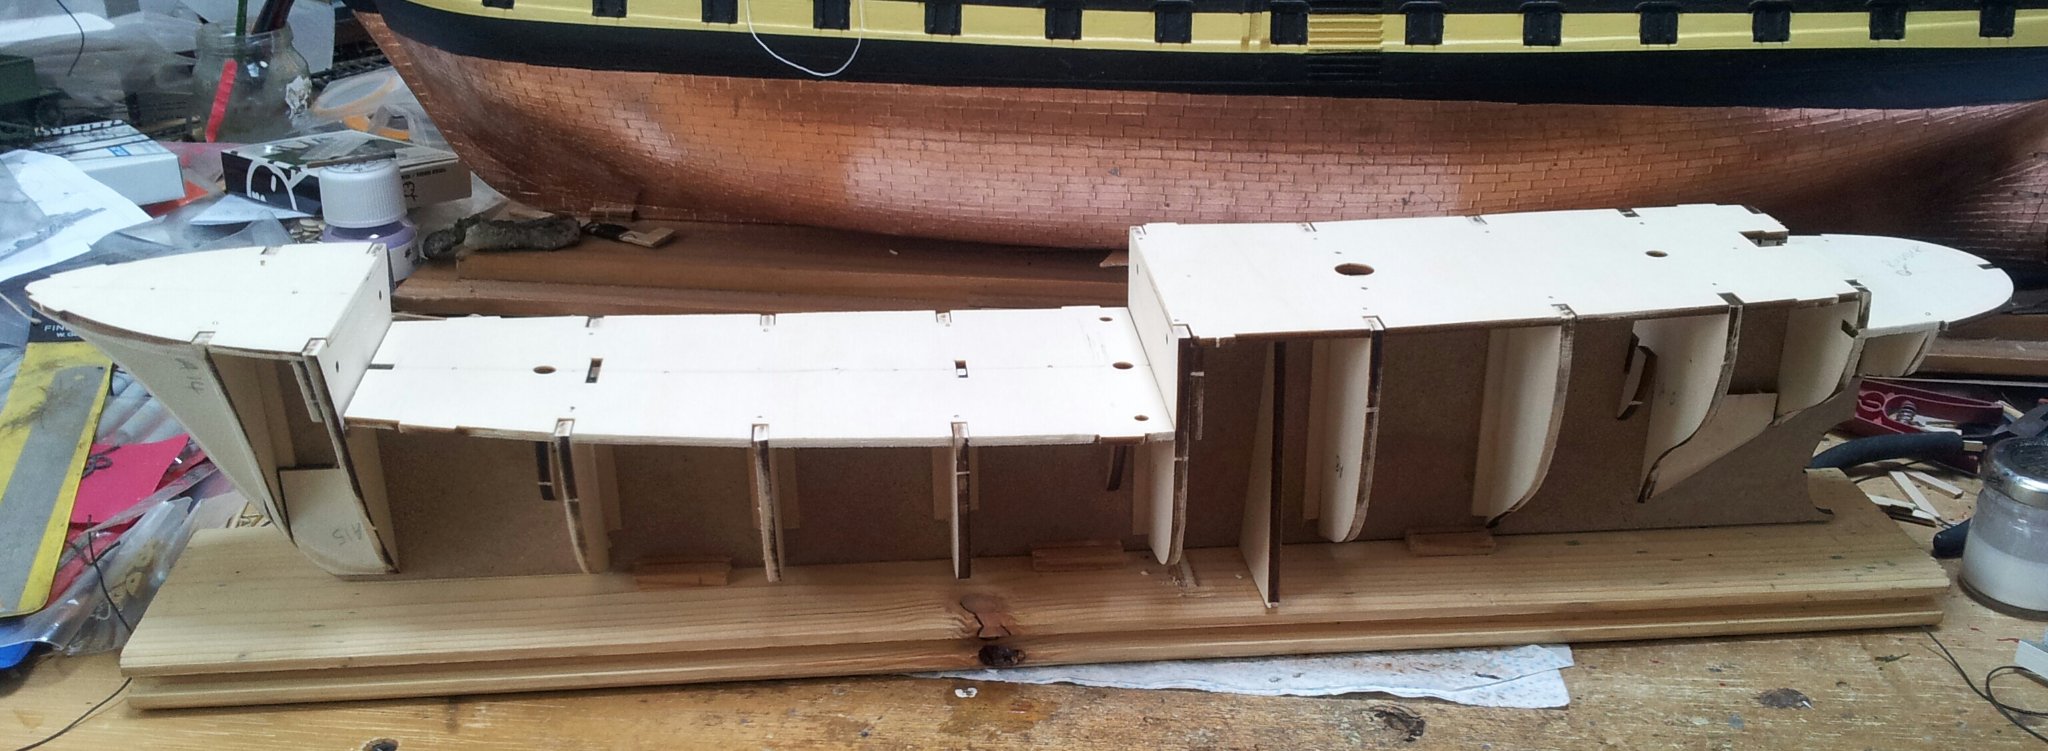
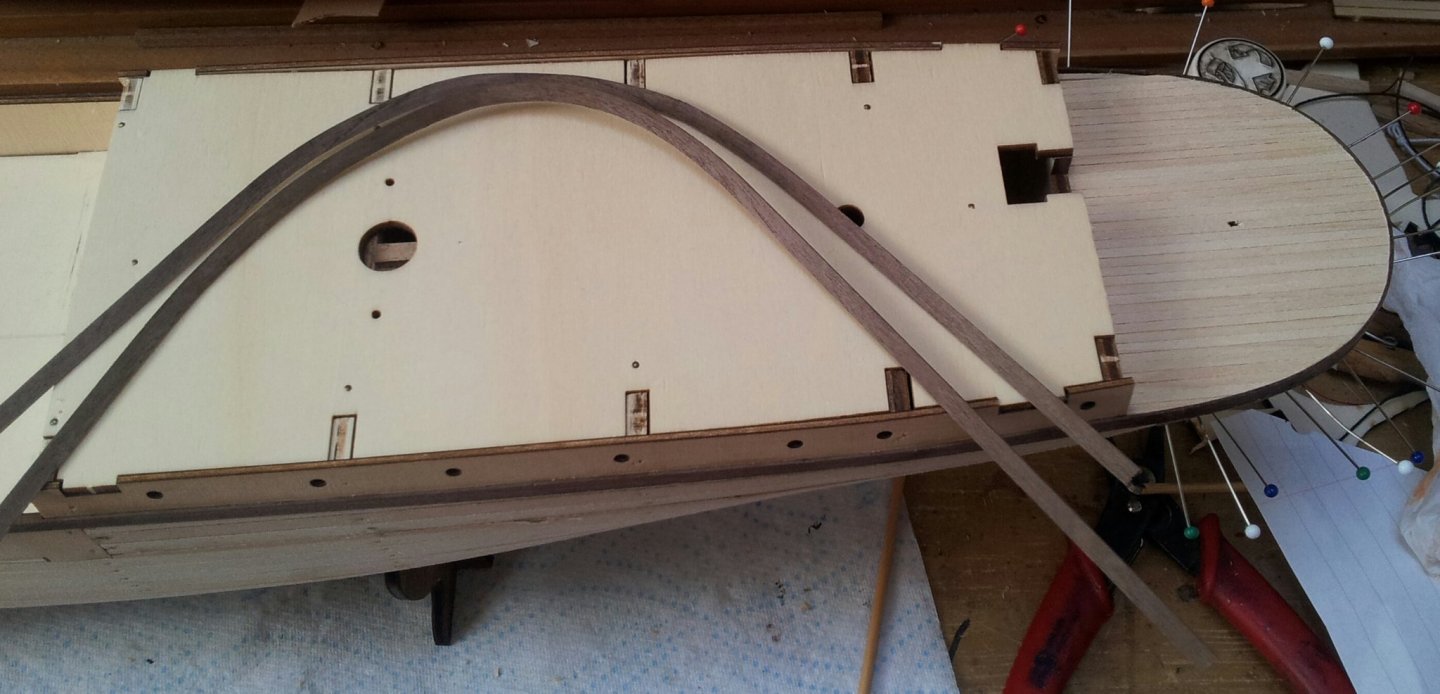
thanks for looking in everyone, sneaking jobs in on Endurance while waiting for glue to dry on Terror yards. Have fitted the formers for the stern , watch out these are handed but if you concentrate on the instructions there will be no issues. Before i add 2nd planking i will need to decide if i am going to add extra planking near stern to make it a bit fuller or just go with it as is? also i have pulled the brass pins ready for sanding down, also need to add a stealer below the lower most former. take care all Keith
-
True Keith if they can be removed no harm done. I ordered my copy from Waterstones who are a u.k. based bookstore (they also have a website you can order off) , though it might be assumption on their part on the ten days! Keith
-
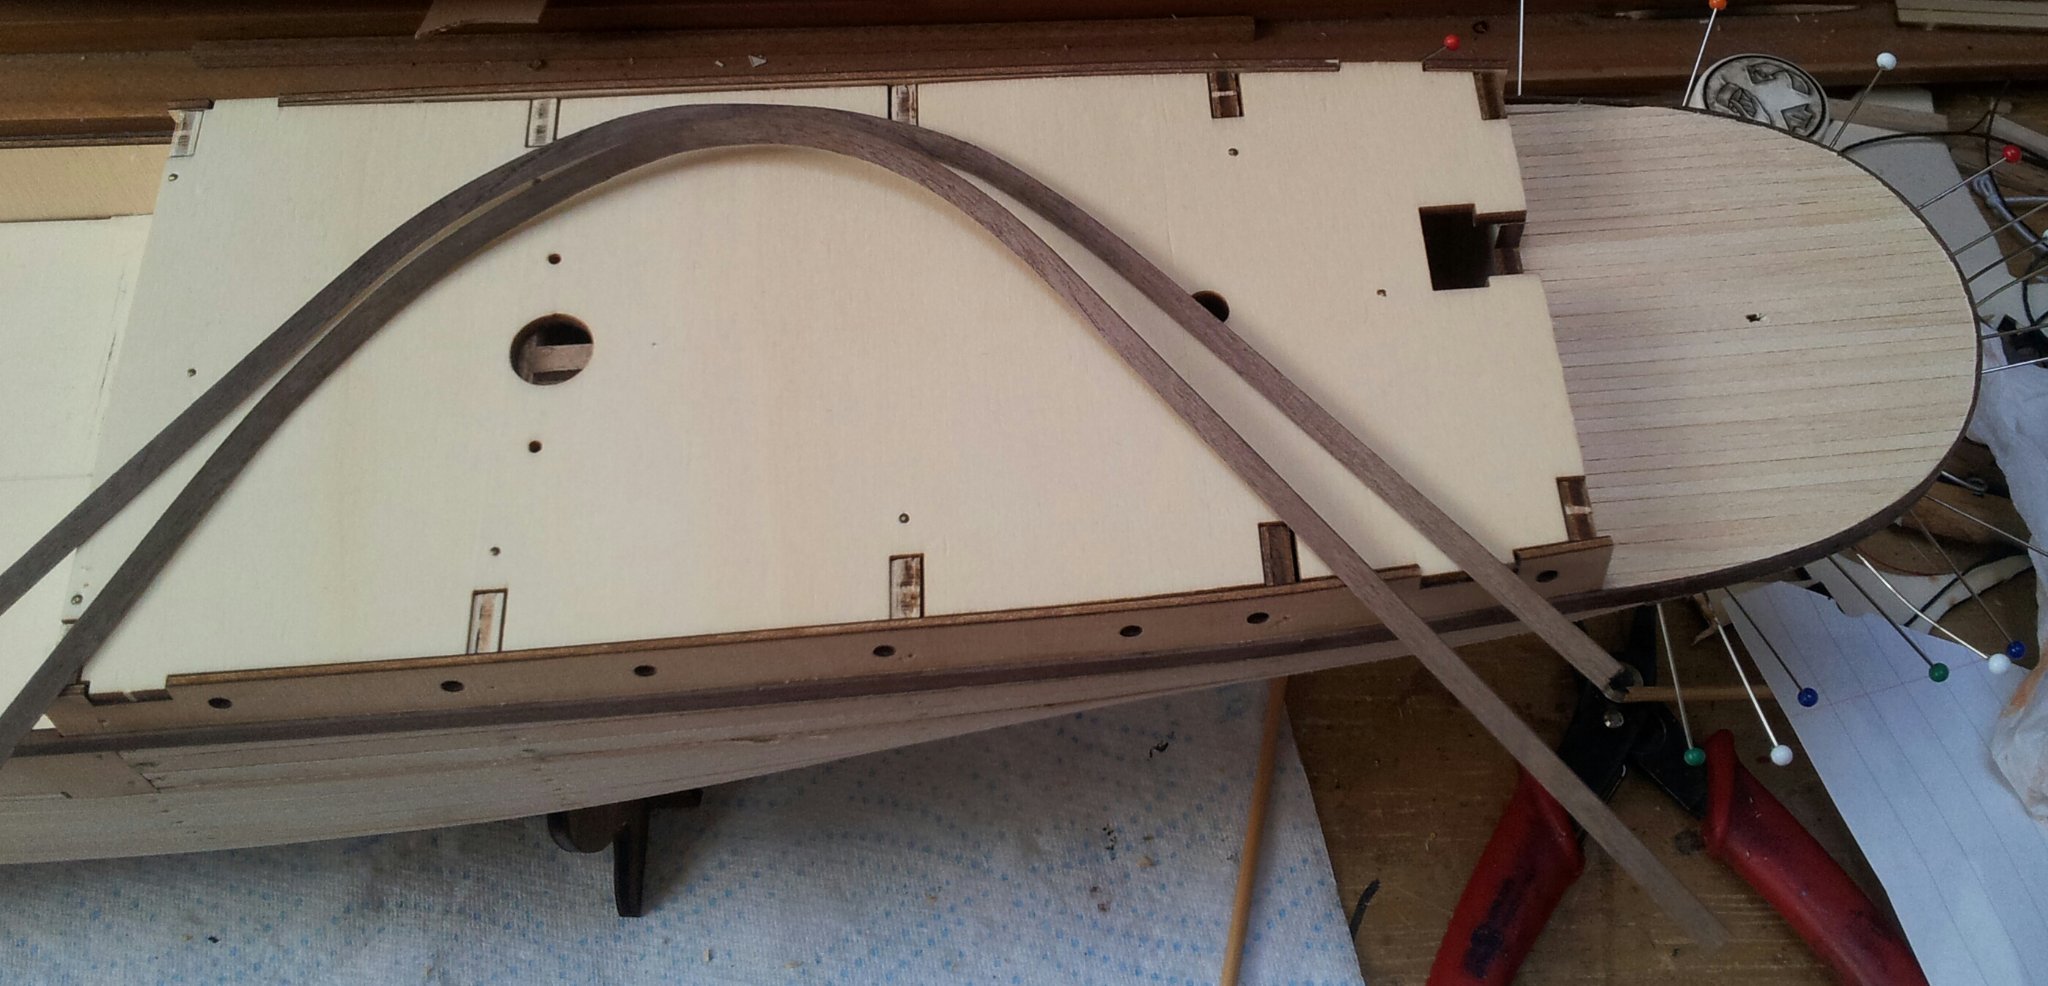
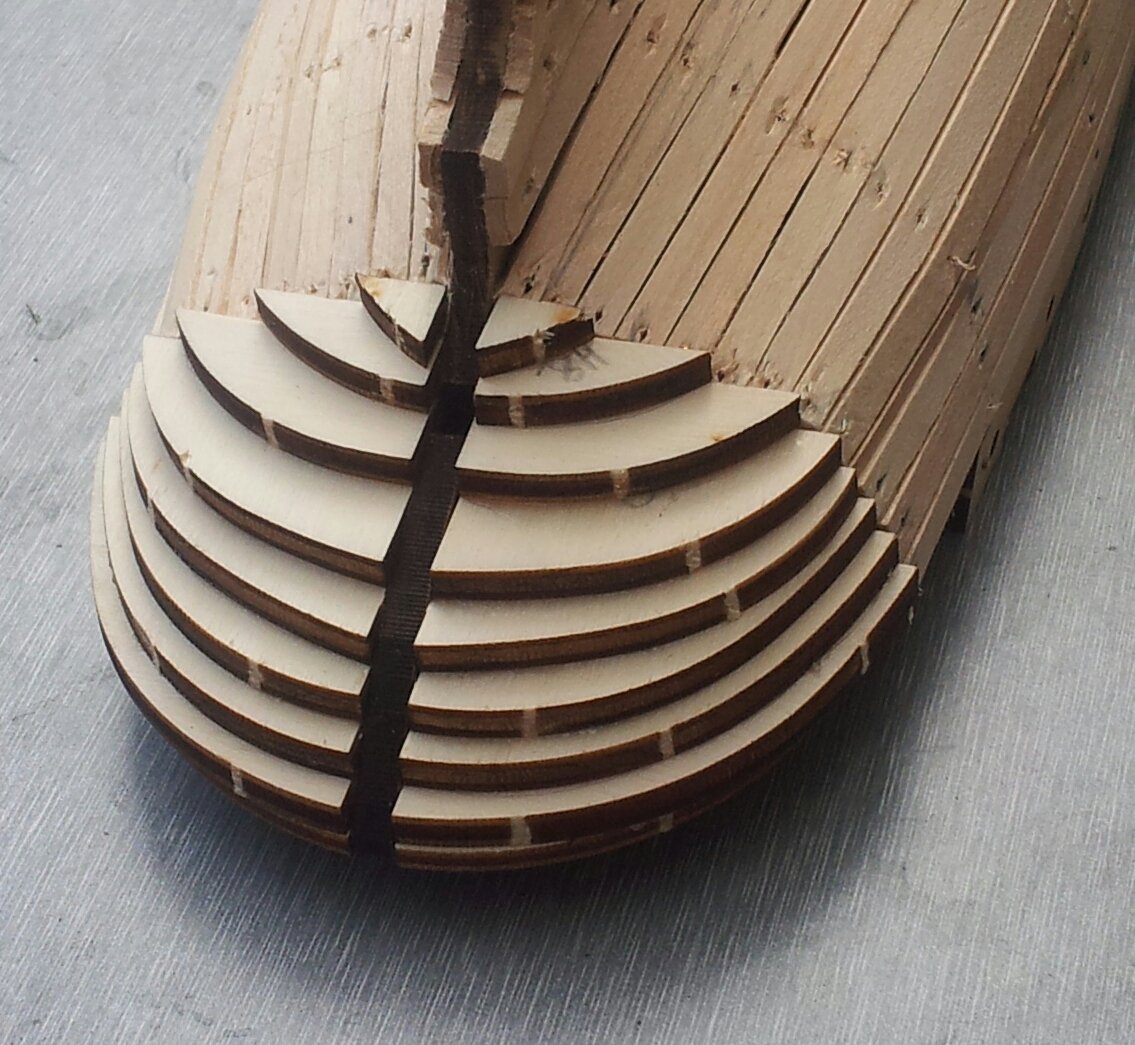
while i am still working on my HMS Terror i could not resist buying/ starting this one. Have had an interest in Endurance since first reading about Shackletons exploits and seeing the footage of the ships destruction in the pack ice. There is an excellent review of the kit on this forum and as it mentions some upgrading will be needed to make it more accurate. so far have got her as far as the first planking stage (i planked from the midship ply former down tapering planks right from the start at the bow then planked upwards) . I must admit what a joy planking this hull after occres Terror! i also did not plank the decks yet as opposed to instructions , i will drill and dowel the decks formers in place and sand down before decking is added for extra strength in the hull. Keith


-
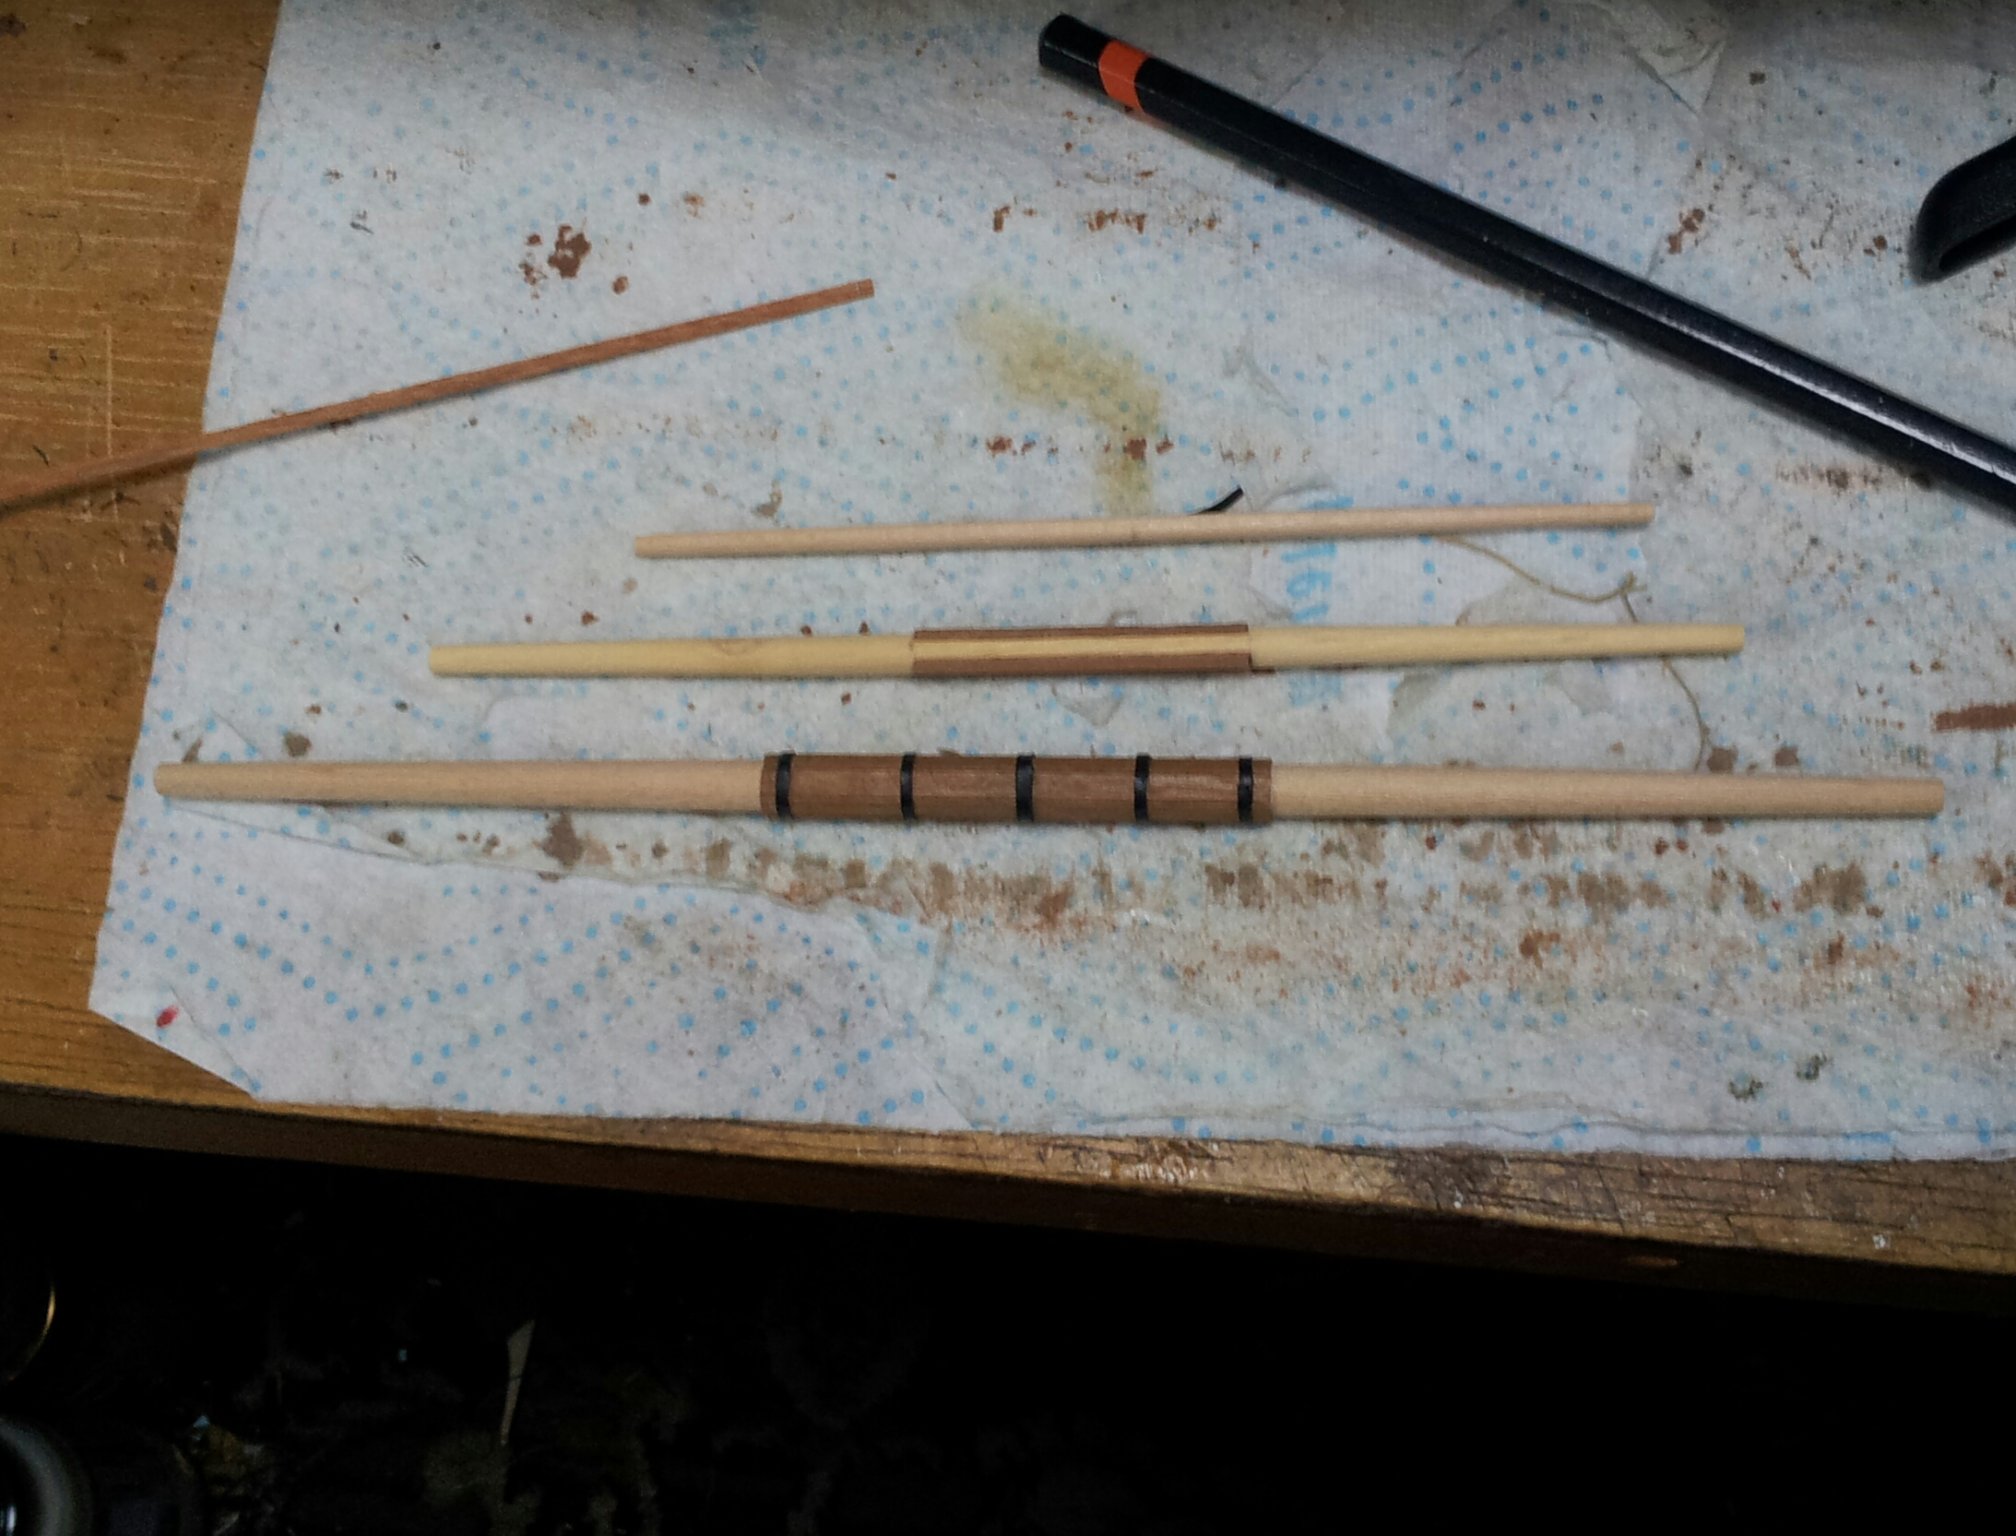
thanks for looking in everyone, now have the gaff topsail fitted (though not belayed off yet) and have started on the main yards. Take care all. Keith
-
i would leave final verdict on fitting trysails till Matthews book comes out (hopefully should be getting a message about mine within next 10 days or so), If you look on twitter he has put a couple of teasing shots on his tweets , one being a video of the fully detailed outboard profile drawing though still wont help you with the trysail quandry. Keith