HOLIDAY DONATION DRIVE - SUPPORT MSW - DO YOUR PART TO KEEP THIS GREAT FORUM GOING! (Only 44 donations so far out of 49,000 members - C'mon guys!)
×


clearway
-
Posts
2,228 -
Joined
-
Last visited
Content Type
Profiles
Forums
Gallery
Events
Everything posted by clearway
-
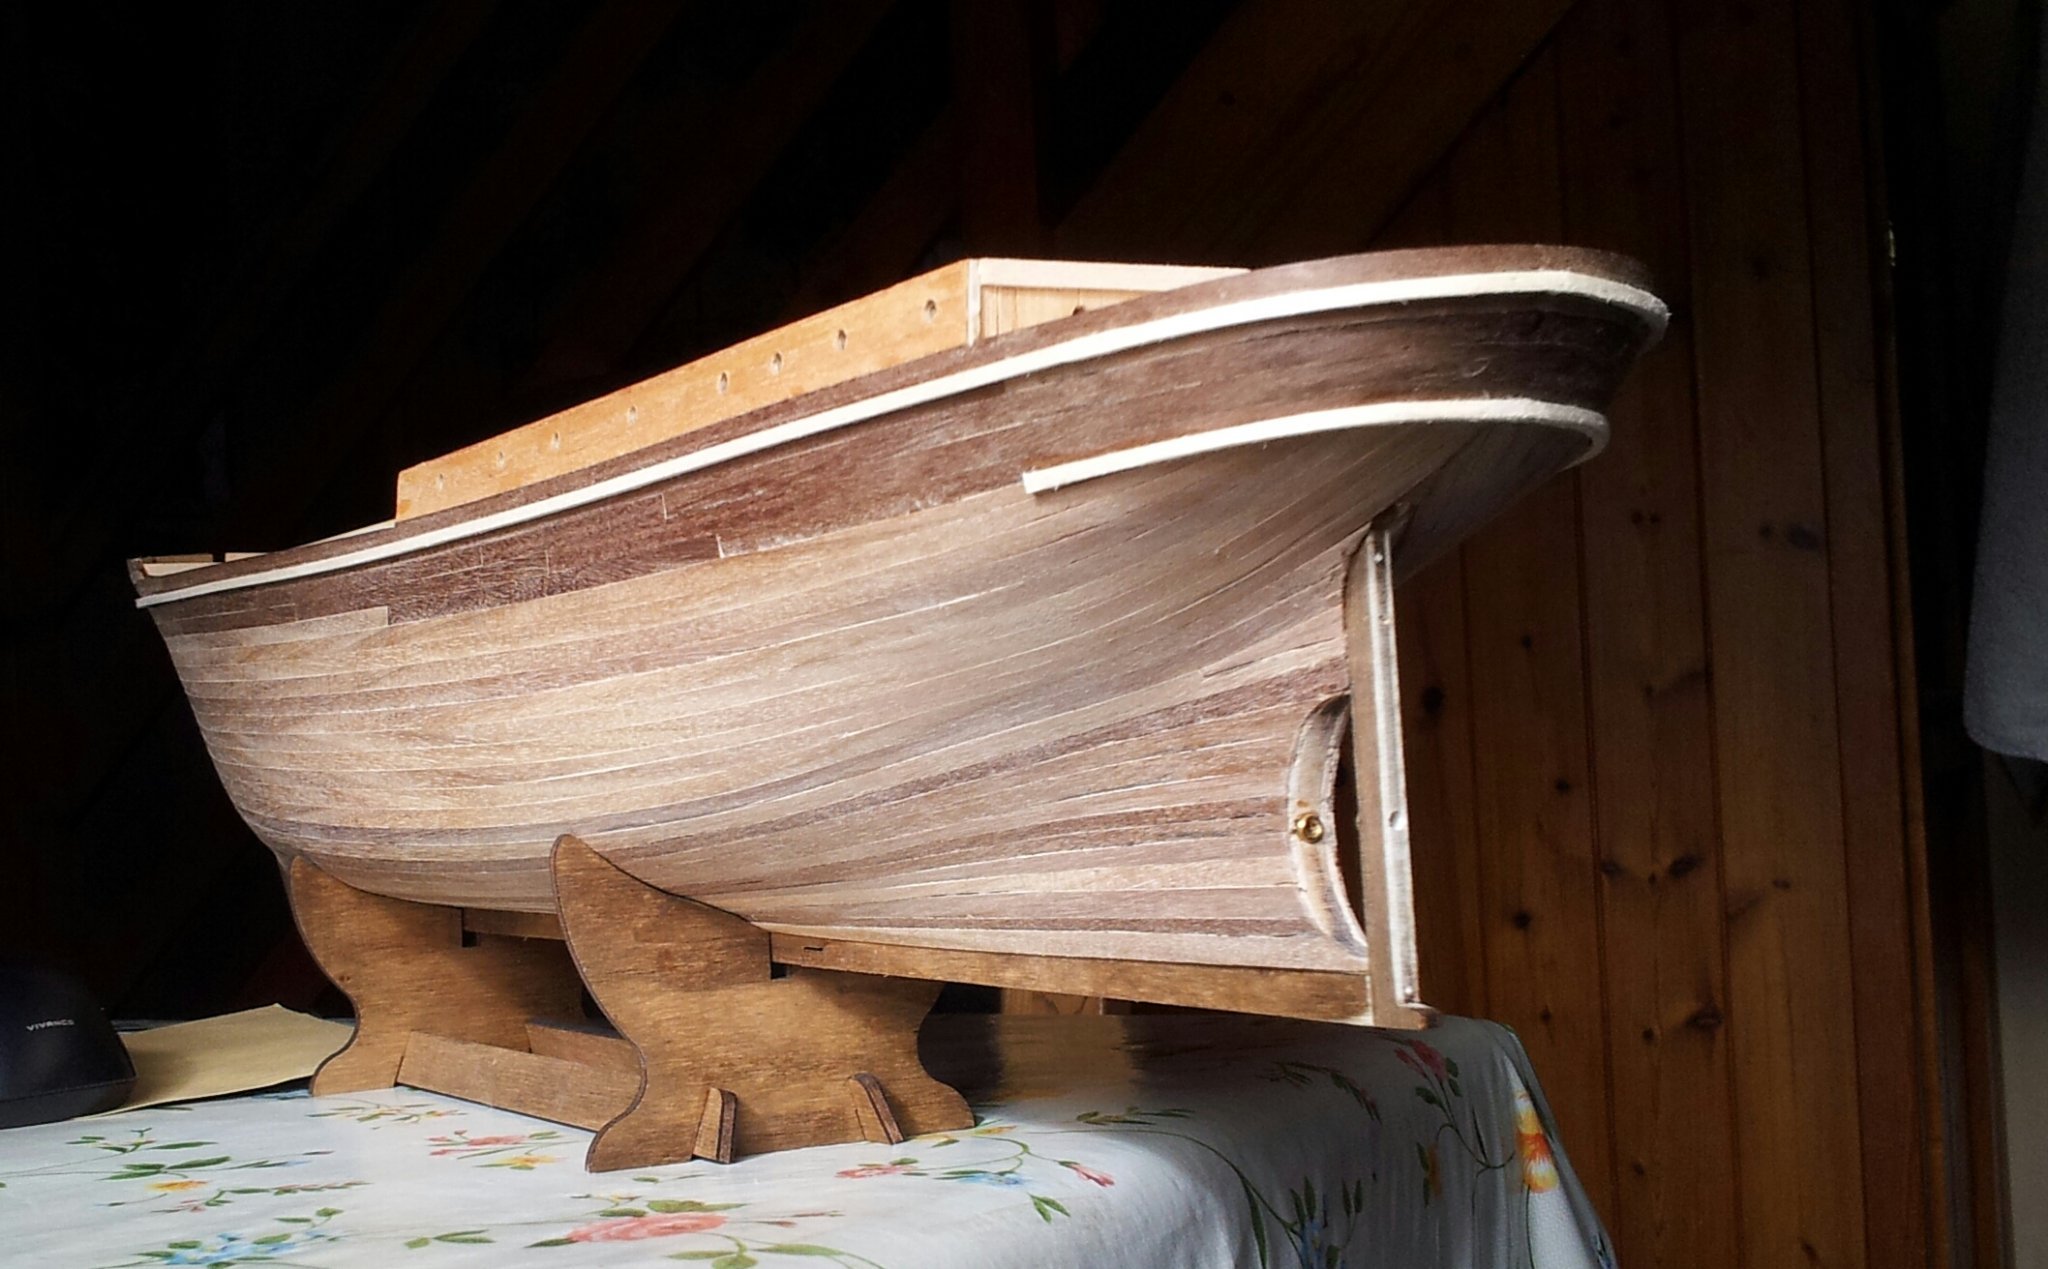
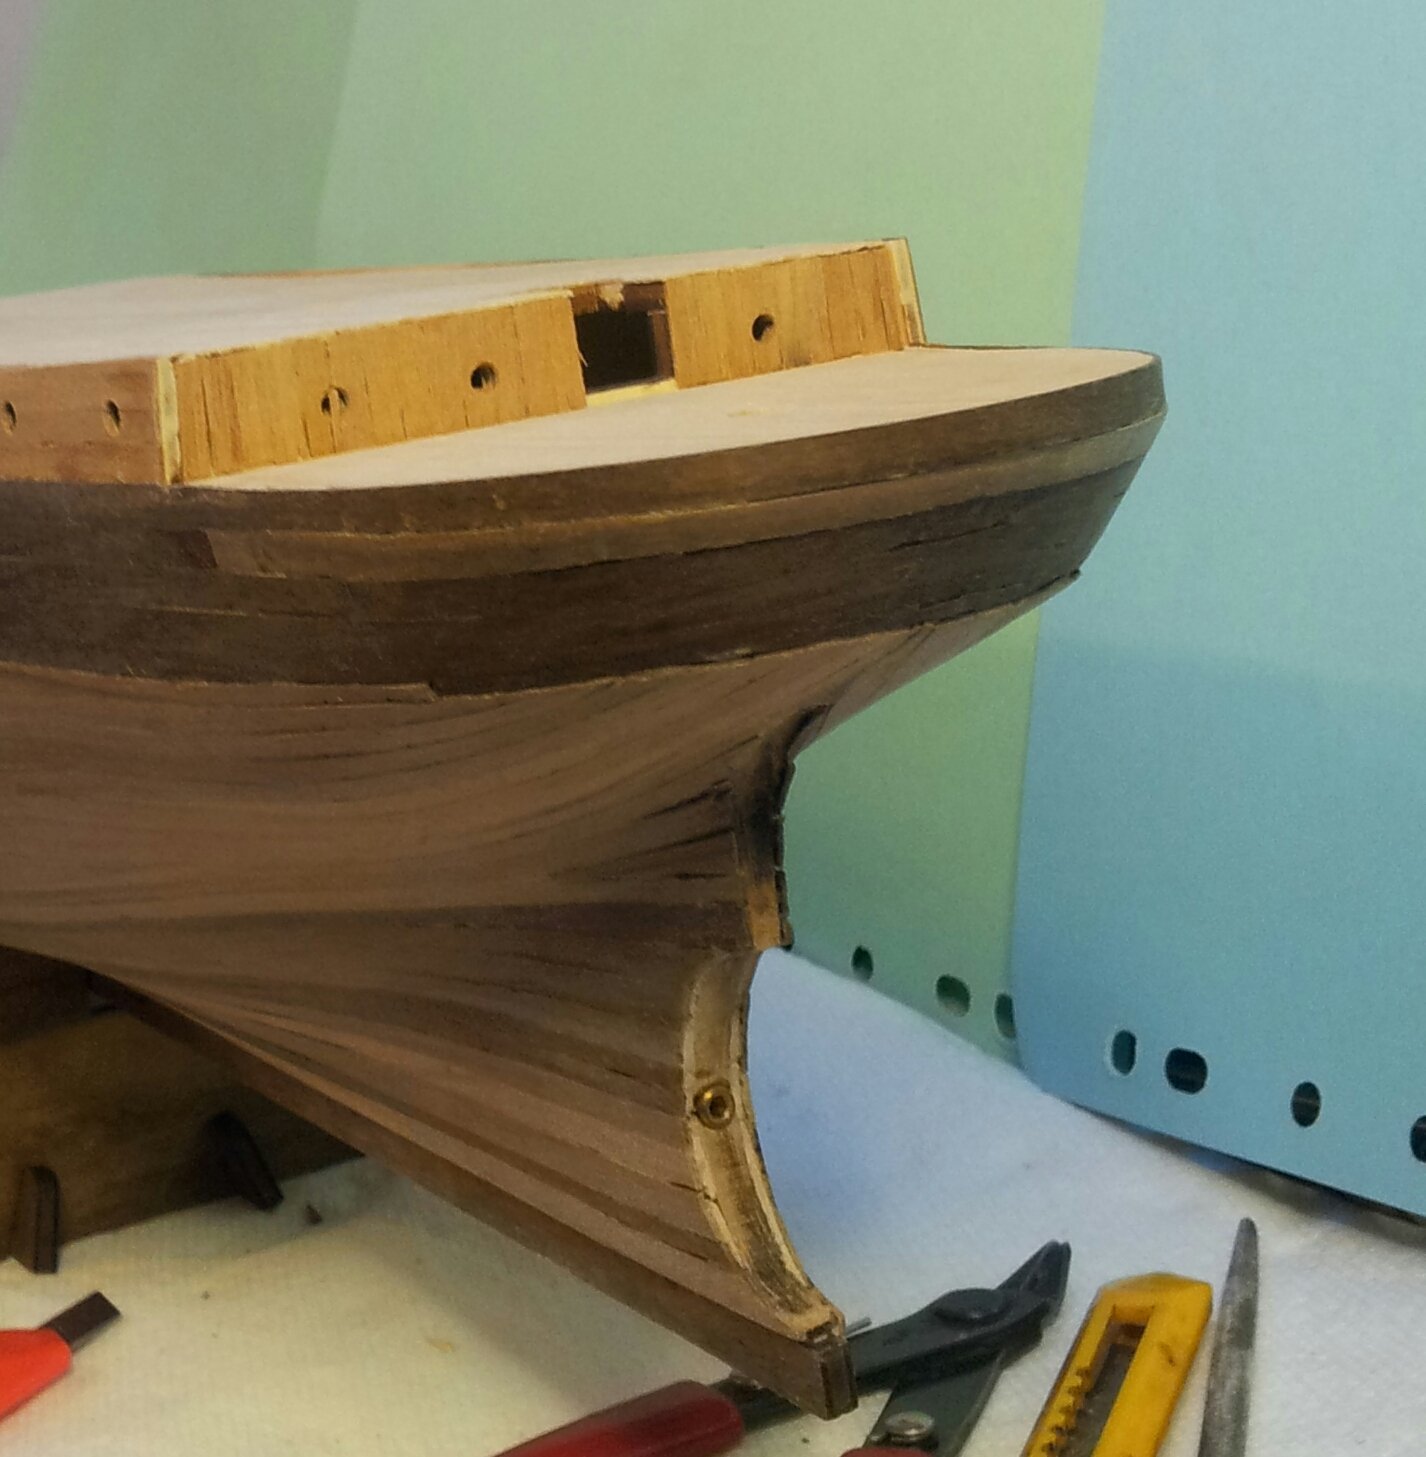
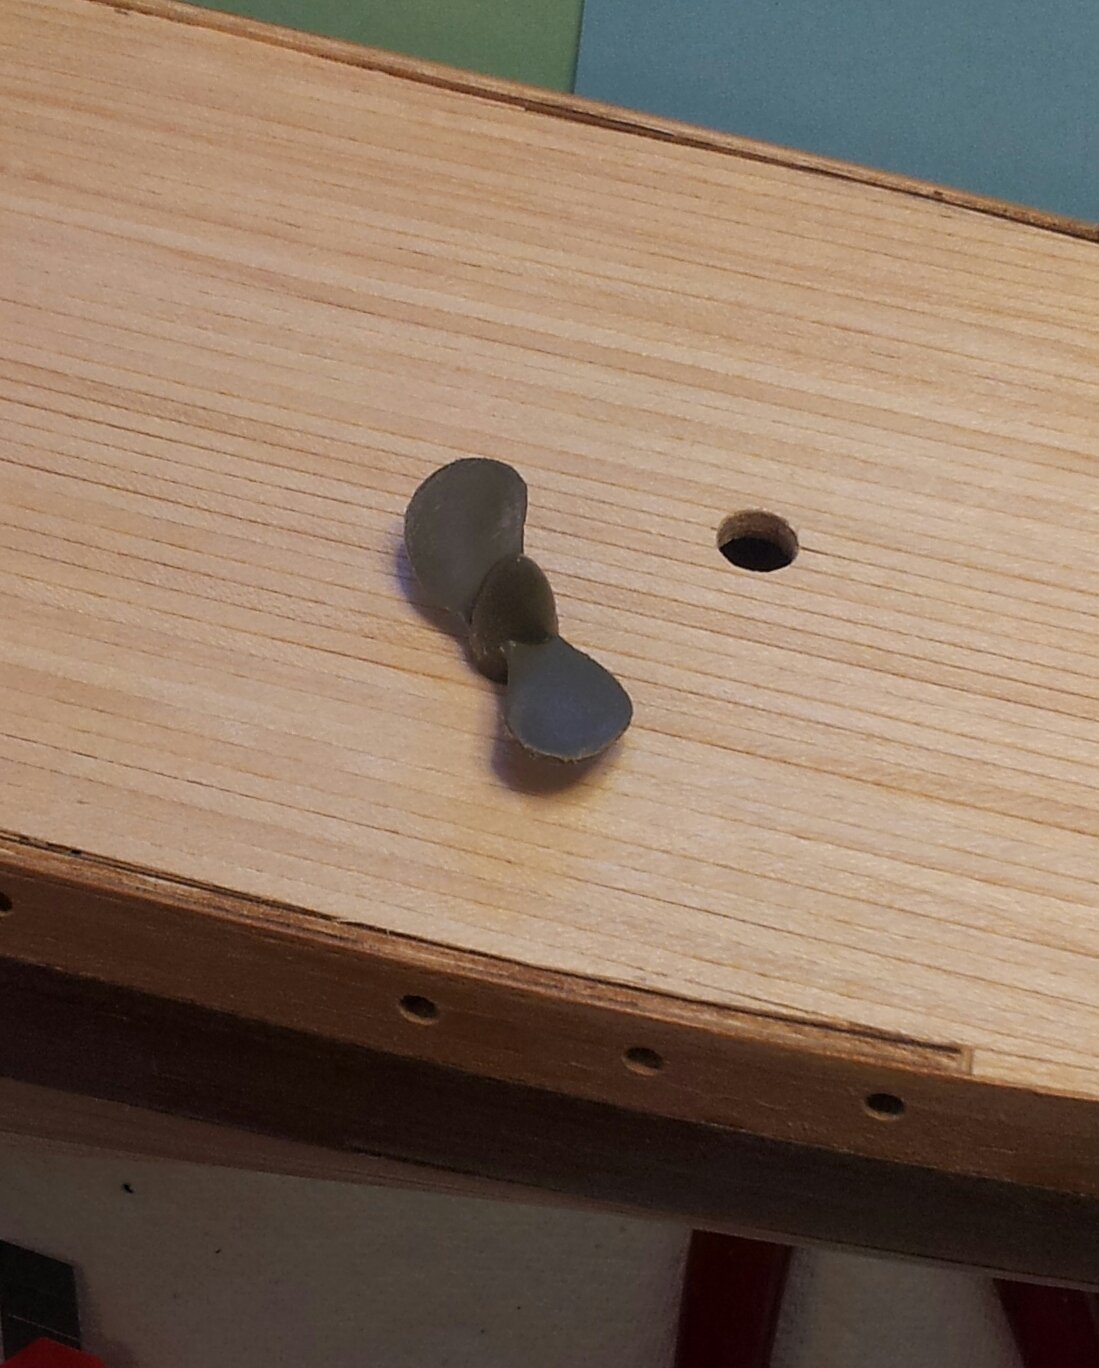
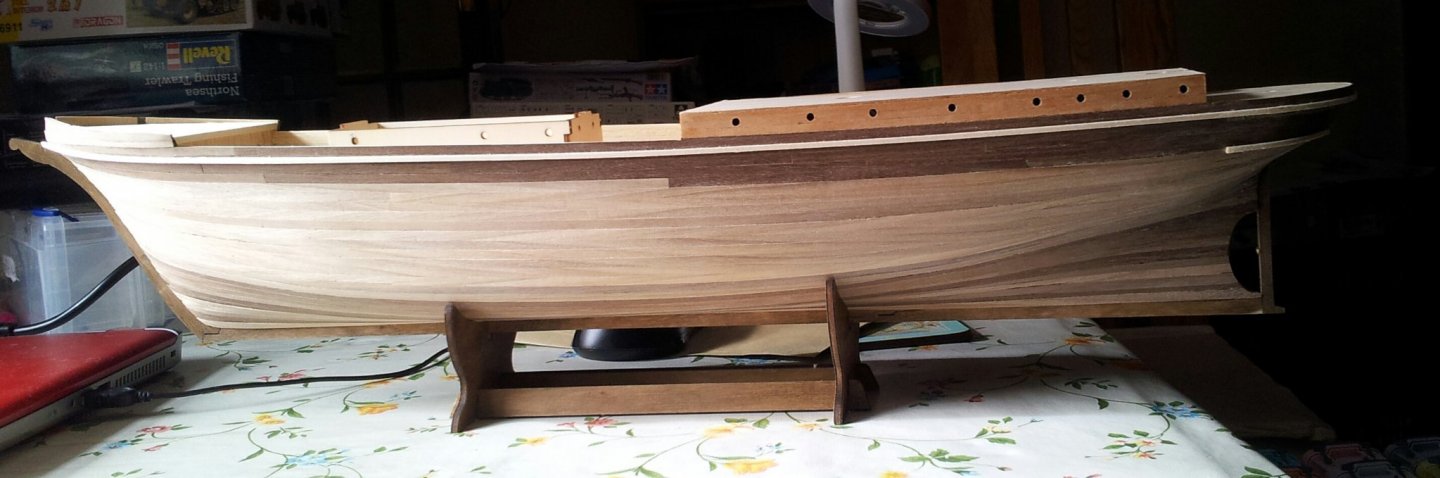
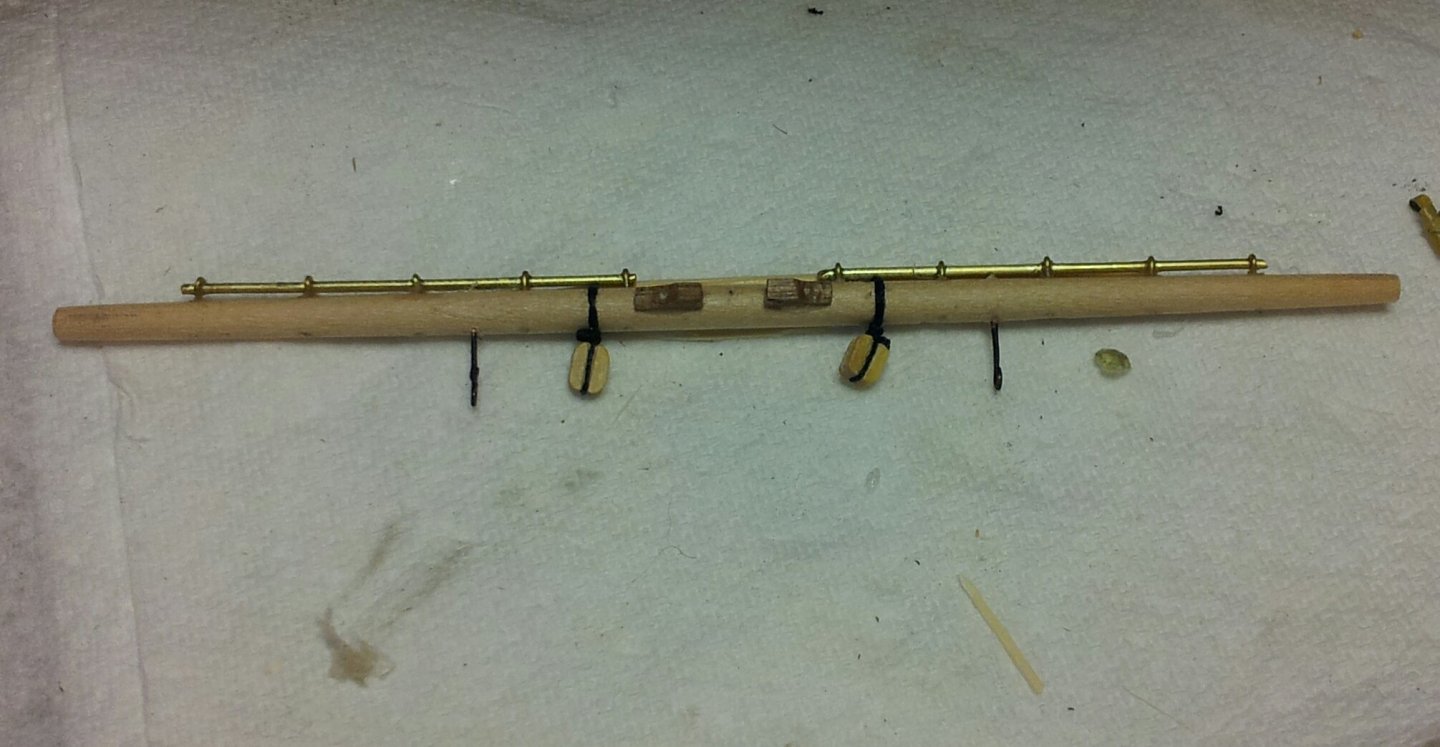
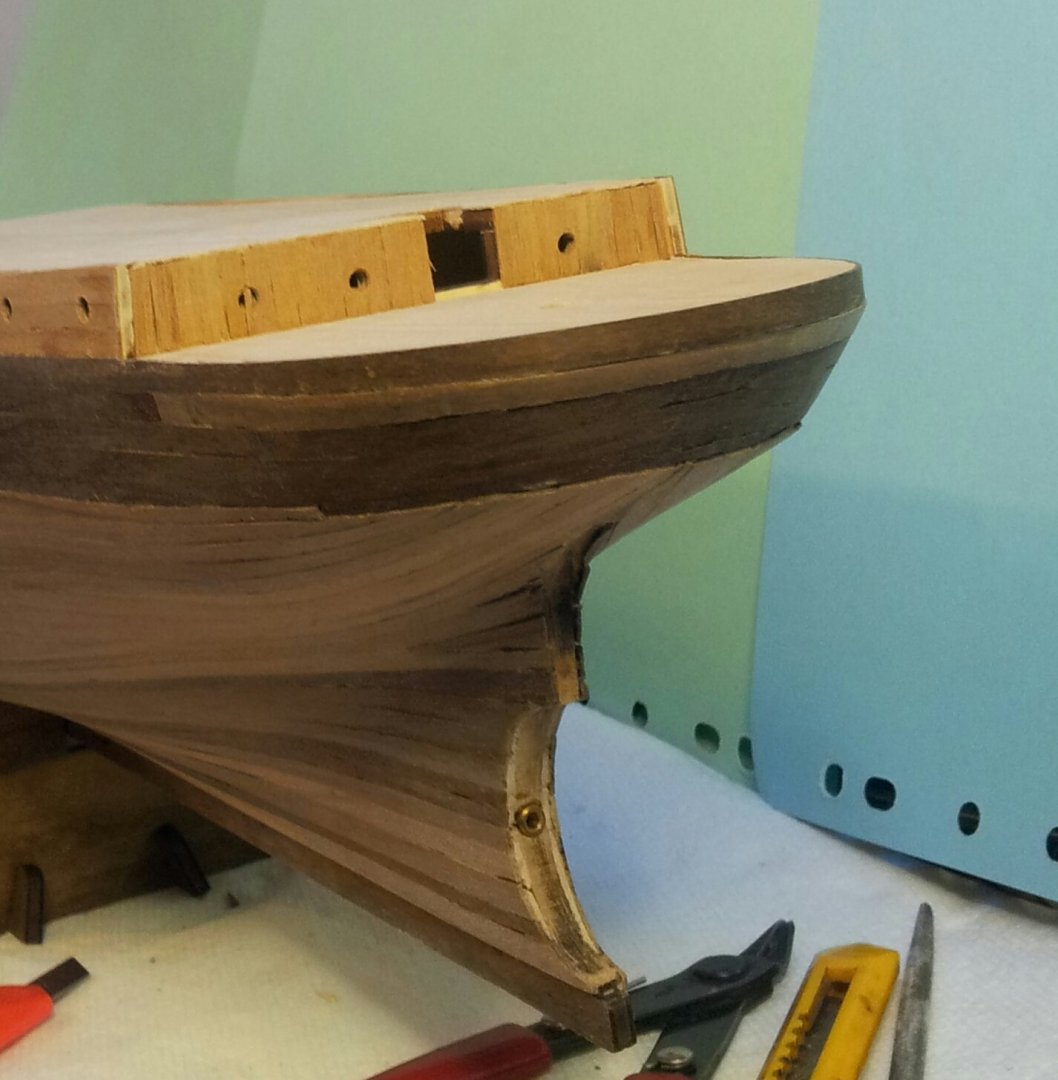
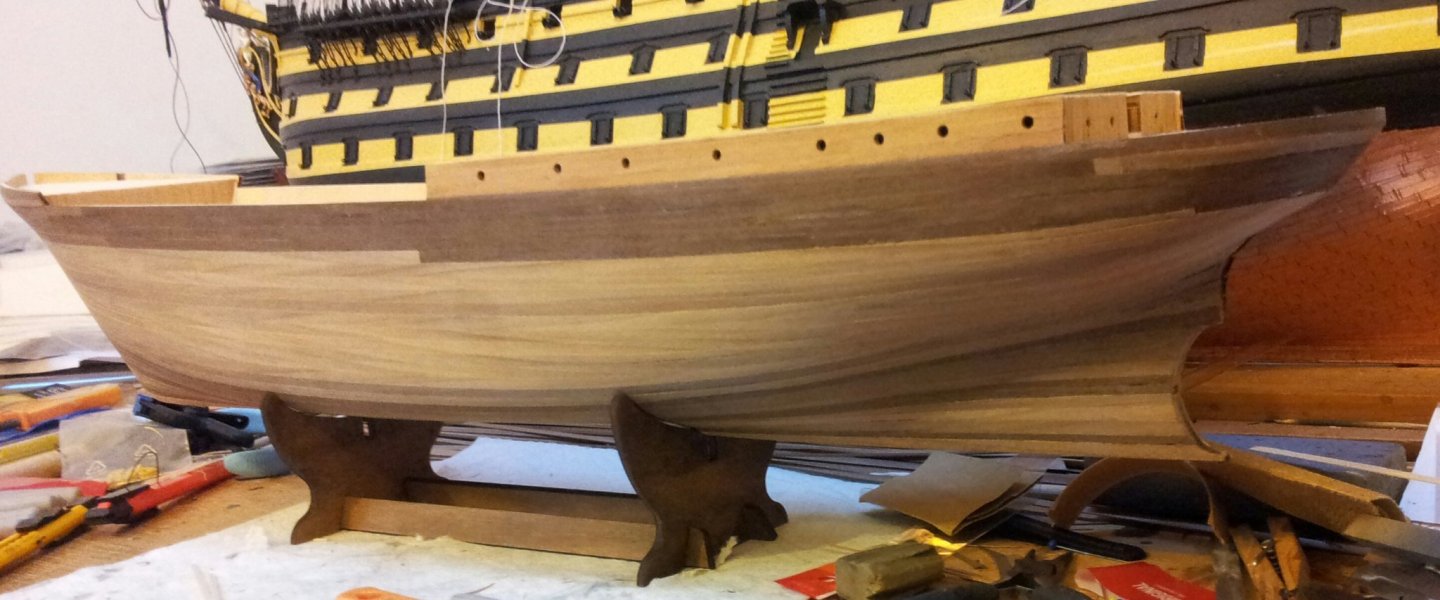
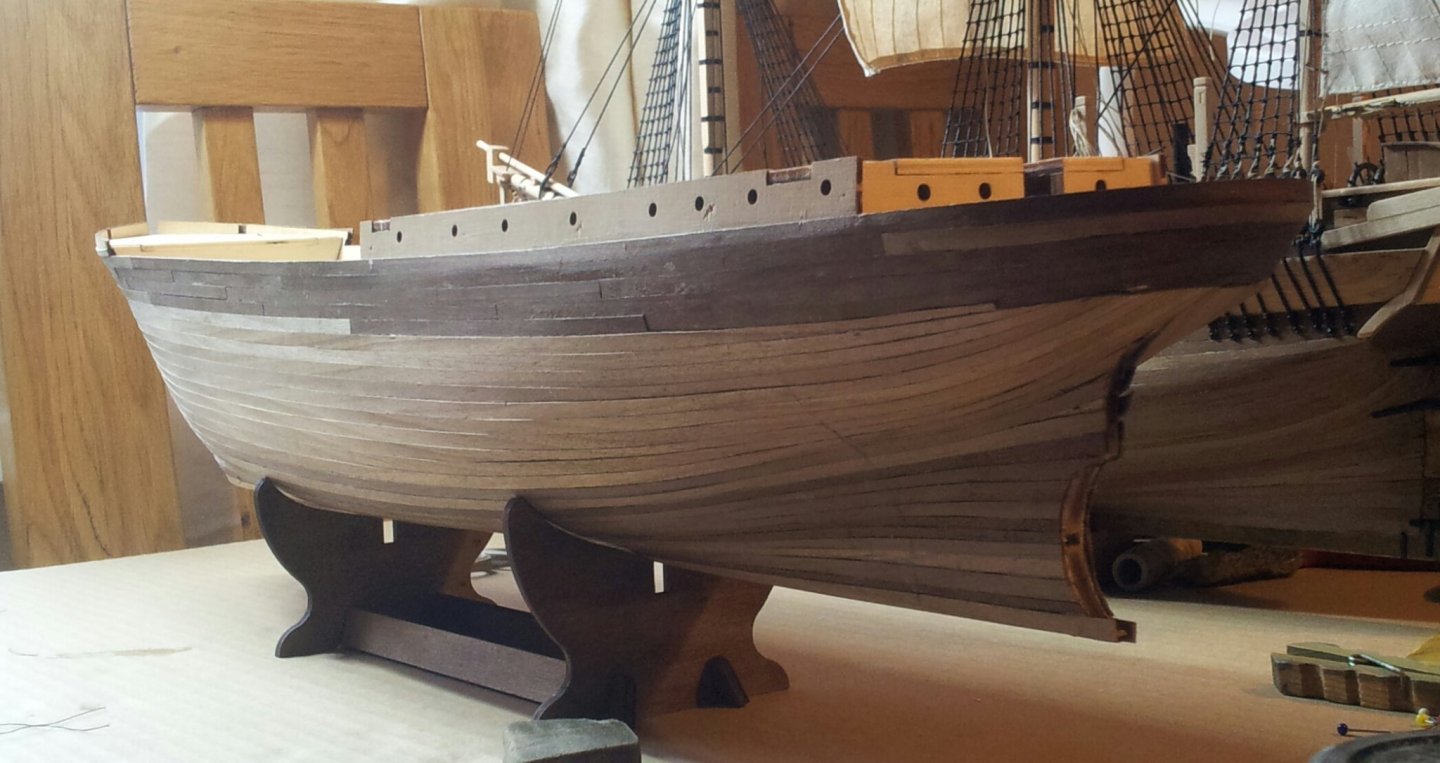
 thanks as always for the likes and looking in everyone, with shorter days and not much needing done in garden managed a little bit of time in the shipyard (to quote a famous T.V. series "winter is coming") The rubbing strakes and the timber above the stern/rudder are in place along with a bearing in the sternpost for the prop shaft. have fun all and keep up the good work everyone. Keith
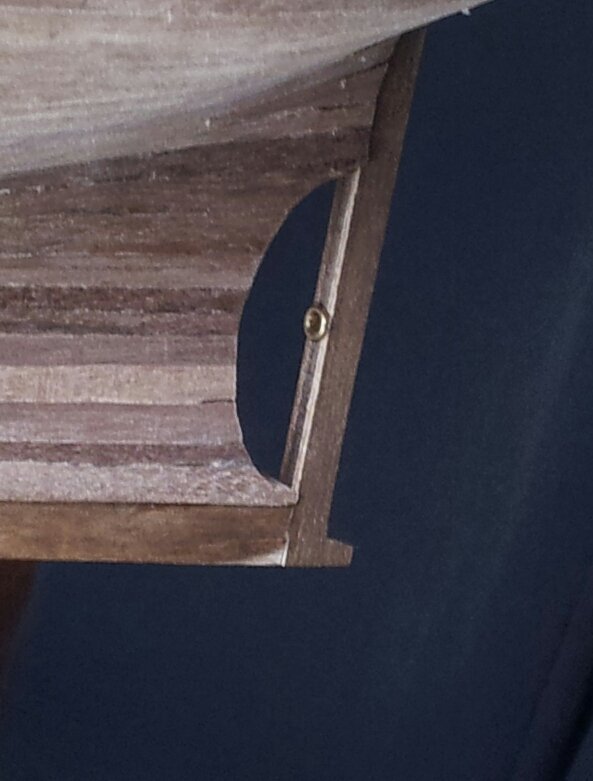
-
Many thanks Keith- that's not the words i use to describe it at the time though!😜 You will be noticing like me that the nights are starting to close in and winter is creeping up on us- though thanks to gulf stream we can get some nice but shorter days up to November time. Keith
-
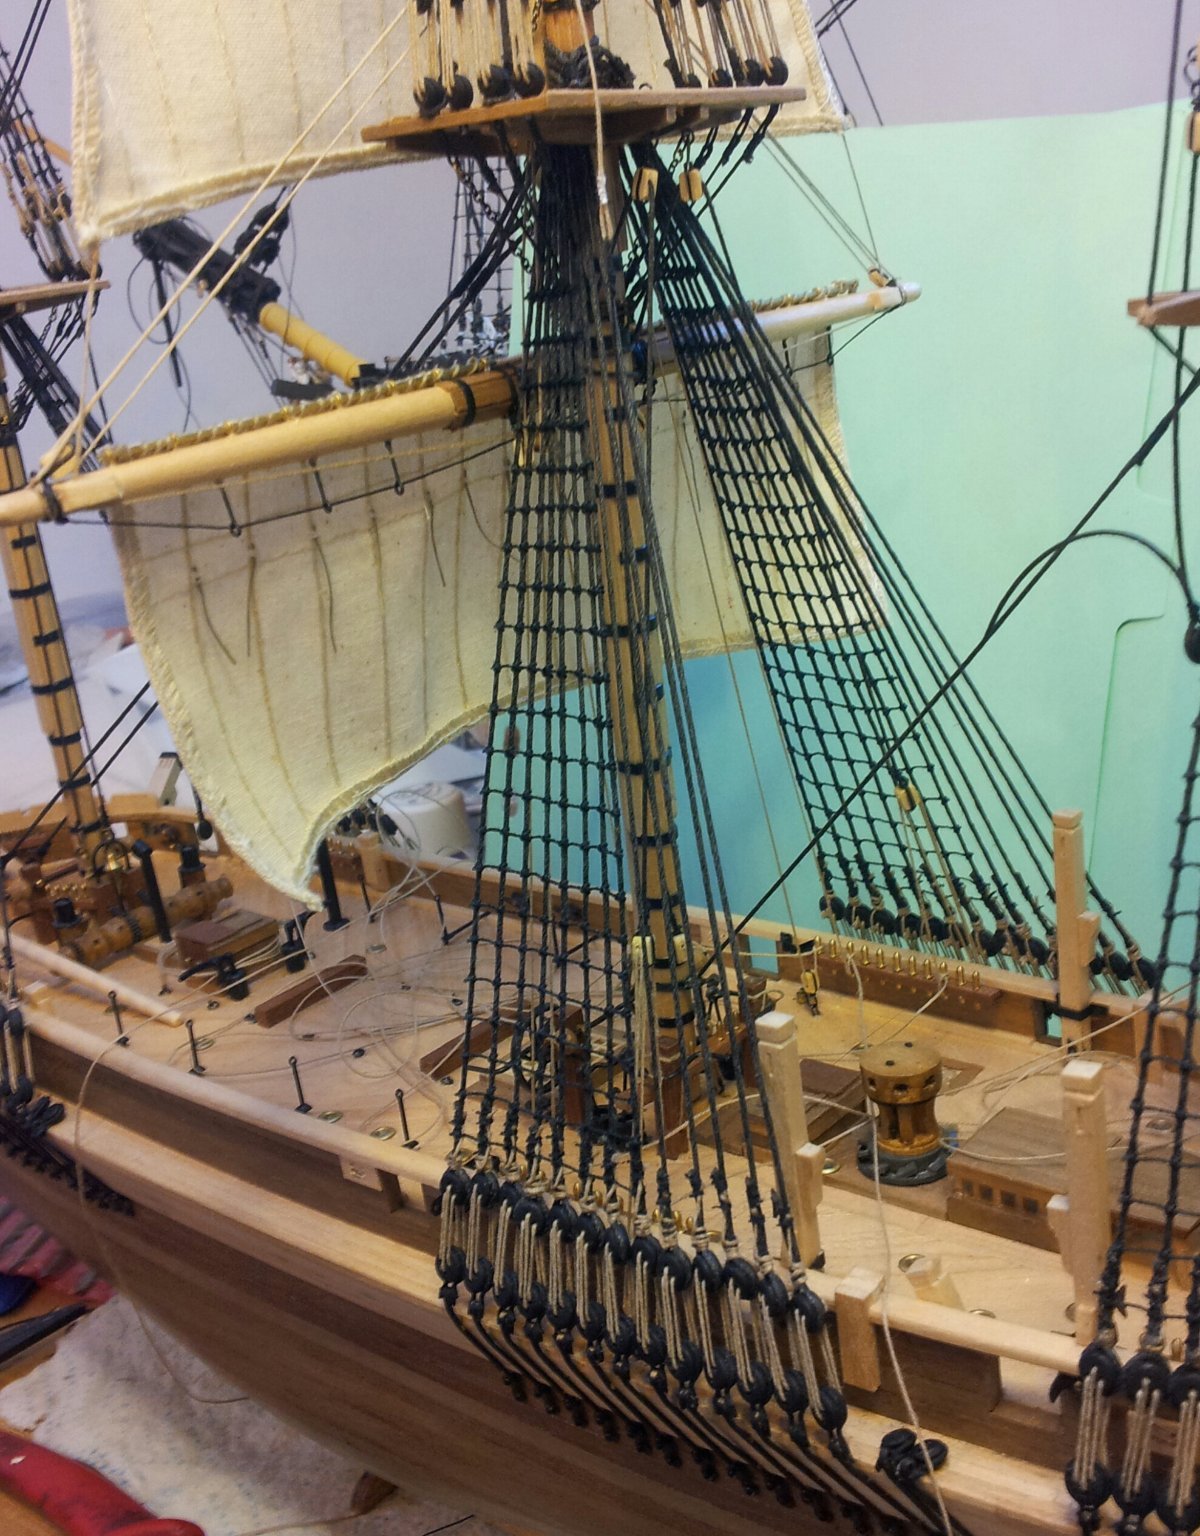
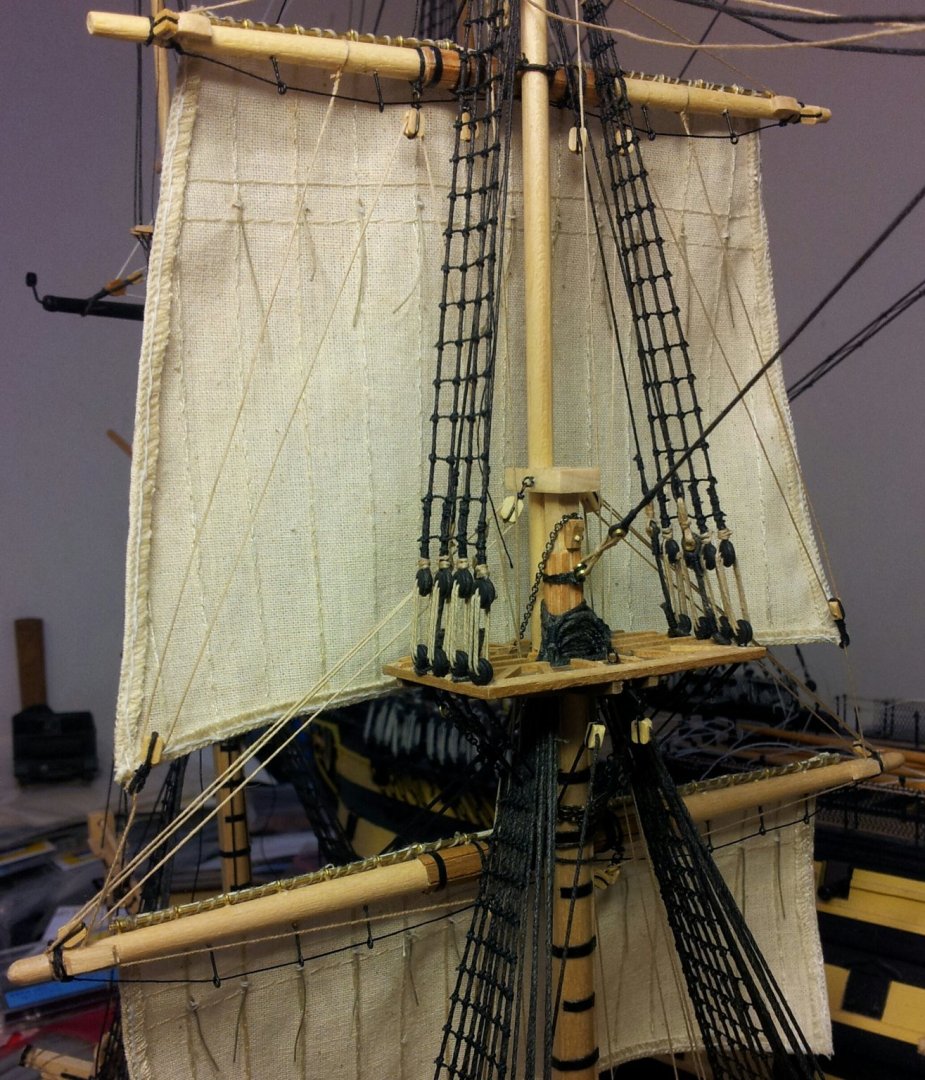
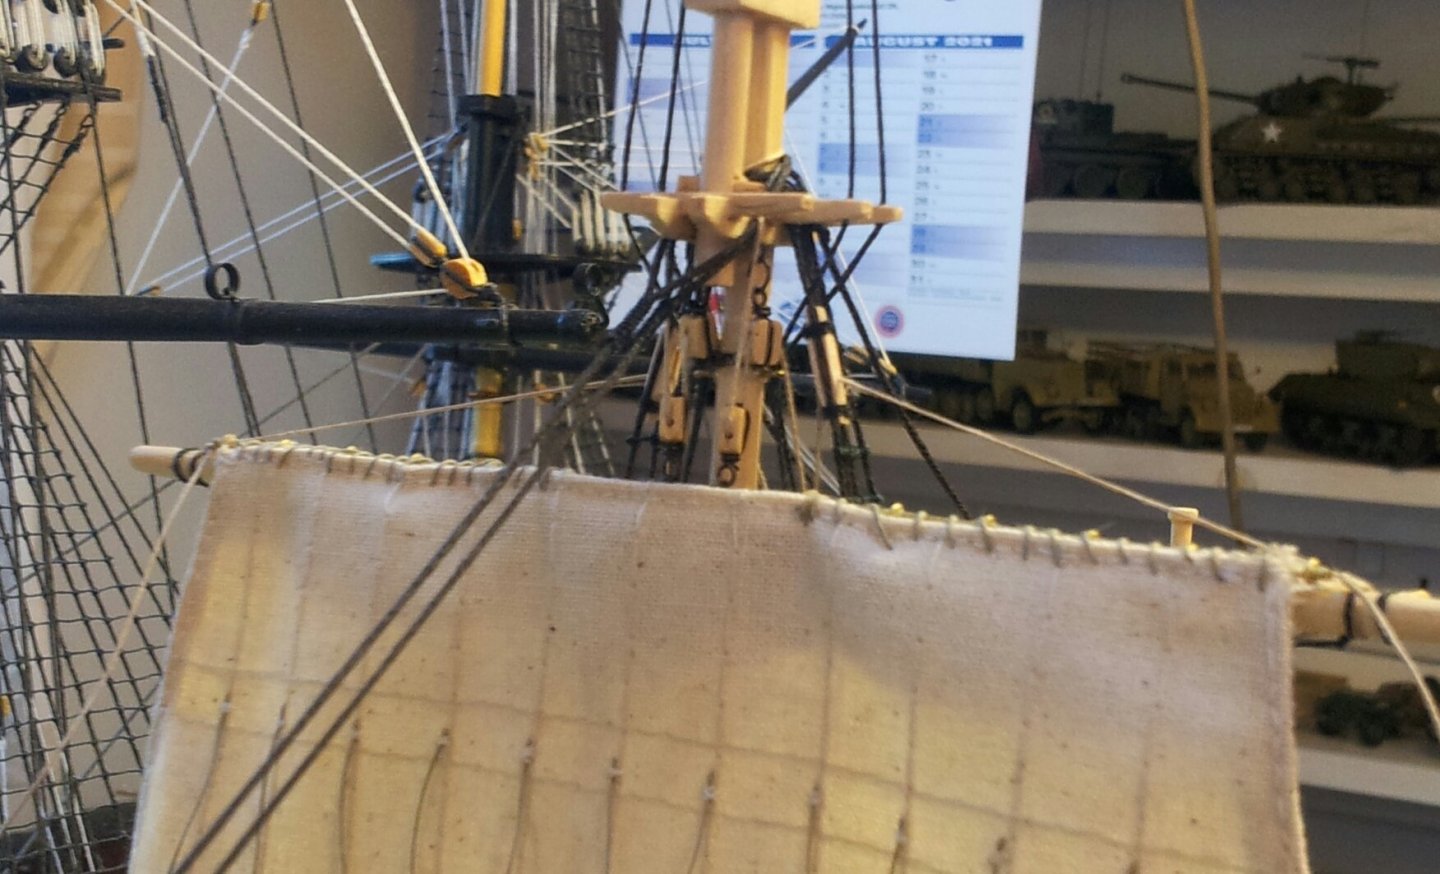
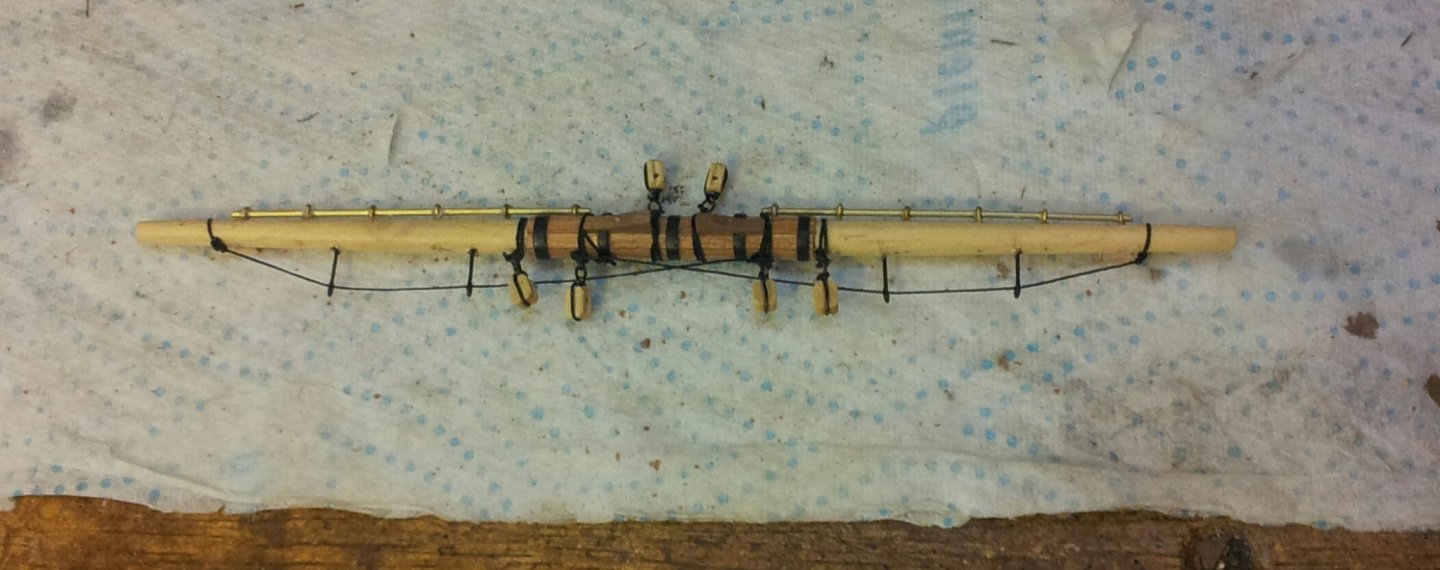
thanks for all the likes and looking in as always everyone, managed a little more on Terror this weekend with the clewlines rigged on the main topsail, the ropes on the main mast pinrail all belayed and coiled and the main topgallant yard ready for the footropes and sail to be added. Take care everyone. Keith
-
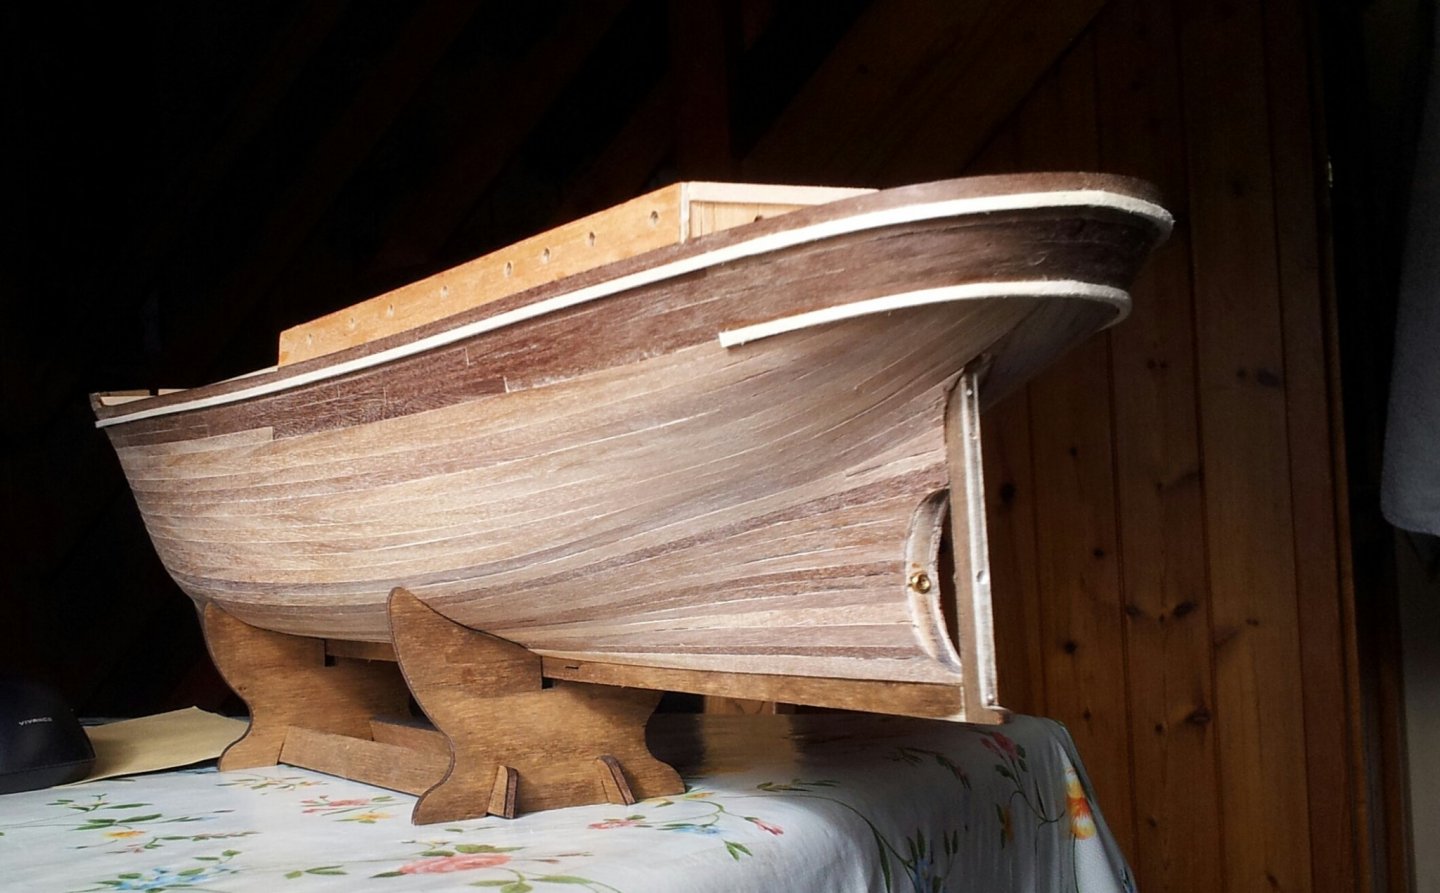
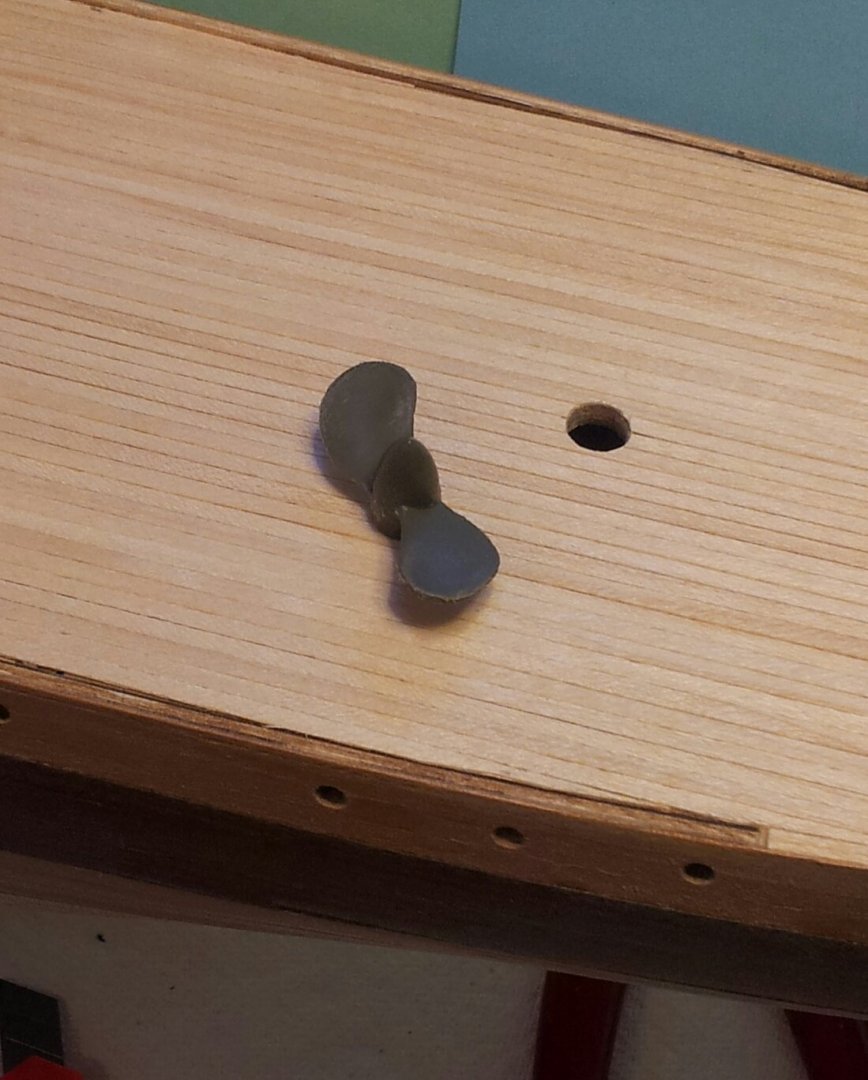
work slowly progressing with the stem and keel pieces attached. Also fitted a brass bearing for the prop shaft in place from my spares box. There is a nice pic of her stern in dry dock showing a two bladed prop (spares box the the rescue again)! Also looks like the prop shaft went through the prop and into another bearing on the sternpost so will add that to the sternpost before gluing it into place take care all Keith
-
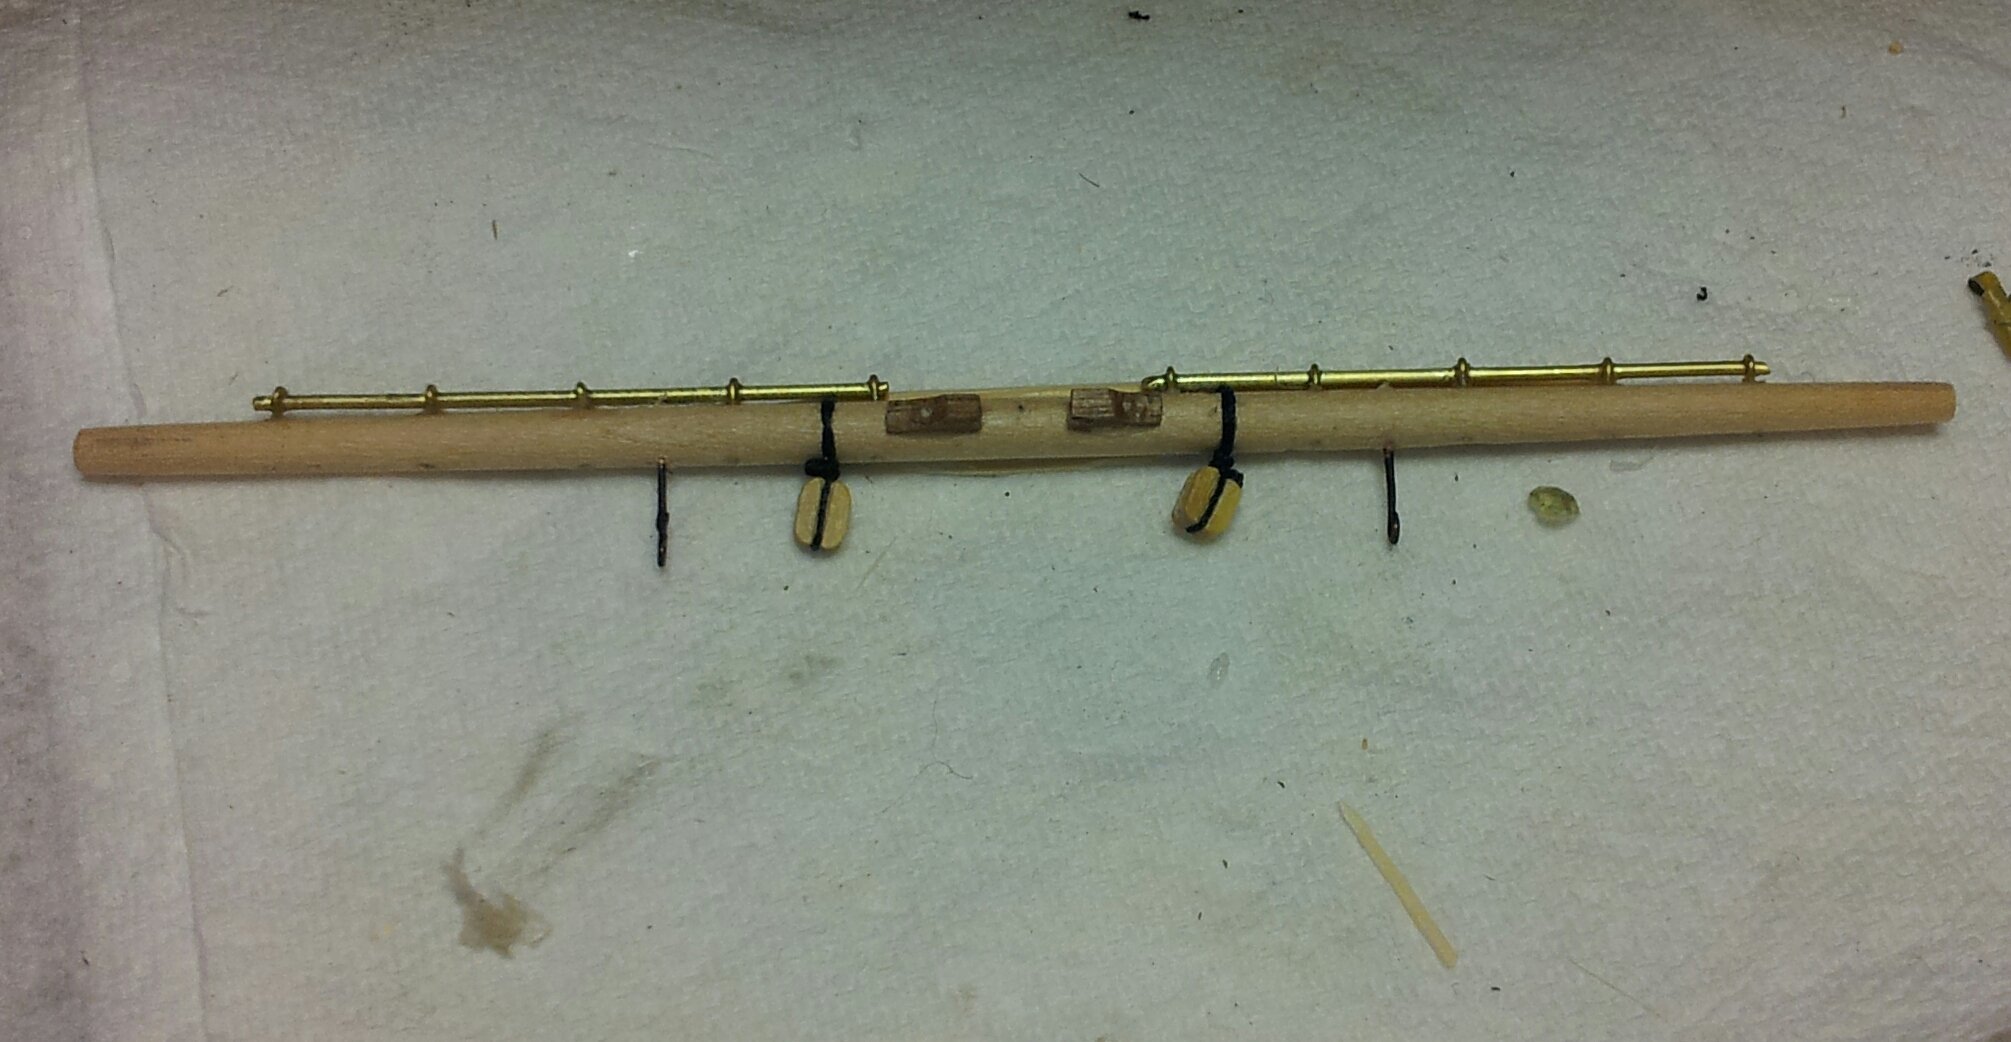
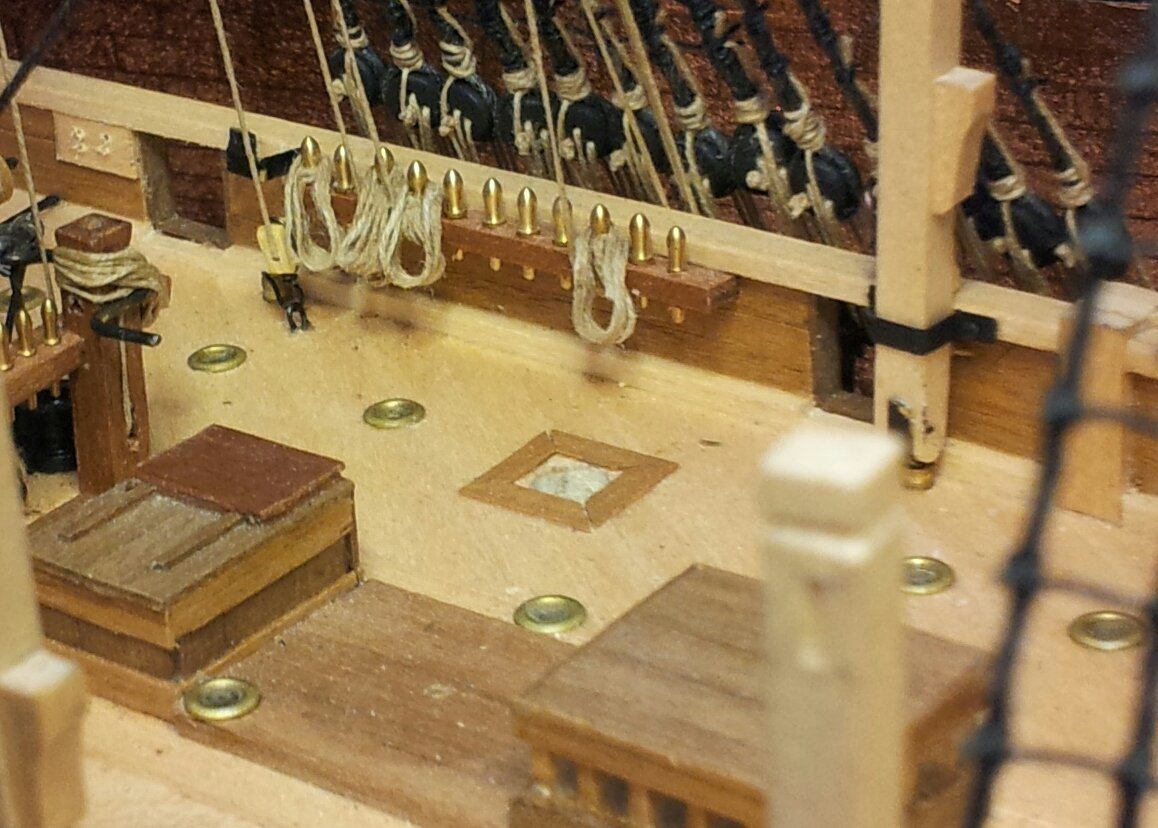
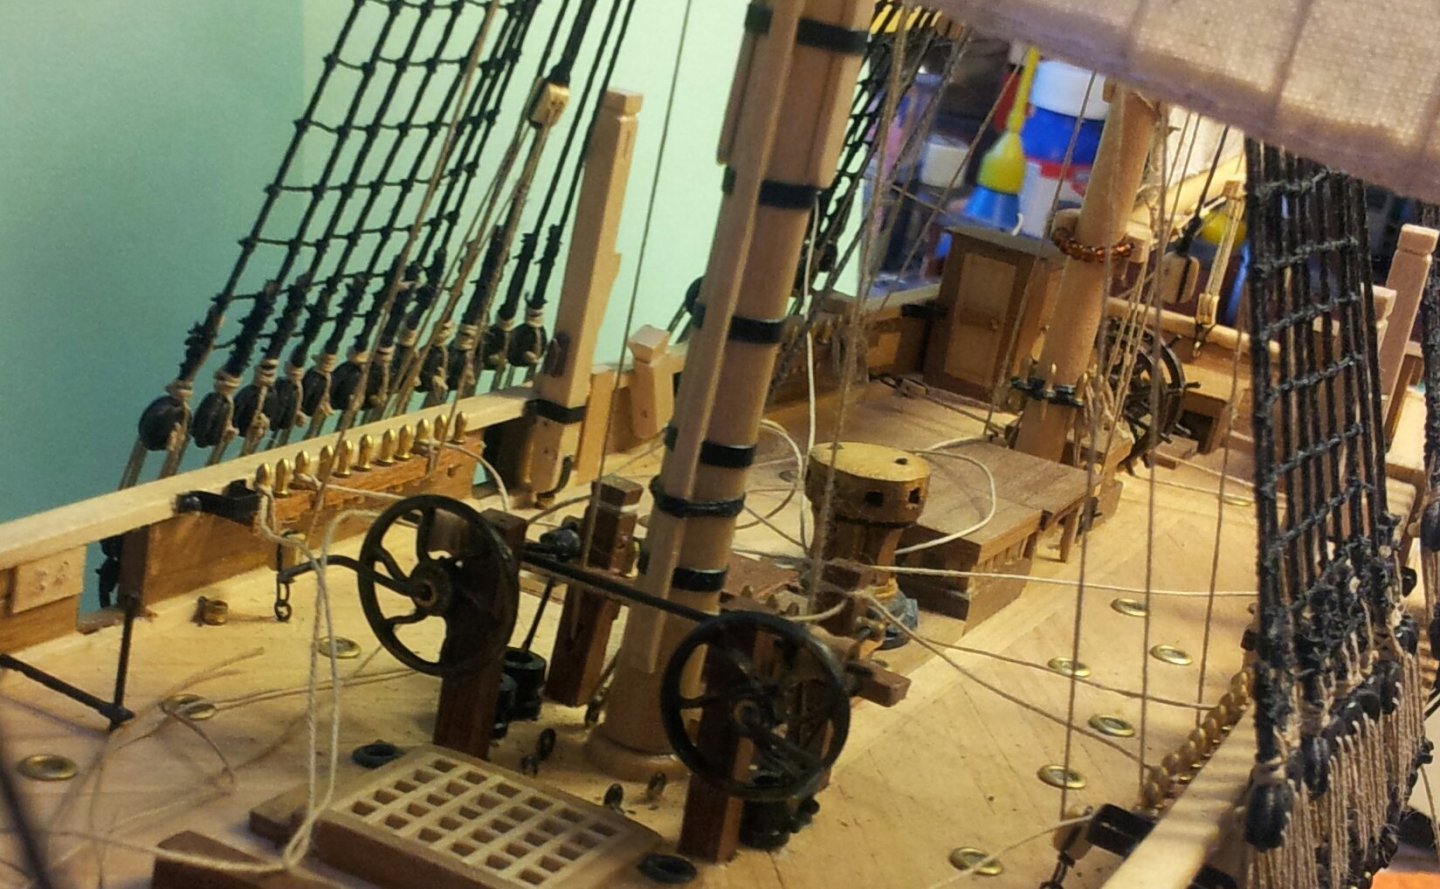
Thanks for the likes and looking in everyone. have got the truss pendants, main yard lifts, main tops'l sheets and main tops'l lifts belayed (not coiled yet), rigged as per Lees masting and rigging. Note i havn't glued the chimney for the steam engine in place along with the skid beams to ease rigging in this crammed space! take care all Keith

-
While my Grandfather was a coal miner he had a small fishing smack at Whitehaven harbour for when he was on his time off (i bet the open irish sea was a blessing after hewing coal in a 3 foot high adit)! - a lot of the old sailing smacks were altered and fitted with diesel engines and wheelhouses and plenty were still around till about 20 years ago. Keith
- 28 replies
-
- 8
-

-
- vanguard models
- Brixham trawler
- (and 2 more)
-
long lived interesting vessel
-
Nice to see Vicky back on the workbench phil- wow i forgot about the insanely small buckets of doom😁. Keith
-
that looks better- i was wondering why the original set up didn't look right (i am building Snowberry using the Matchbox 1/72 kit with the Great little Ships upgrade set) though that build resembles the speed of continental drift! Keith
- 321 replies
-
- 7
-
-

-
- Finished
- Flower-class
- (and 1 more)
-
Moving along nicely 😉 On the fore tops'l she was fitted with roller reefing gear- a quick google search will show the idea - which is why it looks thicker on the pics of the real Endurance. Keith
-
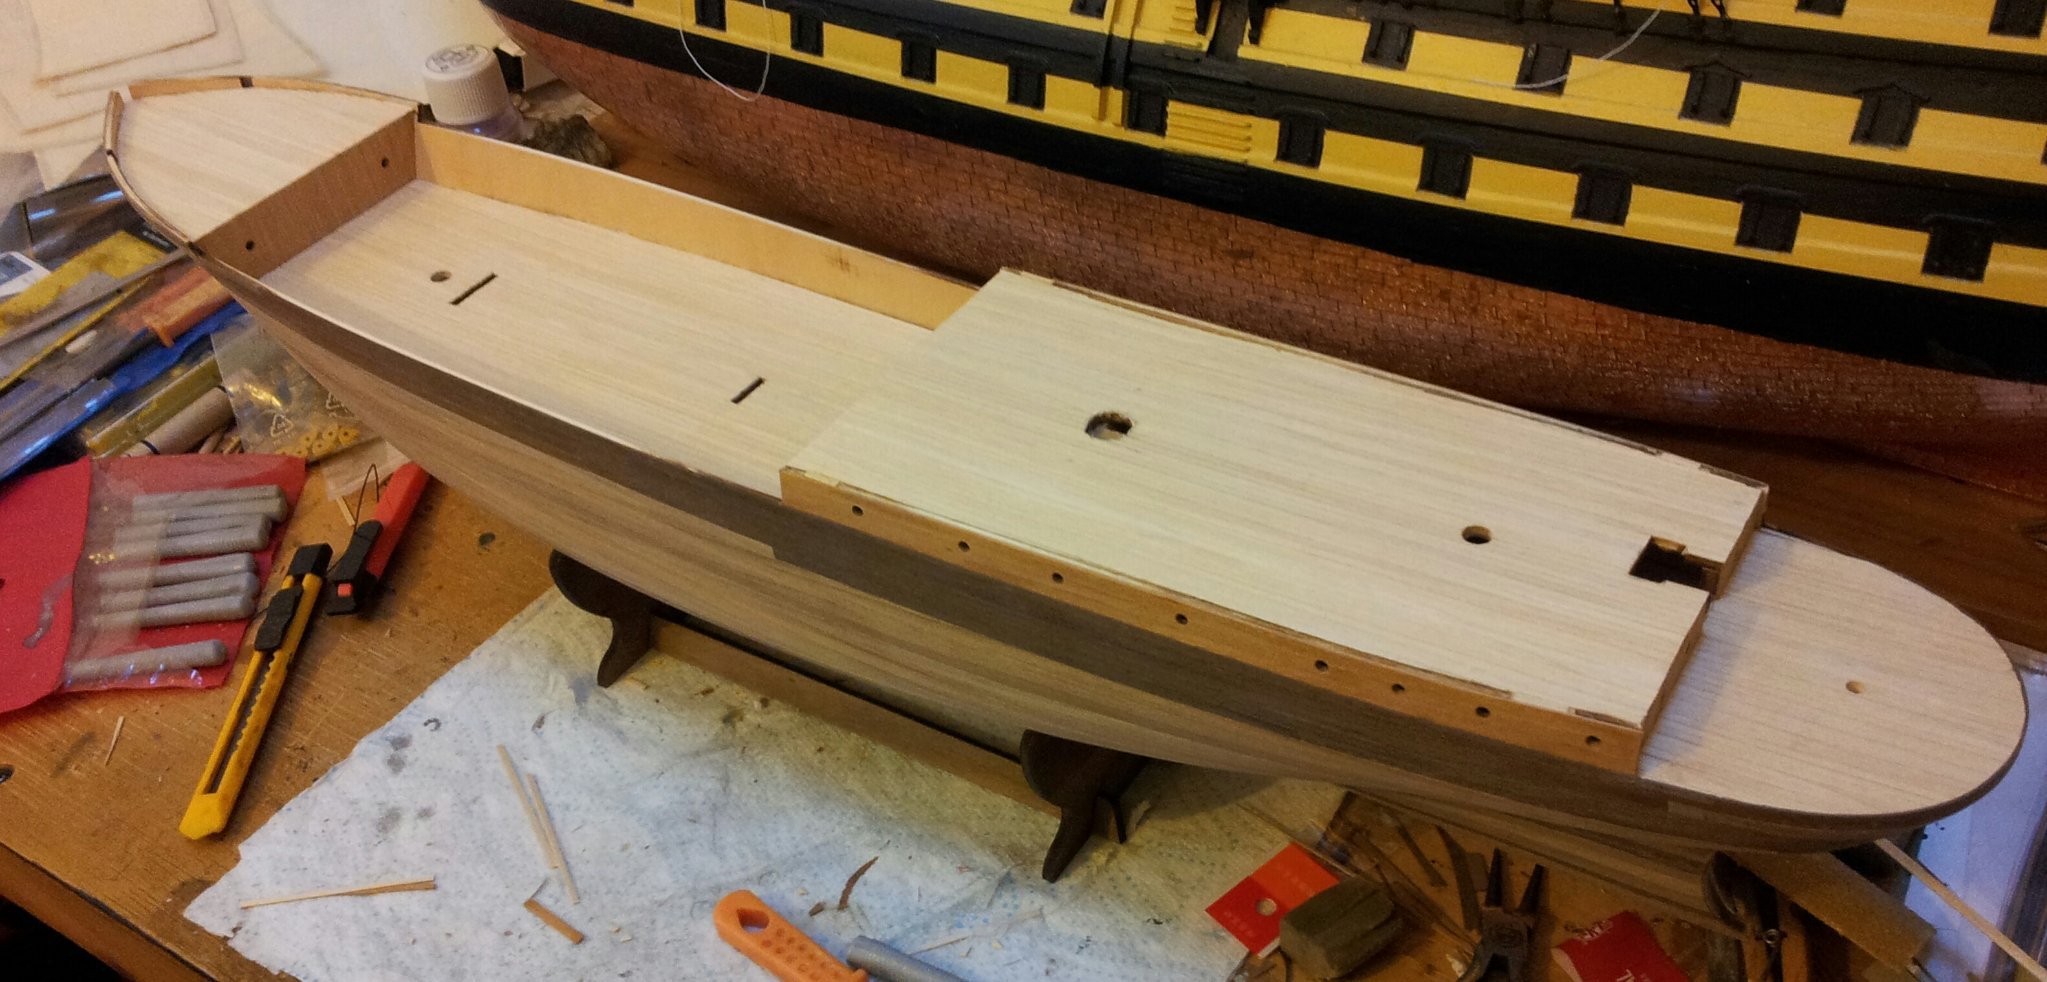
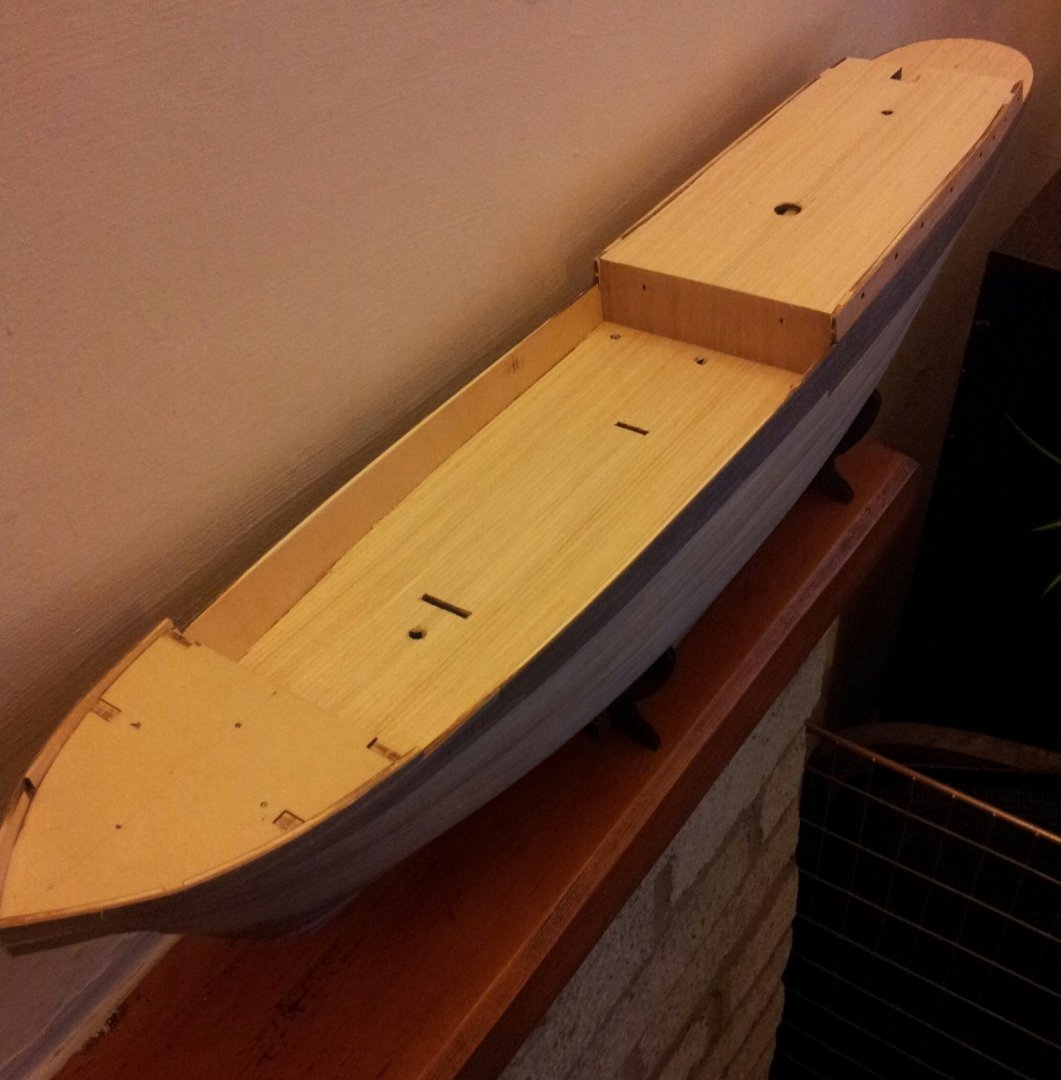
Thanks for likes and comments everyone, little bit of progress in the shipyard with the decks / bulkheads now all planked. take care all, Keith

-
pity about the soldering as that would definitely hold them secure , but superglue gel should be good, for the bottom of the chainplates you could squeeze the bottom of the wire flat and drill through with a 0.68 mm drill bit in a pin vice and pin to the hull (i am thinking along your lines myself regards chainplates but maybe use the iron wire i mentioned. Keith
-
Ty Nirvana, gave the hull a bit of a sanding / trimming and also planked the main and quarter decks. As hakazou pointed out in his build log the bulkheads were also planked (i was going to use the 2mm planking as used for deck, but wanted a difference in colour so dug some 3mm strip out of the spares box) Also planked the sides of the island using the 3mm strip. take care all, Keith

-
Wow really coming along at pace😁- If mounting blocks to eyebolts i use annealed iron wire as used by people making jewelry which is available in different thicknesses to make the strops. Keith
-
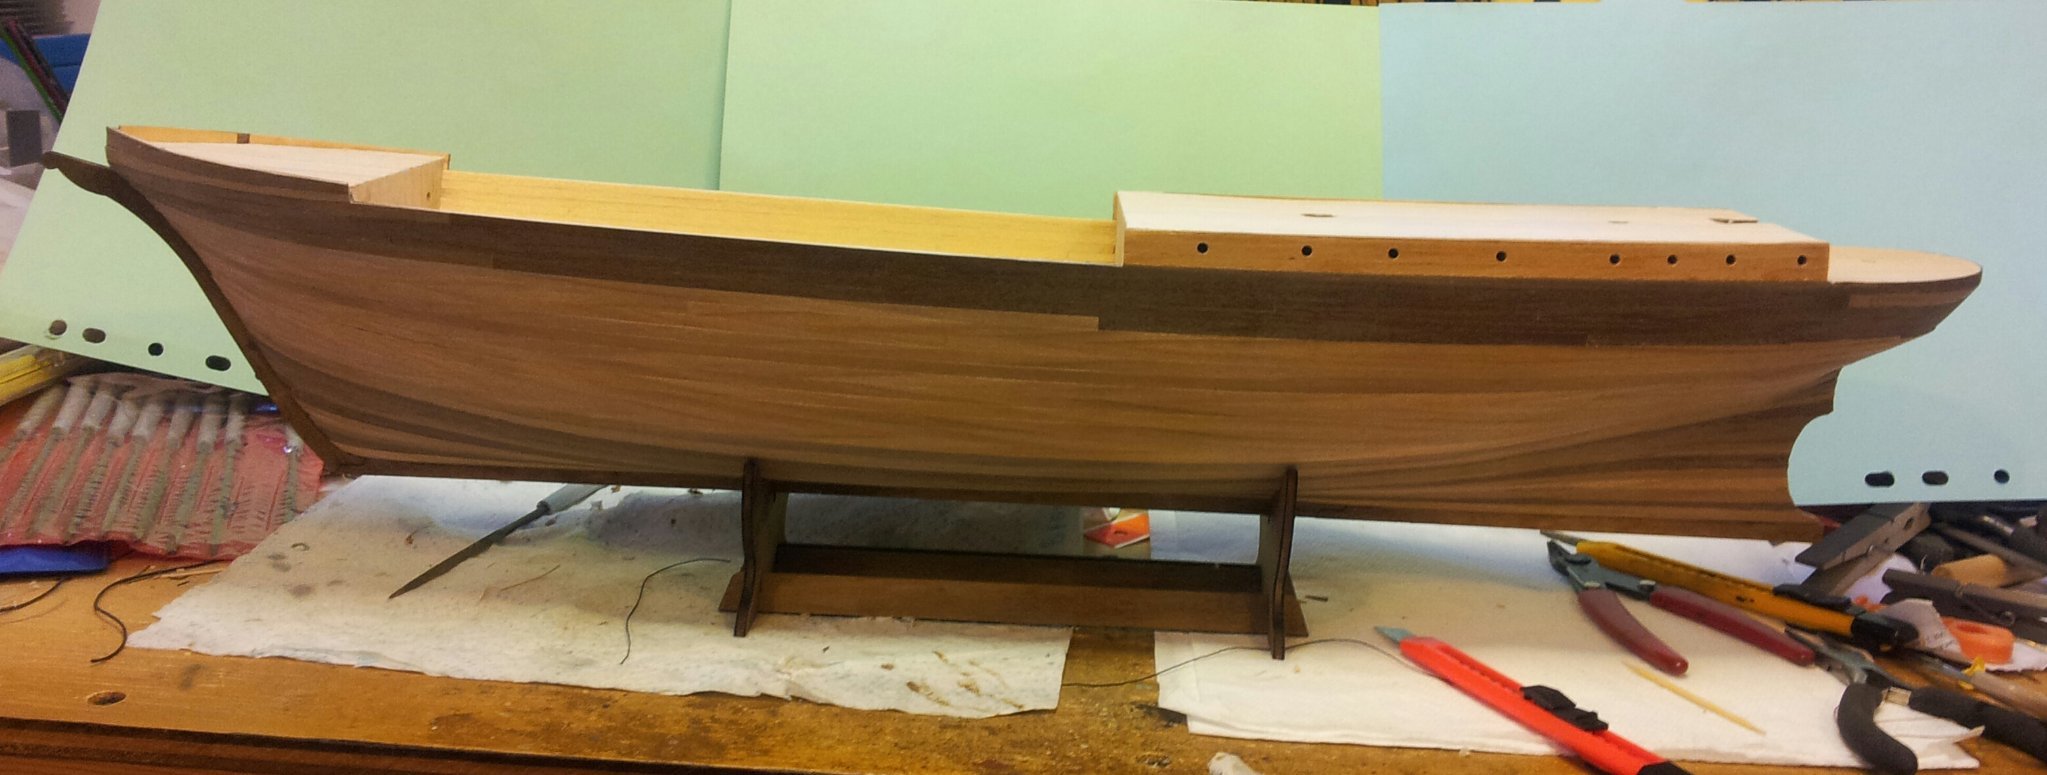
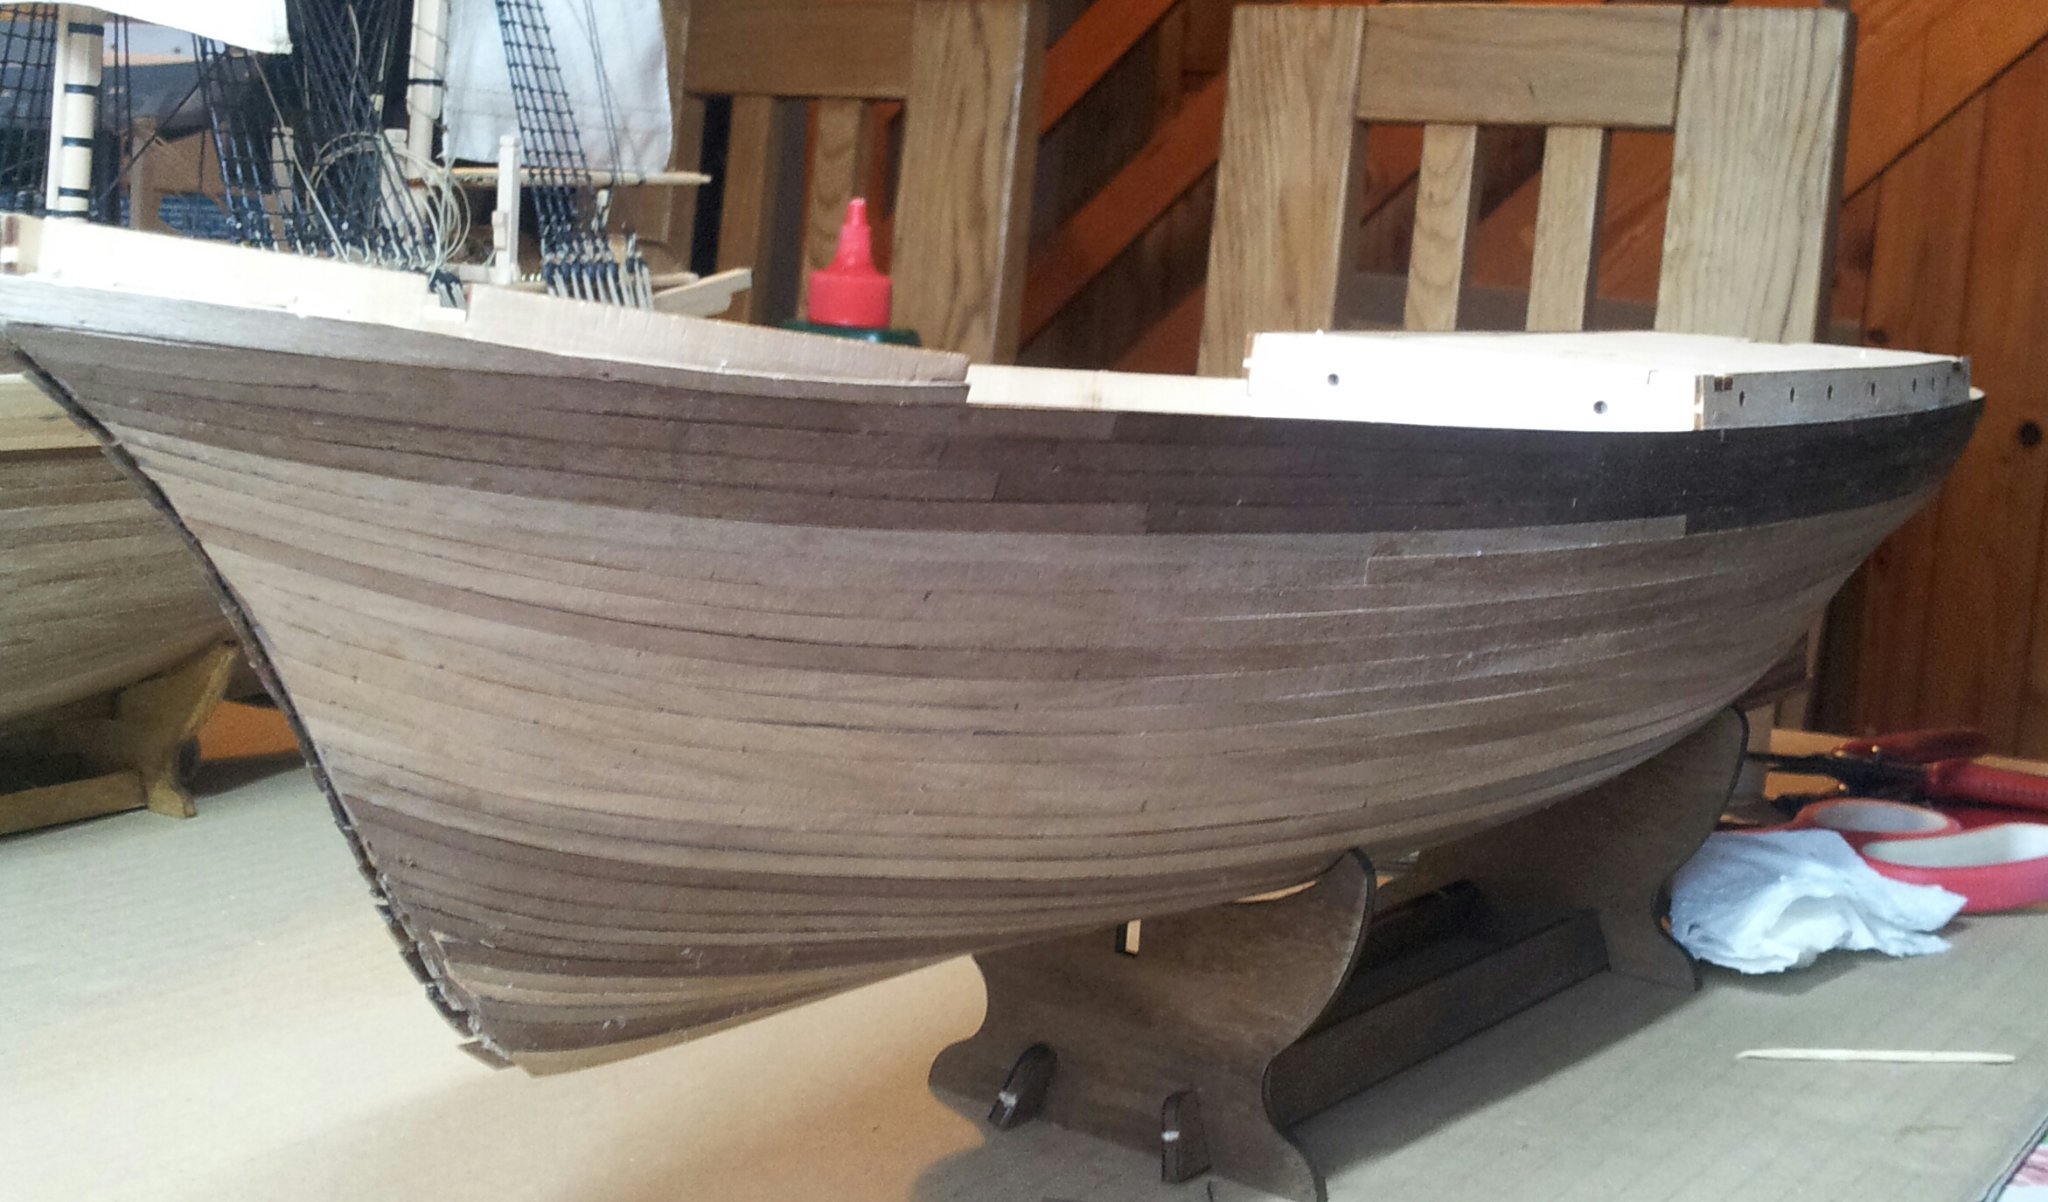
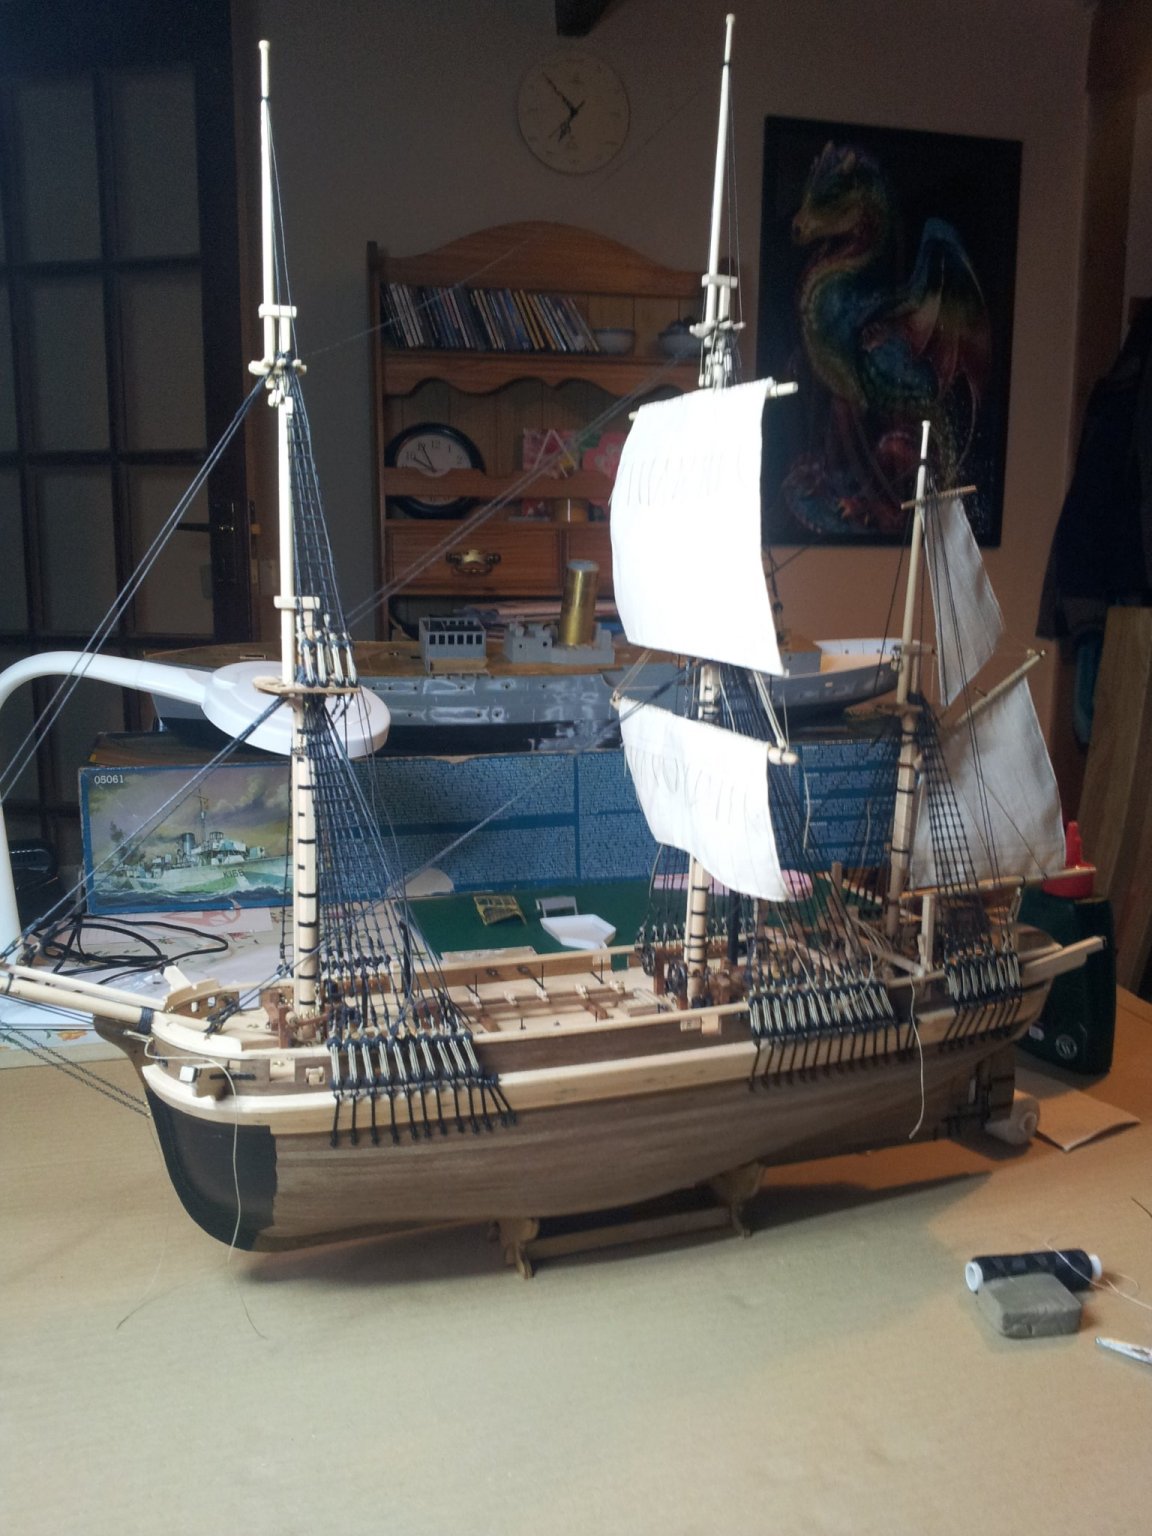
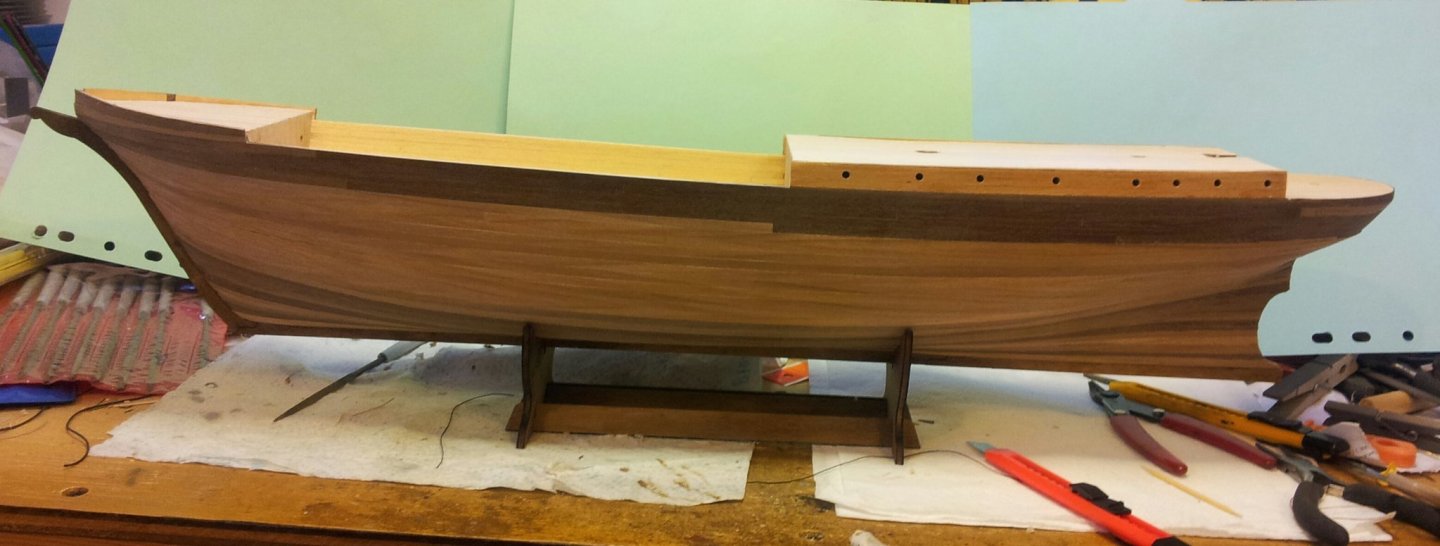
Thanks for looking in and the likes everyone. As mentioned in my terror log rain and nearly empty house has led to shippy time😋. Finally got the walnut 2nd planking near completion, just needs sanding down/ trimmed here and there and a stealer or two. will also need o think about adding the stem, keel and sternpost. Take care all Keith

-
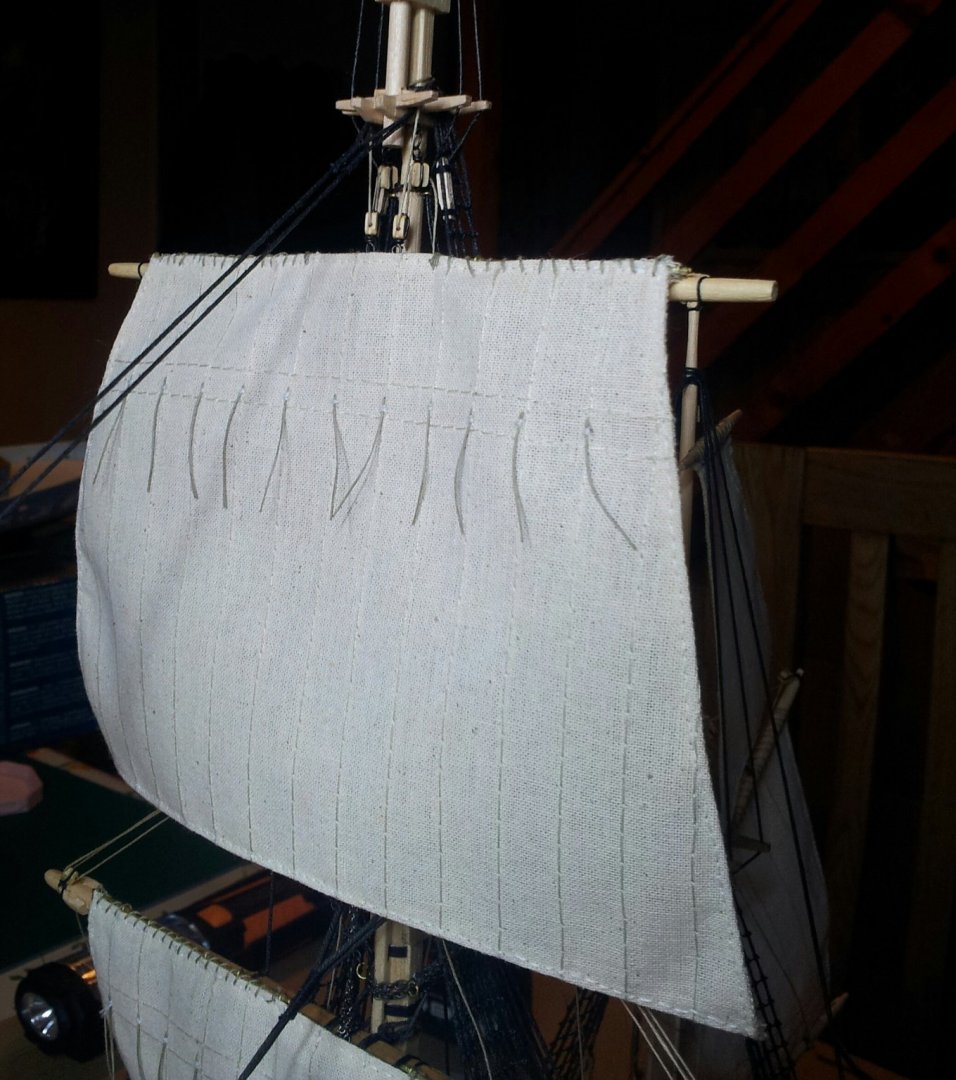
Thanks for looking in and the likes/ comments everyone. Got a few days off work while the admiral and daughter visit relatives + rain with bits of rain then showers so moved my workshop onto dining room table and managed to get the main topsail hoisted though still need to rig the halliards, sheets etc etc. Take care all Keith

-
welcome back to the terror club and hope the recovery continues well. Keith
-
Nice , i have built this kit three times now with two altered slightly with a scratchbuilt smaller wheelhouse and one as a stern trawler, Keep up the good work. Keith
-
nice work Keith- unfortunately i live to far from the narrow gauge railways in wales for a day trip, but we do have the Ravenglass & Eskdale Rly (a.k.a. "la'al ratty) miniture 15" gauge railway which runs 8 miles from ravenglass to eskdale near Scaffell Pike (if local pronounce it scawfell) 😉. Keith
-
The wheelhouse was mentioned in Lansings book and i think that is a part of it being lowered over the stern on the pictures. i have seen a picture somewhere and it was on legs with slots in the sides to allow for the steering chains (looked twice as wide as any i have seen on models). Though like you i am just going to model without as i cannot get enough info to reliably model. the cover over the stern rails is a canvas wind dodger (also it looks like the stern rail had a wooden toprail). Keith
-
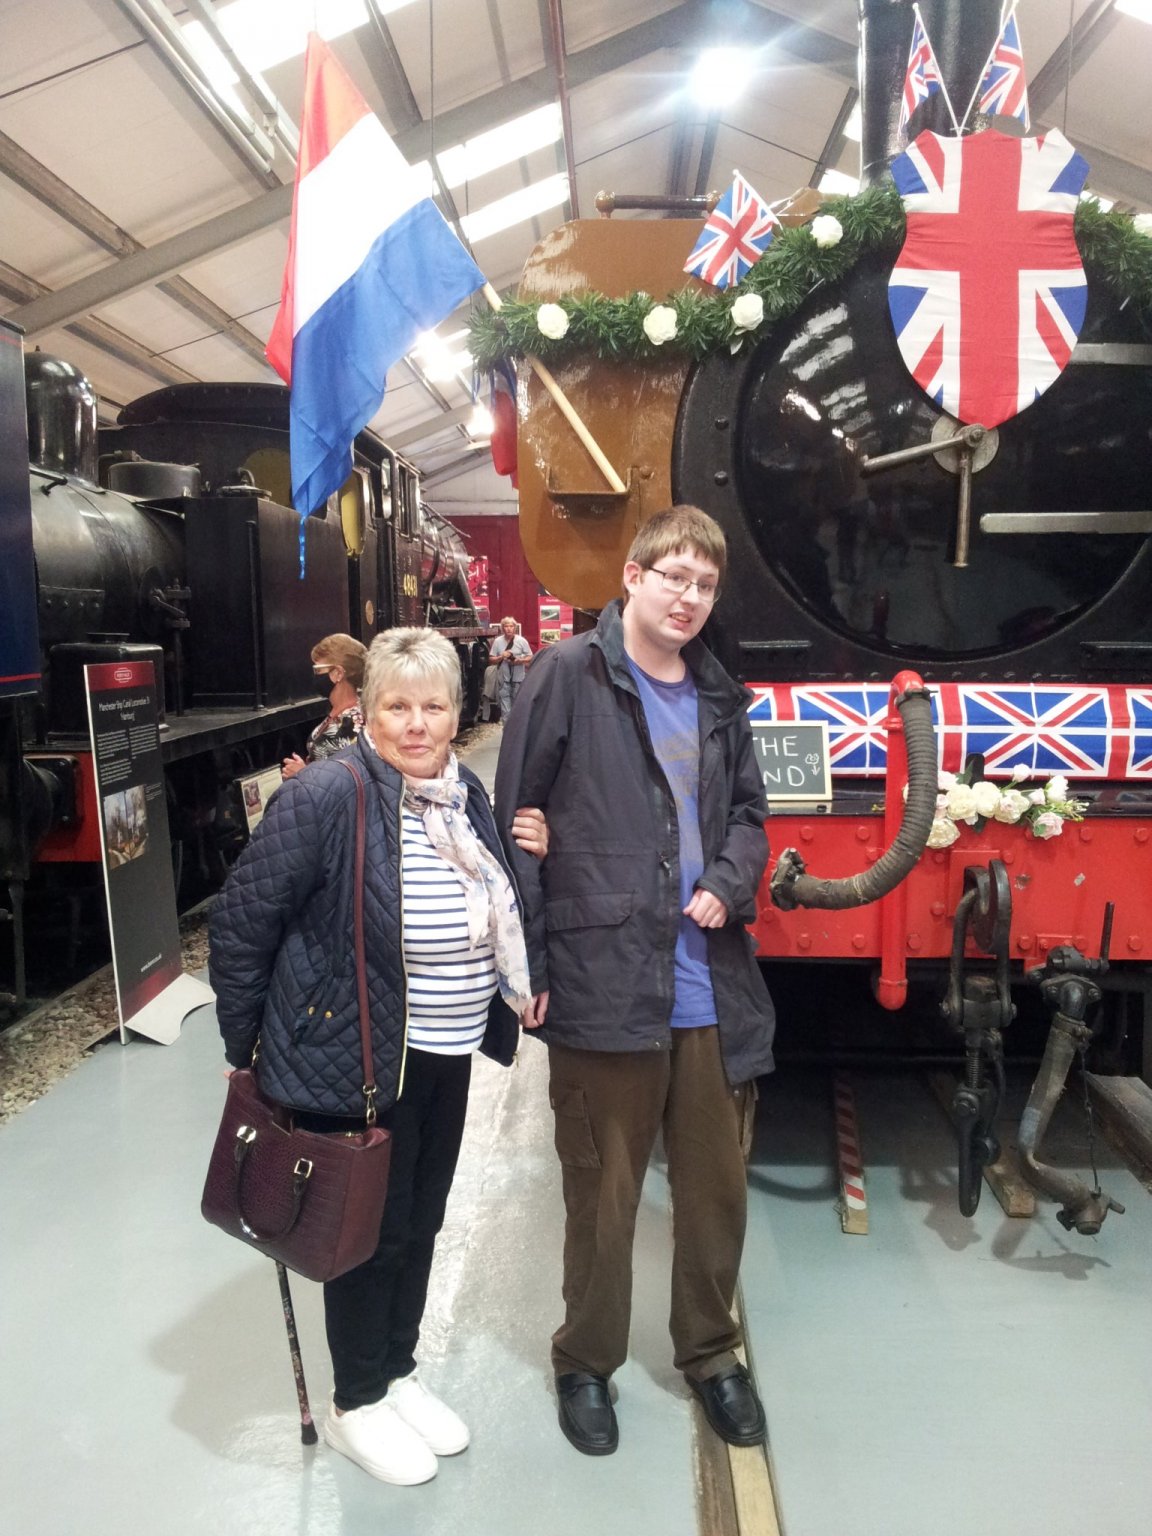
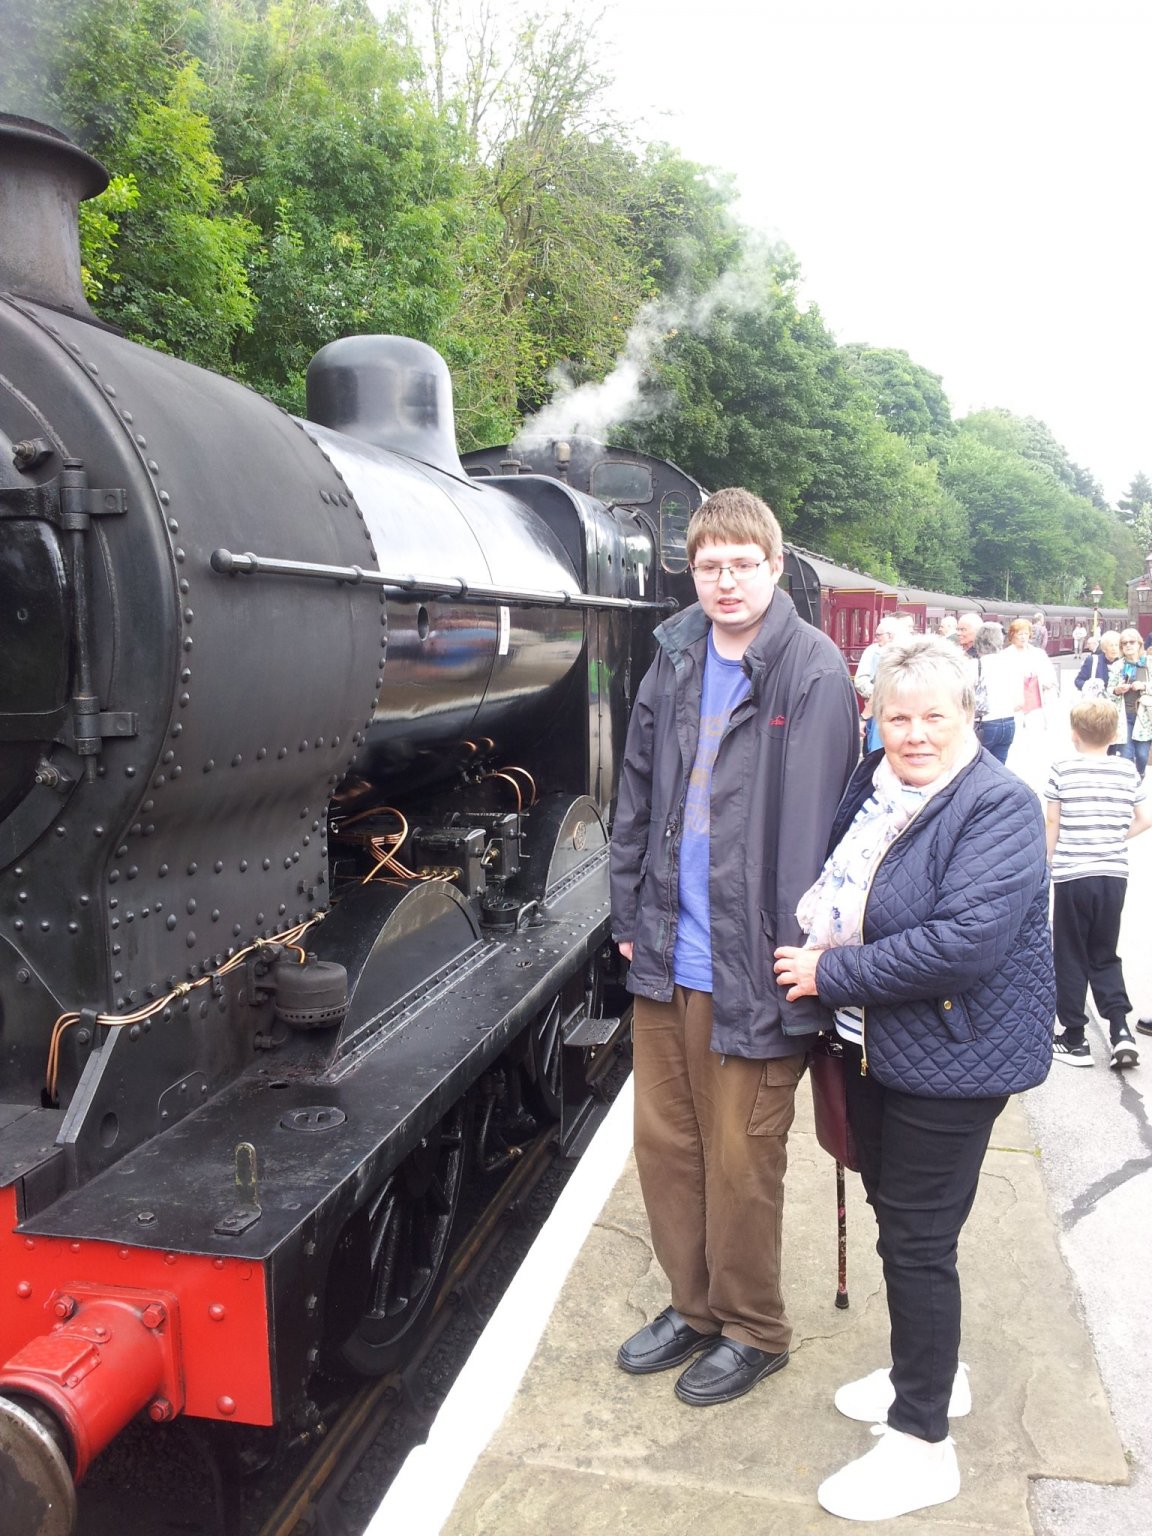
Back in shipyard for awhile today and managed to finish the main tops'l yard. Next will have to stitch the seams on the sail and add the reefing ropes. on a different topic for the first time in 18 months my son and myself took a trip down to Keighley and Worth Valley Steam Railway, we also took my step mum along, it was really nice seeing mams, dads, grandparents and children all smiling and enjoying the experience (even the very young boy who ran to his mother shouting "mam mam the trains on fire" his mother had to explain the basics of steam engines and the fire/ steam principle)! Take care all and have fun Keith


-
They did build a house over the steering gear as they took it with them for a shelter when they abandoned ship, but it was bigger than what occre suggest. i will most likely replace the supplied wheel with one from caldercraft and model the steering exposed as per photos from earlier in the expedition. Keith