clearway
-
Posts
2,238 -
Joined
-
Last visited
Content Type
Profiles
Forums
Gallery
Events
Everything posted by clearway
-
 nice work Daniel. will seem daunting at first but becomes clearer. It does help being sectionalised into different categories. Keith
 -
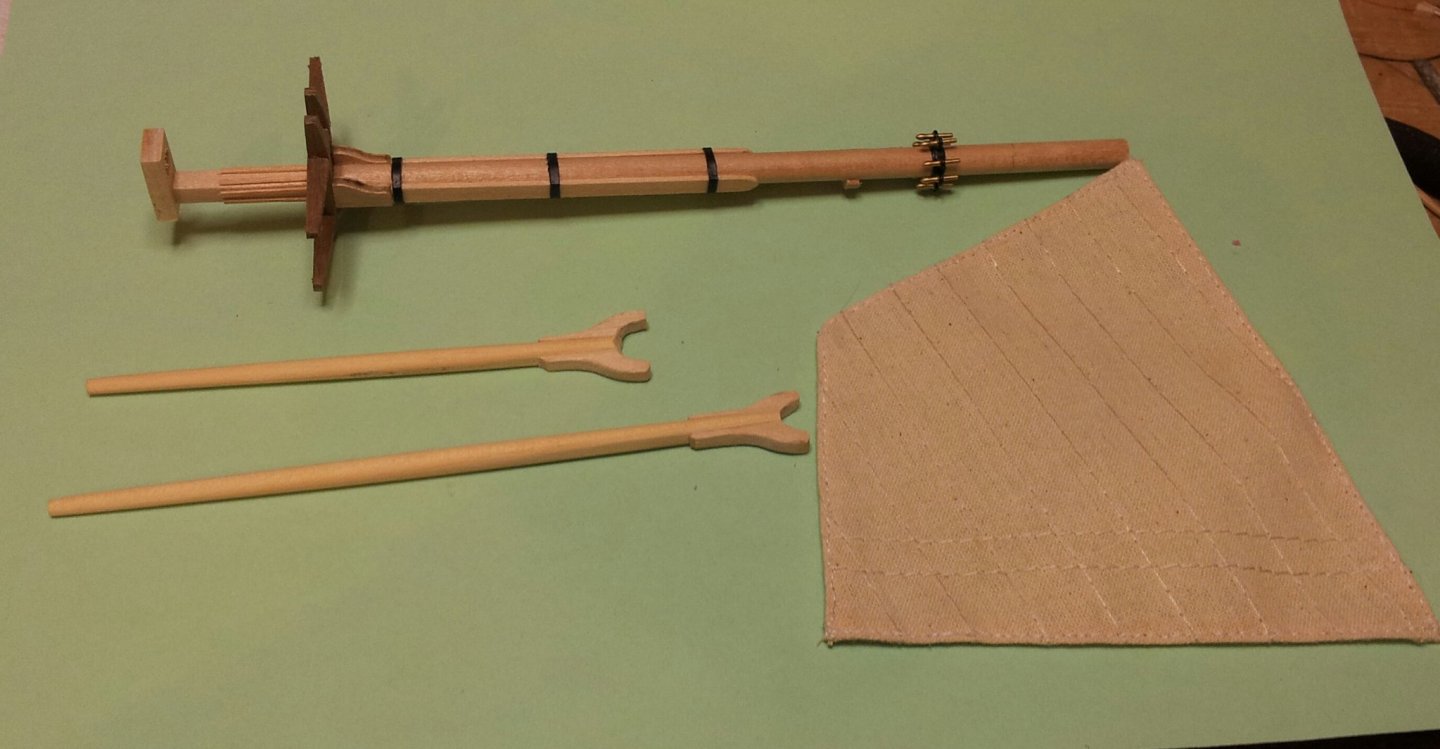
Thanks for looking in everyone, back in't shipyard and work continues on the gaff and driver boom. The jaws have been glued on and carved to shape (started as a rectangle glued each side). Also glued the battens onto the mizzen masthead for the shrouds and stitched the hem on the spanker sail. Will have to glue eyes in place for the topping lift and throat halliard blocks on the mizzen mast. take care everyone. Keith
-
back at you Emmet and oh yeah! Keith
-
belated merry christmas broden, i used self adhesive copper strip to replace the aluminium. the instructions look slightly different because the two shots are taken from slightly different angles. If using the aluminium sheets just polish them with very fine sandpaper/ emery cloth before gluing/ painting as the metal develops a film which stops paint and glue adhering properly. Keith
-
merry christmas everyone, it makes you wonder what the christmas must have been like for the crews of erebus and terror when looking at the model. Keith
-
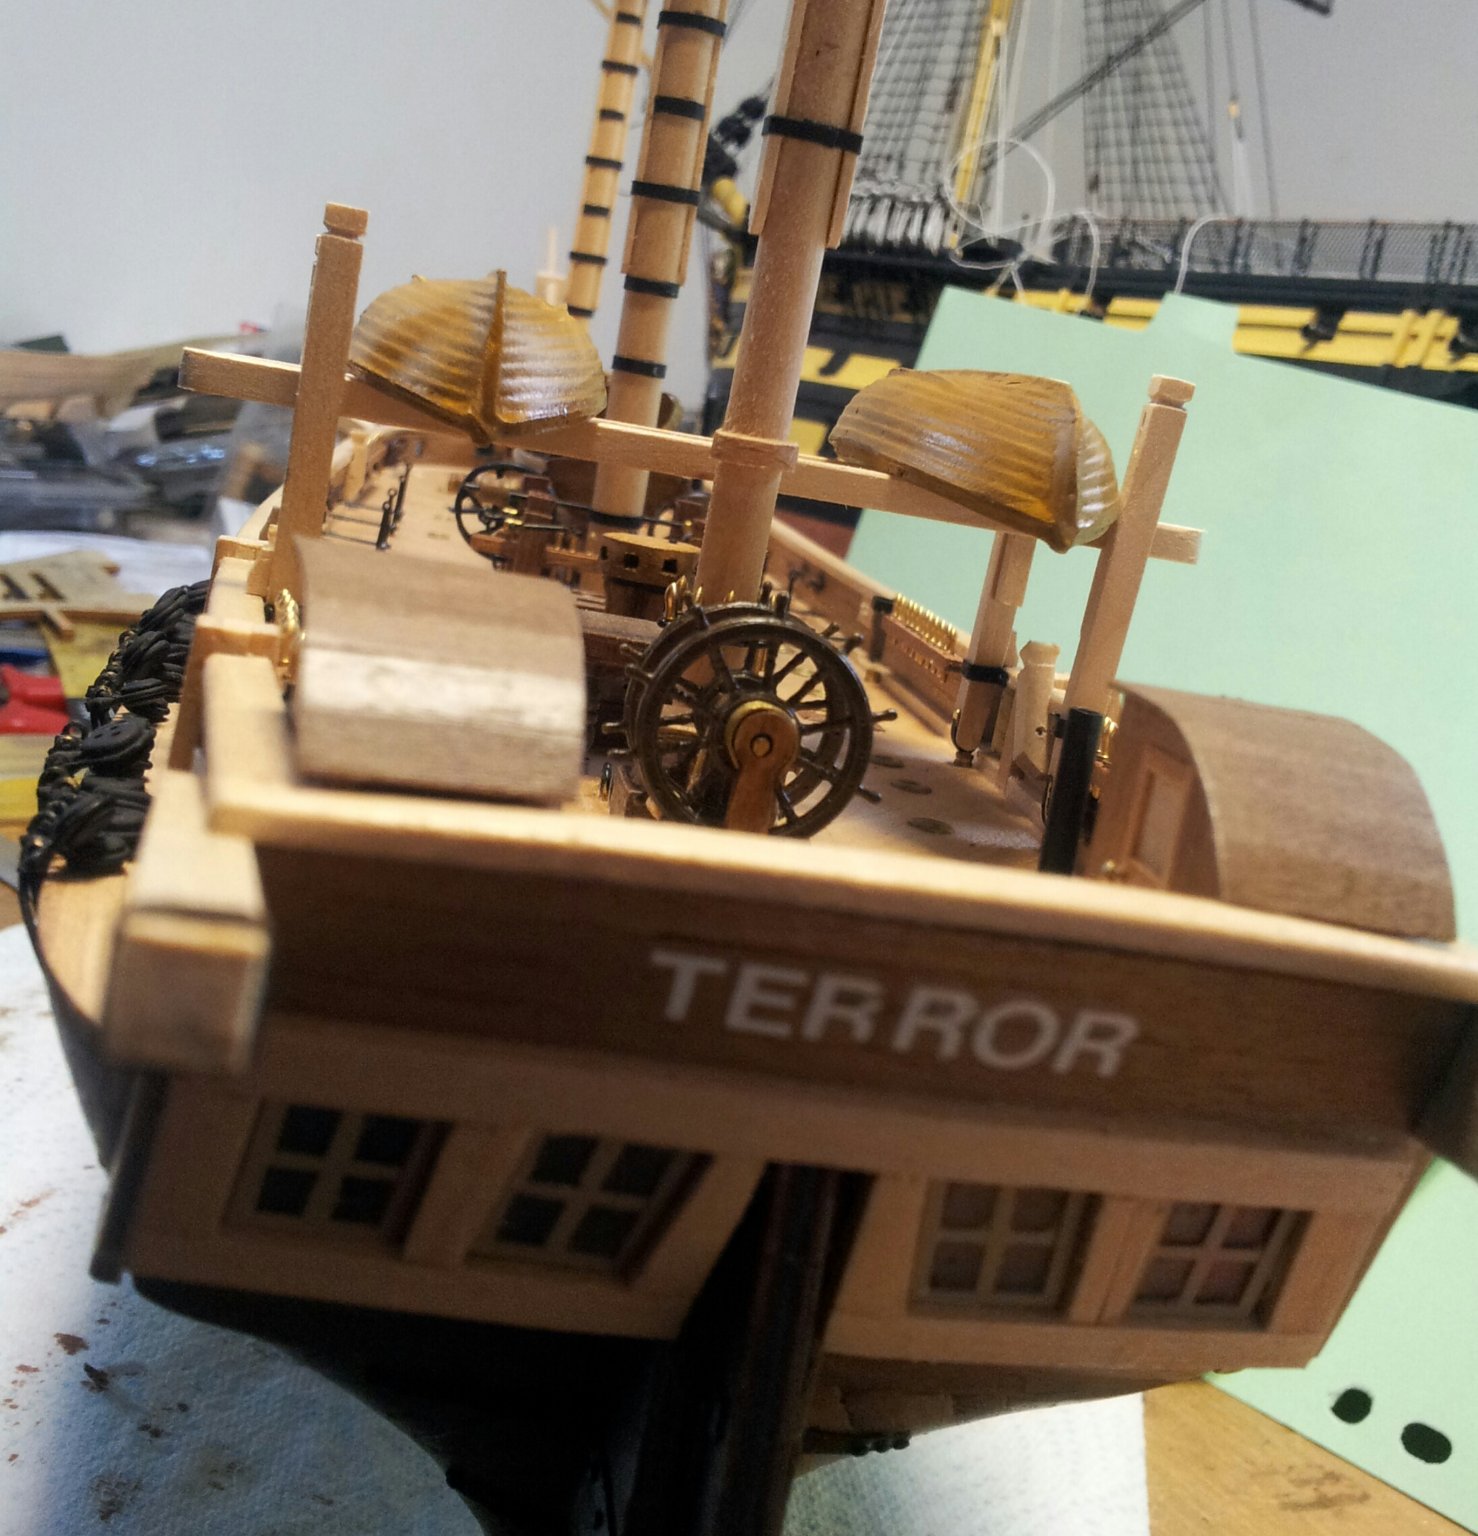
Hi Keith, usually a sheet and two boomguys rigged. I think the houses had rounded roofs to shed any water shipping over the stern (ye olde being "pooped"). Another idea which i have seen is a block on an eyebolt on the taffrail with a cleat on the inner transom for belaying to. To be honest any of these ideas could be applied after the rest of the masts and rigging are in place so could wait til Matthews book avails the solution. Keith
-
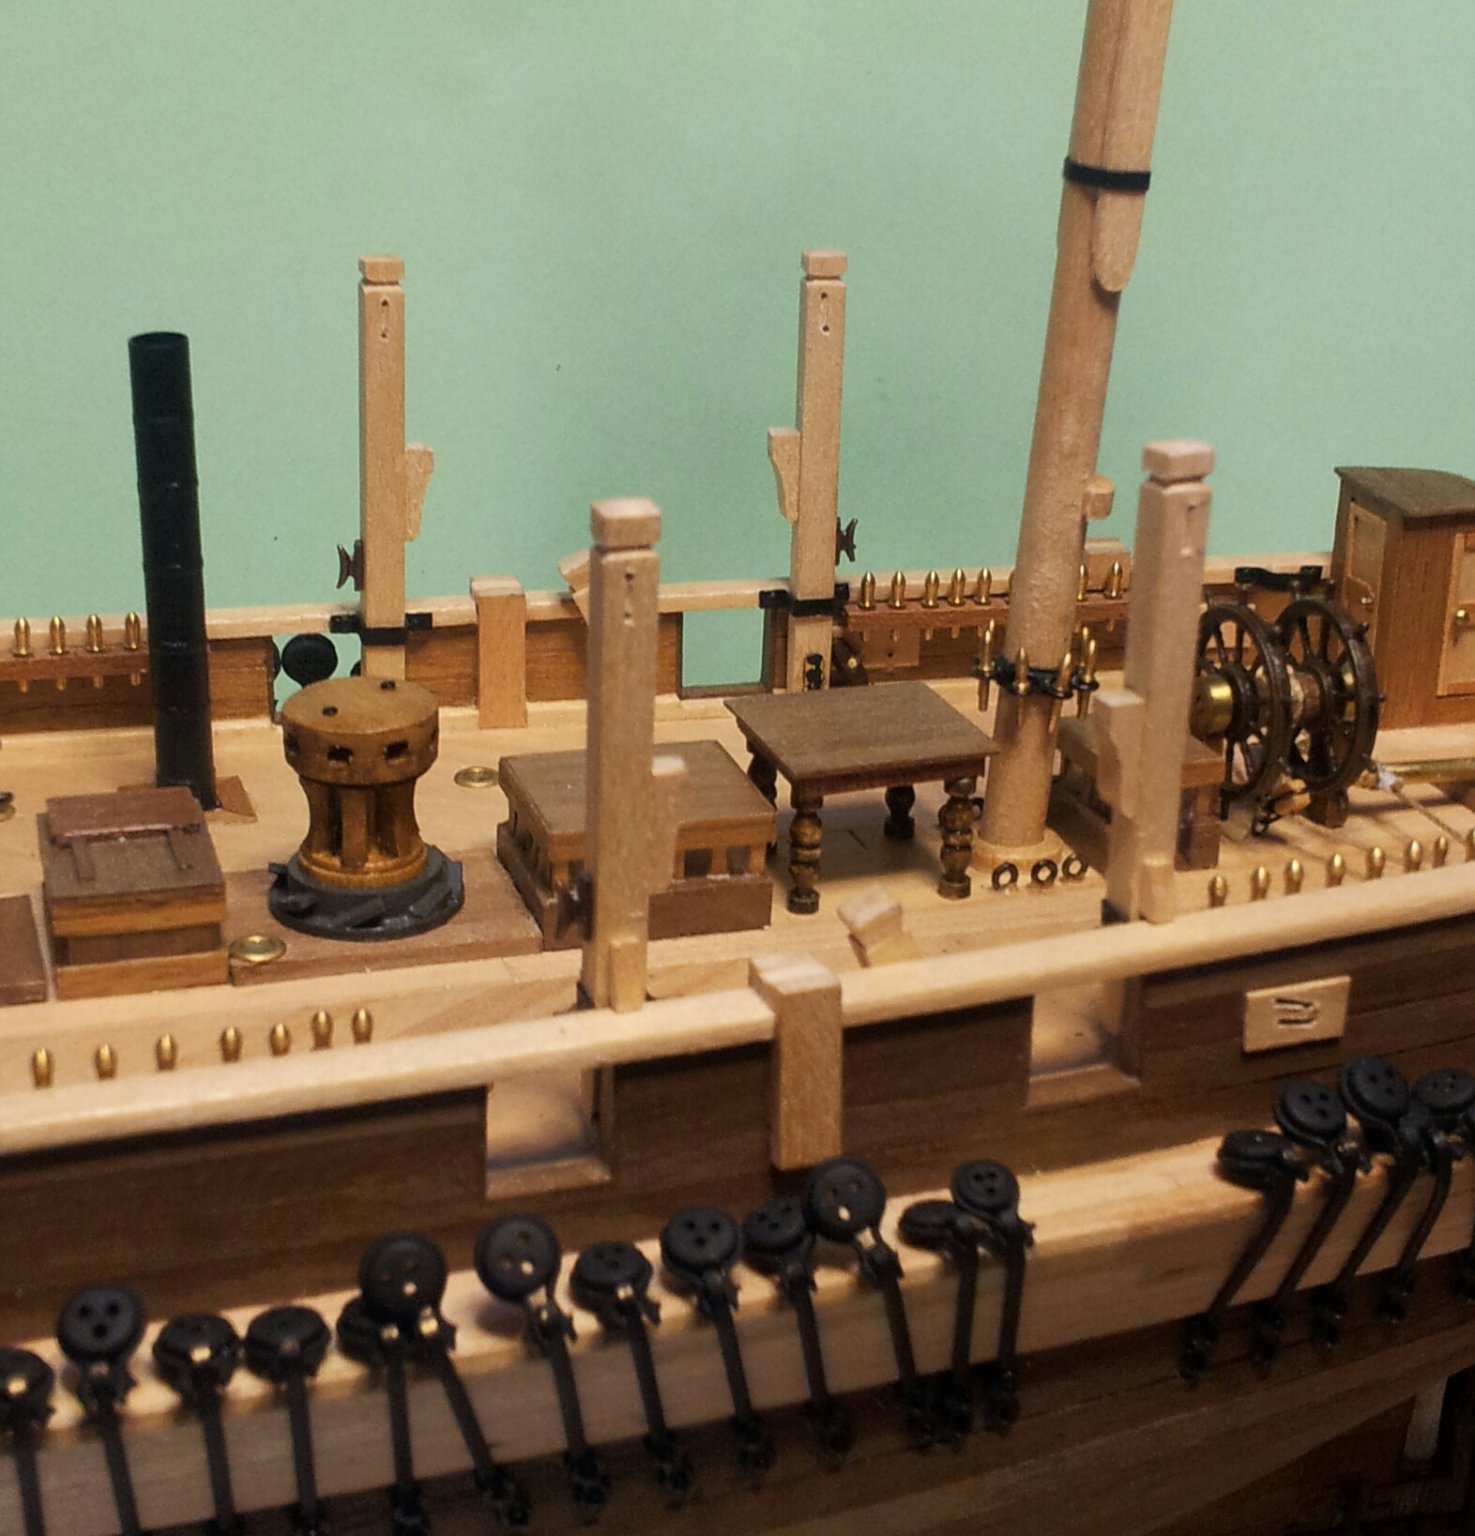
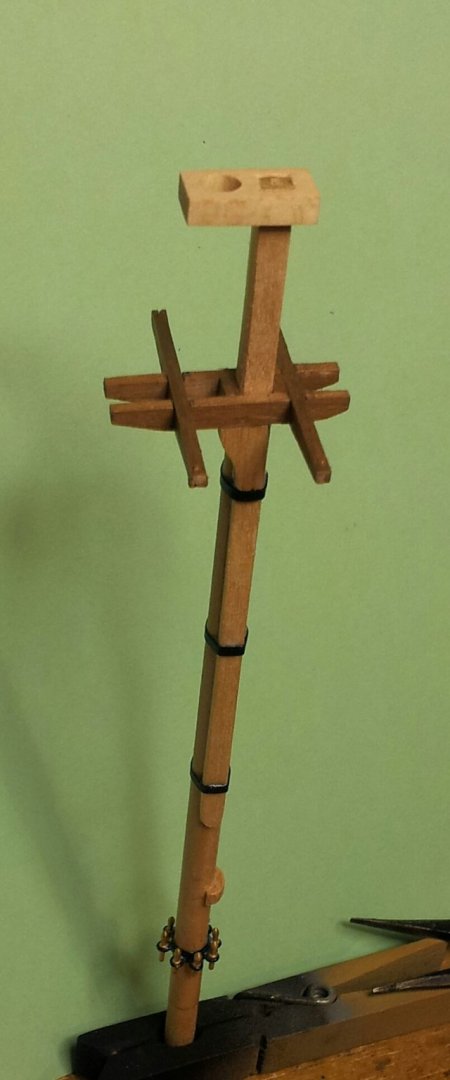
back in the shipyard and sanded the driver boom and gaff to shape, next job will be to fit the jaws and maybe trim a little more off the thickness. have included a photo of the completed mizzen mast (the top mast will be held in place with a fid and won't be glued in place). Will have to think about how to secure the boom sheets, thinking a short horse on top of the box like structure above the rudder head, or maybe just a block on an eyebolt? Take care all Keith
-
Don't look too bad at all- i would blacken them if going for the painted look. Keith
-
i should maybe have stated i meant design wise as opposed to colour wise with deck houses😁.
-
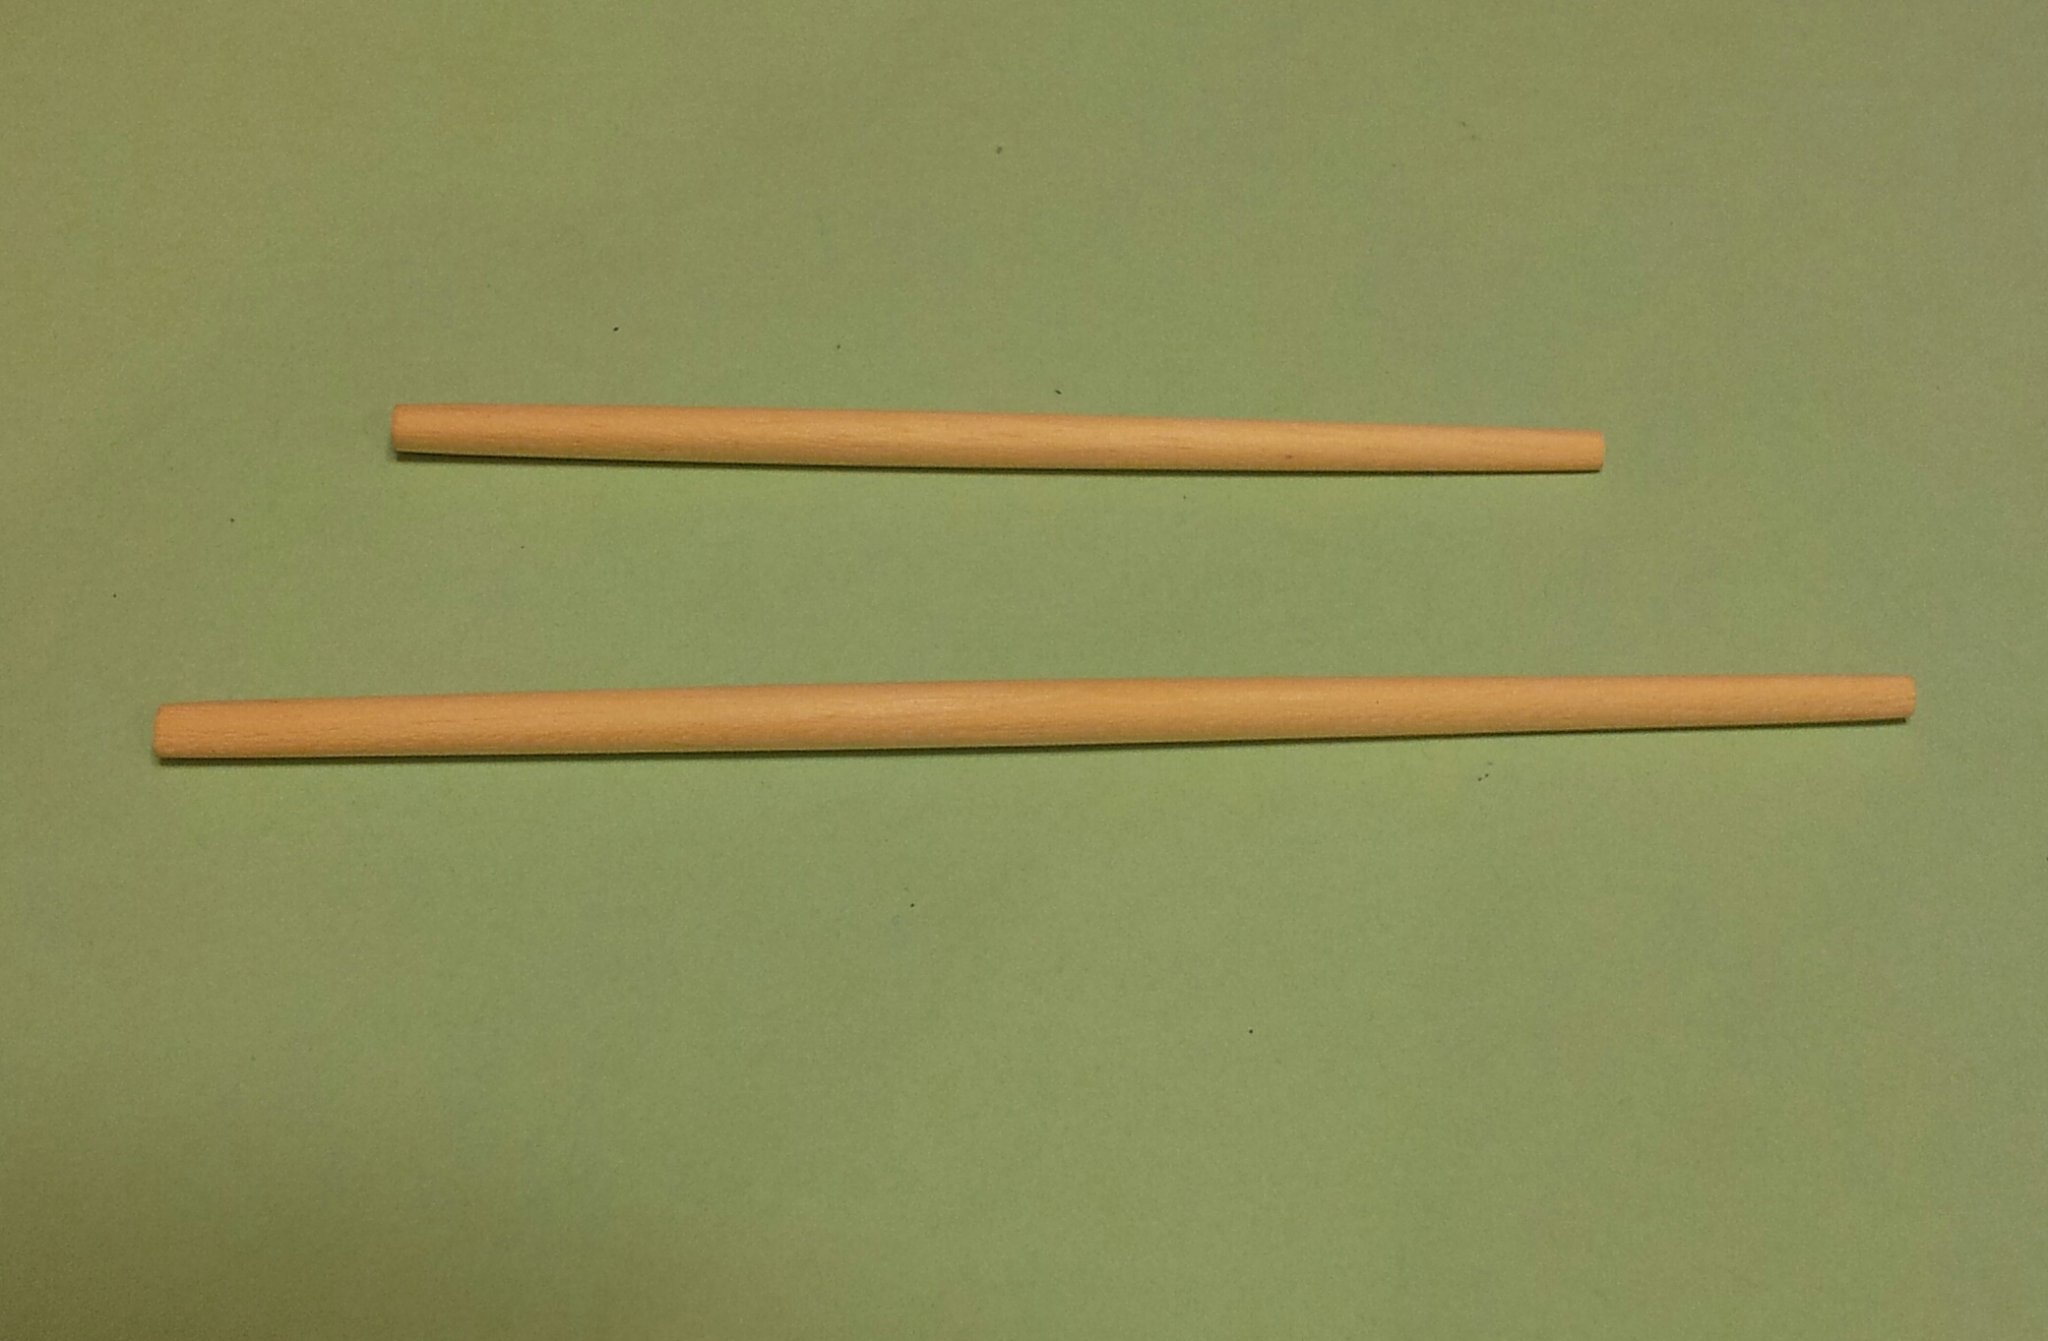
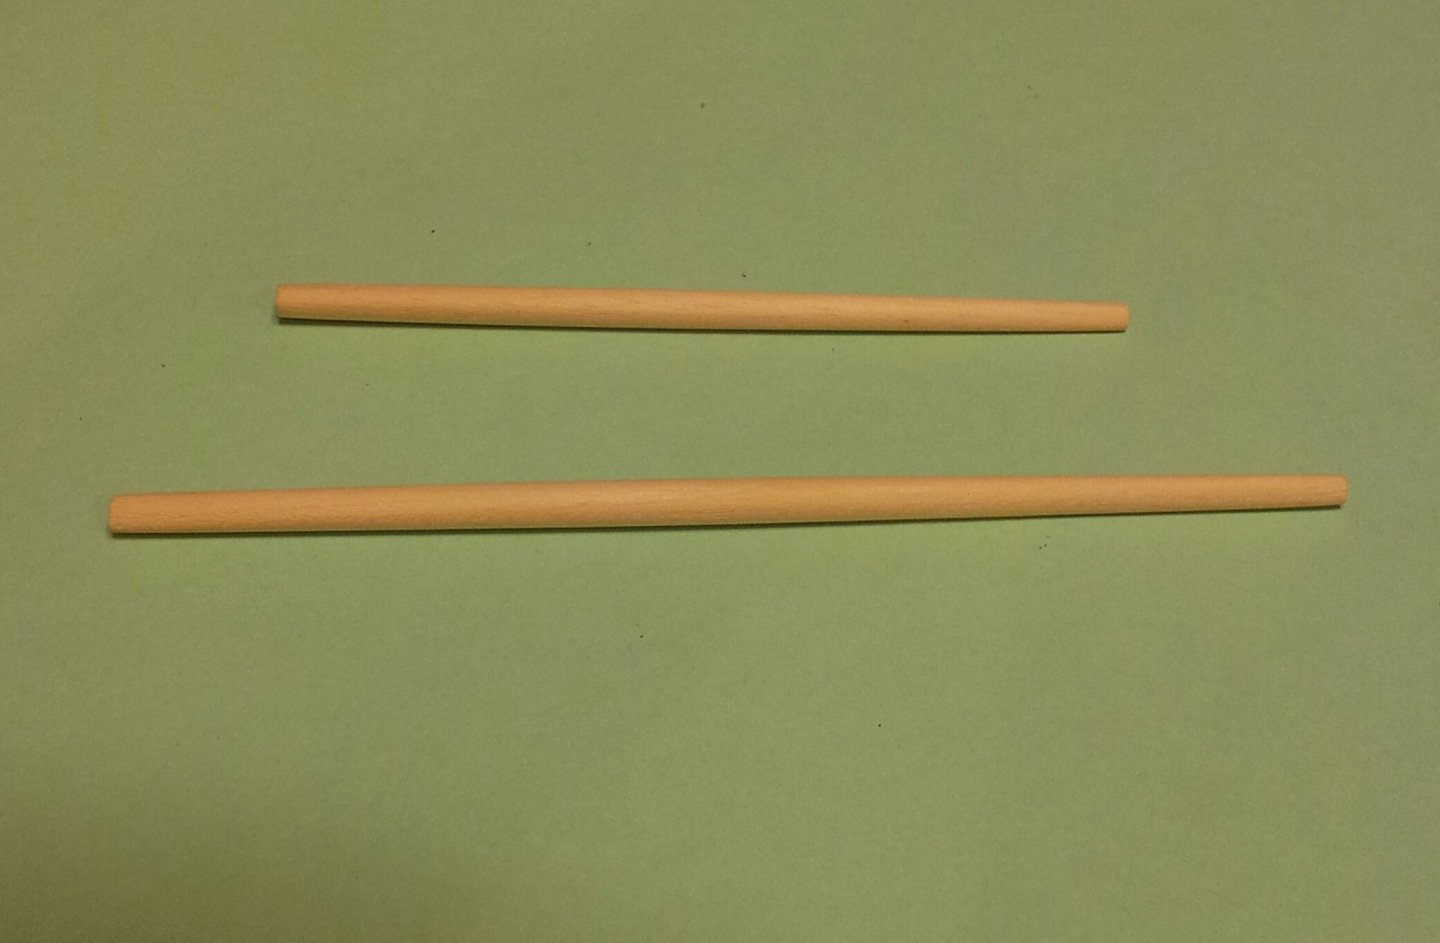
What the other Keith said Daniel, I ordered in 8mm dowel and cut it to length then sanded down to 7mm fore the main and bowsprit. Keith
-
on my military models i give them a coat of black primer and go gentle with the top coat leaving shadows/ patches of darker colour if that makes sense? Keith
-
Between you, keith s and myself i think we are the only ones to deviate from the occre deck plan, and between us one will have the right look for the deck houses (problem with the plans is they show Erebus not Terror though they were very similar). Keith
-
really coming along Emmet Keith
-
Ty Emmet and welcome back. back with the davit posts and carved the knees for the skid beams to shape and added some cleats, this is all looking very different from occre's set up which i think was influenced by the documentary "franklin's lost ships". I based mine on the plans from N.M.M. and Matthew Bett's log and the mid ship section Keith s forwarded to me. take care all, weyhey less than a week til Santa! Joke: have you heard of the dyslexic devil worshipper? A : he kept sacrificing virgins to santa!!! Keith

-
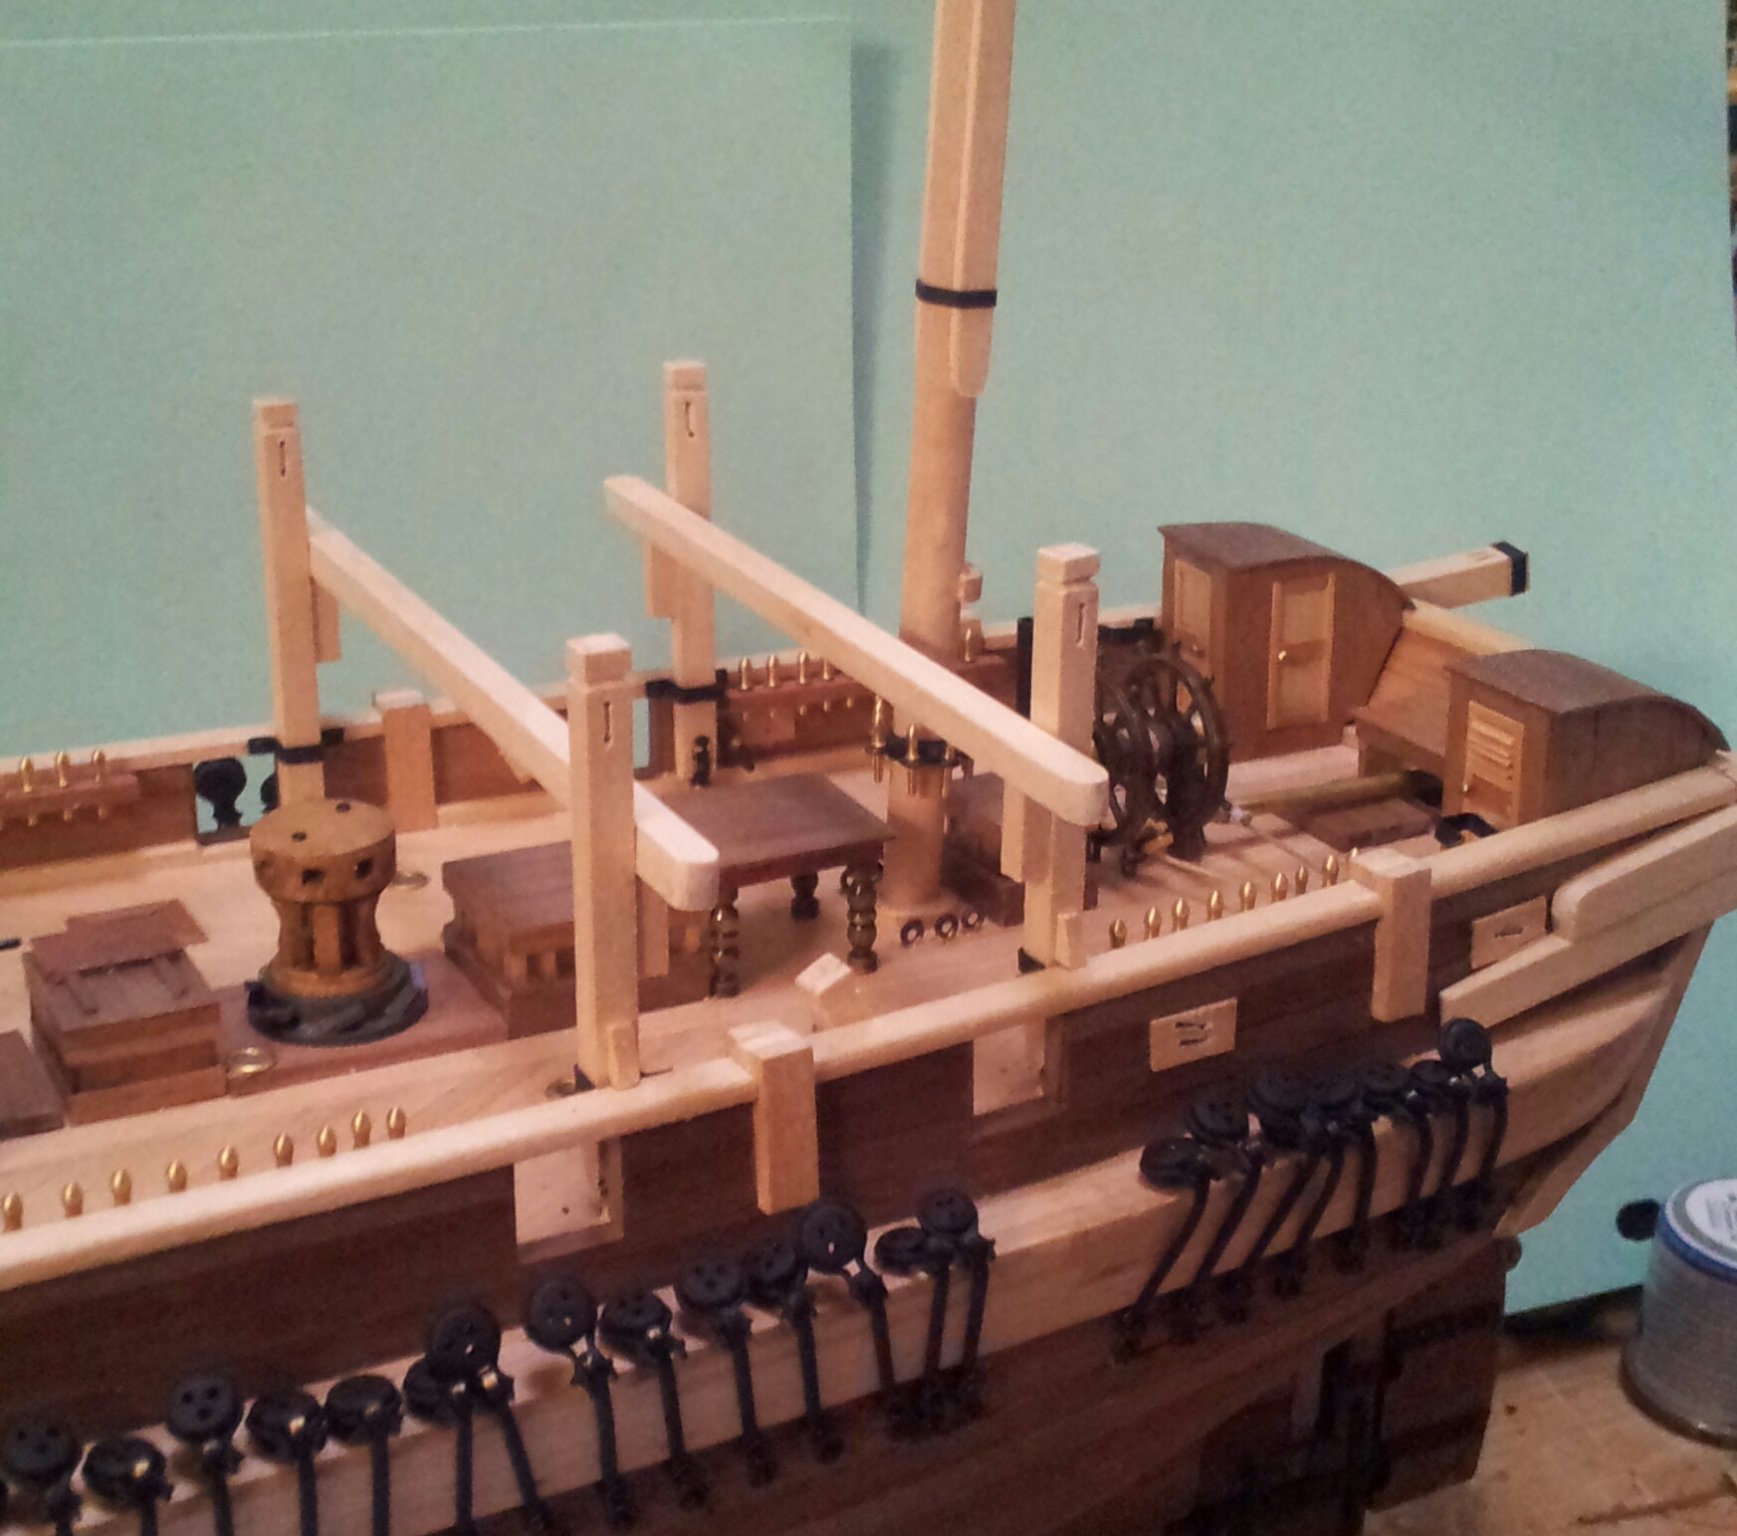
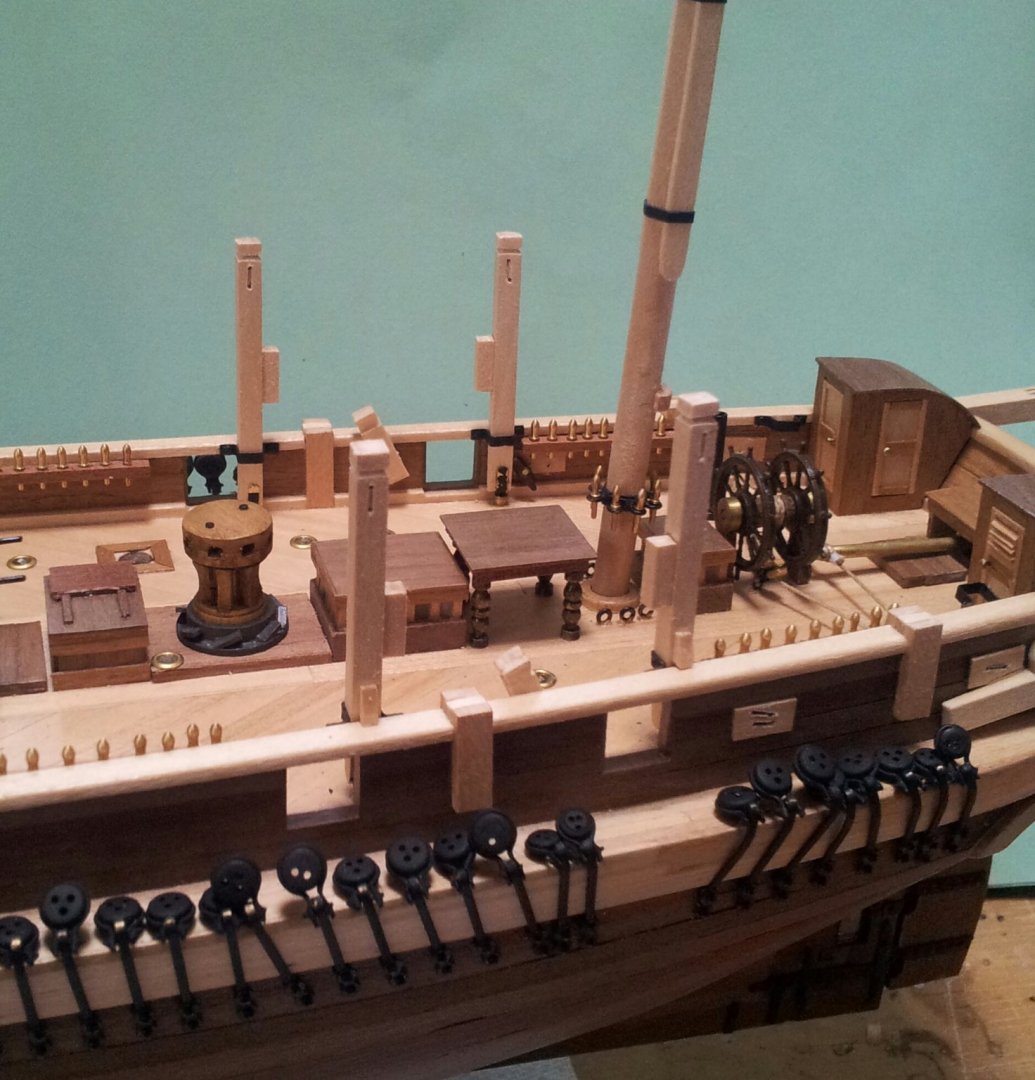
thanks for looking in everyone, back to the davits/ skid beams. Glued blocks to the davit posts which will be shaped to form the knees for the skid beams. Also cut the skids to length and shaped the ends, The beams arn't glued in place yet, but couldn't help putting some of the ships boats in place and getting a feel for how she looks with them😁 i now need to try and work out how the ice bridge supports will be placed! Keith


-
start a swear jar for every time you knock the hammock cranes😁 joking aside though looking good. Keith
- 950 replies
-
- 4
-

-

-
- syren
- model shipways
- (and 1 more)
-
sometimes it can be a shock to see how long a build has actually taken (16 years for my billings cutty sark!!!!!) She is a beautiful ship though. Keith
- 48 replies
-
- 2
-
-
- Cutty Sark
- Artesania Latina
- (and 1 more)
-
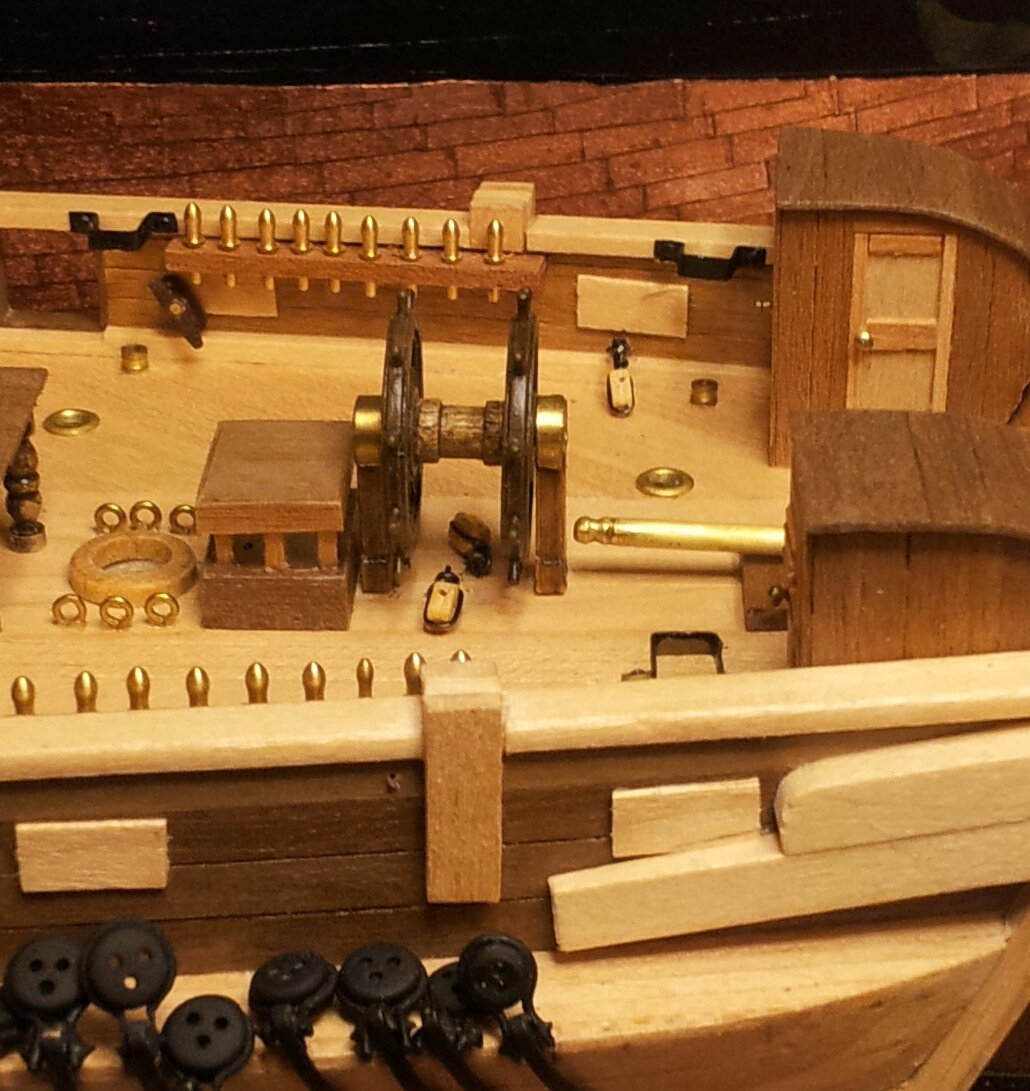
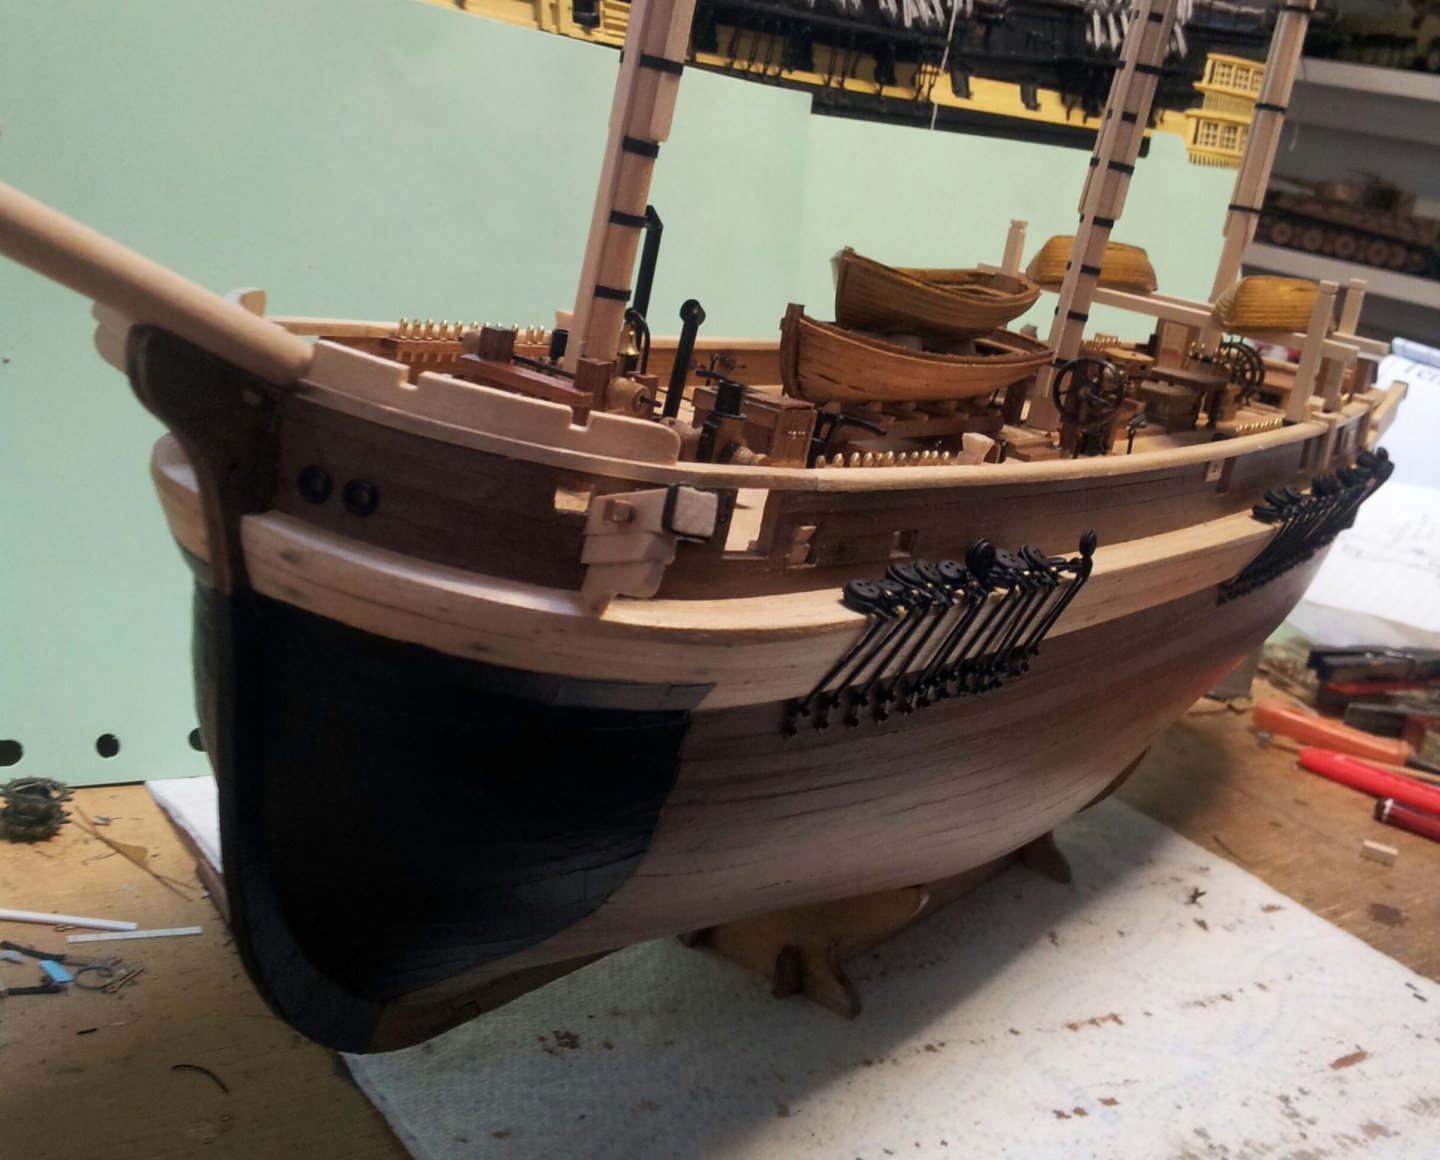
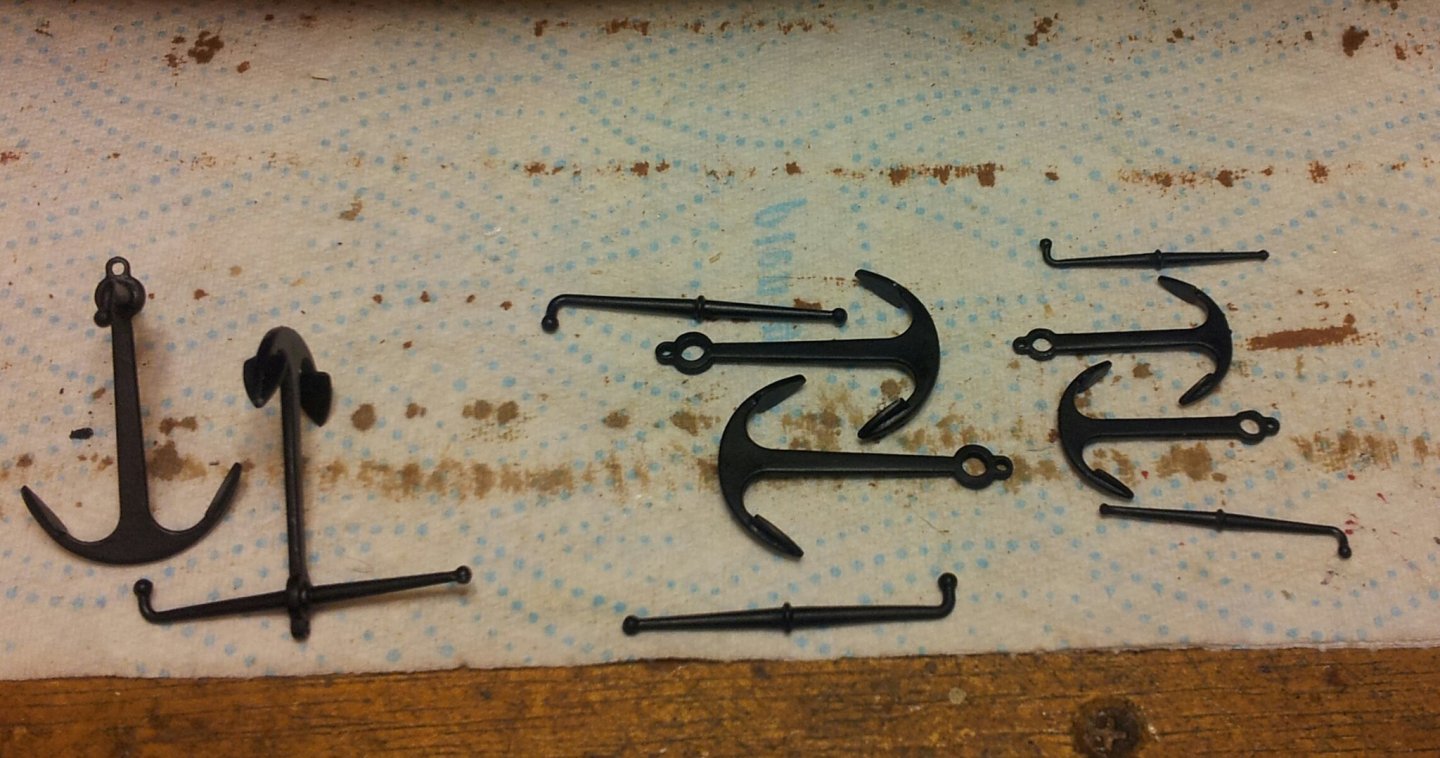
The steering continues with the ropes added (surprise surprise ignore occre's instructions)! Matthew Betts plans and the ones from the earlier antarctic expedition just show single ropes leading to the tiller where as occre show a block and tackle rigged! Also sprayed the anchors with humbrol matt 33 and gave them a coat of matt varnish. Looking at this i realise i should have moved the wooden bollard on the bulwarks even further back😬🤪. will have to think/ research the boat skid beams before starting the think about rigging mizzen mast (o.m.g. can't believe i have reached this stage after a few months)!!! take care all Keith

-
it's a tricksy one Daniel! As you are going with the painted look i would say paint them (sand back between coats to reduce wood grain effect being too harsh). However at the end of the day you are the shipwright so just go with what you feel is right😉. Keith
-
looking good (as an aside i am from the town that built the sailing ship dunboyne, now a museum ship called the auf chapman in stockholm). Showing Cumbrias norse roots we still say "as fra Whitehaven"😉 Keith
-
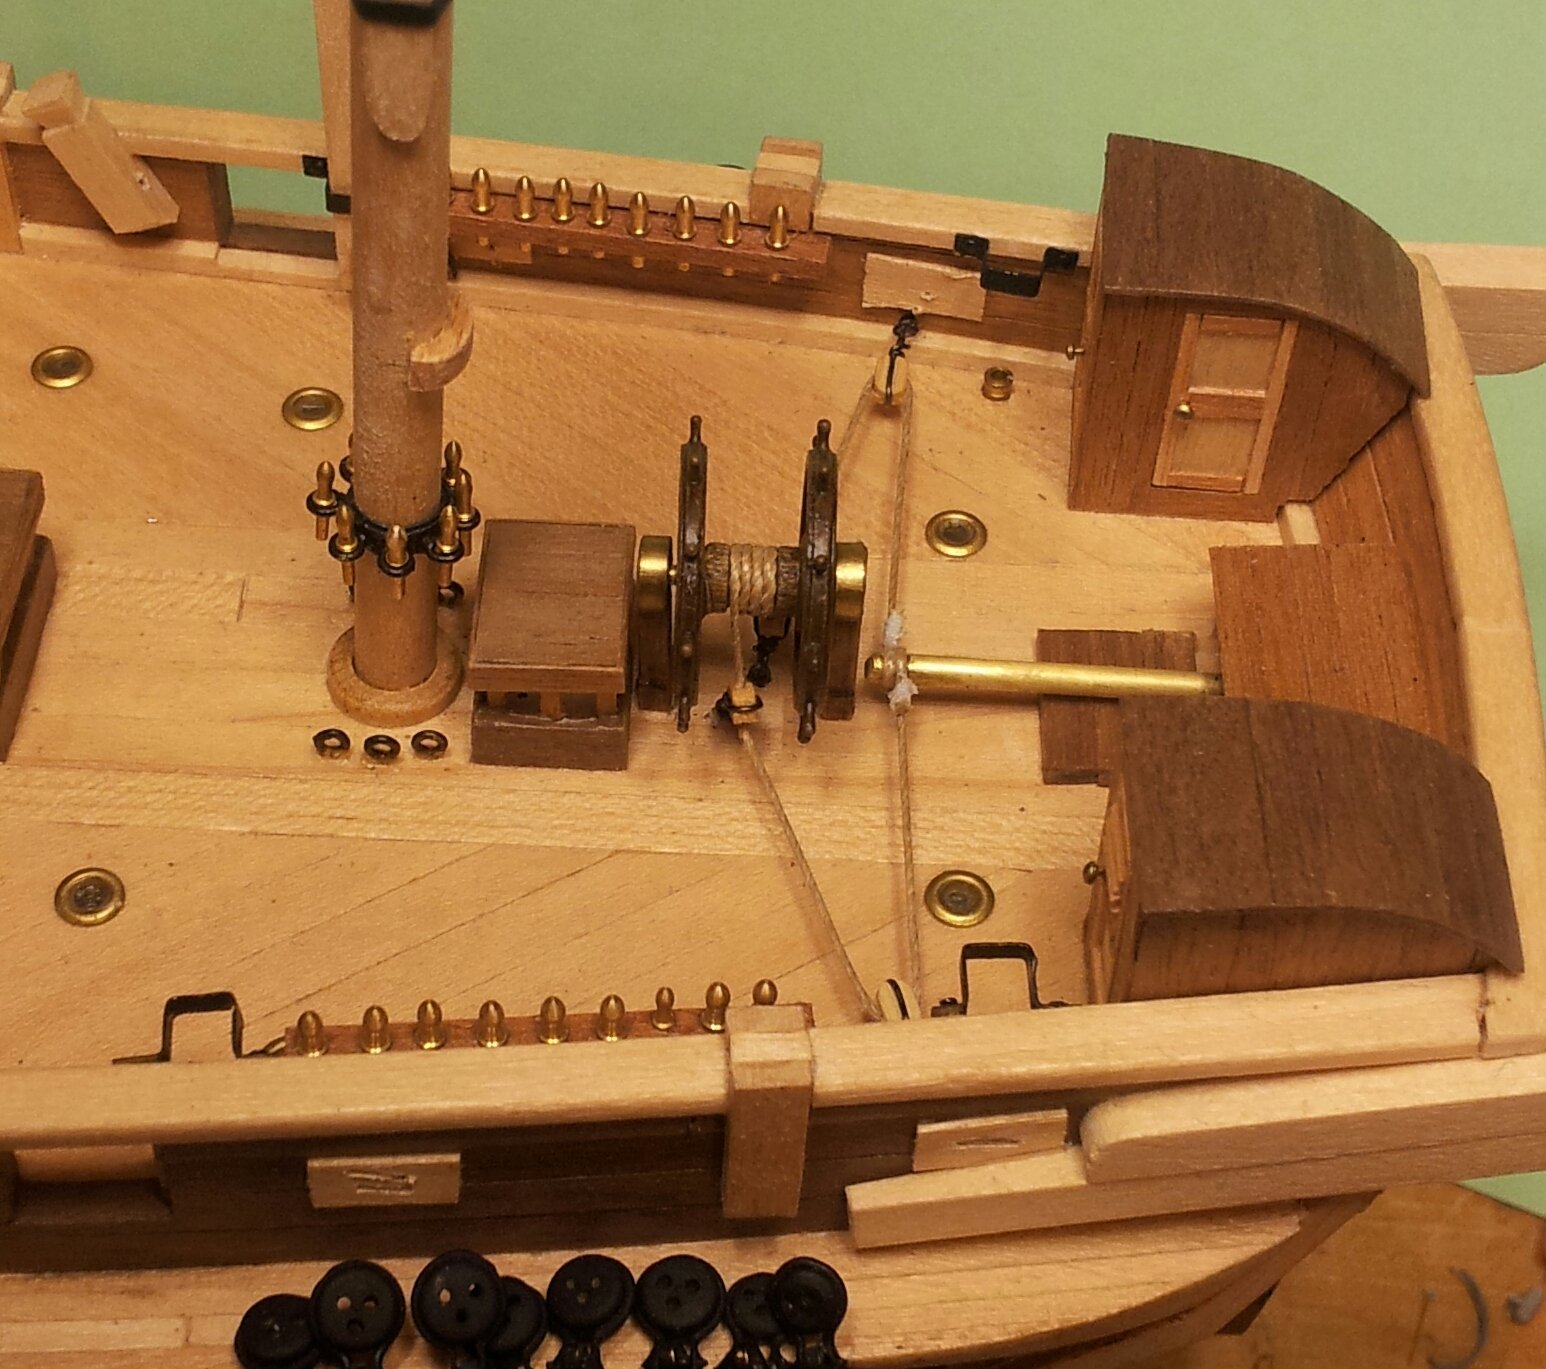
Thanks for looking in everyone, today glued the rings in place for the blocks to guide steering ropes along with adding strops to 3mm blocks and hooking them in pace (eyes and strops made from annealed iron wire. Also finally got the ships wheels glued into place. take care all Keith

-
i would use some ply left over from the frames and build replacement quarter galleries to be honest as they should both match. Keith
-
sounds similar to the way i did it, i used peco track fixing pins though as they have smaller heads and are already blackened. I also drilled extra holes in the ironwork for the rudder so the longer ones had 5 pins in total. Keith
-
preventer stays were back ups in case the stays were parted in battle- Matthew also mentions she was merchant rigged, so i will double up the fore and main stays like in lees book but leave the mizzen stay single- still thinking about the stays on the top masts on the fore and main though. Keith