HOLIDAY DONATION DRIVE - SUPPORT MSW - DO YOUR PART TO KEEP THIS GREAT FORUM GOING! (Only 36 donations so far out of 49,000 members - C'mon guys!)
×


clearway
-
Posts
2,228 -
Joined
-
Last visited
Content Type
Profiles
Forums
Gallery
Events
Everything posted by clearway
-
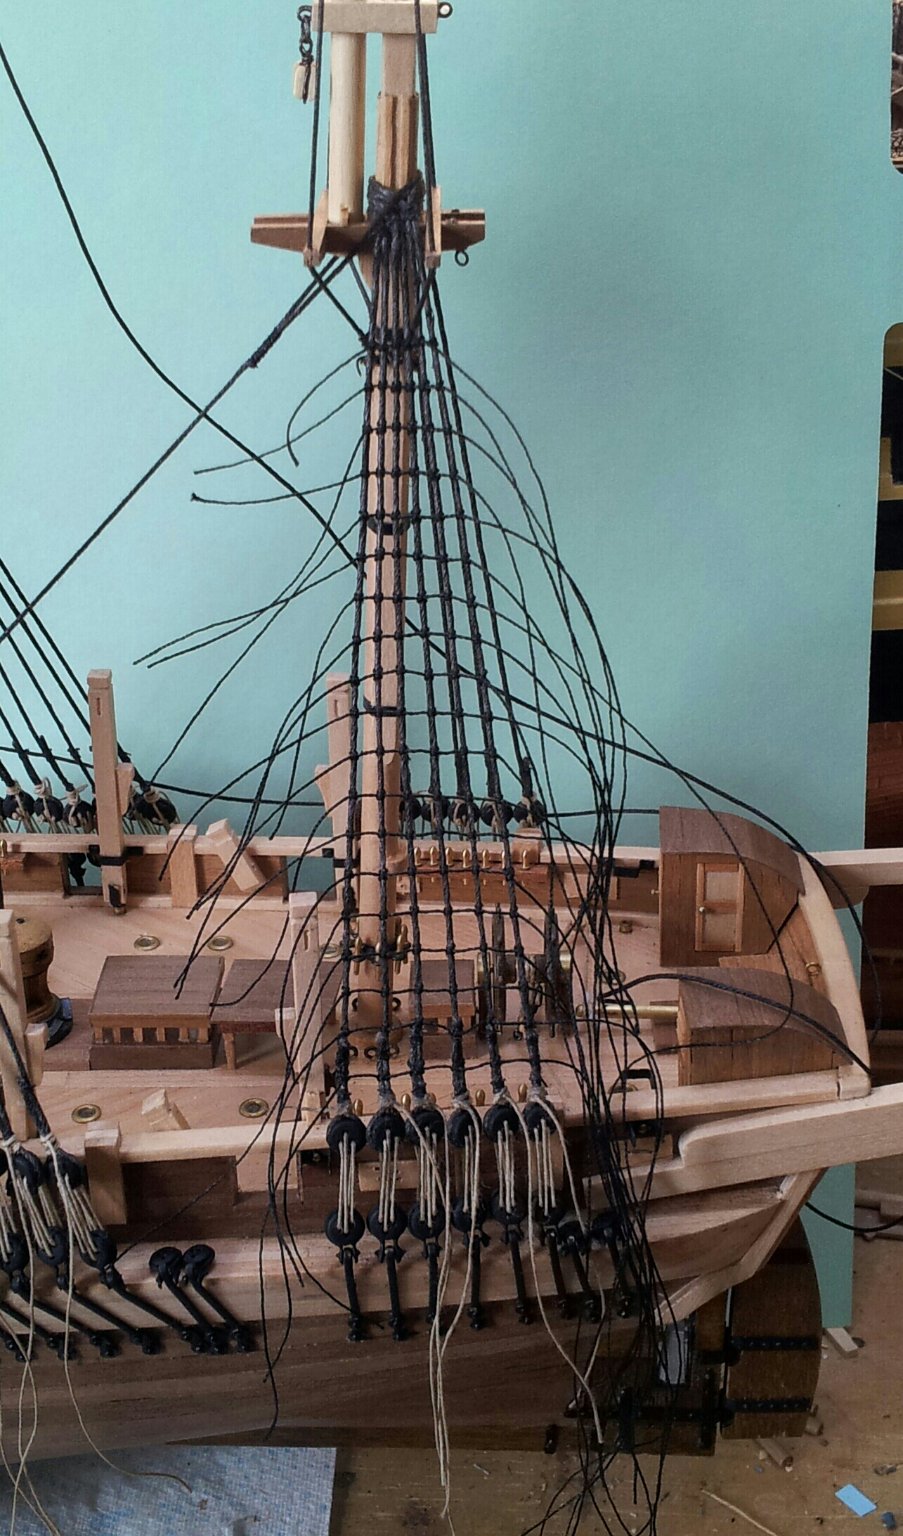
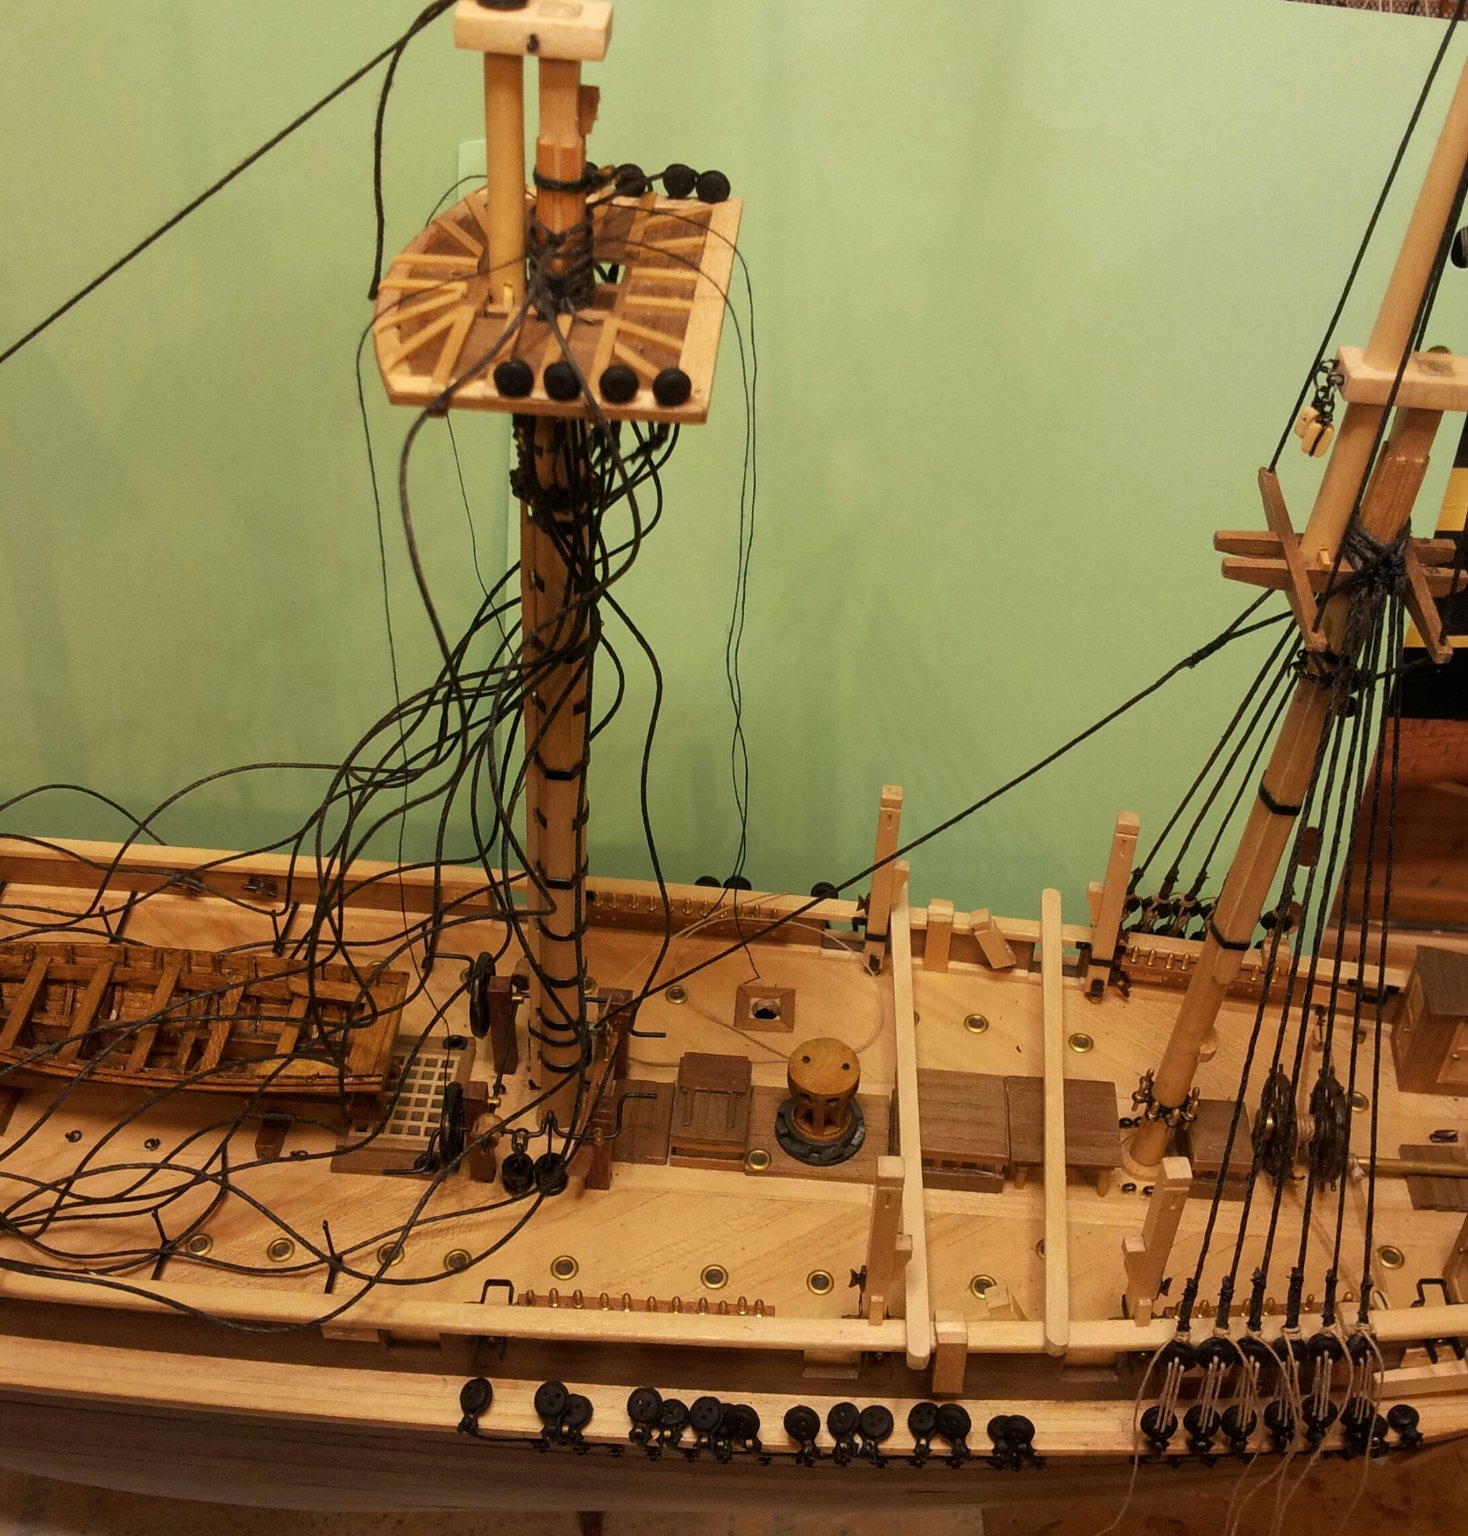
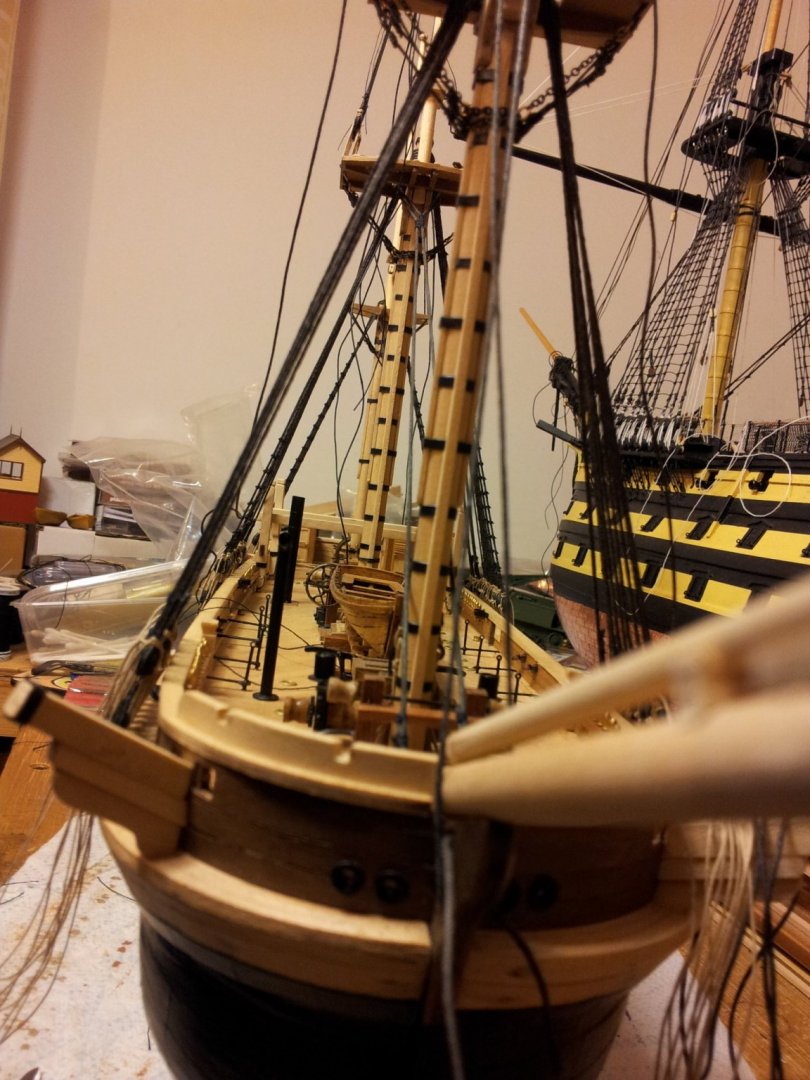
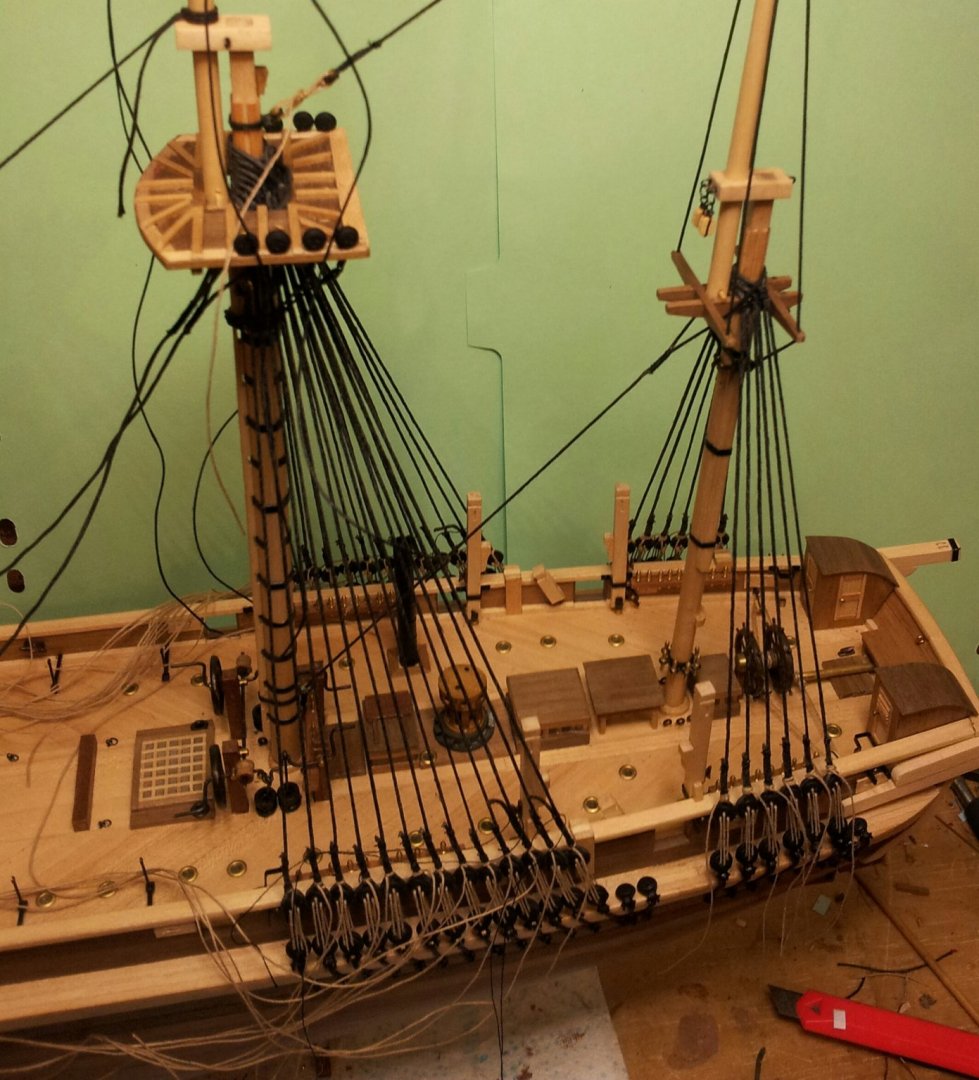
 thanks for looking in folks, time to rig the ratlines on the main shrouds, i have noticed on various lithograph/ sketch images only half a dozen or so shrouds on the main and fore had them so decided i will fit the ratlines on 8 per mast (not all of the shrouds were rigged on a few vessels, and looking at the topsham model of her as built she had extra shrouds fitted at a later date. Also included a bow shot which gives a bit of an idea how she would have looked when preparing for winter quarters with top hamper all lowered. nice to see the little terror club back (Daniel quick post something! Keith
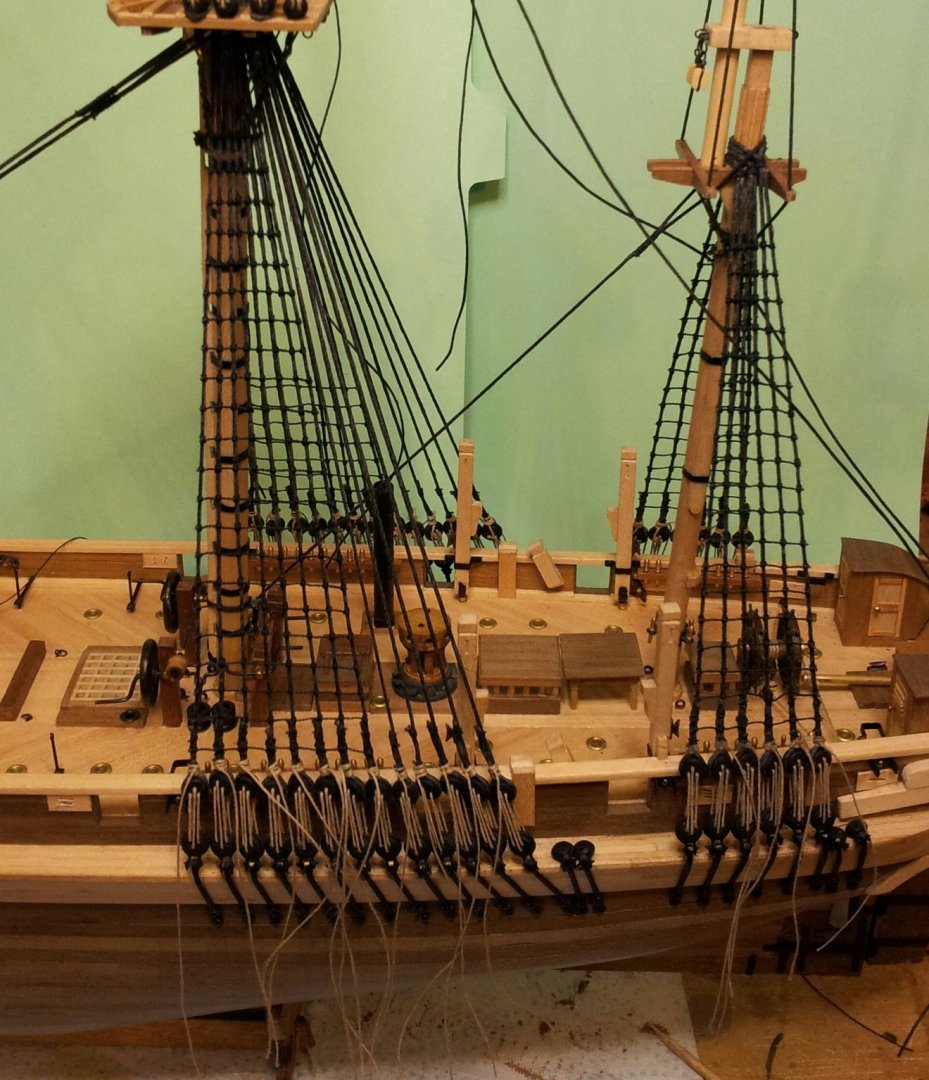
-
that's the belaying plan i am using for a reference keith, but will have to make some alterations as not all pin rails are the same. Yep bit confusing when starting out with all the names for the rigging! Keith
-
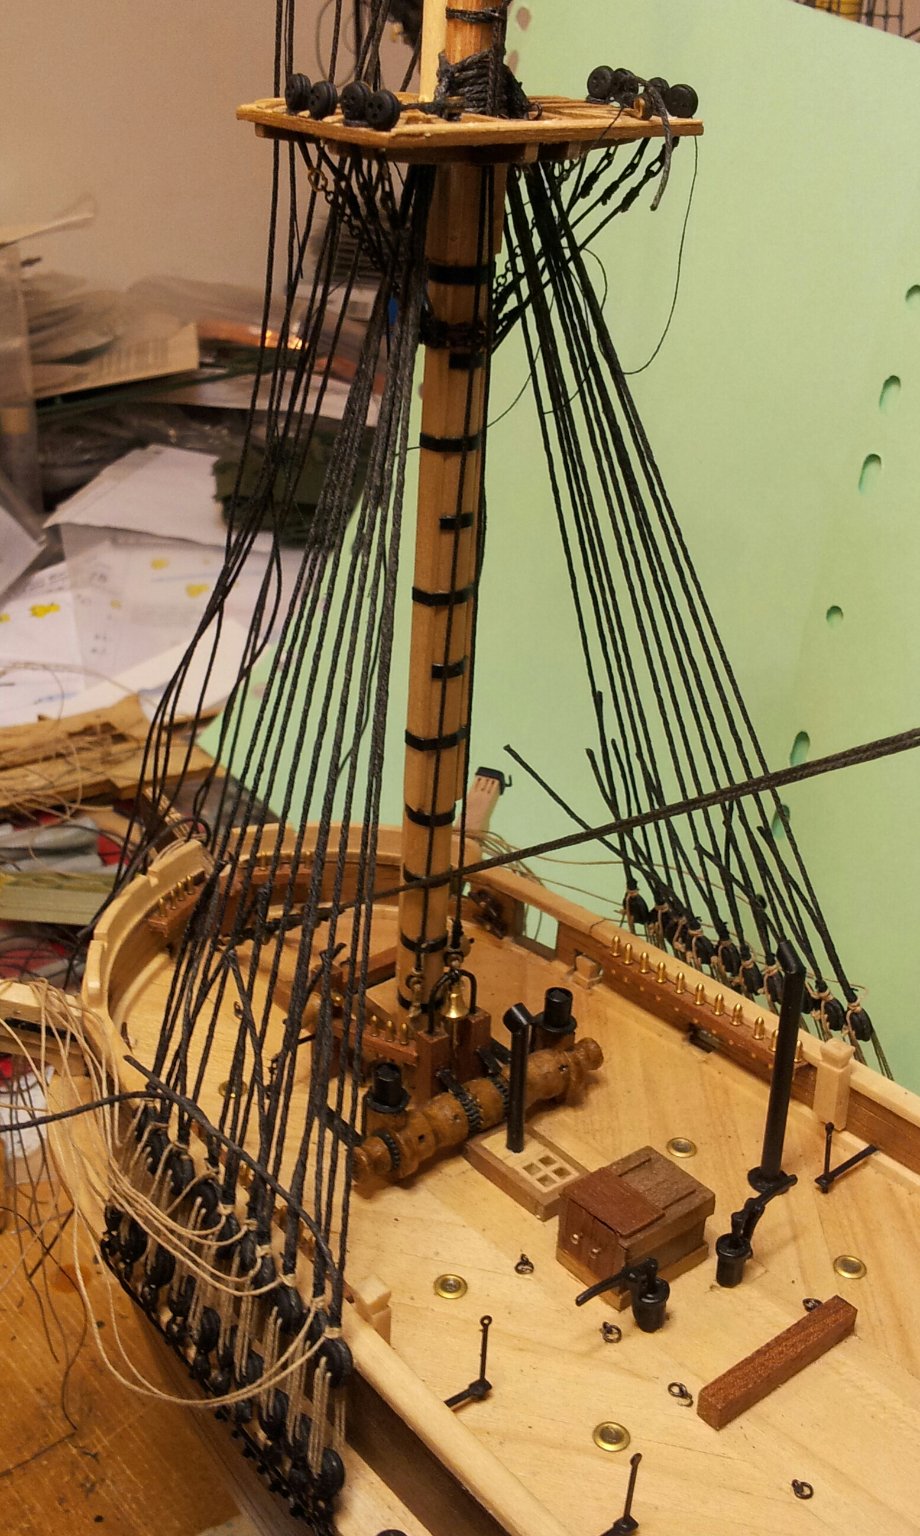
back with the mizzen mast and sorted the ratlines, i found the thread occre suggested looked too thick looking so used some thinner thread from my stash. take care everyone. Keith

-
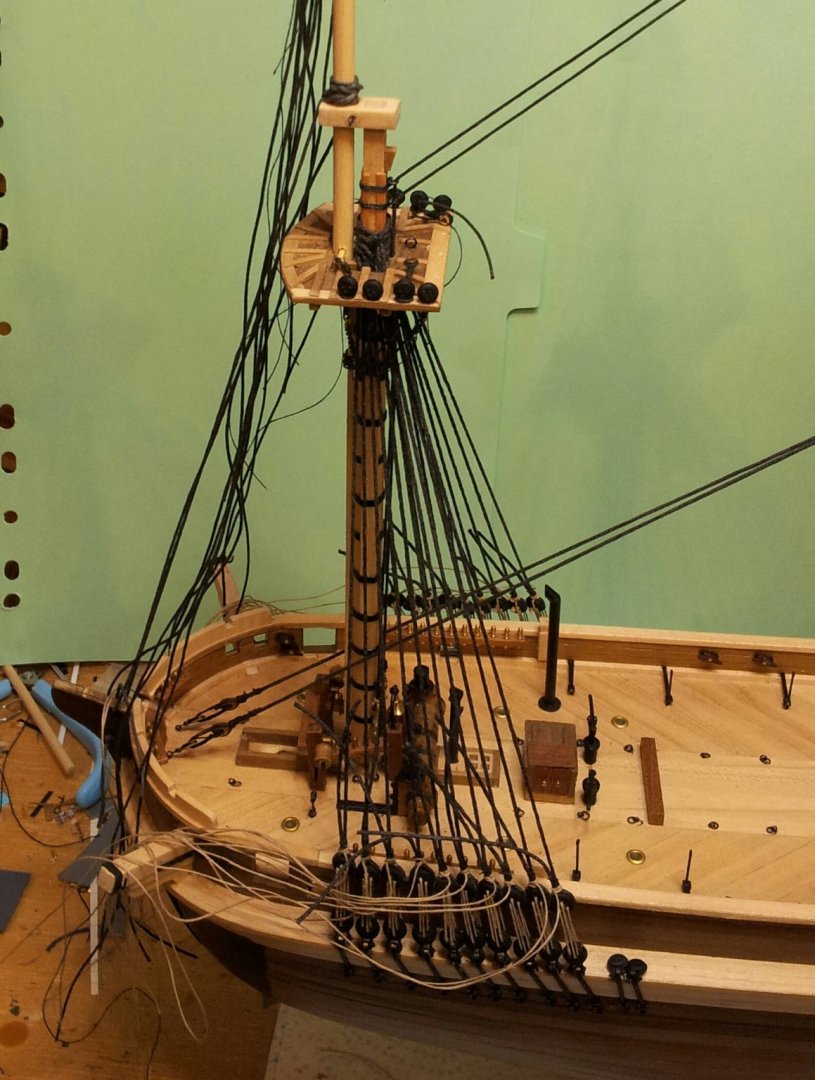
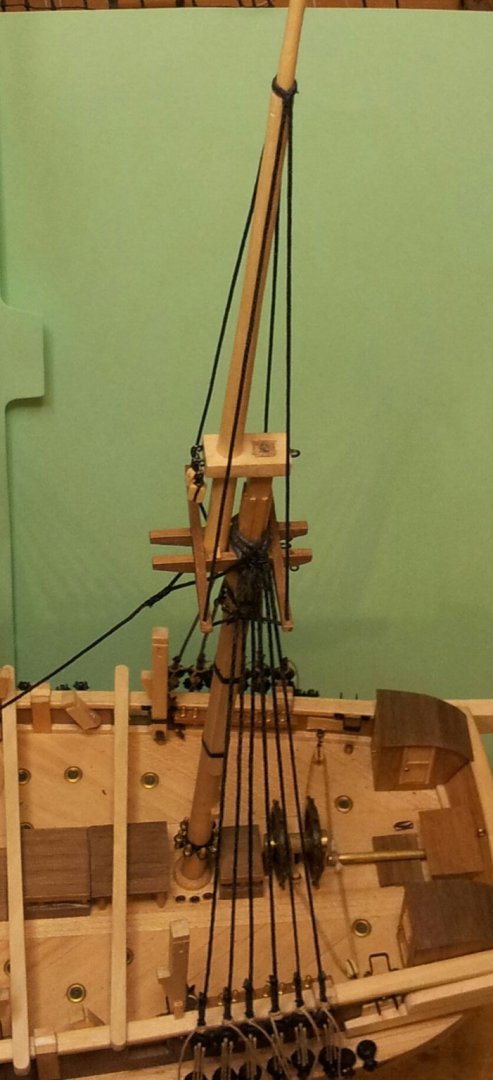
Hello everyone, work still continues on the shrouds with the foremast tackled, also rigged the main topmast stays (i was going to use small blocks to guide them at the foremast head, but just used the eyes i had placed on the masthead in the end) they are lashed to eyebolts on the deck at the base of the foremast. I have just realised i omitted to mention the hearts used on the mainstay are the model shipyard 3 part card ones (will use them on the forestays as well on the bowsprit when time comes), also for the lower shrouds i used some 0.8mm thread from another build as opposed to the occre 0.5mm which i have used on the topmast shrouds. take care everyone Keith

-
Doing good ty Emmet and a happy easter to you too. Still working, though partial furlough still in place, but we are getting busier. Still on my Terror build at the mo with rigging underway. Keith
-
you can always add packing pieces to fill/ alter any gaps- i always add the deck pieces after gluing the frames to make sure they stay lined up- it's a learning curve.
-
Interesting prototype- billings do make a decent kit which lend themselves to adding extra detail easier than some makers kits. Enjoy the build. Keith
- 8 replies
-
- 1
-

-
- Le Martegaou
- billing boats
- (and 1 more)
-
she is really coming along Emmet🙂 Keith
-
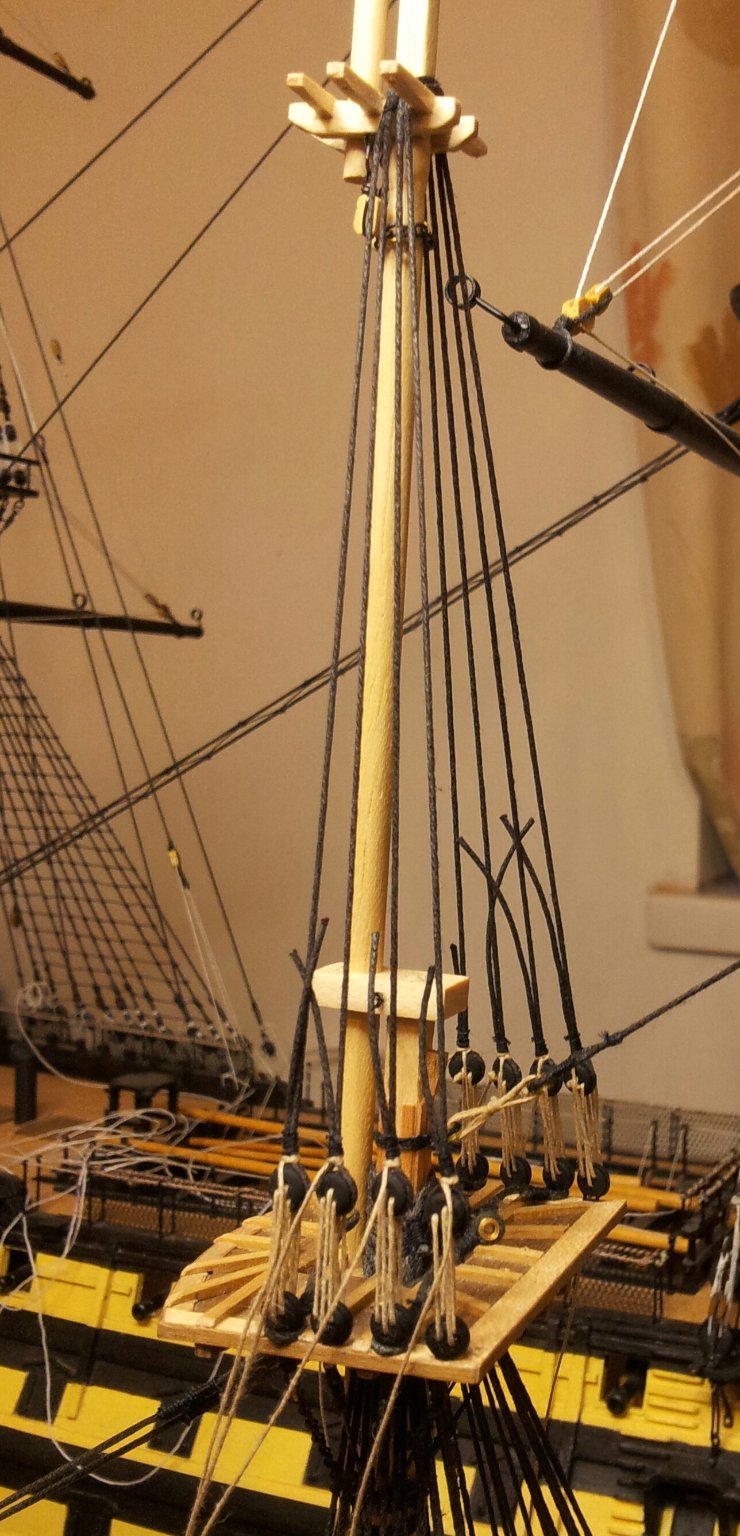
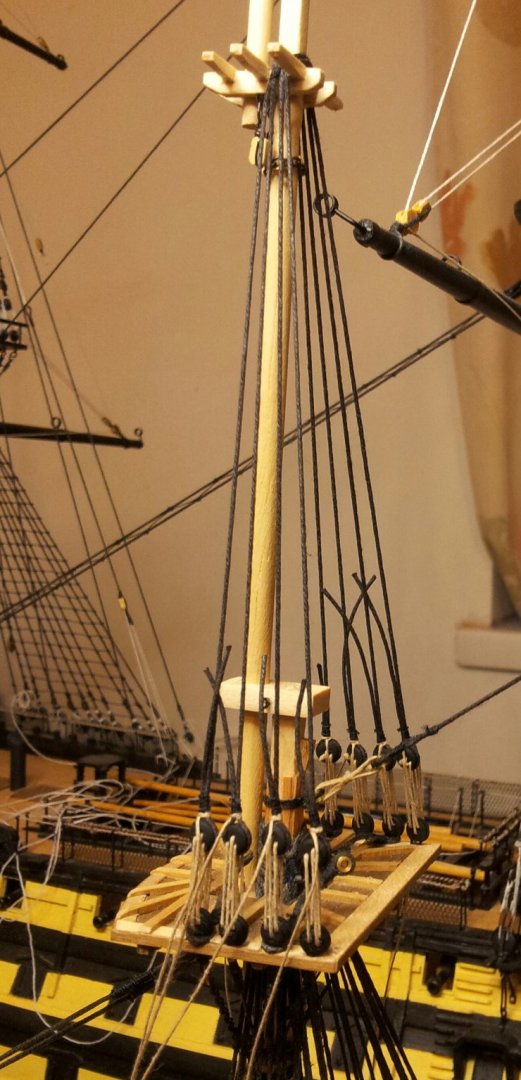
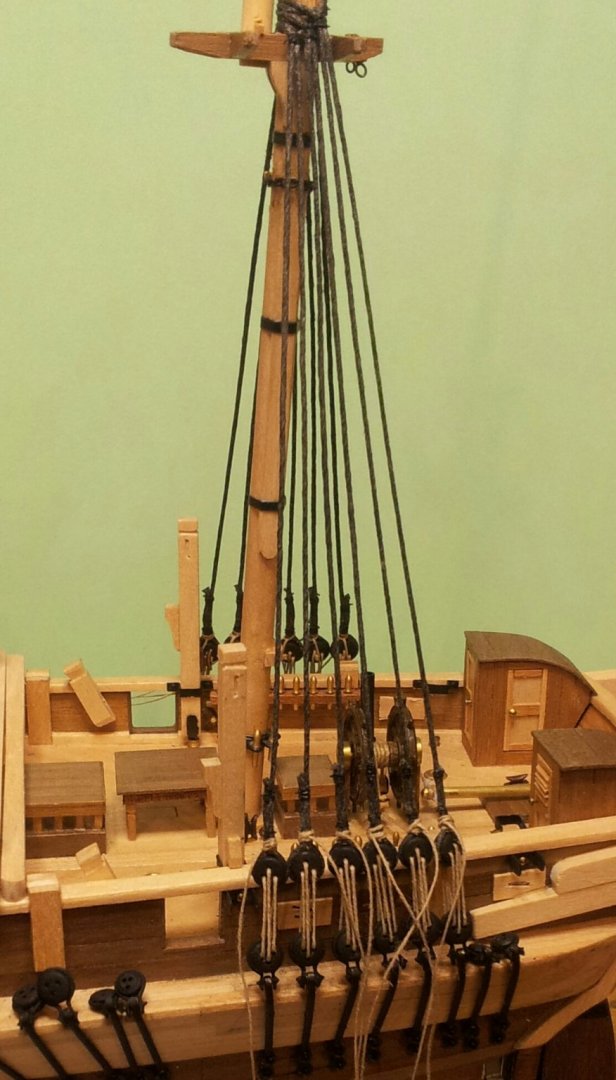
Thanks for looking in as always. Work continues on the shrouds with the main top mast shrouds now rigged, next i will rig the topmast stays (need to rig a temp. forestay first). Also rigged the hearts on the main stay and preventer stay. The strops on the deadeye plates will be for the topgallant shrouds to be lashed to. Take care all Keith
-
thanks for looking in everyone, still ongoing with the main shrouds (seems like a lifetime)! but also rigged the mizzen stay and topmast stay. Also started on the main stay/ preventer stay though not fully rigged yet. as an aside BBC 2 in the u.k. have started showing the Terror T.V. series so finally able to watch it😁. Take care all Keith
-
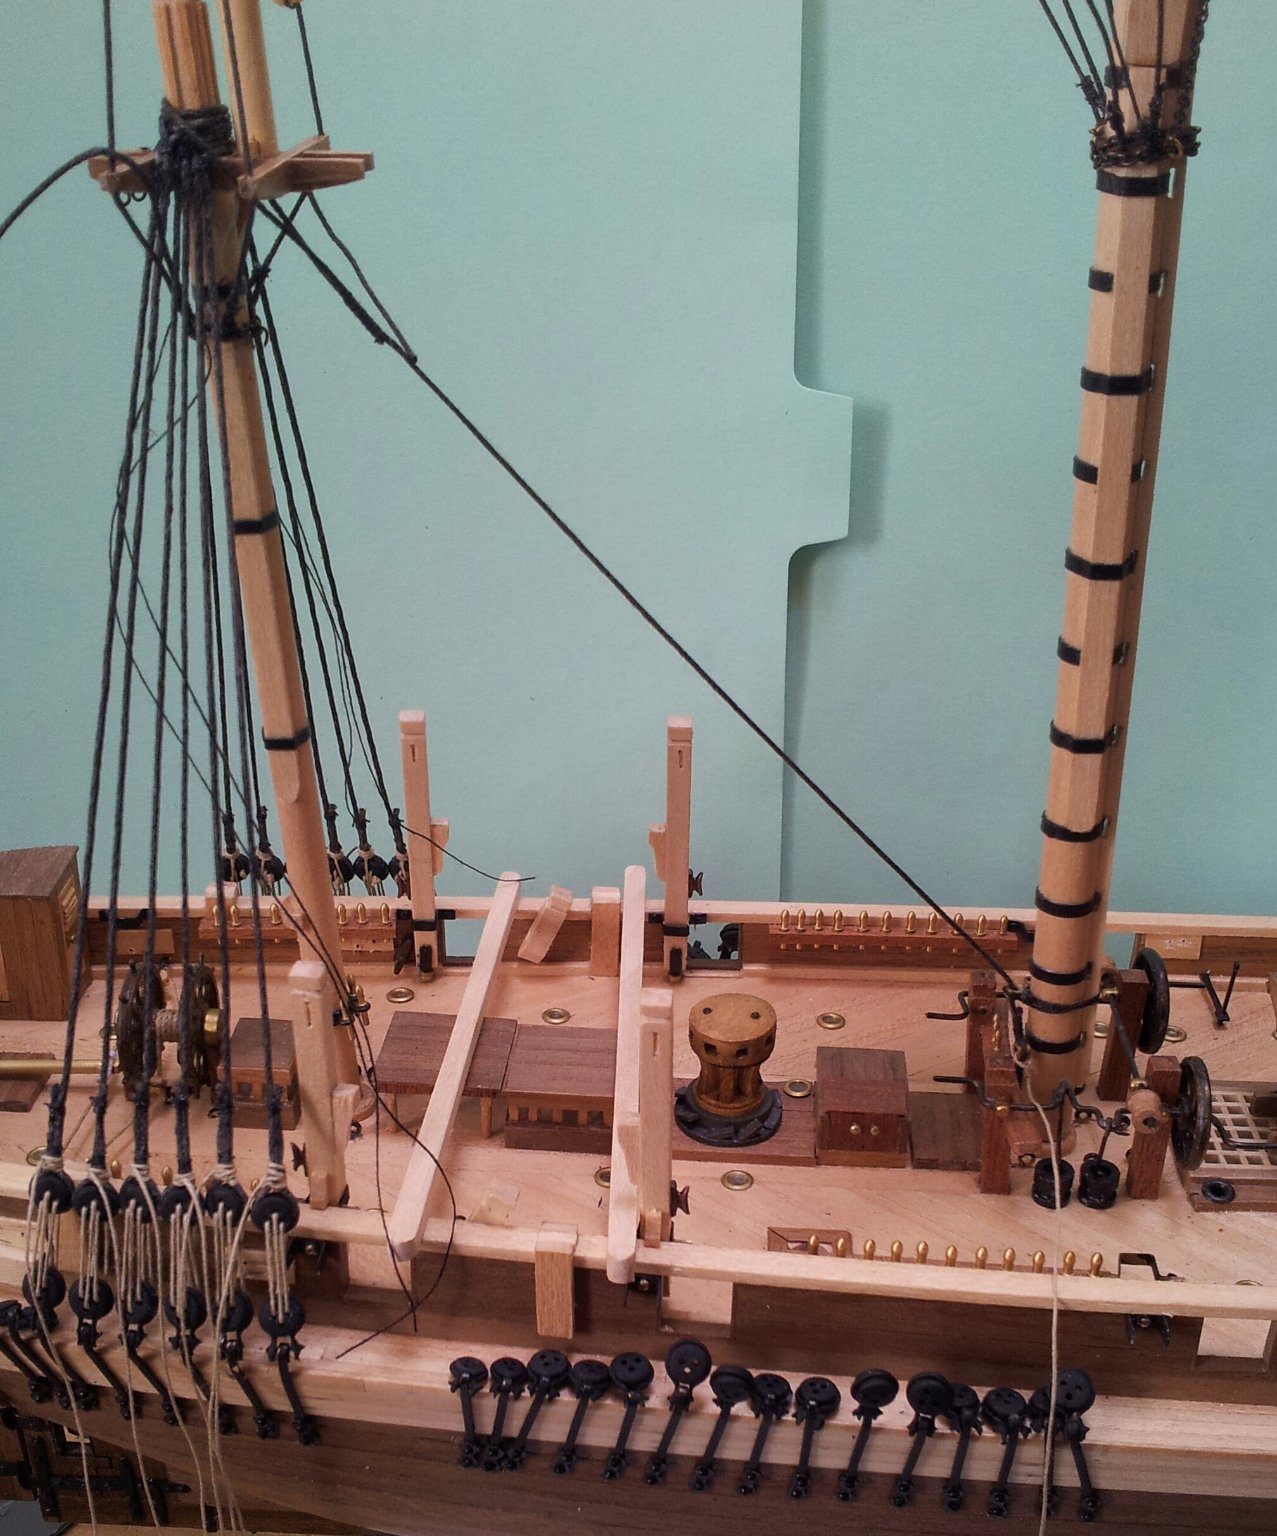
Thanks Daniel (and yes it is Vicky in the background). The spare spars were located in the waist of the ship between the fore and main masts- you will see some black L shaped brackets on my decks in some of the pics. It looks like barrels stored at the after end, but it does look a bit fuzzy in places. No problems with using any of our ideas as this is what the forum is for and it's thanks to the other Keith (keith s) i managed to clear up some grey areas of my own. Keith
-
looking good Daniel, at this scale i tend to simplify it a bit and just settle for a few half hitches. I recommend sorting out the brackets forn the davit posts before finally gluing masts in place and rigging lower shrouds though (depends how you want to do the posts and skid beams though really). Keith
-
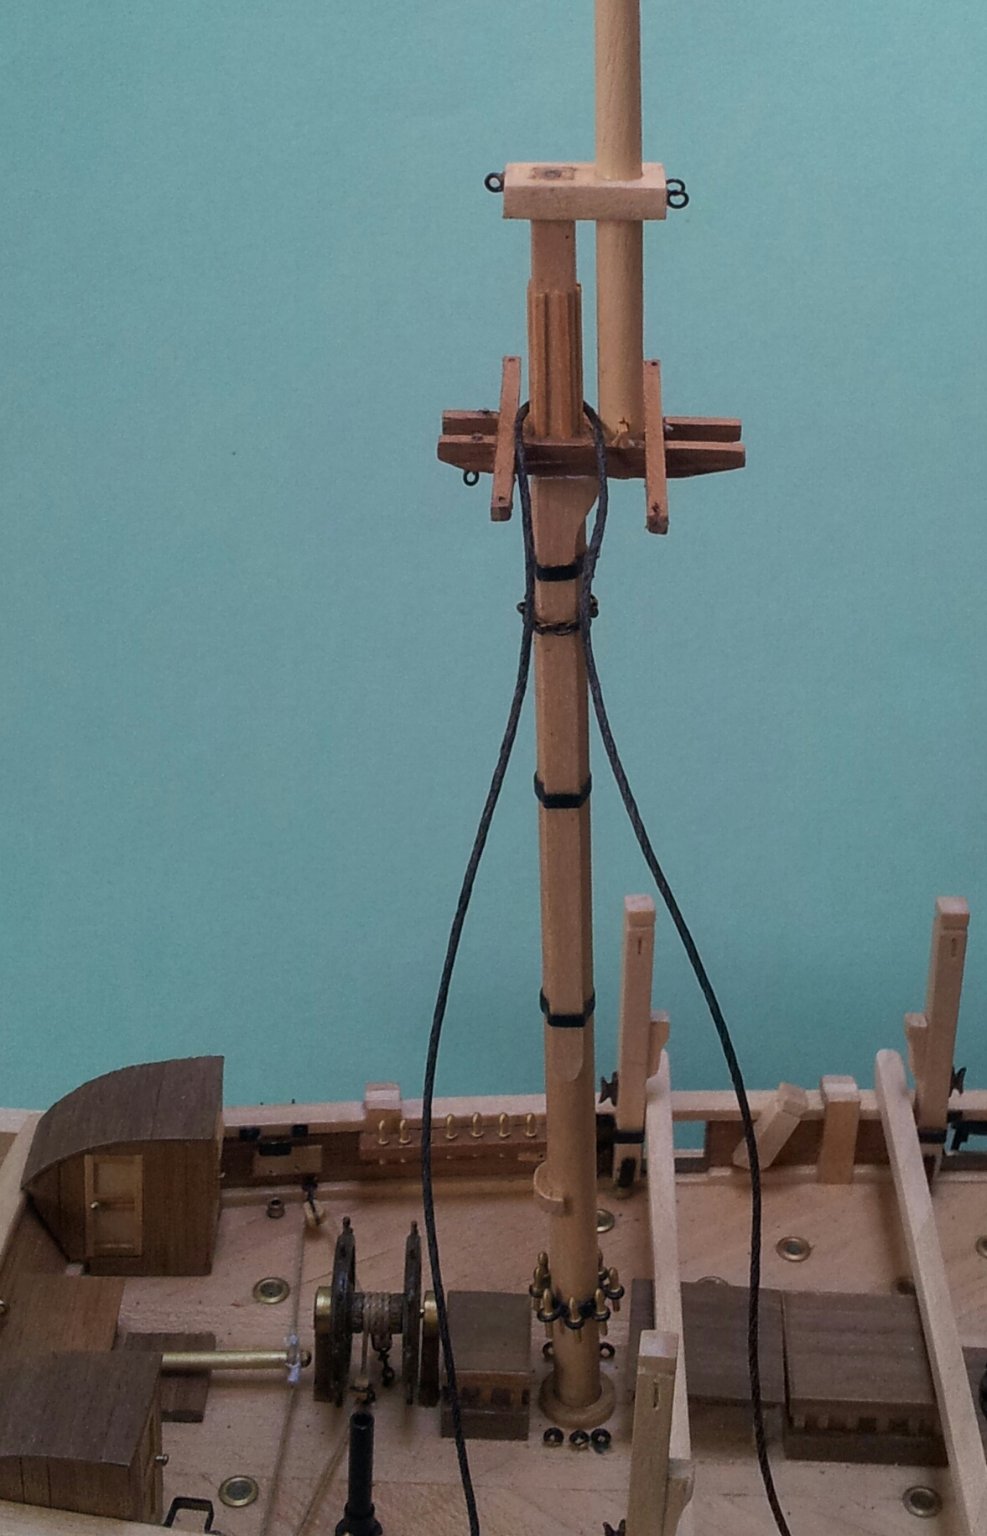
Ty for the likes and comments and looking in everyone. The mizzen stay is now in place and will be tied in place with the thimble and the eye on the starboard side of the mast on deck before main shrouds are rigged. Also attached the blocks on the fore and main trees on the topmasts for the topsail yard before gluing the masts in place, the mizzen topmast shrouds are also now rigged, I have also rigged a makeshift stay on the mainmast so it doesn't get pulled out of line when shrouds and mizzen topmast stay are rigged. Take care all Keith


-
ahhhhhh chainplate joy- looking good so far Daniel. Keith
-
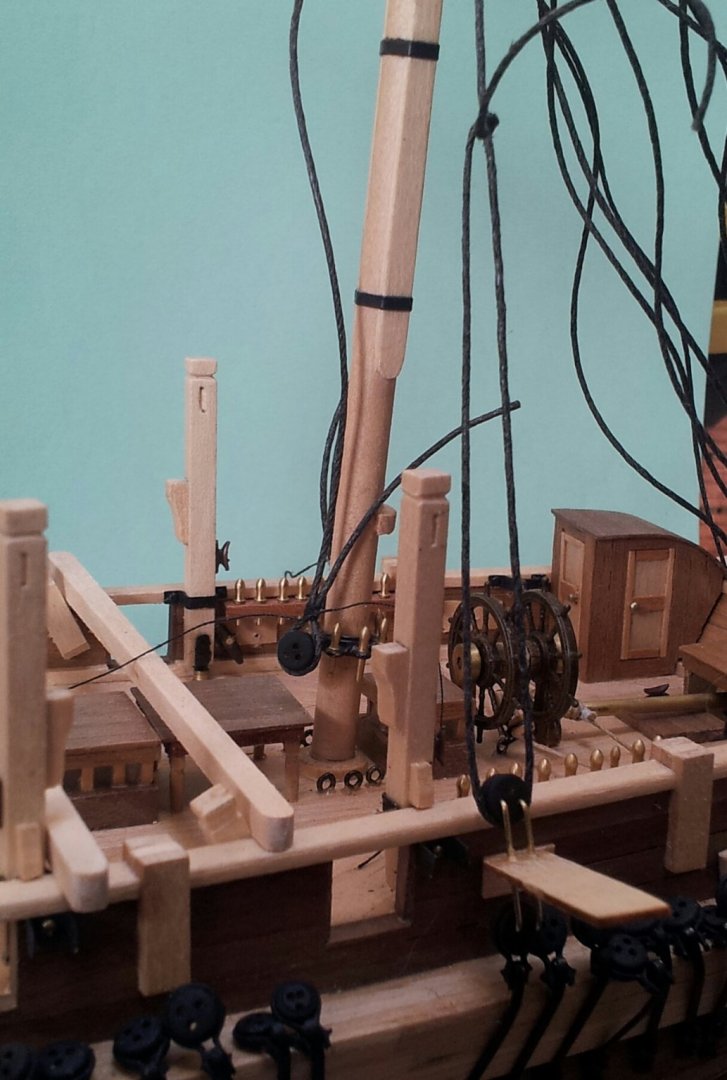
Changing the ships wheels to finer scale 10 spoke makes a big difference to the look, I used brass kits from caldercraft which was interesting making them look like varnished wood, the other Keith used the wooden type which will be easier to varnish/ stain. Keith
-
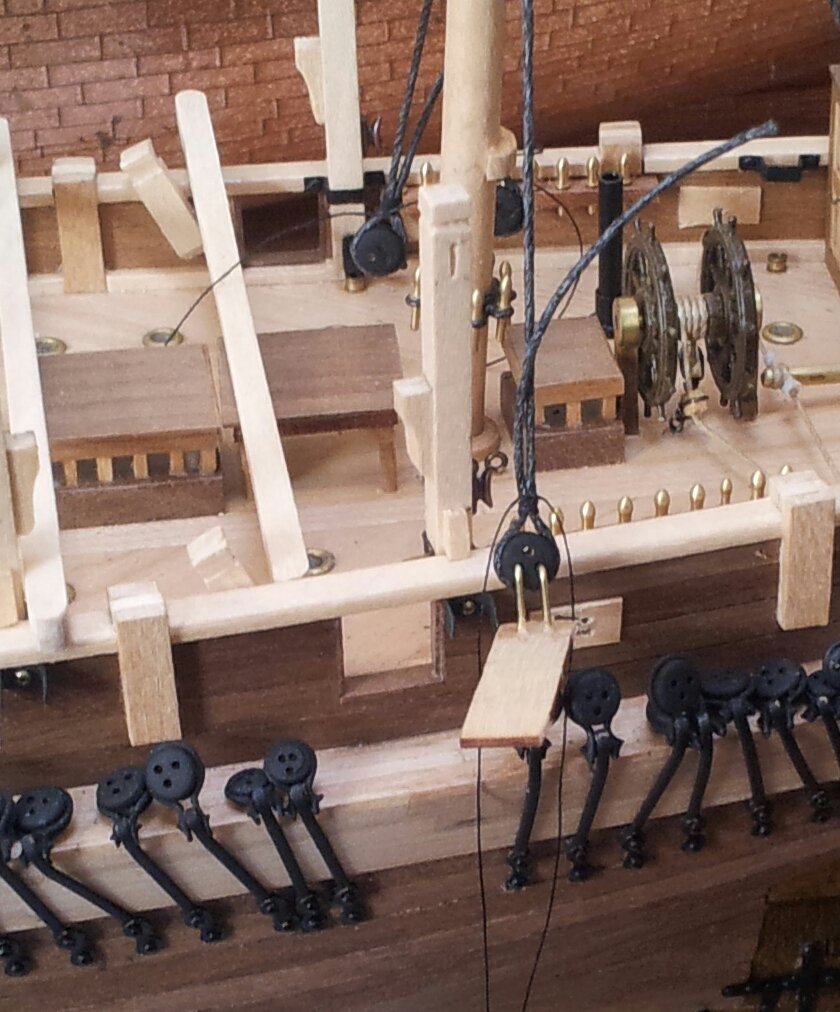
Carrying on with the mizzen shrouds and the deadeyes are now rigged (knots wont be glued and trimmed incase i need to adjust them for now). Also fitted the hearts in the bows to take the main stay and preventer stay. Also need to fit the chain necklaces on the main and fore top masts for the topgallant shrouds before gluing the main/ fore masts in place. Take care all. Keith

-
Ty for looking in. likes and comments everyone. Arild there is explained the difference between male and female thinking🤣. Back with the shrouds and seized the deadeyes in place using one of my home made deadeye spacers (i have seen a lot of people asking about this on MSW so hope this points them in right direction). take care all Keith
-
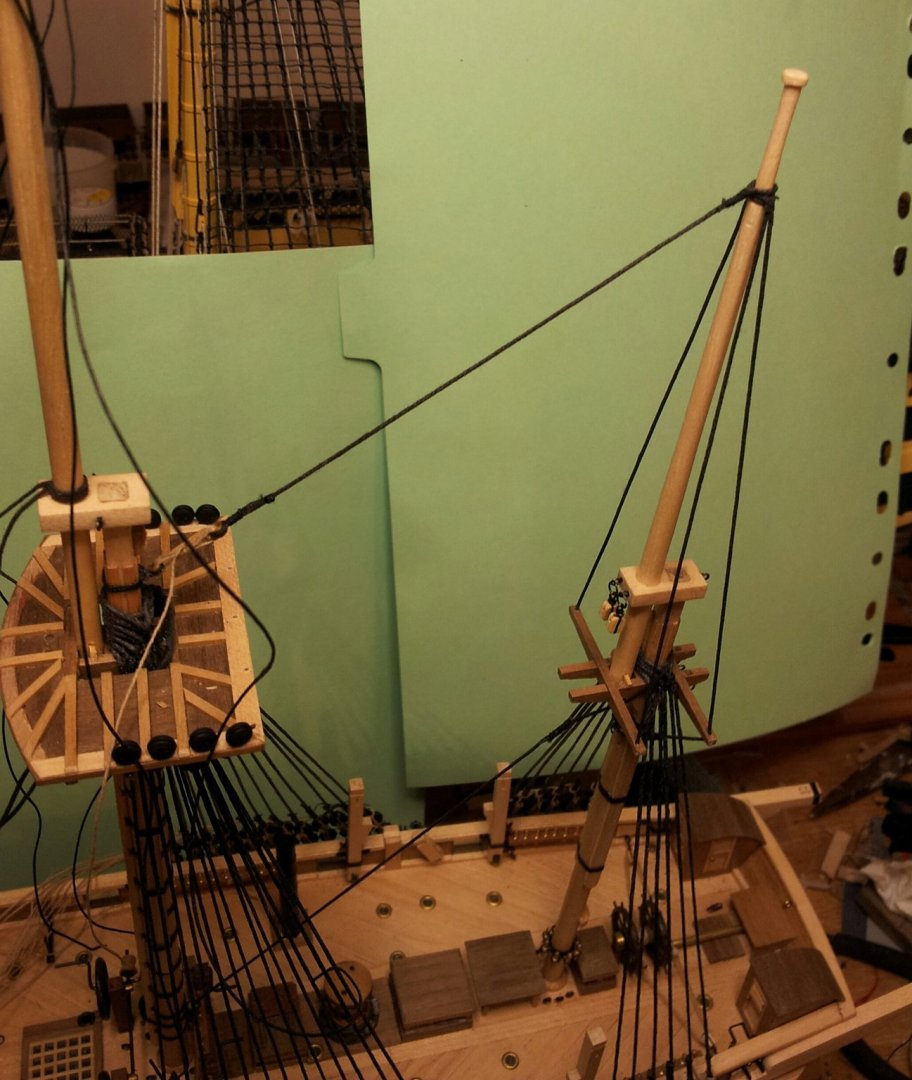
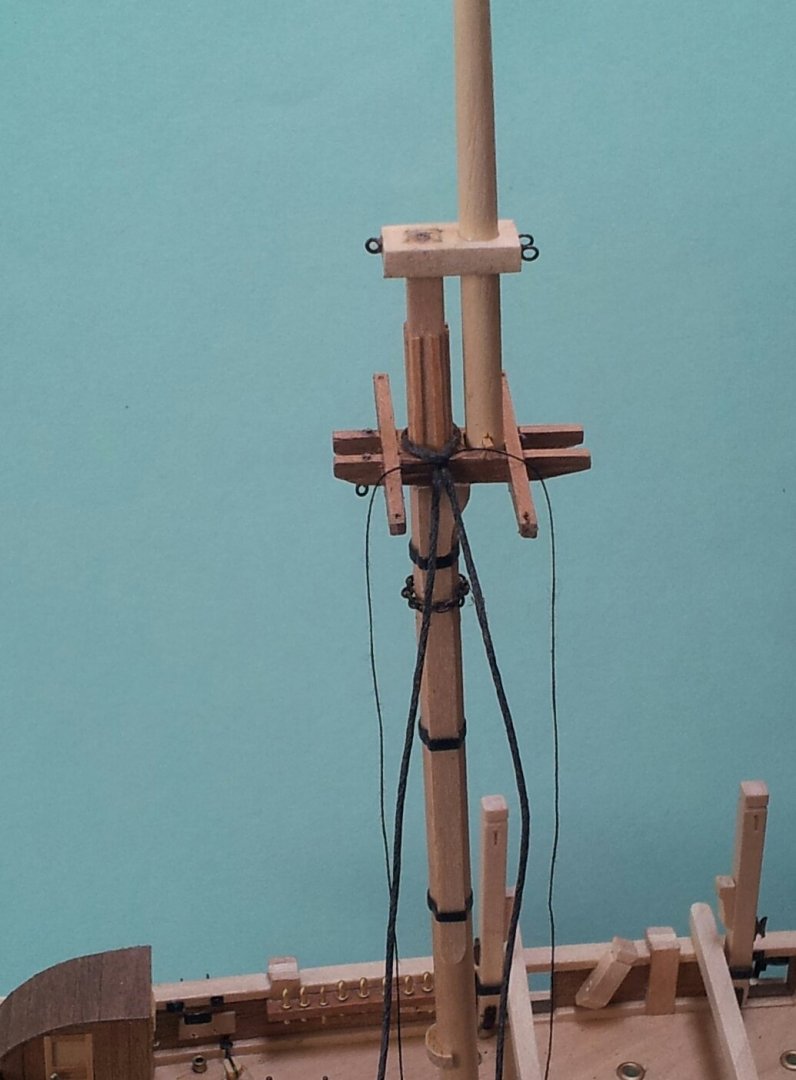
Thanks for looking in everyone, moving back to the stern area and finally glued the mizzen mast in place and started on the shrouds. Starting with the starboard pair and then the port side pair till six shrouds per side. The two eyes on the mast cap will take the blocks to guide the main topyard braces down to the deck. take care all Keith


-
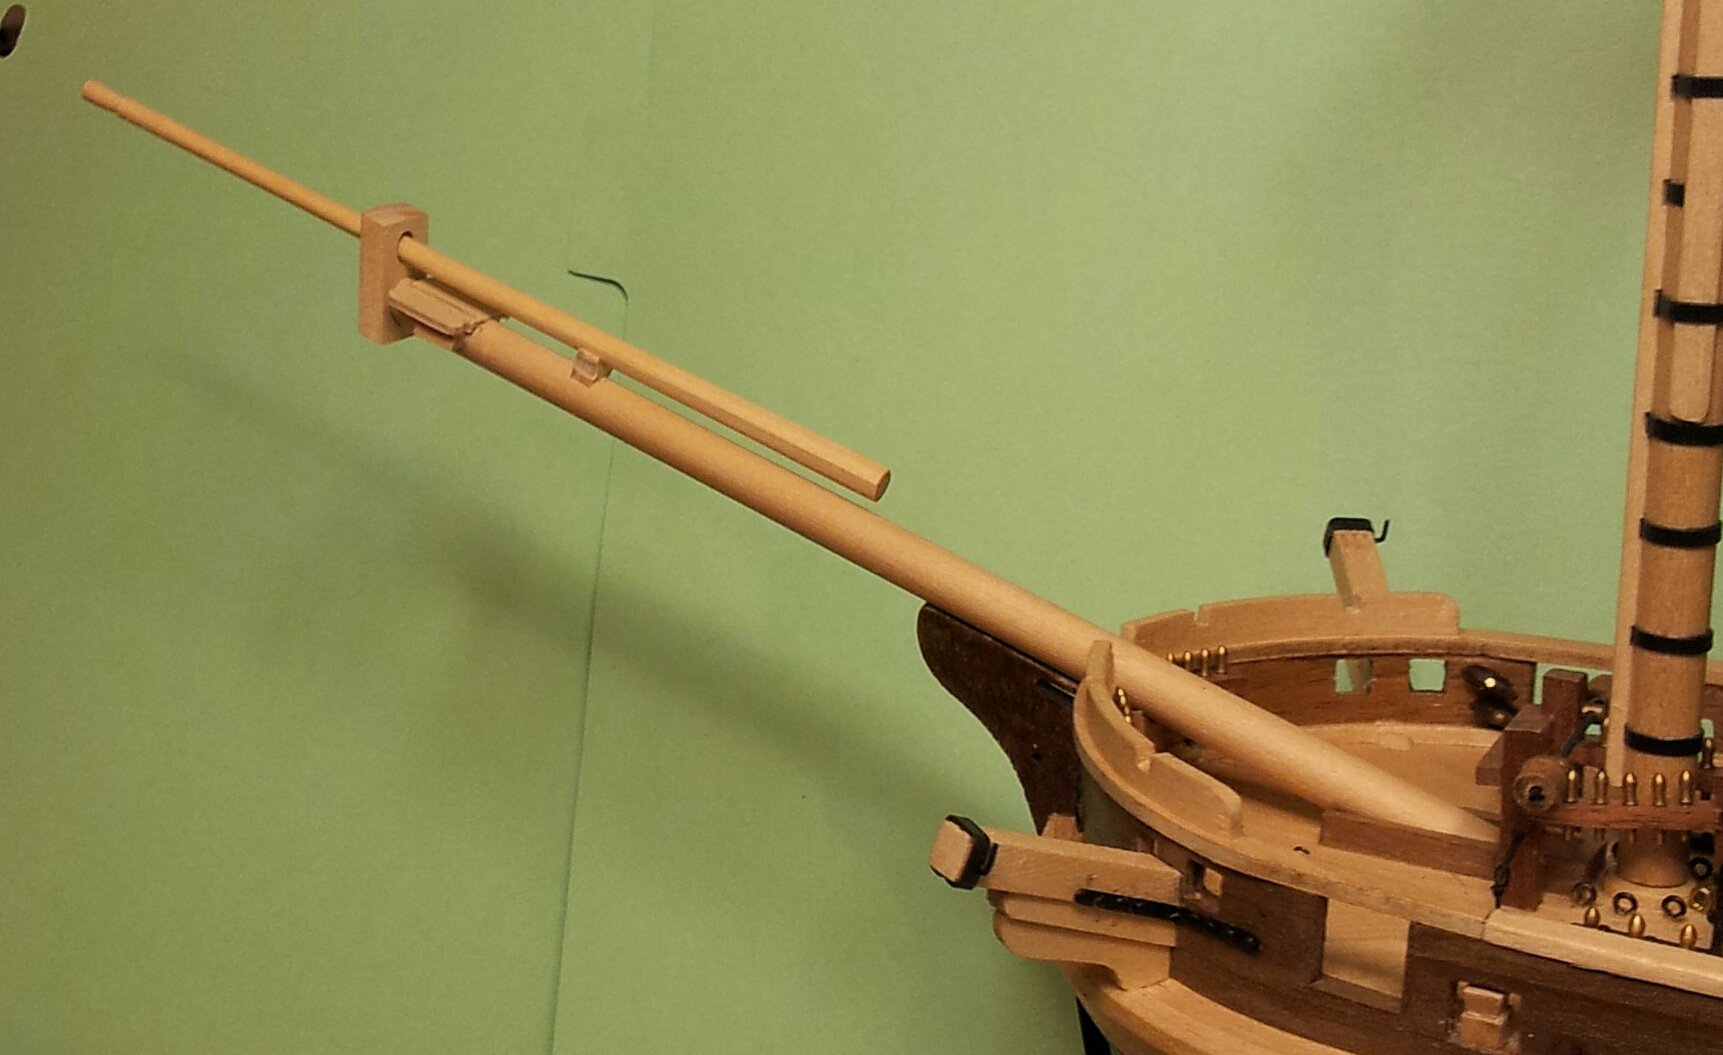
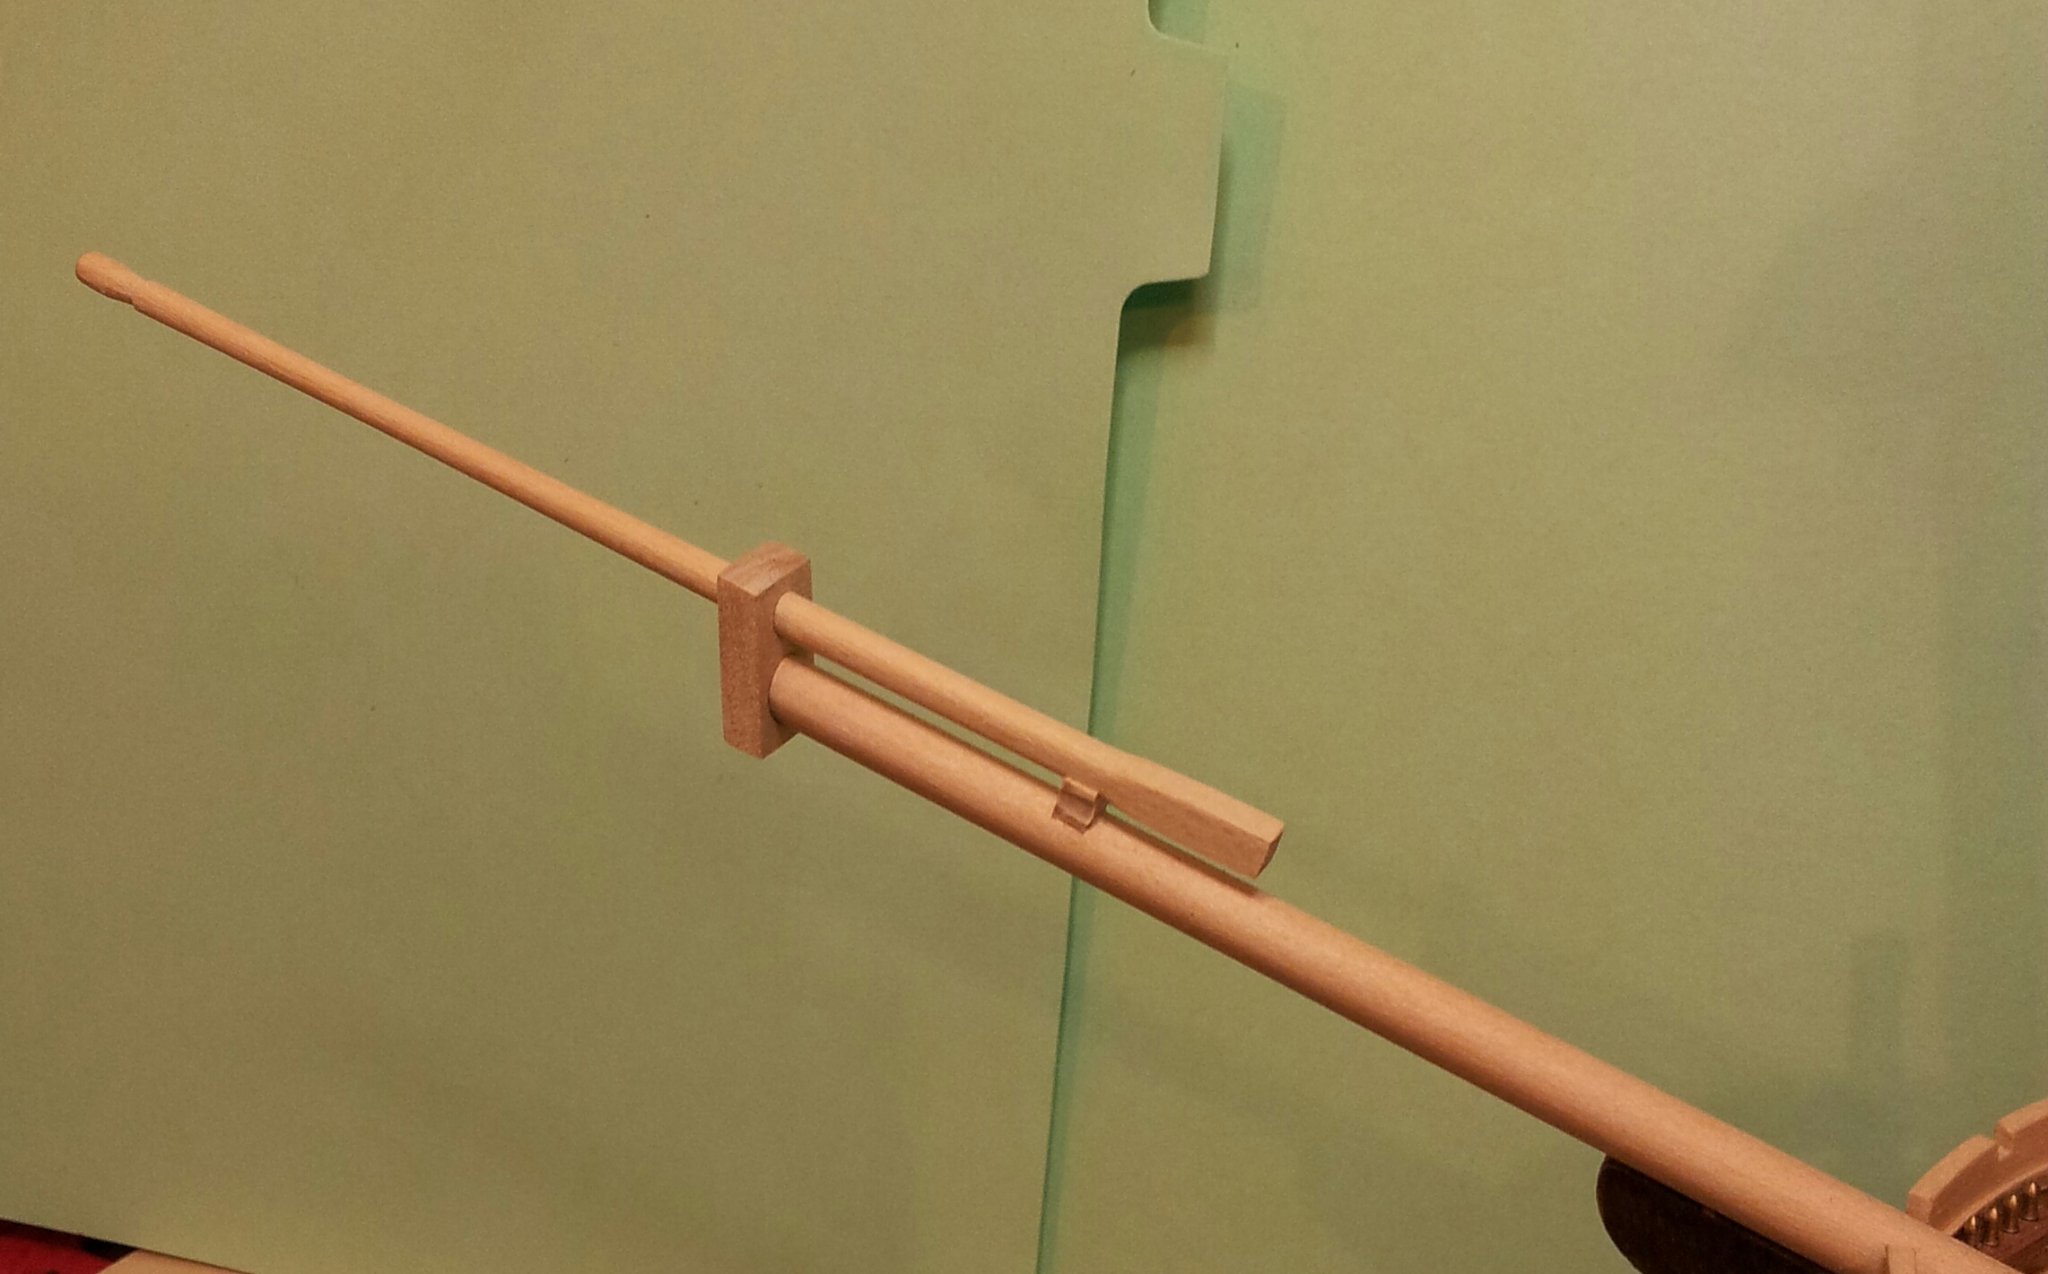
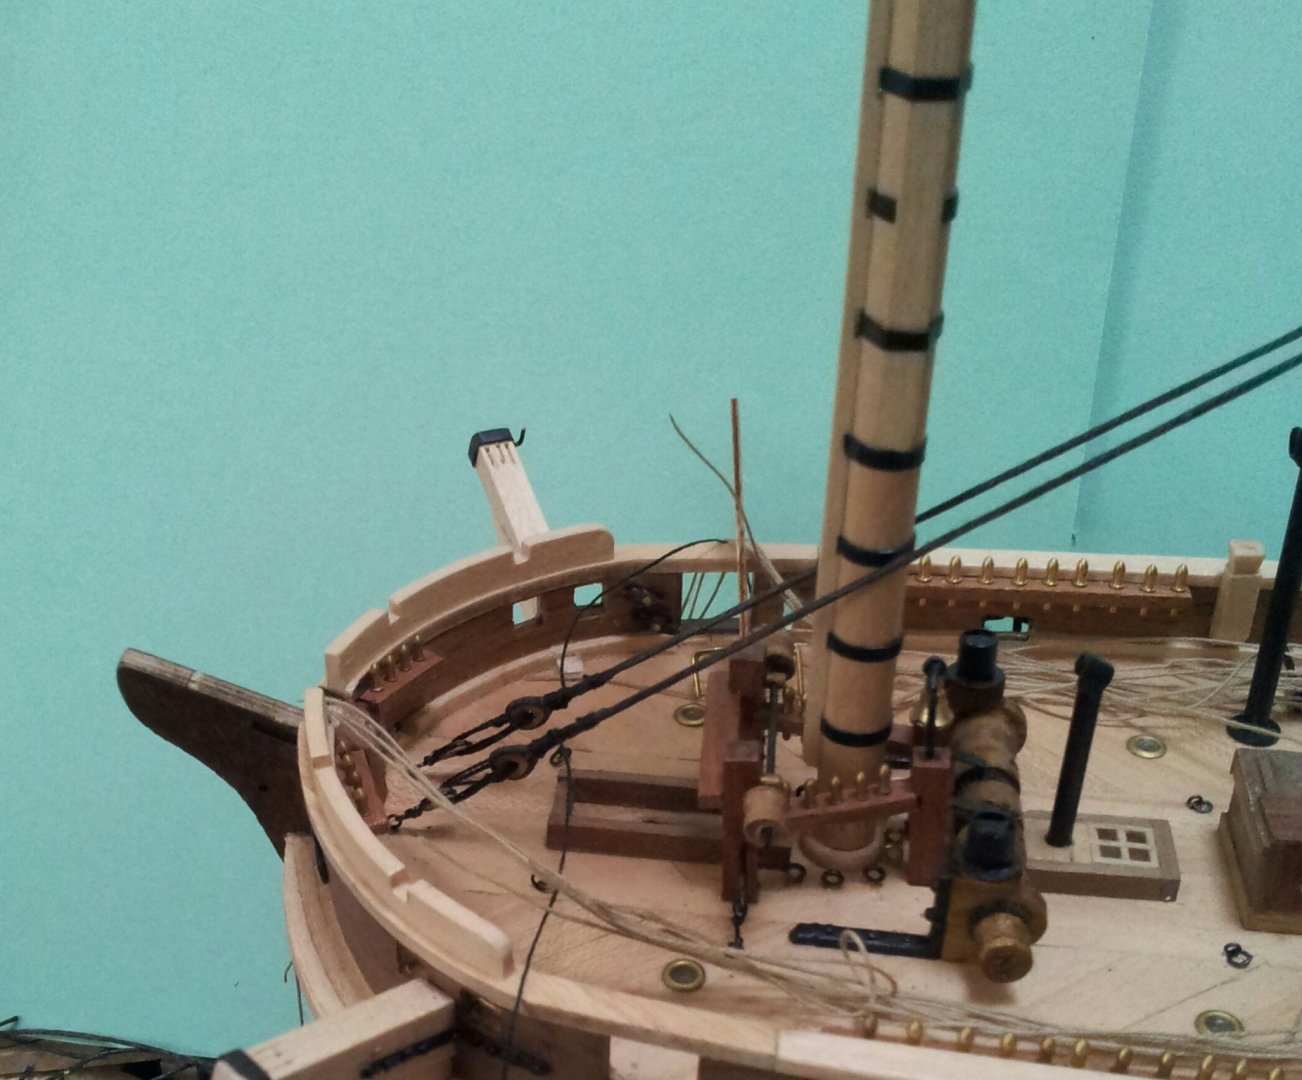
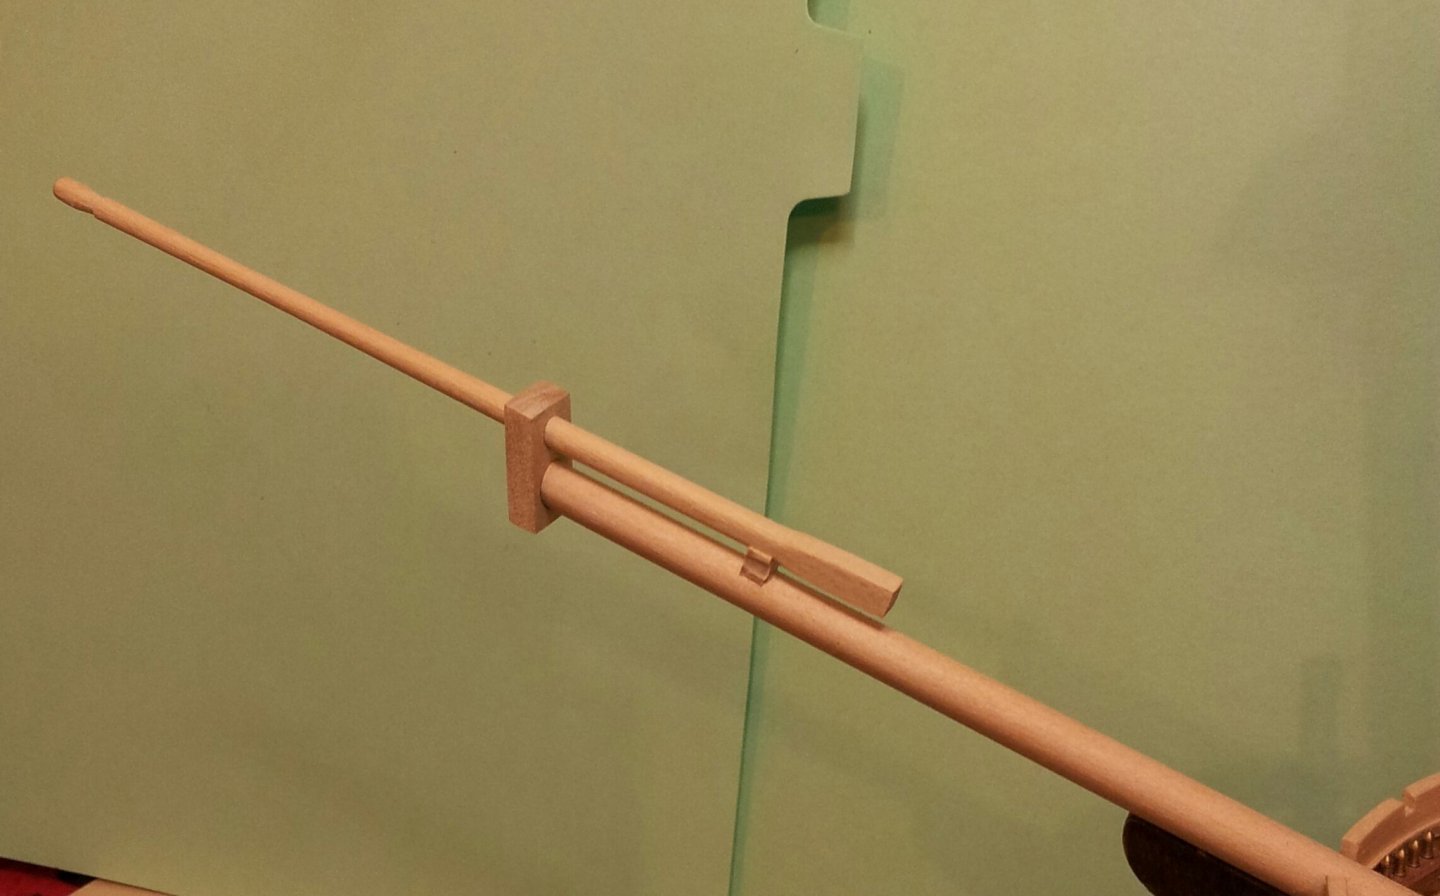
Thanks for looking in, staying with the bowsprit and jib boom and had a rethink, I had left the heel of the jib boom square as post 1815 practice but because Terror was built in 1813 i settled with the octagonal heel from that time. As regards the bowsprit i fitted the bees battens and blocks for the fore topmast stays. At the fore end of the jib boom i realised as no flying jib boom is fitted it should be round and not 8 sided. Take care all Keith

-
Yep you are right there about the size! I am still in two minds as to include these or not, however i suspect there should be a lid to seal the opening when guns not in use? Keith
-
Back with the masts and fashioned the jib boom from a piece of square stock, i first marked off the part i wanted to stay square at the heel then marked a square to match the diameter at the for end, and sanded the taper in with coarse sandpaper wrapped around a piece of 2" x1" off cut. After i got the four sided tapers worked in i sanded them octagonal,then marked in the end that would stay eight sided and rounded off the rest and finished with fine grade sandpaper. Next i will have to drill and carve out the sheaves and the groove at the end for the fore topgallant stay, and start on the bees battens/blocks on the bowsprit. Take care all Keith
-
Lol Keith- to be honest if that happened the admiral would be shouting "take the rest too!"😁. Keith
-
😁 niceeeeeee and no problem old engineers adage "if in doubt -ask". Keith