Blue Pilot
-
Posts
222 -
Joined
-
Last visited
Content Type
Profiles
Forums
Gallery
Events
Everything posted by Blue Pilot
-
Learning how to plank the hull of a ship model is one of the hardest things to learn to do right. I am constantly striving to come close to the work done by so many masters on this forum but always come up short. I keep trying to improve and learn new skills in any case. I decided to abandoned the dividers and make an attempt to just look and read the hull and how the planks should flow. I found laying a plank above the row I was working on help to do this. At this point I believe I had calculated I should have 5 more rows to finish. I was pleasantly surprised to see the top and lower belt starting to parallel each other and I was learning to see and fix problems toward achieving that goal. However, there was trouble lurking ahead, or perhaps I should say astern.

-
Bill we both seem to drift in and out on the same tide. Welcome back. Now get to work! Cheers, Mark
-
JSGerson, That would be a type-o . It should be Hahn plans.
-
This build is on my wish list. I have the Kit, Bob Hunts practcum, and the Hawnn Plans for over two years now. I am fighting the urge to get started and finish my current build in progress. Best of luck with the build I will be following along. Mark
-
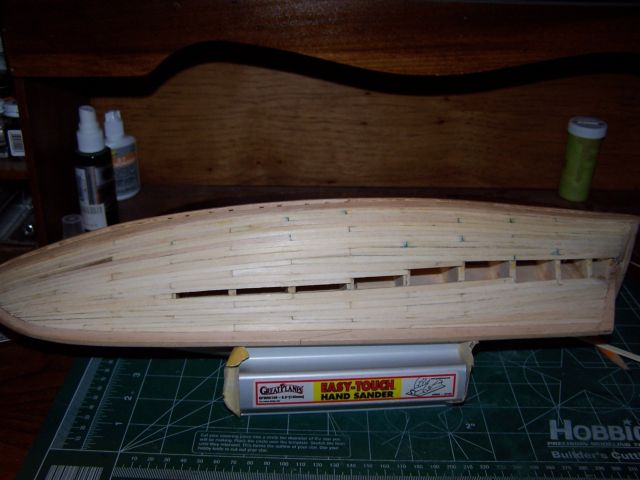
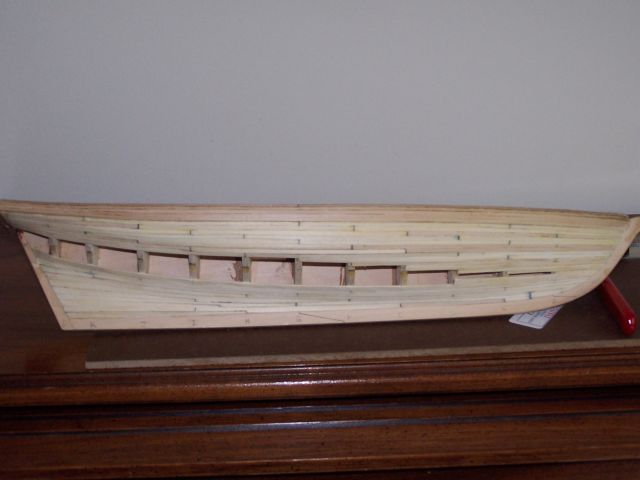
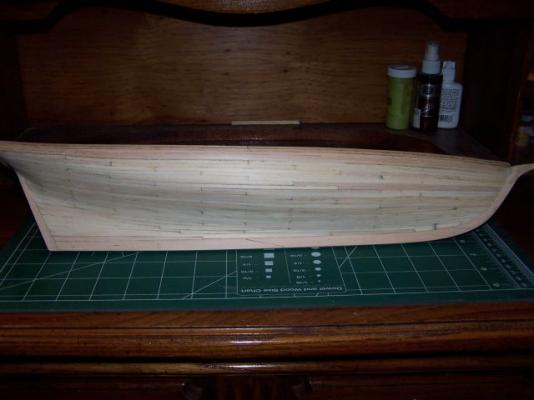
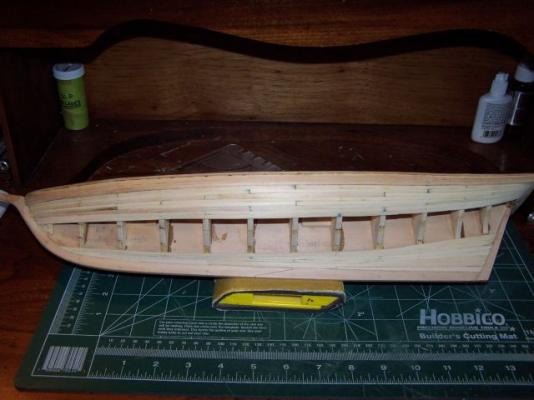
I haven't posted in a while. Truth be told I haven't been spending time working on the Pride until recently. I am getting a bit done here and there and planking of the Port side is progressing. Here is a picture of where I am at to date.
-
Brian thanks for the photos and the tips. Bill Thanks to you as well. I have been following your build with interest. In fact I am following all the POB builds here. It is an interesting model as there are a lot of ways you can go with it, all of them great. After a great deal of thought I have decided to build my model to reflect the modern day Pride of Baltimore. I got a chance to visit her in Baltimore last year and I will be attempting, as much as my meager skills allow to build her to reflect what I saw on that visit. More specifically how she might have looked on her day of her ribbon cutting. In the process I will be stealing… I mean liberating as many ideas from other more gifted POB builders like yourself along the way
-
Thank Russ, Joe, and Brian for checking in and adding your encouragement. I got a reprieve from work today so picked up where I had left off on the Port side. I laid a row in the upper belt and I am getting a bit of a V in the middle where the planks don’t want to lay naturally. My attempt to fix this was a horrid failure! After a bit of thought I ripped it out and started over. This time it came out better but still have a bit of a V near the middle at that but joint. Not sure if you can see it in the picture. I will have to work on that but I think I will leave it for the moment and bring up the lower belt some to try and bring things together in the middle. Well not a lot of progress but one row done is one less to do.

-
She is coming along nicely! You are at the fun point to me where the model is taking shape and coming alive before your eyes. keep at it, it looks great!
- 831 replies
-
- 1
-

-
- Armed Virginia Sloop
- Model Shipways
- (and 1 more)
-
Until today the Pride has not had any love. I have been enjoying two young bird dogs I now have and work keeps me away from home. It’s been a tough 2014 with my mother in law not being well and passing. Now my mom is fighting cancer so needless to say life has me on the ropes and the hits keep coming. Ok enough complaining and making excuses. So I decided in addition to the dogs maybe doing a little modeling might help lighten the strain I have been under. I finished up planking the Starboard side this afternoon. It did not turn out as well as I hoped. I was hoping this job would be perfect, ok I have given up that dream. I had to add some joggle planks where they don’t belong due to plank ends were going to look like pennants. Still after initial sanding it’s not all bad for my second shot at planking a hull. Once paint is on it will look great to anyone but fellow model shipwrights.
-
Great job it looks great.
-
Thanks for checking in on me and helping me out Russ. It helps me out a lot. Cheers!
-
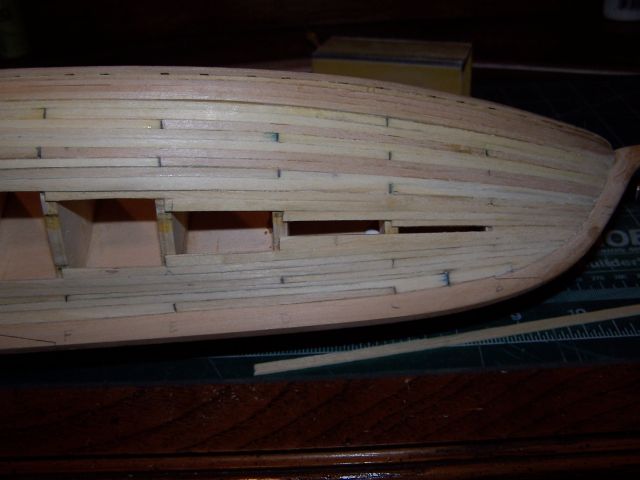
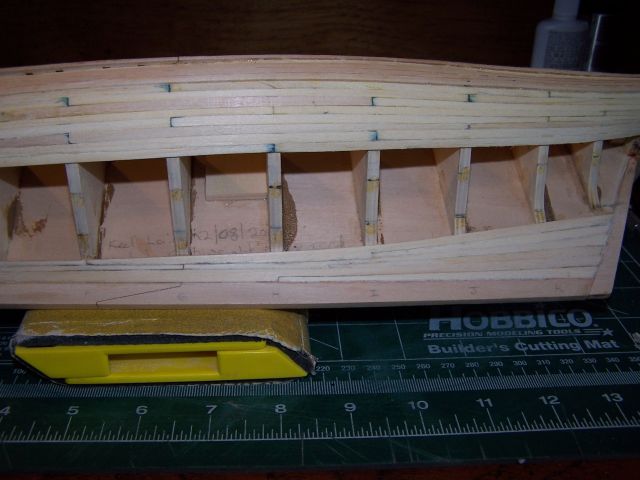
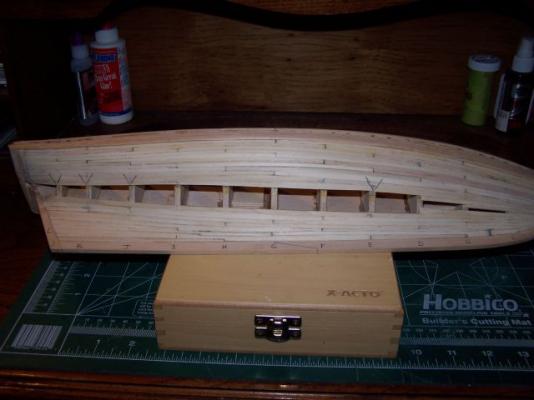
I have not had a lot of time to work on the POB II but based on Russ's comments above I have started working from the top down which seems to be helping to bring the two lines toward running parallel to each other. The chevrons indicate where there is some pinching and narrowing going on especially at bulkhead L and K. Which I think was going to probably happen anyway. Toward the front I still have not fully managed to smooth out things and there is a dip at this butt joint but it seems things are moving in the right direction. At least I think so.
-
Thanks Joe for your kind words. Russ, thanks for the guidance I will start working from the top down when I get back to the shipyard. Thanks for taking the time to respond. I really appreciate your input.
-
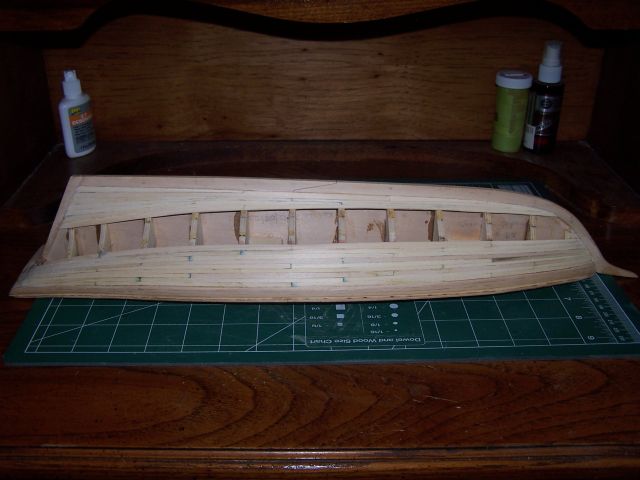
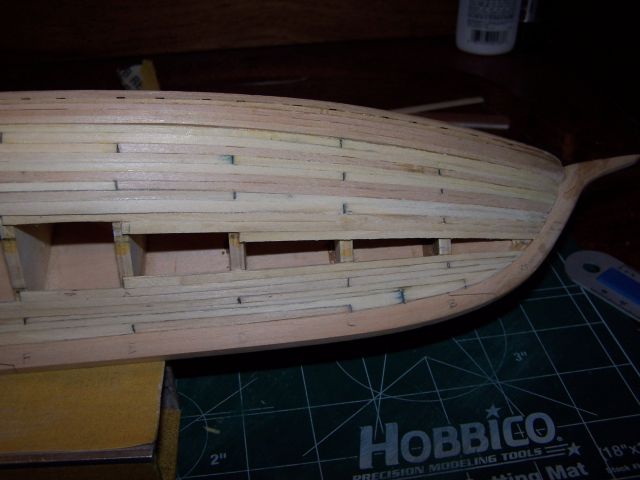
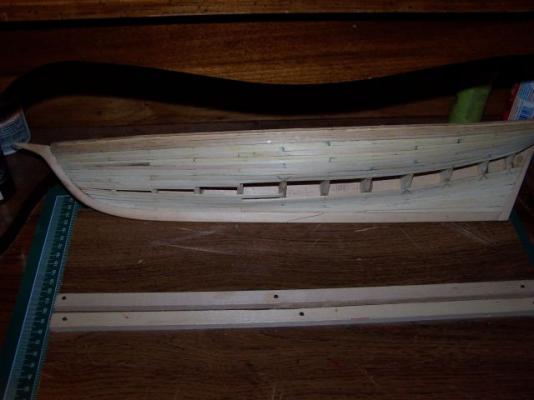
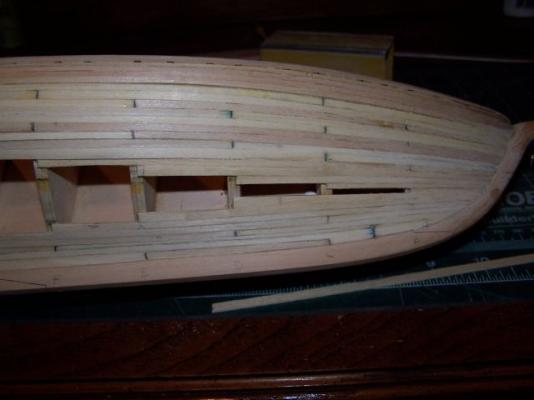
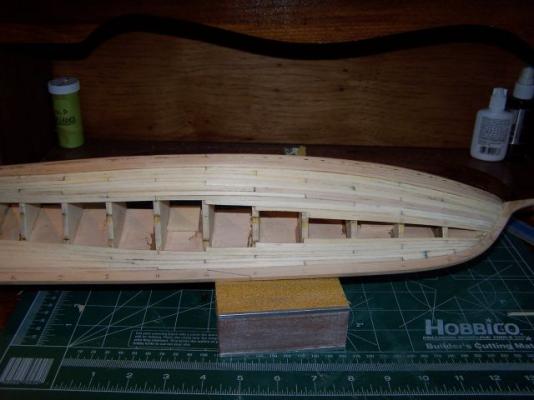
I then decided that maybe I needed to bring the bottom up. So here are two shots after doing that. My planks will now run smoothly across the bottom. I can see trouble developing at the top that I will have to spill some planks to smooth out that line also. My thinking is to try and get the two areas running horizontally and fill in from front to back in a stair step pattern to better see how each plank needs to be formed at the same time matching up the but joints. So here is where I left off. Please let me know if my approach is flawed, ok or something else. It’s ok to through hard balls too In the end this will all be painted so in the big scheme of things it does not matter all that much other then I am trying to do it right and it is a means to me becoming a better builder.

-
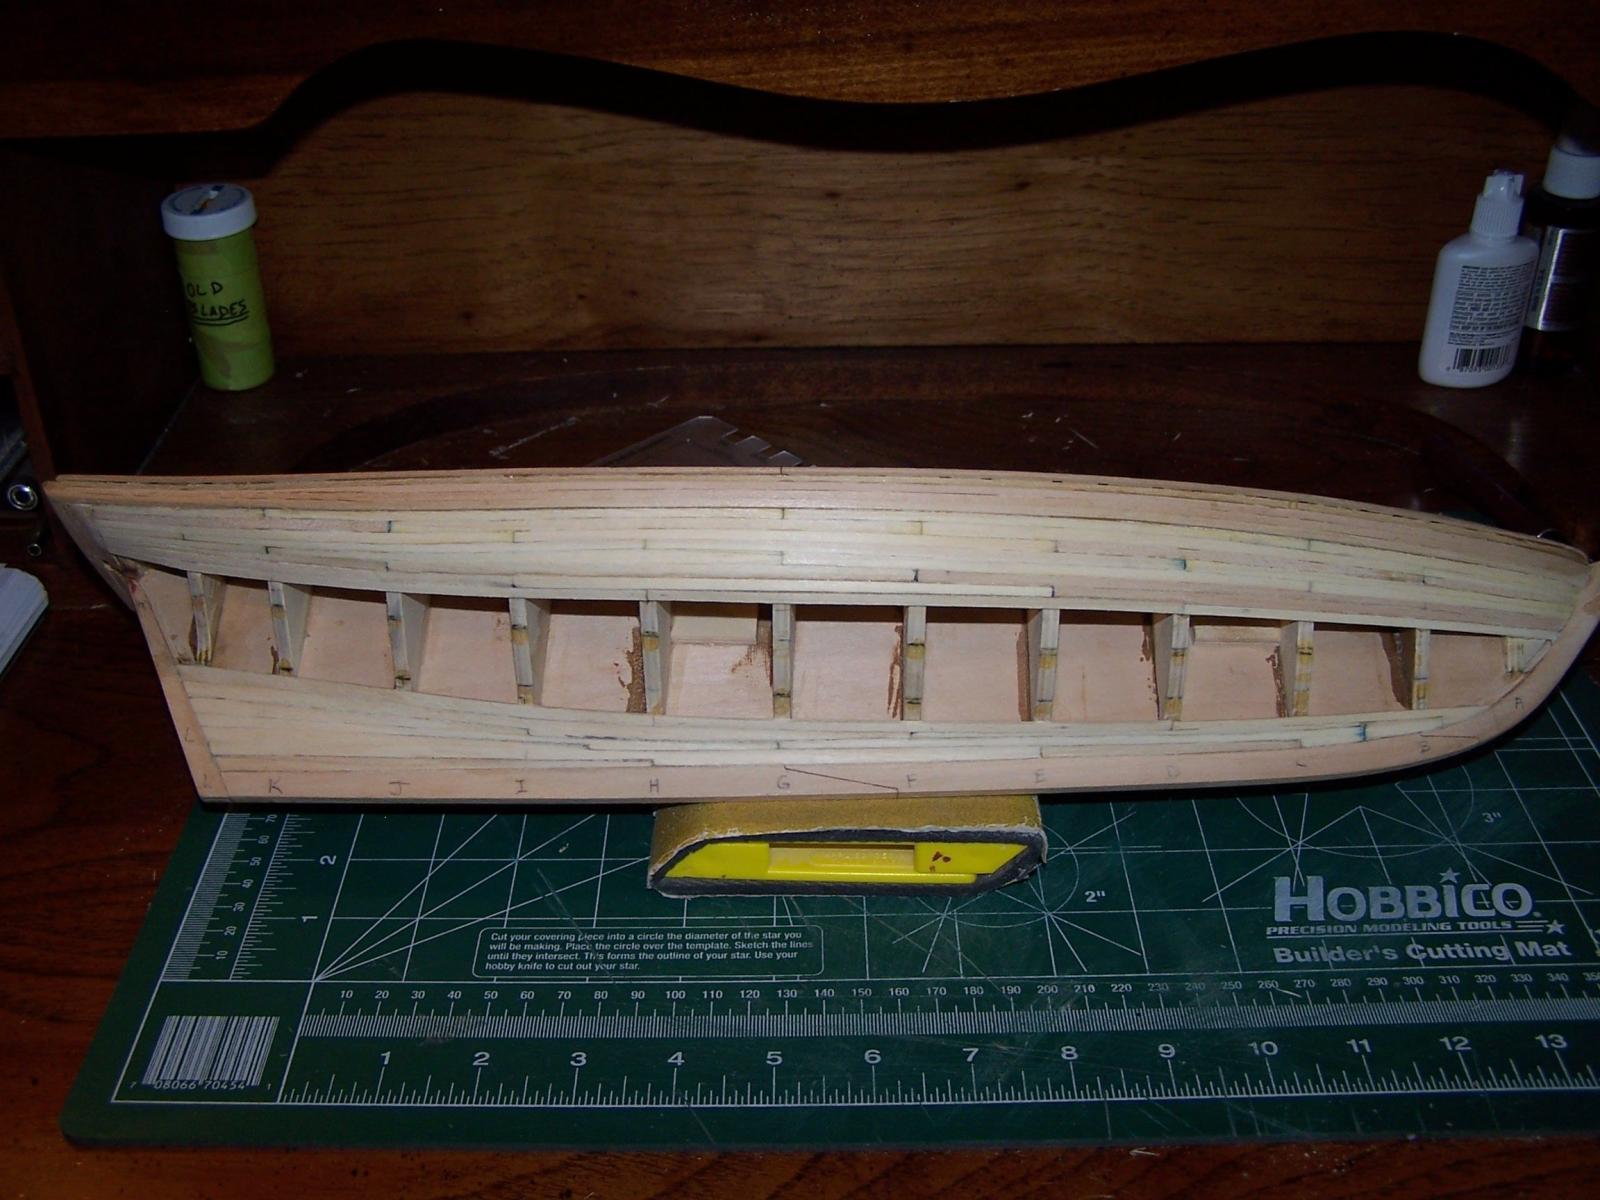
In an effort to improve my own skill I am looking for comments on my planking. Specifically in the photos that follow I started planking from the top and bottom of the hull. This makes perfect sense to me but my trouble lies in trying to match the butt joints to conform with standard planking rules of four bulkheads between buts and but joints separated by three rows. You can see here in order to try and do this I am trying to use a stair step approach but I am not sure if I am going about this right or not? I would appreciate any comments from some of you master craftsmen out there. Thanks in Advance.

-
Hi JSGerson I have been following your log with interest as I hope to build the Rattlesnake in the future. I am currently building Hunts Sophomore Course the Pride of Baltimore. I have the Mamoli kit, Hahn plans and practicum printed out but have not gone any further. These are just my observations and thoughts. I hope you will forgive me butting in. First, let me say I am no expert by any means so take all I say with that in mind but reading through your log in terms of the rigging there appears to be a constant conflict and confusion looking at the Mamoli plans, The Practicum, Model Shipways plans and Hahn’s Plans. From your build I have concluded when I get there I will try and follow one and omit the others. Might I suggest you do the same. It is difficult if not impossible to know what was historically correct any way as in many cases a Captain would choose to rig a ship as he saw fit. I suggest you pick the one that suits you and stick to that. In fact Hunt states in previous practicums to put the kit instructions away as he will not be following them to the letter so I think you are causing yourself a great deal of trouble trying to reconcile all these sources. From my own limited reading, mostly on this forum I would rate them Hahn, Hunt, Model Shipways and lastly Mamoli. I am not sure what is best for you but based on your log when I get there I will pick one and only one source to follow. I would suggest you consider picking one set of plans and stick to that. If you choose to deviate from the practicum then I would suggest follow the Hahn plans or Model Shipways but that is my opinion. Best of luck and thanks for the log as seeing you work through problems will hopefully make my own effort a better one.
-
Thanks for the compliment on my stern transom. I think mine is horrible . I have lots of gaps to fill and I think I sanded away too much and it may not be quite the right shape. It’s funny how when it comes to our ships we are our own worst critics. Based on your post maybe it turned out better then I thought . It will be interesting to watch the contrast in our builds. As you are trying to modify her into resembling an original fighting Baltimore Clipper, I am going a different way and my goal is to try and build it as true to the current ship as my meager skills will allow. I will enjoy watching you proceed and I am sure I will learn lots from your progress.
-
I have been following your log. I hope someday to build the Constitution. If only it didn't take years to build these models Concerning your health issues for what it is worth I went through something similar about a year ago. After stress test, MRI's, tons of test and a lot of money, everything turned out ok. I was under a lot of stress and letting things bother me, work, family, ext.. After a regiment of Prilosec and learning I had to reduce the things that were causing me stress in my life things improved. I stared eating right, exercise, and loosing a little weight and In fact its one of the reasons I started work on my Pride of Baltimore II again, in order to help put my mind on something else. I am sure all will turn out well for you. Best Wishes
-
You know an RC model is going to be cool when before she is built the modeler starts off saying I hope it will fit in the car! This should be fun to watch sail and thanks for an enjoyable log to read through.
-
Thats a good idea. What I do is use a medium cure CVA on the bulkheads and PVA along the plank edge. That lets me mount the plank with out clamps or having to hold it to long. I just hold pressure on two or three bulkheads at a time and work my way across the plank. The PVA glue fills in any gaps. What oozes out on the back side I kind of spread with my finger to cover the back seam. If I see any gaps in the front I add more PVA (the one I use dries clear) then sand. The sawdust and glue fill in the gap. I don't know if this is the best approach but it works for me. I have not had to soak or clamp any planks so far doing it this way.
-
The book 6 Frigates is a great read for those that have not read it. It goes into the ships but also the geo political situation a young nation faced. It sheds some light on why the ships were chosen and what political, economic, and military factors influenced those designs.
-
Just read through the entire log, beautiful work Russ! I will follow this on through to the end. Thanks for the great history.
-
Seeking Input on Decking Thanks to a very detailed post from jcoby I have a pretty good idea how to go about planking the deck. However, I still have a couple questions I could use some expert guidance on. First, does building the furniture commings first before decking make any difference from an appearance point of view? jcoby states it made planking easier but it seems like it would be far easier and faster to just lay the deck planking then build and attach the furniture. At this scale can you even see the differance on the finished model? Second, there aren't any good pictures of the deck layout. I am thinking either a 3 or 4 plank stagger. jcoby used a 4 stagger, but I am leaning toward a 3. Any thoughts at this scale what would be better? This is a modern ship built to replicate what a Chesapeake Bay Privateer from the early 1800's might have looked like. Thanks in advance for your thoughts, I am just thinking and planning ahead about how I want the final model finished and within the realm of my skill to achieve.
-
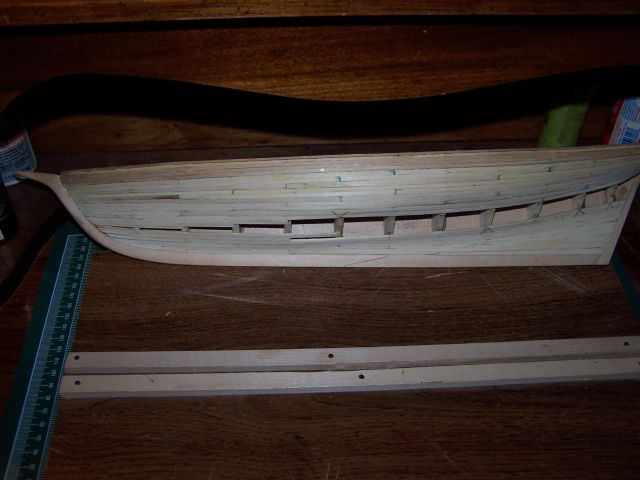
Thanks Russ, I appreciate your positive feedback and constructive criticism too. The final two photos are of how she stands now with port and starboard sides. I have roughly finished out two belts and this brings my progress and this log up to date. It is also an excellent place to stop and enjoy an ice cold drink.

-
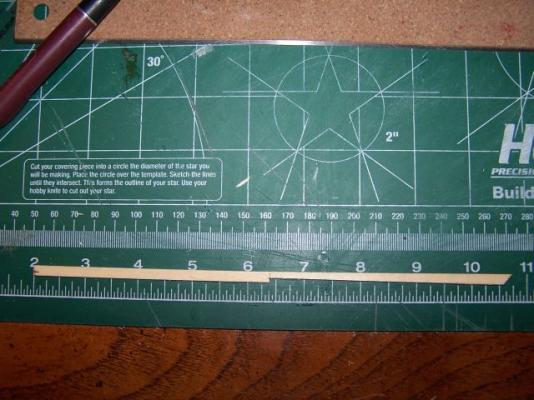
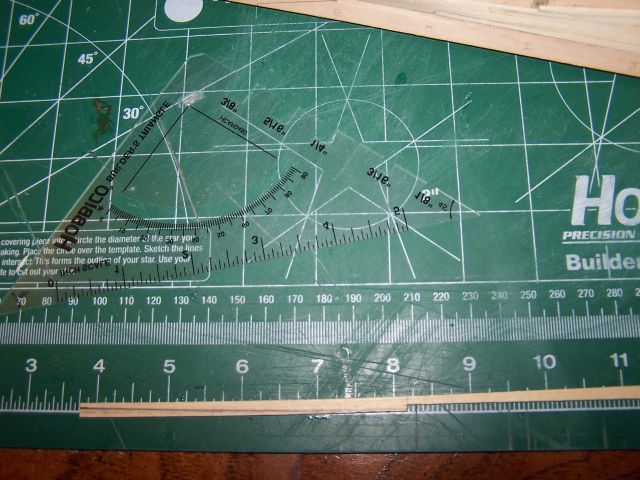
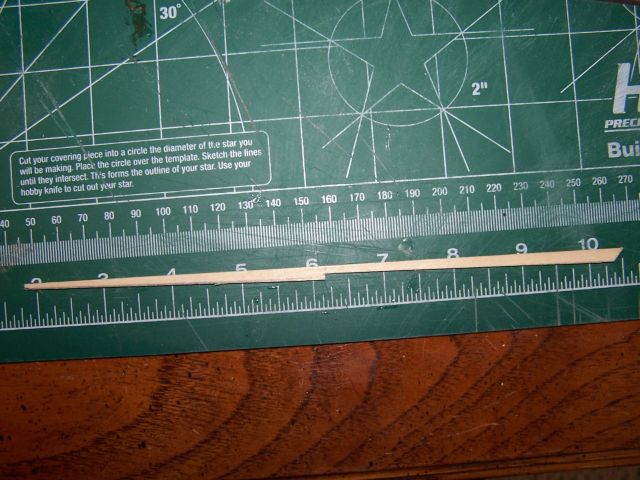
So I started work on the Port side lower hull on the stealers at the bow and stern. The starboard side I had finished previously but was not that pleased with my craftsman ship. I had done a bit of a ham fisted job of it so was hoping to do a much nicer job on the Port side. I was going to add some comments on the photos but I can’t see how to do that. Any way the photos show I needed to make a plank to cover the area from bulkhead F aft to the stern post. I was really having trouble wrapping my head around this so first I made the first cut along the right half of the plank. I won’t tell you how long I stared at this thing trying to figure out how to draw the next cut. The other photos show the final shaping and finally the plank installed.