Louie da fly
-
Posts
7,993 -
Joined
-
Last visited
Content Type
Profiles
Forums
Gallery
Events
Everything posted by Louie da fly
-
This discussion is such a worthwhile resource! So many good ideas! I have (of course) bookmarked it. Steven
-
I wish I'd seen Tom Lauria's videos before I started working with silkspan. He solves a lot of problems I encountered in using it, and his technique is much more systematic than mine - I felt I was having to re-invent the wheel a lot of the time, and though I'm not too unhappy with my results I feel they would have been far better had I seen the videos first. And some of the tips on this thread have been real eye-openers for me as well. Thanks to everybody who's posted here. It's a great help and I'll be using what I've learned in future builds. Steven
-
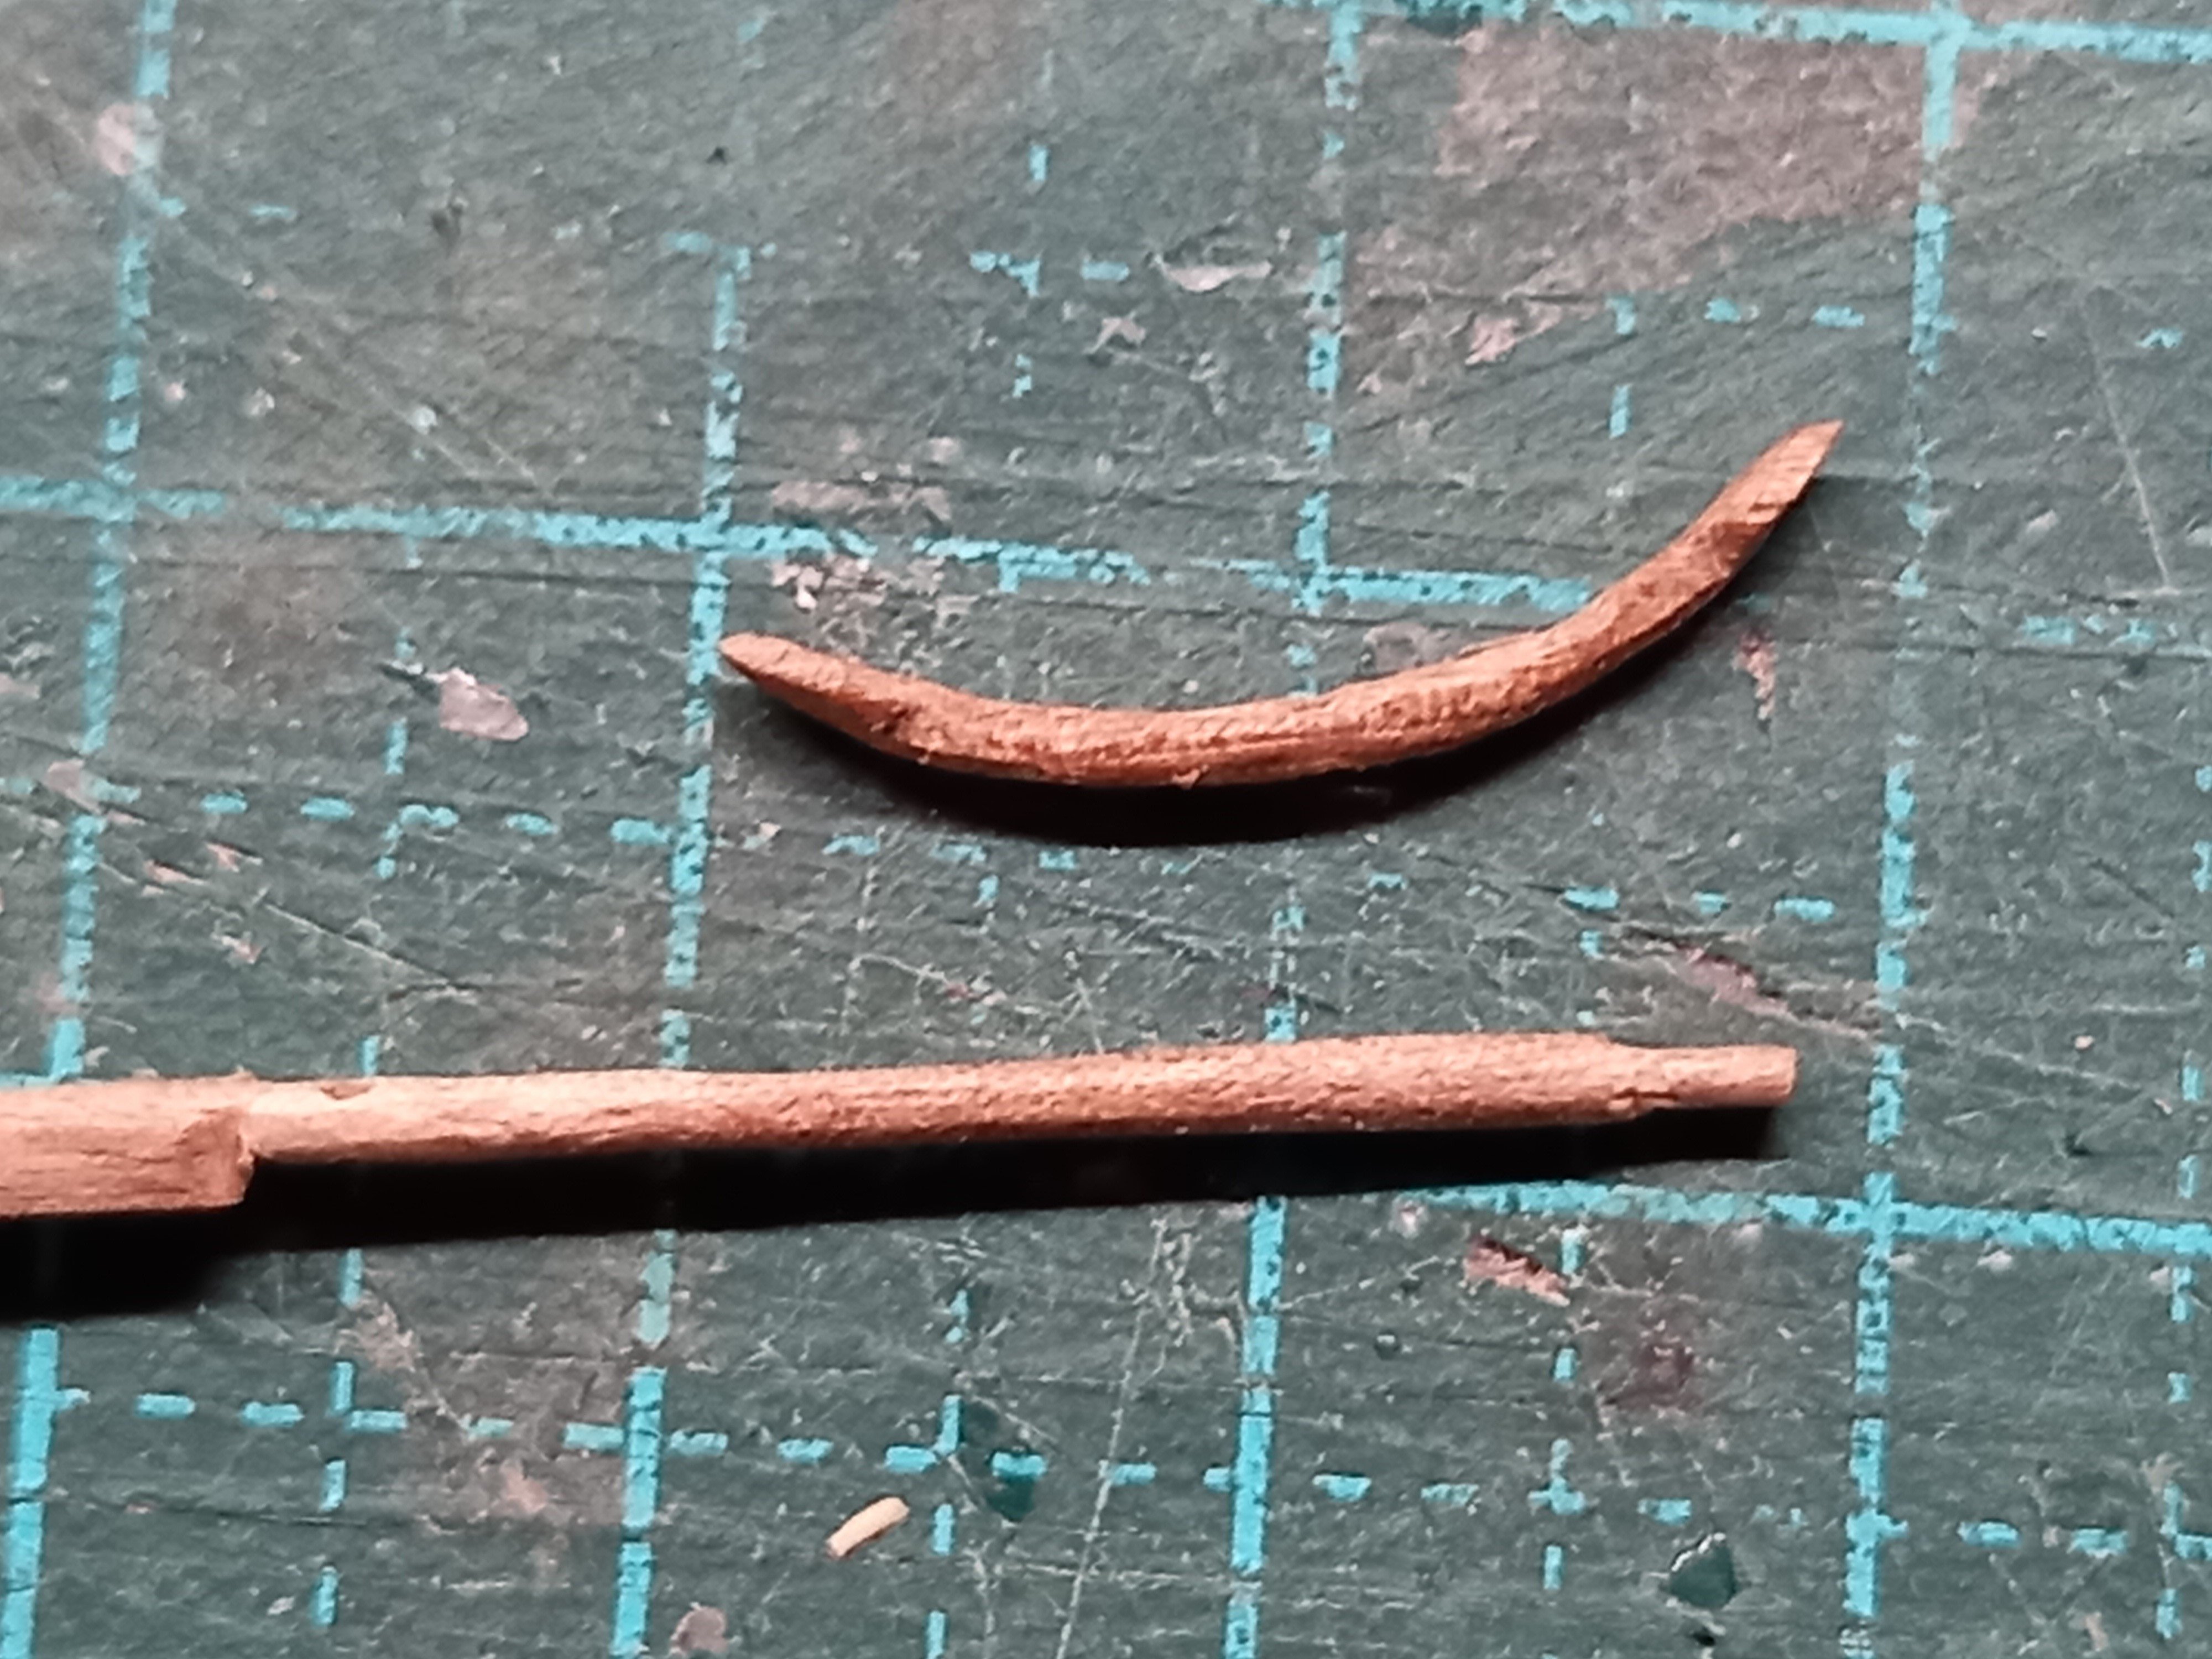
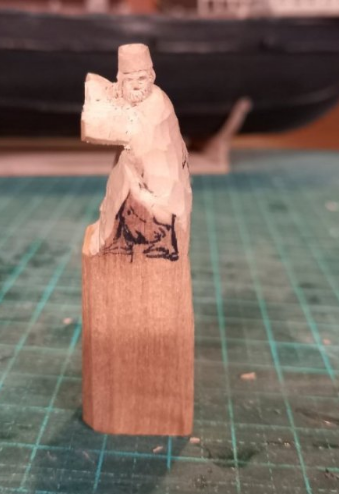
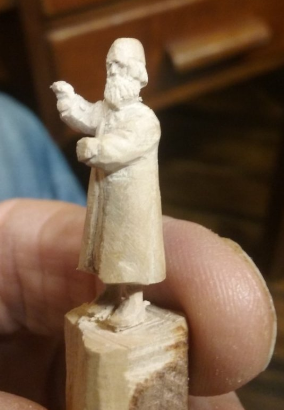
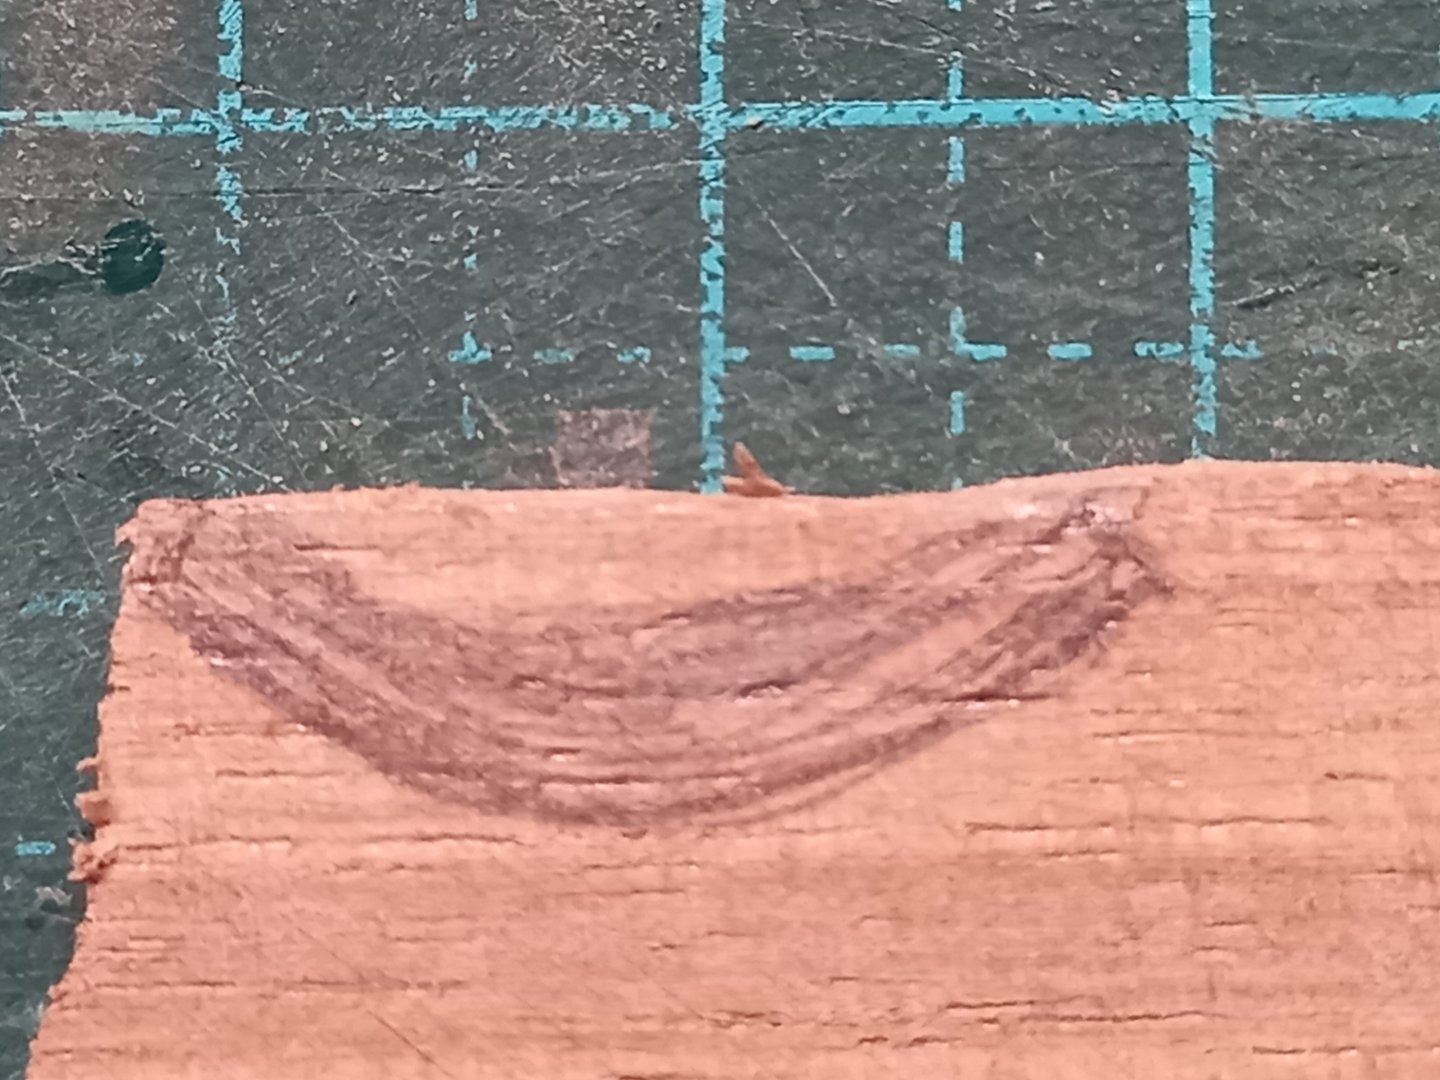
 I haven't tried sculpting figures - the ones above are amazing. But I do carve them out of wood. Here are a couple I'm putting on my latest build, a mediaeval (c. 1150 AD) merchant ship at 1:75 scale. They are the owners of the ship, and IIRC are carved from pear wood. Steven
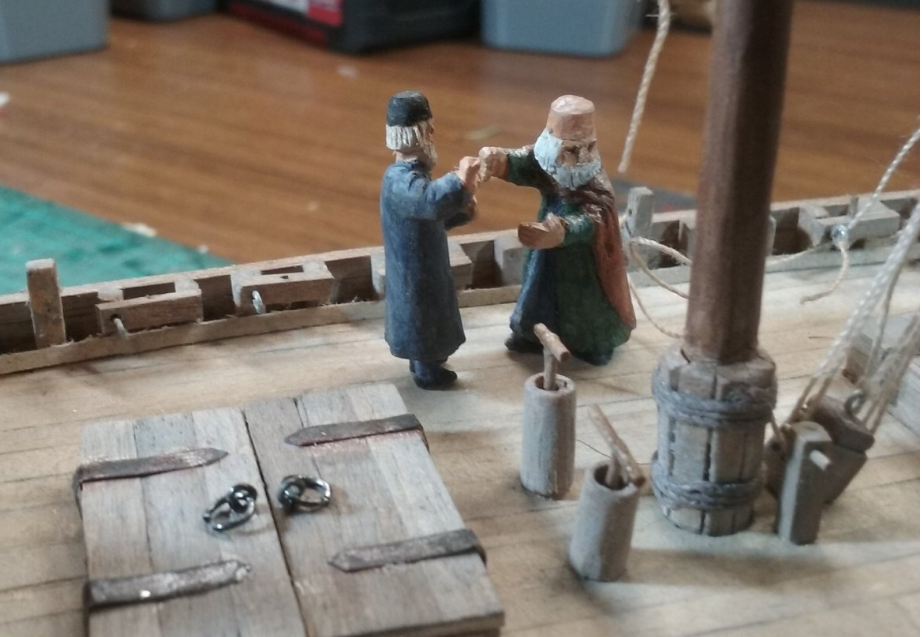
-
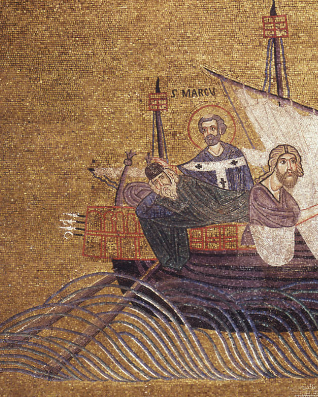
I certainly hope so. It might finally resolve the uncertainty about the shape of her forecastle. Steven
-
And I've added the owners - Rustico is pointing something out, and Buono is saying "I hear what you're saying, but . . . " Steven

- 508 replies
-
- 12
-

-

-
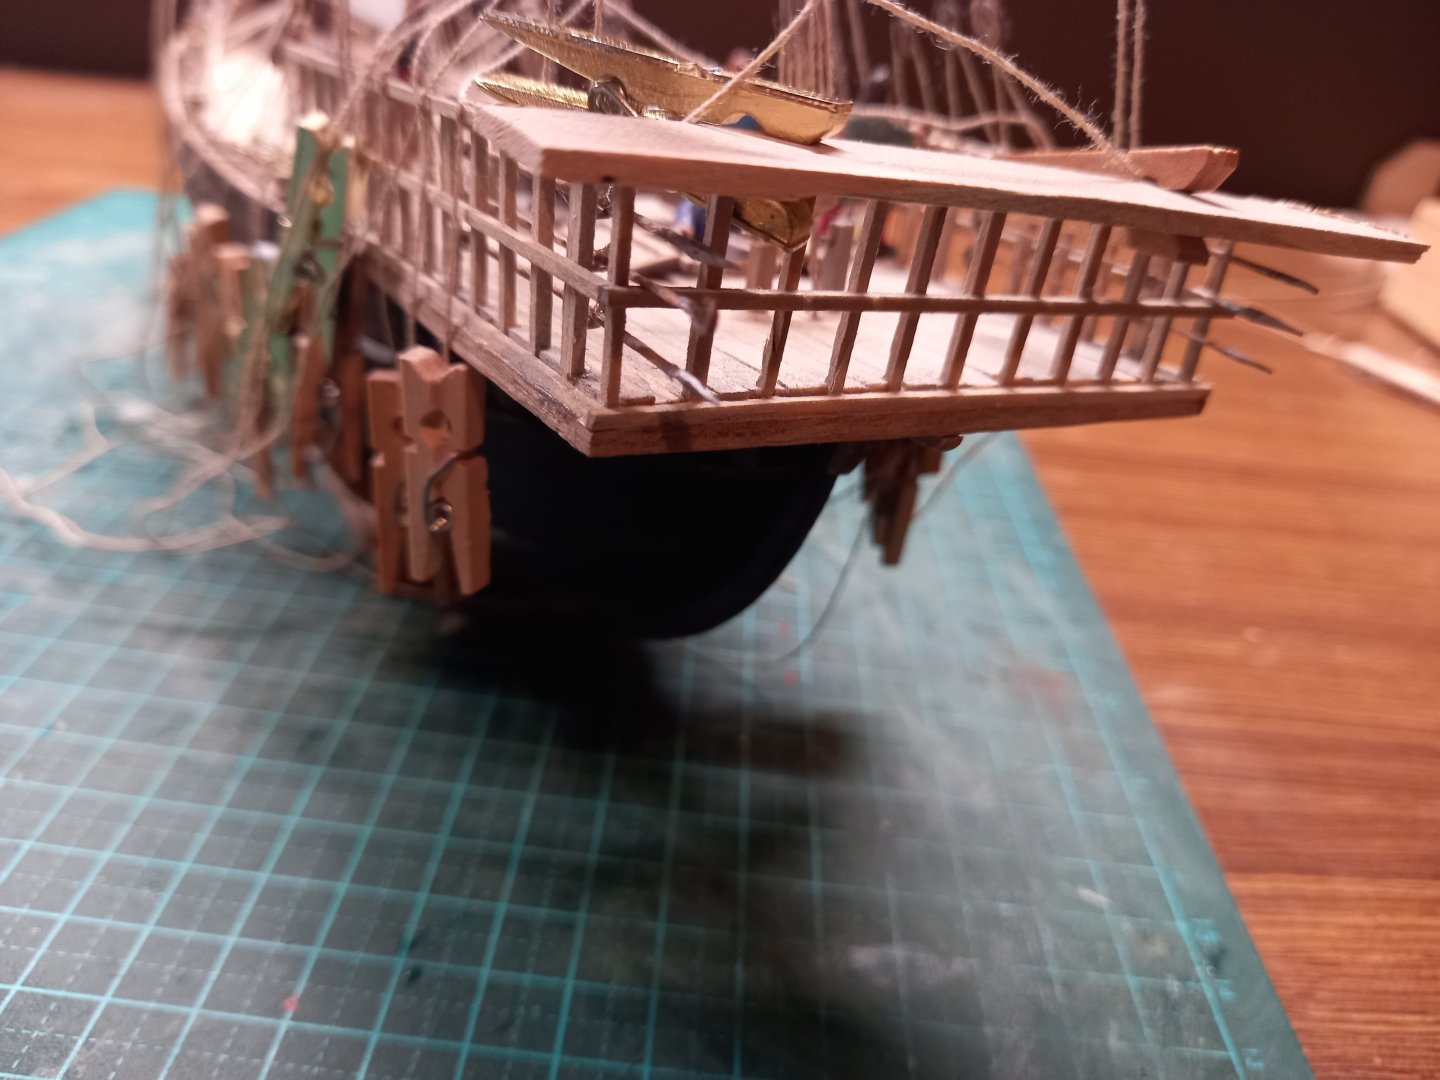
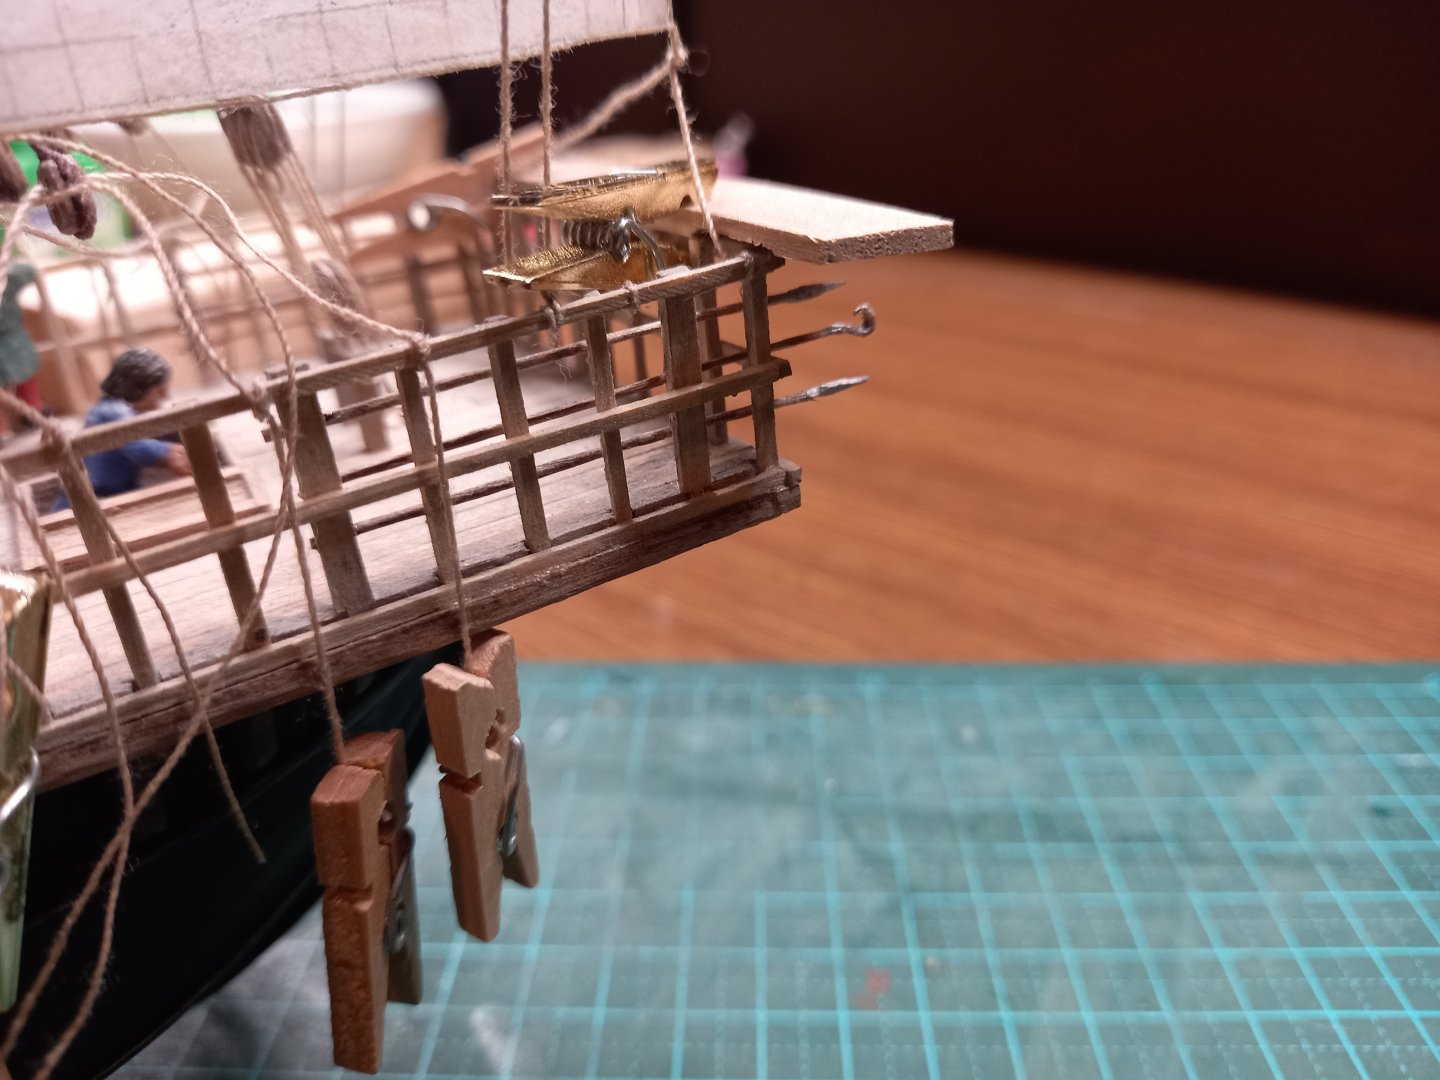
Thanks, Peter. Overall I'm happy with the build. There are a few things which on reflection I wish I'd done otherwise, but all ship modelling is a learning process, and I'm happy that my skills and knowledge are steadily improving with each build I do. The golden peg was a real find for me. I chanced across a packet of them in a junk shop in Ararat (about an hour's drive west of Ballarat) and snapped them up immediately. The problem with using clothespegs (and even miniature ones) as clamps is that they're made out of wood. So wood glue sticks them to the model if you're not careful. These pegs are plastic, so the problem doesn't arise. But I do have to scrape the gold paint off the bearing surfaces so it doesn't transfer to the model. Steven
-
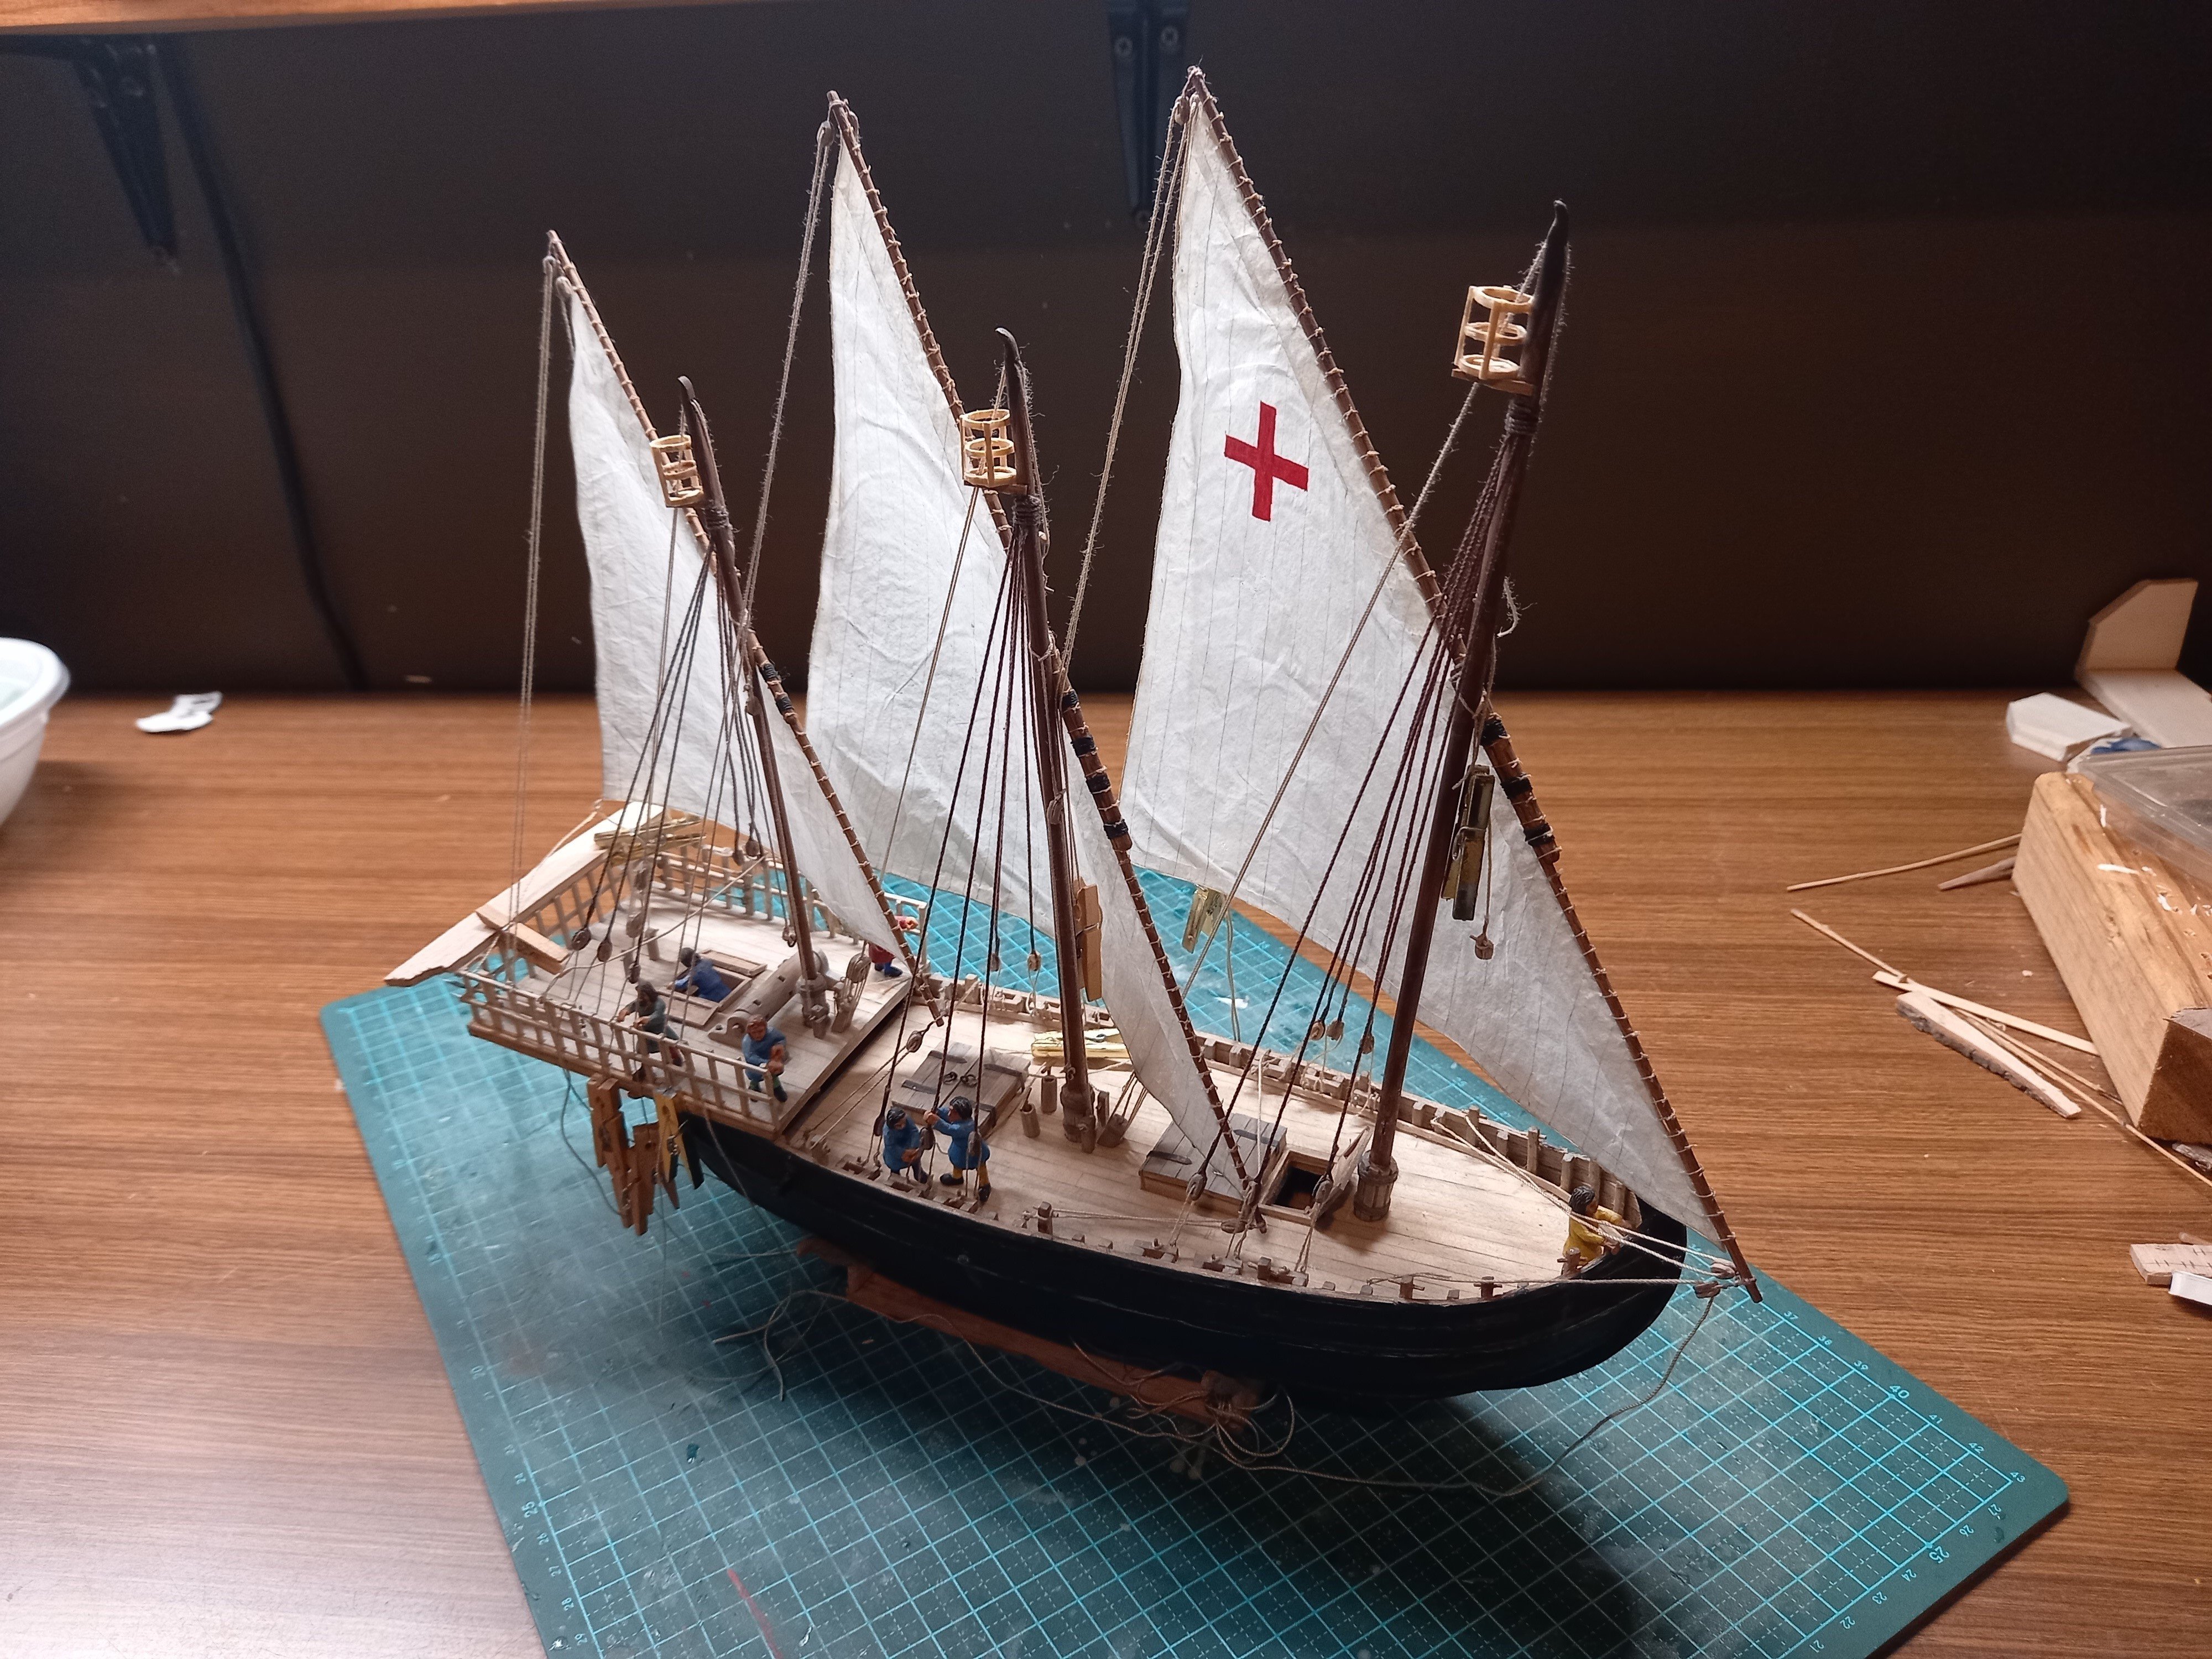
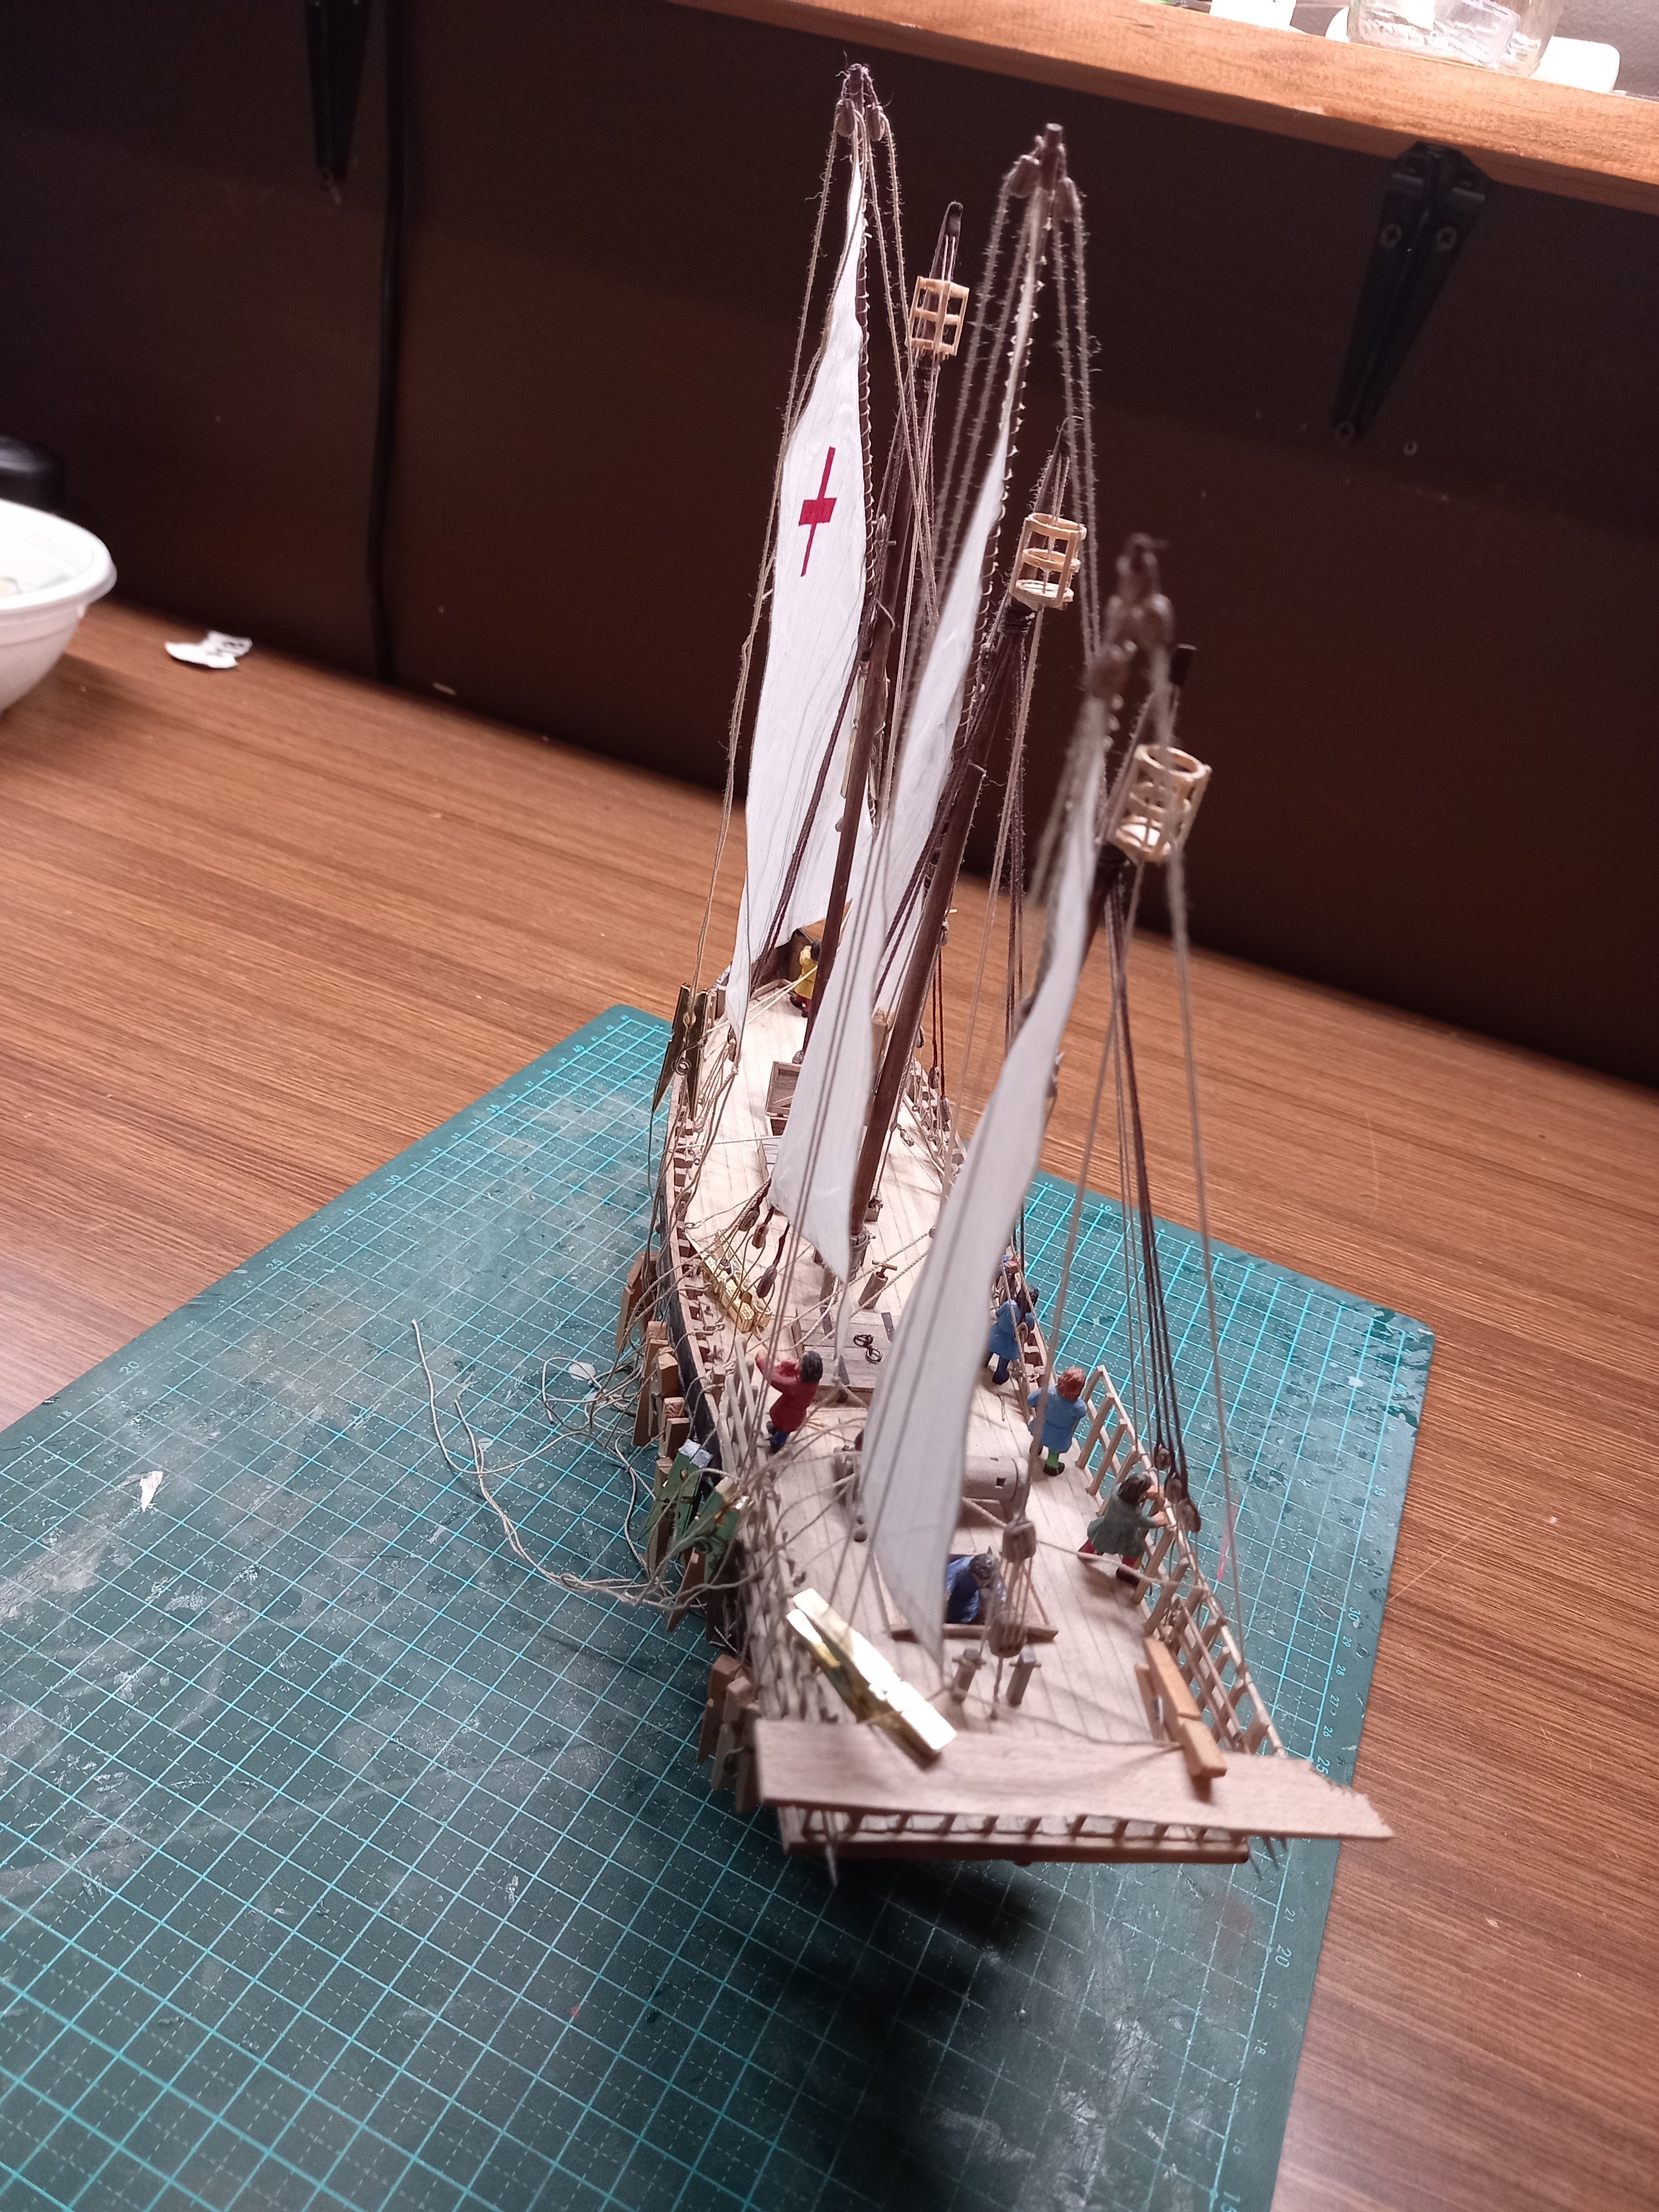
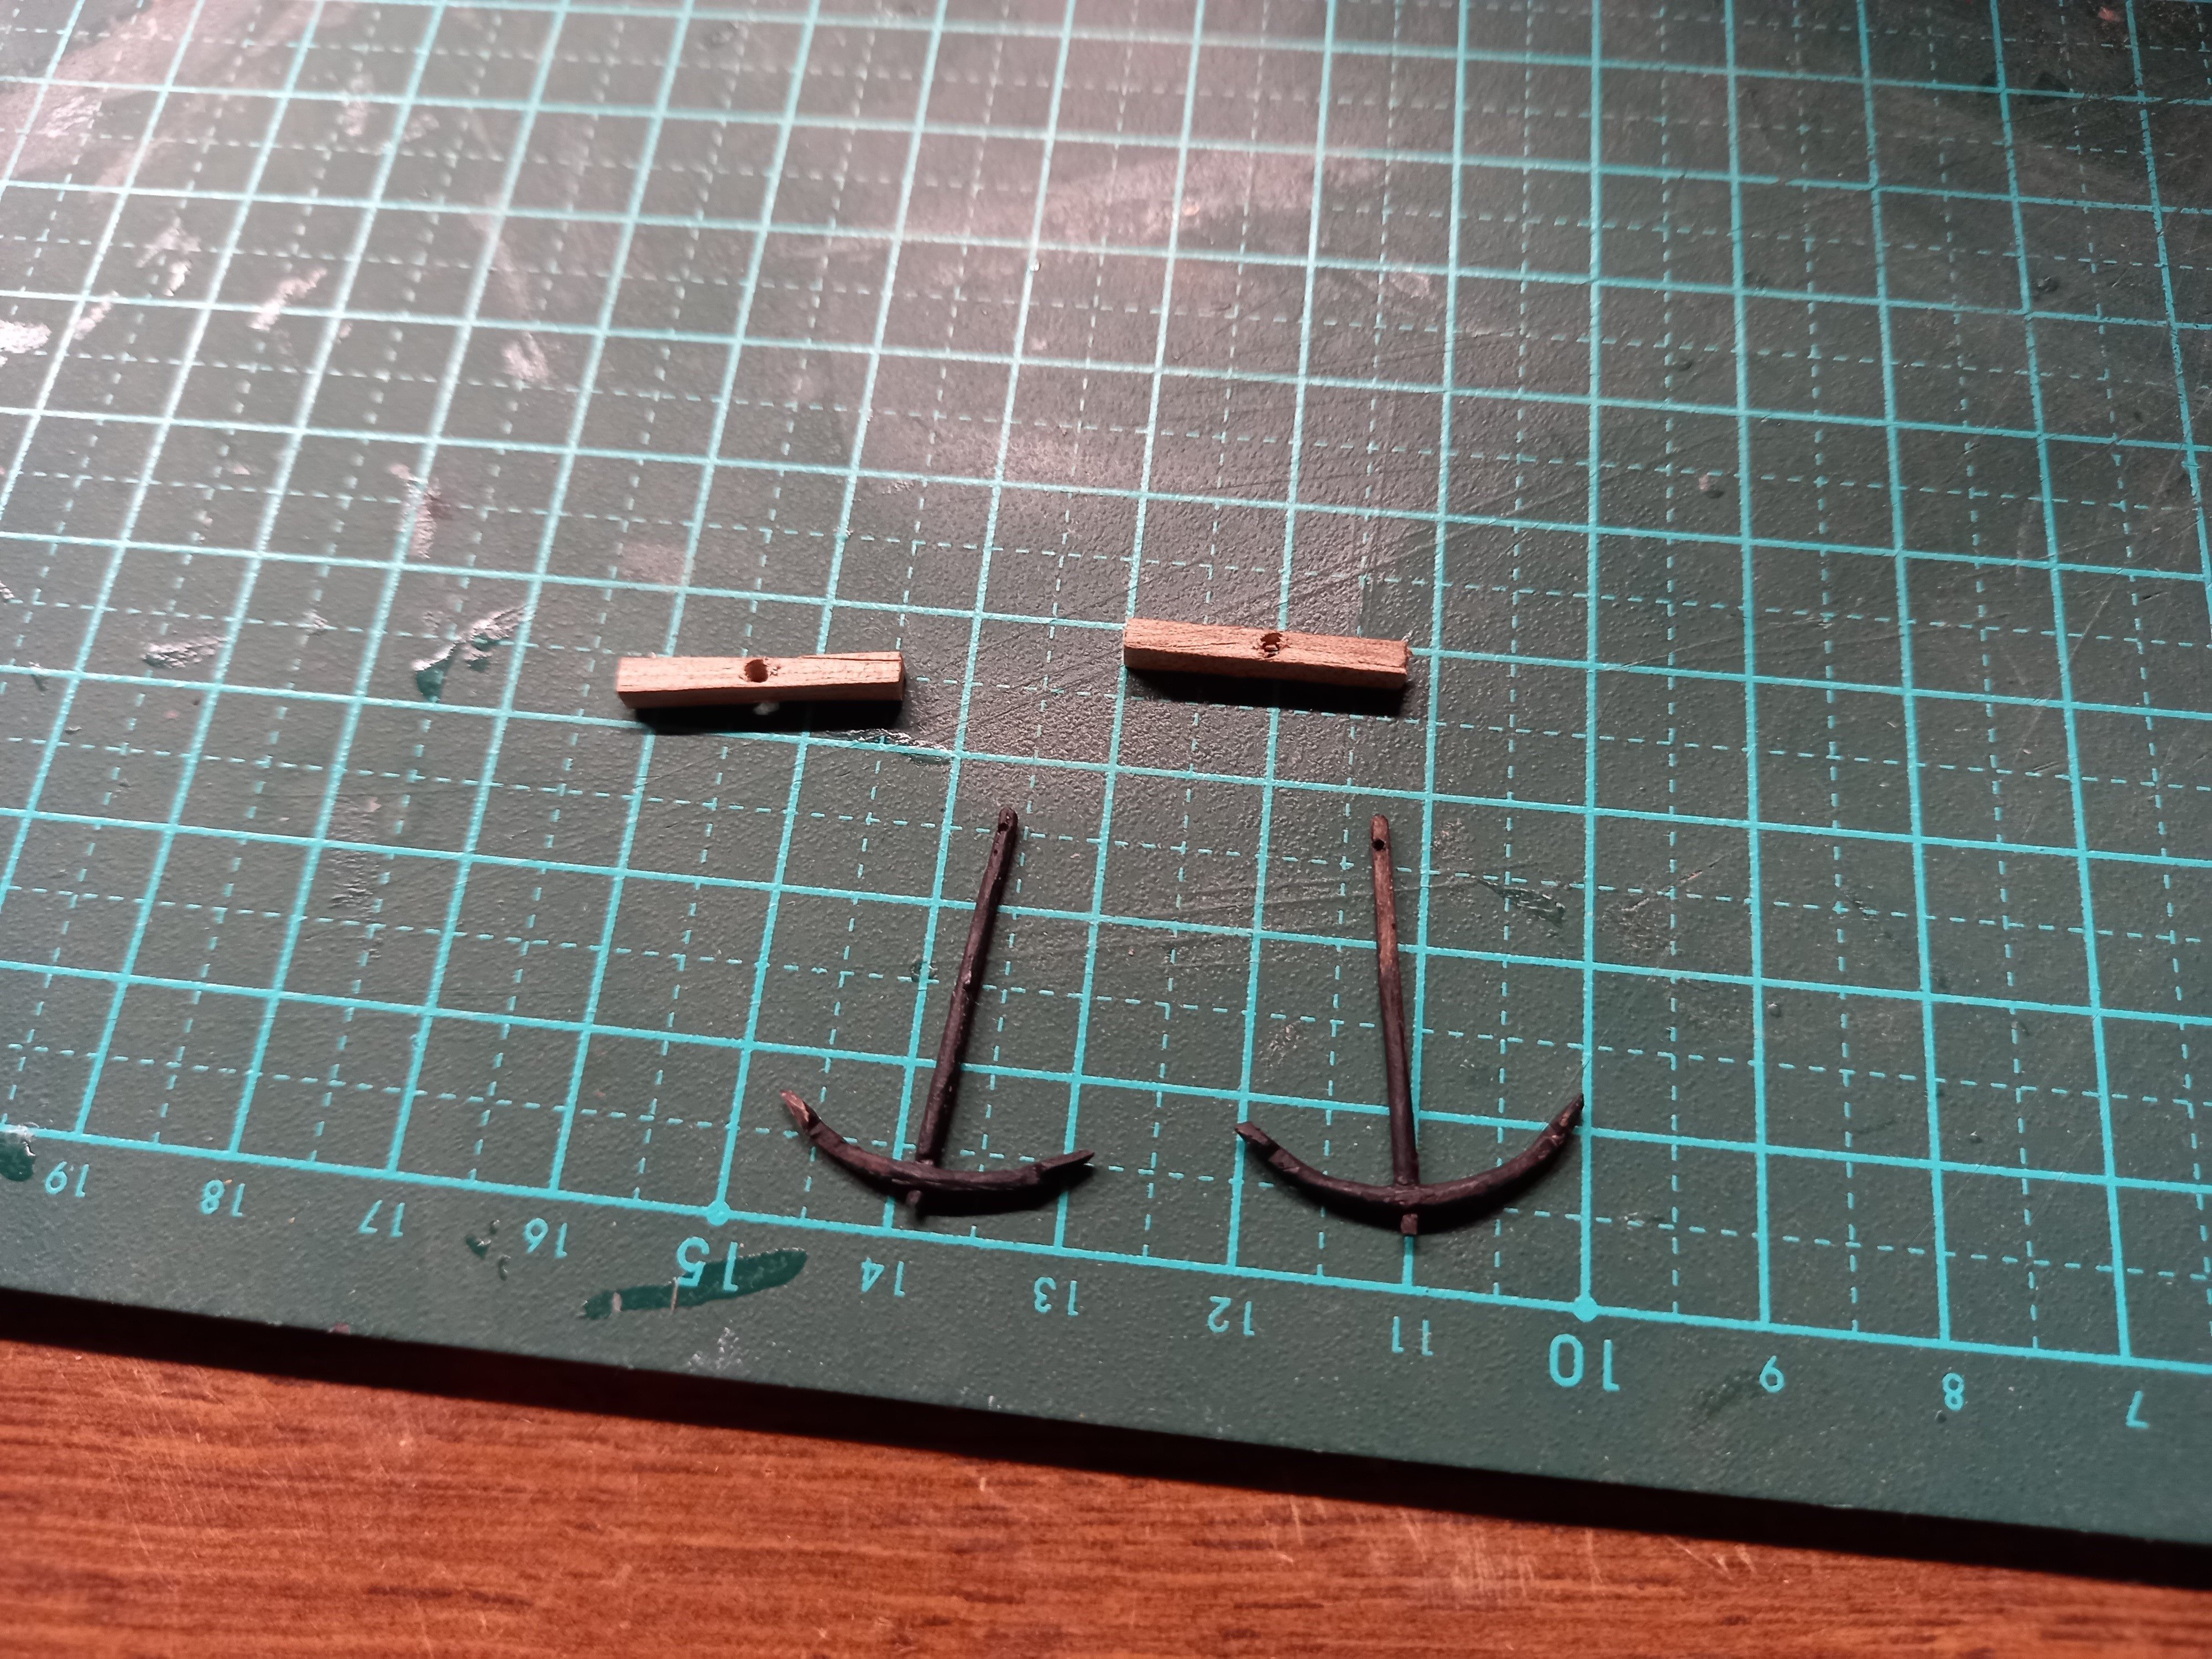
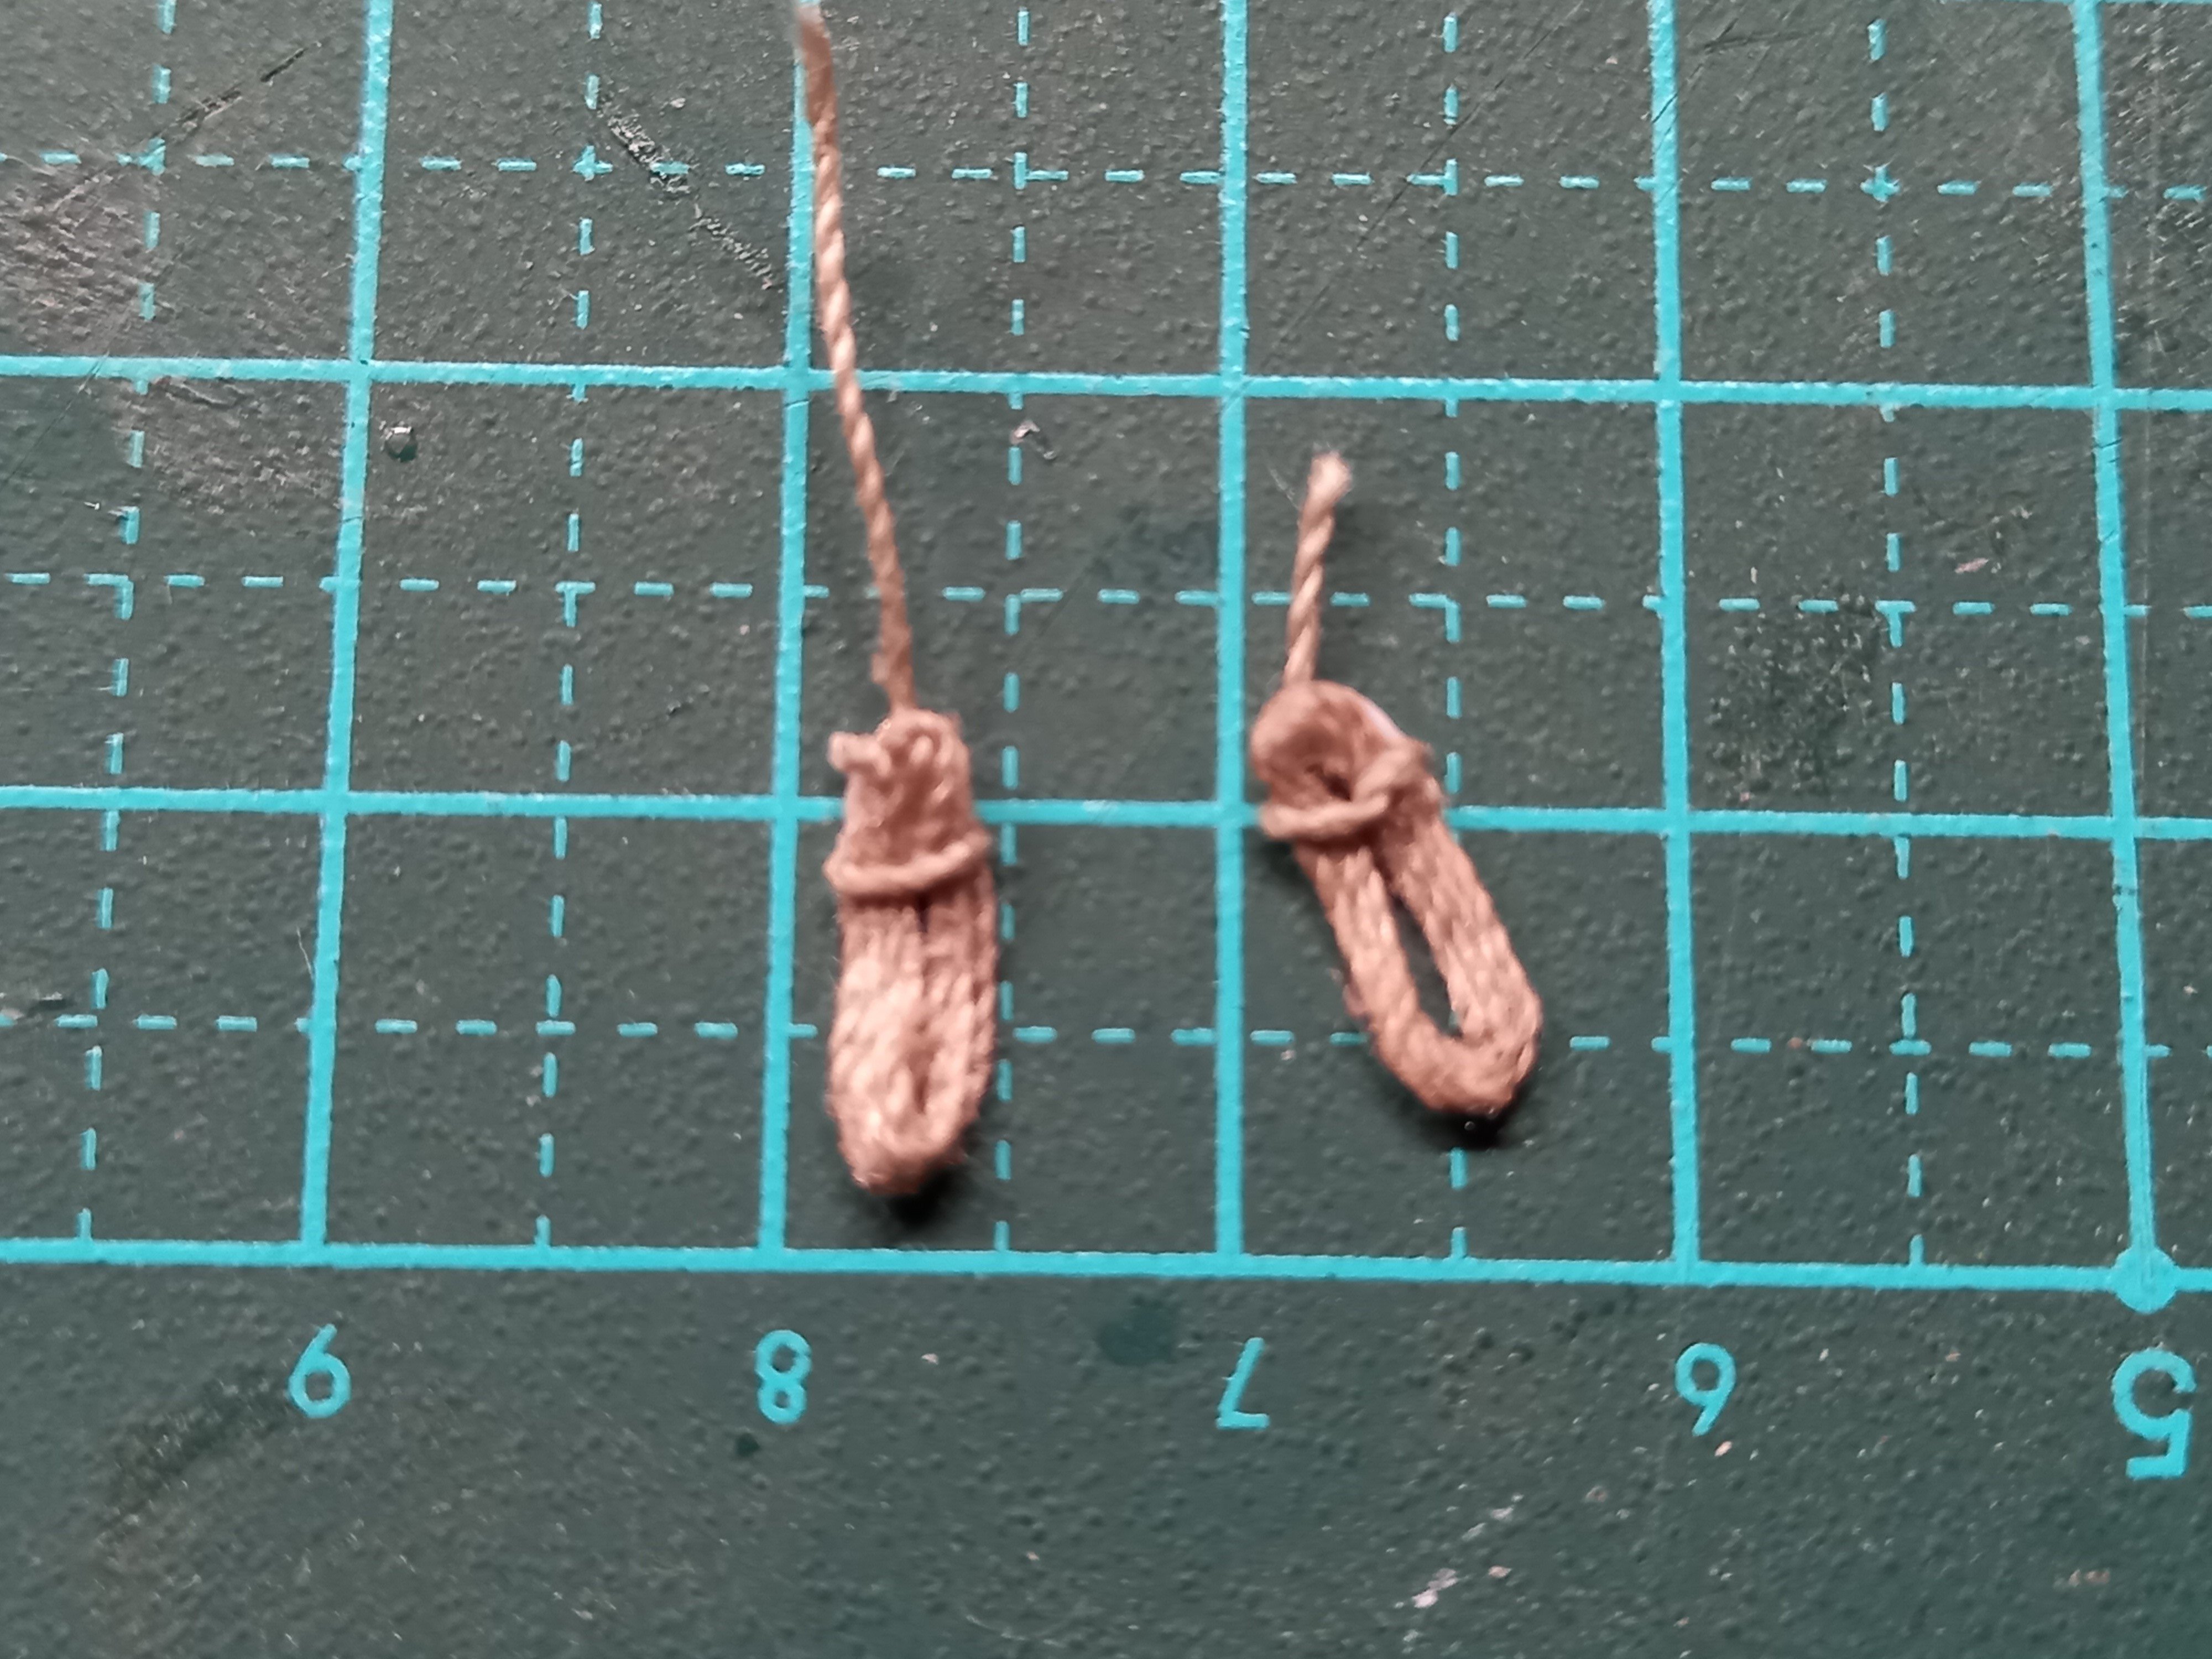
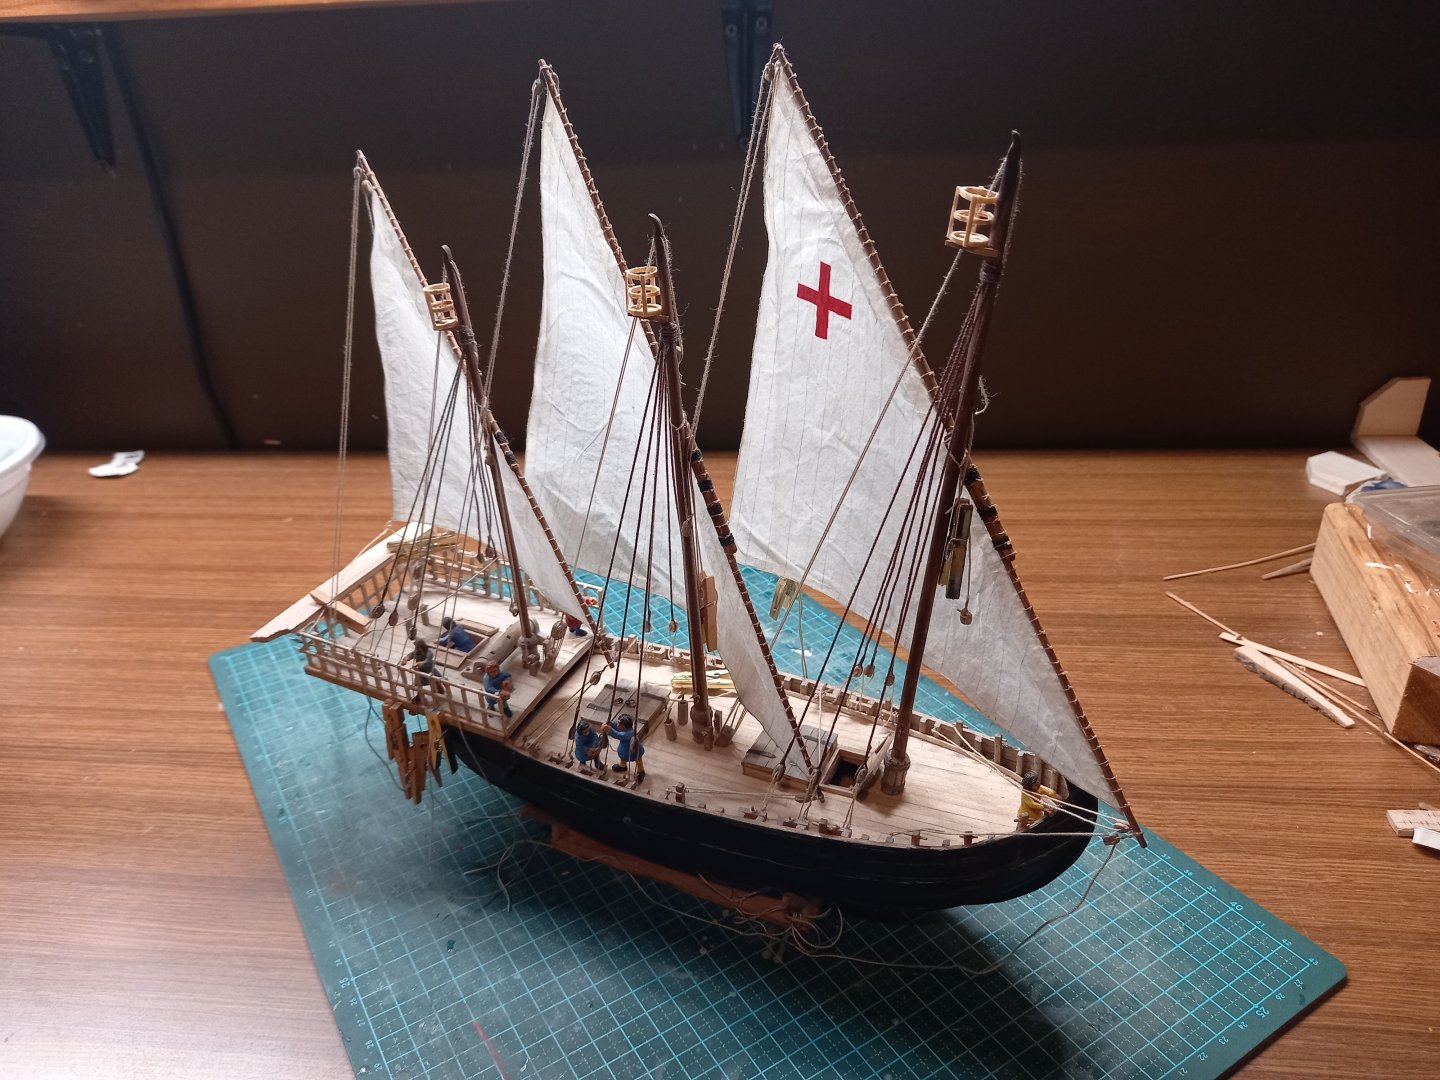
Still working on the rigging. The mizzen is all but complete - just have to add rope coils to the free ends where they're tied off. The fore and 'centre' masts have their rigging under way - halyards and trusses in place, preliminary work done on tacks, vangs/braces and sheets, to get all the yards and sails oriented the same way. Once I'm happy with it all, I'll tie them off, glue them in place and add the coils. Looking back on it, the shrouds for the mizzen should probably have been fixed to the hull itself rather than the rail of the aftercastle, as they're probably a bit too frail to take the forces involved. But I'm too far committed now to pull it all apart and start again. So I'll leave it as it is, and I won't tell if you don't . I've added the pole-arms on the aftercastle which seem to show up on most of the mosaics. But to keep me from carelessly breaking them off, I've put up a temporary barrier across the back of the aftercastle. And I've been working on the anchors. Carved out of walnut - I probably should have used a finer-grained timber, but I think they look pretty good. Not sure if I'm going to stop at two anchors or make more. With the blacksmithing technology of the time, it was impossible to make them very big and heavy, so most ships had quite a few anchors. On the other hand, the extra ones were probably kept below decks when not in use. Steven


- 508 replies
-
- 14
-
-
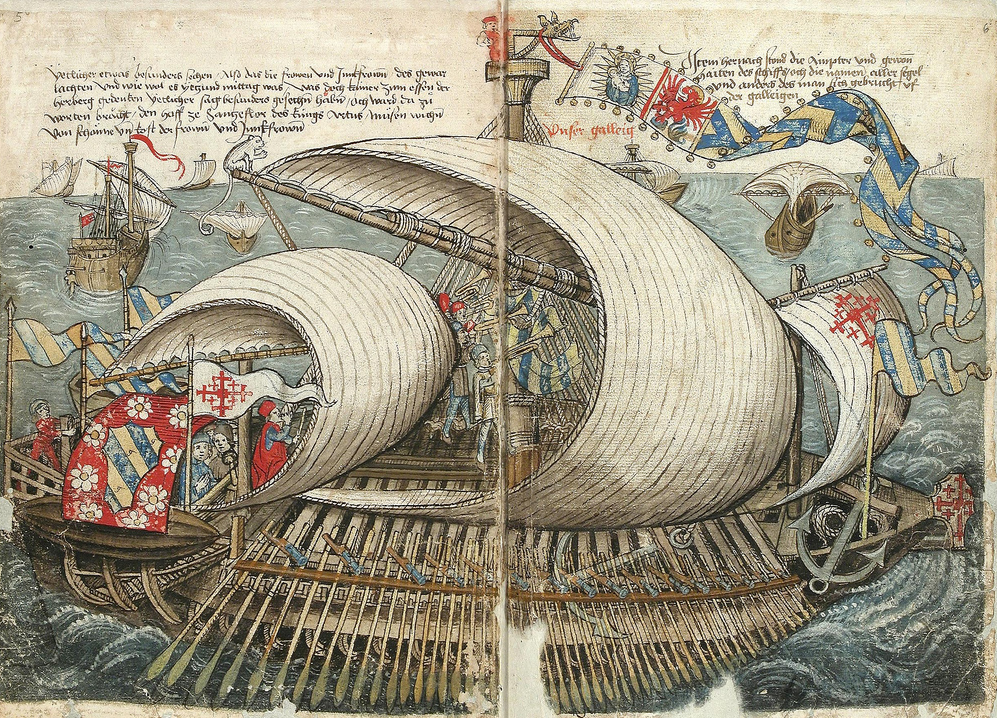
Interesting developments in this build. The canot looks very good. As far as where it should be stored, I really don't know, but I do have this picture that may or may not be relevant. This is from Conrad von Grunenburg's illustrated record of his 1487 pilgrimage to the Holy Land and judging by the flag, the ship belongs the the Kingdom of Jerusalem (which no longer really existed in fact, after the Crusaders were ousted from Jerusalem in the late 13th century but still maintained a Kingdom in Exile for a long time afterward, based, IIRC, in Cyprus. I don't know how much credence should be given this (sole) picture of a canot lashed to the starboard quarter of a galley - after all, it has some other details I find hard to believe, such as those swivel guns mounted above the oars (how would you use them? Wouldn't they get in the way?) and an anchor which appears to be fouling quite a number of oars. Your idea with the chains sounds good. I've hit a similar problem with my San Marco ship - basically didn't think of the forces involved until too late - but I'd already committed myself and I wasn't prepared to rip everything off and start again. Nobody but a ship modeller will spot the problem, and if you don't tell anyone, I won't either Steven
- 176 replies
-
- 3
-
-

-
- la reale de france
- heller
- (and 2 more)
-
Such beautiful work, Patrick. I take my hat off to you, sir! Steven
-
Another swabbie build, however inexperienced!
Louie da fly replied to flyenrw's topic in New member Introductions
Welcome to MSW. Make sure you start a build log for your Lady Nelson. Instructions for starting your log are here: It's the best way to get help and advice as you proceed with your build, and we get to see another ship model under construction! Steven -
Who knows? So little survives we only know it had a stempost, at least one floor timber and some clinker planking . . . But the stempost (assuming that's what it is) would do away with it being a hulc in the academically accepted sense. Steven
-
Lee-boards in English. Used on Thames barges, Humber keels and other shallow-draft vessels. See #19.01 in the video below, and https://en.wikipedia.org/wiki/Leeboard (Many thanks to Liteflight for this video). Steven
- 55 replies
-
- 1
-
-
- miniature
- Brandenburg State Yacht
- (and 1 more)
-
Nice smooth lines. Is that going to be a double-planked hull? Steven
-
Mediaeval Shipwreck found in England
Louie da fly replied to Louie da fly's topic in Nautical/Naval History
The paper also mentions two other wrecks from about the same time - Magor Pills in Wales (archaeological report 1999) and Kalverev Syd (2022).Both are very fragmentary, as far as I've been able to make out, and both are smaller than this one. That being the case, they may be too small to be categorised as nefs - we just don't know,as we don't know for sure this one is a nef. Part of that is in the definition - does it have to have castles to be a nef, or are we just talking about a double-ended clinker-built ship? And of course we don't even know for sure that it's double-ended - though the stempost has been found, the sternpost hasn't. Steven -
I just came across this paper, about a merchant ship from about 1250 AD. https://www.cambridge.org/core/journals/antiquity/article/mortar-wreck-a-midthirteenthcentury-ship-wrecked-off-studland-bay-dorset-carrying-a-cargo-of-purbeck-stone/3DCA5959D7C694C95EF788903A7BB383 Unfortunately, not much of it has survived, but they found the stempost and a floor timber and some clinker planking - enough to get a fair idea of its construction and its size and shape. On board it had a cargo of 'Purbeck stone' - which was very commonly used in church building at the time. Imagine trying to transport all that stone over the roads of the time - no wonder it was being carried on a ship. A nice bit of evidence of the maritime trade of the period, as well as some pleasing confirmation of several of my decisions in my Winchelsea nef build. Steven
- 2 replies
-
- 10
-
-
Just found this article - a wreck of a merchant ship in England from c.1250, only 24 years before my nef. https://www.cambridge.org/core/journals/antiquity/article/mortar-wreck-a-midthirteenthcentury-ship-wrecked-off-studland-bay-dorset-carrying-a-cargo-of-purbeck-stone/3DCA5959D7C694C95EF788903A7BB383 The length and beam tie in with mine very closely, but the radius of the stempost is considerably wider than mine, indicating that the bow (and presumably the stern) was a different shape. But that's to be expected within the expected variation. Pretty cool. Steven
-
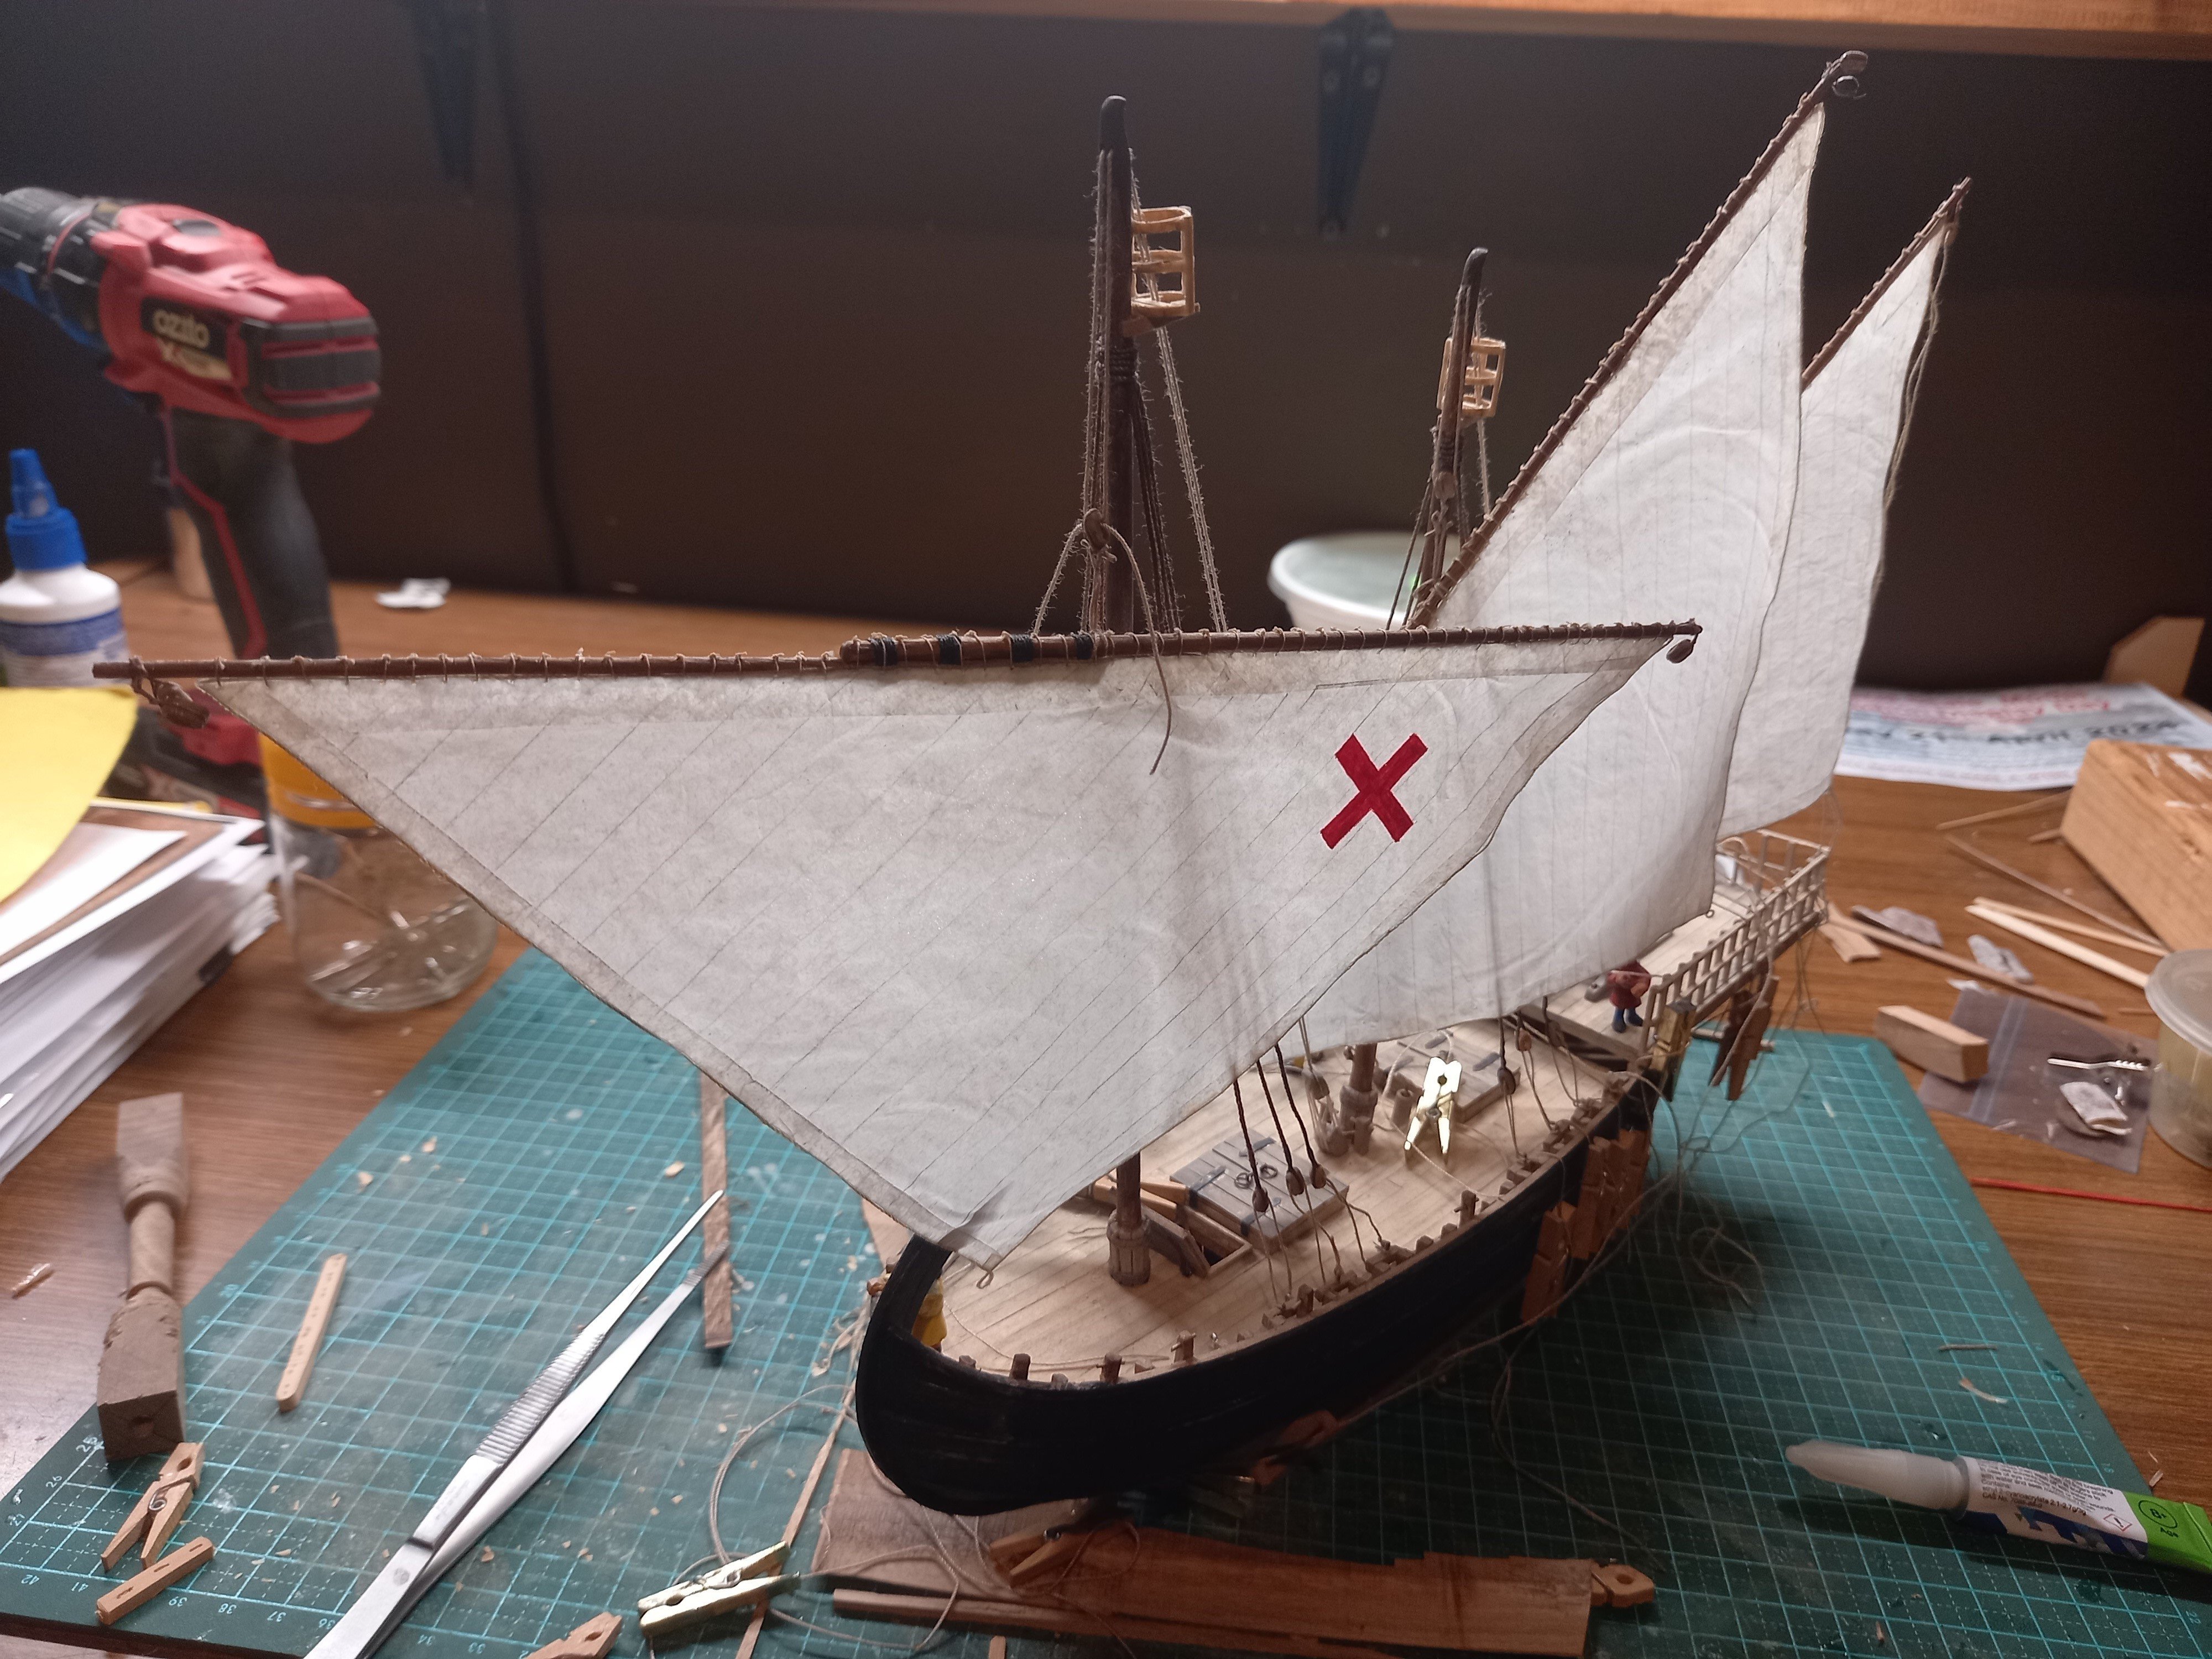
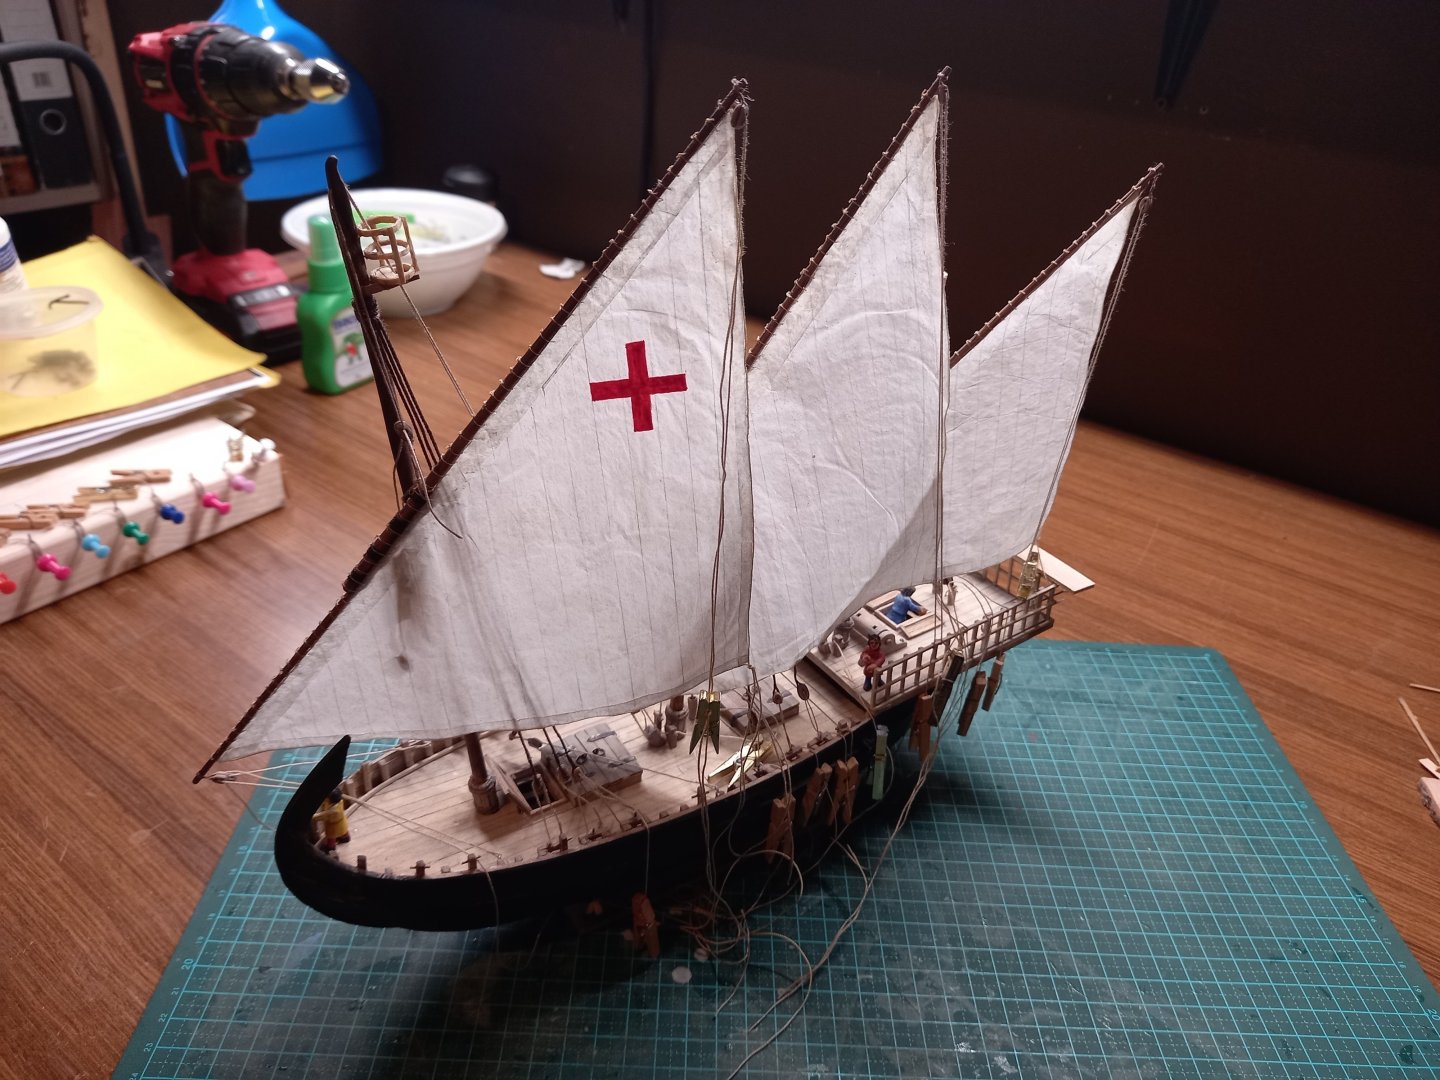
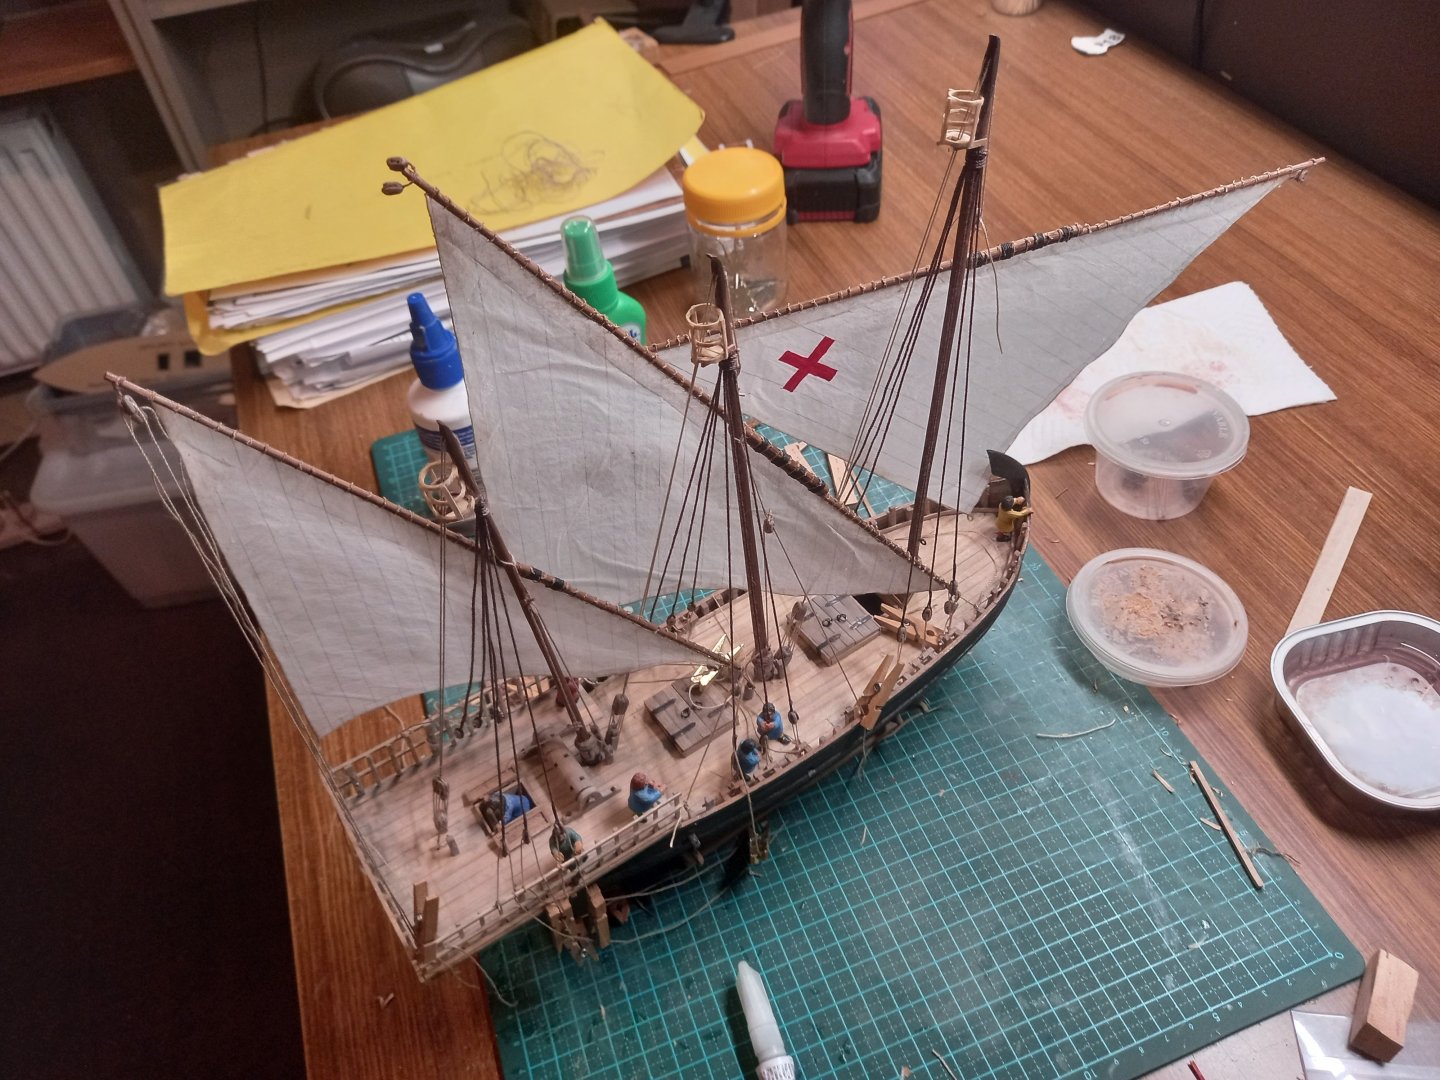
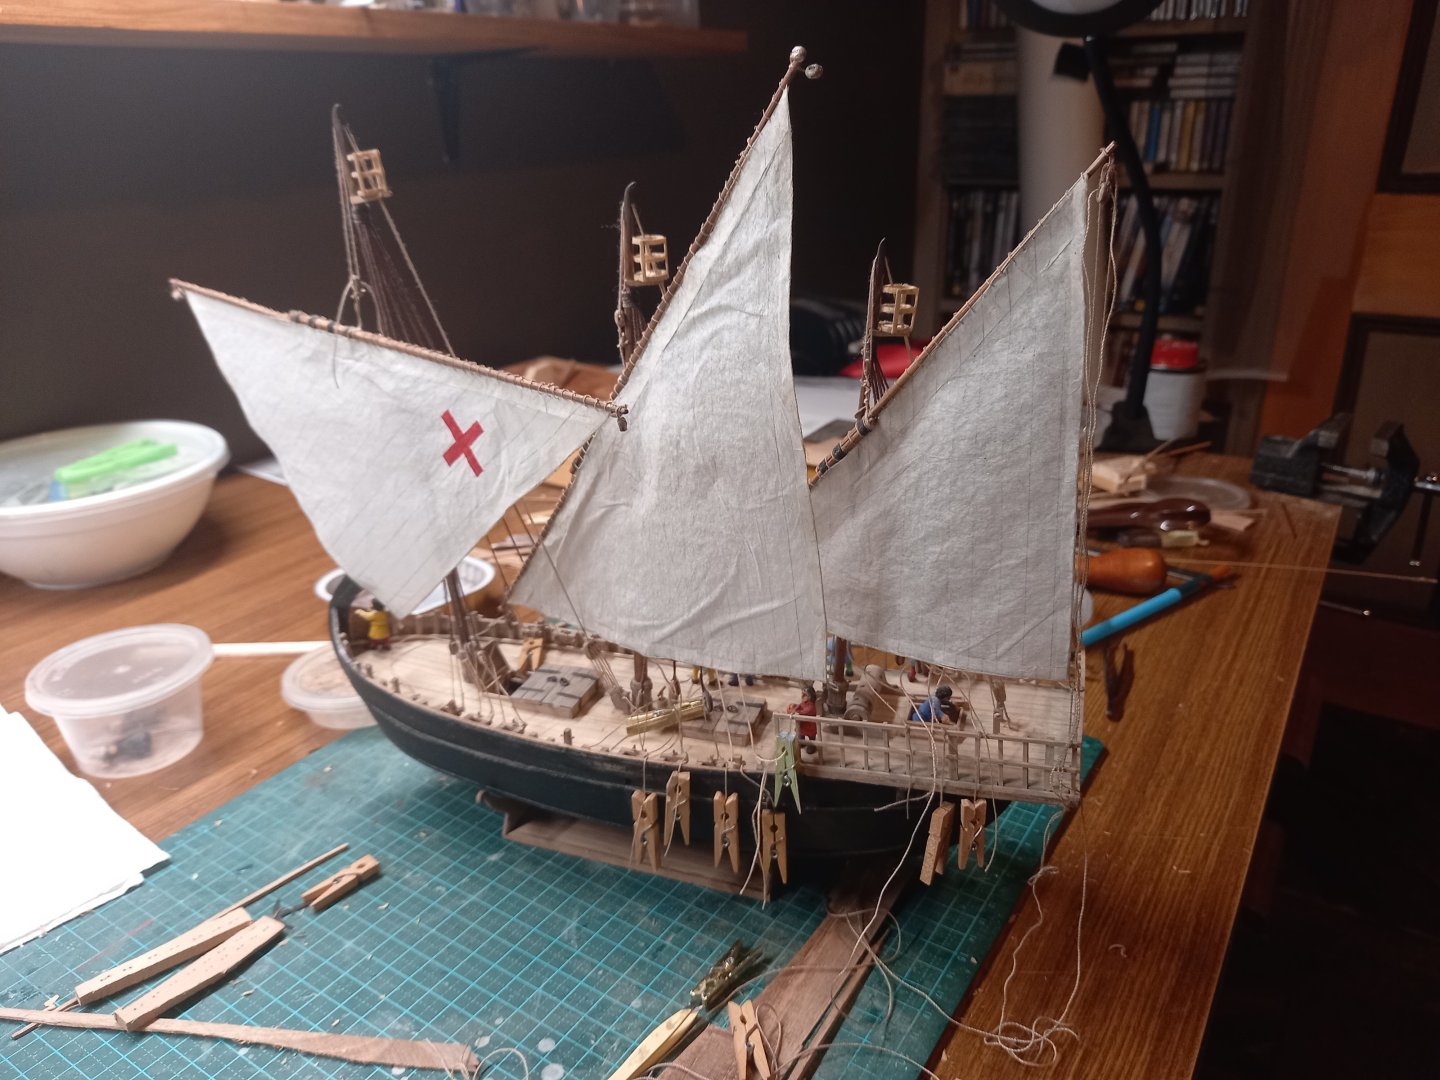
Thanks for all the likes and the nice comments. I'm now rather regretting a decision I made early on in the design. Though the foremast is taller and heavier than the 'centre' mast, as is common with mediaeval Mediterranean lateeners, I made the yards and sails for the two masts the same size. And now the foresail looks a bit too small and too high above the hull. But I'm not prepared at this late stage to re-make the yard and sail all over again. Instead I'll be hoisting it somewhat lower than the centre yard - that looks ok and I'll treat it as a learning experience for the next mediaeval lateener (I do intend to make at least one more some time in the future). Steven
-
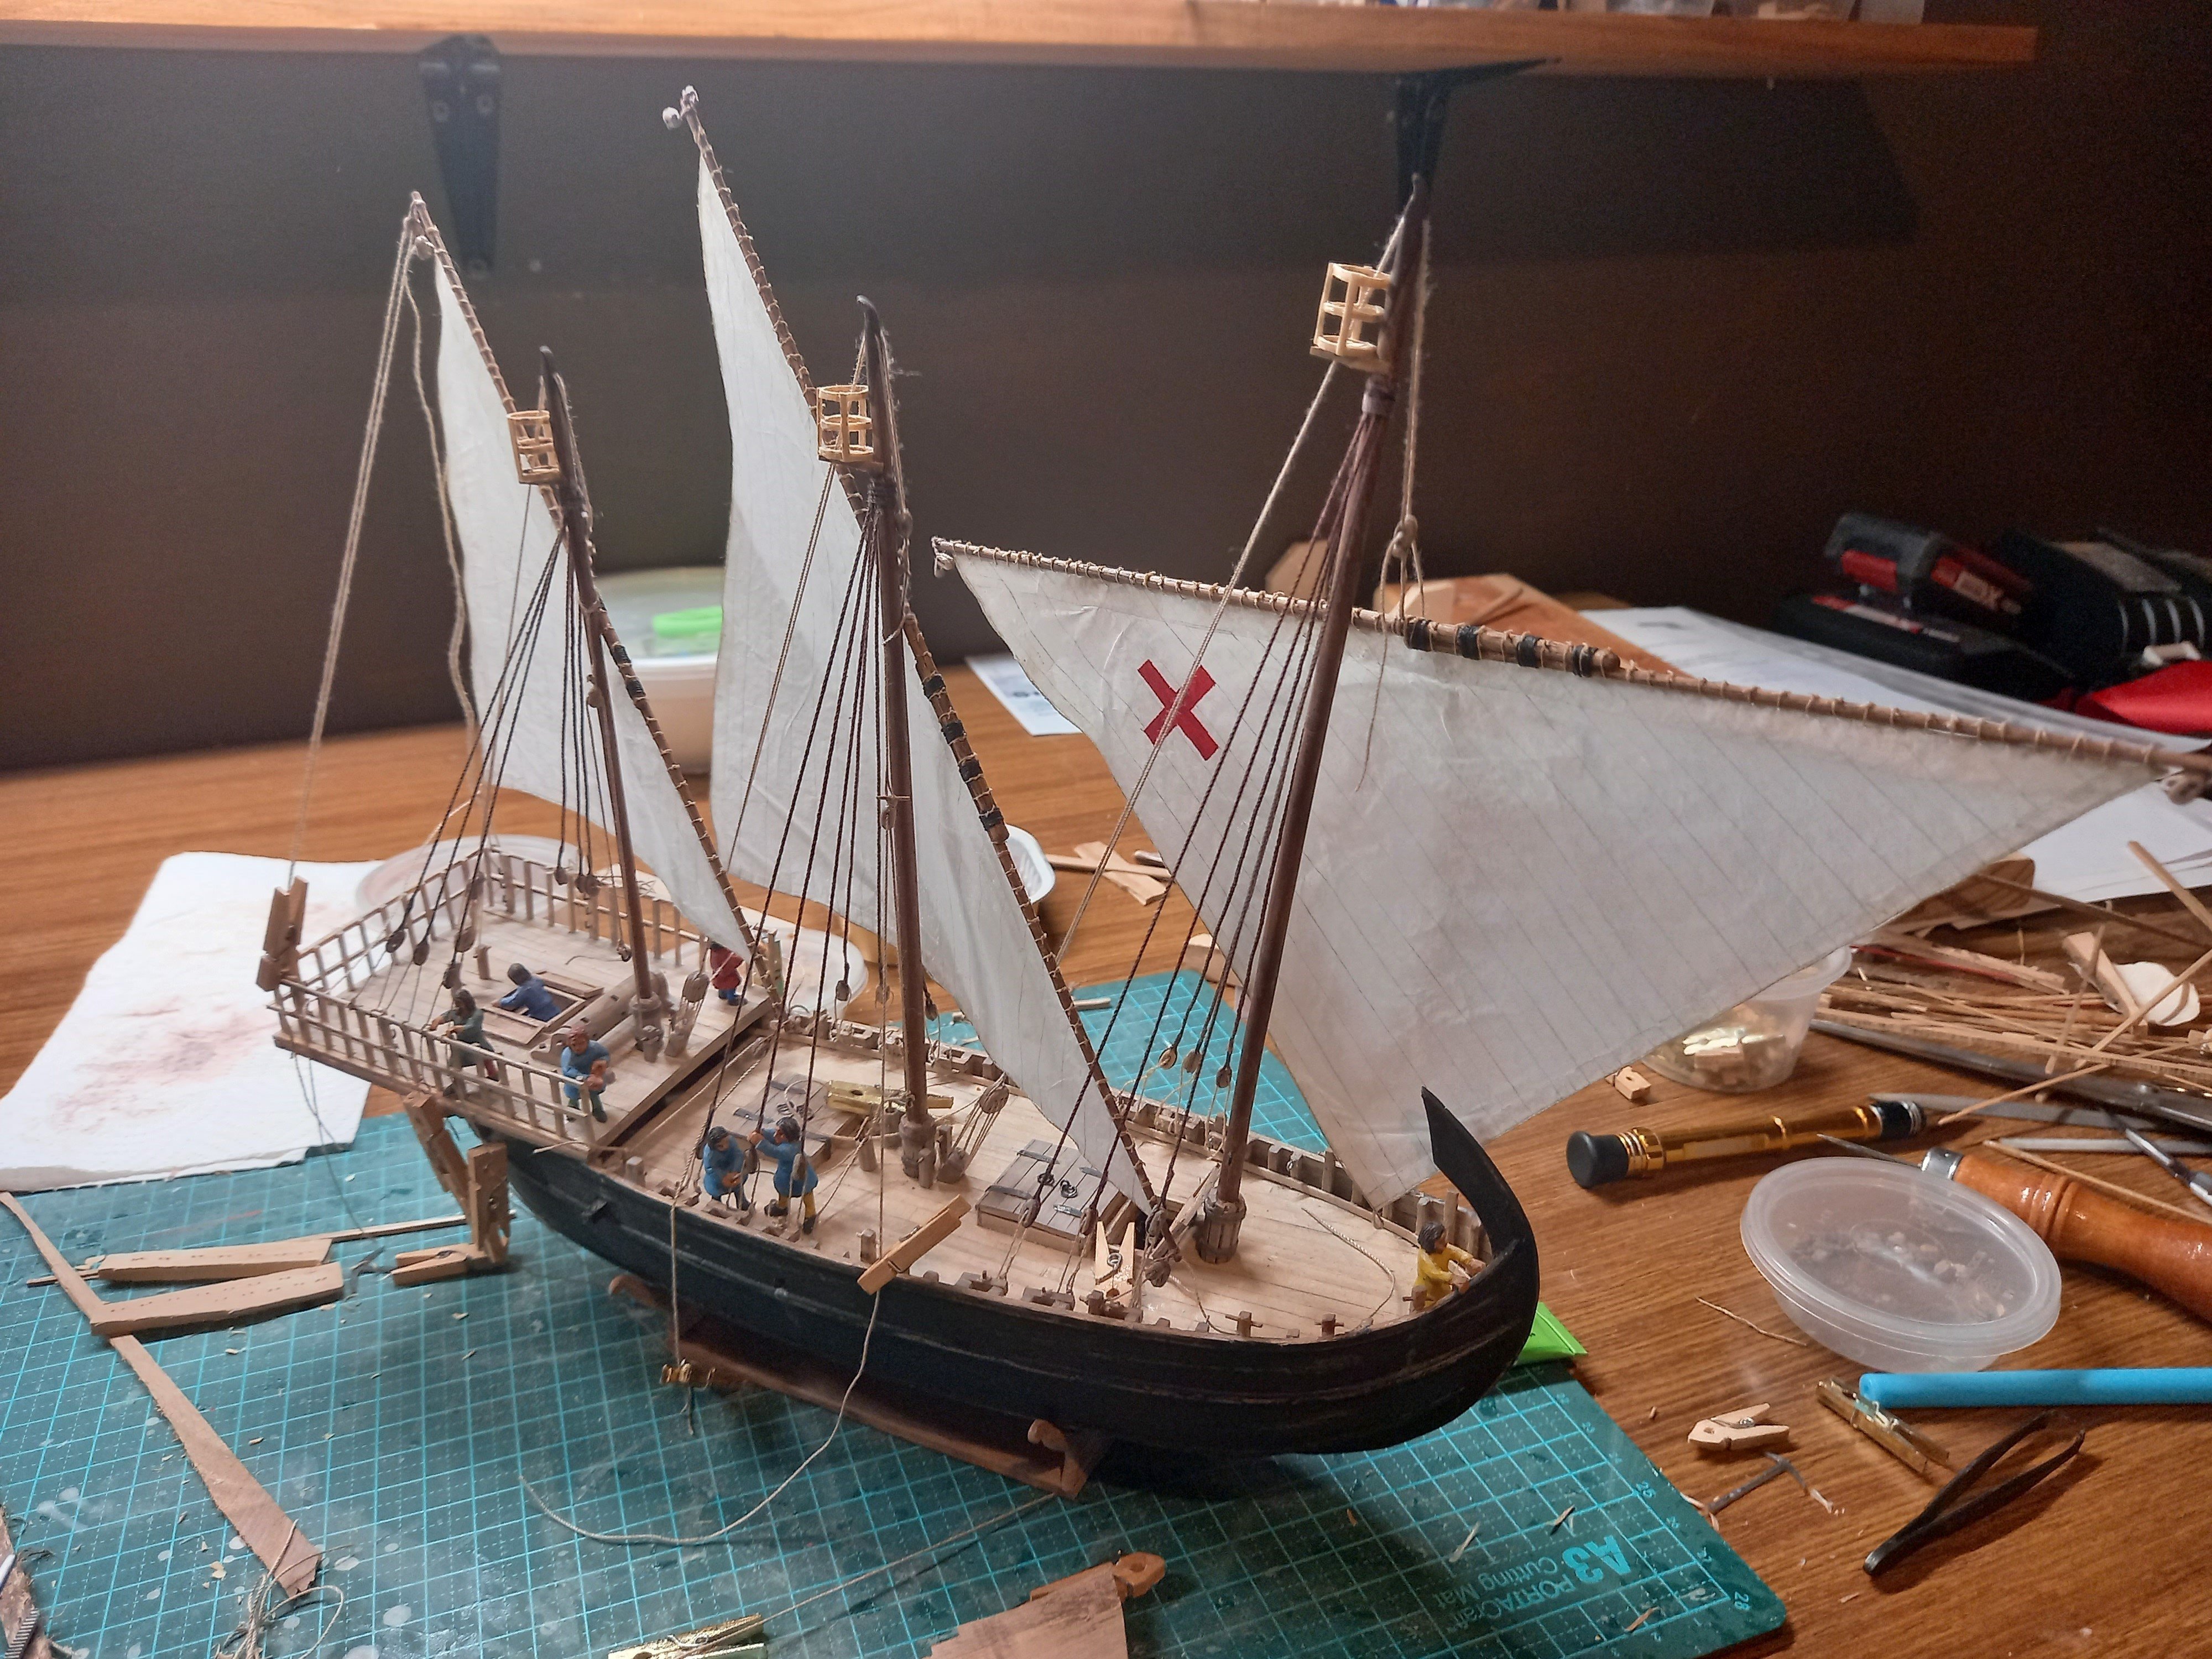
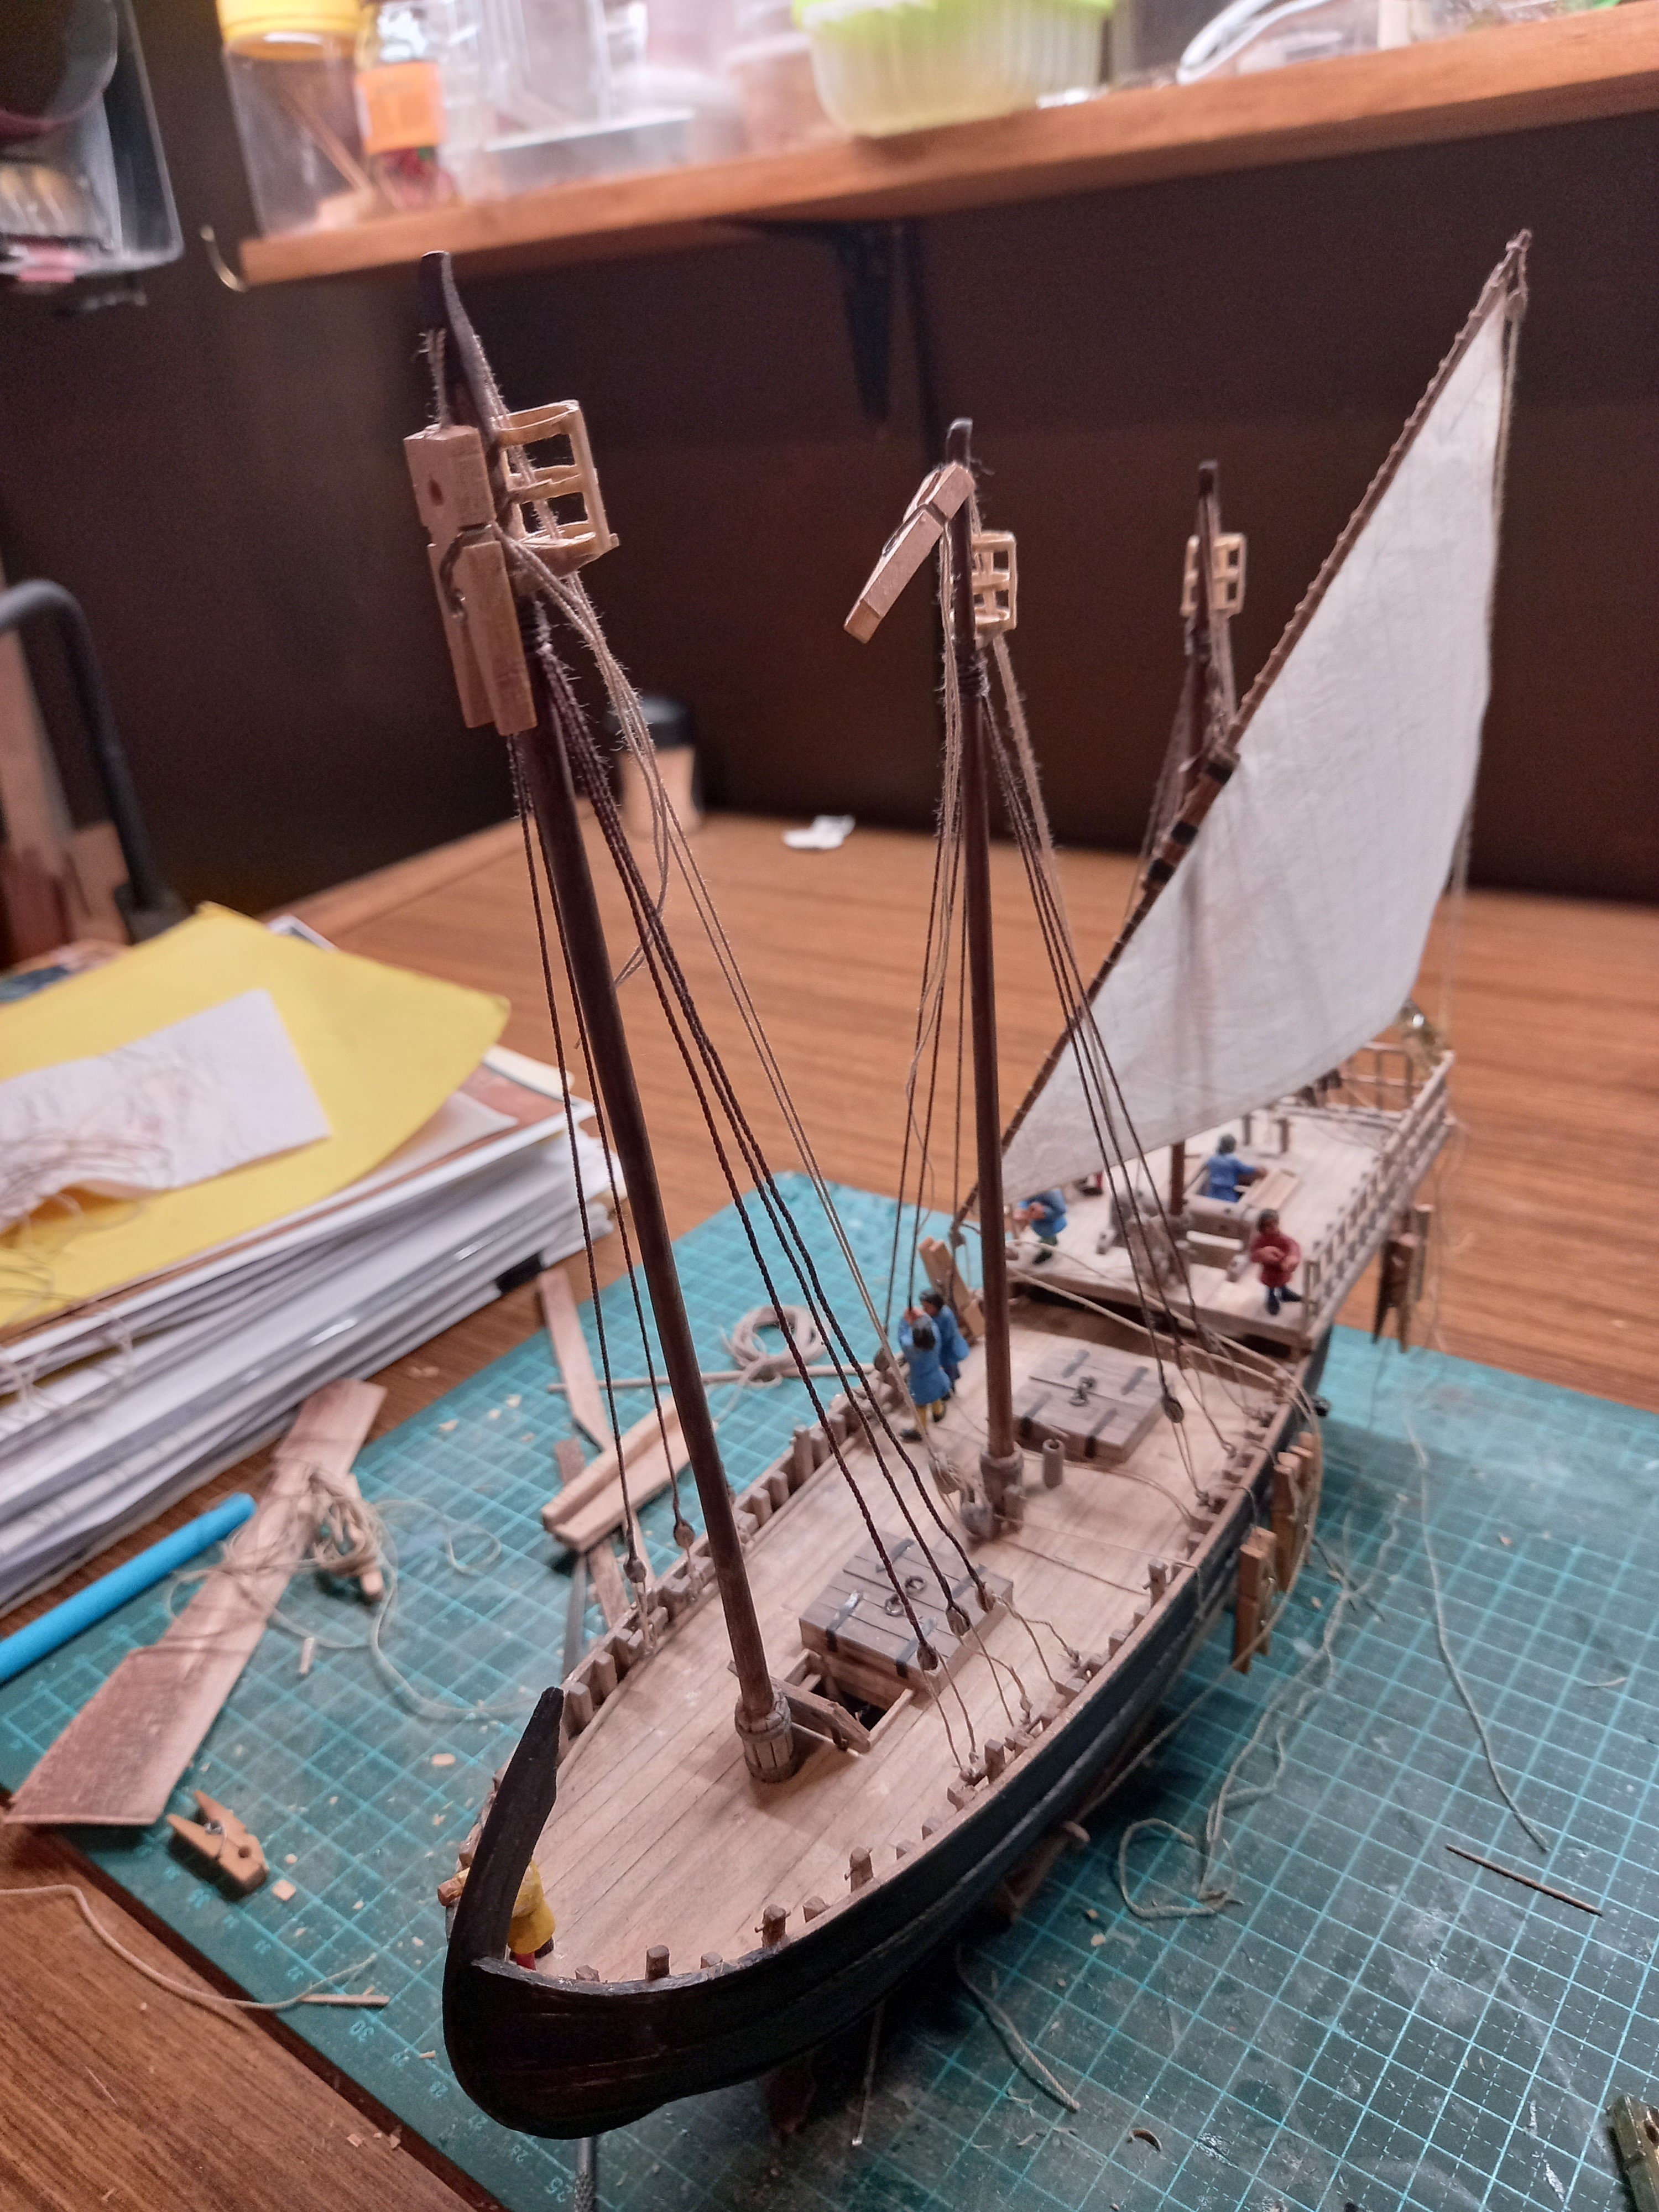
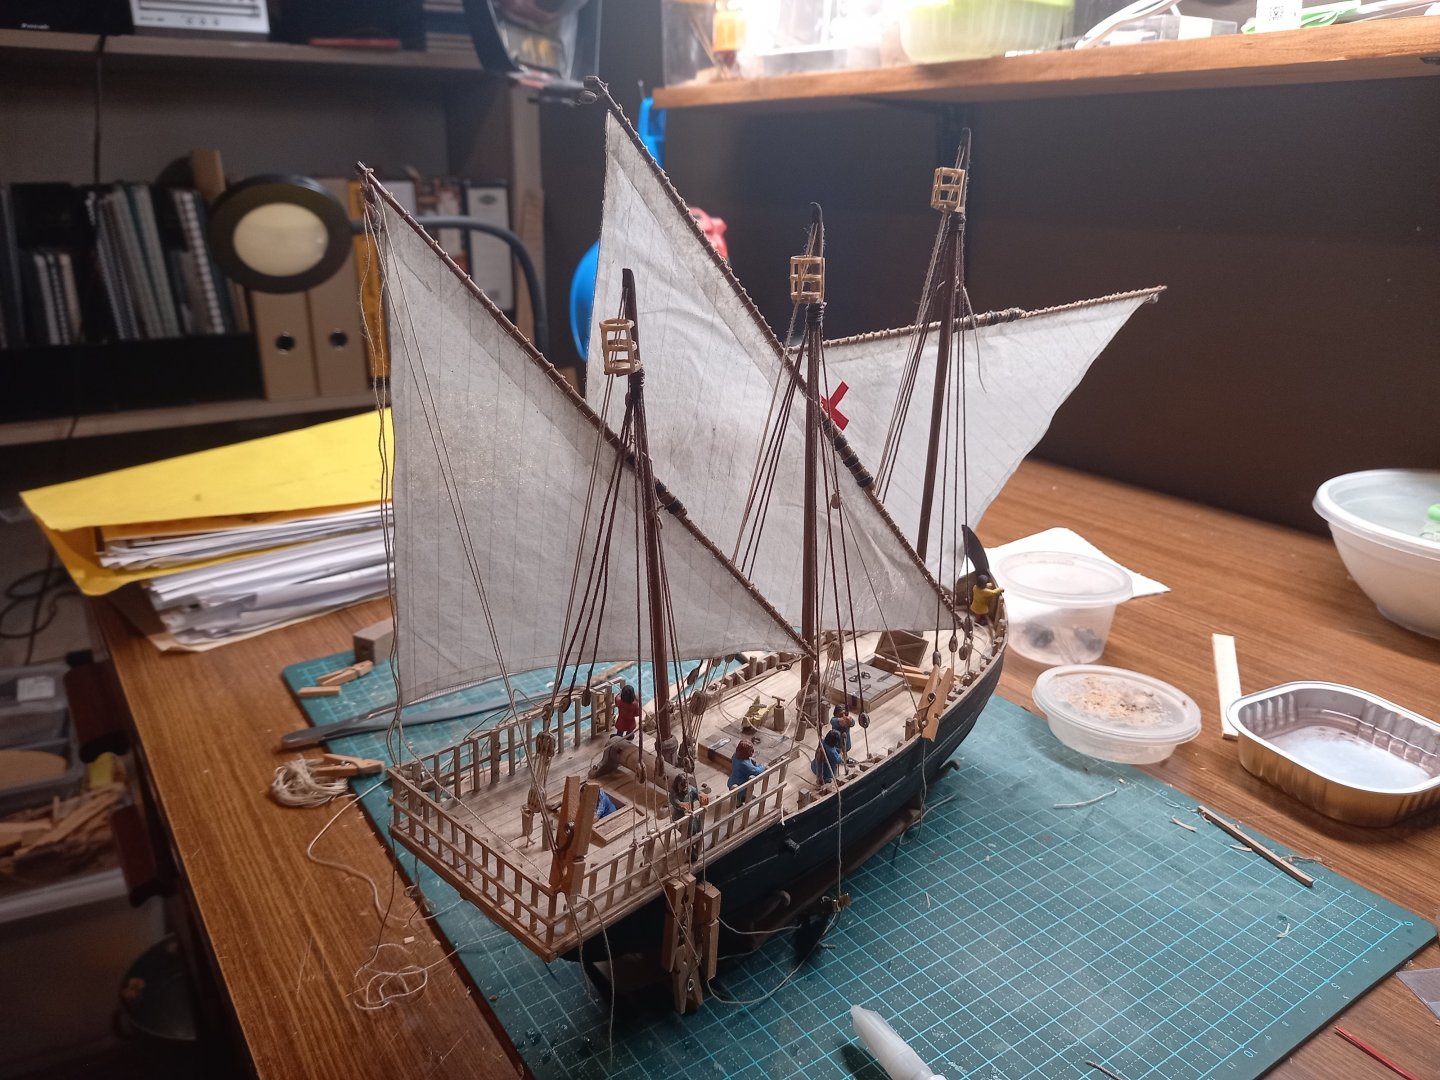
Working on the lateens. Discovered I hadn't allowed for enough belaying points, so I had to add some eyebolts at the sides to take the standing ends of tacks and vangs/braces, and on the masts for the trusses. And belay the leading ends to the bitts. I haven't permanently belayed anything yet - first I have to make sure all the forces balance so the ropes are all taut where they need to be. Note that the point of balance for the foresail (and the central sail, if it comes to that) doesn't result in the sail hanging in the conventional "angled yard" configuration. That will be handled by judicious use of the controlling ropes - vangs/braces, tacks and sheets. But interestingly (as I discovered to my surprise) having the yard horizontal is totally ok for a lateener - quite a common configuration when running before the wind. There are currently some unwanted wrinkles in the sails. This is my first attempt at using silkspan and I'm learning as I go. I'm hoping that if I damp the sails down and let them dry again with a bit of help in shaping, the wrinkles will vanish, or at least lessen. My lovely and beloved wife, on the other hand, thinks they add to the verisimiltude of the model (it is, after all, supposed to be a somewhat shabby merchant ship, a mediaeval equivalent to a tramp steamer), so I'm a bit torn as to whether I should fix it at all. By the way, please excuse the messy table - that's just the way I work (and I'm certainly not going to tidy up just for a work-in-progress photo). Steven


- 508 replies
-
- 17
-
-
Looking very good, mate. I seem to have forgotten that this was at 1:200 - I'm even more impressed! Steven
- 55 replies
-
- 2
-
-
-
- miniature
- Brandenburg State Yacht
- (and 1 more)
-
Looking good,mate. It's certainly hard to know how the caique could have been sailed with those oars aboard. It doesn't look like there'd be room for the crew - even if there were only six of them (a pair of oars each) plus the coxswain. And I can't see it being practical to slide them beneath the thwarts, either. Unless there was some form of 'holder' for them running down the centre of the boat, like unto the histodokai (crutches for the lowered masts) on a dromon - see post # 802 at https://modelshipworld.com/topic/10344-10th-11th-century-byzantine-dromon-by-louie-da-fly-finished-150/page/27/ but perhaps supported along the centre of the thwarts rather than overhead. Steven
-
Carraca Atlantica by Dripaj
Louie da fly replied to Dripaj's topic in - Kit build logs for subjects built from 1501 - 1750
Quite right. There's absolutely no historical justification for these structures in the 15th or early 16th centuries - nothing like these came into use until the late 16th/early 17th. I pointed this out to Kikatinalong (g'day, mate!) when he was doing his own build and he agreed with me and got rid of them. Good thing, too. Dripaj, I'm not sure if you've seen my collection of carrack pics on Pinterest, but you might find them useful in your build - see https://au.pinterest.com/lowe1847/carracks/ . From contemporary pictures, I'd say the configuration you're adopting for your carrack would be be appropriate for a vessel from some time after 1510-1520. You might find those gun carriages are pretty close to right for that period - have a look at the ones I made for my Great Harry, based on carriages recovered in the 19th century from the Mary Rose (sank 1545) - post #97 at . Tartane has also done a very nice full-sized reproduction at And yes, the metal castings are pretty crappy. The figurehead looks like a mutant duck . . . Steven -
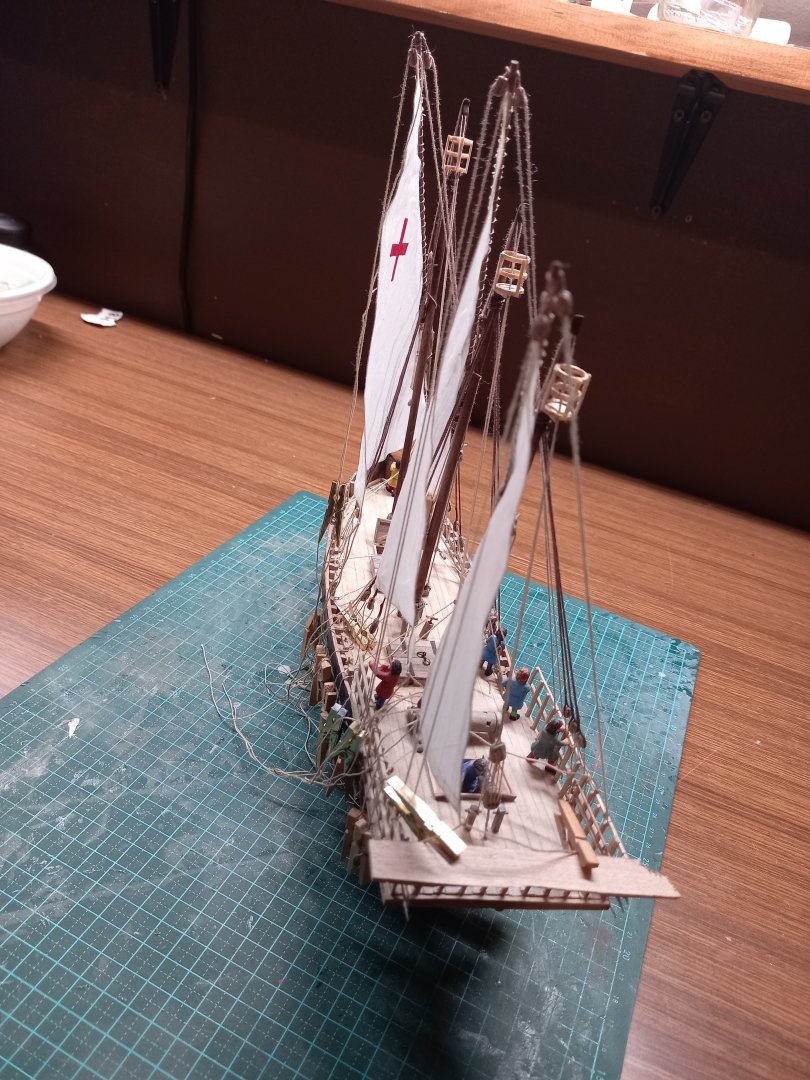
Thanks everybody for the likes. That's very interesting, Mark. What, our ancestors weren't all brutish ignorant barbarians? And a little progress - the mizzen lateen in place and tentatively belayed. Note that following Landström's book The Ship I've got the leeward shrouds loosened to allow the sail free play. I'm thinking about how to give them nice catenary curves. Steven


- 508 replies
-
- 17
-
-
-
Looks like a very good project. I'll pull up a chair and watch progress, if I may. Steven
-
By the way - note that in the drawing the parrel (the rope that holds the yard to the mast) has trucks (those balls that rotate to allow the yard to run more easily up and down the mast), but I didn't add them, as this ship is from about 1150 AD and parrel trucks don't appear in contemporary pictures till the early 1400's. Steven