Louie da fly
-
Posts
7,990 -
Joined
-
Last visited
Content Type
Profiles
Forums
Gallery
Events
Everything posted by Louie da fly
-

Staining rigging to match the miniature model
Louie da fly replied to BrankoSNY's topic in Masting, rigging and sails
My feelings exactly. Steven -
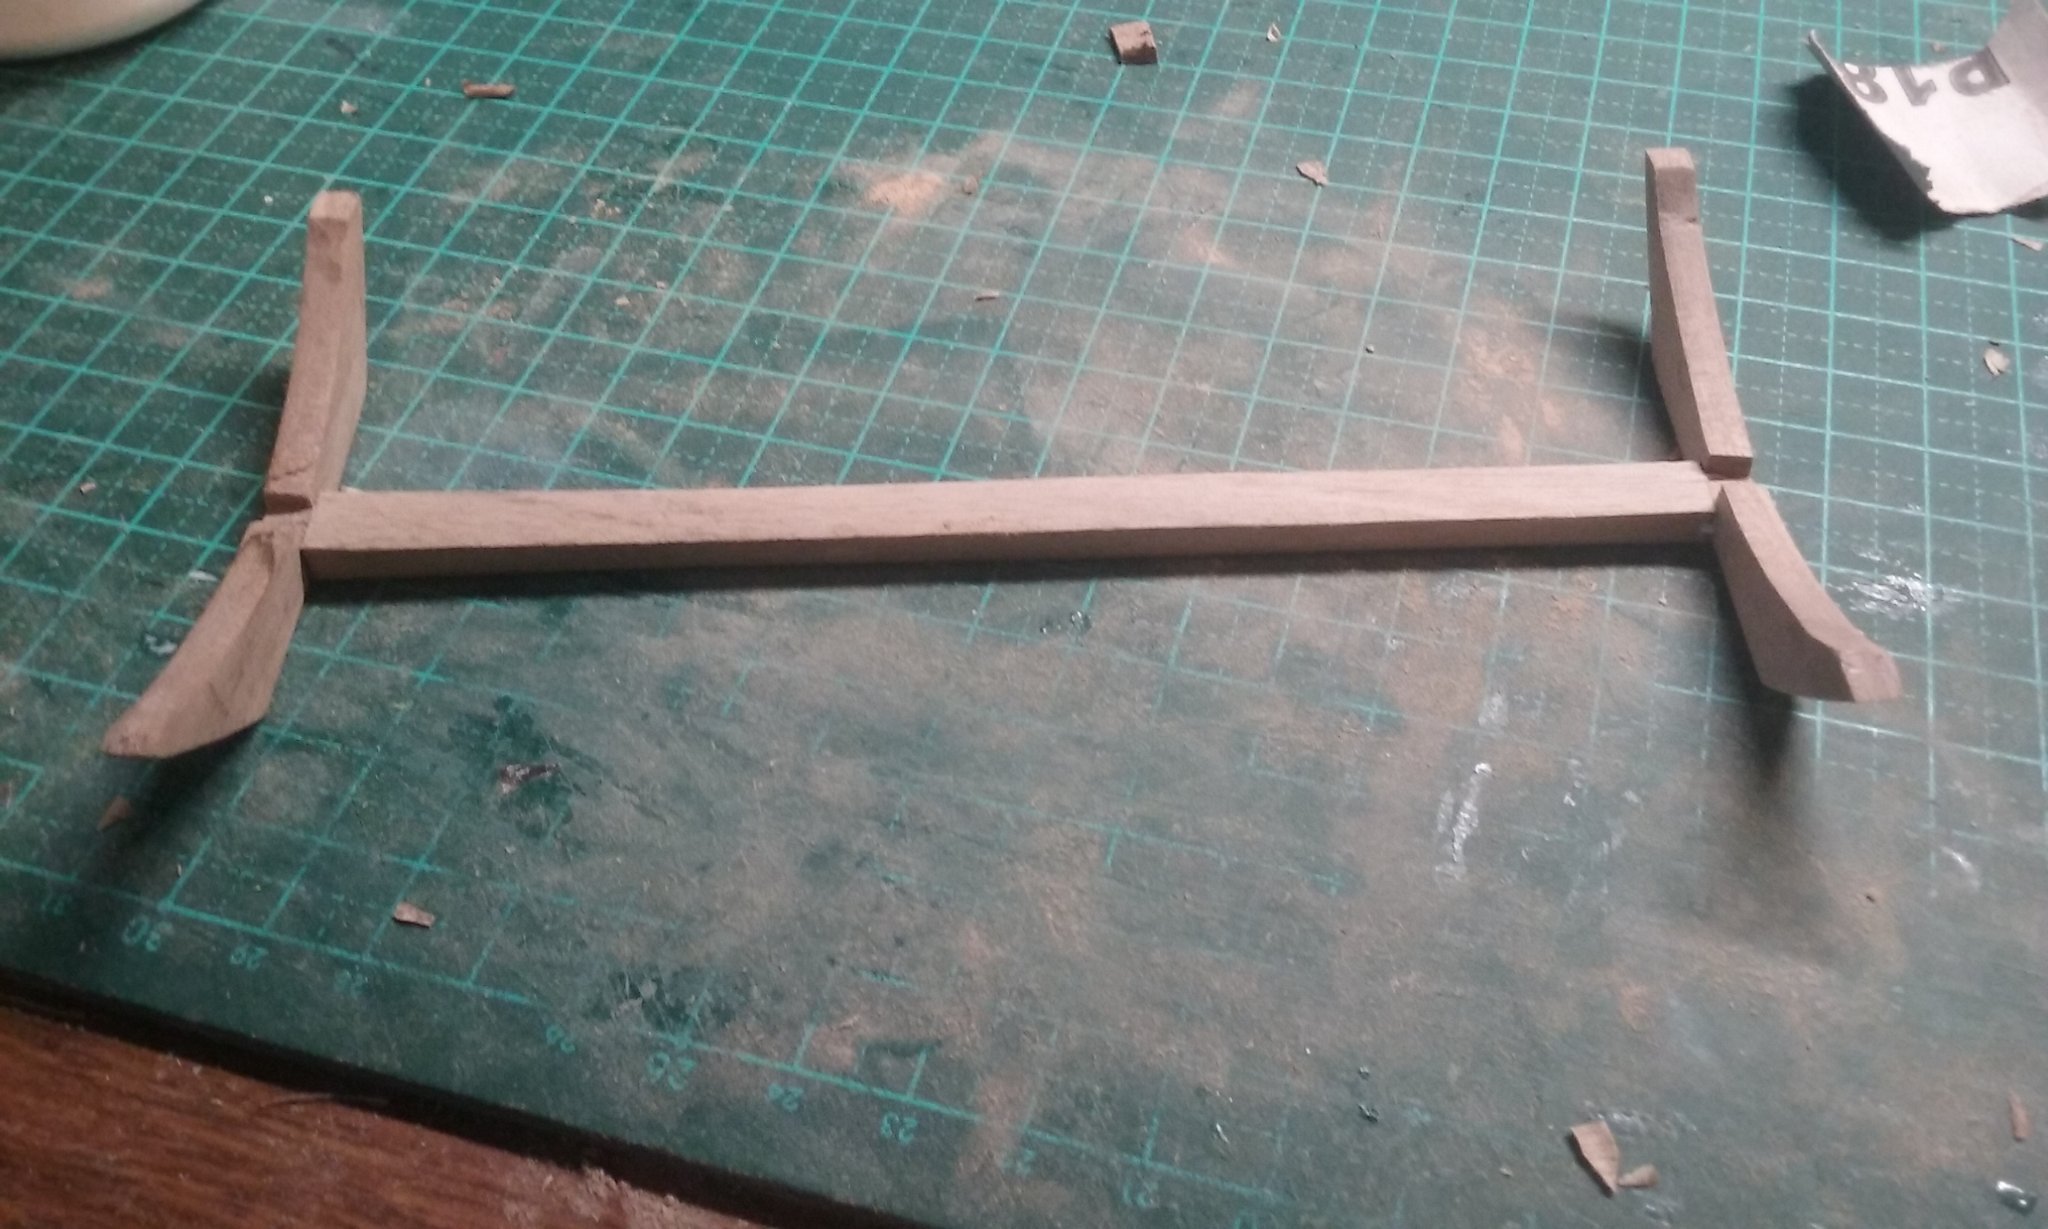
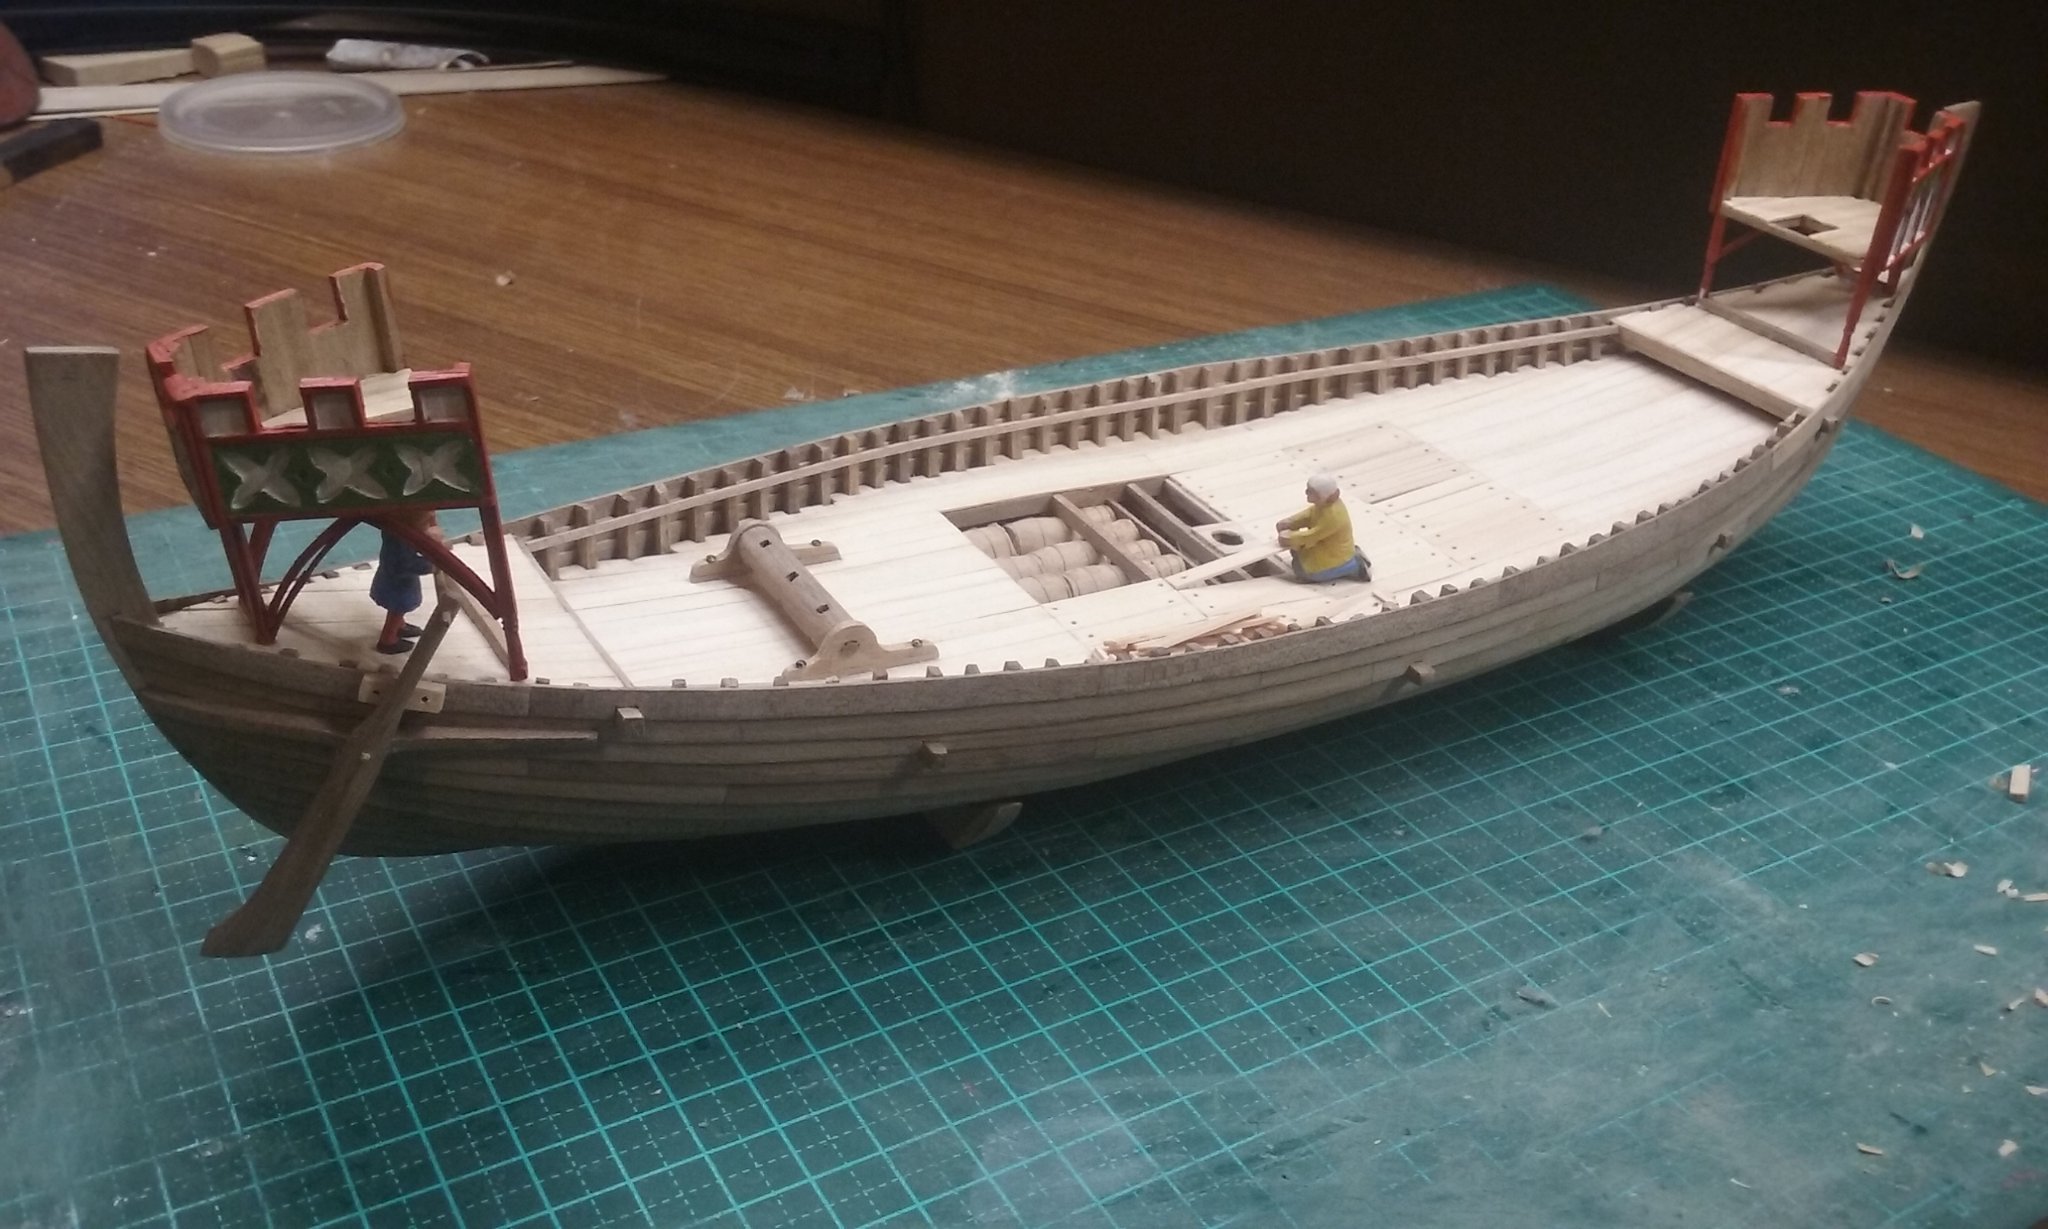
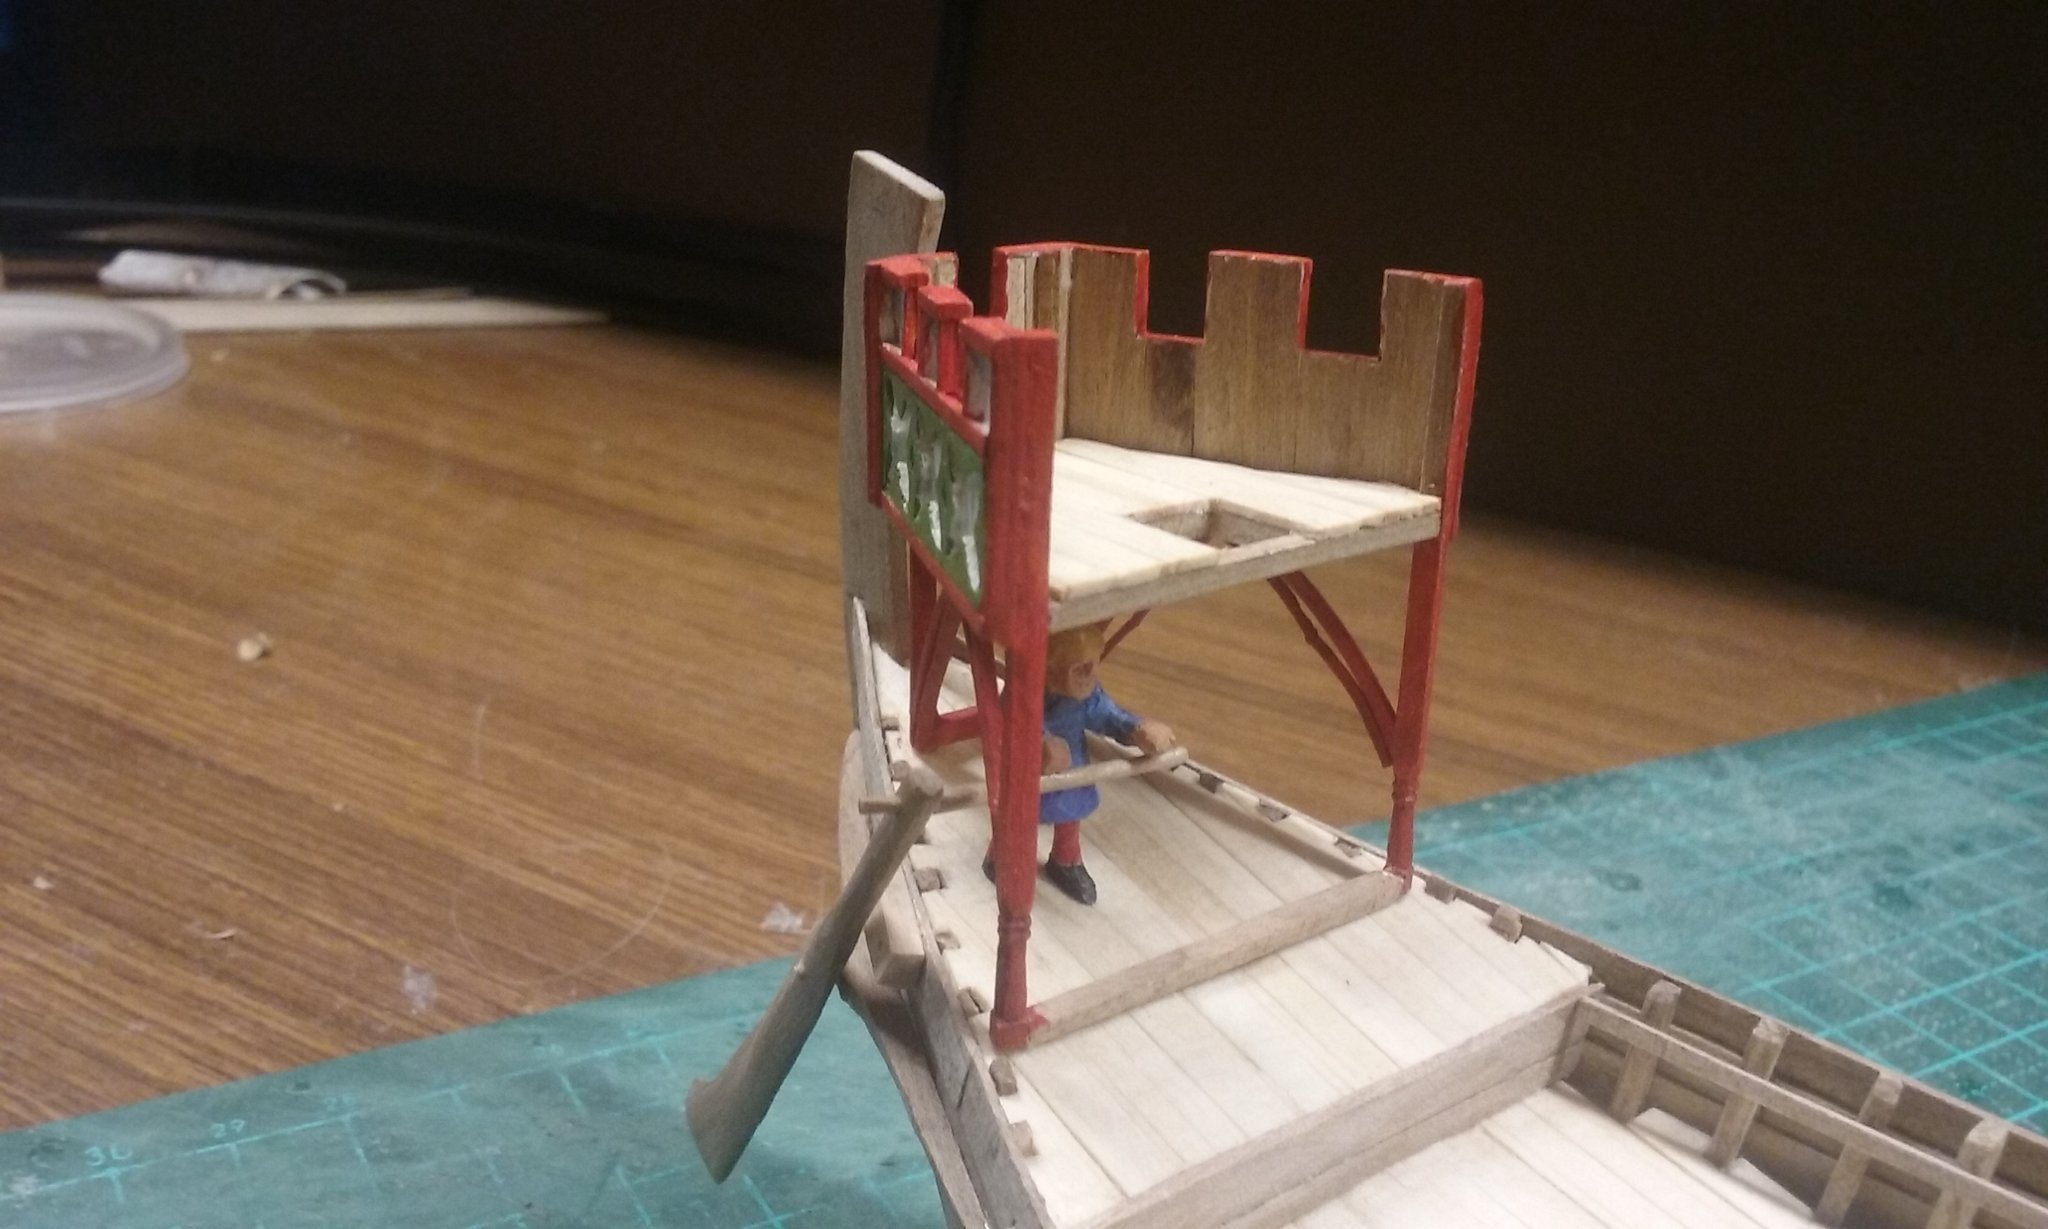
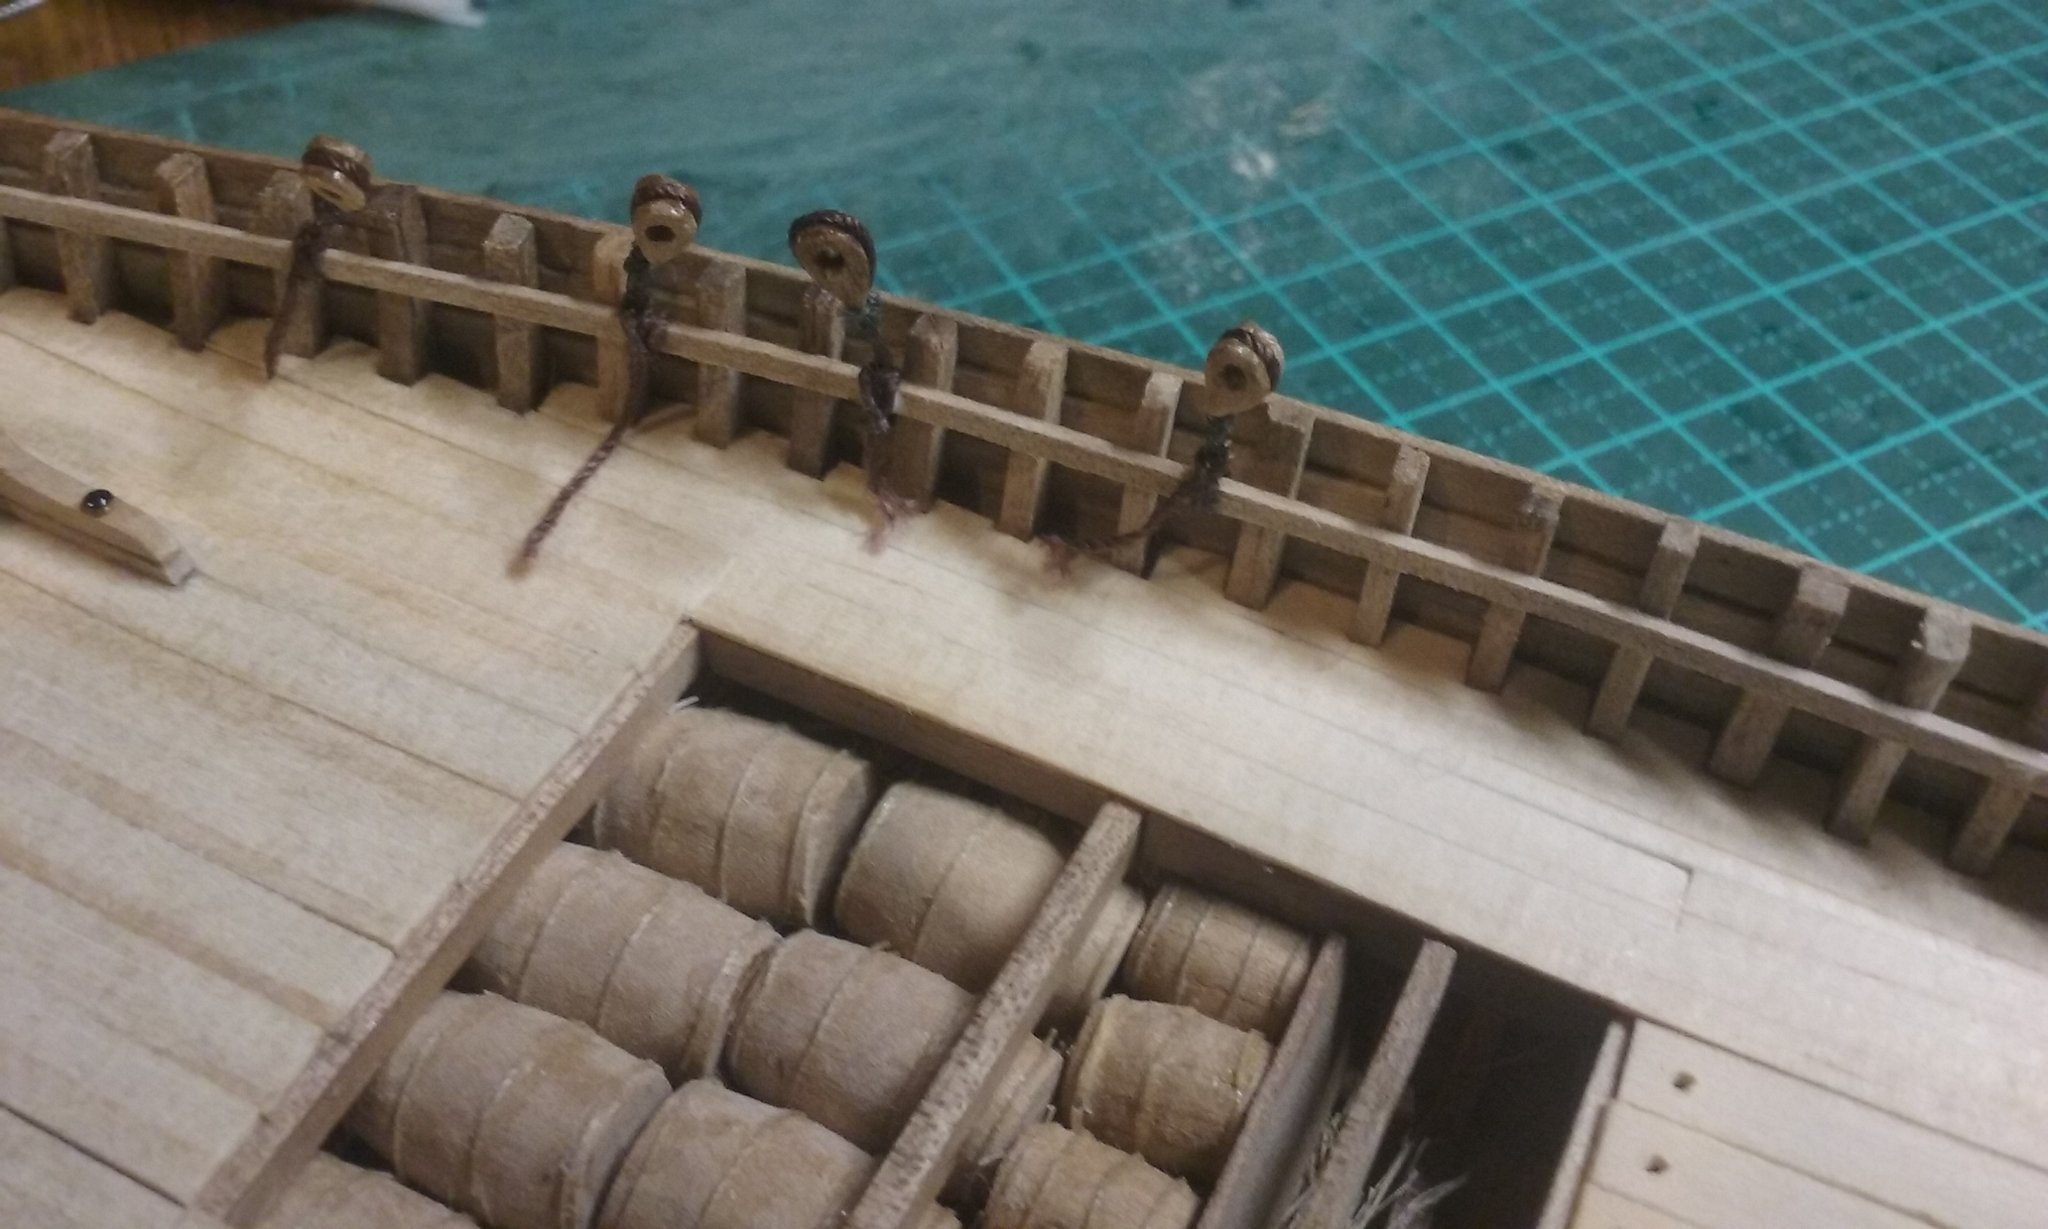
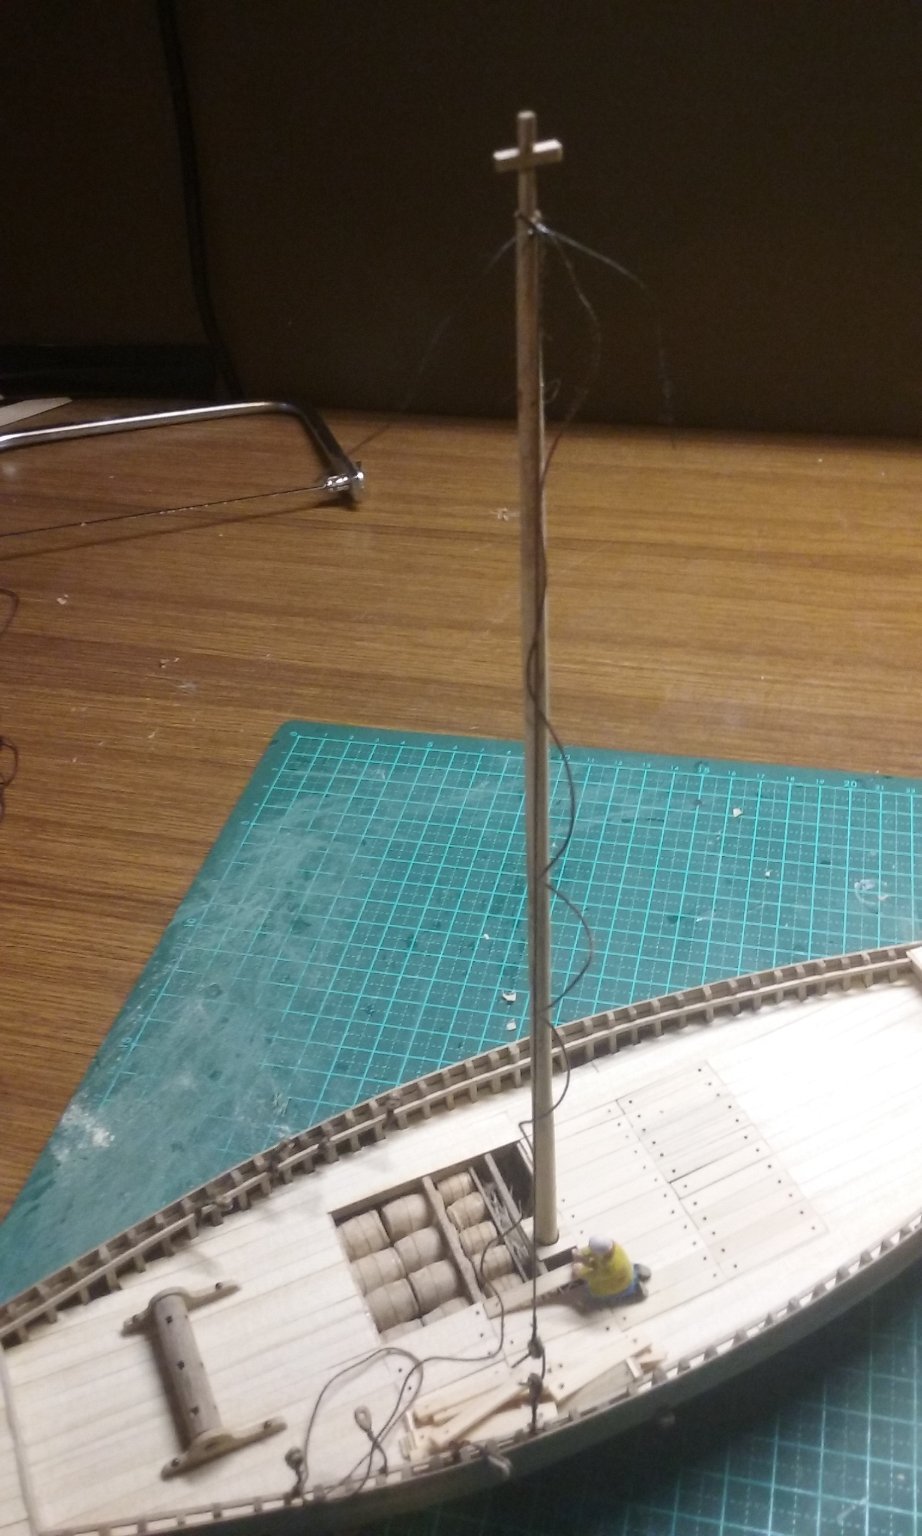
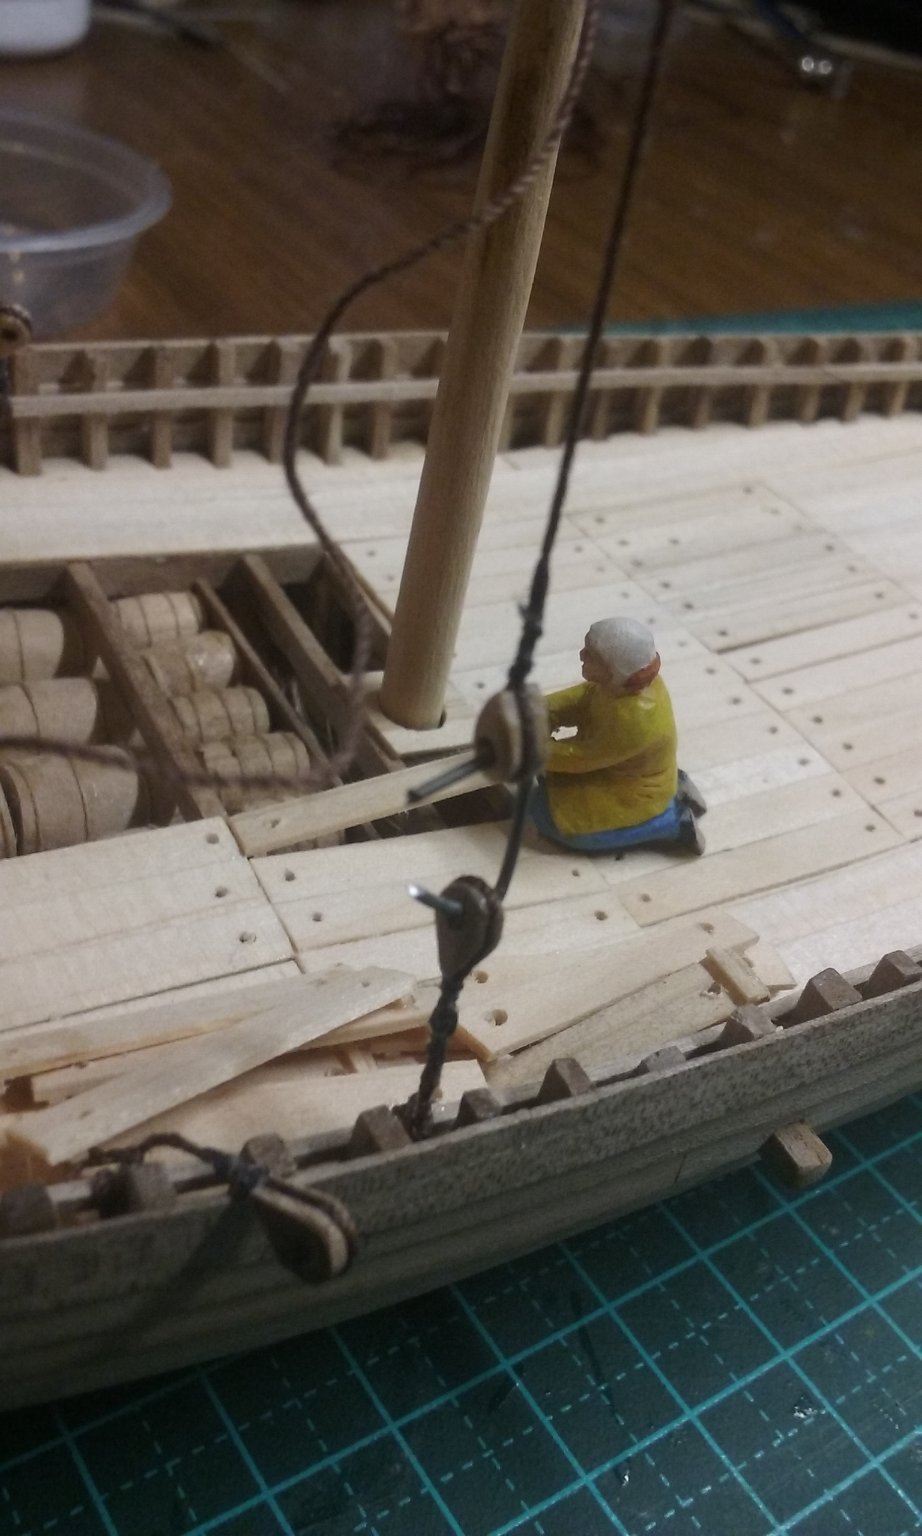
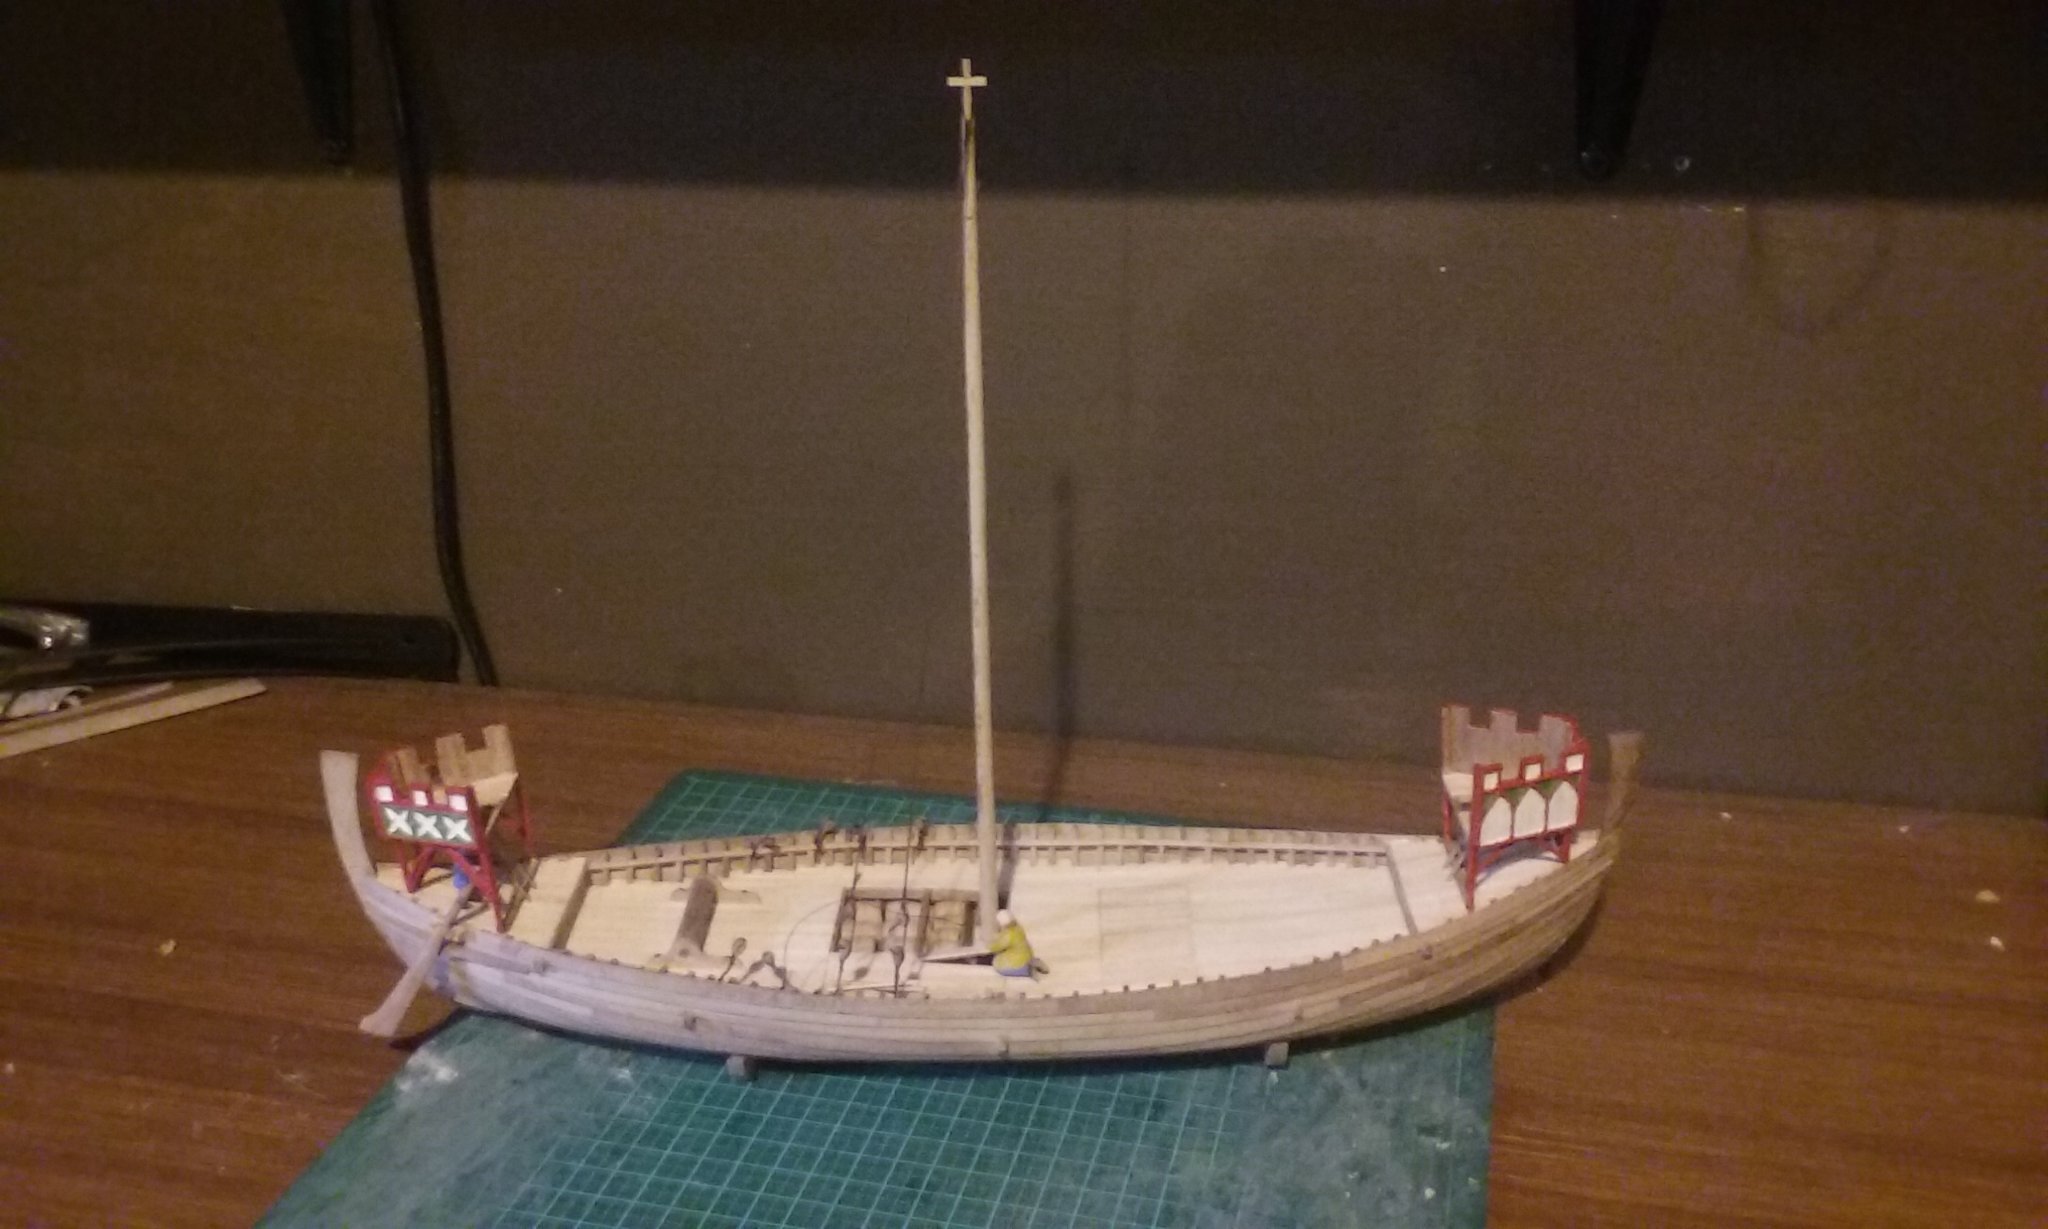
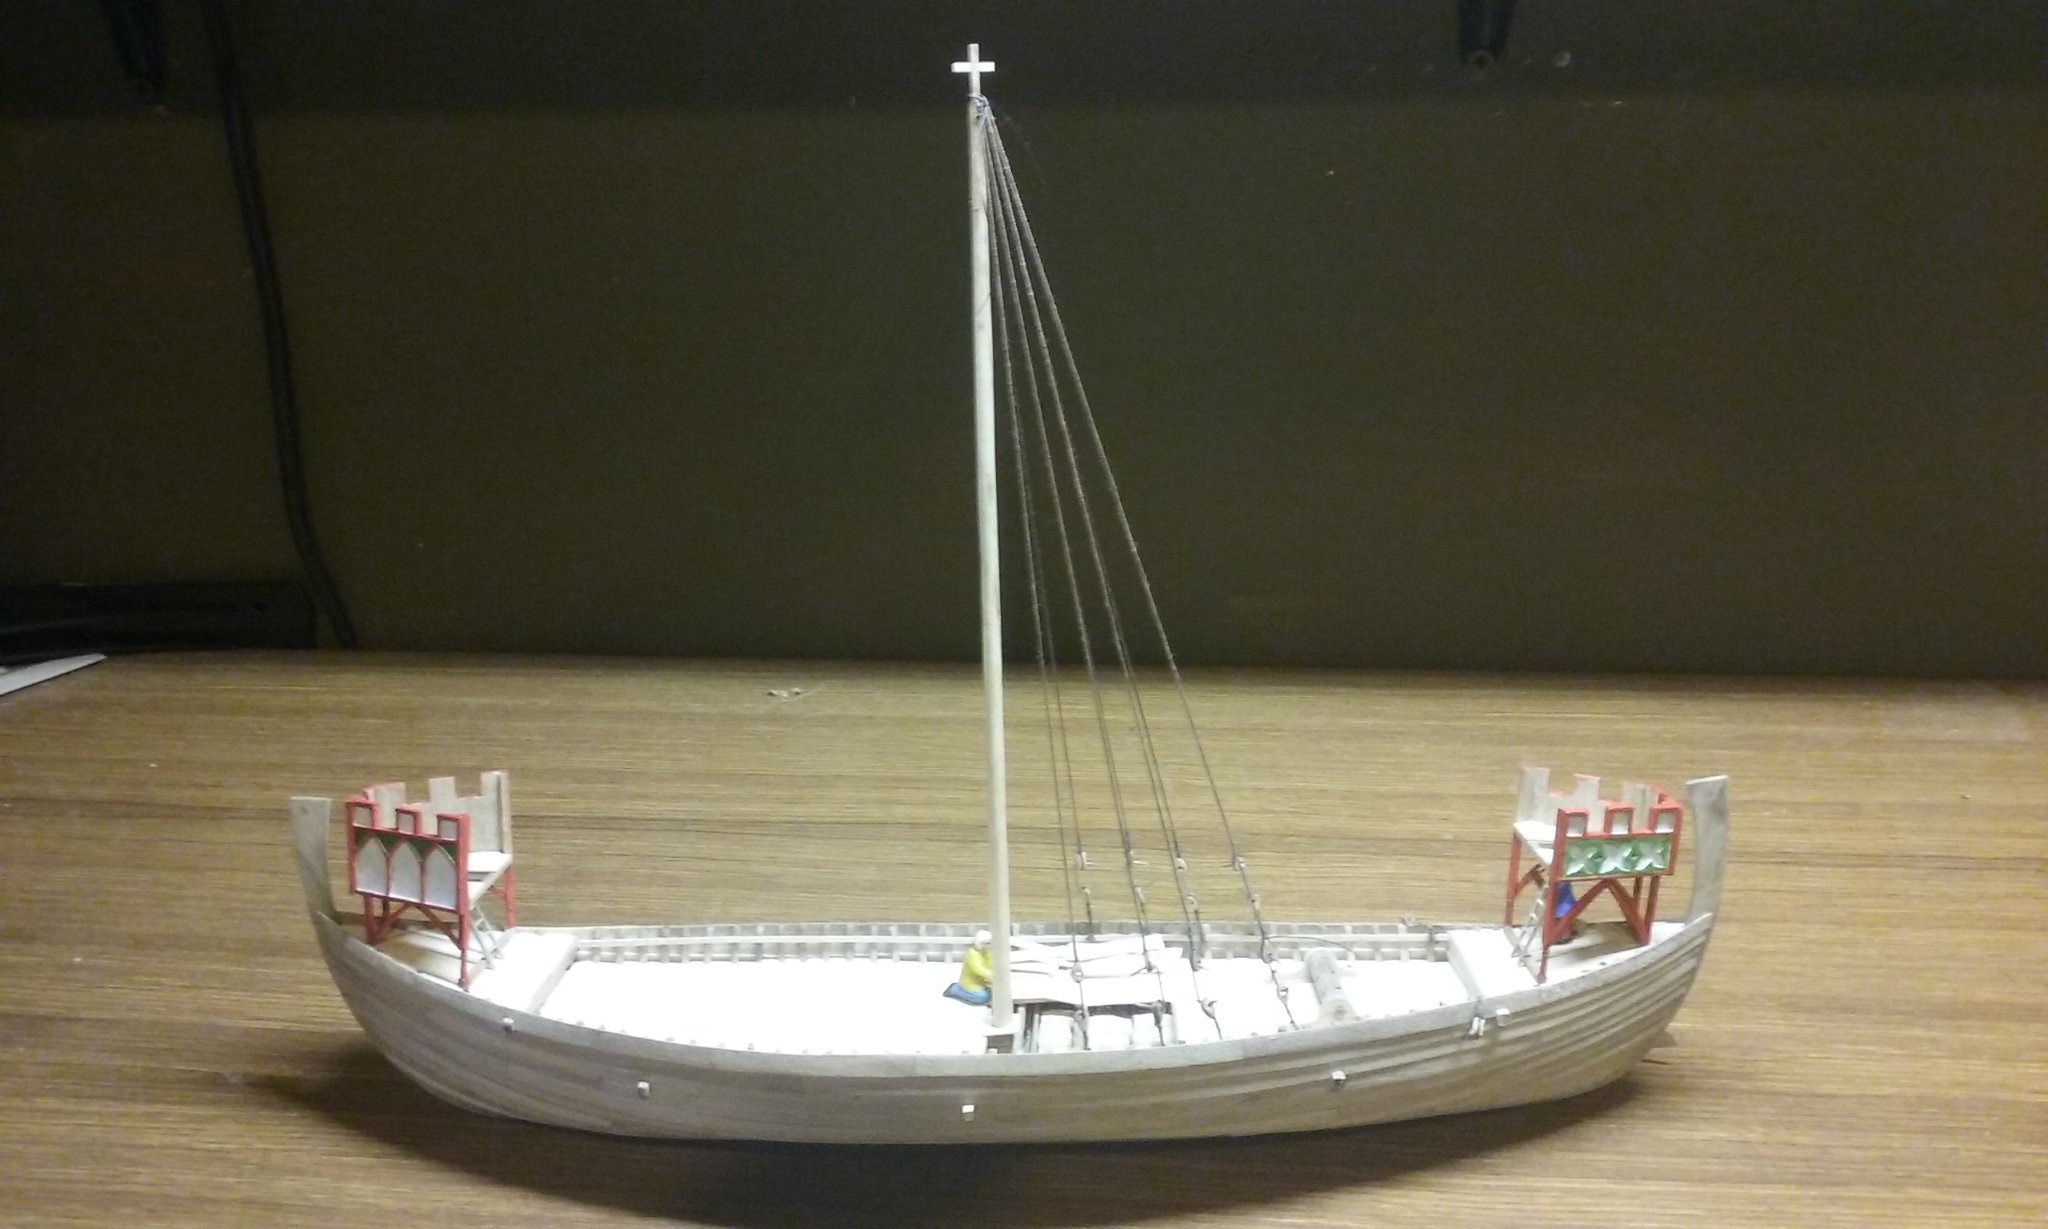
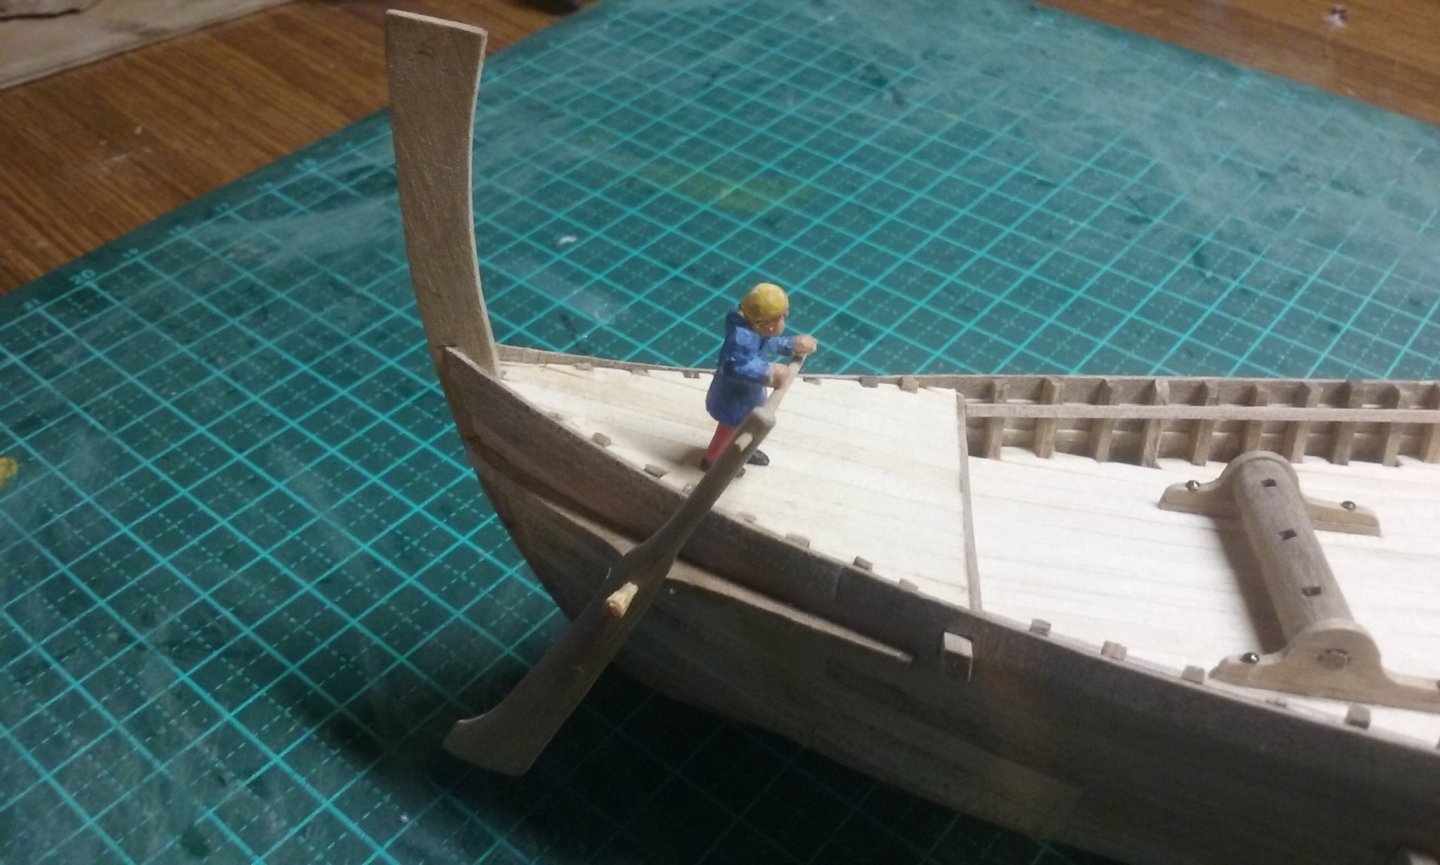
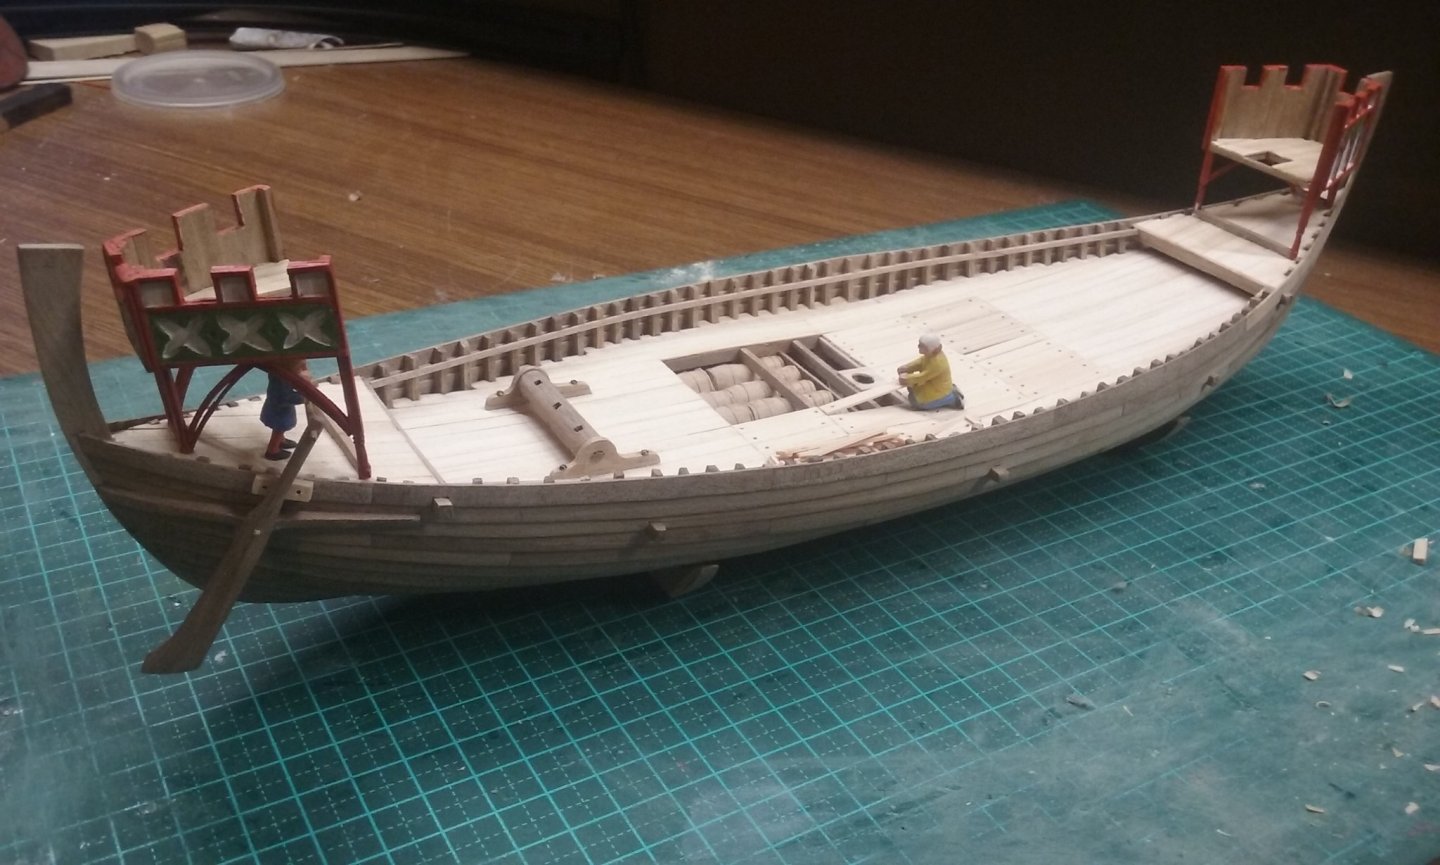
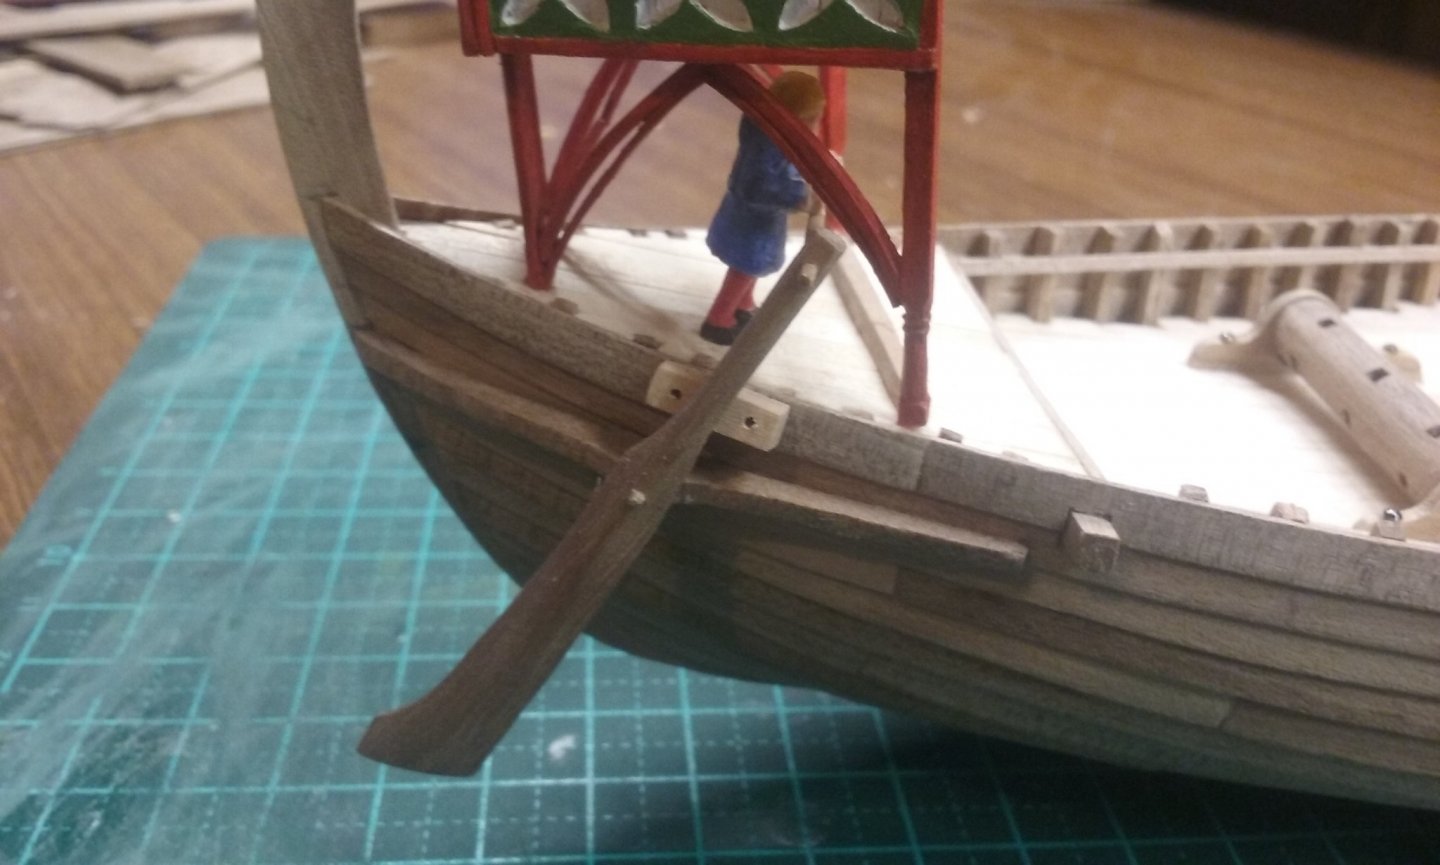
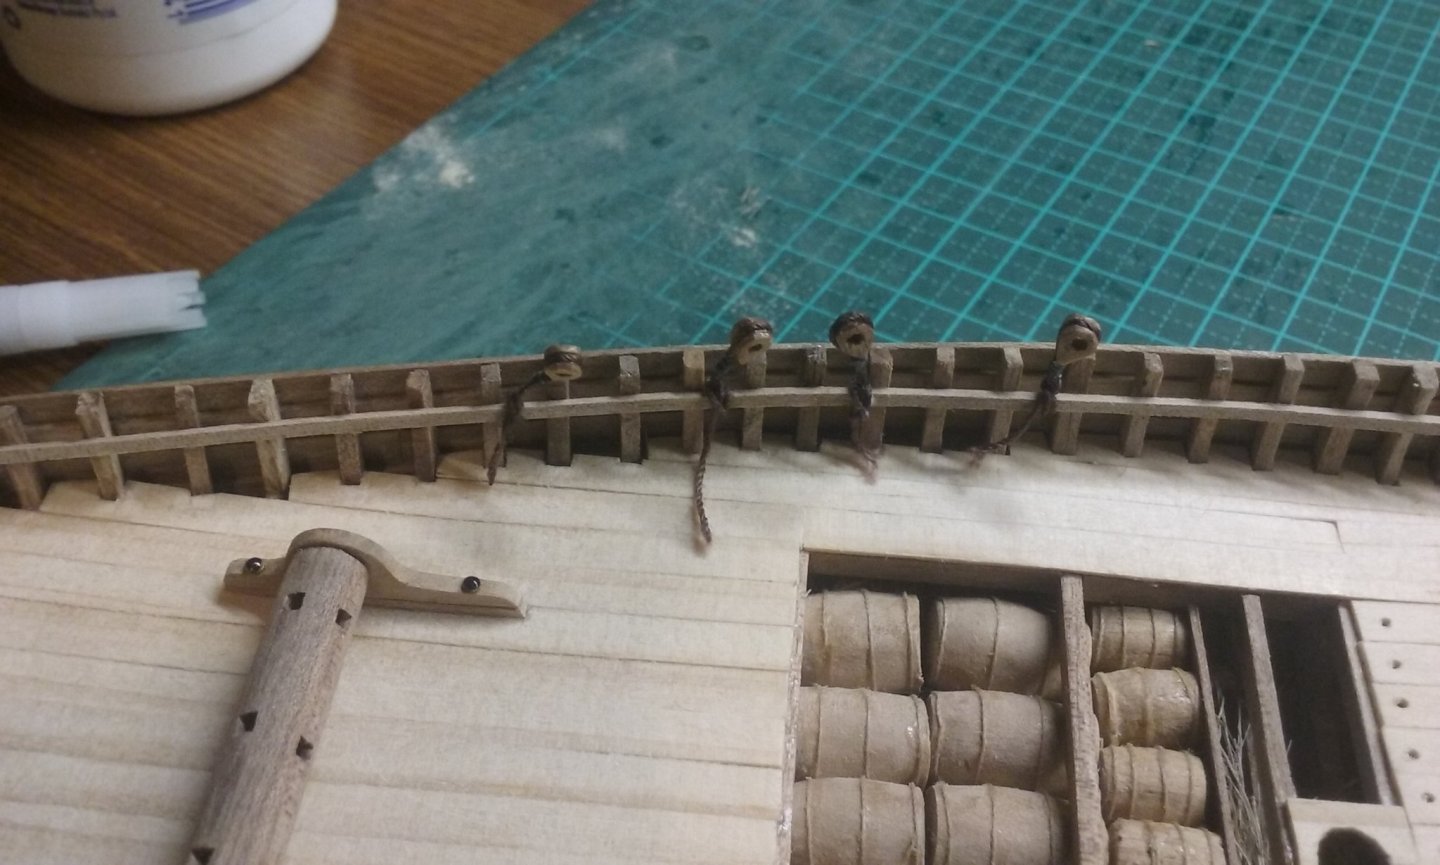
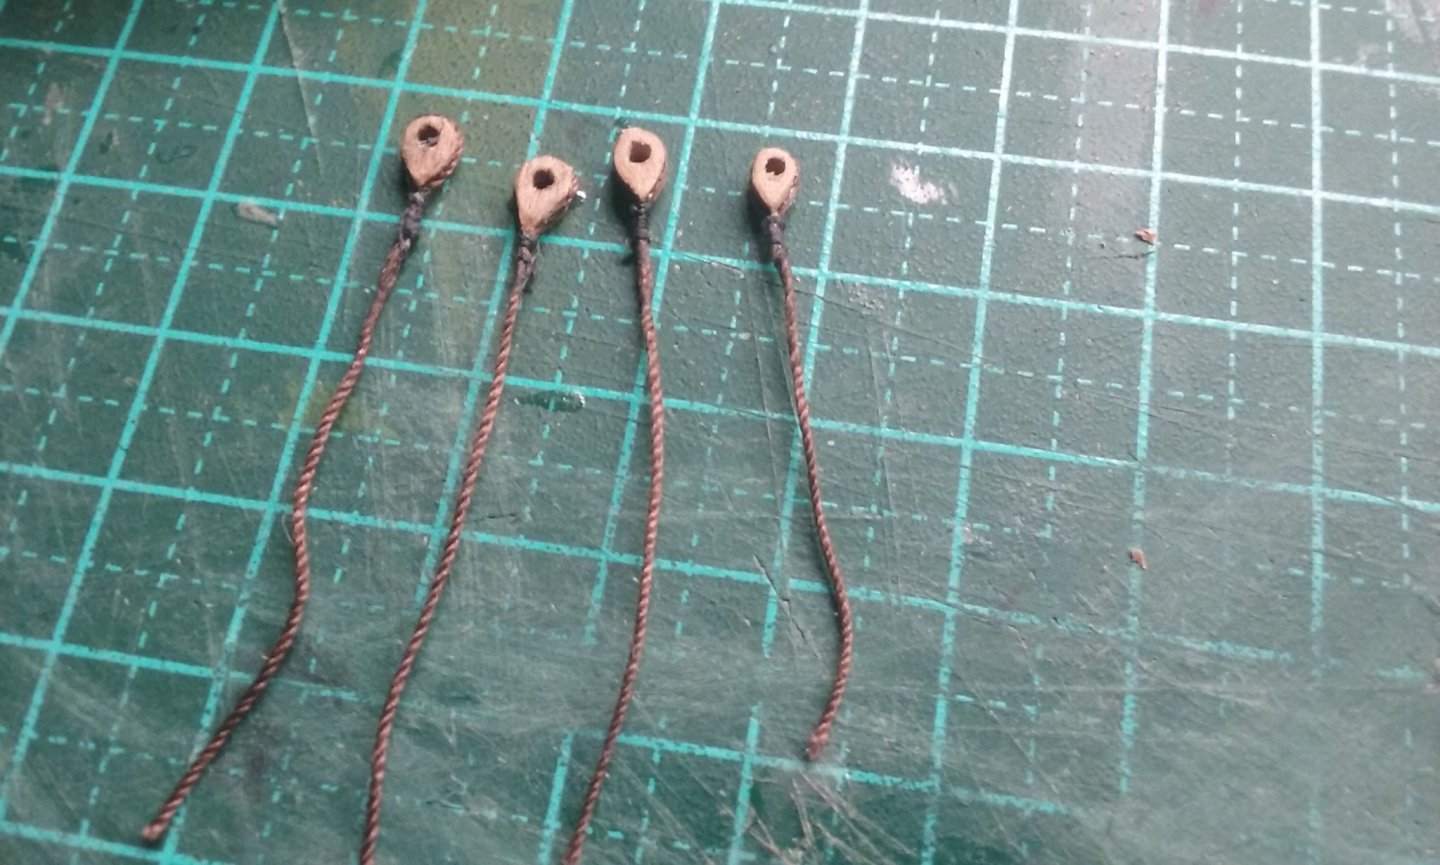
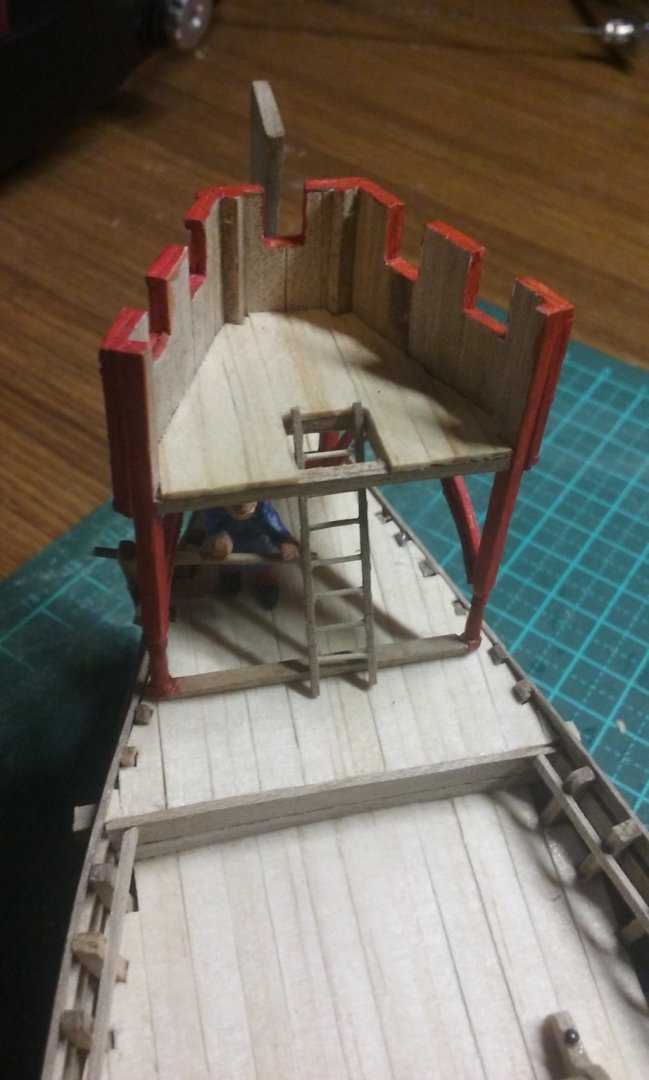
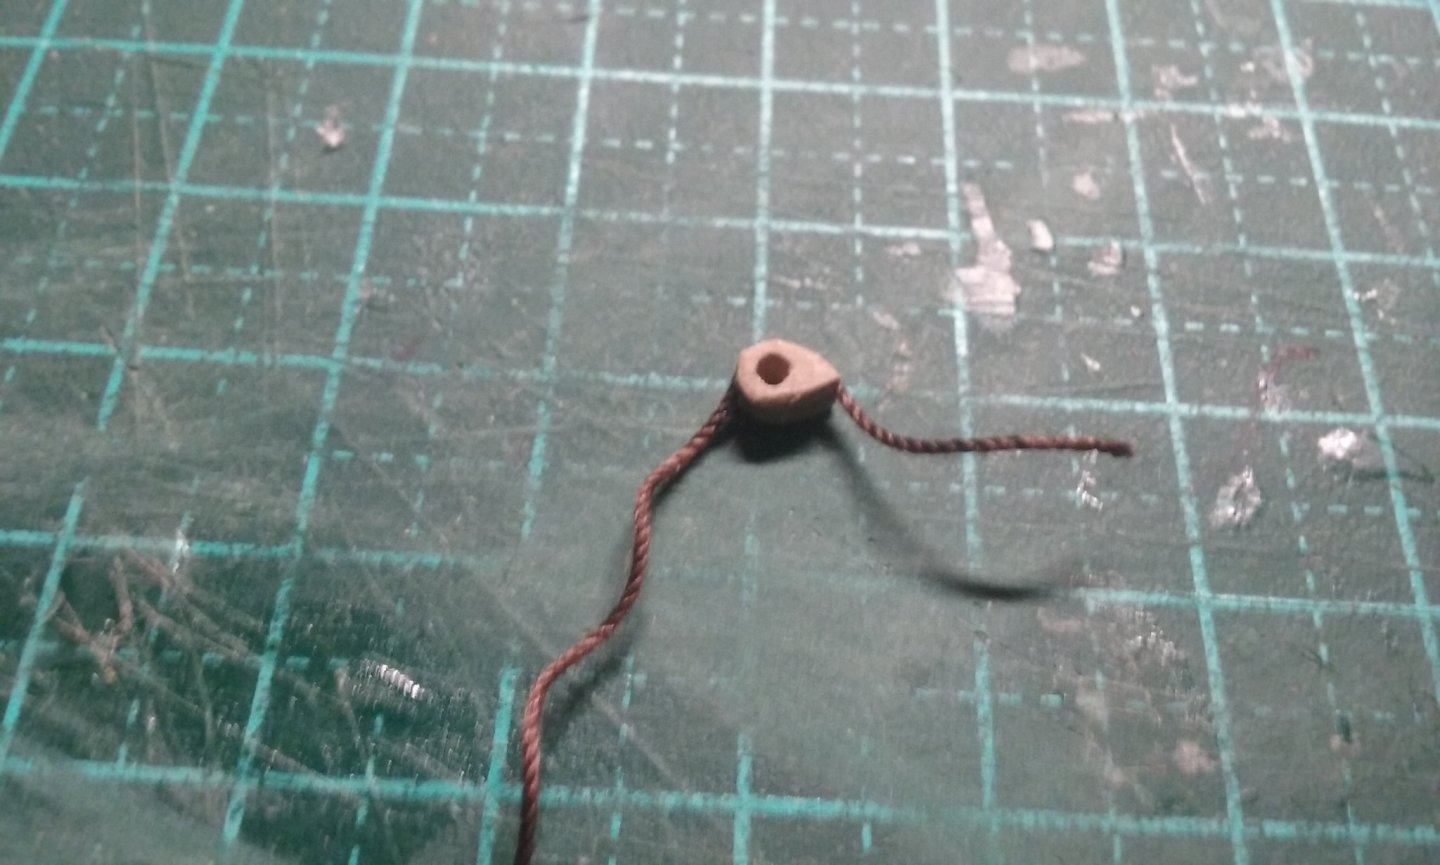
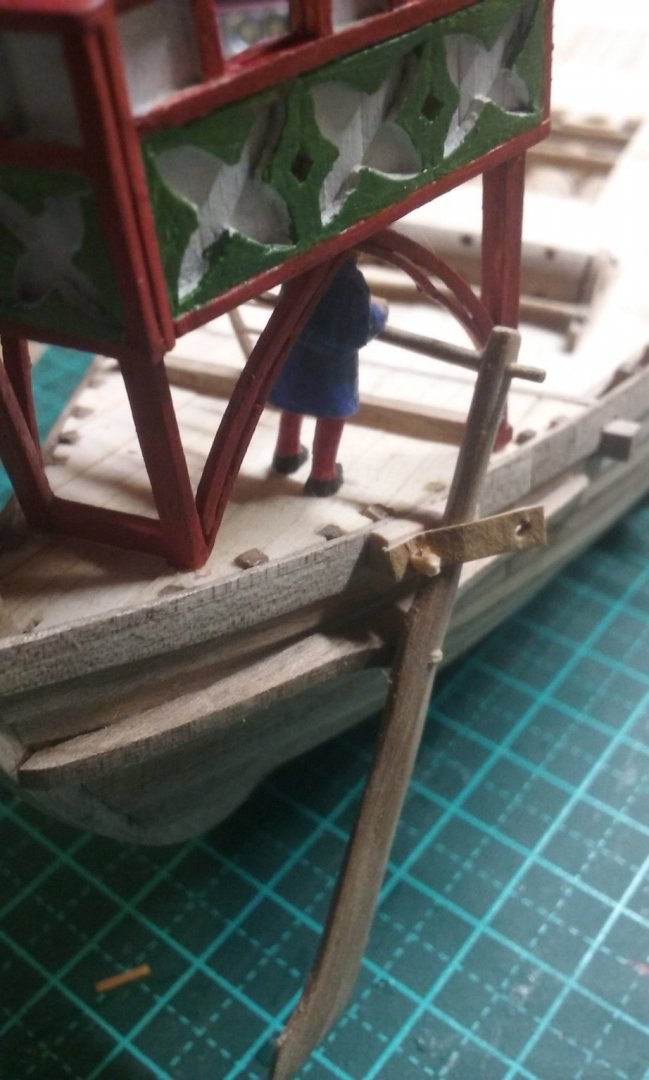
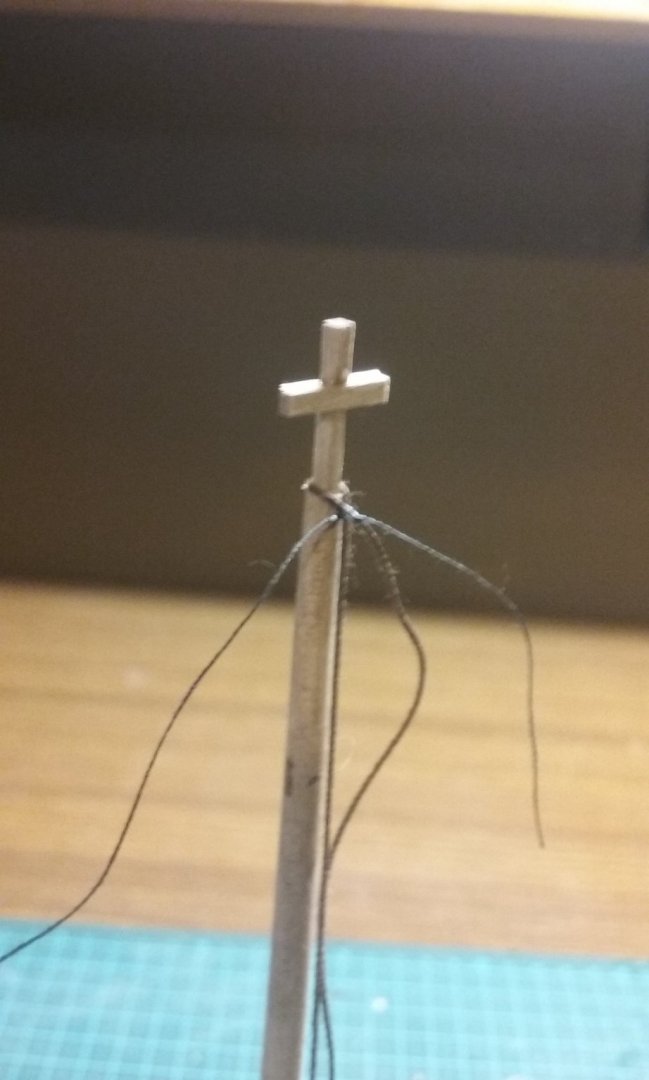
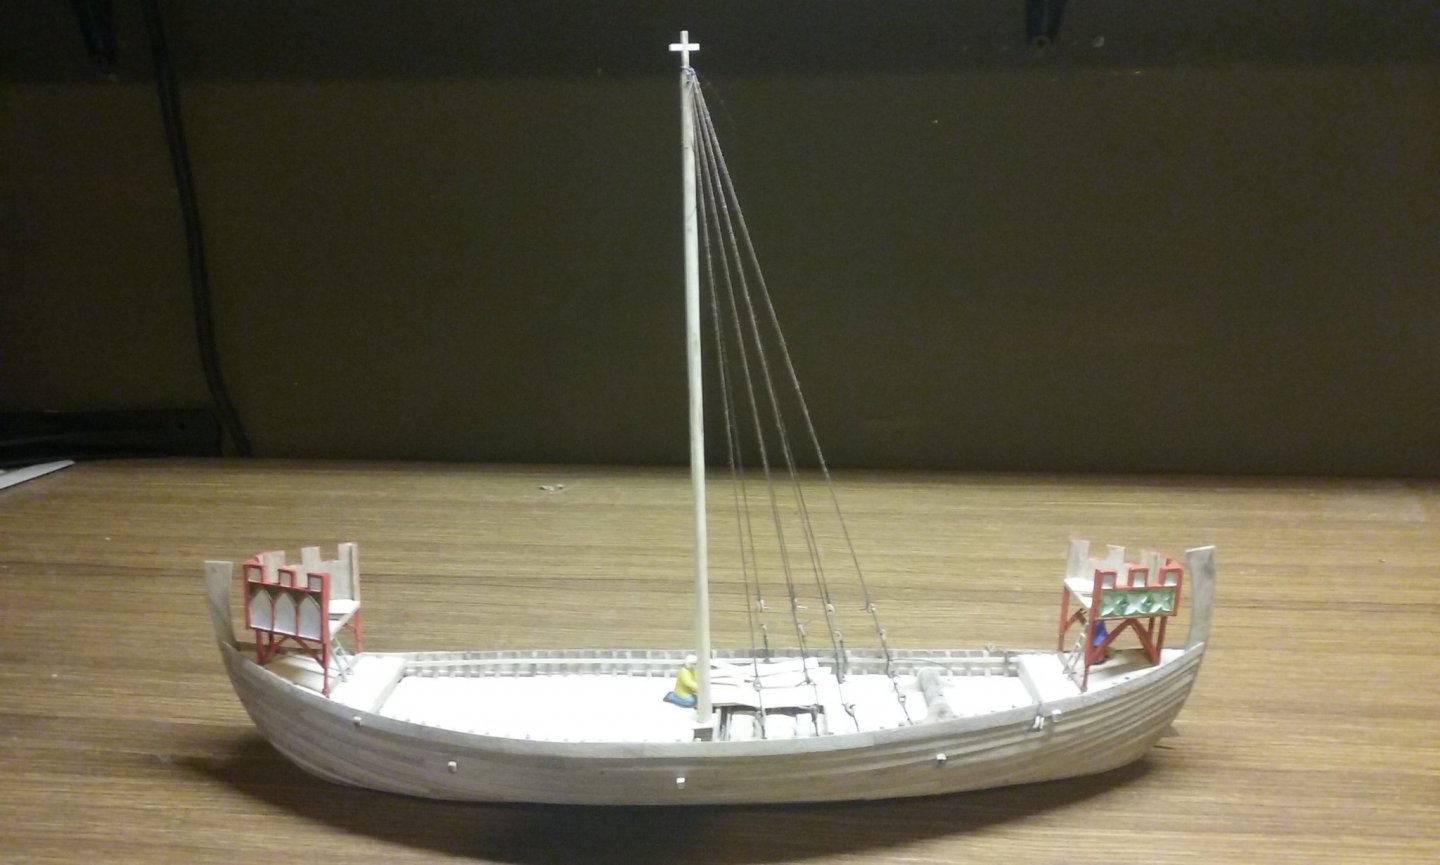
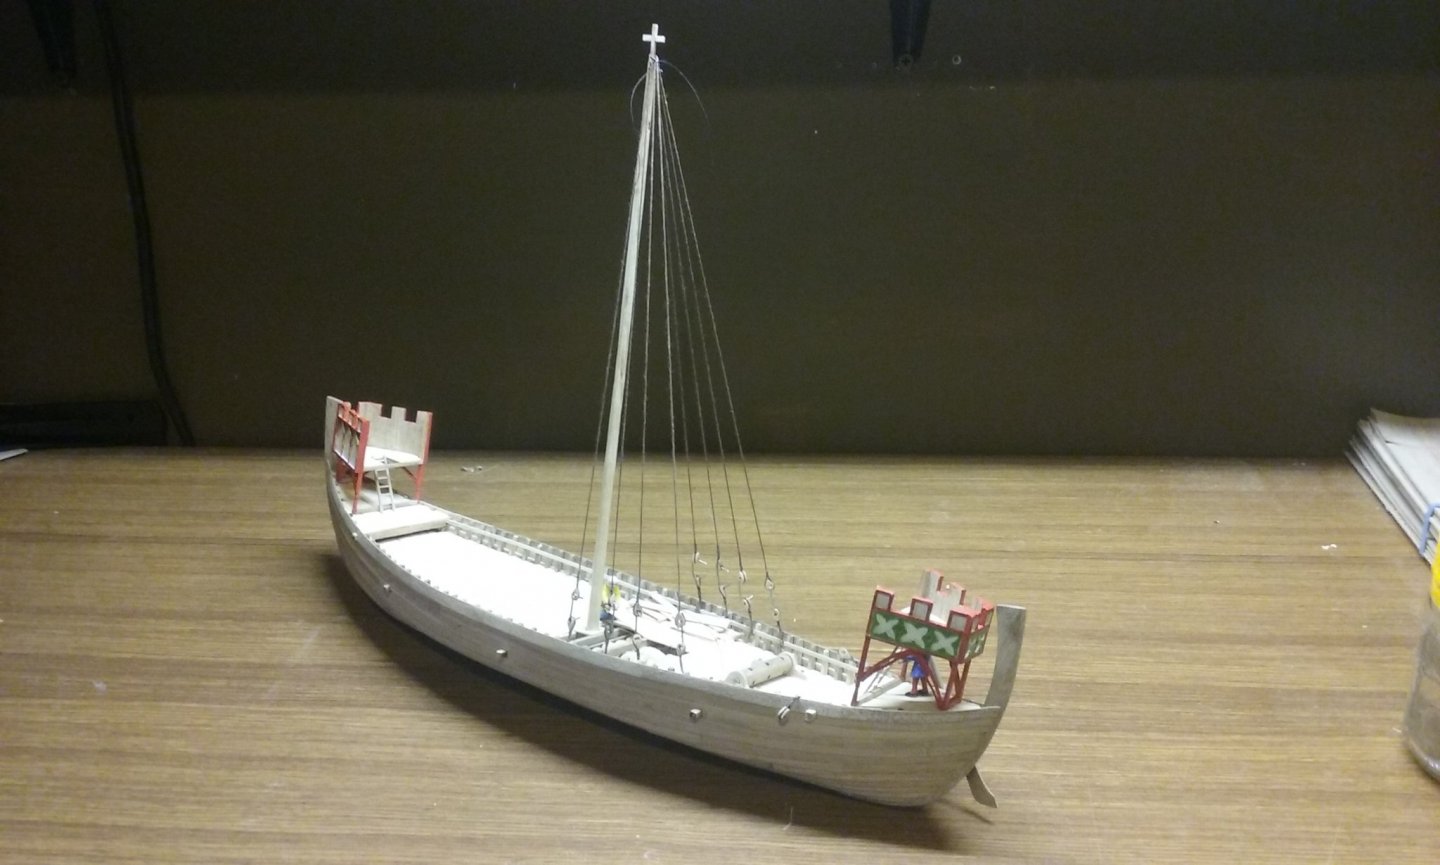
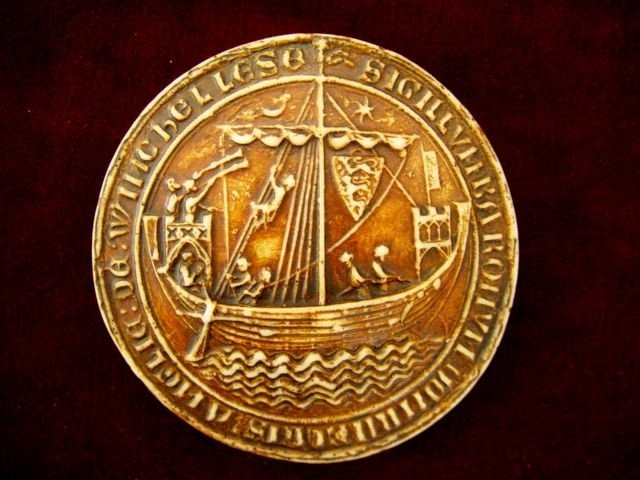
I've just (finally!) made a stand for the model. Should have done it a lot earlier. And now, co-ordinating the positions of the the rudder, the tiller, the steersman's hands and the castle over the steersman. Everything has to line up together - getting the hands to sit just on top of the tiller, and allow the steersman some headroom and "wriggle room" to manoeuvre the tiller without clashing with the arched supports for the castle etc. Adding the "leather" brace for the upper half of the rudder (actually a bit of cardboard from a cereal packet). And the ladders for access to the castles - Adding the hearts for the shrouds. Though there is some indication that deadeyes may have been invented by this time (the Husoy wreck dated somewhere between 1160 and 1284 AD had fragments of what might have been deadeyes) I decided to go simpler and just use hearts. Landström in his book The Ship interprets the Winchelsea seal as showing four shrouds only - two on each side, but I believe (given the difficulty of accurately showing 3 dimensions in a side view) that it shows four on the near side, so that there are another four on the other side. Looking at other seals that show shrouds "each side" of the mast, they always seem to have at least three each side. Temporary wire jigs to fix the distance between upper and lower hearts. First two shrouds in place And more And I've given the buisiniers their buisines: That's all for now. Next I'll be adding the forestay and a pair of backstays (one of which will have a crewman climbing up it to unfurl the sail). Steven


- 327 replies
-
- 18
-

-
Hi Greg and welcome to MSW from sunny Ballarat. I used to live in Mildura on the Mighty Murray, and there were several paddlers there (though only one was steam powered). I've got a Murray River paddlesteamer on my wish list for some future model (but I may never make it - there are so many other amazing ships to build I may never get around to it). But I hope you start a build log for your model - I'd dearly like to see it taking shape. All the Rivers Run. Ah, memories - John Waters and Sigrid Thornton, eh? Steven
-
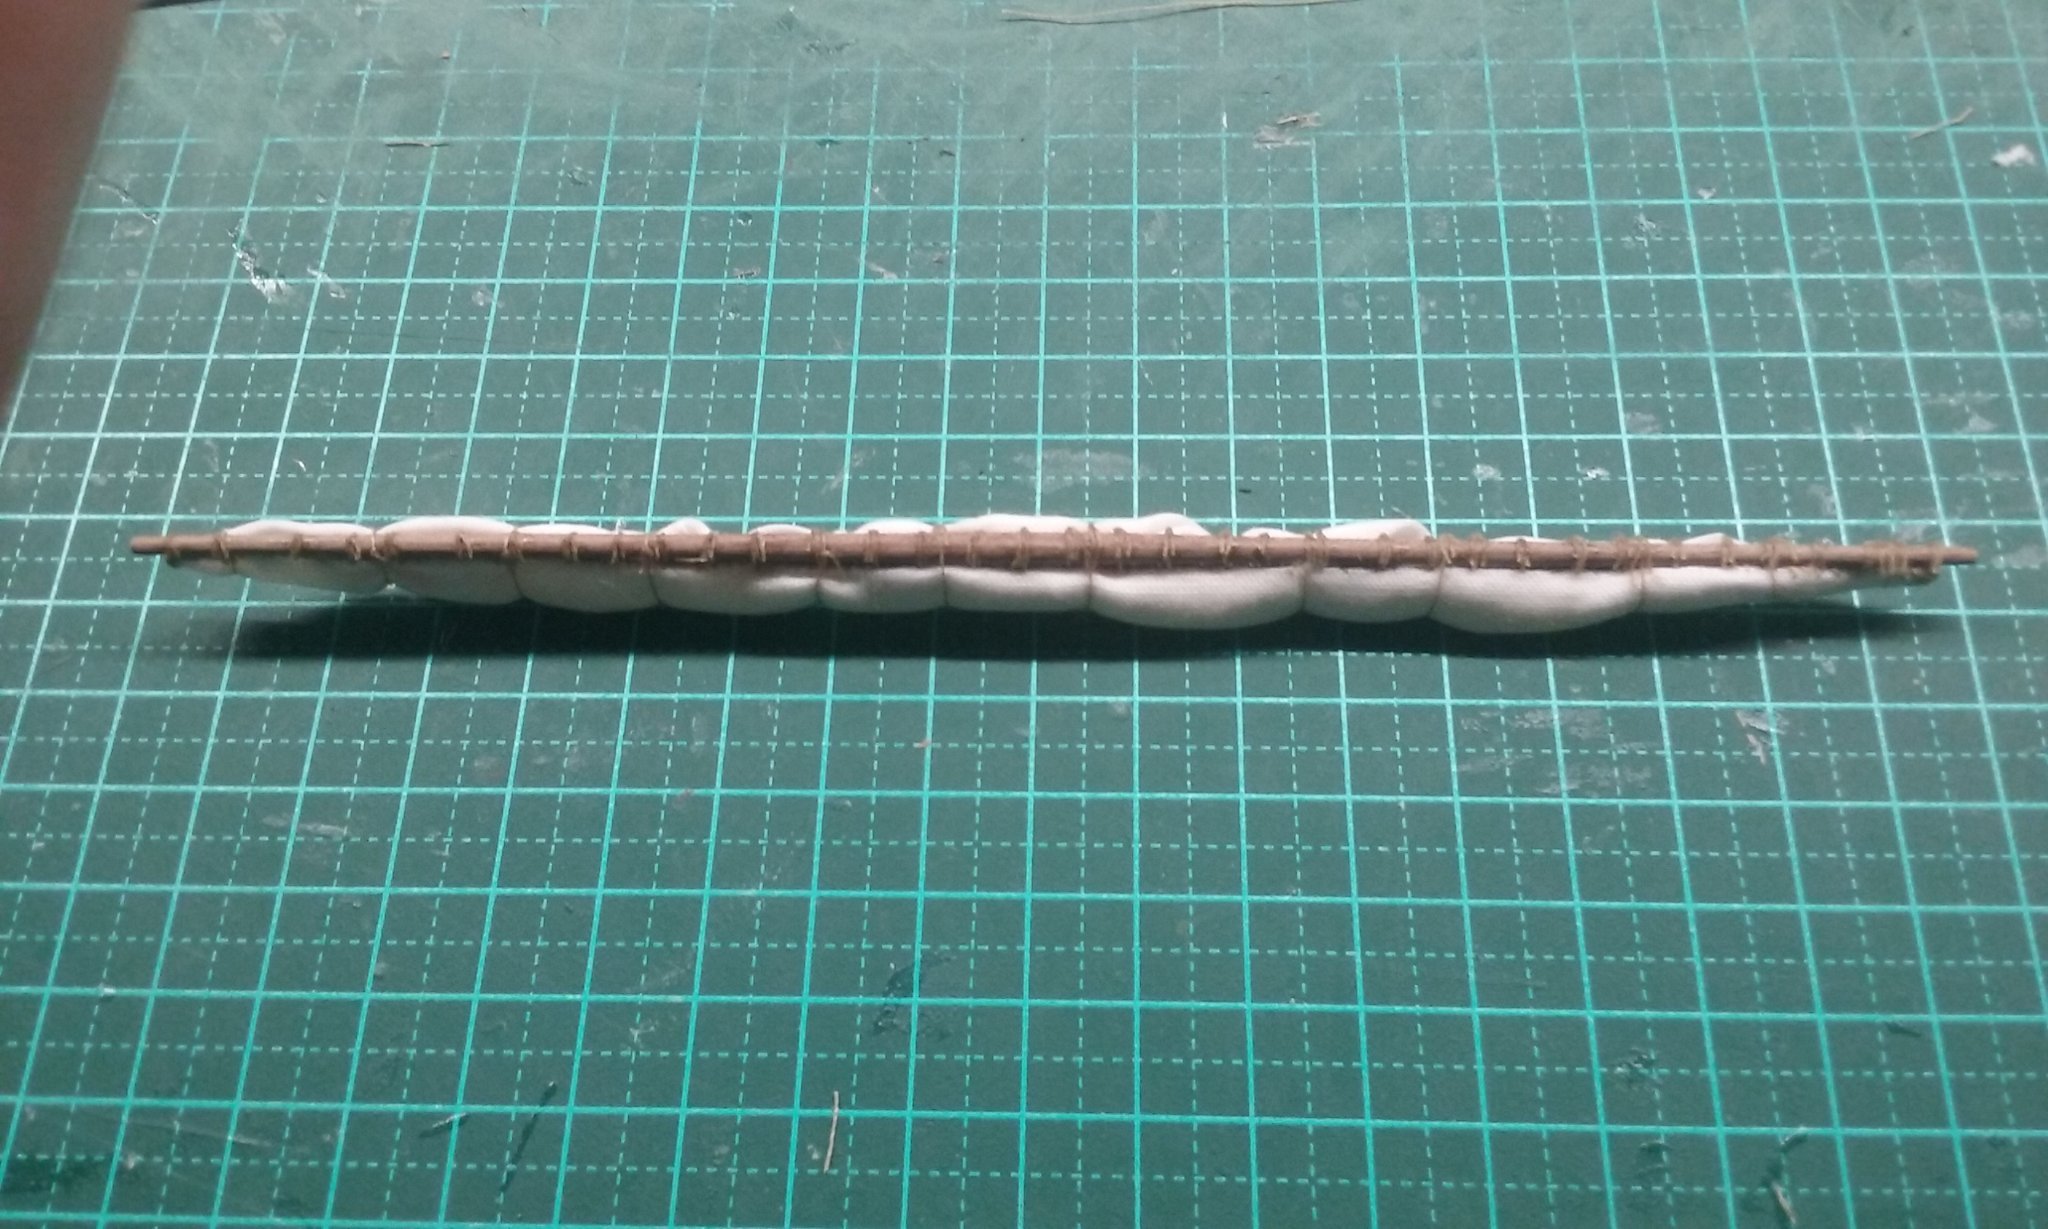
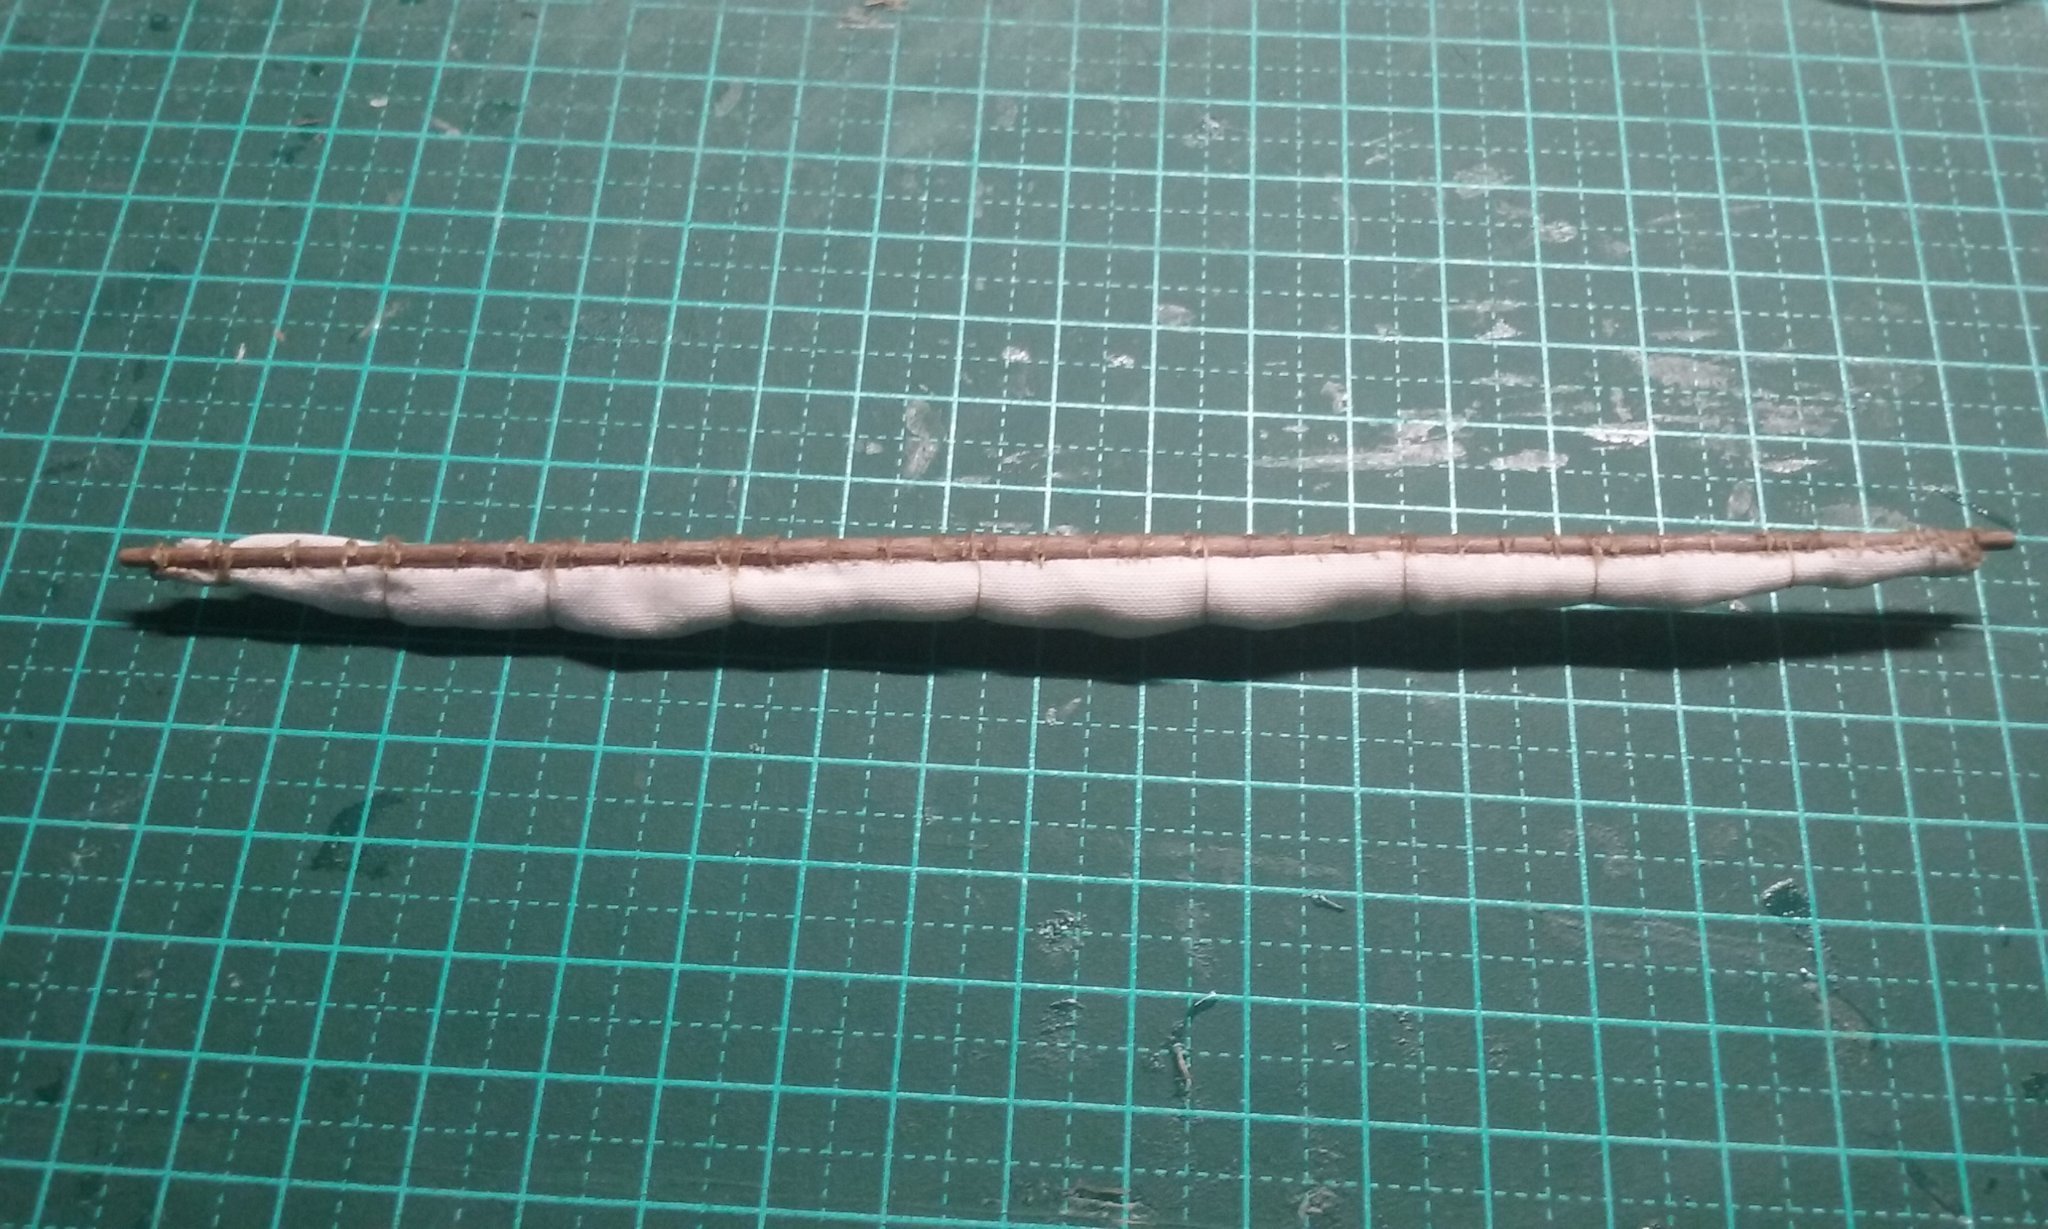
Unfortunately I haven't found any evidence of what was used, and I think the main culprit is simply the fact that masts, spars, sails and rigging are among the first things to go when a ship is wrecked, so not available to archaeology. As far as I know, none of the Viking burial ships have more than morsels of ropes and rigging. In Backer's "Pelican" build he's just been putting his robands on and he includes a photo of a page from a book that states that early robands were just a single rope wound round in a spiral But I don't know where the author got this information, so I don't know how reliable it is. Steven
- 186 replies
-
- 2
-
-
- keelless
- reverse clinker
- (and 4 more)
-
Glad to hear you're doing better, mate. Steven
-
Hi, John. I"m glad Matthew brought this back. I'd been wondering how you were doing, but haven't been in touch. I hope you're doing better. Steven
-
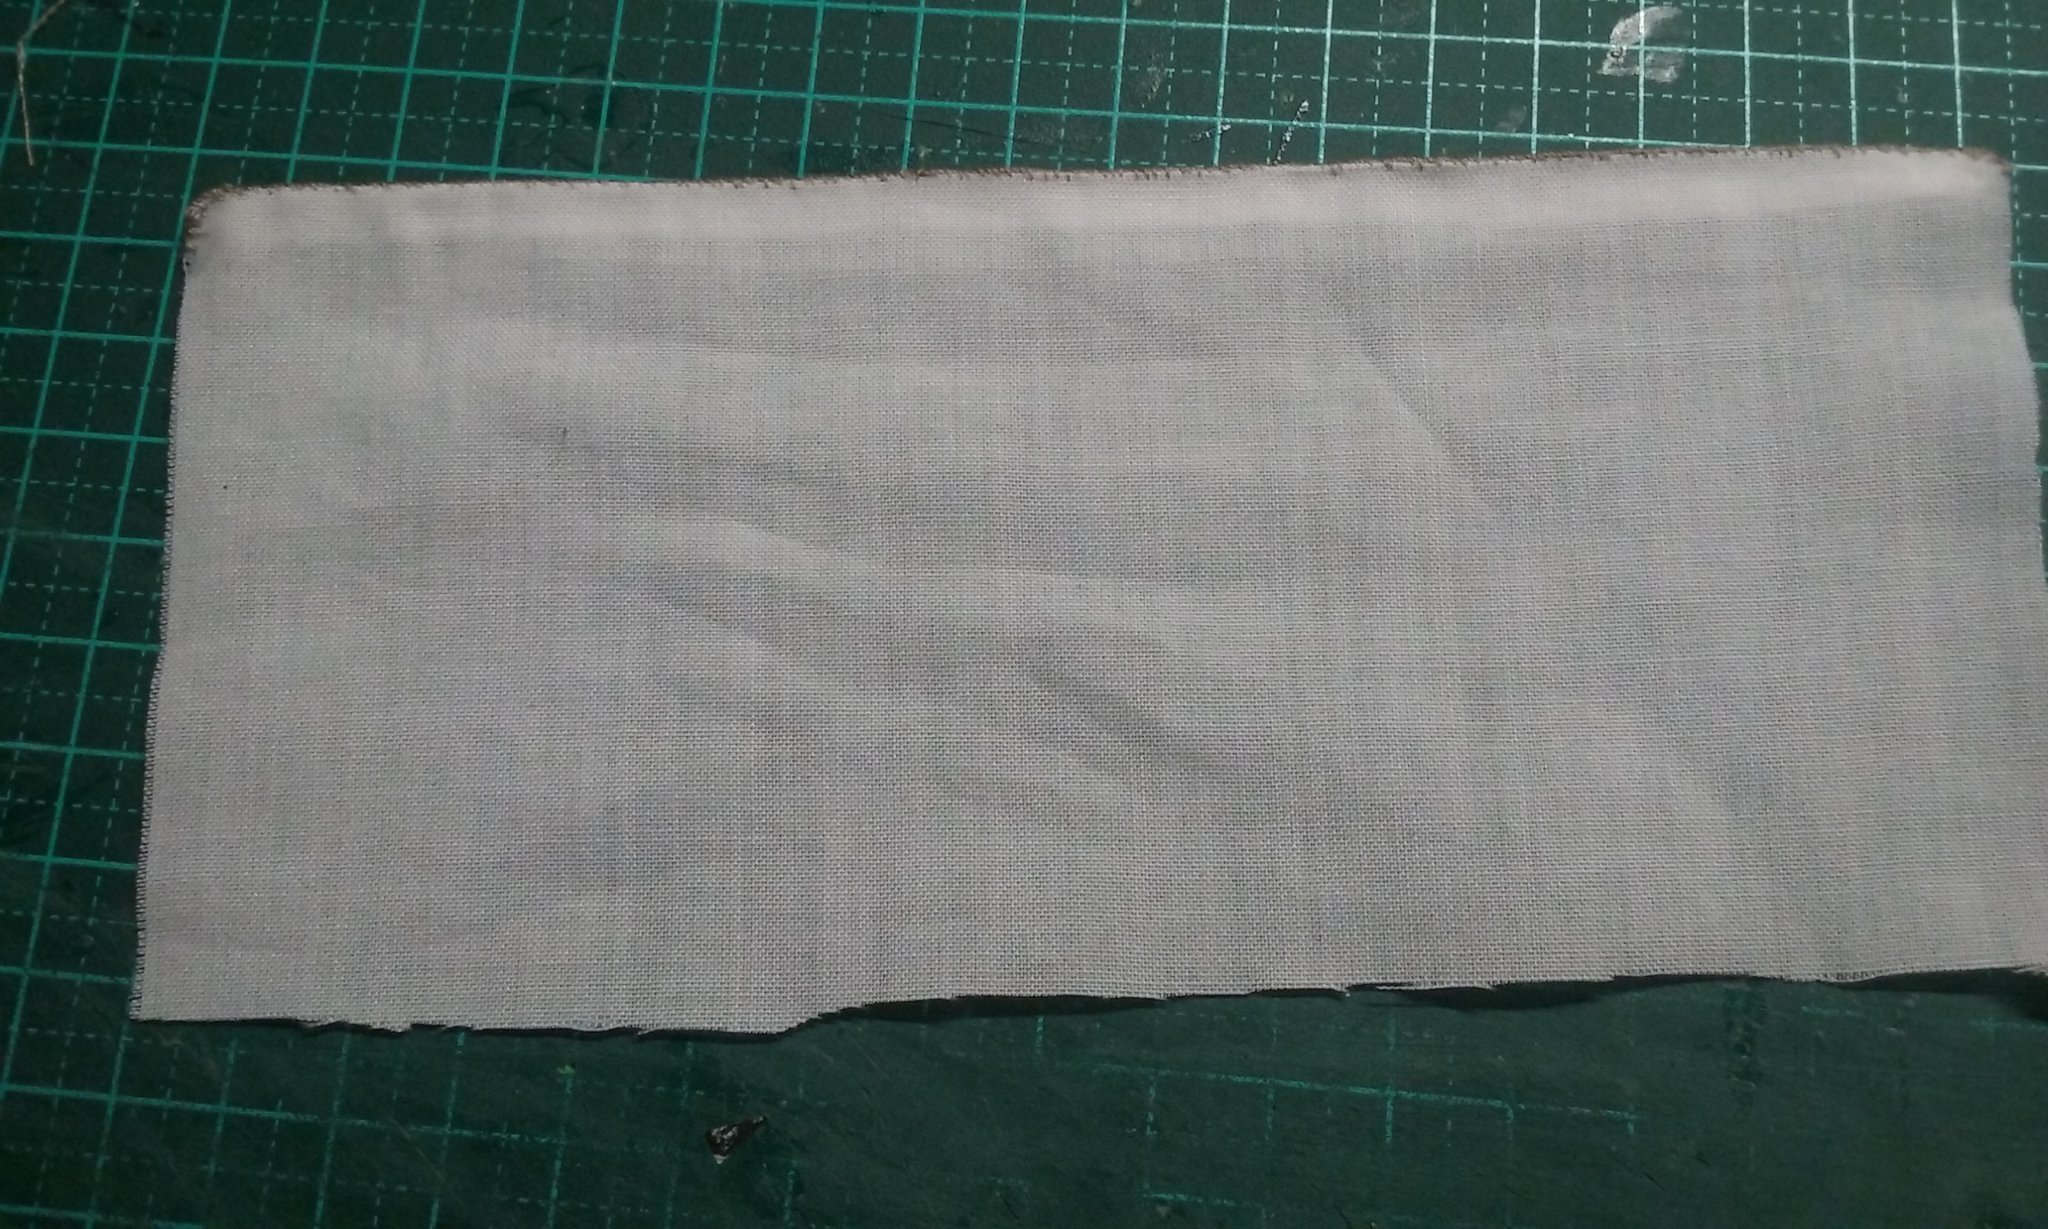
That looks like a good idea. Makes the furled sail narrower at the ends. Yes, I'd thought of it but never got around to it. I'll probably get some for the next build. But a sail can be trimmed in depth till it looks ok furled - and this stuff (an old pillow case) was free! Steven
-
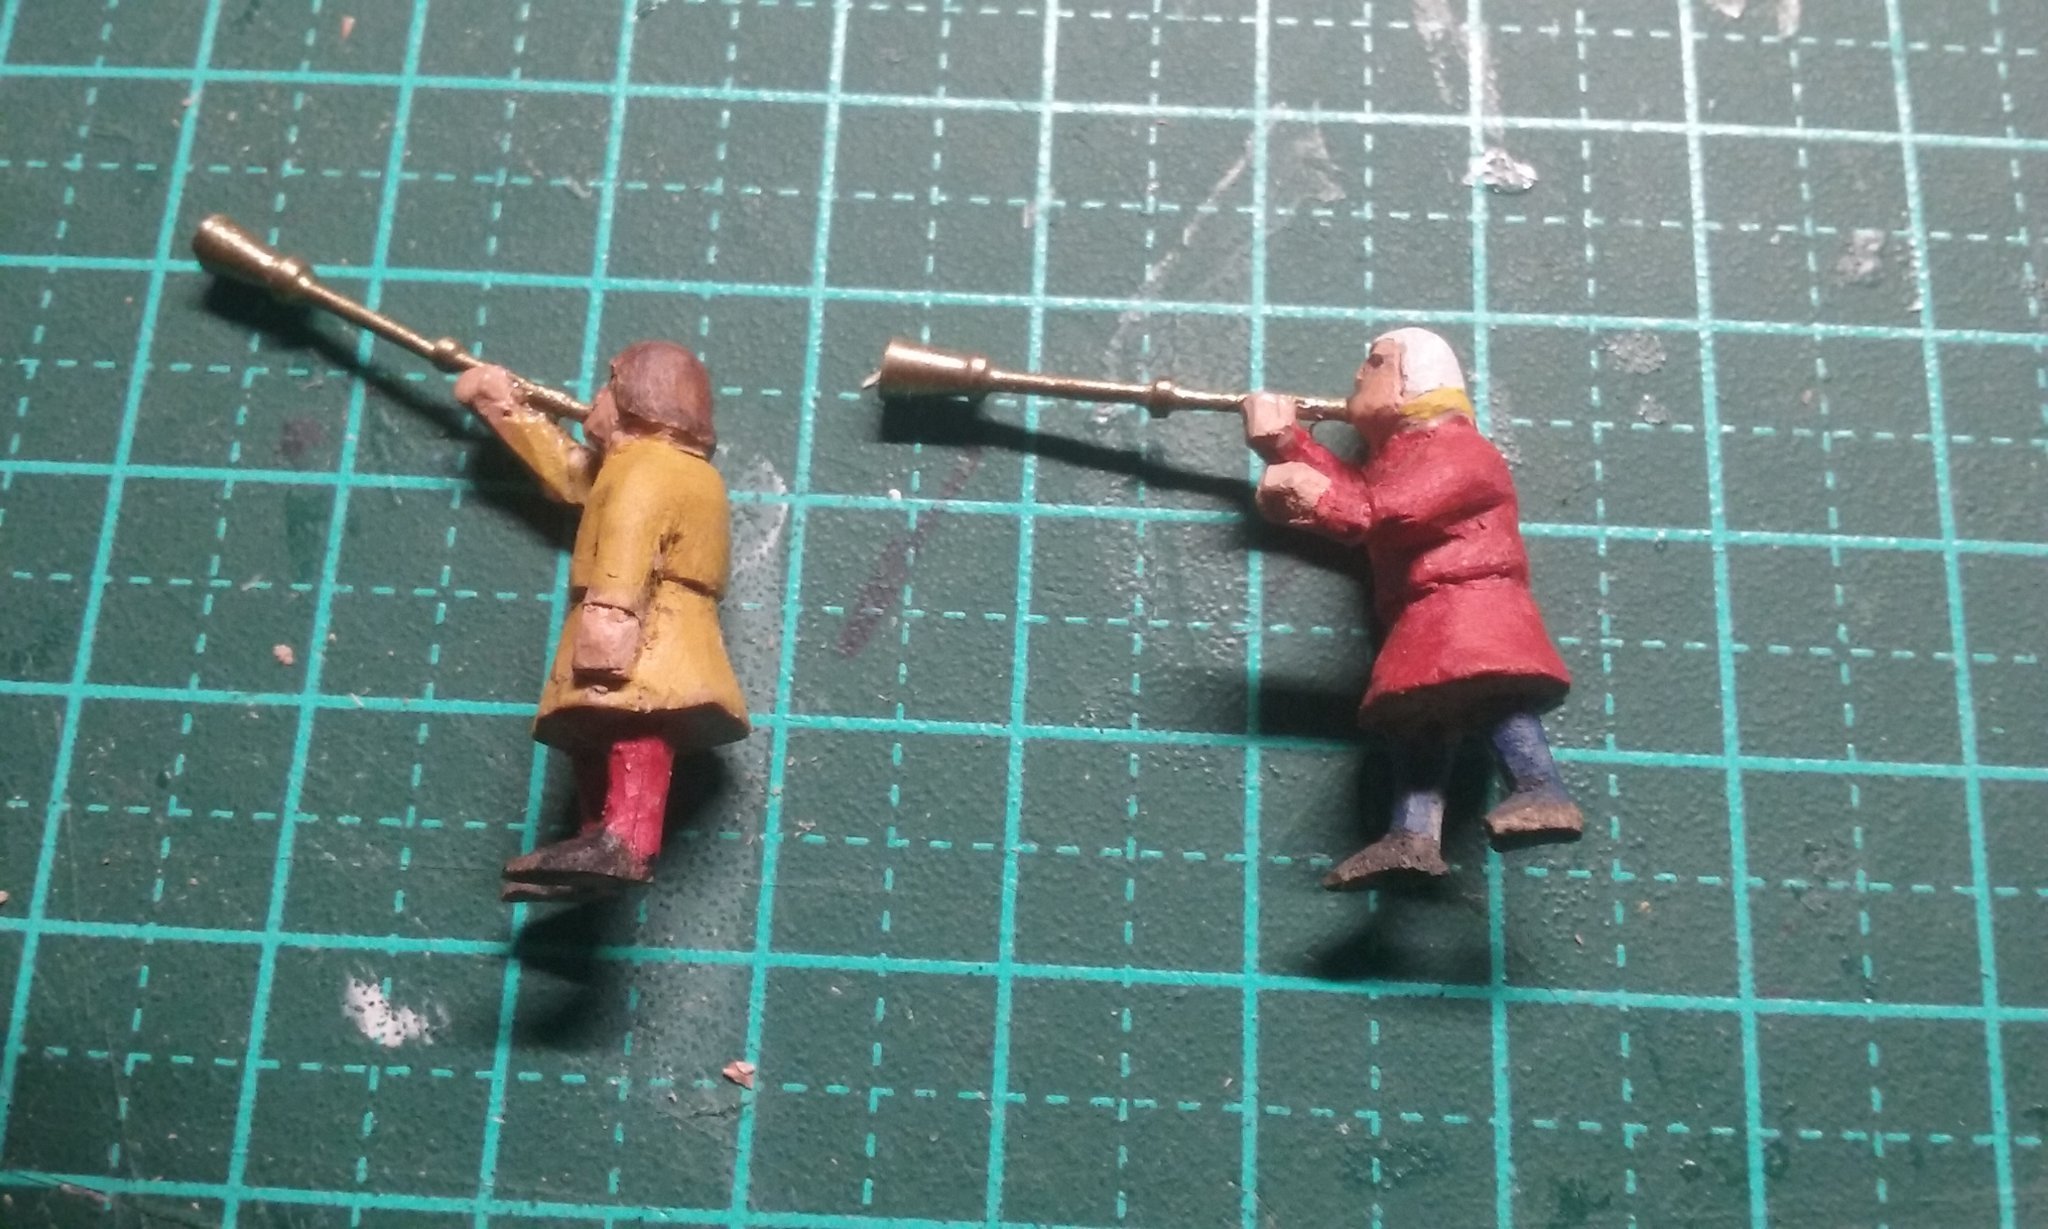
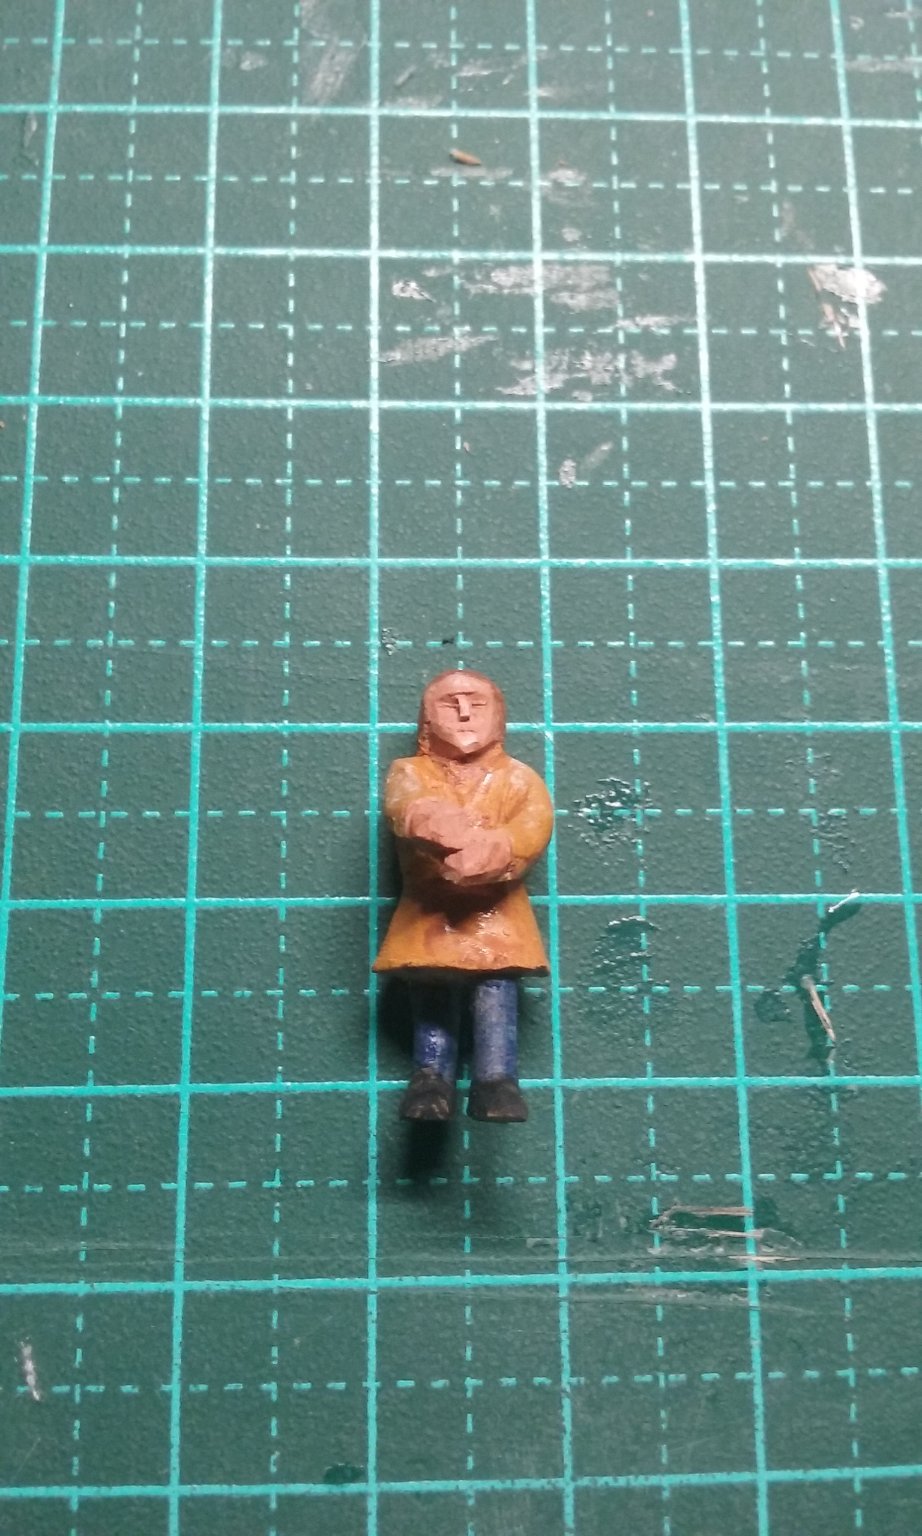
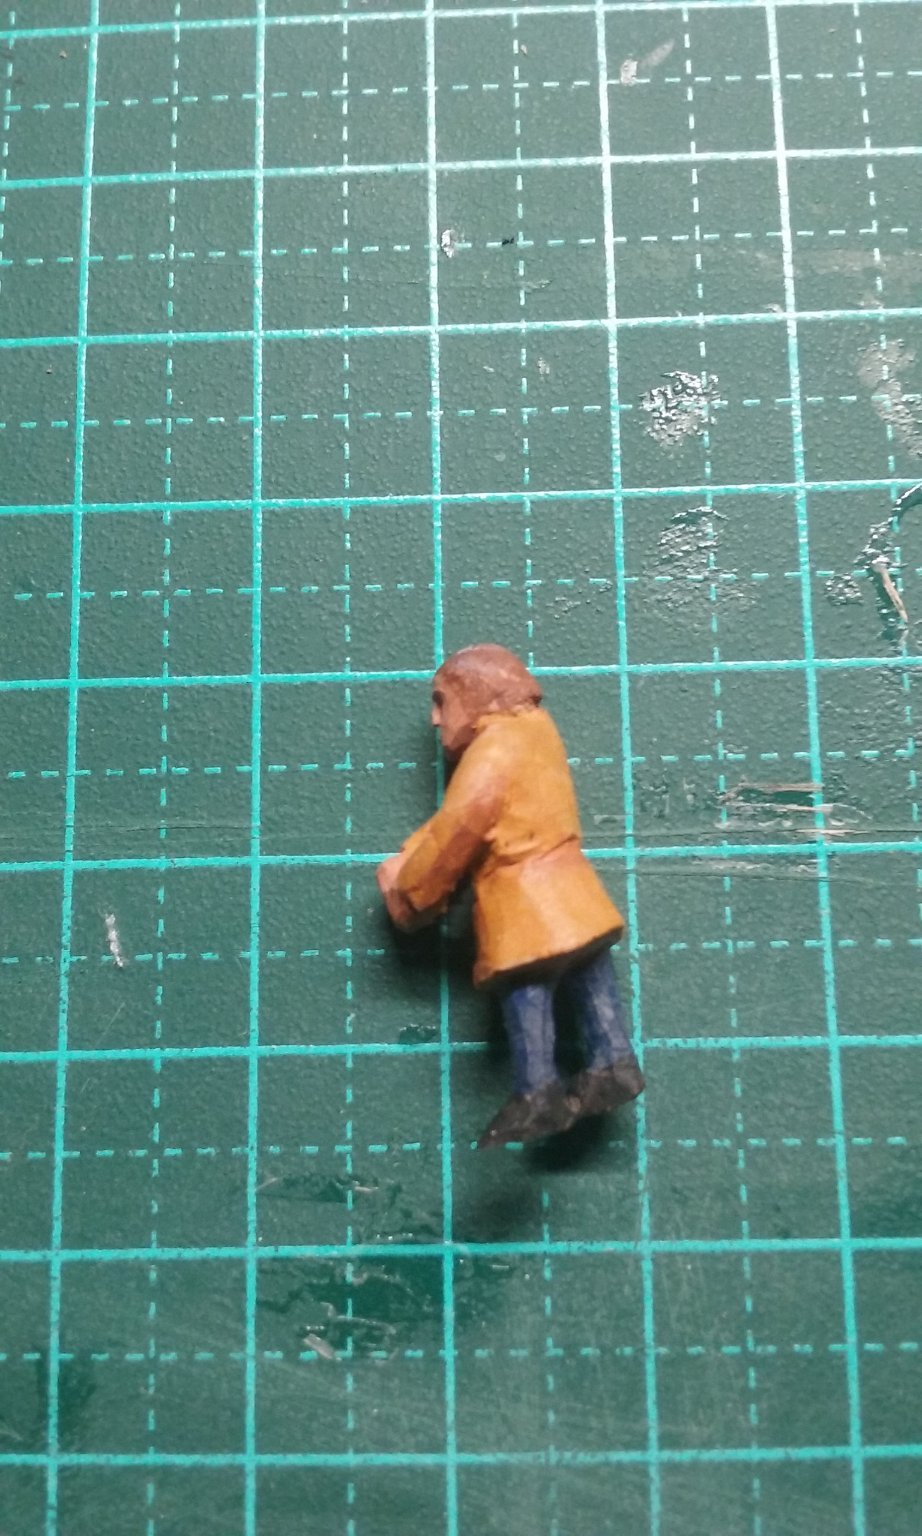
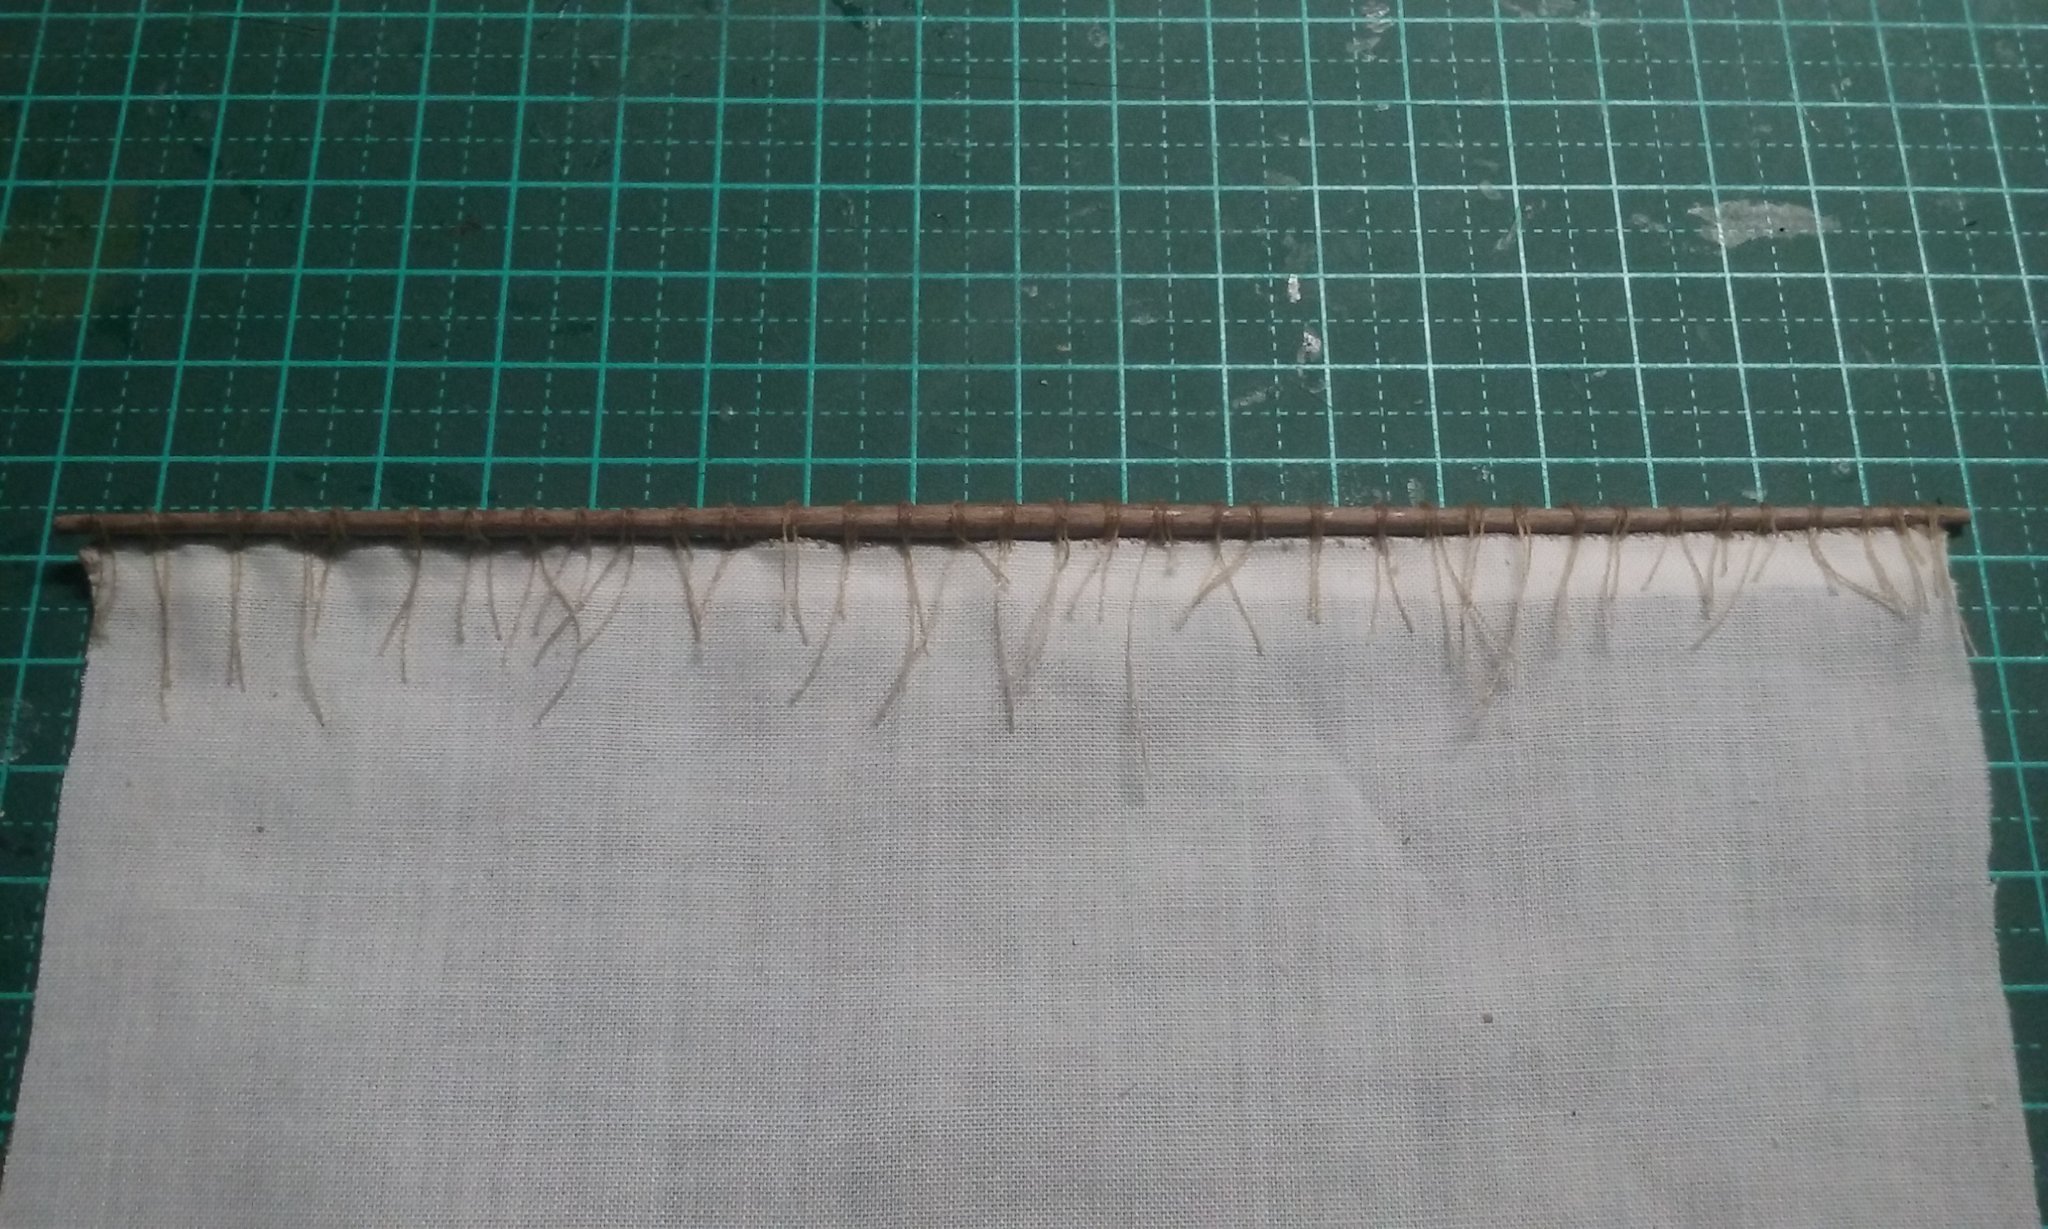
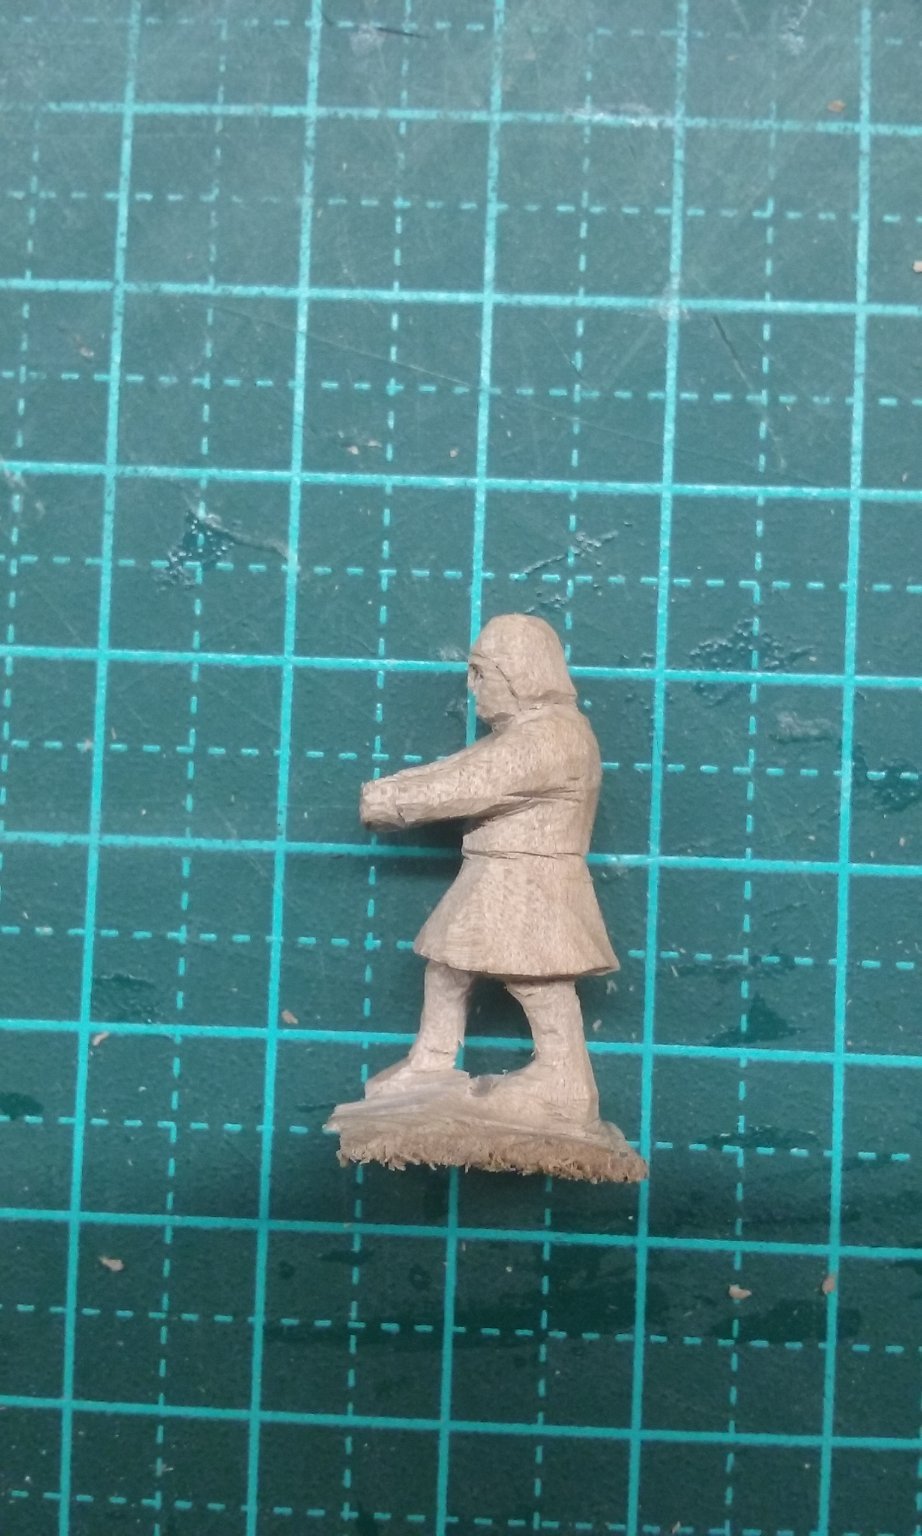
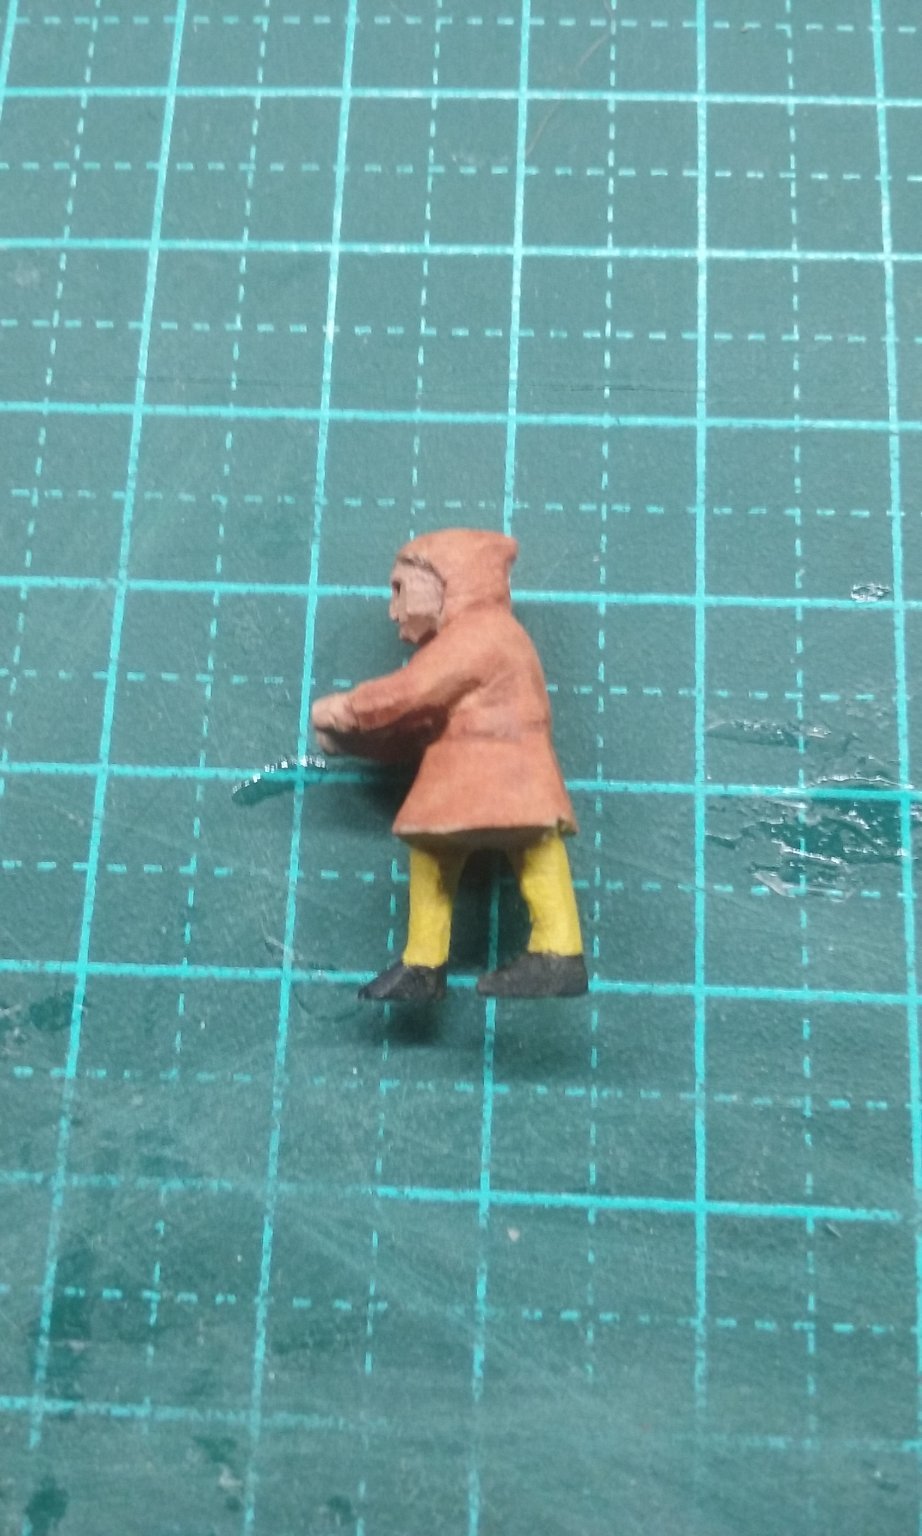
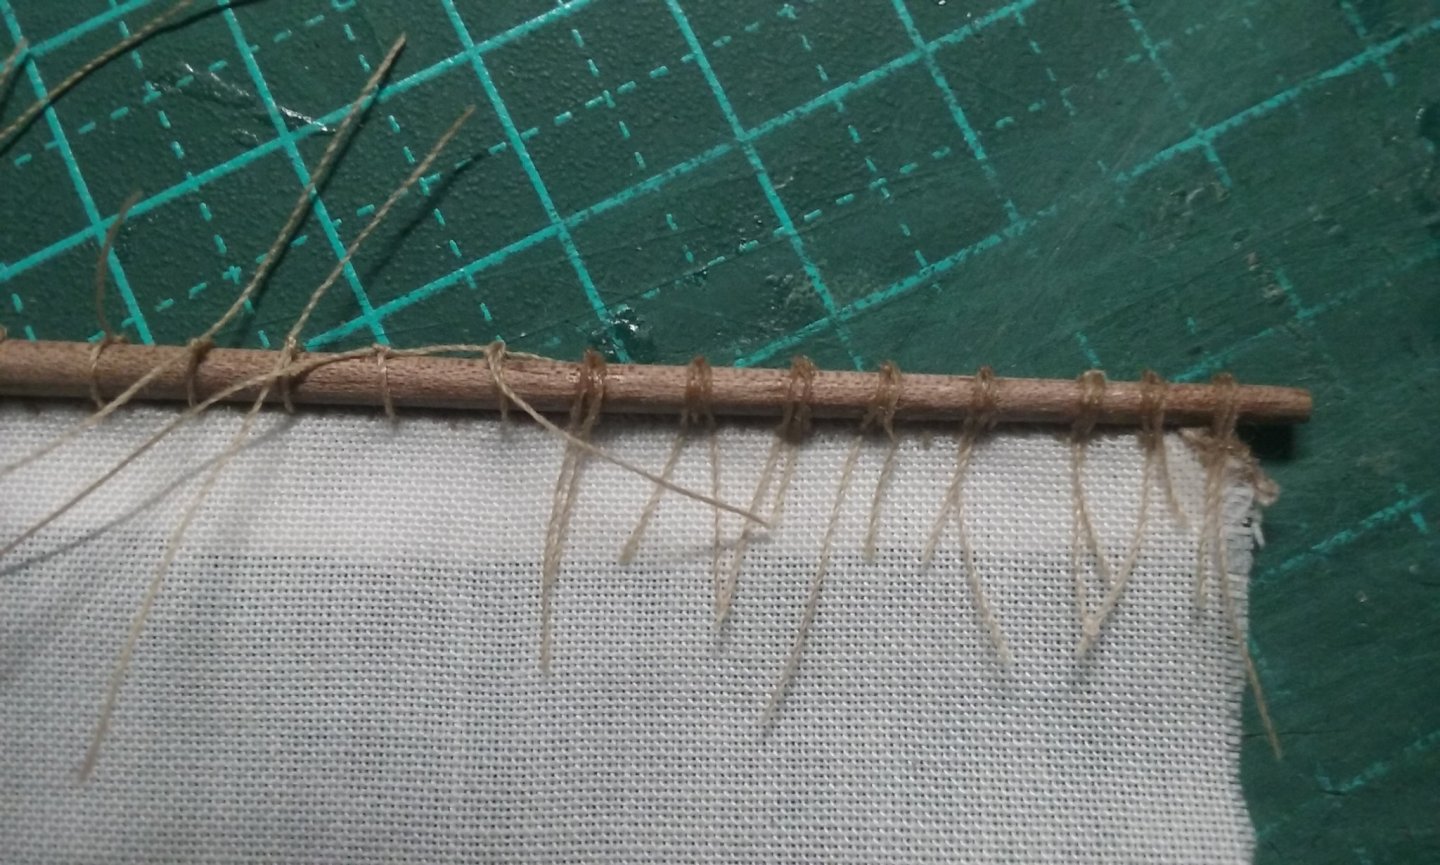
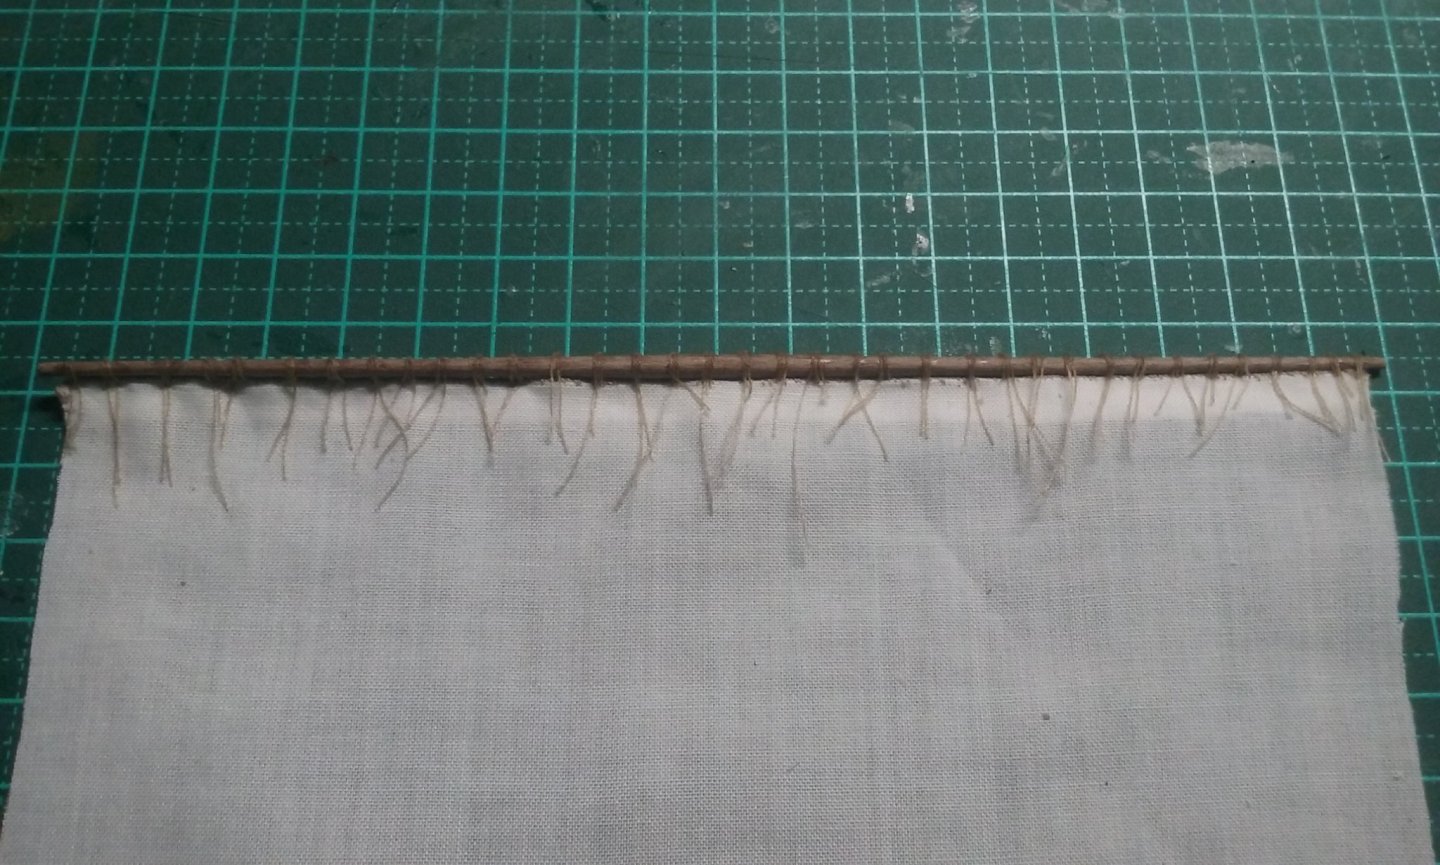
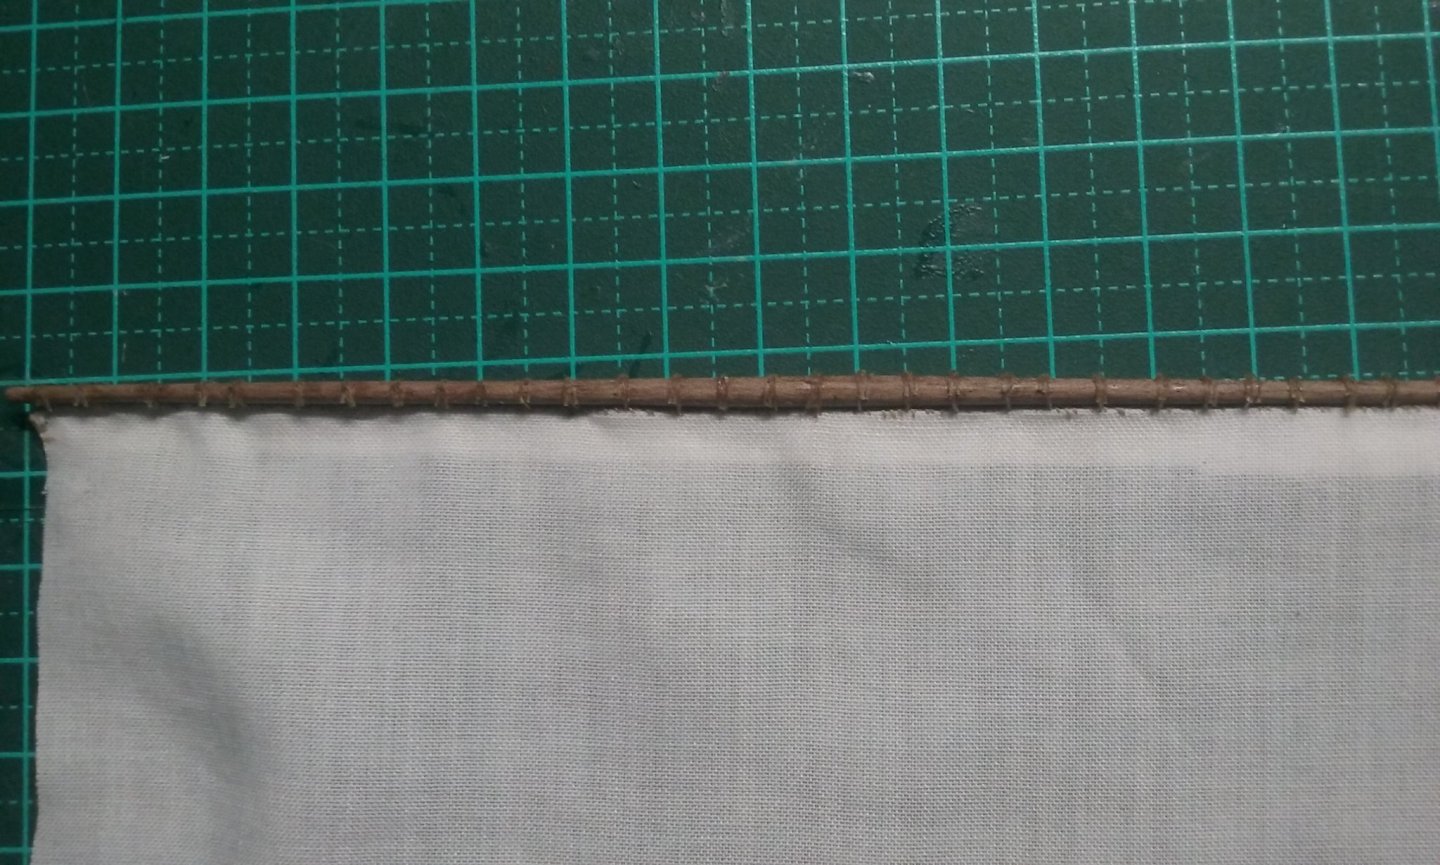
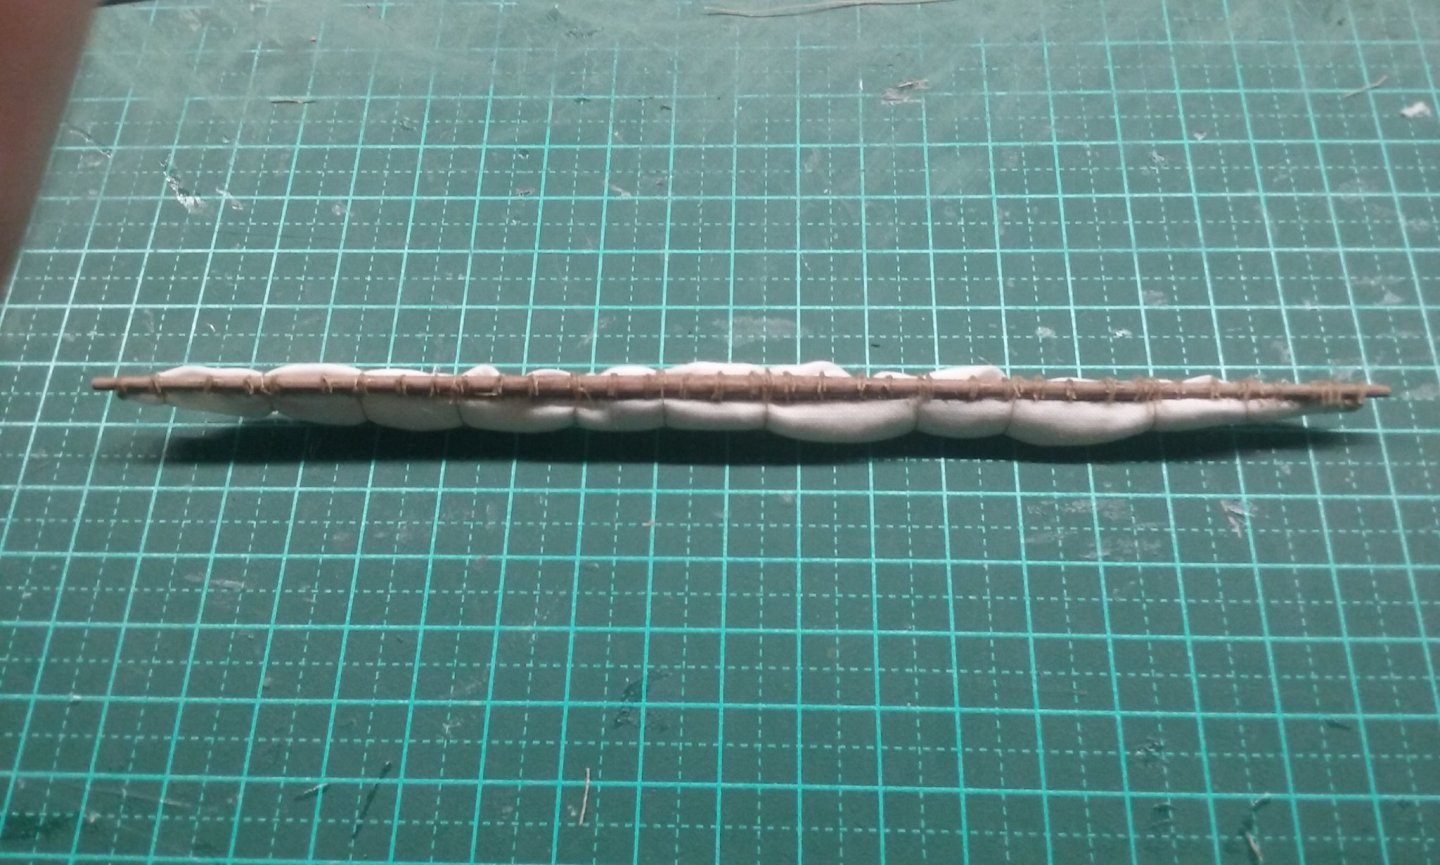
And the final crewman carved. He's one of the two raising the anchor. And painted: I did a bit more shading this time. I think it's turned out pretty well. I'm not brave enough to go the whole hog with the shading like Old Collingwood (https://modelshipworld.com/topic/24995-battle-of-waterloo-attack-on-la-haye-sainte-farm/page/53/ - (nothing like a bit of cross-promotion) - but unlike him I have to carve each figure from scratch before I paint it, so if I stuff up I've wasted all that extra work. Still, I'm getting braver. . . I'd already tied the sail to the yard with robands, but they were too scruffy and there was too much shiny glue on them. And I then I saw Backer's example (see link below) to show how it could be done. Plus a little research into contemporary pictures convinced me that the robands should have been twice as far apart anyway. So I took them all off again and re-did them, shamelessly copying Backer's technique https://modelshipworld.com/topic/14188-pelican-later-renamed-as-golden-hind-by-backer-scale-145-galleon-late-16th-century/page/22/#comments First, sewing on the bolt-rope. Not as good a job as Backer does, but a lot better than I'm usually able to do. You may have noticed that the bolt-rope is only at the top of the sail, and that in fact it's pretty scruffy below there. That's because it's going to be furled, so any further fine work would simply be wasted because it won't be seen. Adding the robands: Gluing the free ends down with CA so they appear to be hanging due to gravity, and trimming them to length. I furled the sail and put the gaskets on. Not happy - too bulky, even though I'd intentionally made the sail shorter to avoid that problem. Still, it's really not possible to obtain, let alone work with, fabric 1/75th the thickness of real sailcloth. So I removed the gaskets, cut some more off the bottom of the sail and did it again. Better. Steven


-
WOW! I doubt I'd ever be able to do anything that precise. I'm working on the sail for the nef at the moment (fortunately, it's only one sail!) but my own efforts have been nowhere near as good as your own. Am I right in thinking you used a sewing machine for everything except the bolt ropes? Steven
- 756 replies
-
- 2
-
-
- galleon
- golden hind
- (and 2 more)
-
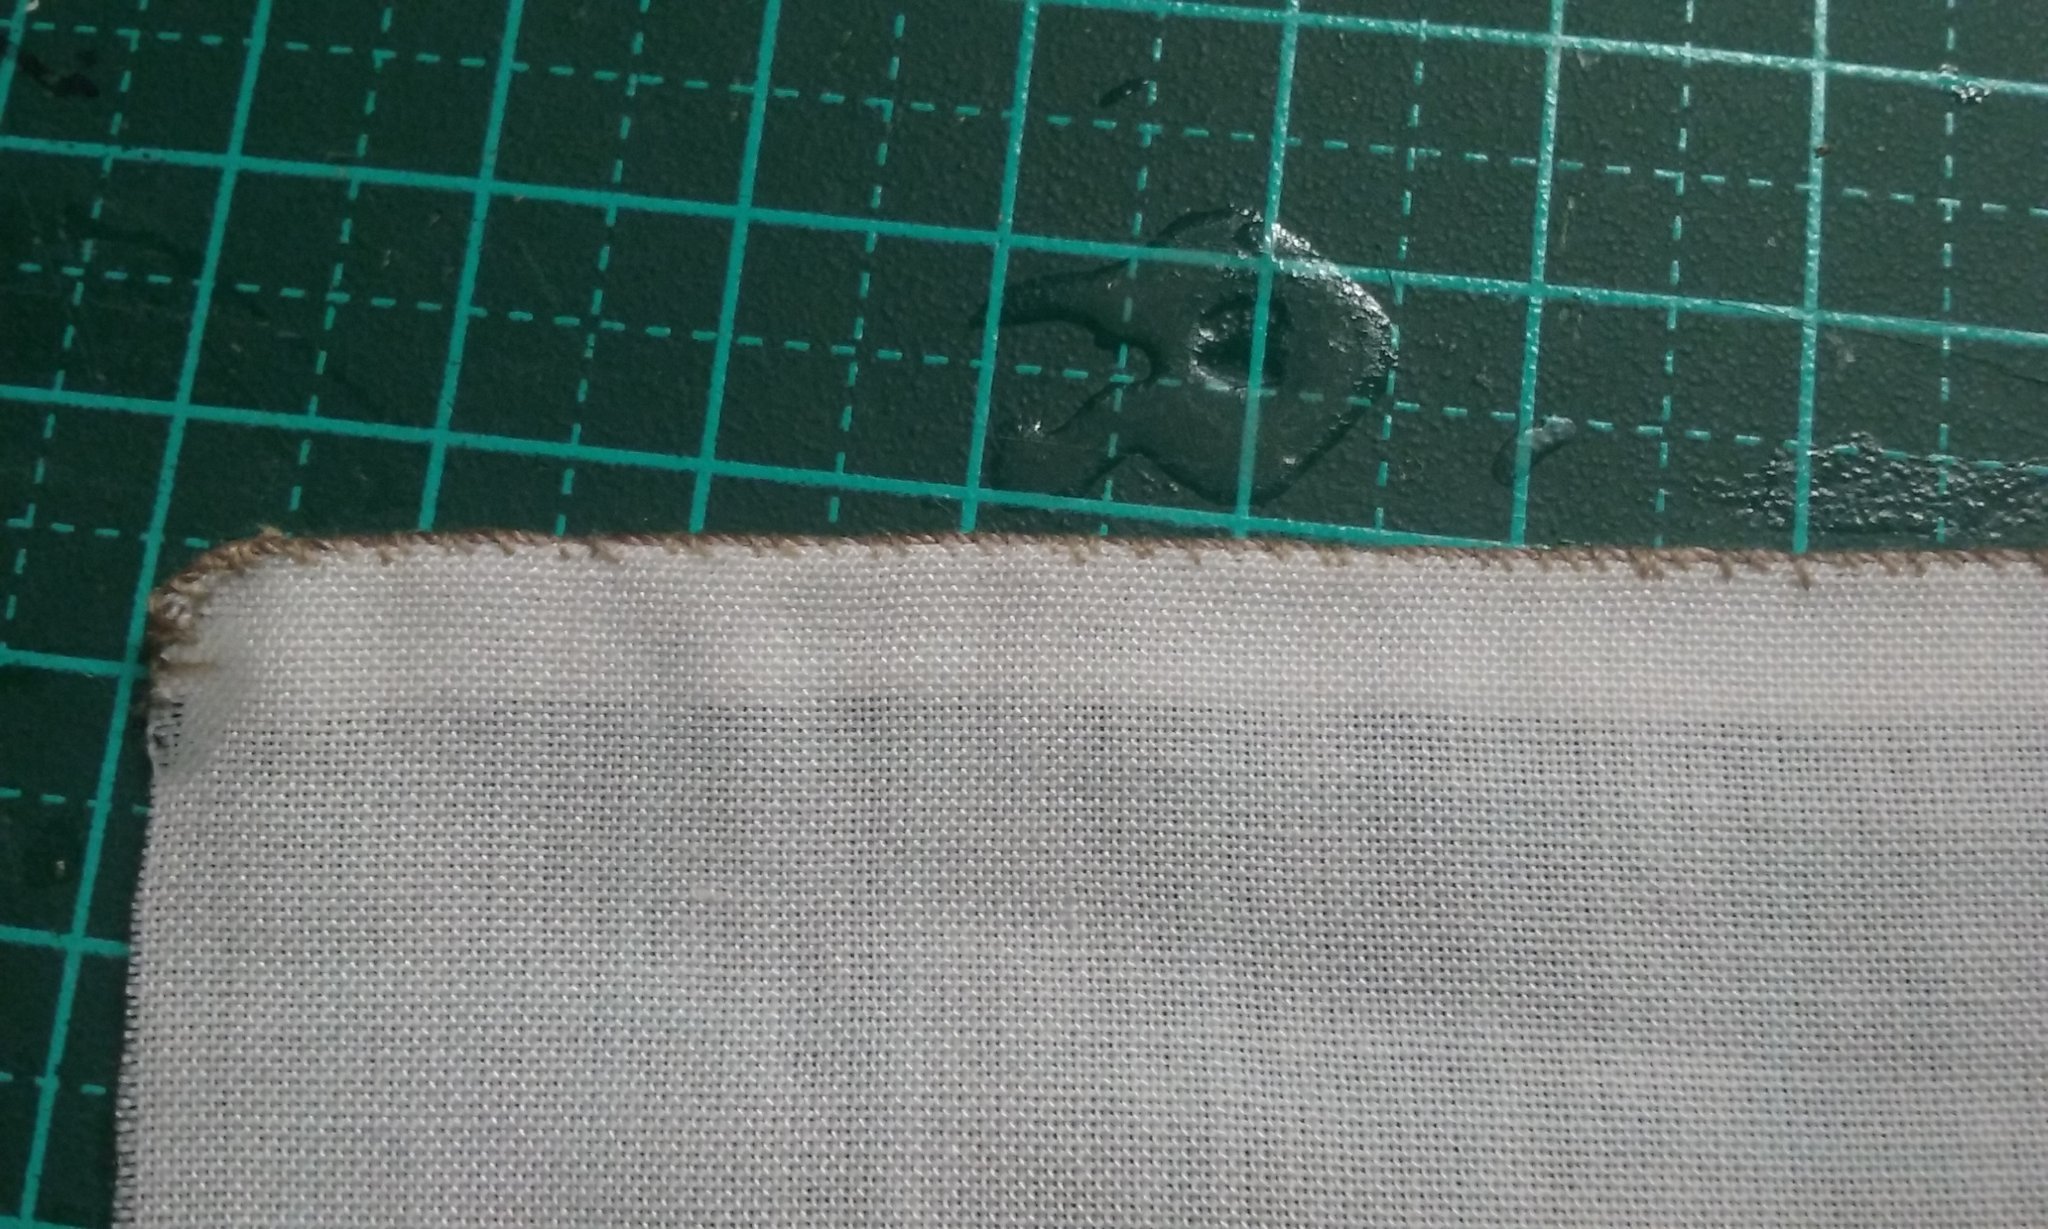
Well, yes, that's what I wanted to know about. But did you fold the edge of the cloth and sew it down to prevent the edge fraying? Or did you the cut the edge with scissors and sew your rope directly to the edge you'd just cut? I hope this is clear - I know how difficult it can be trying to communicate from one language to another. Steven
- 756 replies
-
- 2
-
-
- galleon
- golden hind
- (and 2 more)
-
By the way, how did you do the seams at the edges? They appear to be sewn down, but that's incredibly fine stitching. Steven
- 756 replies
-
- 1
-
-
- galleon
- golden hind
- (and 2 more)
-
That's a beautiful exposition of tying the robands. Steven
- 756 replies
-
- 2
-
-
- galleon
- golden hind
- (and 2 more)
-
Thanks very much. I'm just trying to work out how to do my own rudder for the nef and yours seems to be very good. Steven
- 186 replies
-
- 2
-
-
- keelless
- reverse clinker
- (and 4 more)
-
Dick, what did you use to simulate leather for the rudder-shaft strop? Steven
- 186 replies
-
- 1
-
-
- keelless
- reverse clinker
- (and 4 more)
-
Looking forward to it! Steven
-
And quite a large number of shoes were recovered from the Mary Rose - but that's over 250 years after the date of this ship, and of course we don't know who wore what shoes. Most ships had a large number of "idlers" (cooper, carpenter, etc etc) who they may have belonged to. Or the topmen wore shoes when not aloft - we just don't know. Steven
-
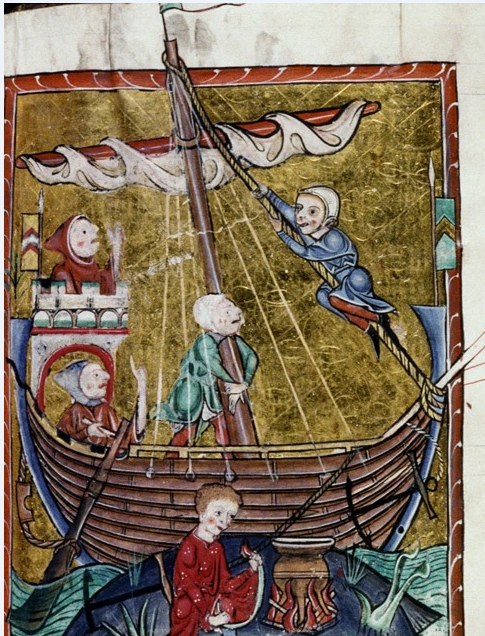
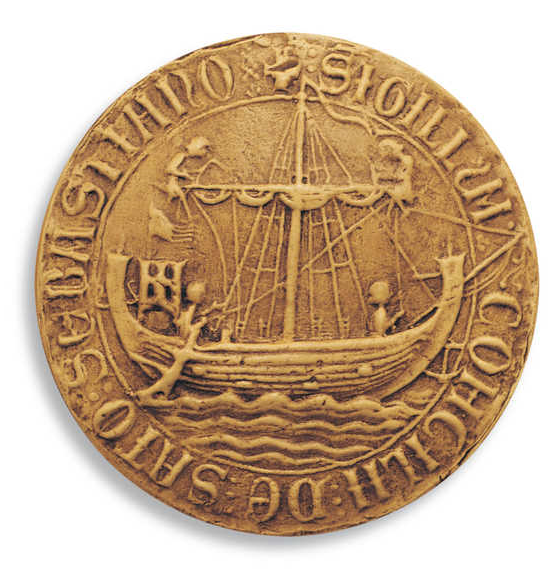
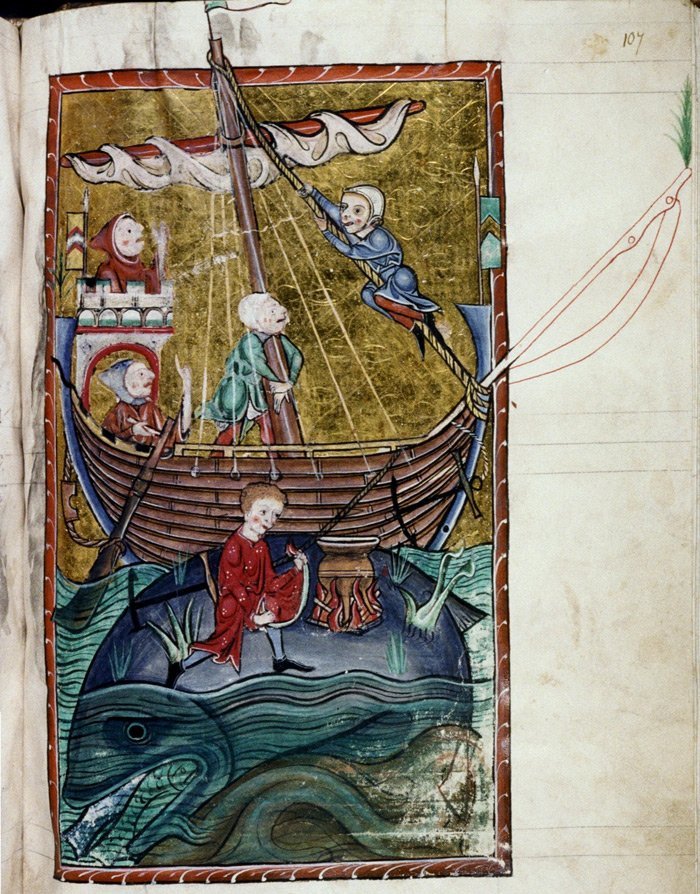
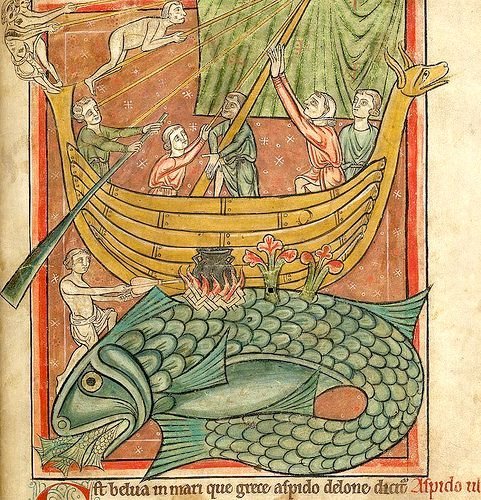
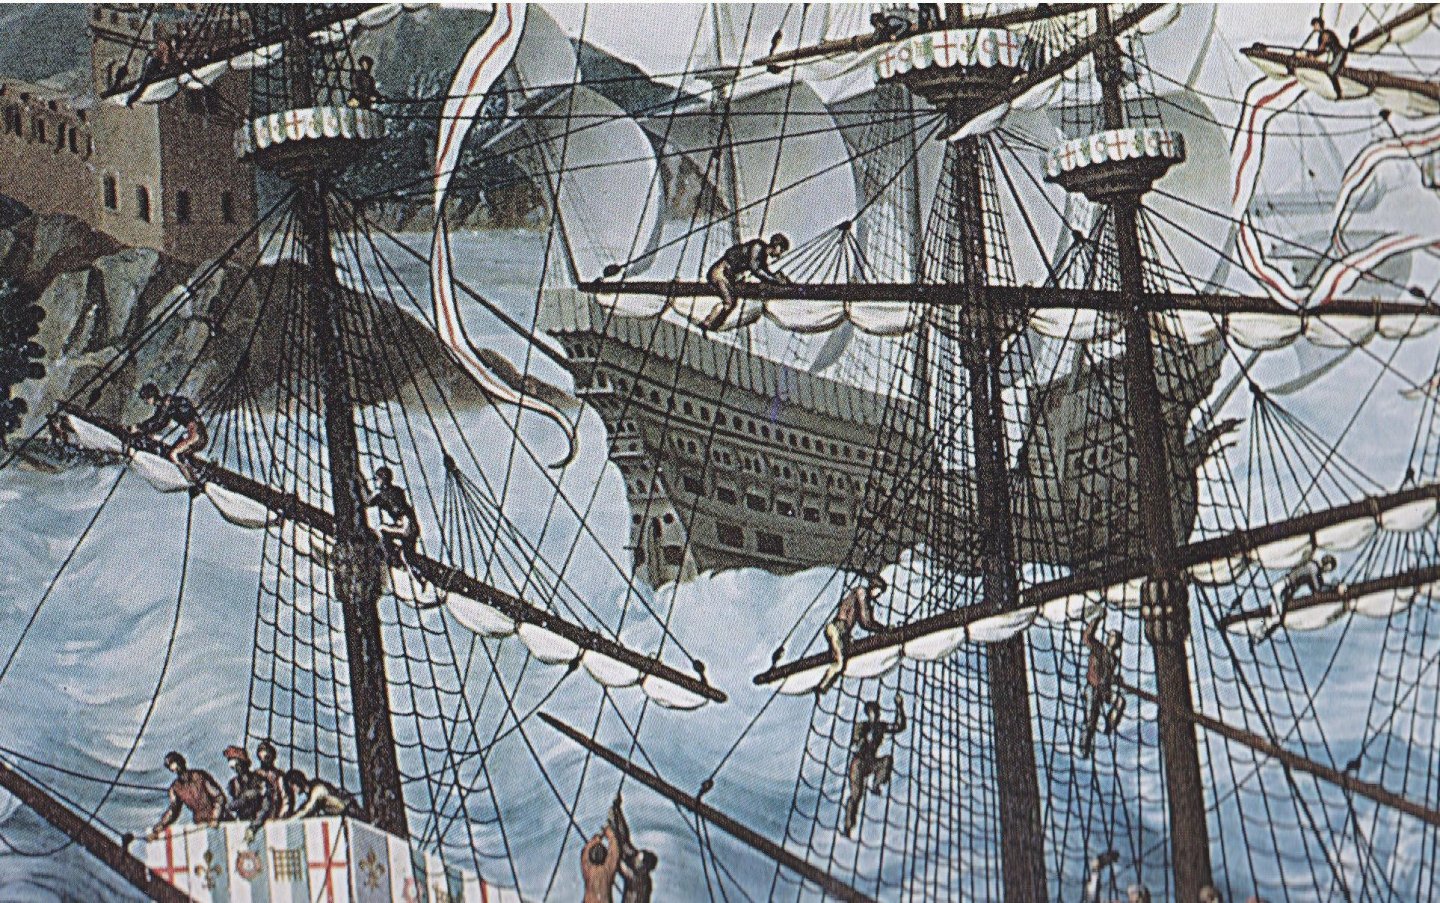
I agree that "looks right" isn't always the same as "accurate". Regarding the shiny locomotive, two points. One is the obvious one - we don't often see bright shiny locos - they're usually a bit weathered. But also the "accurate"paintwork on the model doesn't take into account the light and shade that plays on the real loco. Look at the difference between a Napoleonic model figure painted in perfectly correct colours, and the amazing ones in (for example) Old Collingwood's "Attack on La Haye Sainte Farm" in MSW's non ship/categorised builds section. I'm nowhere near up to his standard, but I do try to do a bit of that with my figures. I think I'm probably a bit overcautious in case I waste all that carving work by doing a crap paint job . I don't have any written evidence, but I do have contemporary pictures to work from. For example this one shows shoes But this one shows a sailor climbing the rigging not only with no shoes, but no clothes either! Though I note that the guys helping him are stripped down to their braies (underpants), as is the fellow stoking the fire. Maybe it's a hot day. Town seals, which are my major source, unfortunately don't show enough detail to tell whether they crewmen are wearing shoes or not. Other contemporary pictures I've been able to get hold of are a bit equivocal - for example, are the guys in these pictures wearing shoes or not? So, as I've got at least one clear reference showing someone climbing the rigging wearing shoes, I'm going with that. Not to say I reject the possibility that sailors could have been barefoot - they probably were on occasion - or perhaps often. But no proof either way. Steven
-
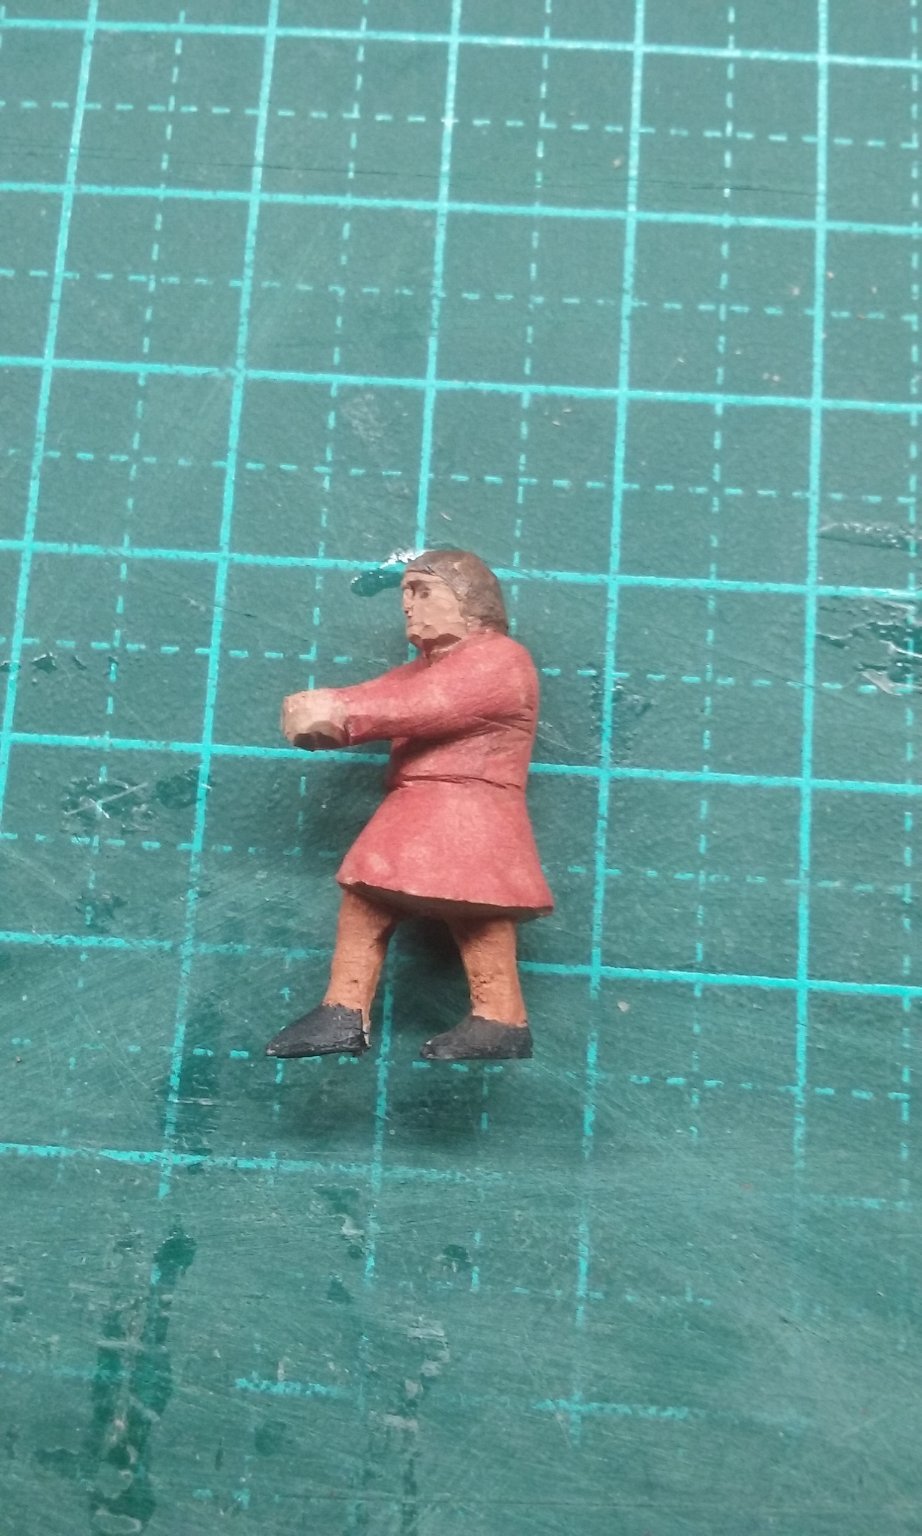
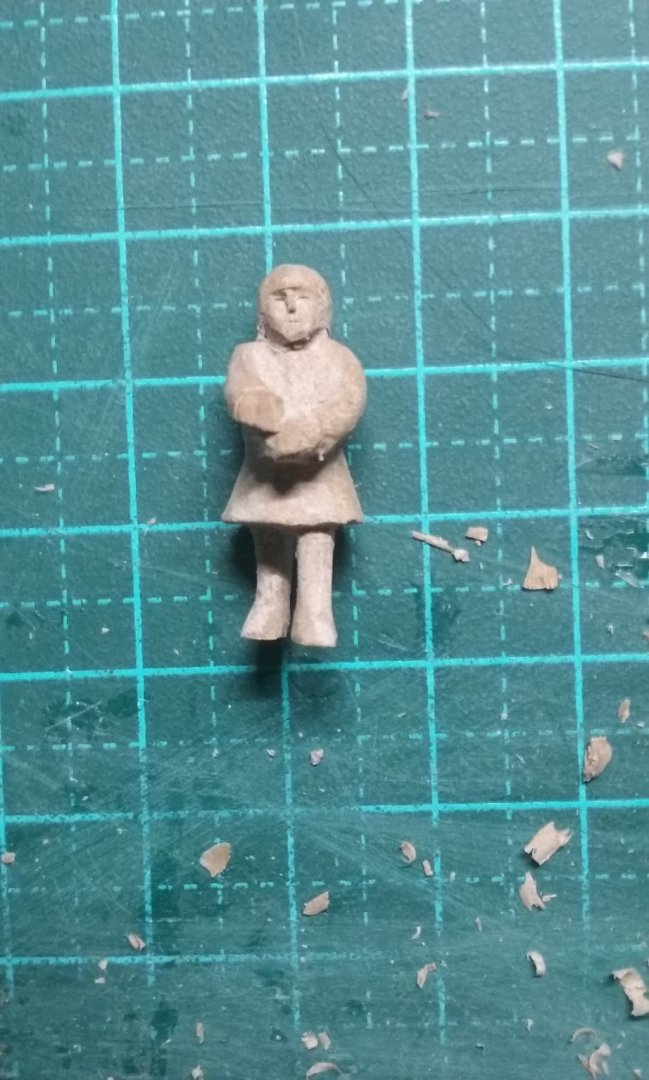
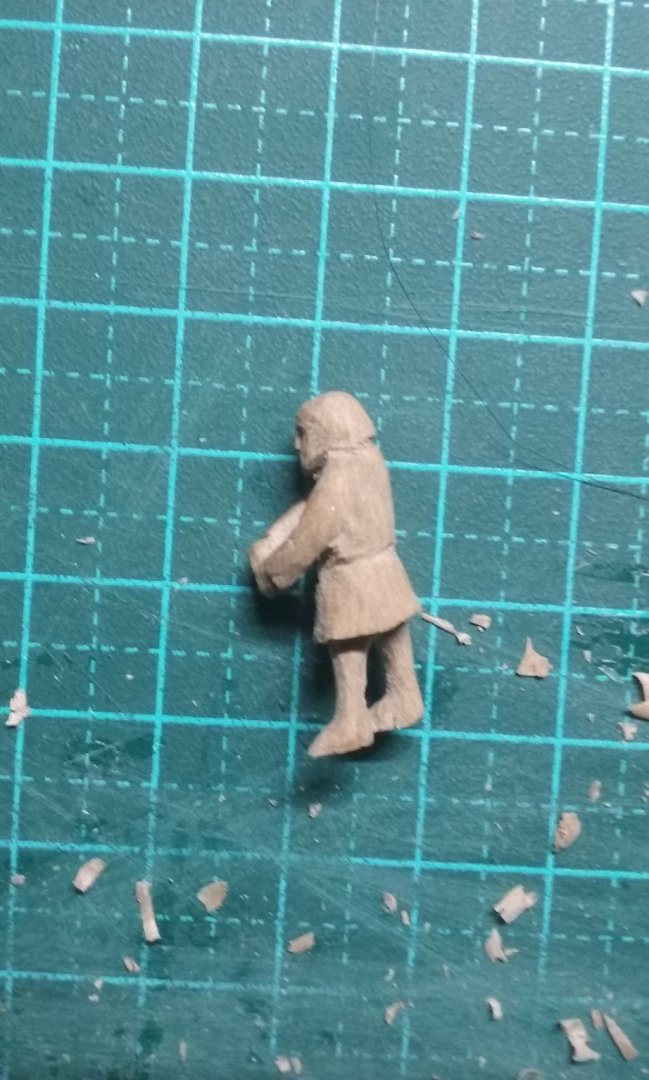
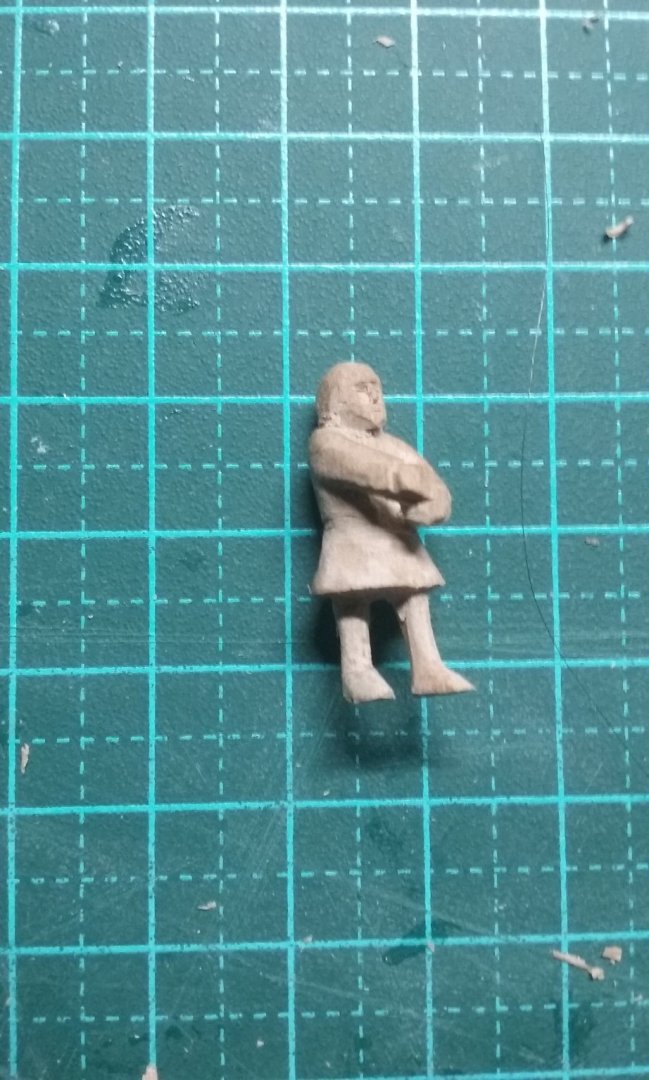
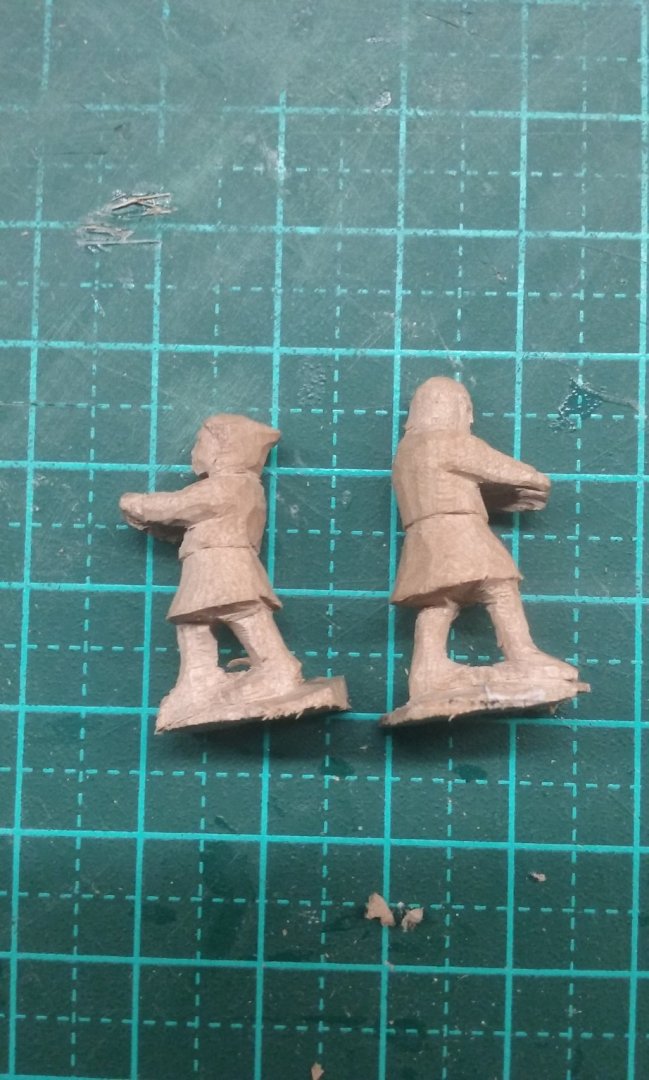
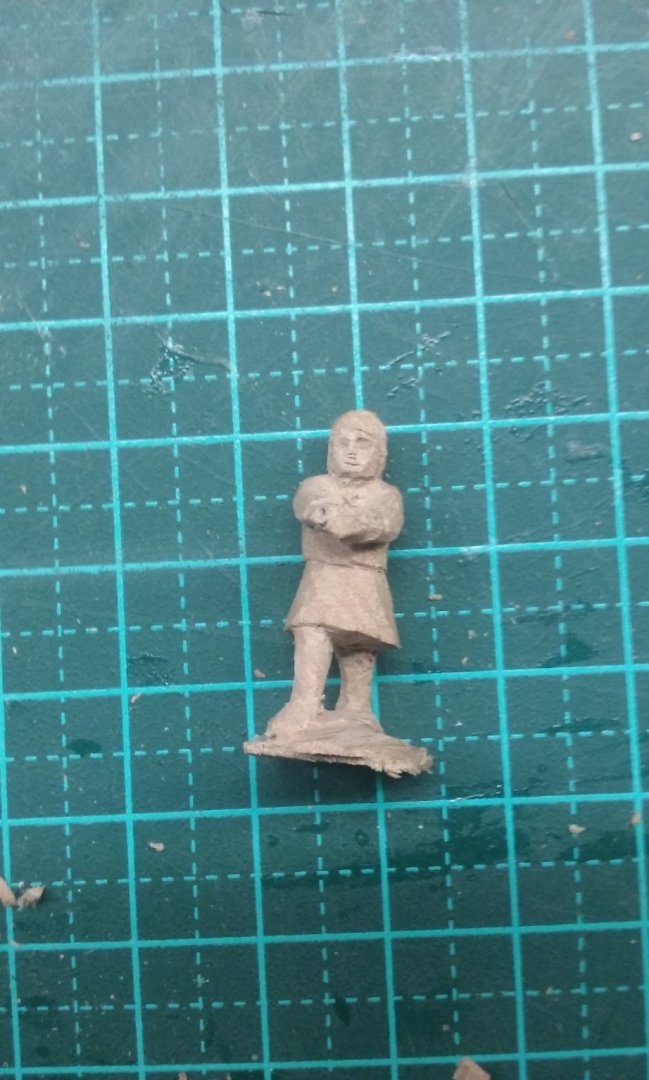
Thanks for the likes and comments. I find it interesting how much difference in someone's height a change of 1 millimetre makes at 1:75 scale. I did some research - though it was declining by the end of the 13th century, the average (male) height at this time was 5 ft 8". That's 23 mm at 1:75 scale. A figure 25 mm high is 6 ft 2". So 2 mm difference in height brings someone from average height to very tall. Of course, the average height isn't everybody's height - now or in the Middle Ages. I've given my figures a fair range of heights, but it's a bit weird that this range which looks completely normal just walking down the street, somehow looks very wrong on a model, where for some reason we seem to expect everybody to be the same height. However, it's also interesting that if one of my figures turns out to be, say, 6 ft 2" (which though unusual at the time was by no means unknown) I just have to shave off 1 mm (take off a bit at the top of his head and a bit from the soles of his feet) and he's only 5 ft 10". Steven
-
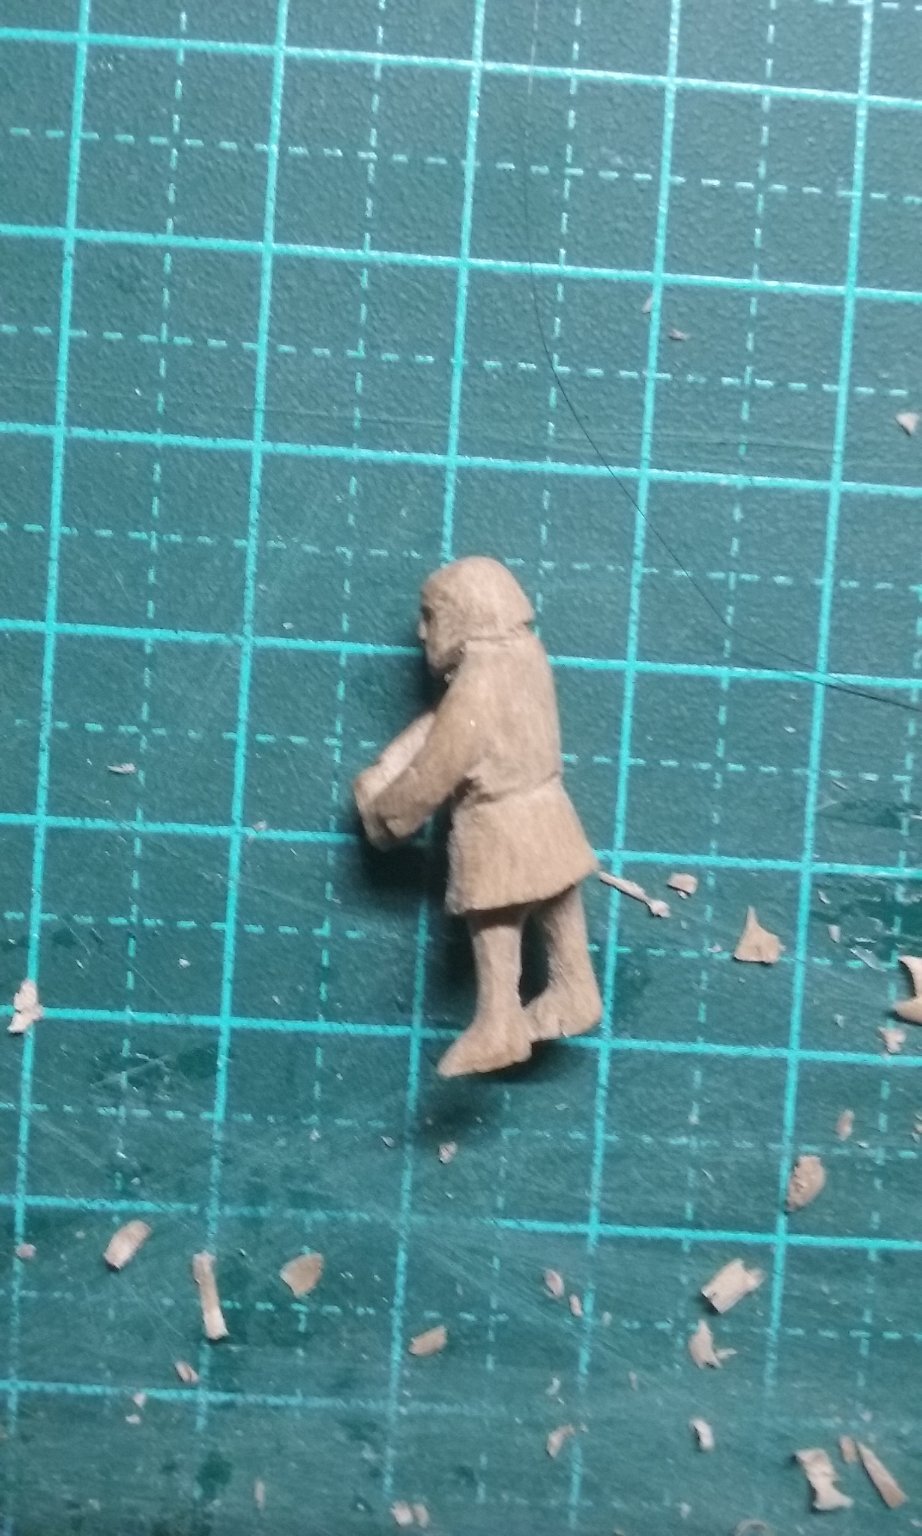
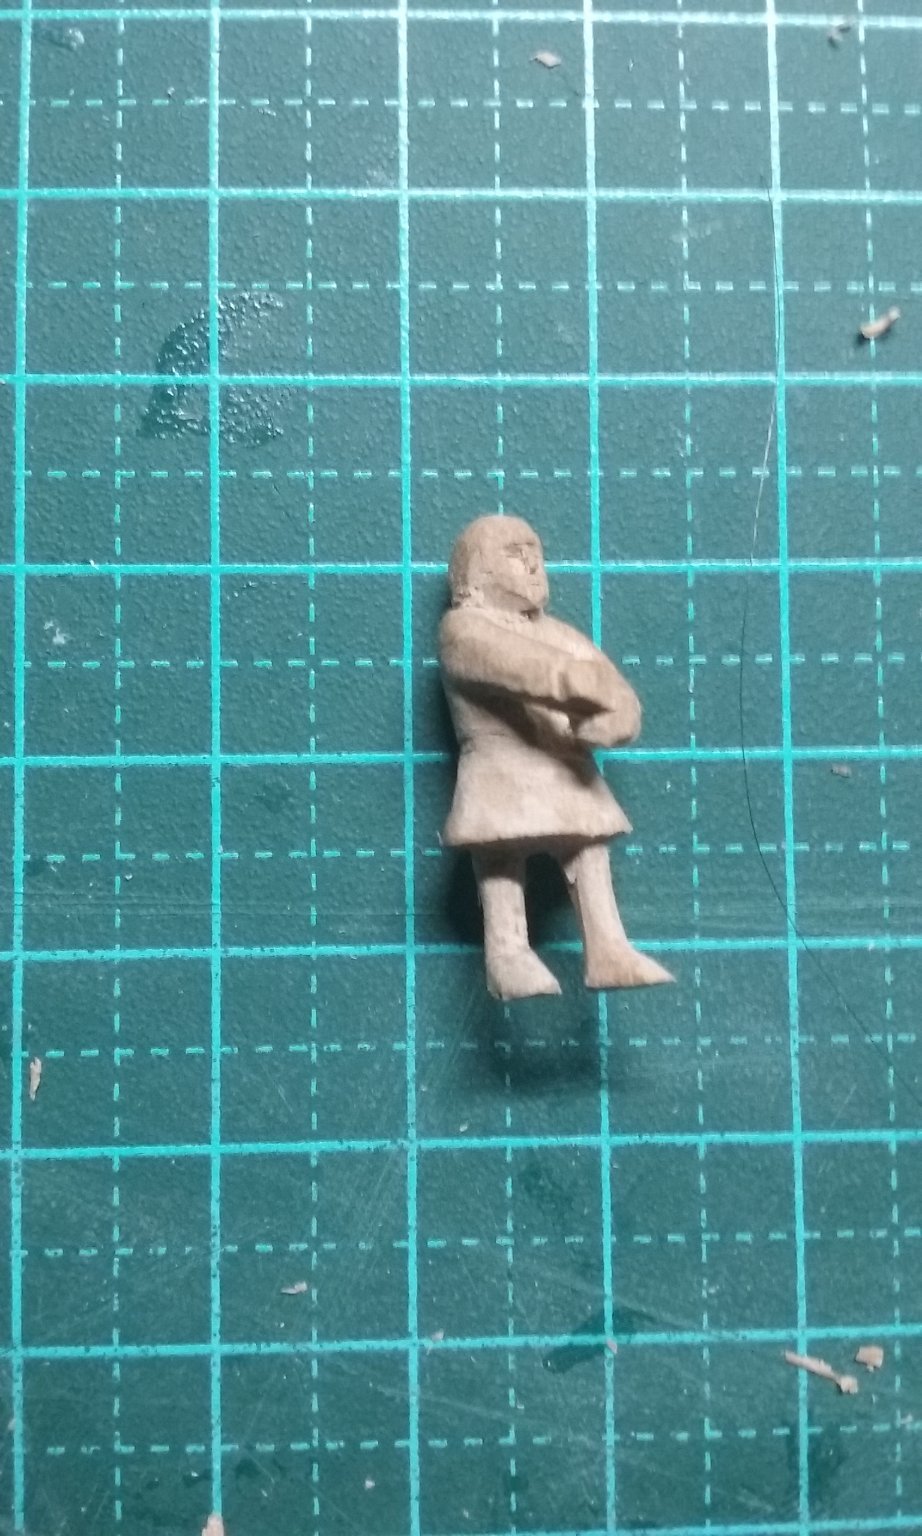
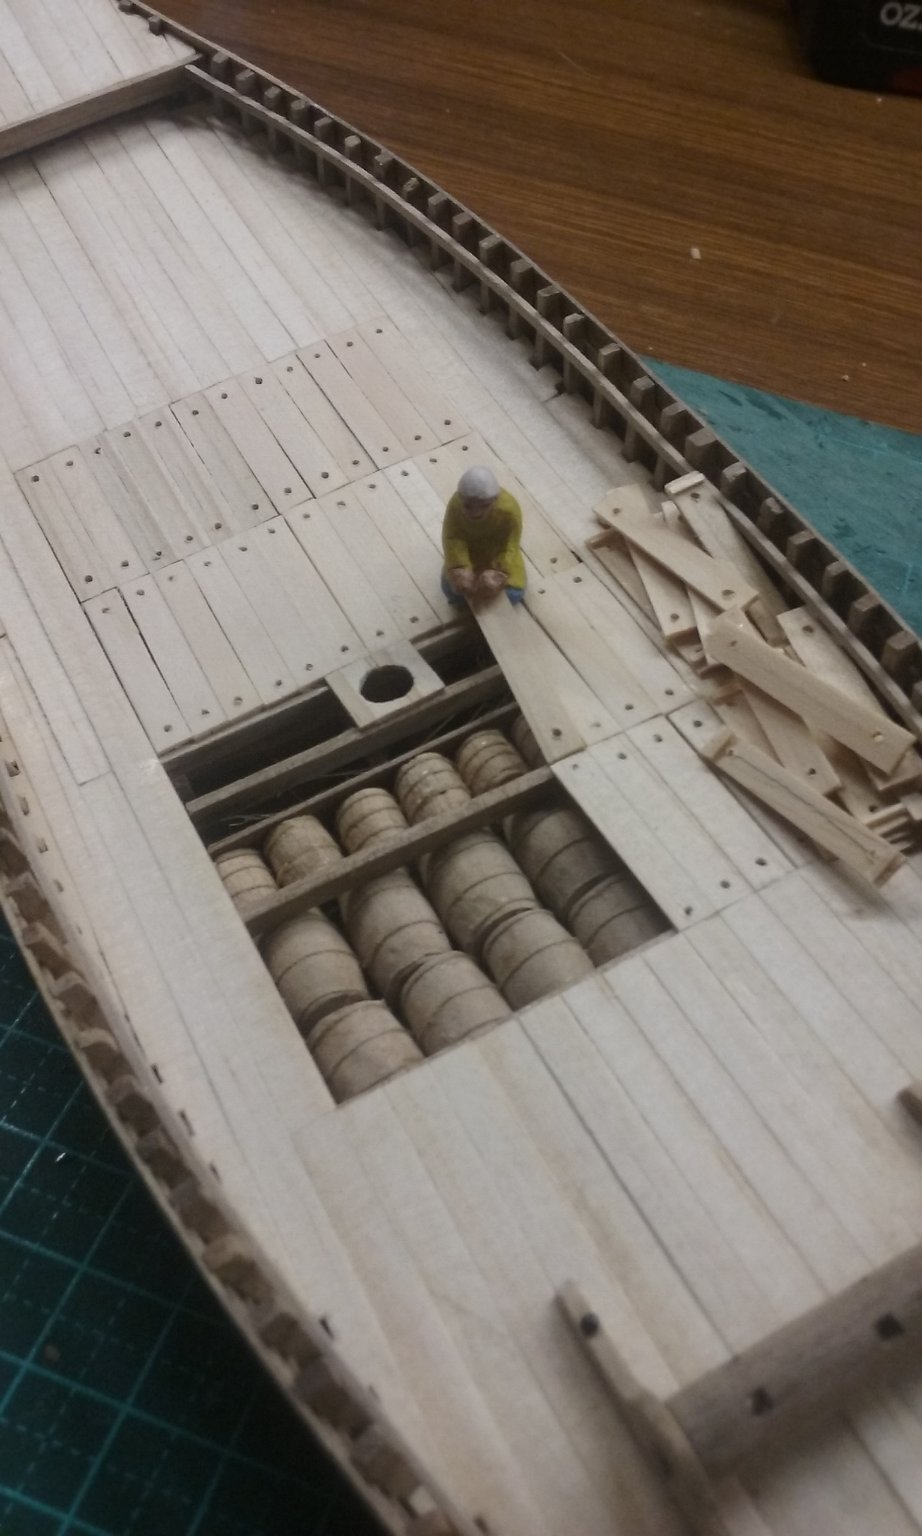
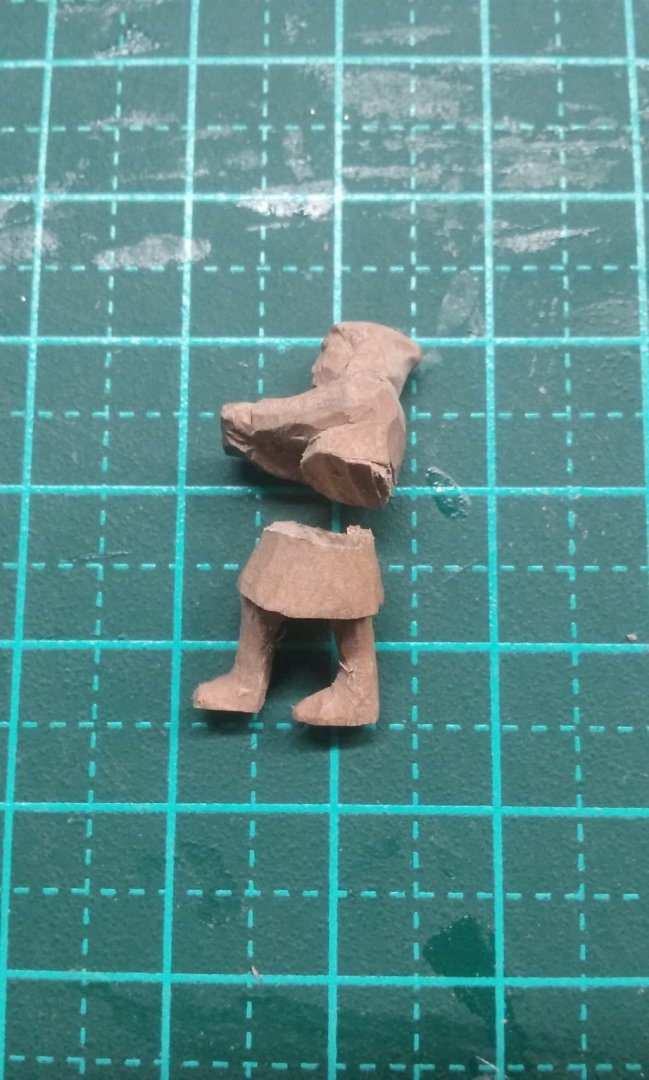
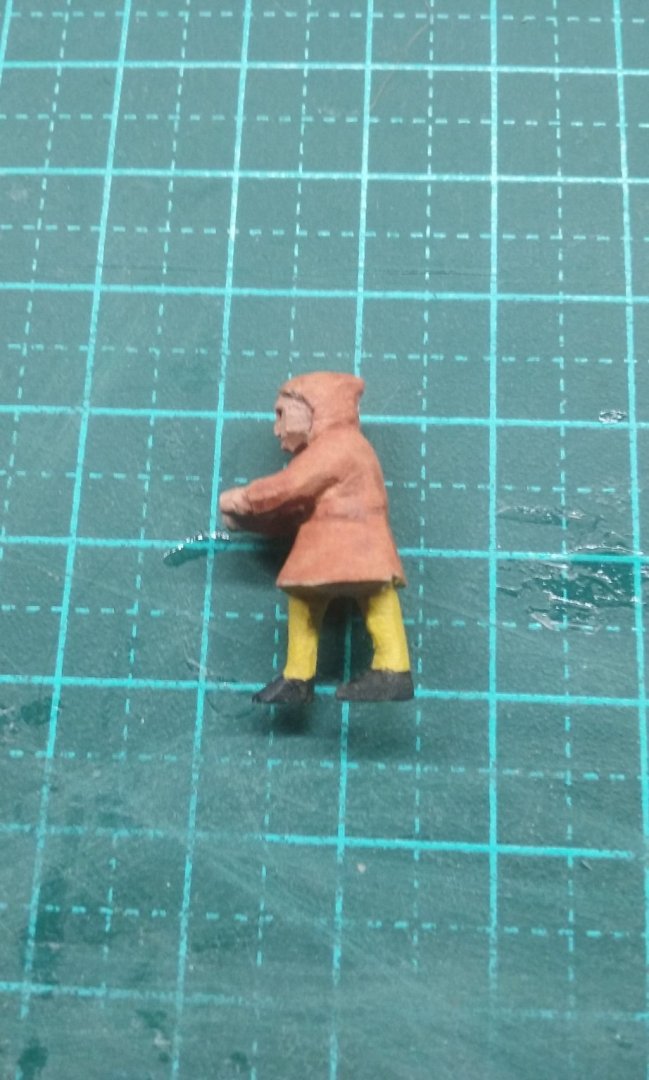
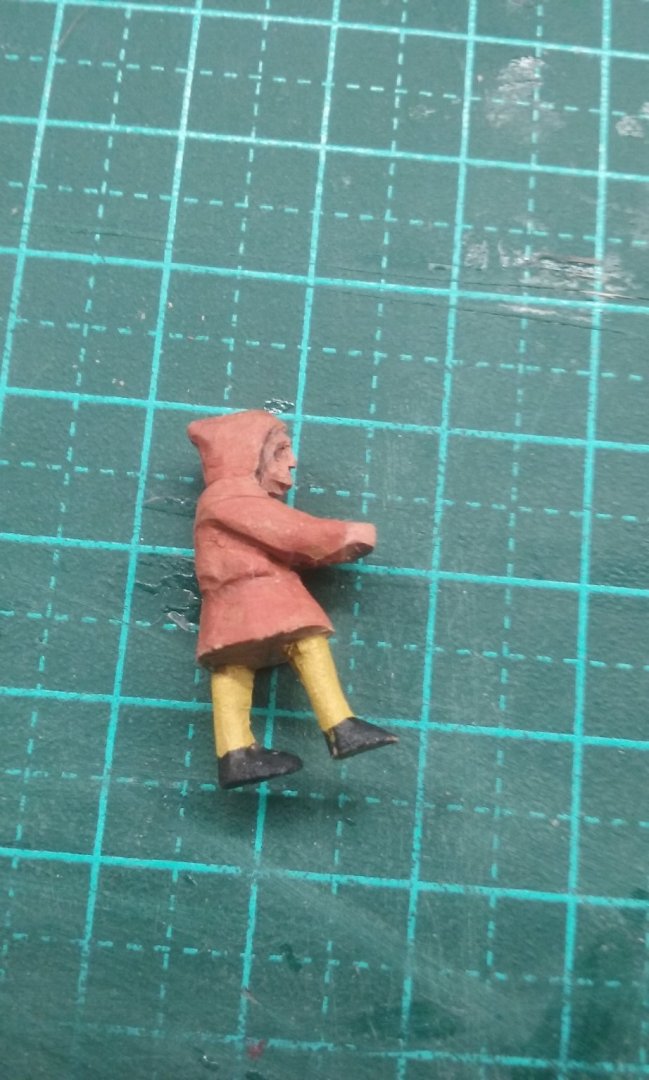
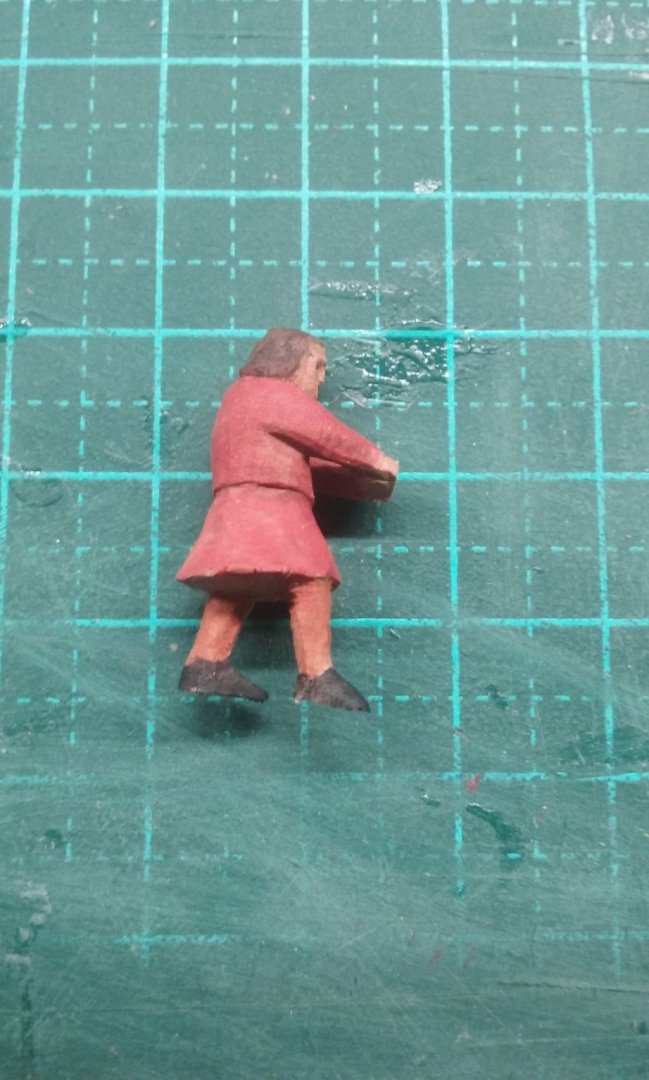
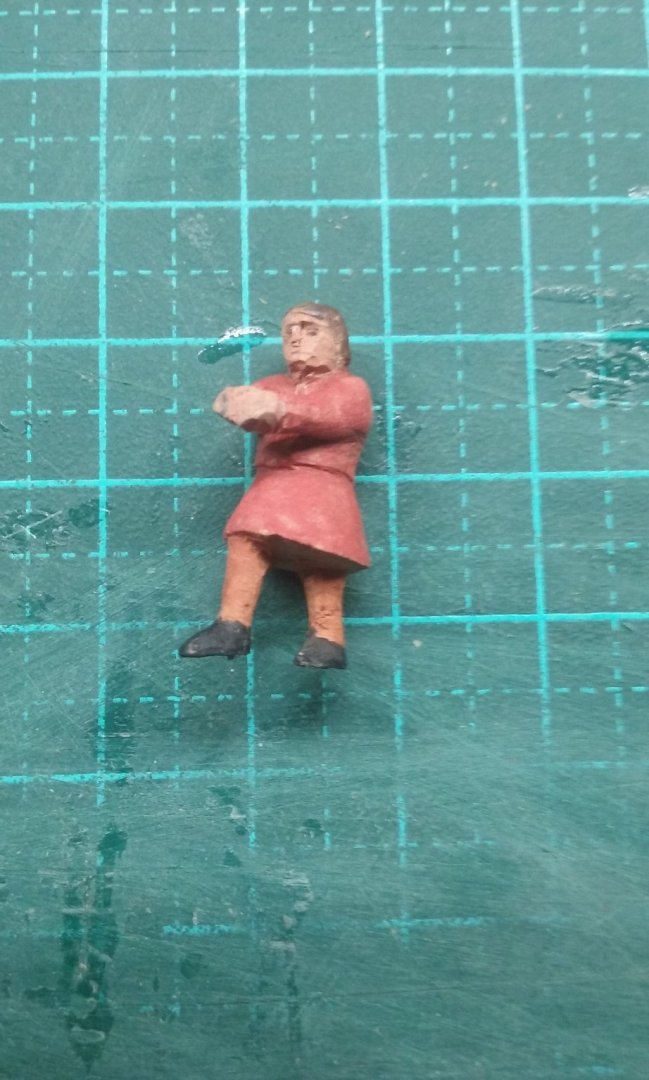
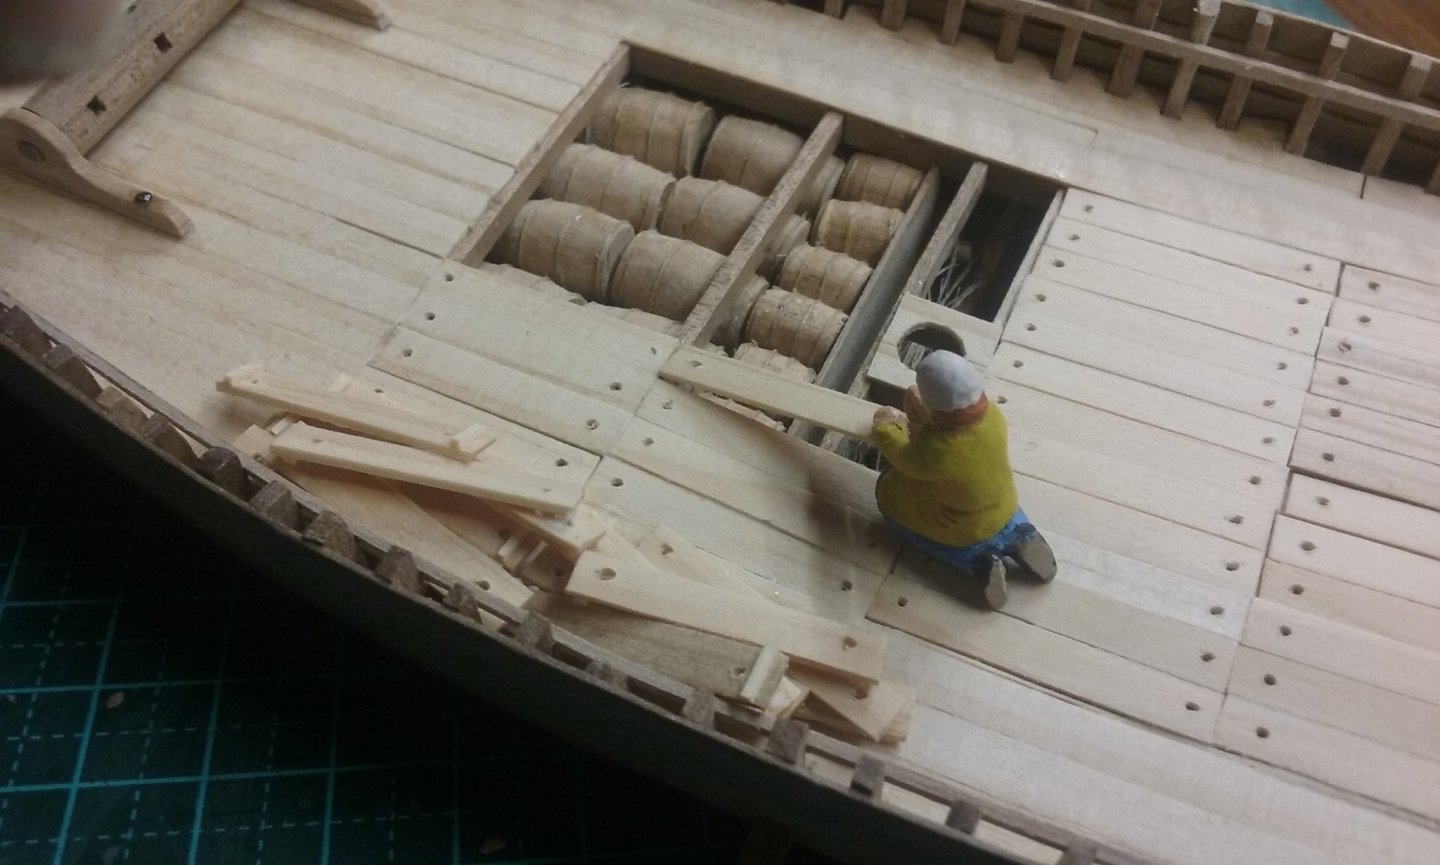
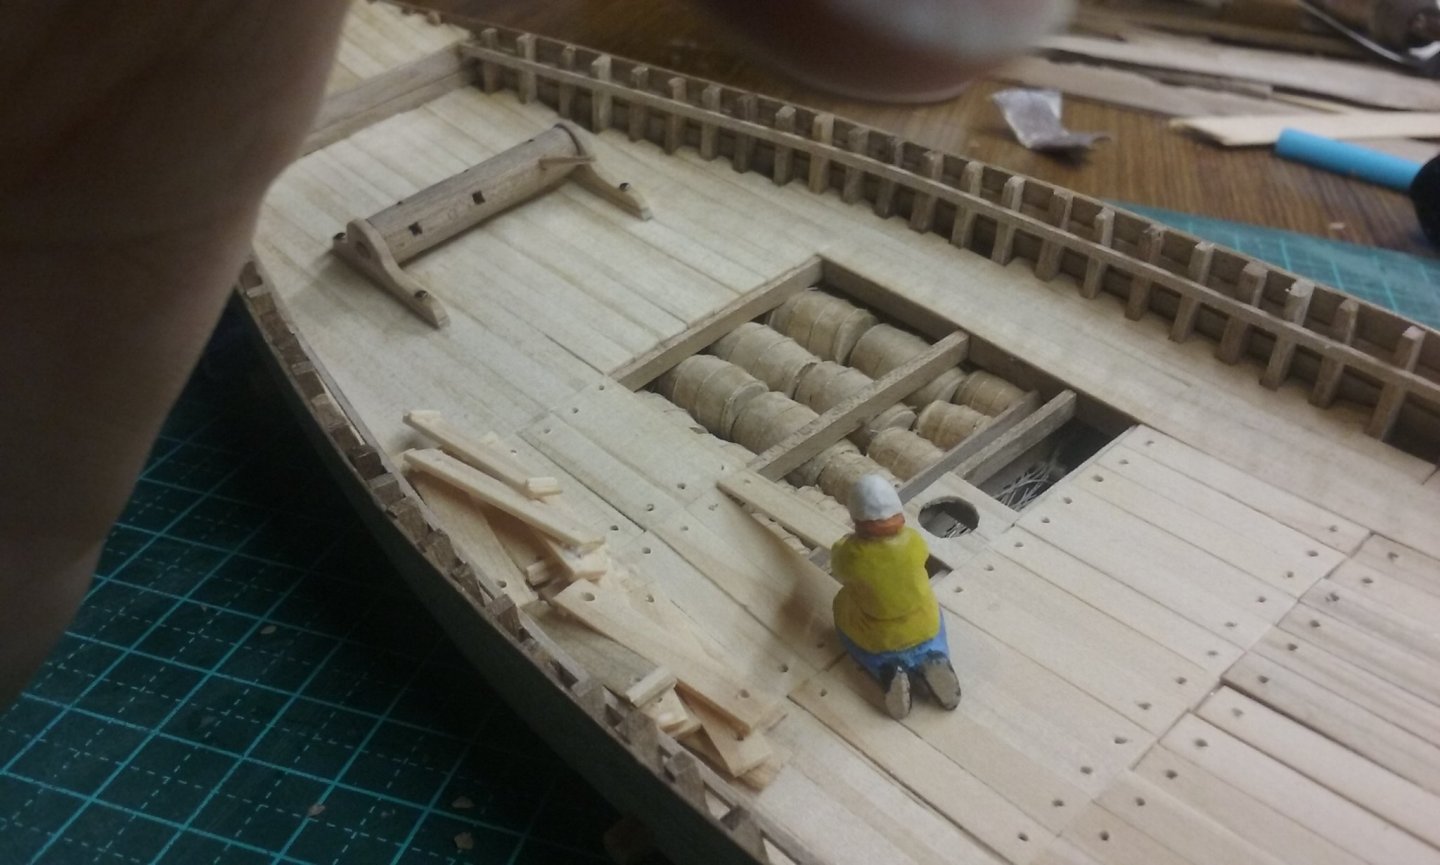
So here are the two crewmen cut apart. And their legs trimmed to shape. You wouldn't credit it - after all the time and effort I'd spent to get the windlassman's hands lined up with the windlass bar, when I checked it against the ship his hands were far too high. The only way I could fix it was to cut a wedge into him and lean him over further - well, that was the plan, but he split apart. Then glued him back together and painted both him and the anchorman (not Will Ferrell). And now I've glued the removable deck planks on, and the crewman putting them back in place. Steven


- 327 replies
-
- 16
-
-

-
Yes, I've been following her progress on Facebook - https://www.facebook.com/saxonship - fascinating stuff. You can even pay to own one of the iron rivets holding her together. But not - NOT - a Viking ship. She's Anglo-Saxon (well, Anglian, actually). Steven
-
Hi Glenn, and welcome to MSW. I'd highly recommend you start a build log - it's a great way to get feedback, help and advice. The members here are very knowledgeable and helpful. Steven