Louie da fly
-
Posts
7,993 -
Joined
-
Last visited
Content Type
Profiles
Forums
Gallery
Events
Everything posted by Louie da fly
-

Happy New Year (and new hobby)
Louie da fly replied to MarcusWebb's topic in New member Introductions
Hi Marcus, and welcome from Oz. I'd second MTaylor's advice to start a build log when you begin your model. Great opportunity for help and advice - and we get to see another model in progress. Steven -
Thanks, people. Silverman, I hadn't really decided to have this bloke hidden from view to still fit with the town seal, it just turned out that way. Once I'd decided to show the cargo, I had to somehow come up with a scenario to fit it in with the ship being about to leave port. So I came up with someone just doing the final touches in closing up the hold, which fitted both requirements. Marcus, I'd love to see the Viking ships, and particularly observe people in the process of building replicas with the original tools and methods. As an old mediaeval re-enactor that's right up my alley. Something I'd been hoping to do (before Covid hit) was to travel to France and visit the castle they're building in Guedelon using only traditional methods, and volunteer my services for a week or two, even if only as a labourer. In the meantime, I'm going to be working on the Great Harry, while researching my next build - I'm looking at something mediaeval (surprise, surprise!) Steven
-
How many kits do you have on the go at the moment?
Louie da fly replied to CaptnBirdseye's topic in Wood ship model kits
I usually have two scratch builds on the go at once. Currently I'm restoring my Great Harry model I built when I was a teenager, having just finished my Winchelsea nef. I'm currently researching two mediaeval ships with the idea of starting one of them in the near future. But as I put the Great Harry on hold while I built the nef, I think I'd be wise to get a fair bit of it done before I start on a new one. Steven -
Interesting. That's what my kids called him, too. Steven
- 186 replies
-
- 3
-

-
- keelless
- reverse clinker
- (and 4 more)
-
Nice work, Dick. Regarding the tiller, have you tried shaking the vessel to see if it rattles? BTW, I like the fact that the Incredible Hulc is green! Just don't make him angry . . . Steven
- 186 replies
-
- 4
-

-
-
- keelless
- reverse clinker
- (and 4 more)
-
Rodolfo, it's been a pleasure following this build. Your attention to detail and your inspired imagination and creativity have been wonderful to see. Congratulations on completing such an impressive build! Steven
-
I'd agree about the self-healing mat - got mine cheap from a junk shop (selling cheap stuff, not Chinese ships - just to clarify). I've found it invaluable. Steven
-
All RIGHT! Good to see this build starting. Steven
-
Beautiful job, Silverman. This build is a pleasure to follow. Steven
-
Thank you everyone for all the flattering comments. I'm going to be on a two week break from modelling (got a lot of stuff to do around the house and garden), then get back into the Great Harry restoration. Steven
-
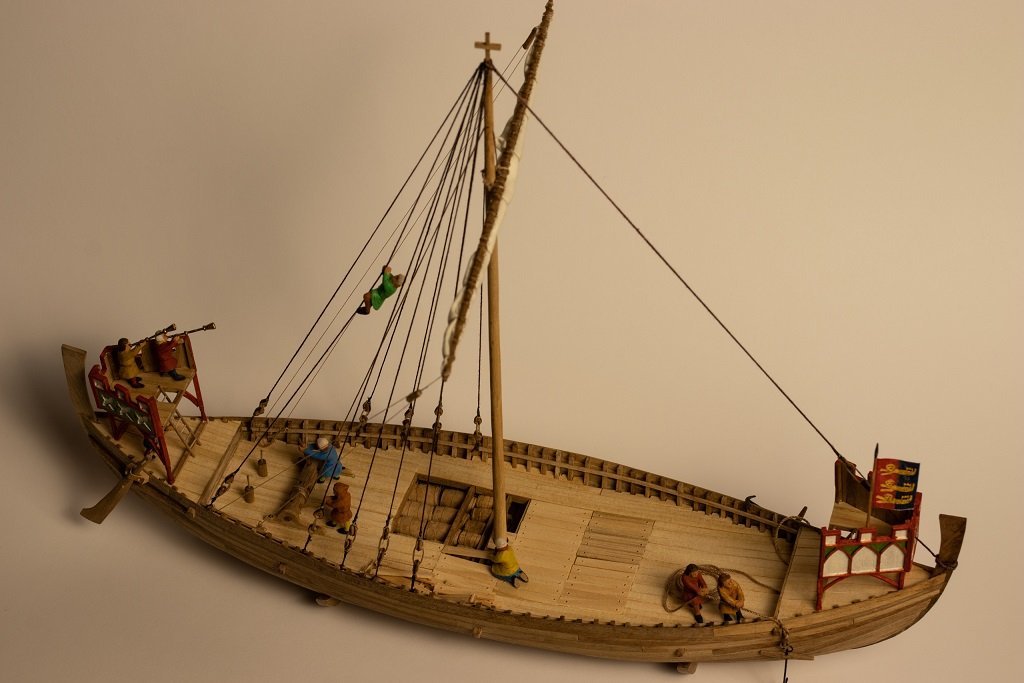
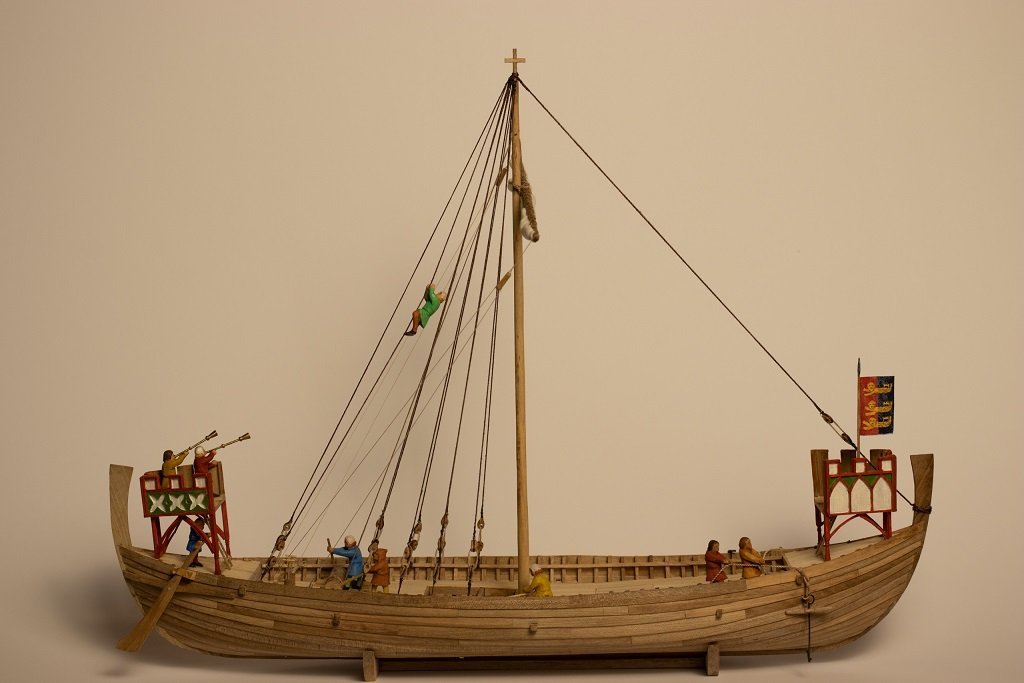
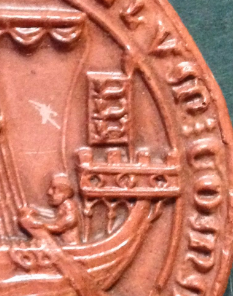
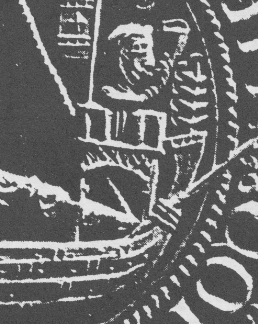
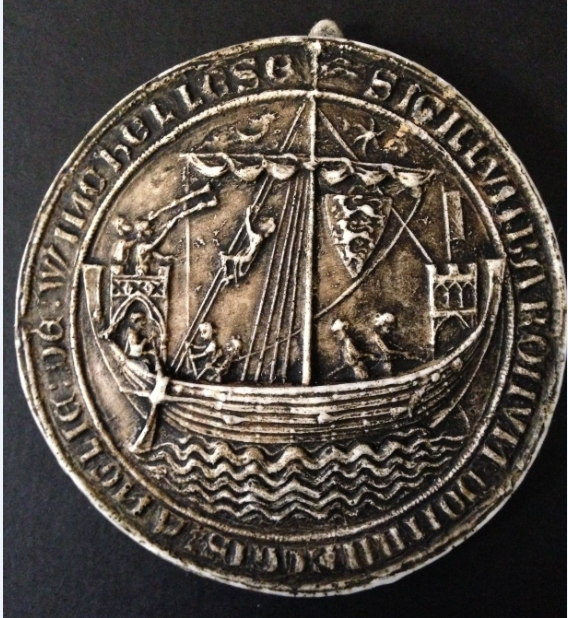
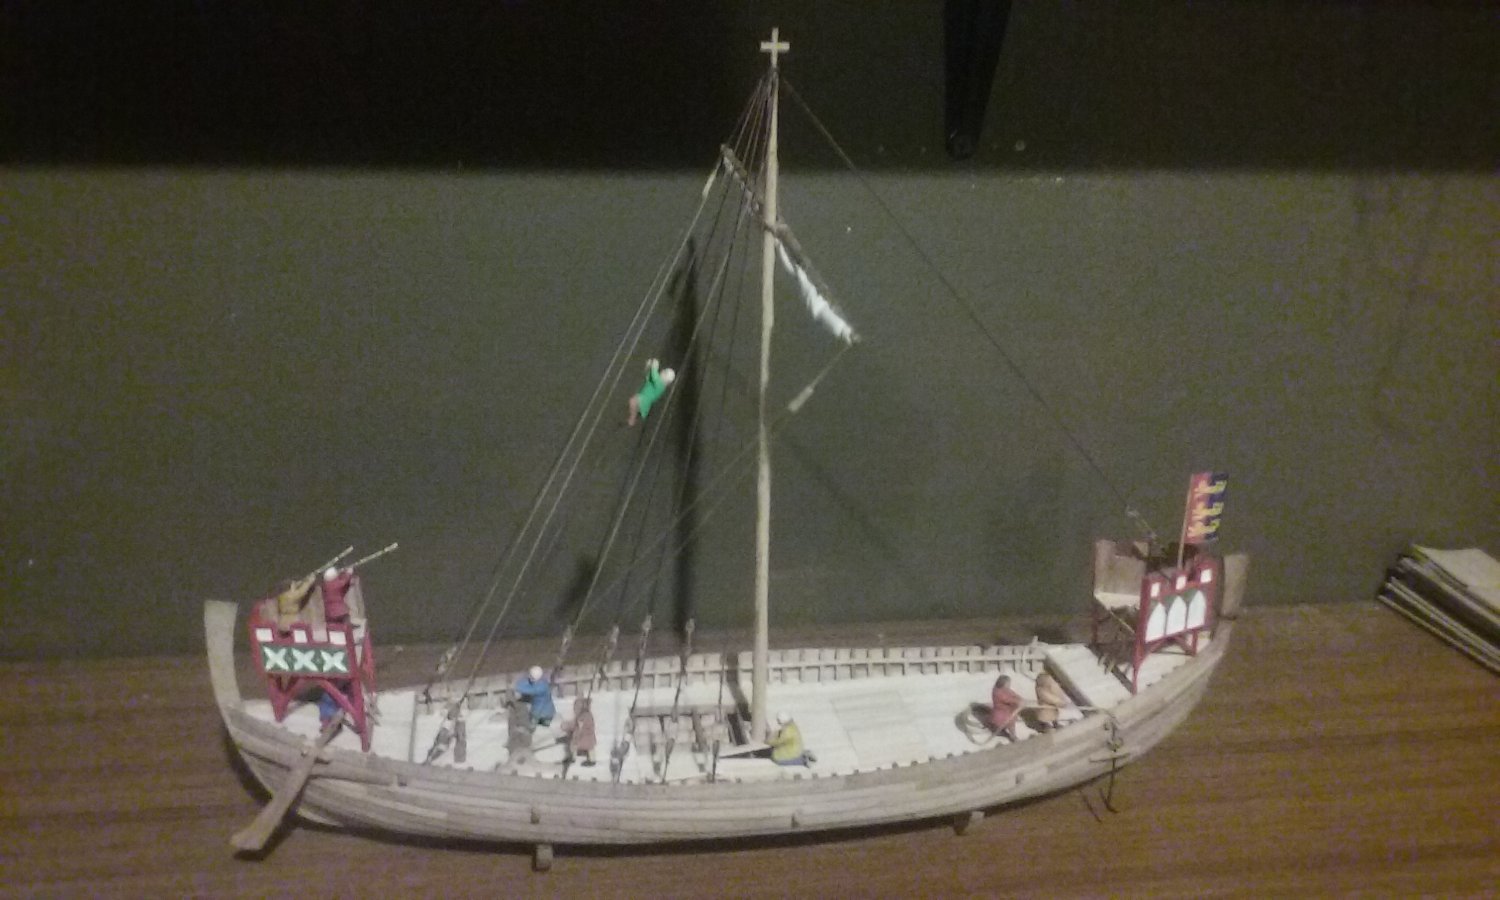
Oh, and he's shaved off his moustache - perhaps a sort of reverse-Movember? In the meantime, here's some photos taken by my lovely wife Louisa, who (unlike me) actually knows how to work a camera! But first, for comparison, a picture of the original town seal upon which the model is based. One thing that seeing these photos does for me - because of the carved figures - is to give a better sense of scale for the ship - how big it is in the "real world" Steven
.thumb.jpg.fc05cdcd01efaa9bb2d8a13d5dc8f326.jpg)
- 327 replies
-
- 26
-

-
-
Beautiful work, Rodolfo. Yes, I think your justification for the paintwork on the top is a workable one. The only other alternative would be to re-paint it but as it's already in position at the top of the mast, I think that would be too difficult. This build is a pleasure to follow. Steven
-
But that's 50% of the fun! Speculation, research, trying to make sense from pictures and descriptions with far too little information, and ending up with something that looks beautiful and would have worked as a seagoing vessel. Steven
-
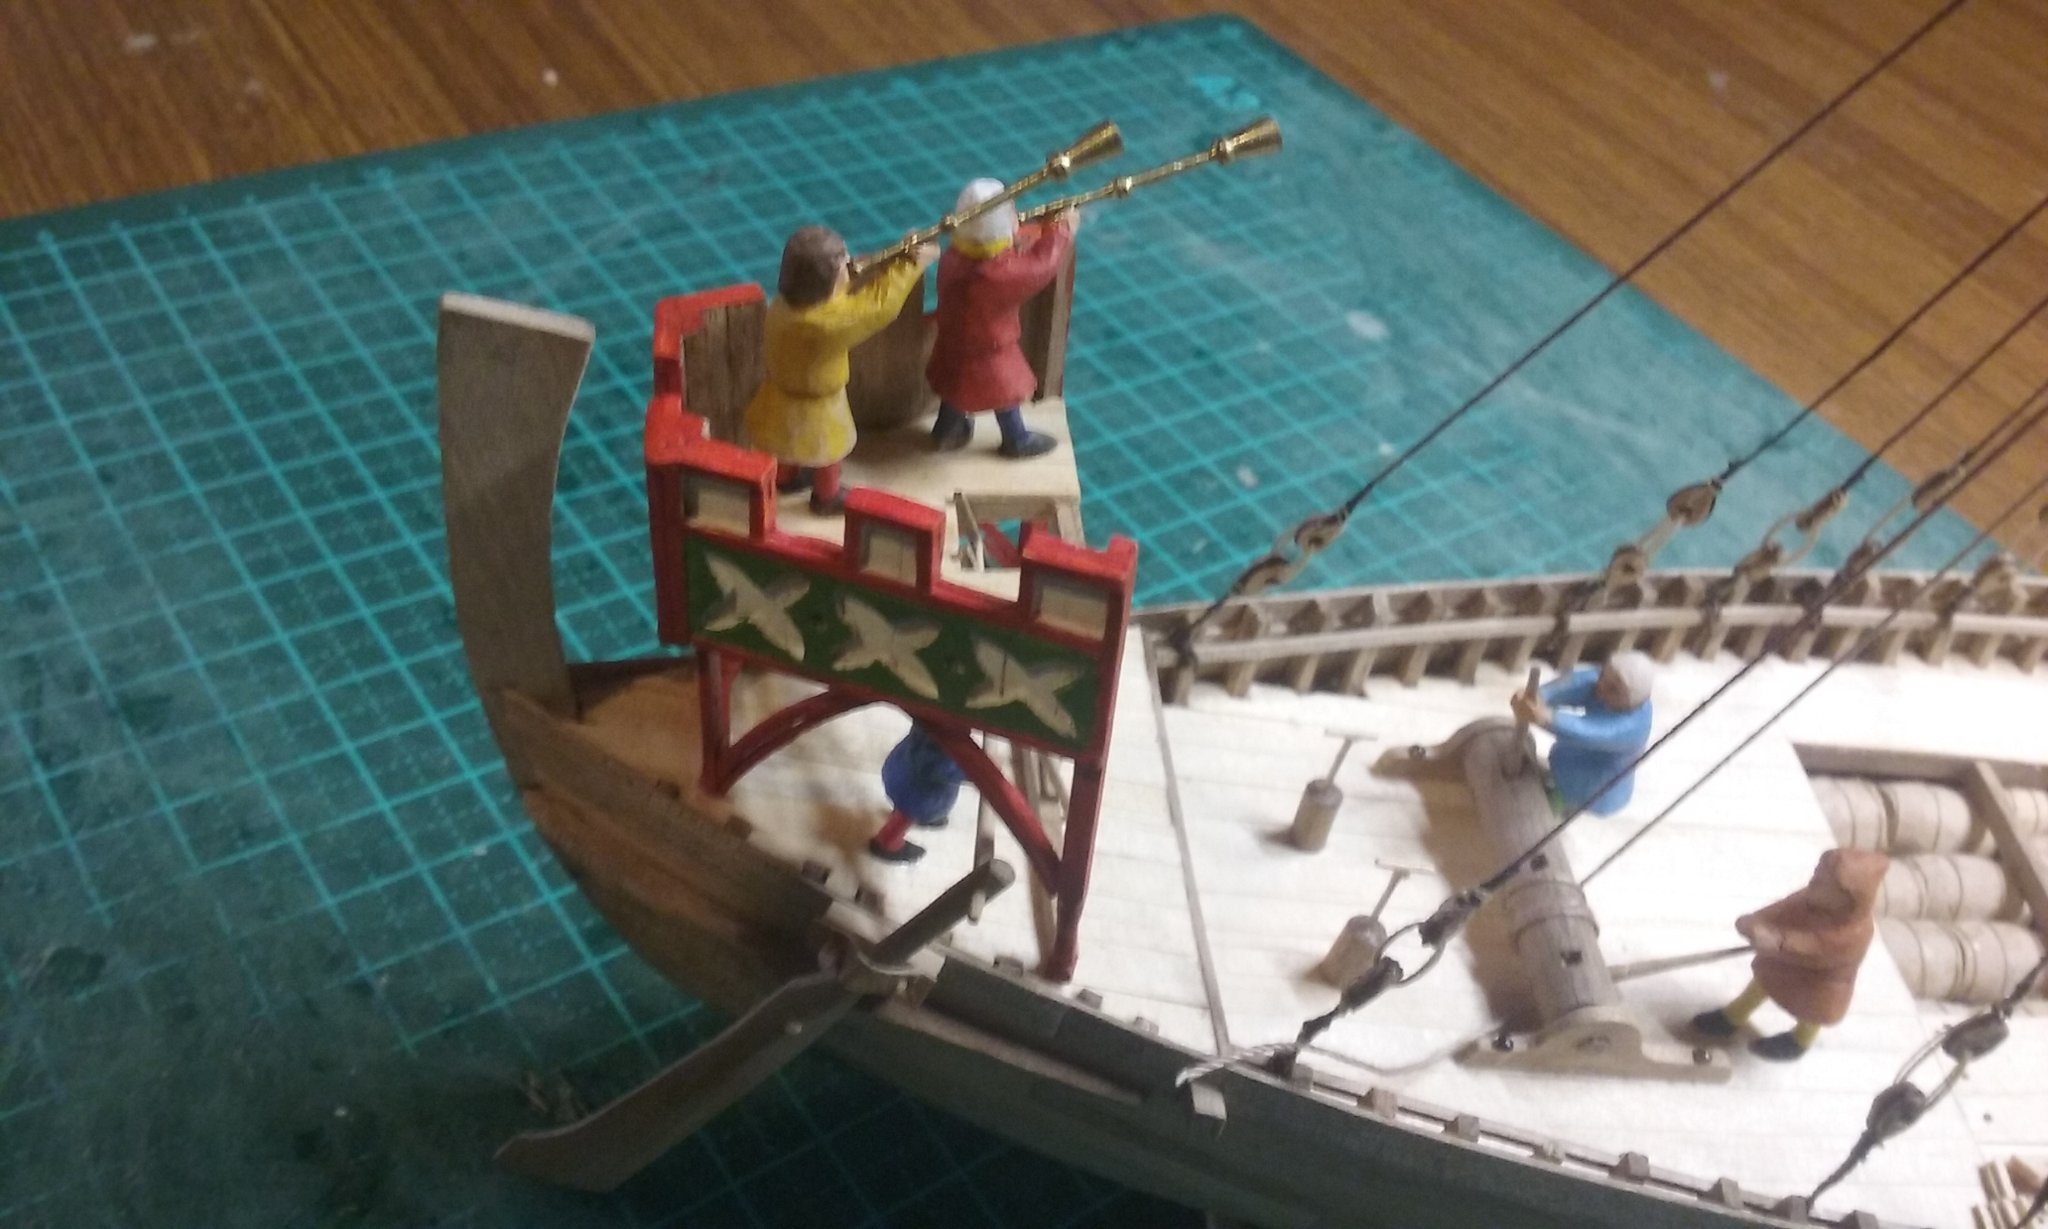
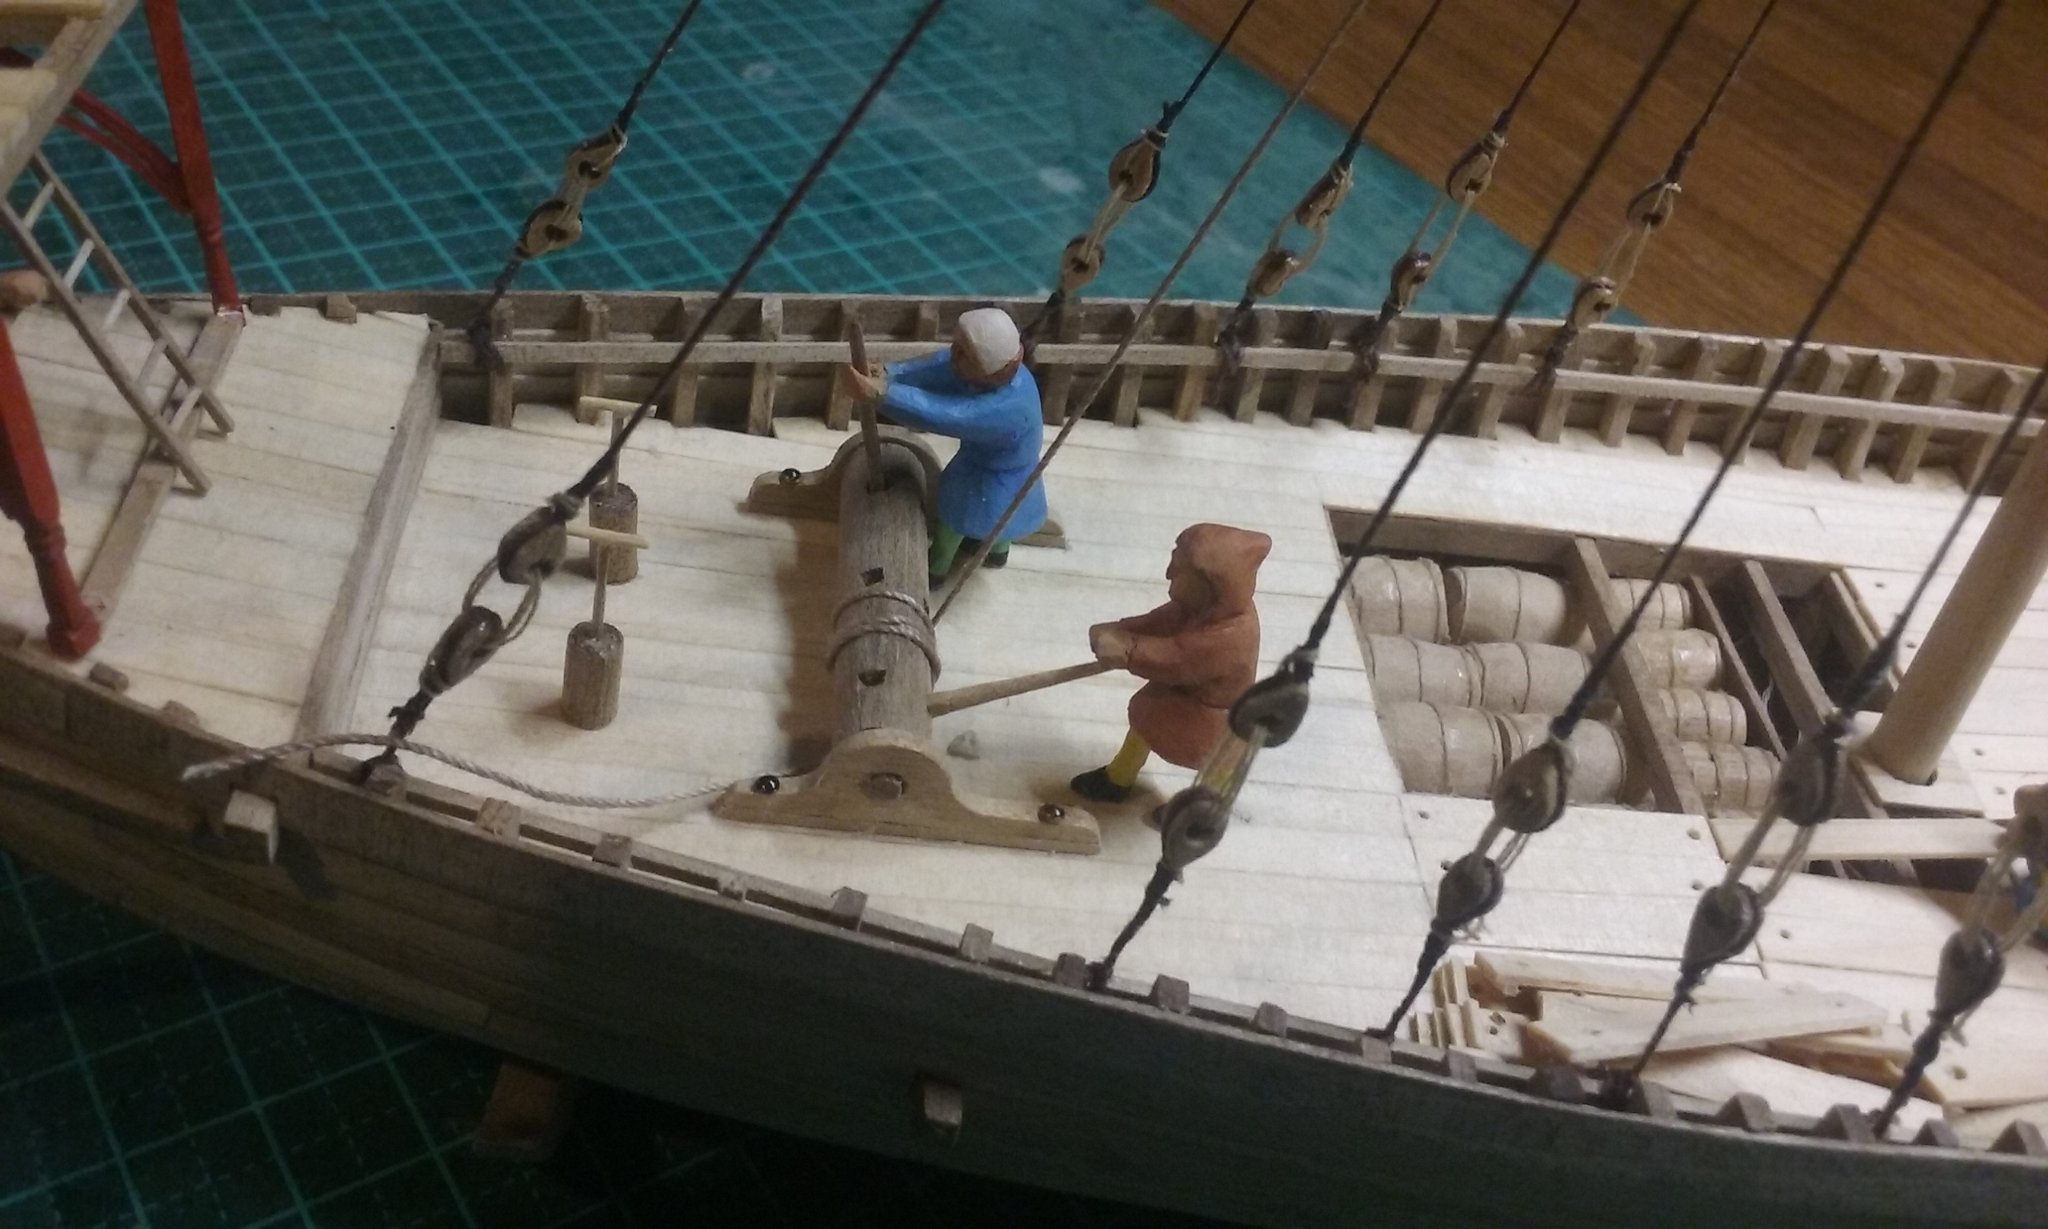
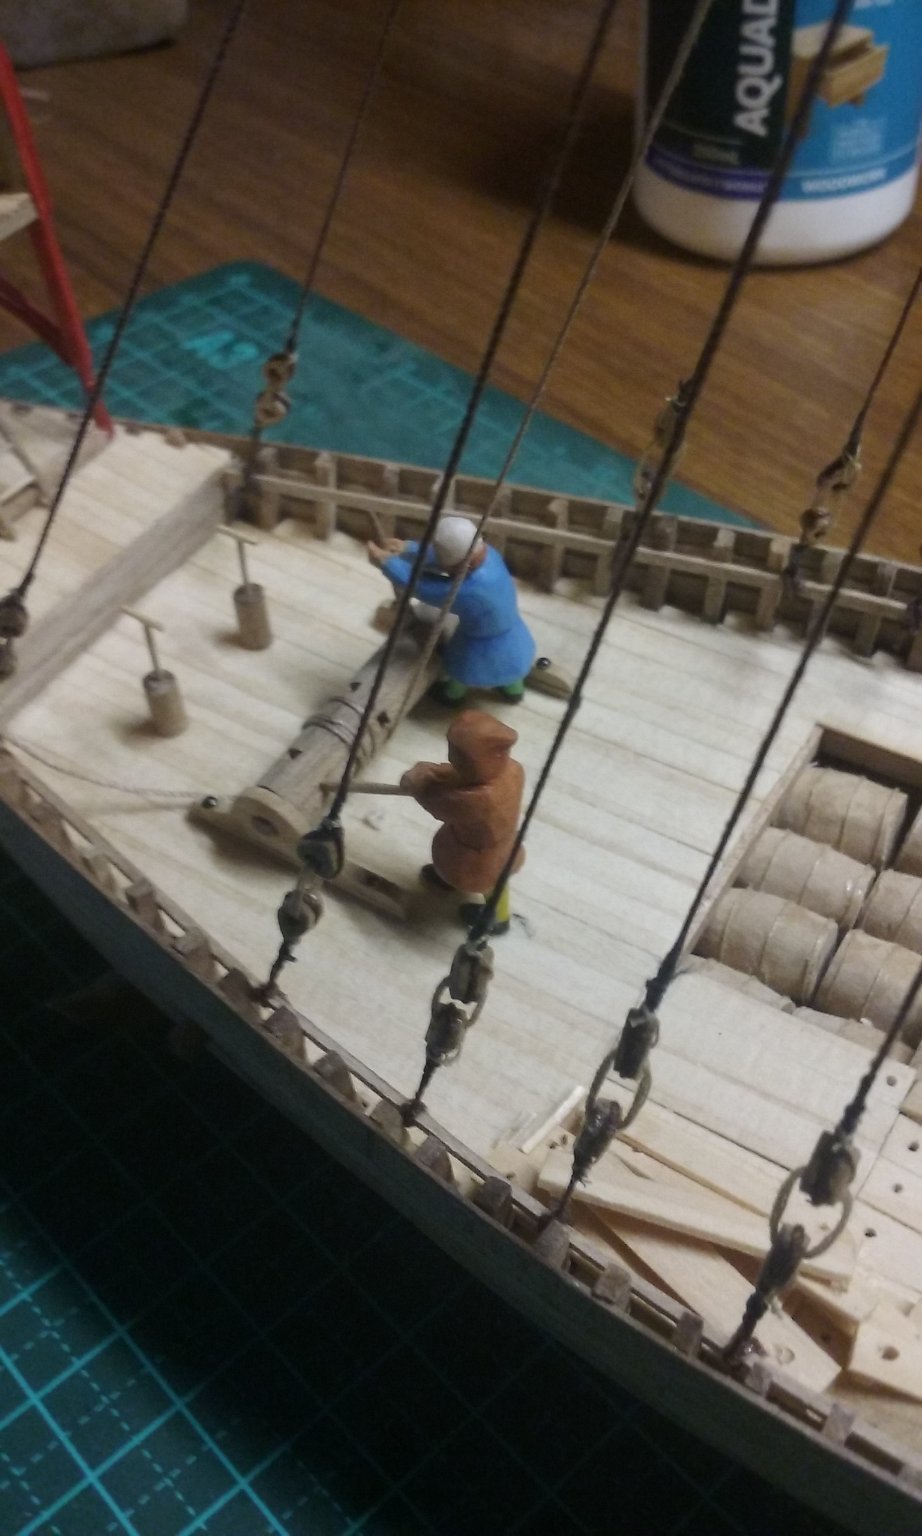
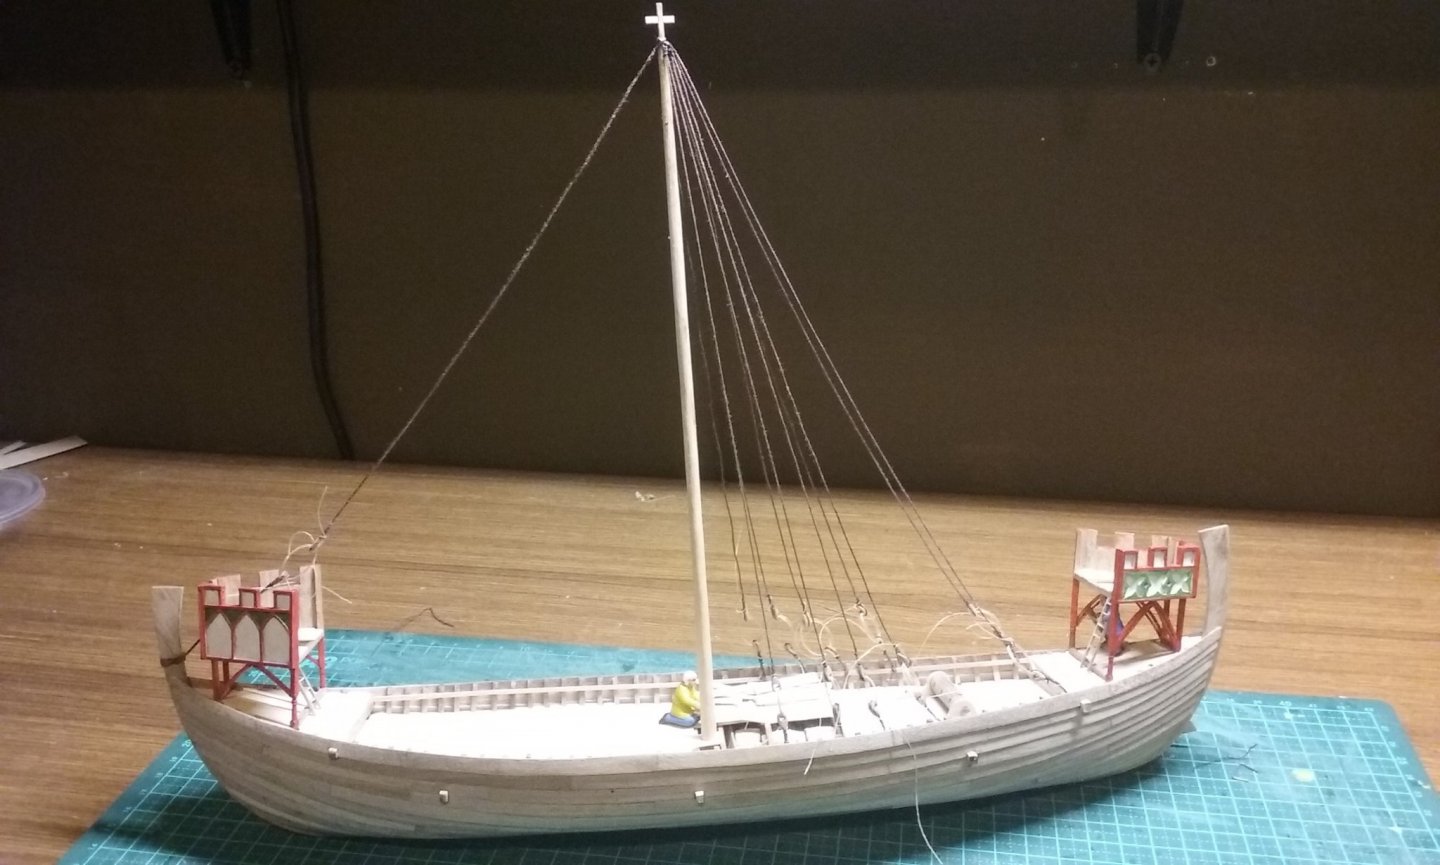
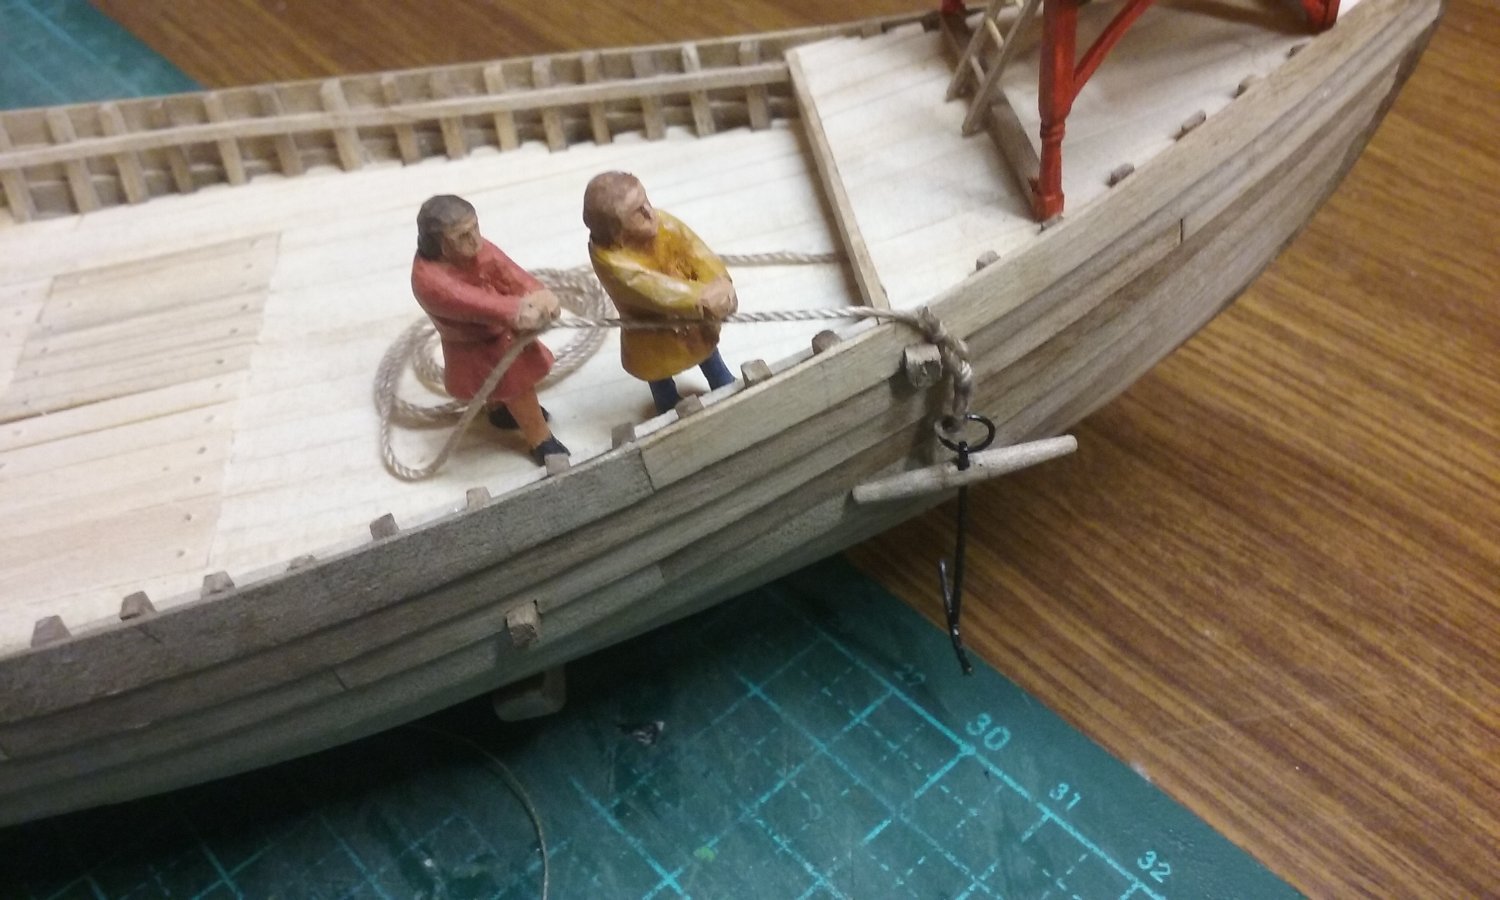
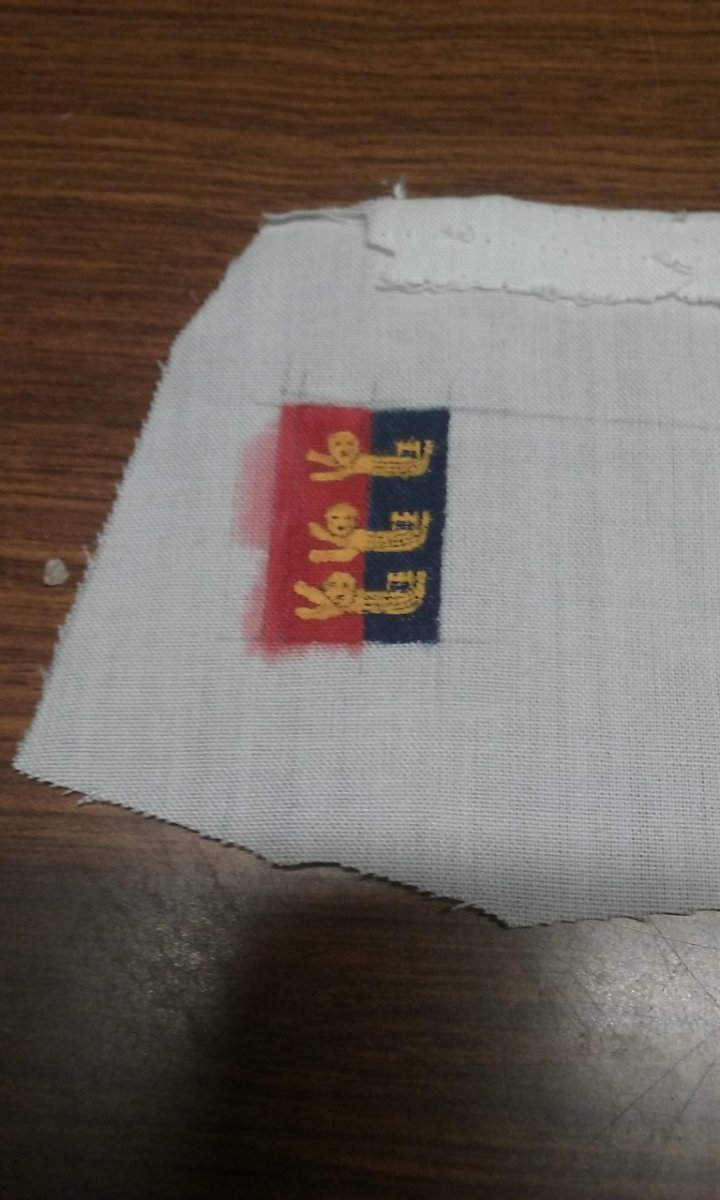
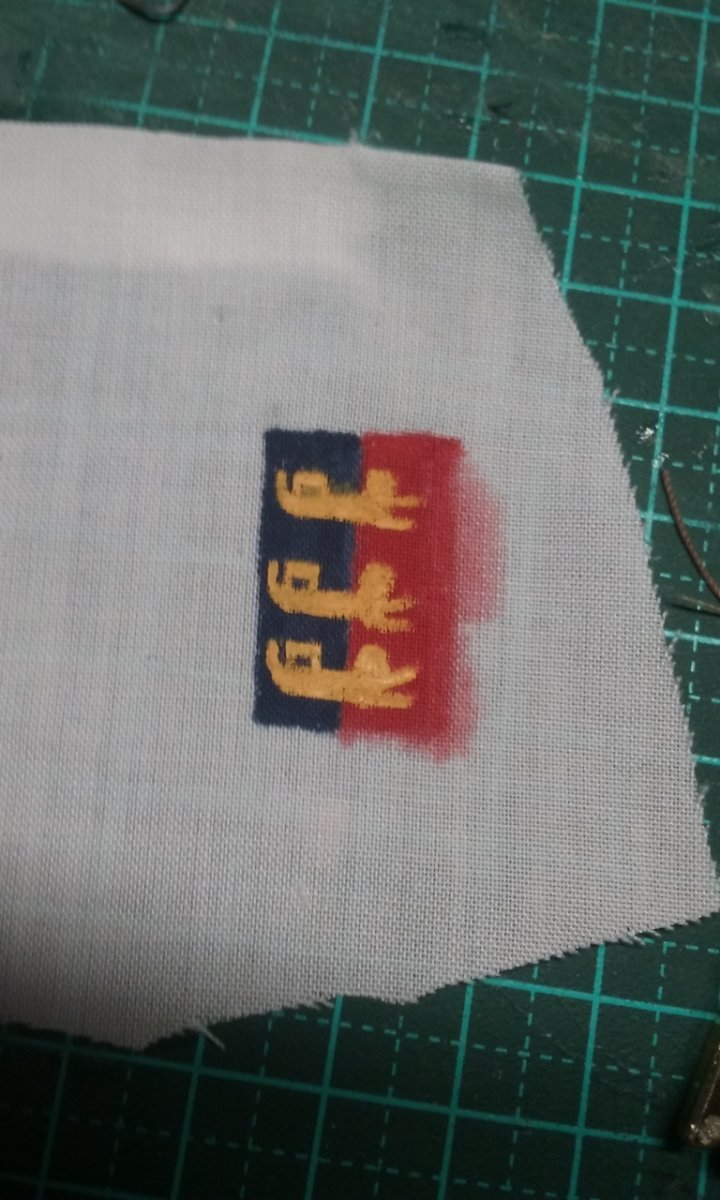
Here are the anchormen pulling up the anchor - the one at the front is of course Ron Burgundy. Making the Cinque Ports flag. This took more work and mucking around than pretty much any other aspect of the build. I first tried doing it with acrylic on paper - disastrous. After various other attempts, this is enamel on a piece of old cotton sheet. I need to work out a better method of making flags, but this will do for now. I found that I hadn't allowed enough room between the top of the shrouds and the cross at the top of the mast to add the other flag shown on the town seal, so I eventually decided the best thing to do was just leave it off. And . . . FINISHED! Unfortunately there was something wrong with the light when I took the photo, so I'll be asking my wife (who's a good photographer) to do some better ones. And here's the town seal for comparison. Now I can get back to working on the Great Harry. Steven


.thumb.jpg.8d1396862416c440d085e50dd93c4f93.jpg)
- 327 replies
-
- 16
-
-
-
Realistic Water
Louie da fly replied to taylormade's topic in Painting, finishing and weathering products and techniques
I found this one very interesting and inspirational - Steven -
Not sure. The junk shop in town was selling small aquariums a few months ago - maybe I'll get one of those to serve as a ready-made case. I've been thinking I'll put a back board in it with a reproduction of the original Winchelsea town seal to serve as a comparison with the model that's based on it. Steven
-
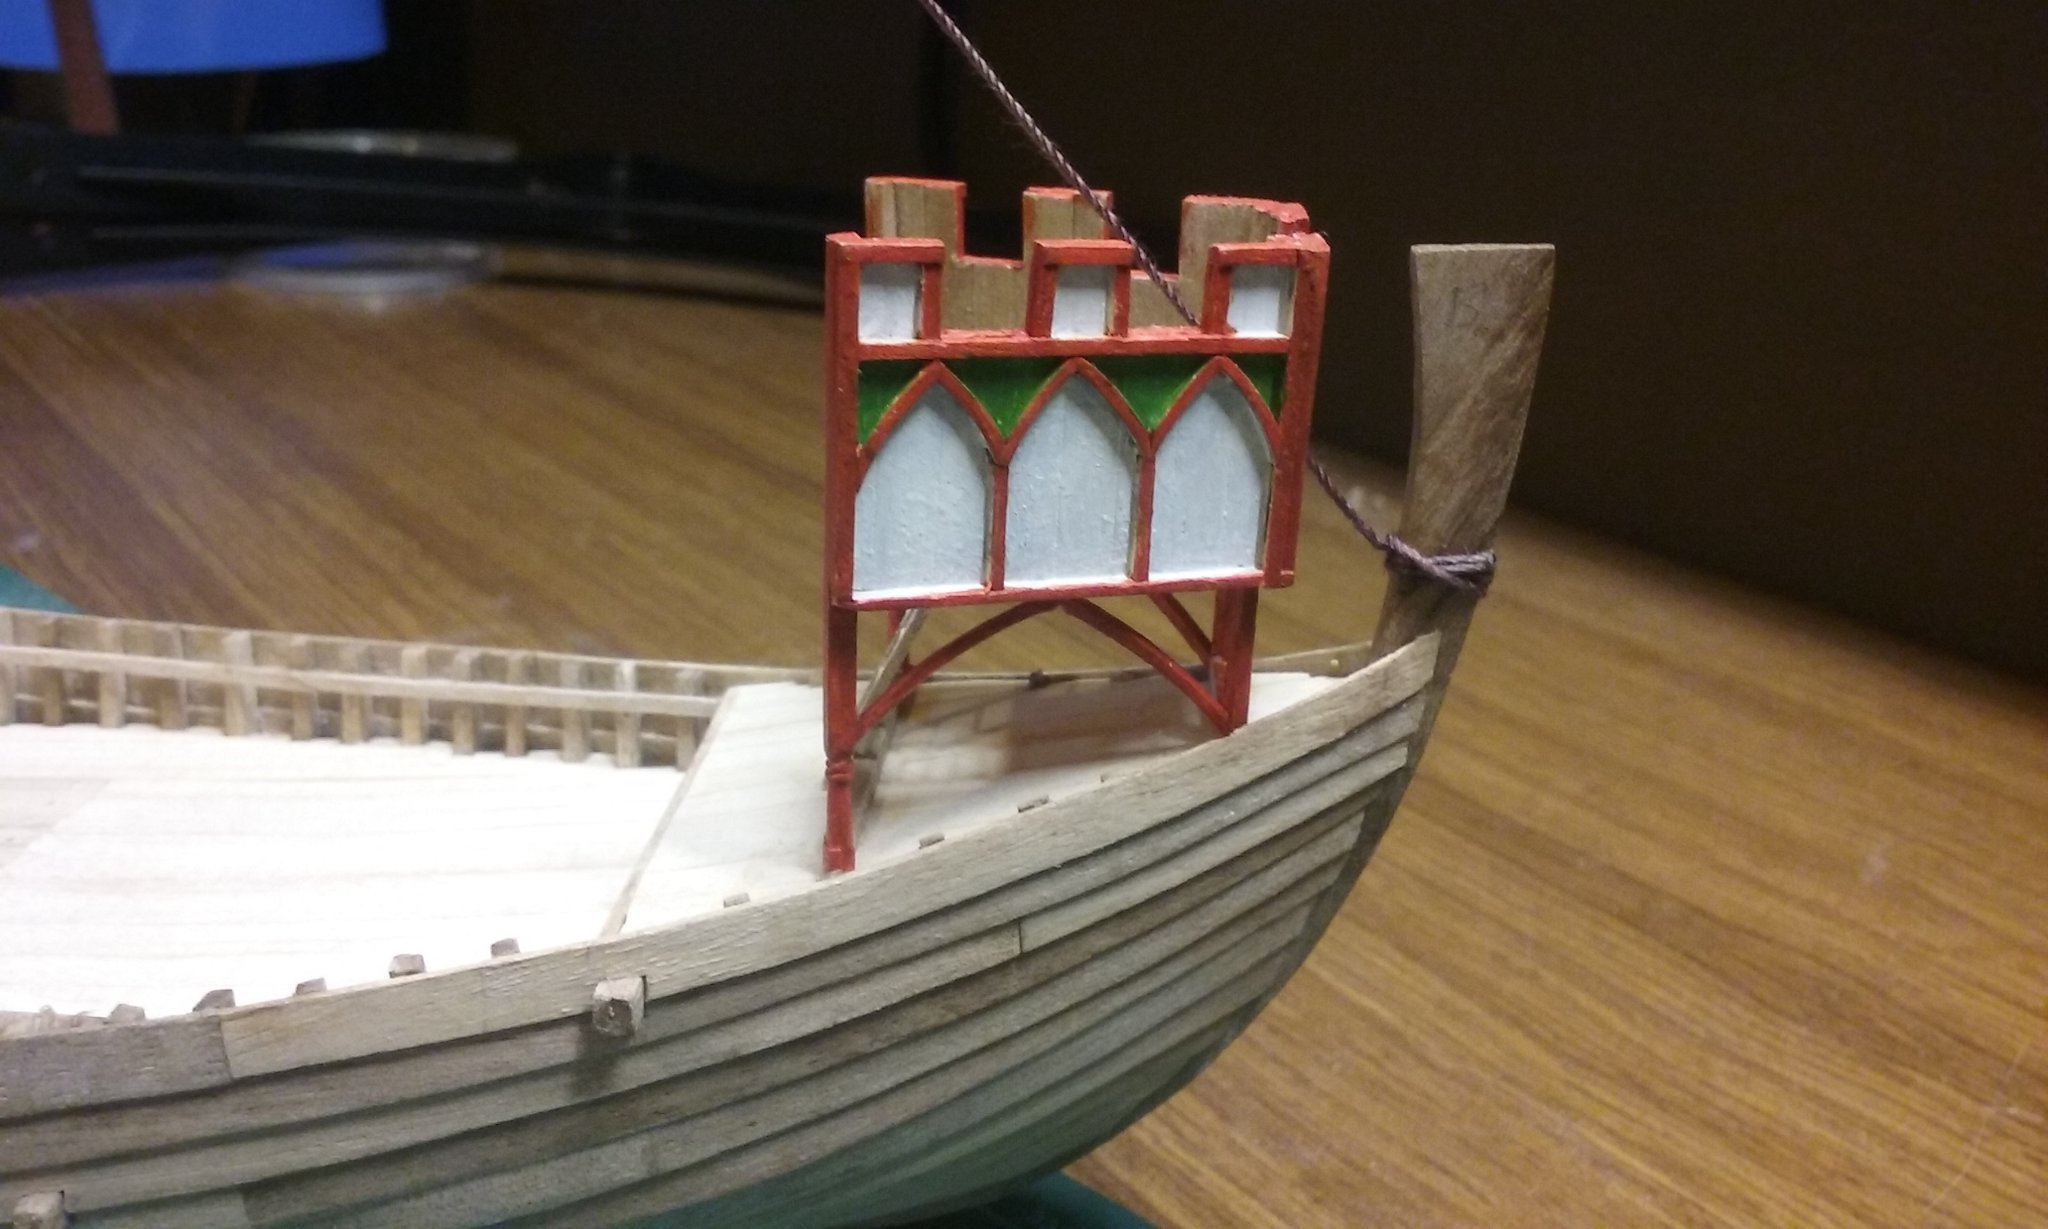
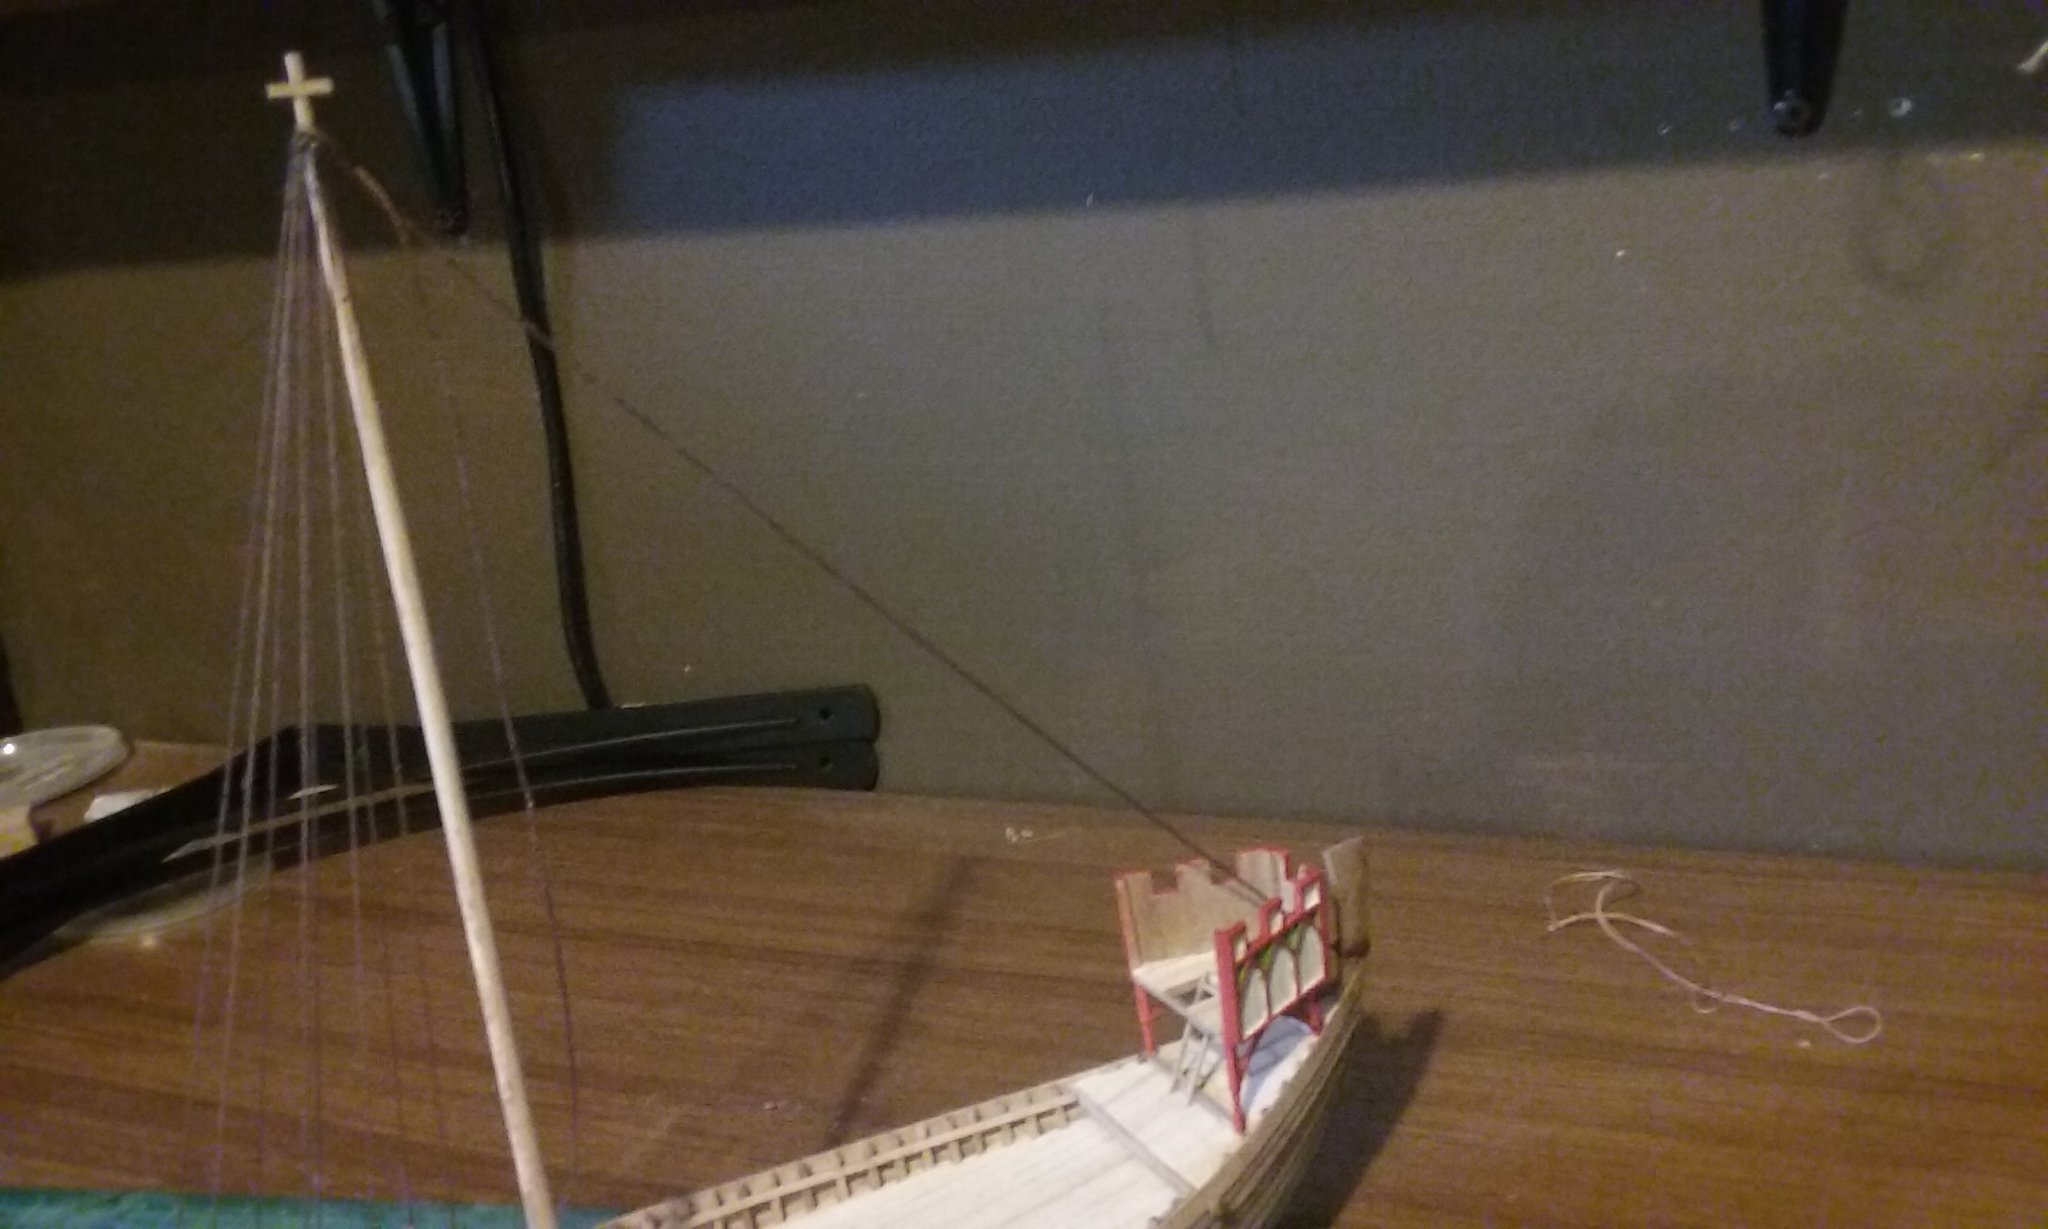
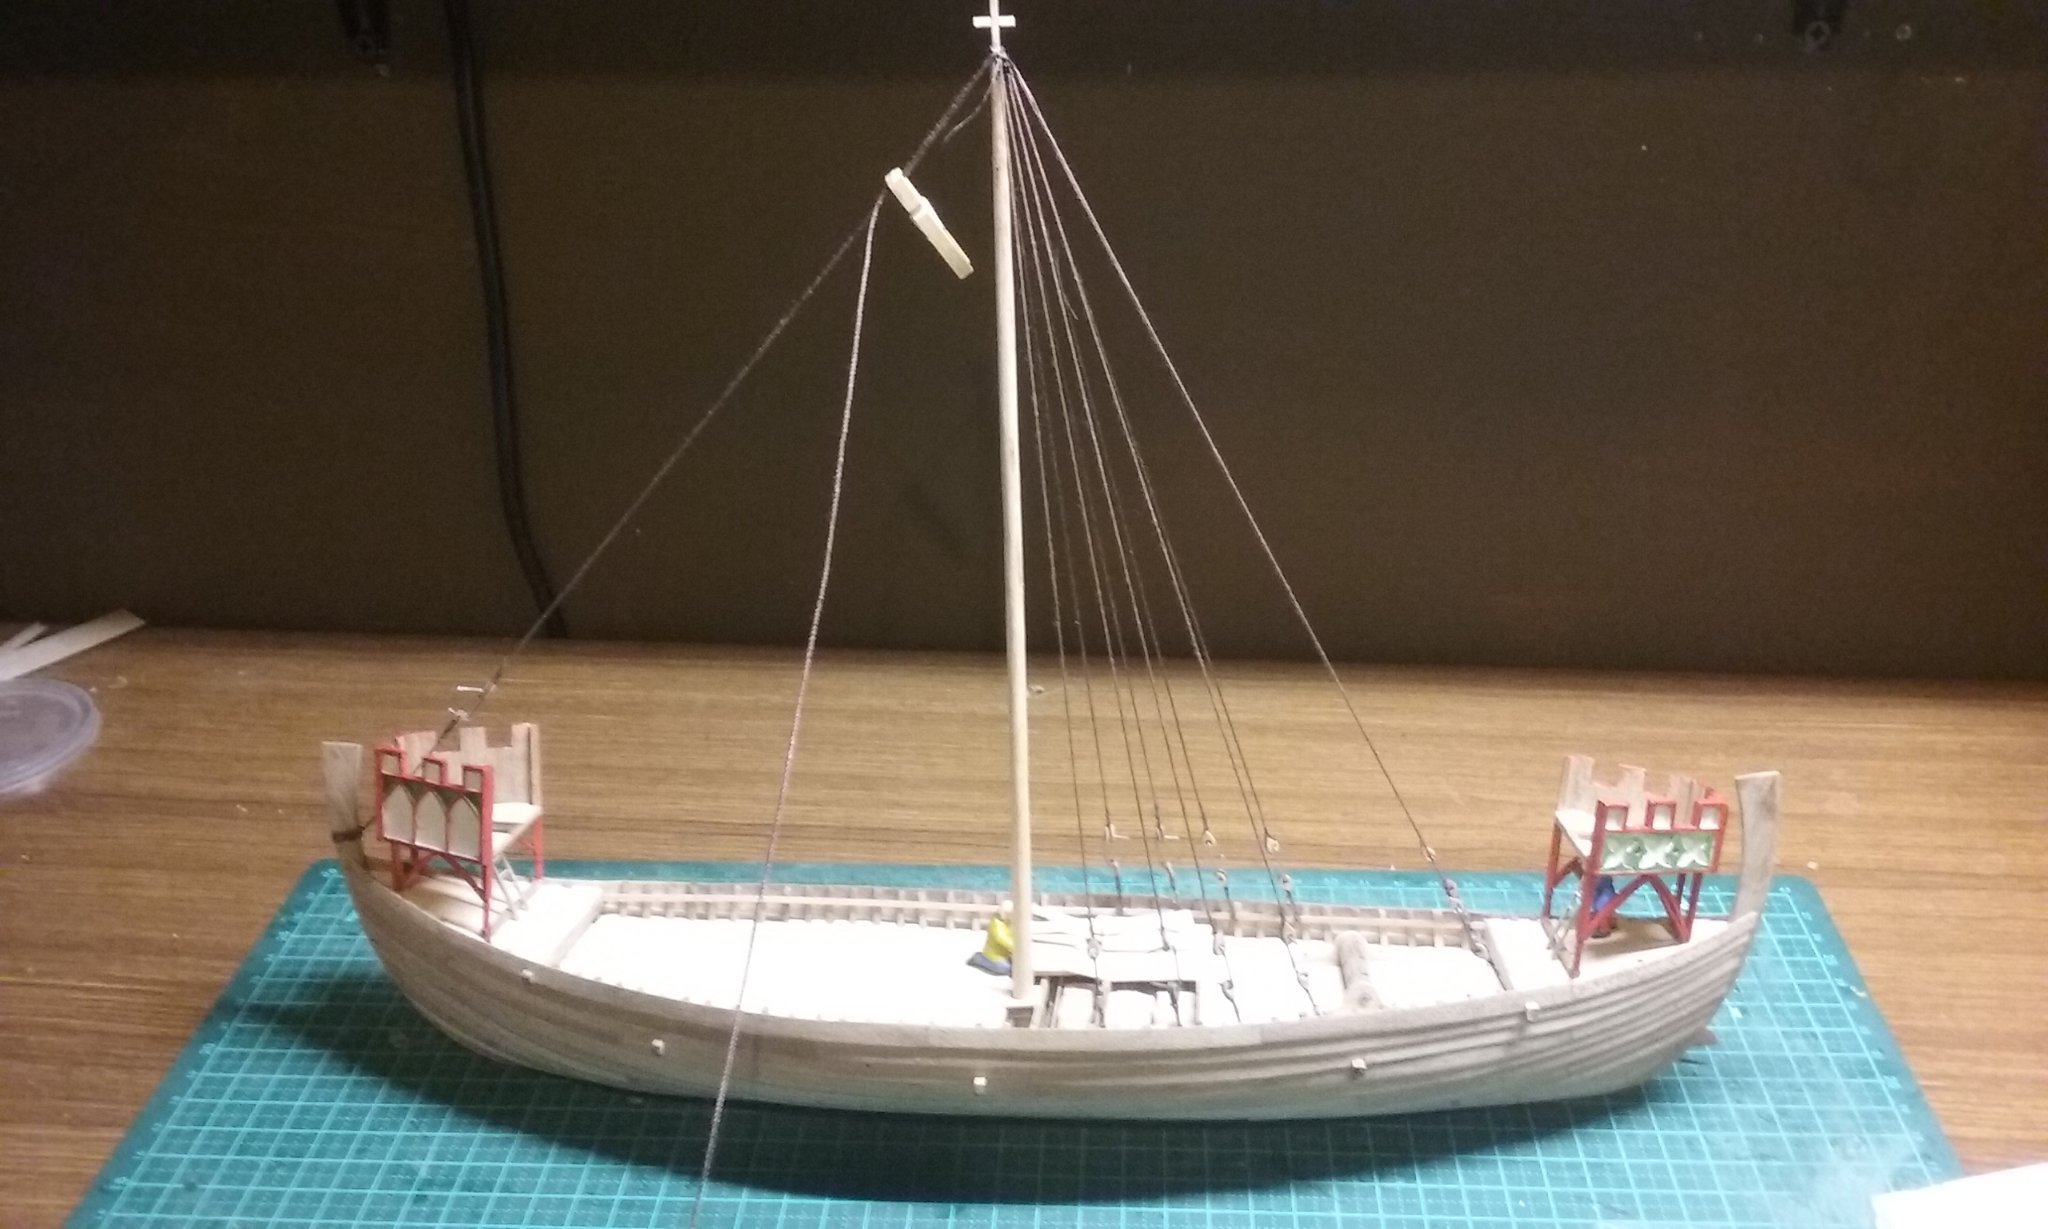
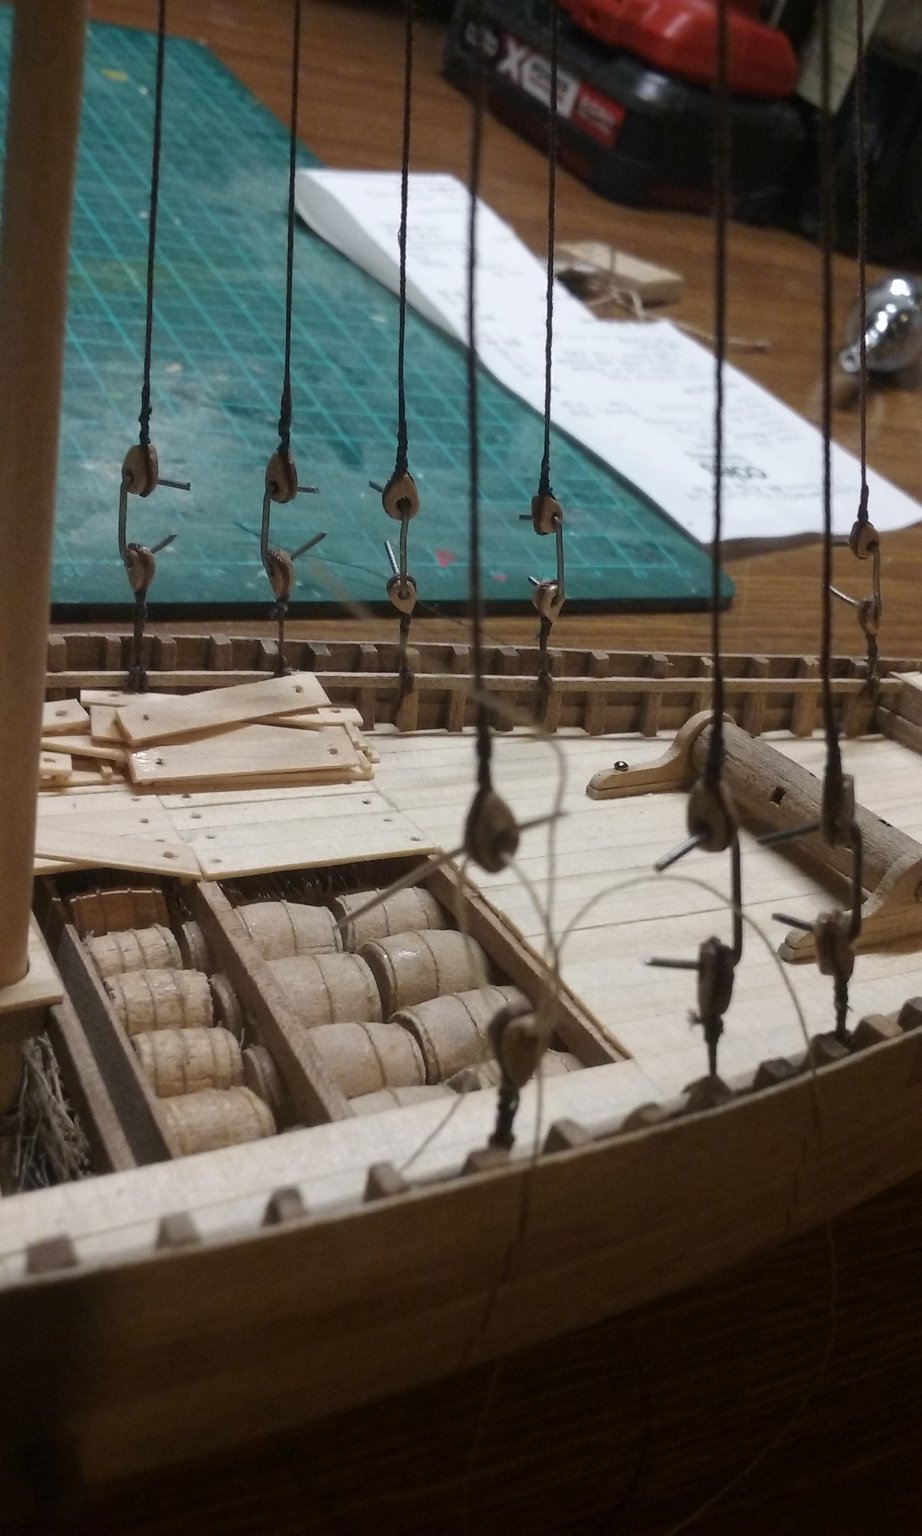
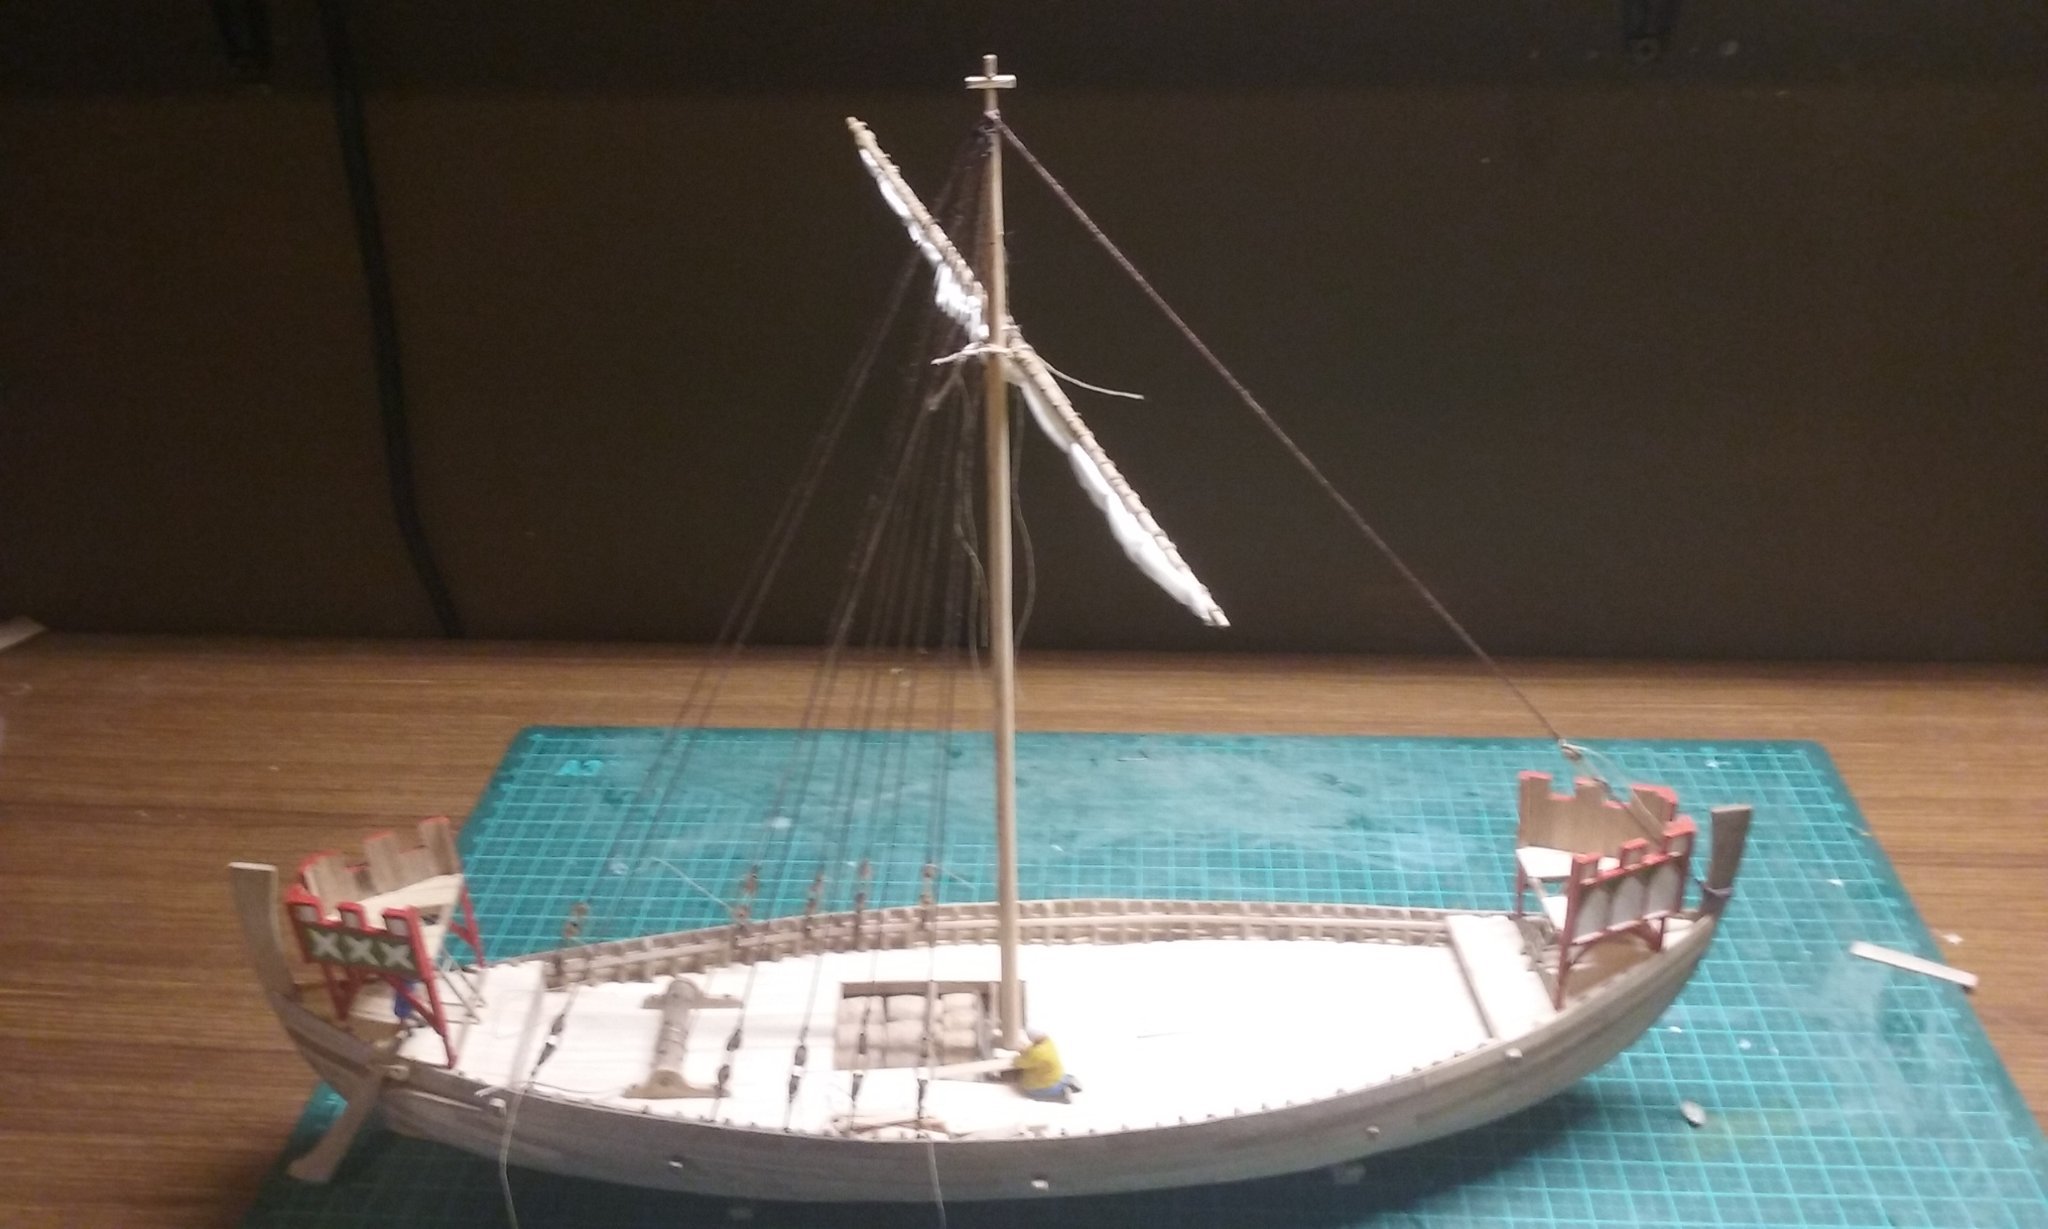
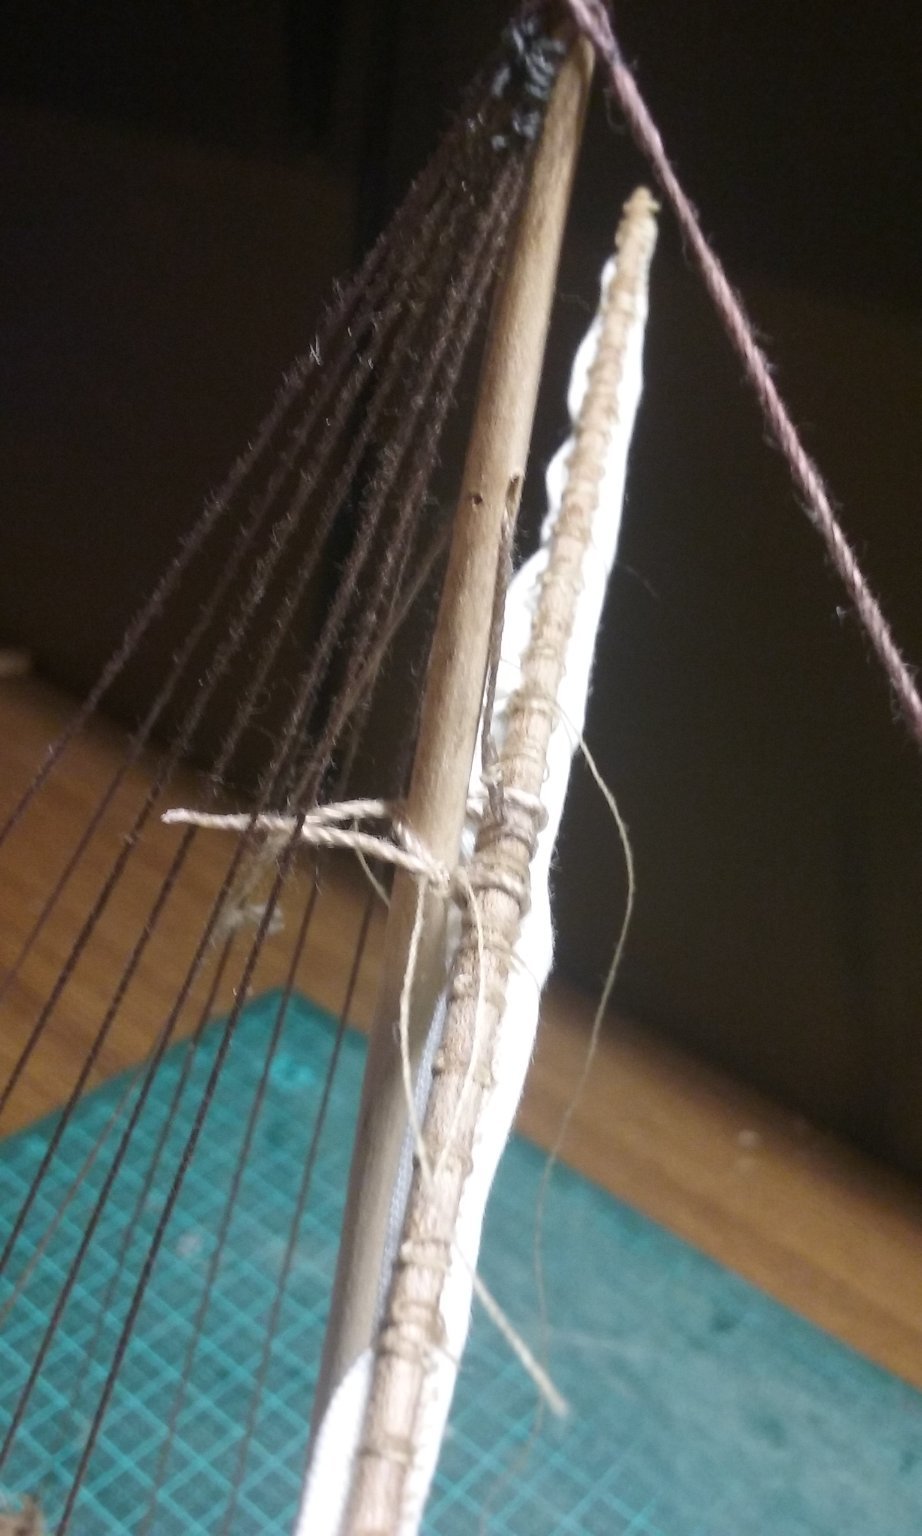
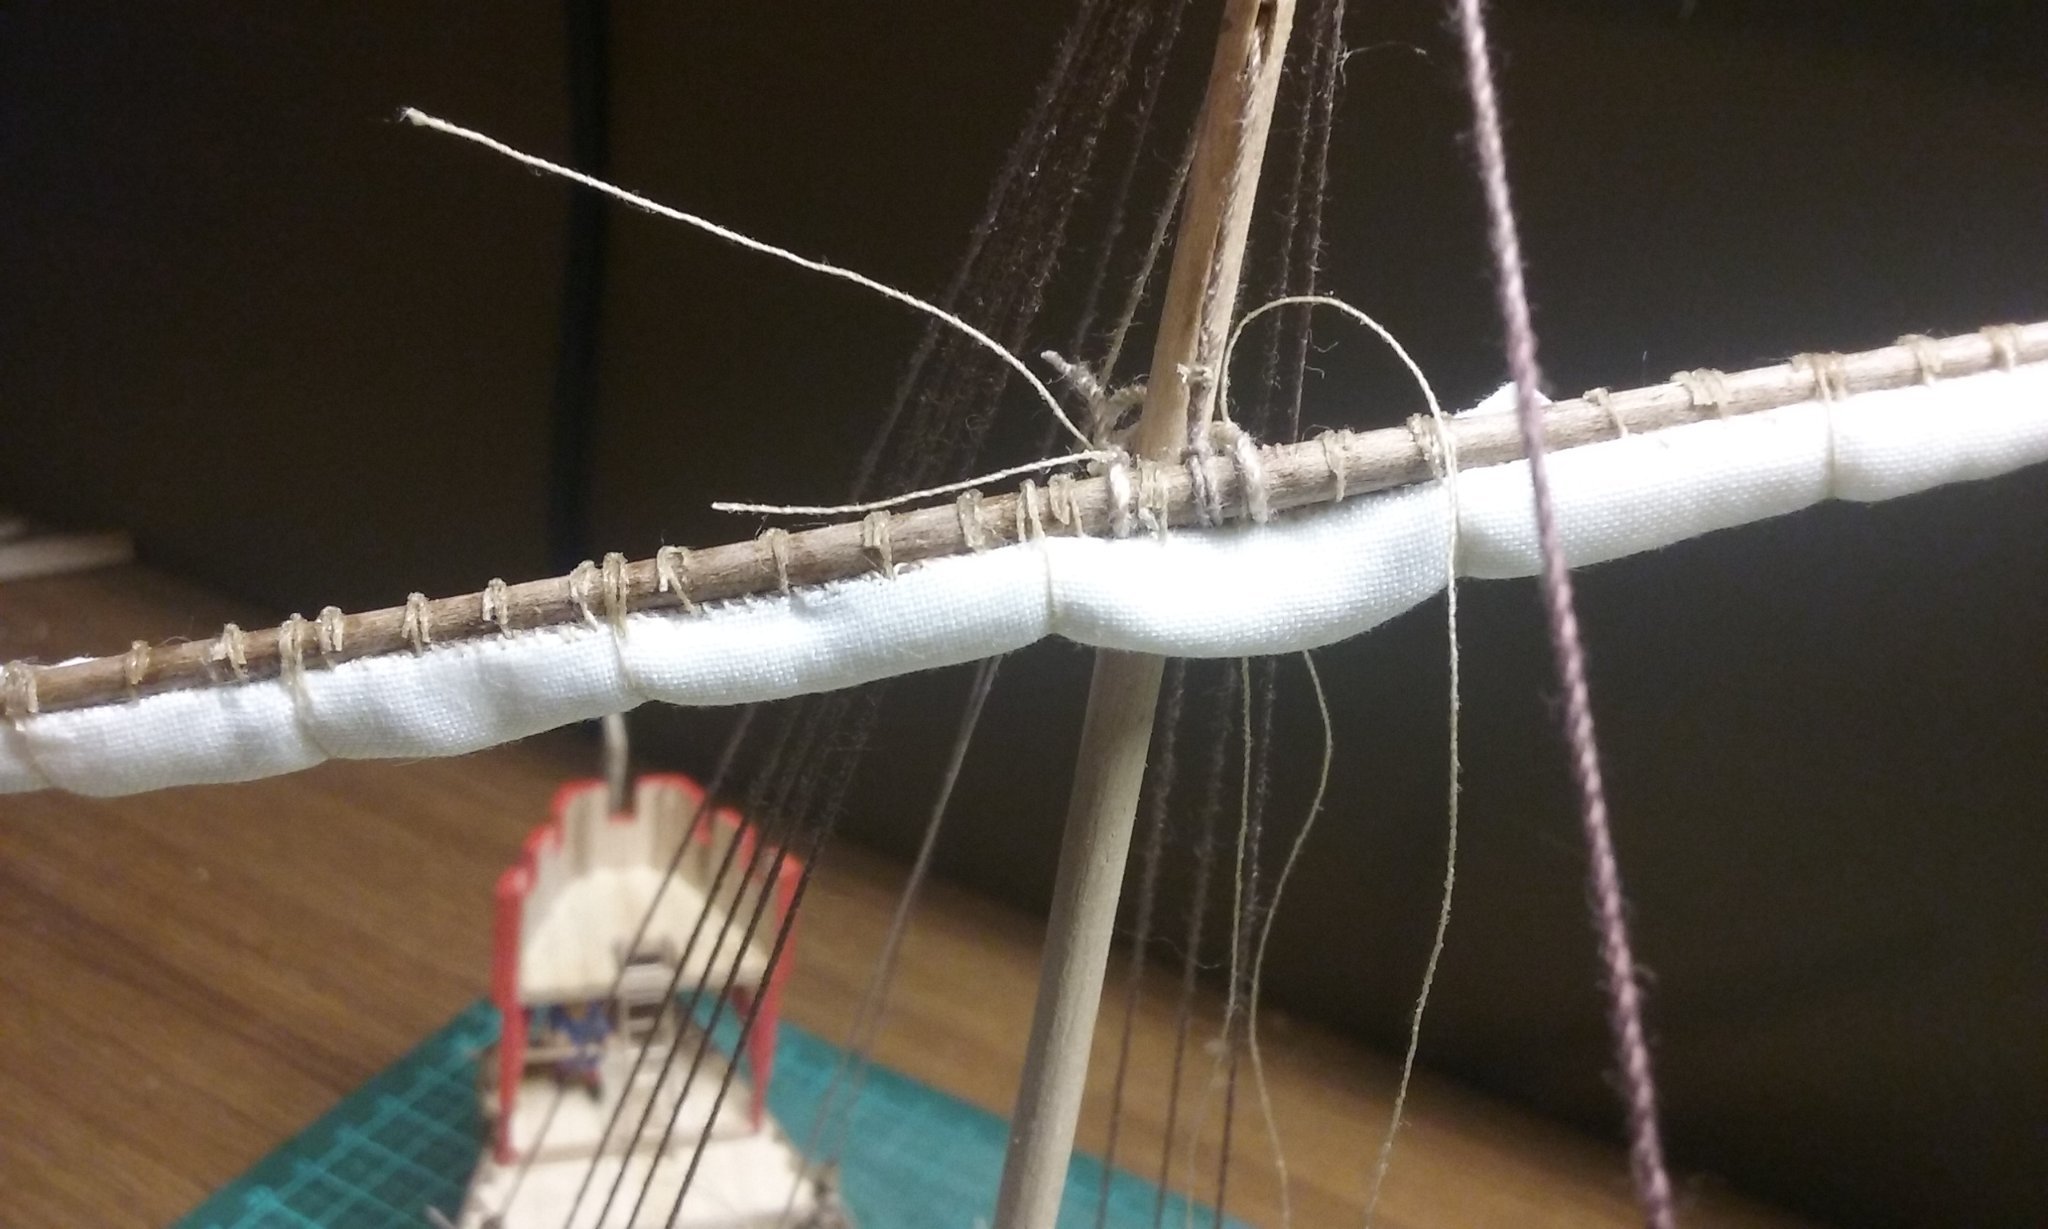
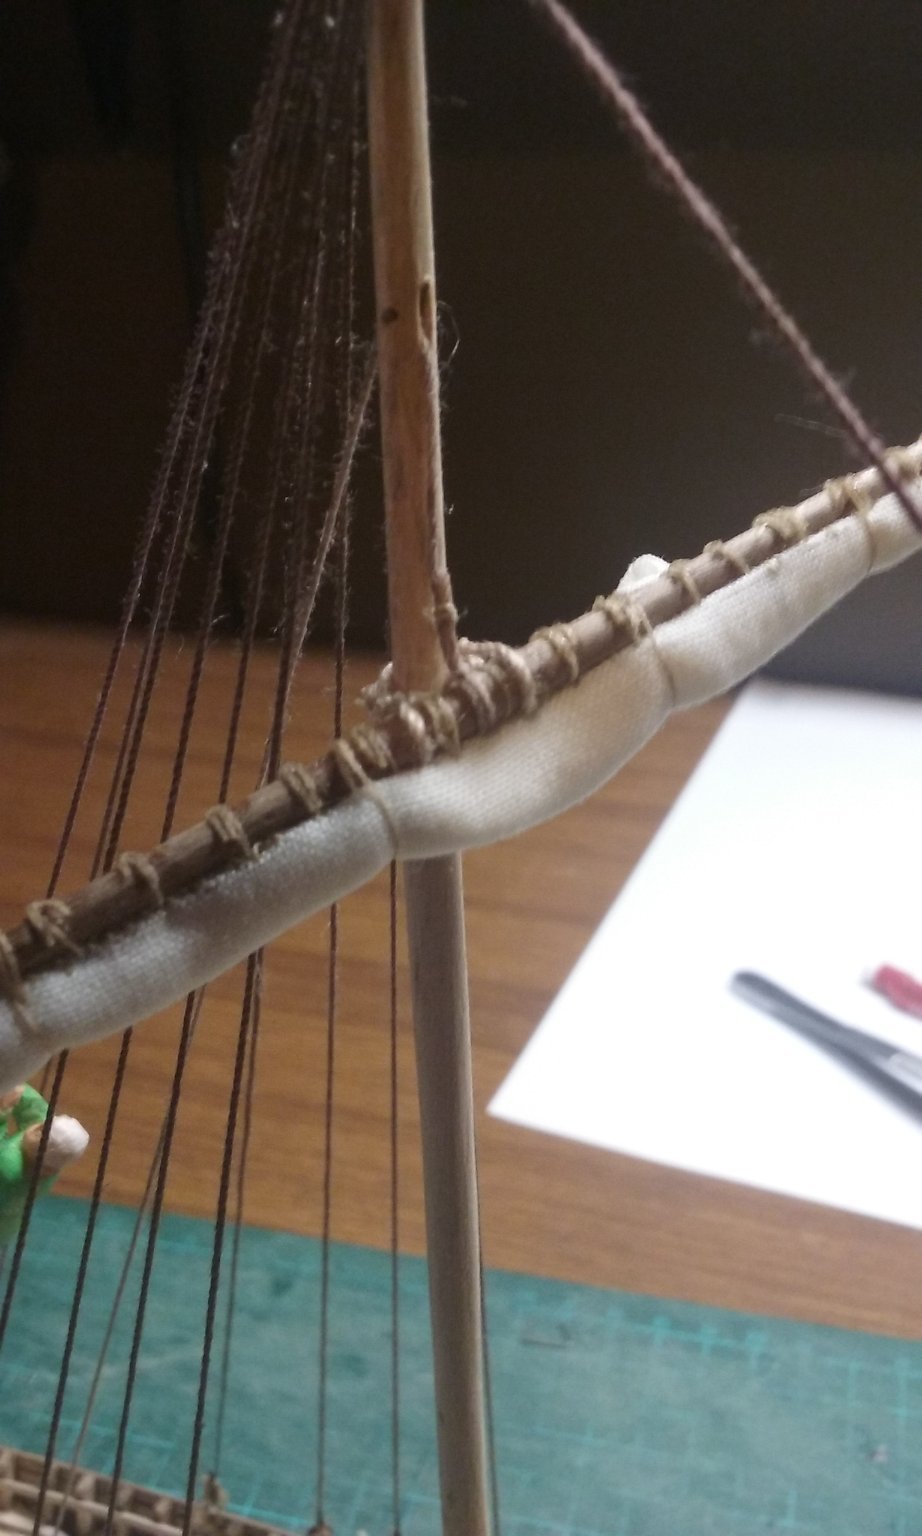
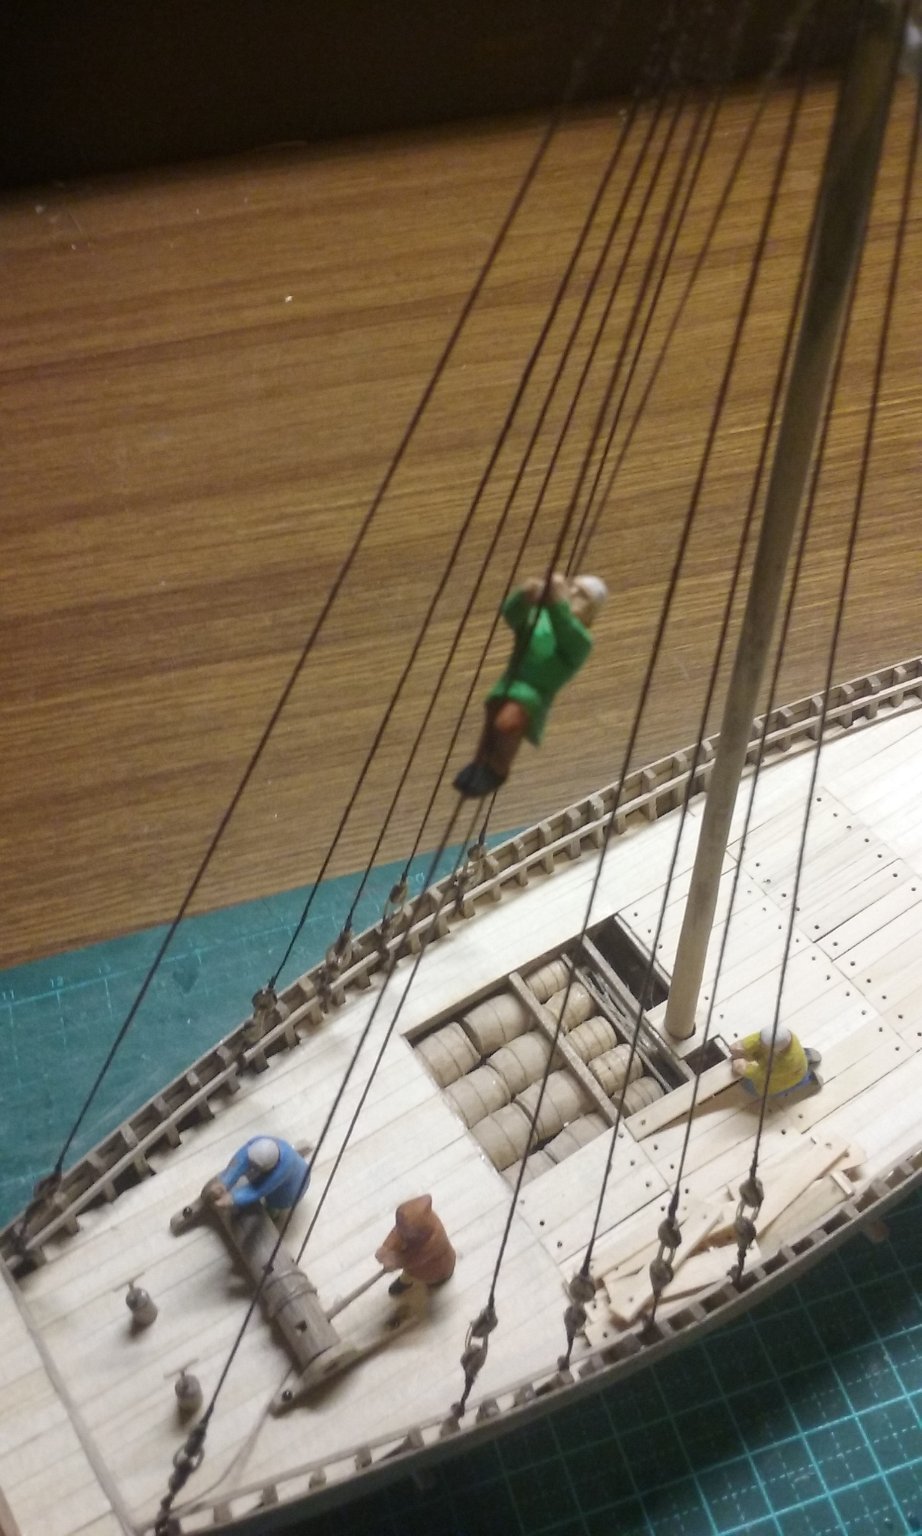
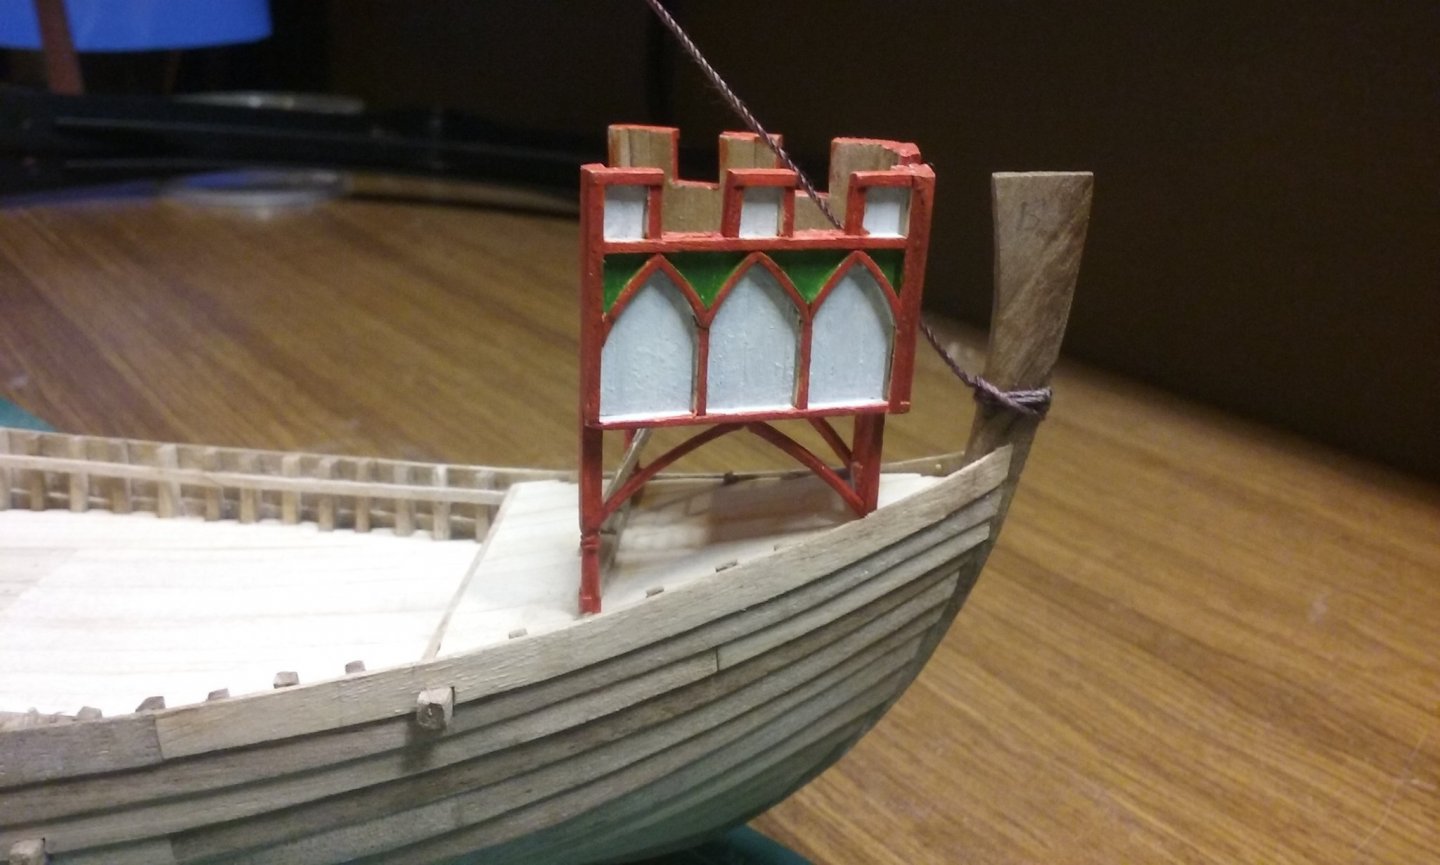
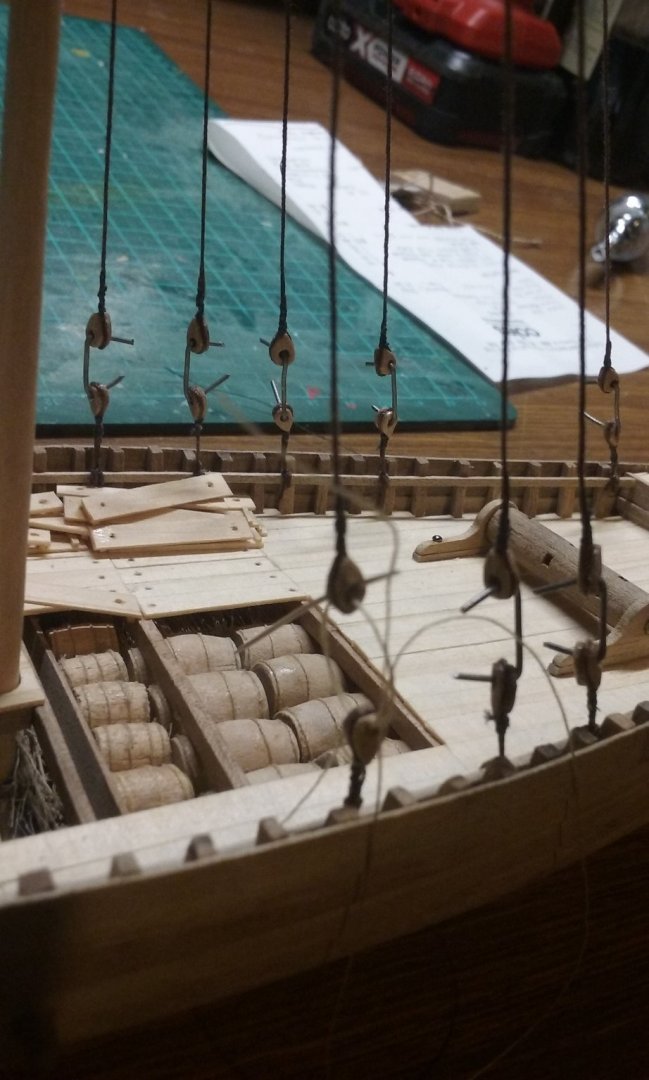
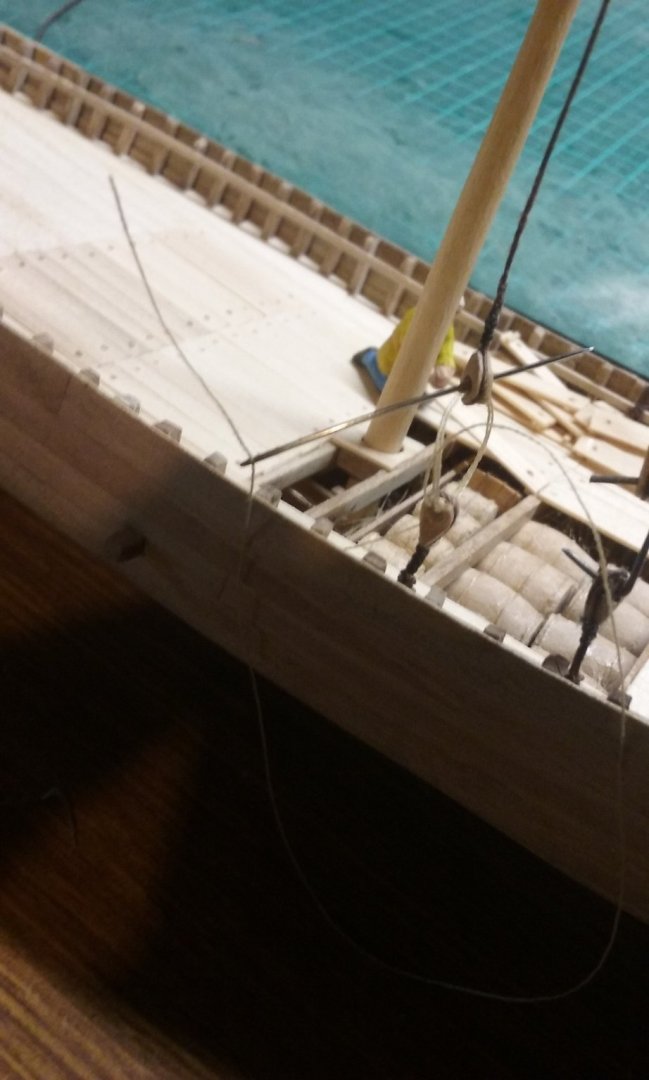
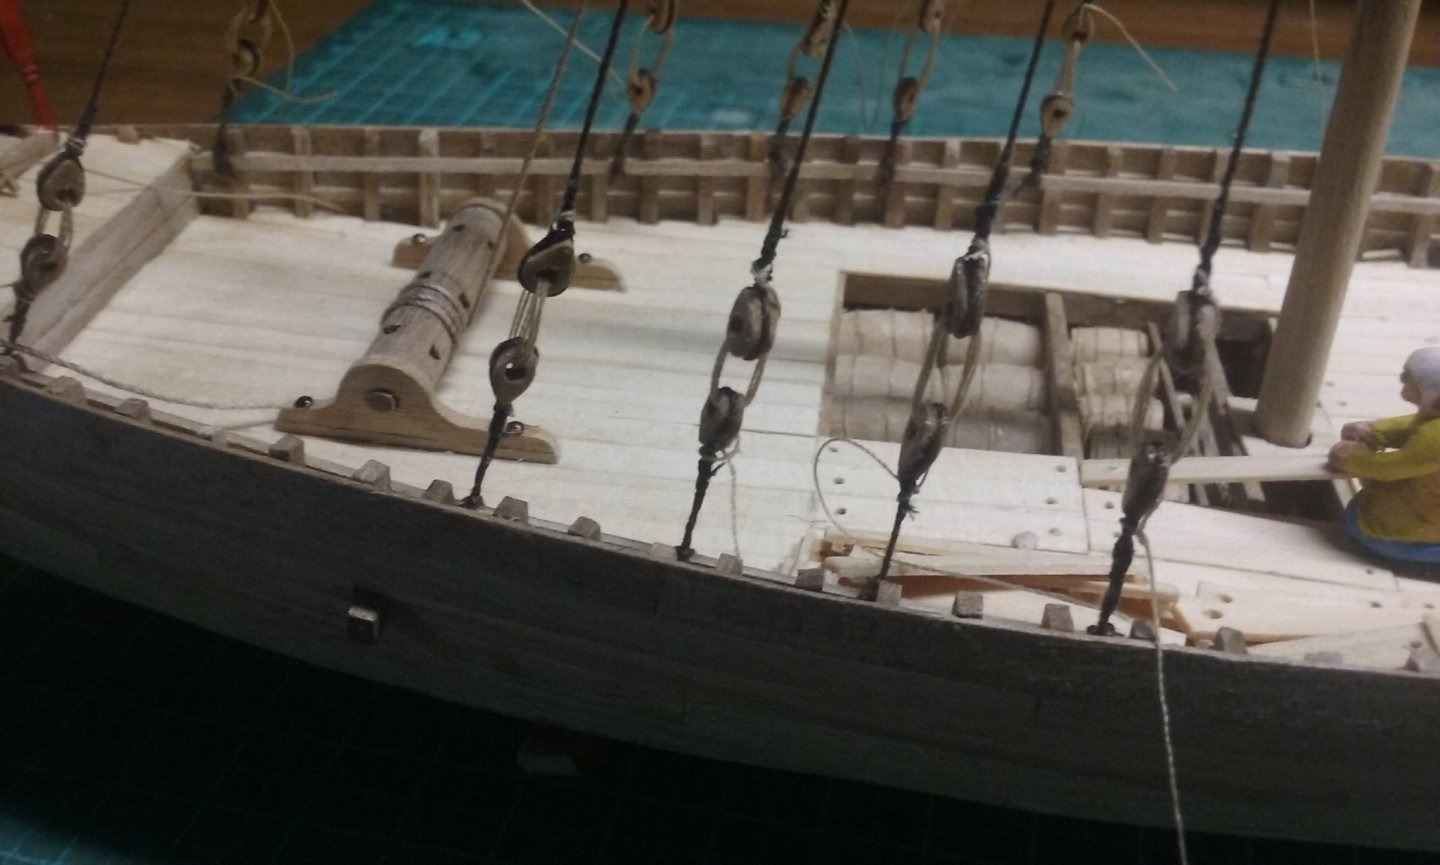
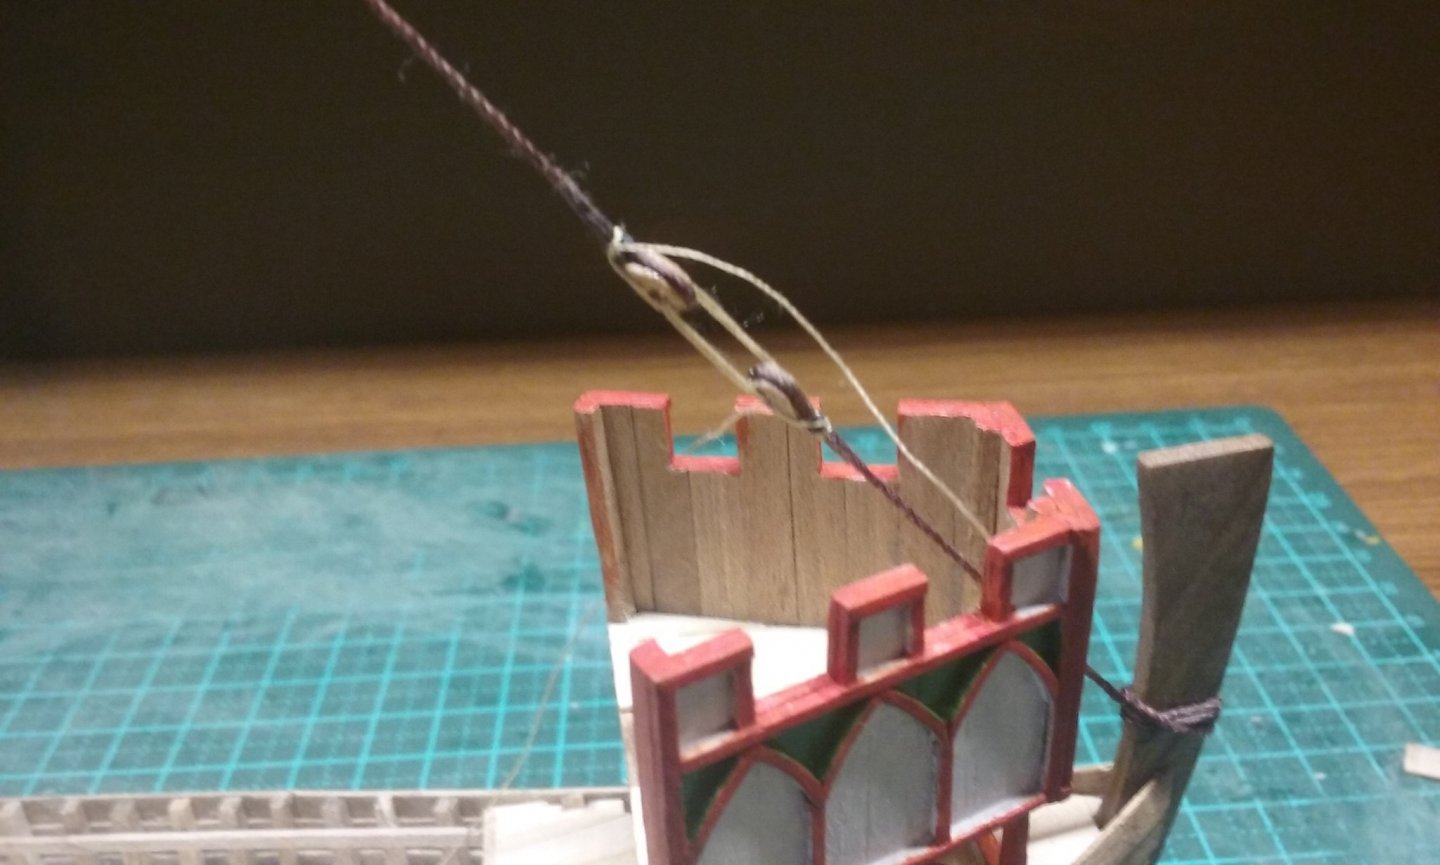
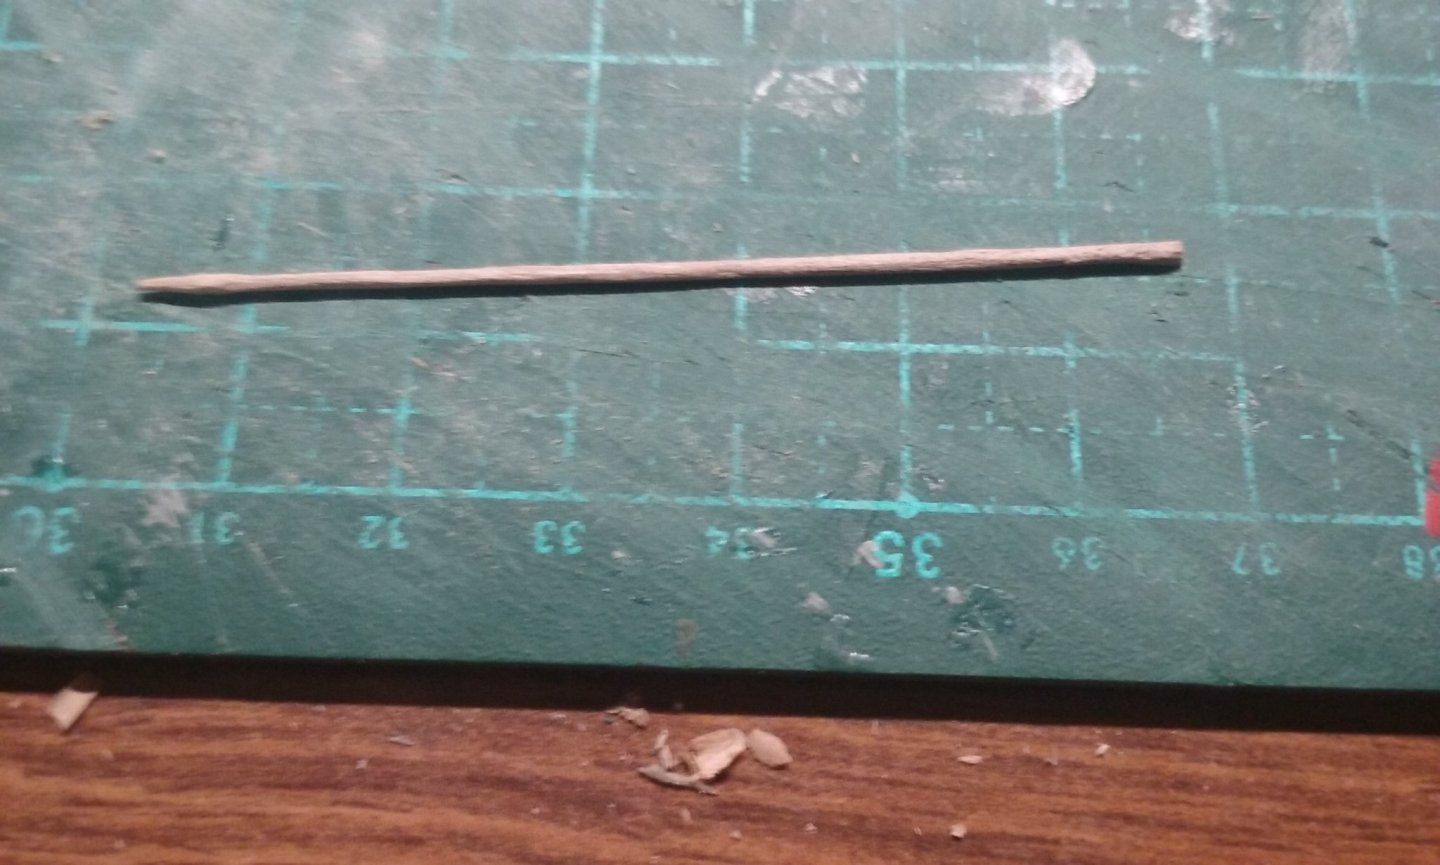
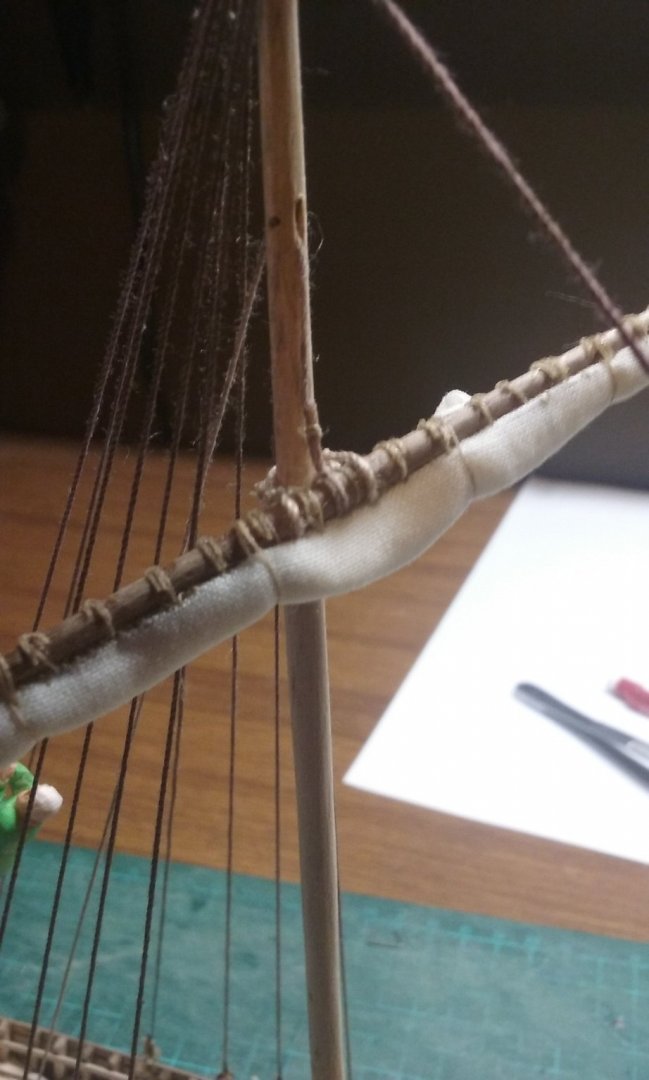
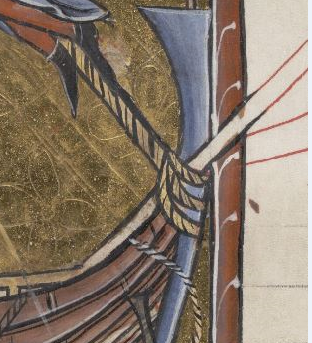
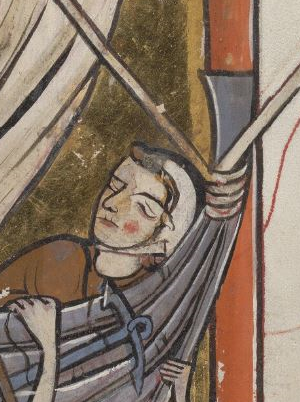
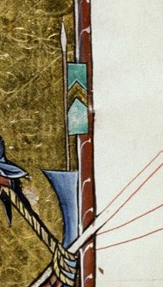
Nearly complete! Just a few things to organise and she's done! First, adding the forestay. It seemed to me that it would be sensible to fix its lower end through a hole in the stempost, but the contemporary representations, when they show anything at all, show it wrapped around the stempost, clumsy though that appears. So that's how I did it. Holding the "eye-splice" together at the top of the forestay with a small peg until the glue dried. I had already worked out that I would have to cut a hole in the front "wall" of the forecastle for the stay to pass through, so that was already done. Putting in lanyards between the pairs of hearts at the bottom of the shrouds to replace the wire spacers. I used a needle to get the thread through the holes. Shrouds and stays (including backstays) in place and lanyards loosely tied. Adding the yard (sorry about the quality of some of these photos!). Tightening lanyards. In retrospect I would have made the wire spacers longer so I could pull the shrouds tighter while keeping the upper and lower hearts far enough apart. The shrouds and stays aren't really as tight as I'd like them to be, and I'm a bit worried that they'll start to sag after a while. Note the halyard wound around the windlass. Making the parrel. The halyard passes through a sheave in the mast (not sure if a rotating sheave is correct for this time and place, despite being in common use in the Mediterranean at the same time - it might have been just a hole in the mast, back in the day). The ropes are a bit furry - it looks worse in the photos than in real life. I tried the beeswax trick too late - I should have done it before I put everything in place. Flagpole for the forecastle - in the shape of a spear. As Winchelsea is one of the Cinque Ports, I'll be using their banner. Here it is on the seal of Dover, and in full colour (but note this is a modern flag - with a stern rudder instead of a side rudder). Adding the crew (at last!) Buisiniers Working the windlass - also note the pumps have now been added. Climbing the backstay to unfurl the sail. A little more to do, but getting very close to complete. Steven


- 327 replies
-
- 23
-
-
-
Hi Nicholas. Any progress on the Bireme? Steven
-
Hi Emmet. You're doing well on the learning process. You might be interested in the pictures of carracks/naos (same type of ship as Santa Maria) at https://www.pinterest.com.au/lowe1847/carracks/ - I put together all the contemporary pics I could find of them on the one page. I've tried to put dates on all of them I could, so you could look for pics from about the time of Santa Maria - though I think she wasn't a new ship in 1492, she wouldn't have been more than maybe 20 years old, probably less. Note for example that there don't seem to be any of these with a sail on the bowsprit. You might be able to work out the correct rigging for it from these - it seems to have been used to help support the mainmast, rather than as somewhere to put a sail. With the shrouds being a bit slack, you could try tightening up the lanyards (the ropes joining the upper to the lower deadeyes), but it might be just too much, and you've probably already finalised these to the point that you'd have to undo them completely and re-do - hardly worth it. Keep up the good work. Steven
-
Welcome from sunny Ballarat - only a bit over an hour up the road! Where in Melbourne do you live? There are several Victorians doing this fascinating hobby (including at least 2 in Ballarat) - you might find you're close to one of us. Though I concentrate on Mediaeval and Renaissance ships, it's always good to have another 20th century battleship under way. Have a look at the "20th century" in the kits section in the build logs - you should be able to pick up some valuable tips for your own build. And be sure to start a build log of your own. Great way to get acquainted and get help and advice. Steven
-
Maybe try "tops" or "fighting tops". What is it you want to know, and from what period? Steven
-
Trouble is most of them seem to be wearing armour (surprise, surprise!). Good for wargaming, not so good for ship modelling. Steven
-
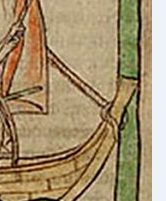
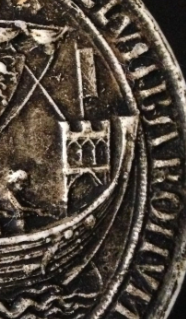
Ah, there's your problem right there - "logical/factual" - this is the Middle Ages, mate; not only that, but the people who did the picture are artistic types. You're quite right, however. Artistic types are less interested in perfect accuracy than in an overall impression. There's a story that Babbage, the inventor of the "difference engine", the first computer, worked by cogwheels, wrote to Alfred, Lord Tennyson, picking him up on a line in a poem he'd written "Every Minute dies a Man, Every minute one is born" pointing out that if that was the case, the world population would stay static, and suggesting that he should amend the second line to "And one and a third is born" (close enough within the limits of accuracy, and still sticking to the metre of the poem). Surprisingly, Tennyson didn't follow his advice, but he did change the lines to "Every moment dies a Man, Every moment one is born" Much better as poetry than Babbage's idea, and sufficiently vague to overcome Babbage's objection. After all, how long is a moment? Tennyson was a poet, Babbage was an engineer. They just didn't think the same way. Steven PS: The Winchelsea seal shows four shrouds on one side as you'd expect in a proper side elevation (as the ones on the other side are of course hidden), but it also shows two backstays, with a sailor climbing up one of them.
-

- 37 replies
-
- 10
-
-

.jpg.342b0fb55deb7654e81d94650e22ec9a.jpg)
.jpg.b0a939a7ca579cf3ecd9fe73f910650c.jpg)