Ronald-V
-
Posts
1,934 -
Joined
-
Last visited
Content Type
Profiles
Forums
Gallery
Events
Everything posted by Ronald-V
-
 Gaining confidence by doing it in a different way is also great and you always learn something from it!
 -
I understand your reasoning to use the San Juan as a "practice ship". Personally I would lose my interest if I found the subject that i'm building would not be interesting to me. But if you can set that aside...then it's handy that you have practice hulls I used the first layer of the hull for practice...it's time consuming for something you never see again, but you learn a ton of it. And that brings me to the point of your use of very narrow plank...I must say, it looks kinda cool and nice, not that that's important, but you miss in this way a learning possibility how to deal with the actual size of planks. How they behave, what kind of bends are nessecary for this particular hull. A first layer is quite handy for...gaining that knowledge. But nothing wrong how you did it, you can still get it right with the second layer. It took me 3 hulls before I began to understand the process. Some understand it right away the first time/hull. Most important thing is that you have fun doing it, and don't be to harsh on yourself. Even if the planking isn't perfect the first/second/third time...in the end result it looks most of the time still beautiful and you won't even notice it
-
You came far in just a month time! Great progress, looking good so far
-
Thanks Allen! Yes the wales will be installed later. With this kit comes a really nice laser cut wales with beautiful "hook and butt" planks pattern lasered in. I tossed with the idea to install it before the final planking, but it seamed safer to do it afterwards because it could damage in the planking process. And the manual also suggest to install it afterwards. Thanks for the explanation you included
-
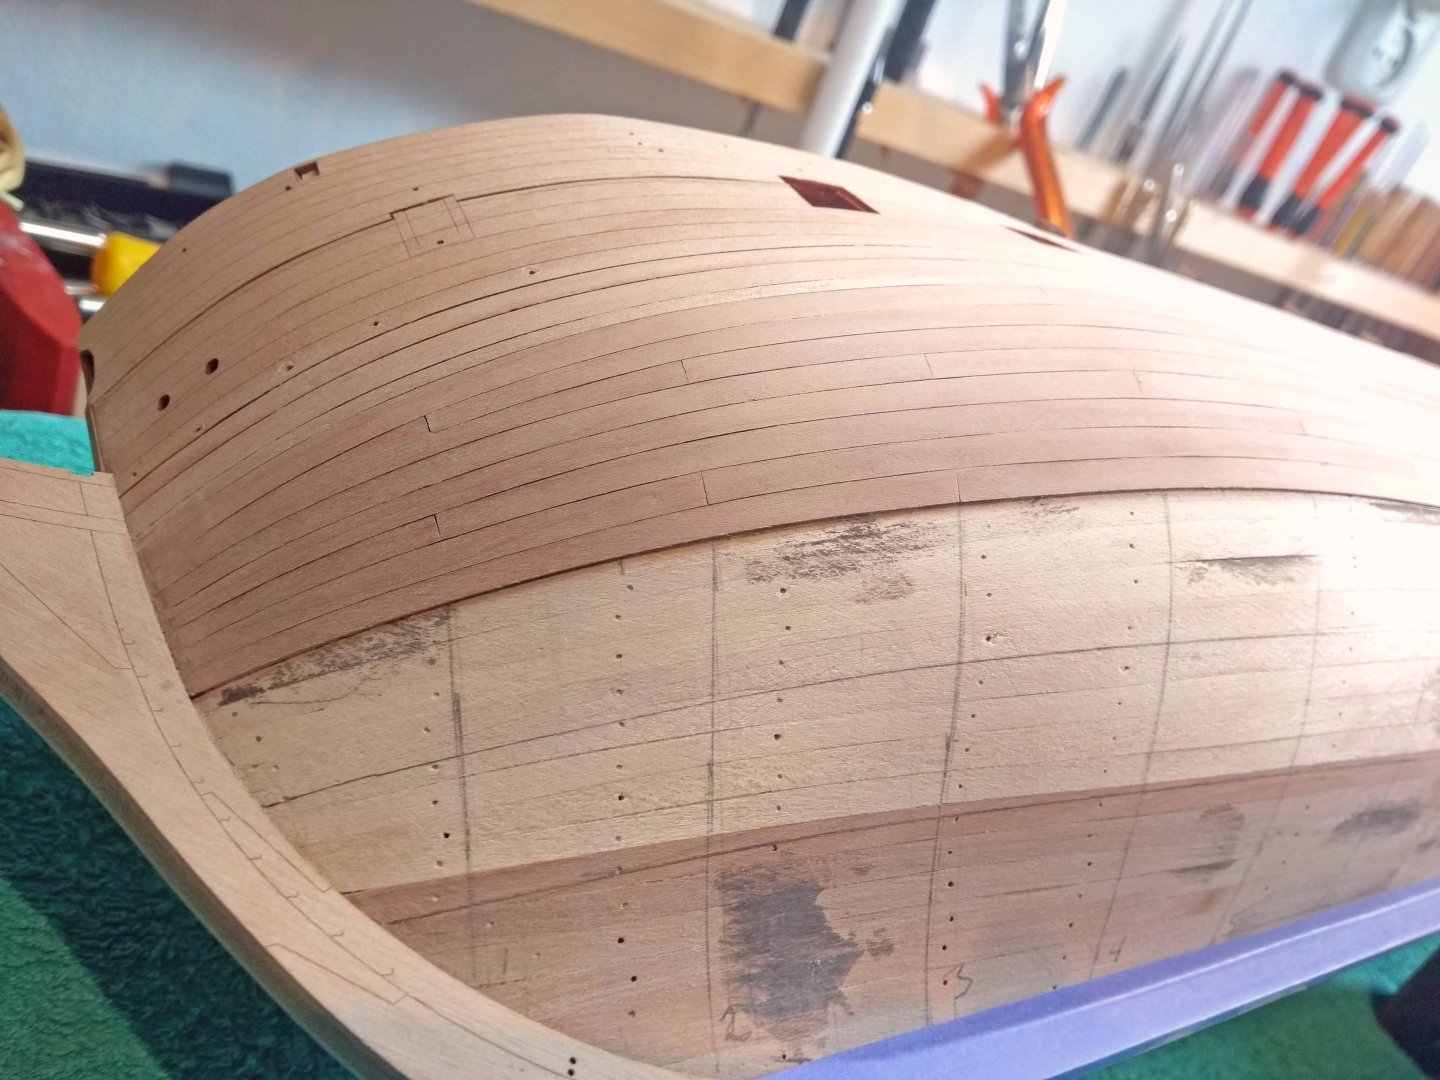
Update: First belt on one side complete...gave it a little sand to remove the really strong edges sticking up etc. but nowhere near a finish. I have a bit of doubt how I executed the planking at stern side. The lines seem a bit strong there ( maybe a seam here and there). But we will see how the end result turns up, when I give it a final sand and varnish....just going step by step

-
The side patterns look great...nice and tidy, starting to look like a ship!
-
That looks great! Nice details with that lower deck
-
Thanks! Yeah I think we all been there...sometimes a bit to much pressure onto the plank, it snaps or whatever and your finger/hand slips right against the hot metal😄
-
Thanks! Yes I found the stern also the most uncertain aspect of the lining off...as you said it goes from one shape to another. The bow is in that sence quite straight forward.
-
Thanks Glenn! Same here..."Chuck's method" is just so easy...it works very well
-
Welcome! And have fun here
-
Update: Divided the first band in the appropriate amount of planks (5 planks) and started planking away! feels like a jigsaw puzzle where you make your own pieces. Kinda fun!

-
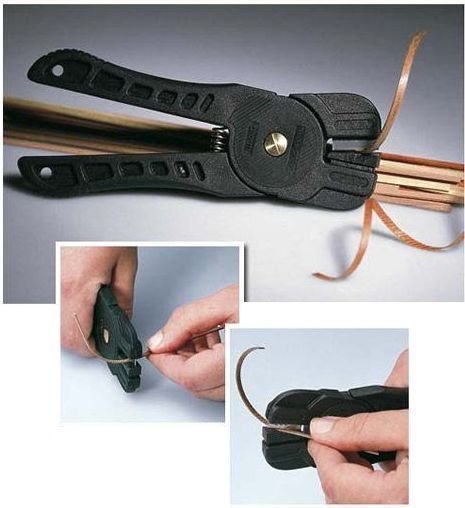
It's actual name is "Form-A-Strip"...pretty original https://www.amatimodel.com/en/tools-and-equipment-parts-per-model/product-form-a-strip-b7381.html It does make crimp marks on the inside...which is logical ofcourse, but I never experienced having them on the outside. I think when people have them on the outside, they use to much force, or in other words they make the dent to deep on the inside. Just begin with light cuts/pinches and see what happens. There isn't need much force for it to bend a bit...and then just do multiply pinches next to each other to get a more severe bend. And how thick? Depends on the material I think, but I used it also with 1,5mm thick planks without issues. For the price of the tool it's a handy thing to give it a try in my opinion
-
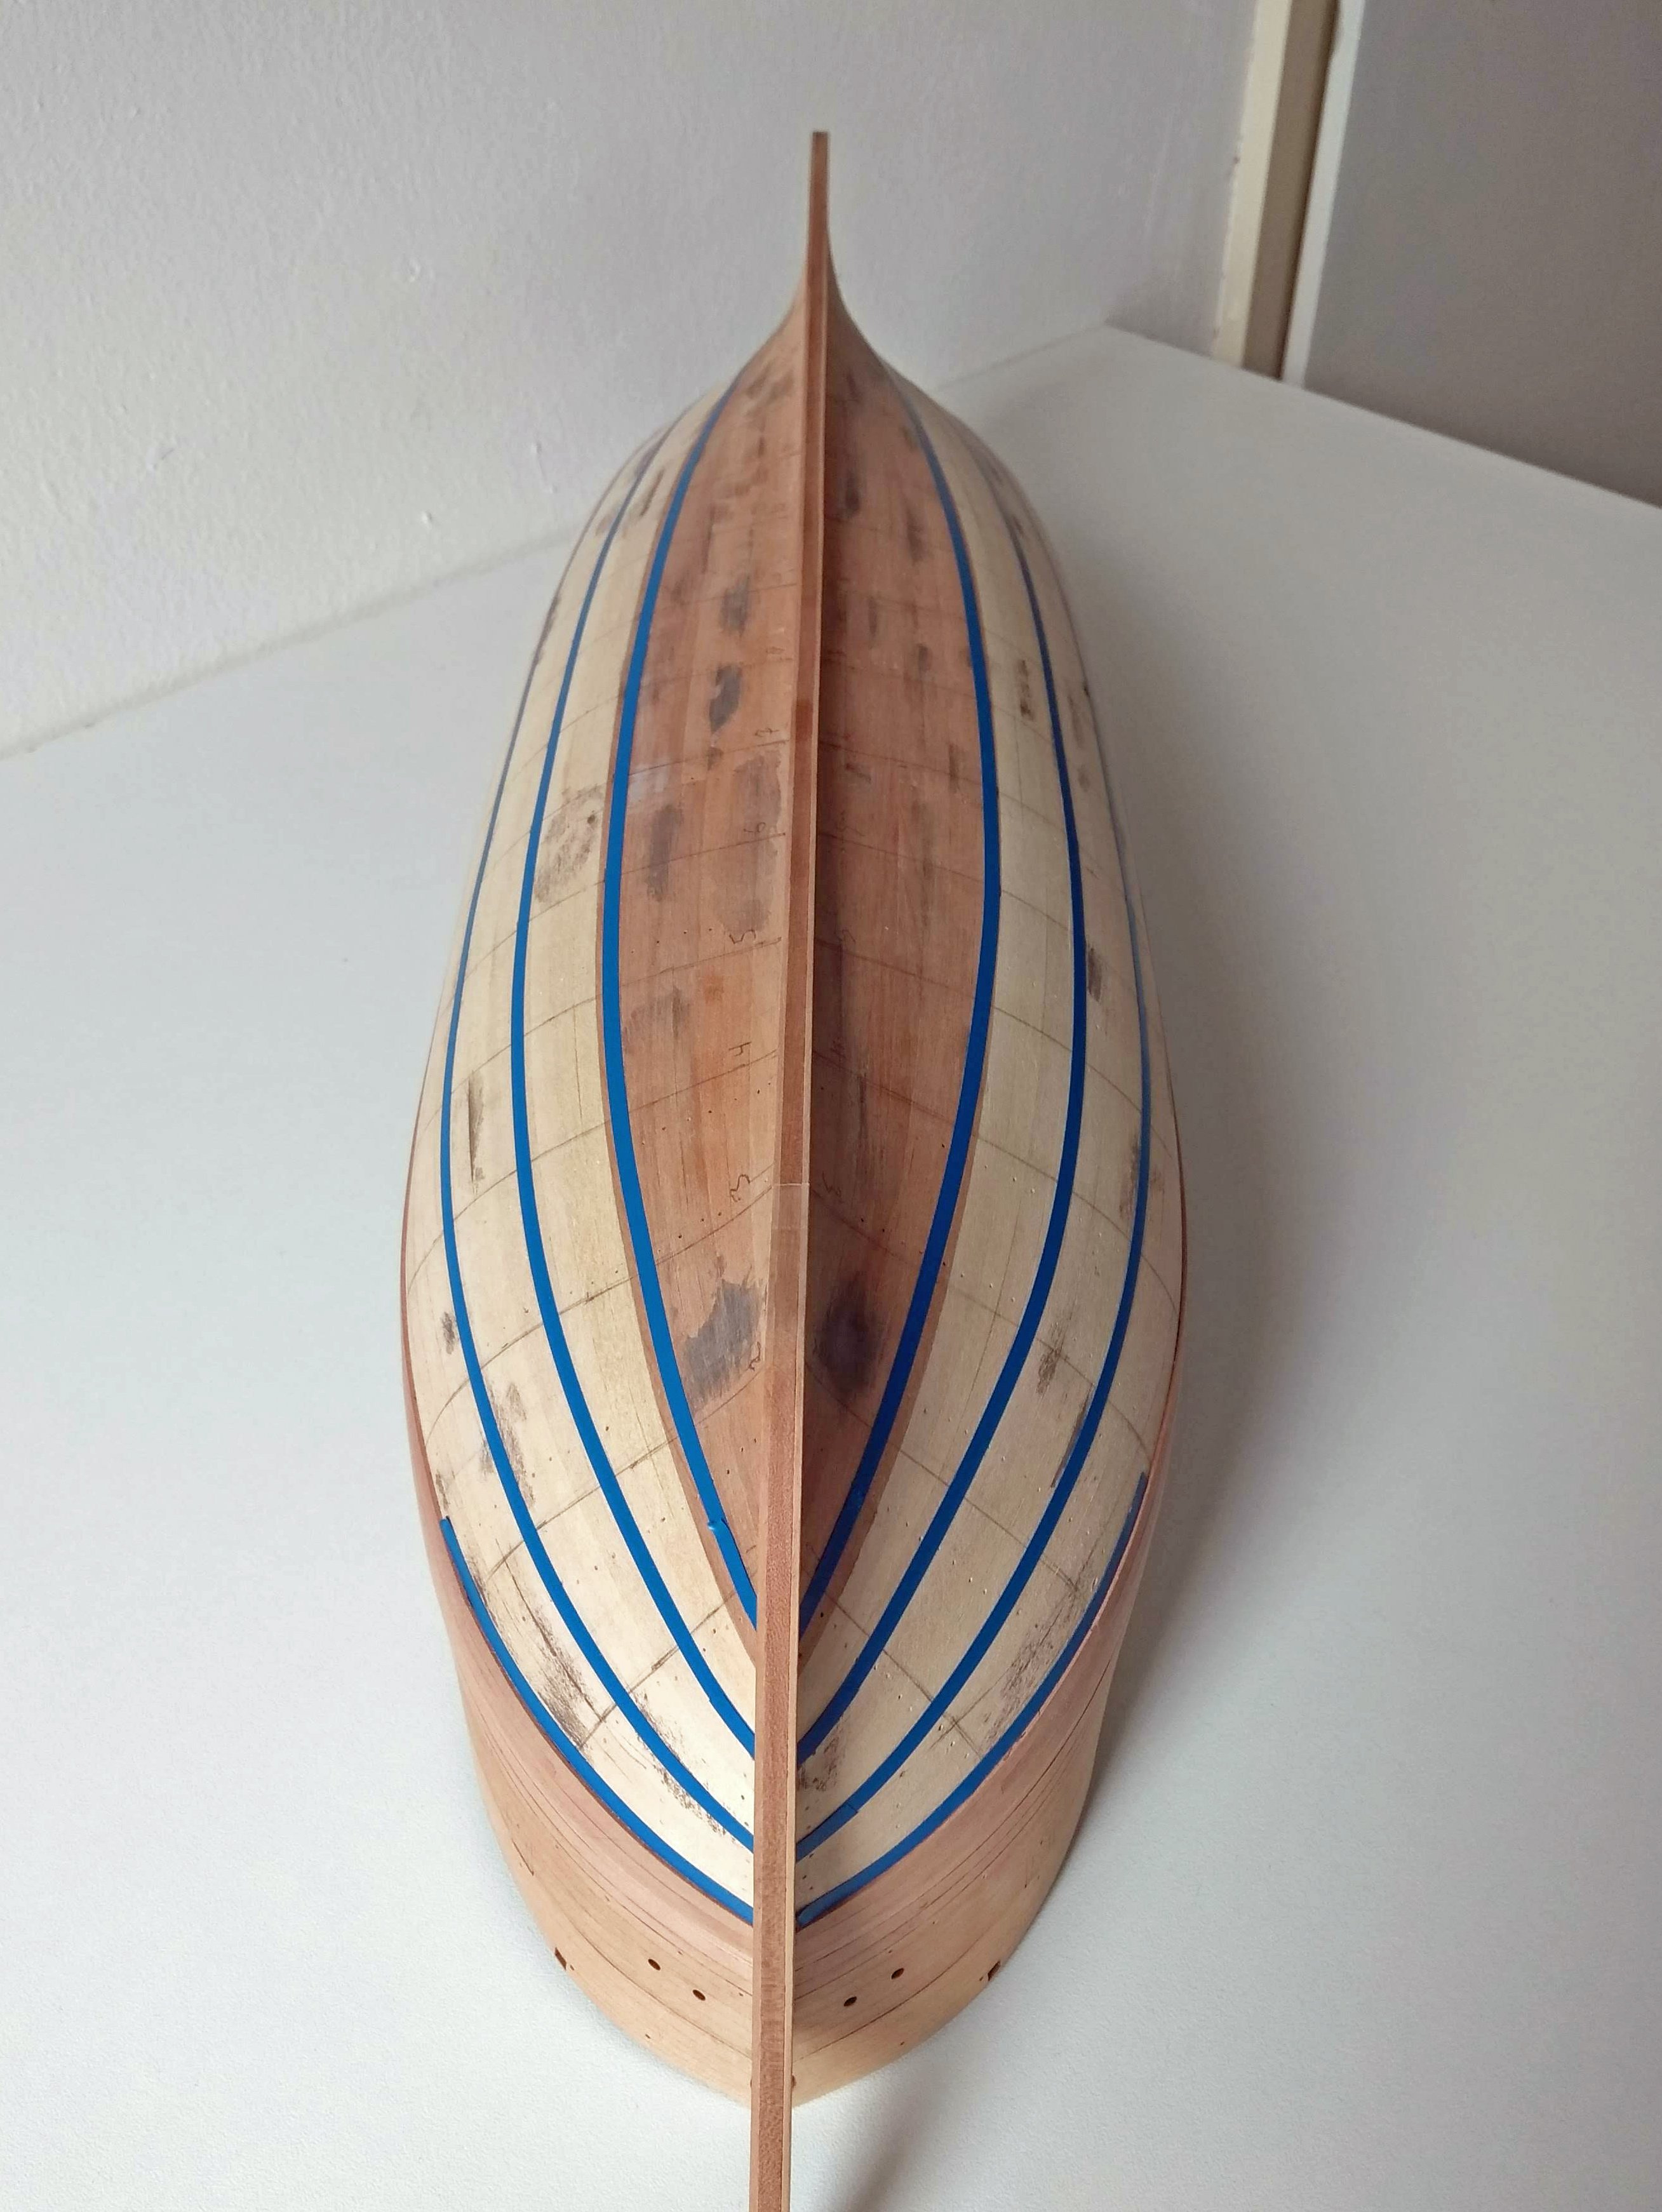
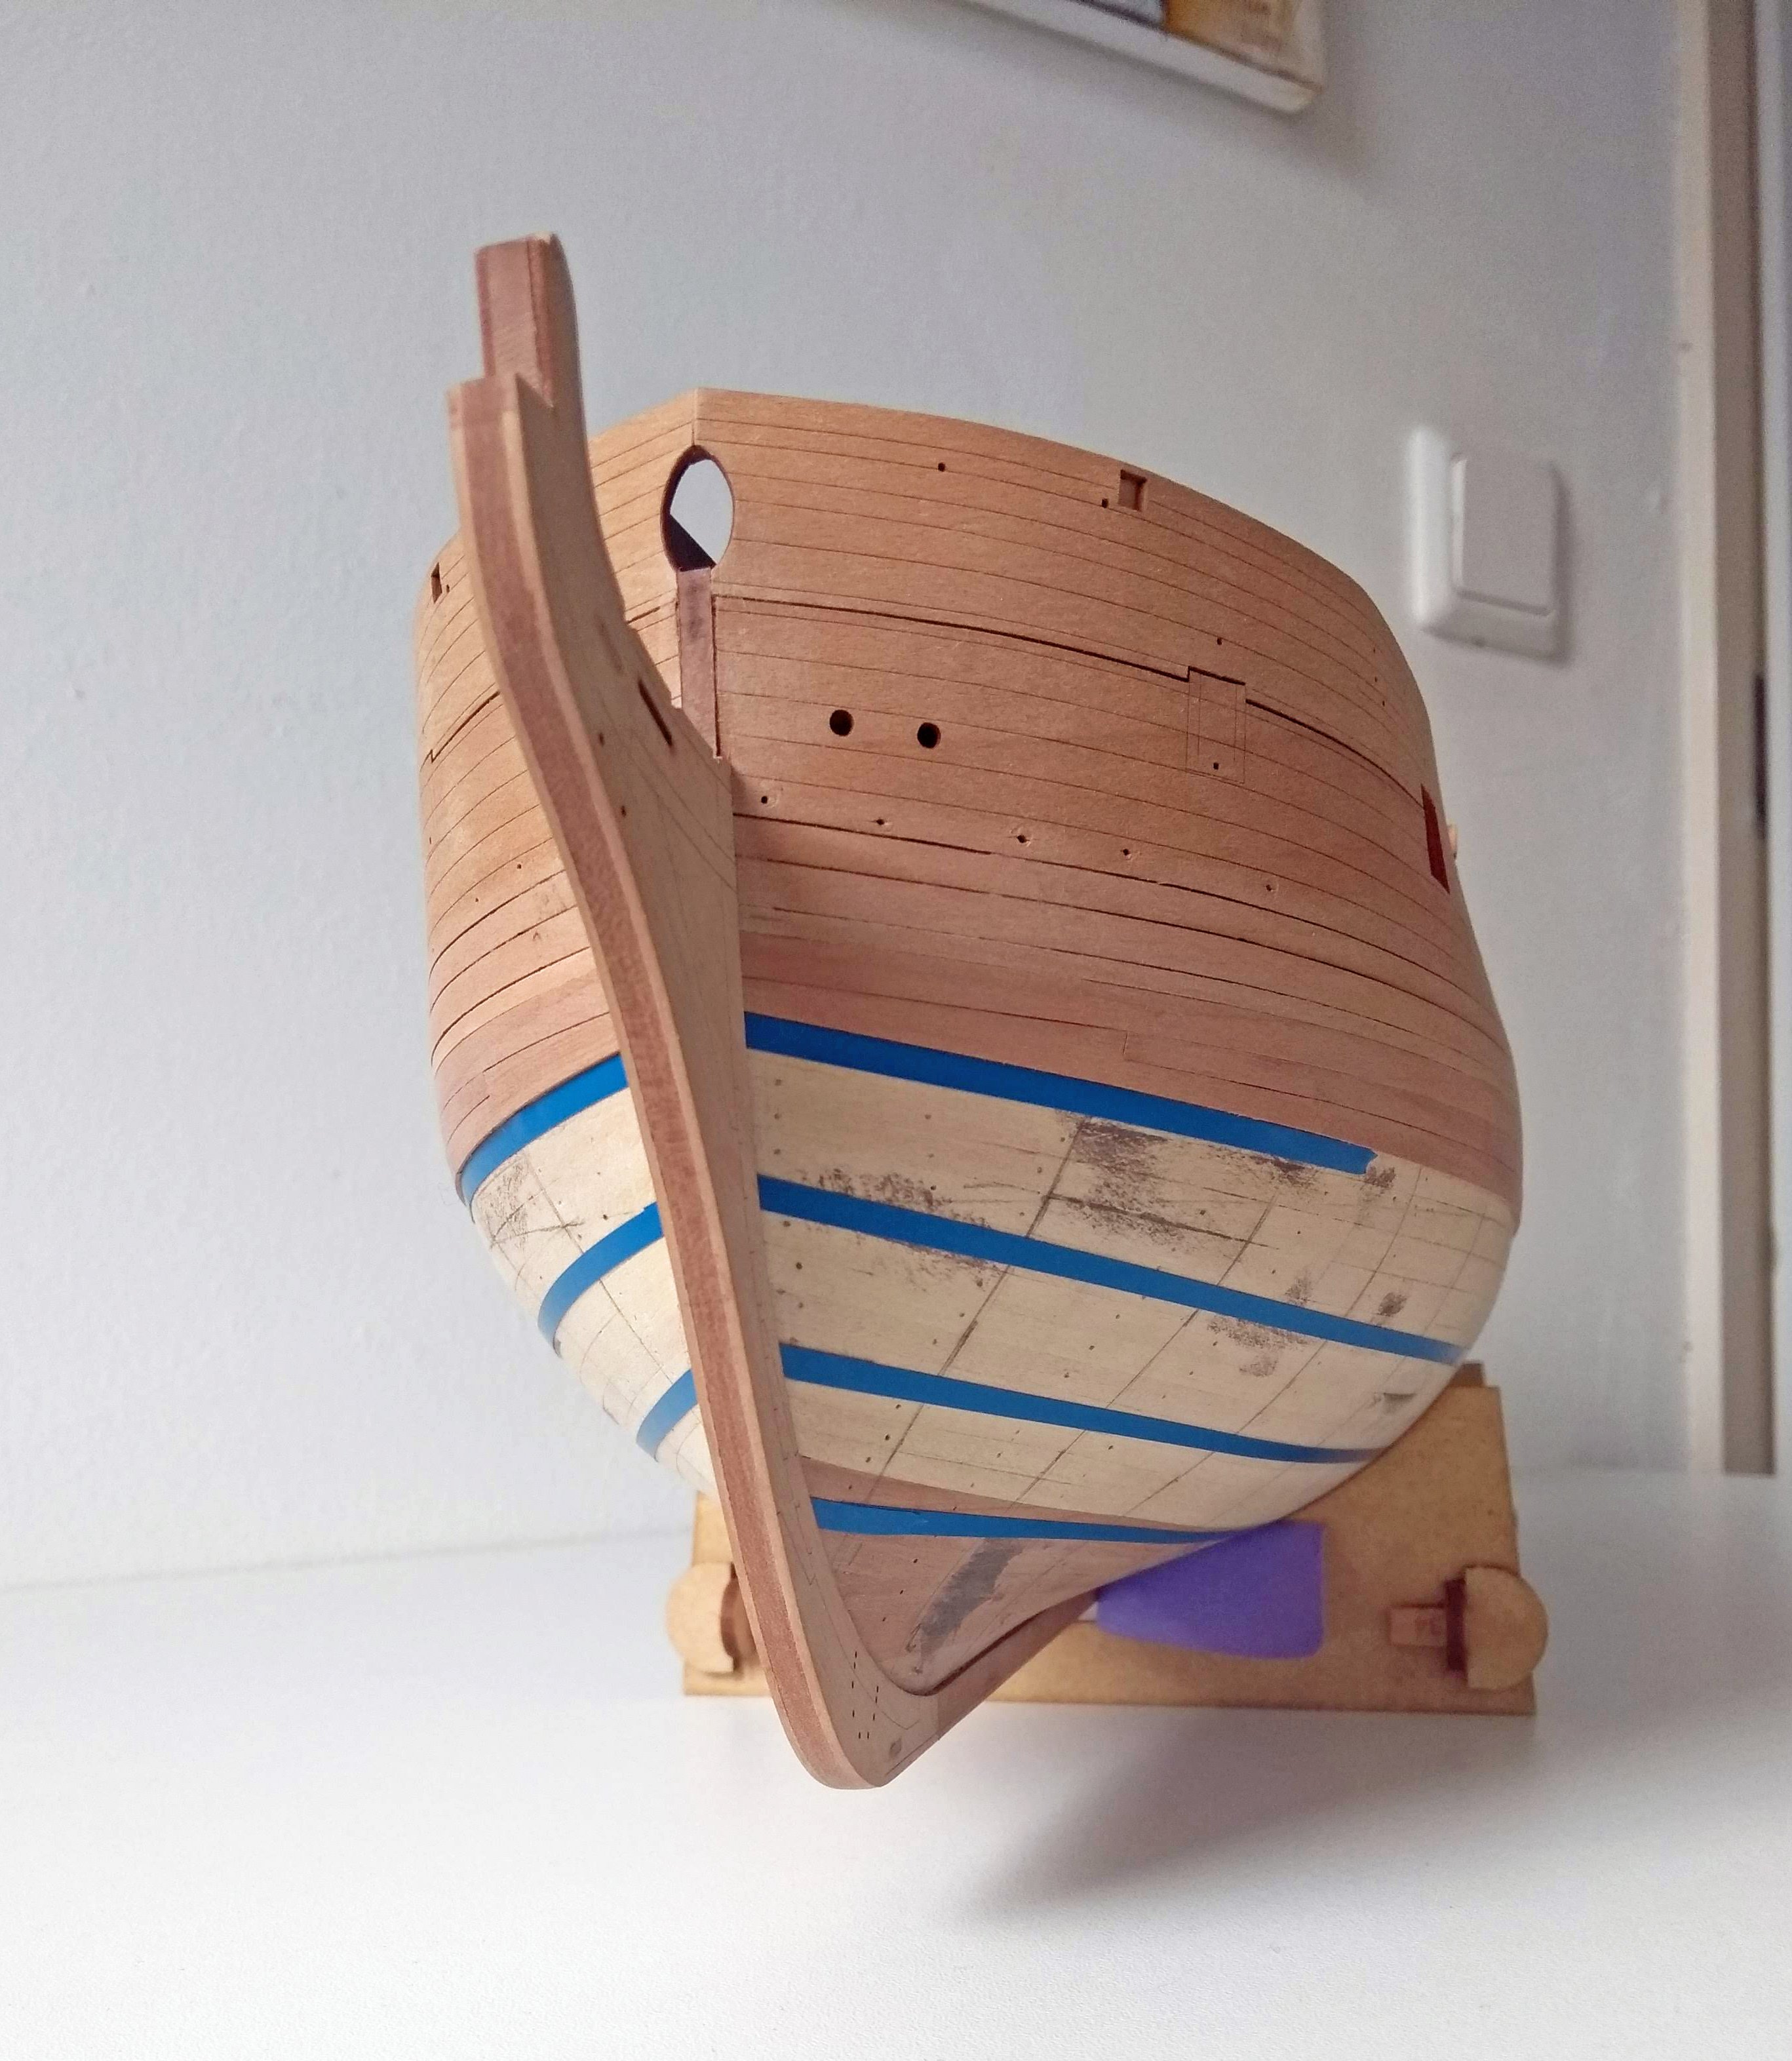
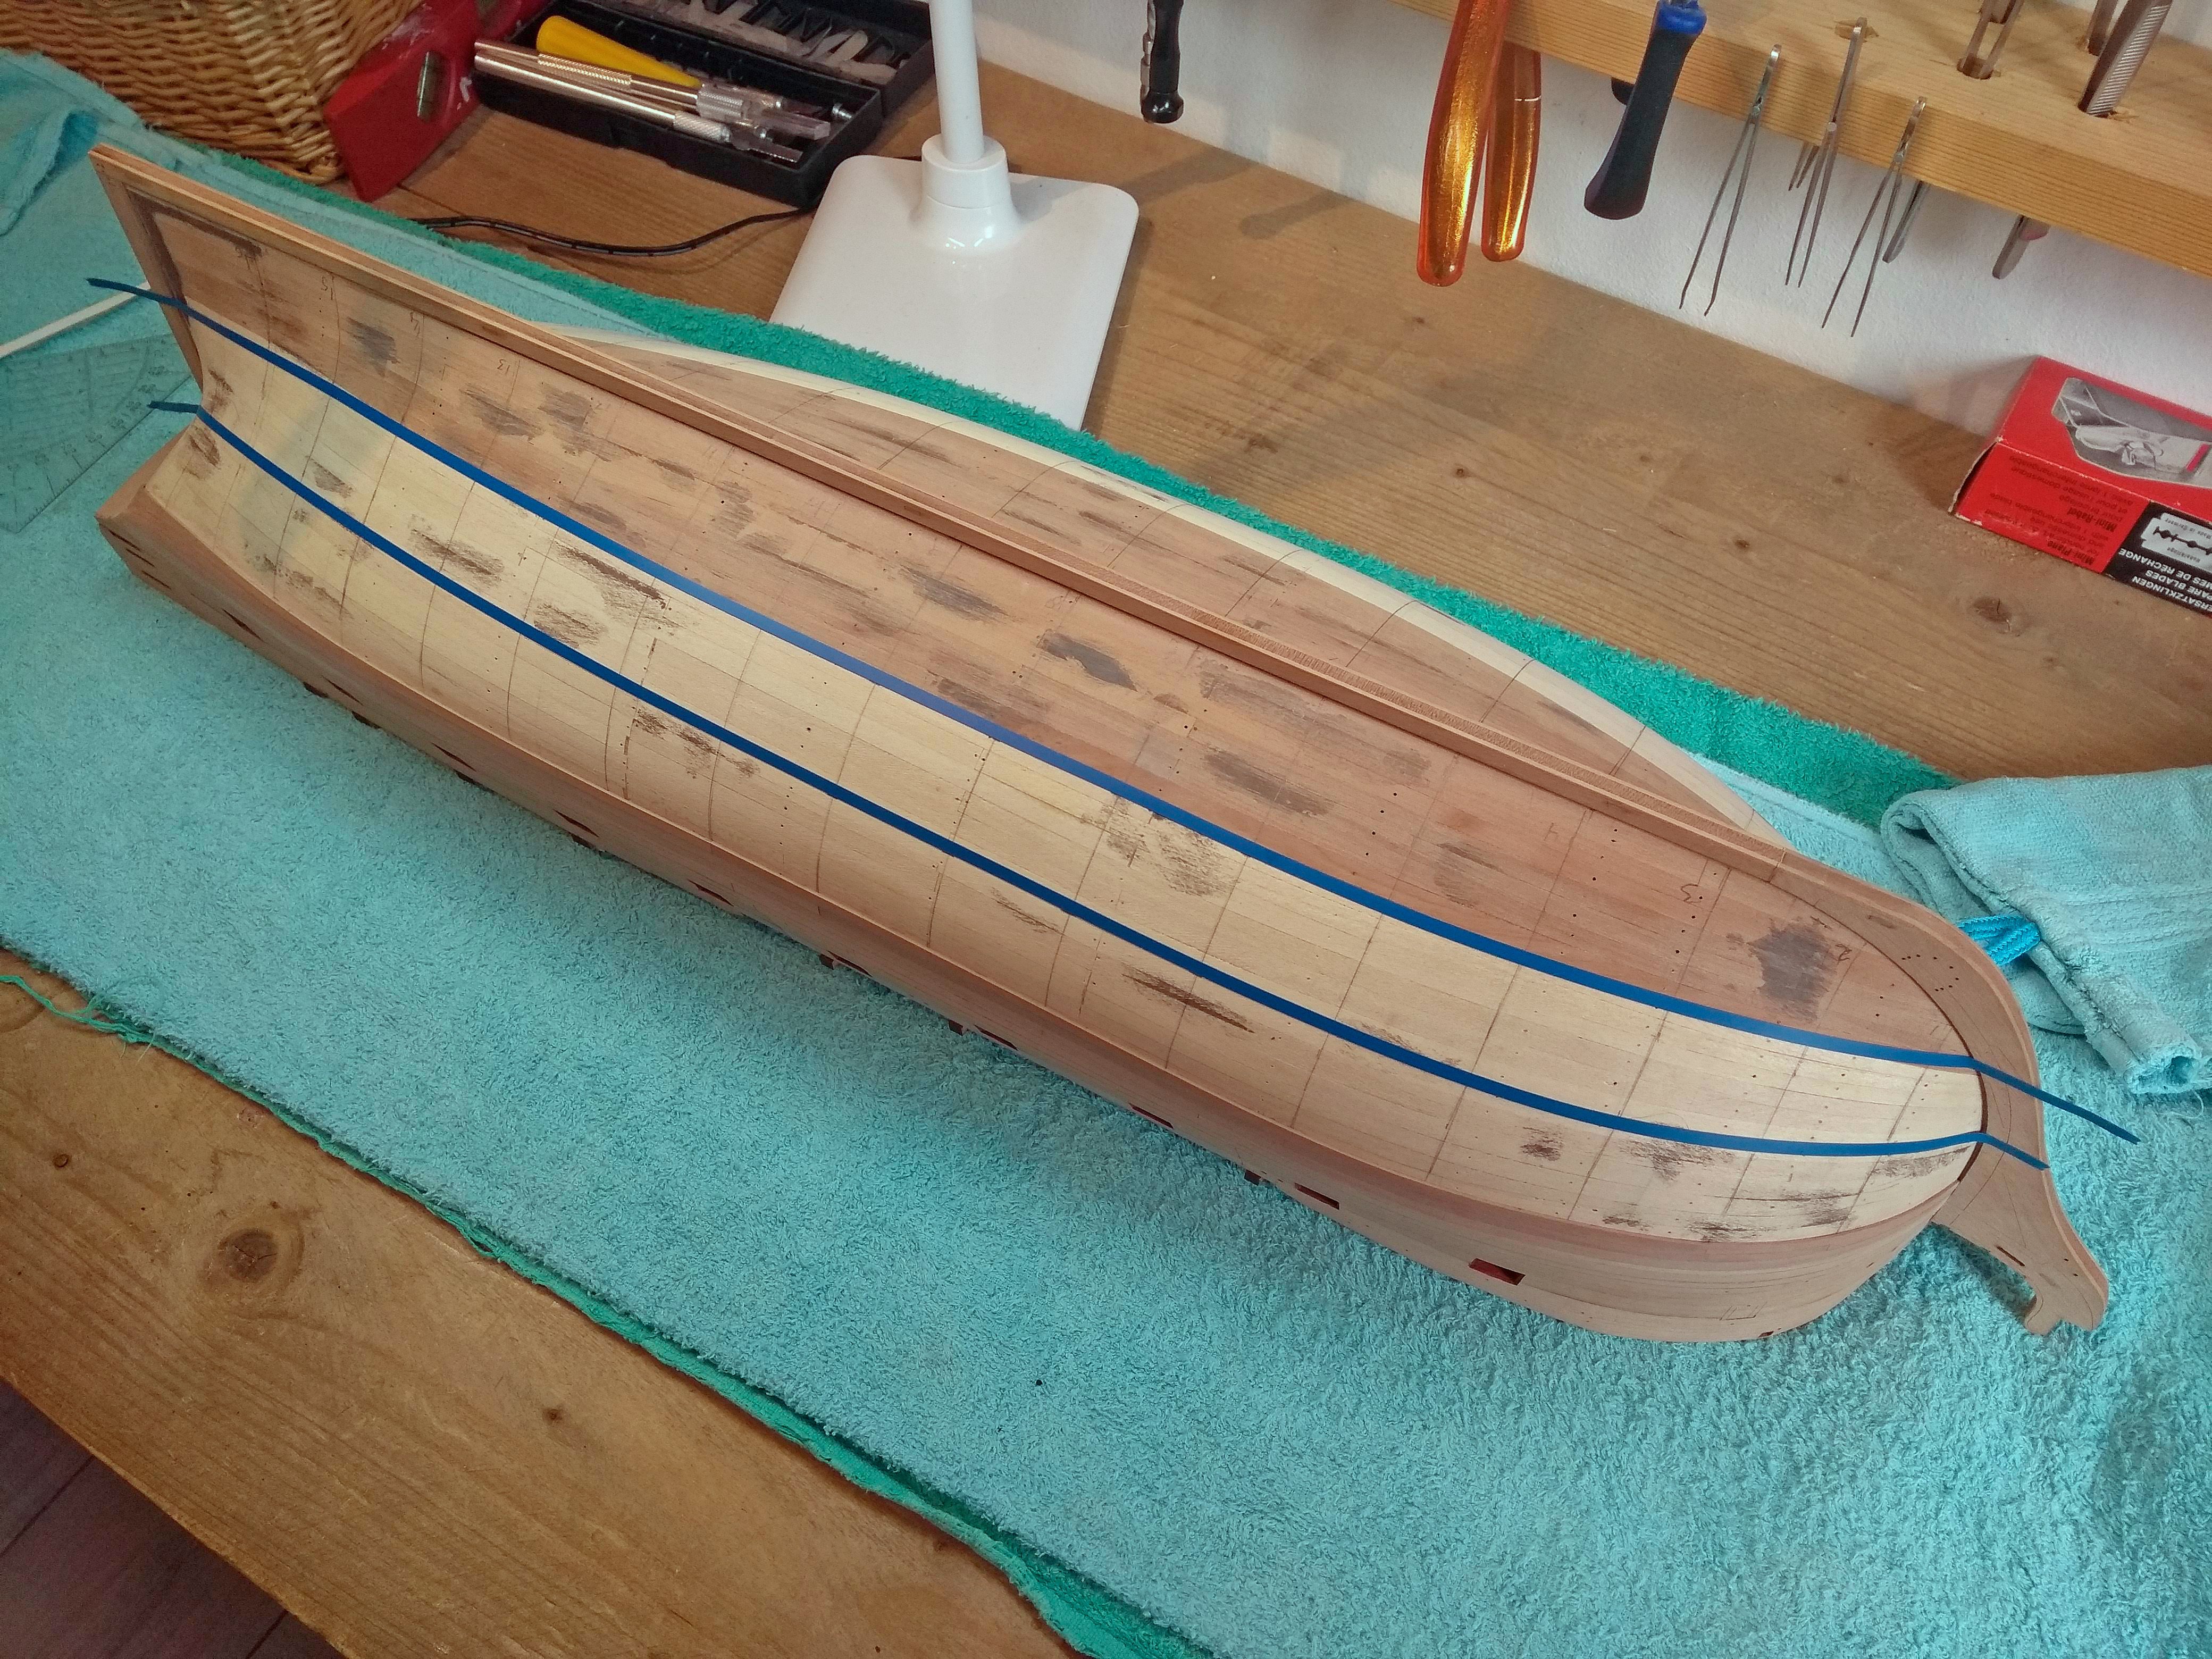
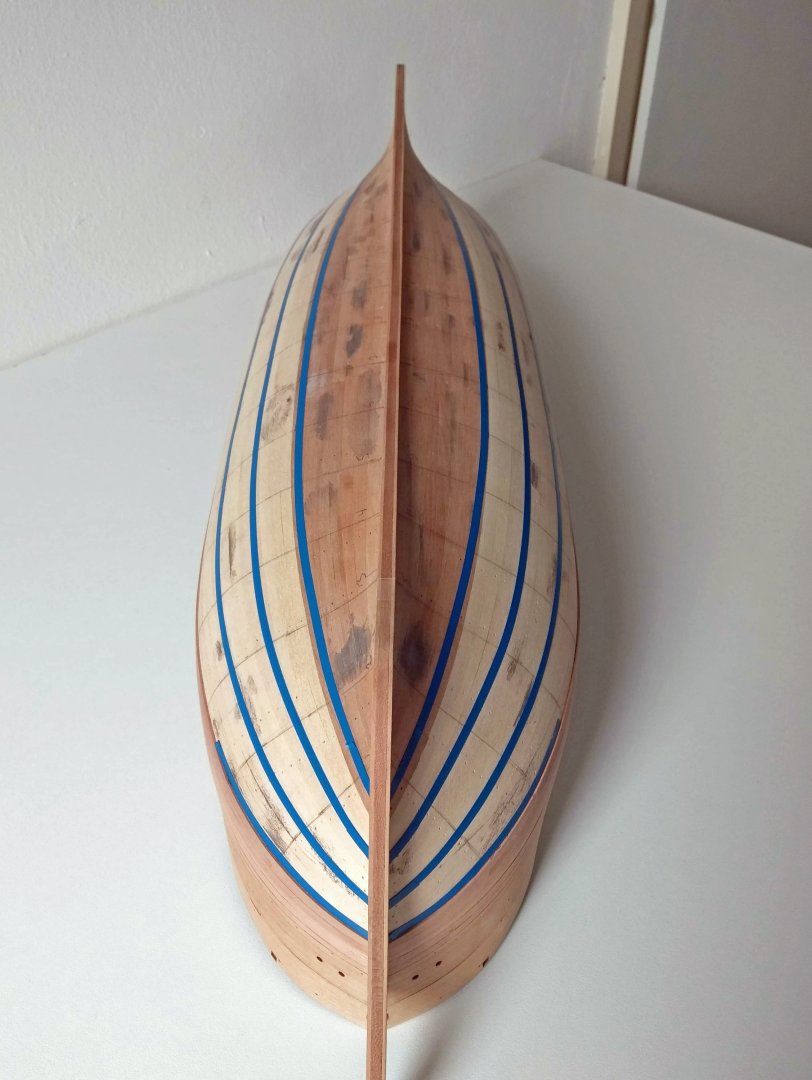
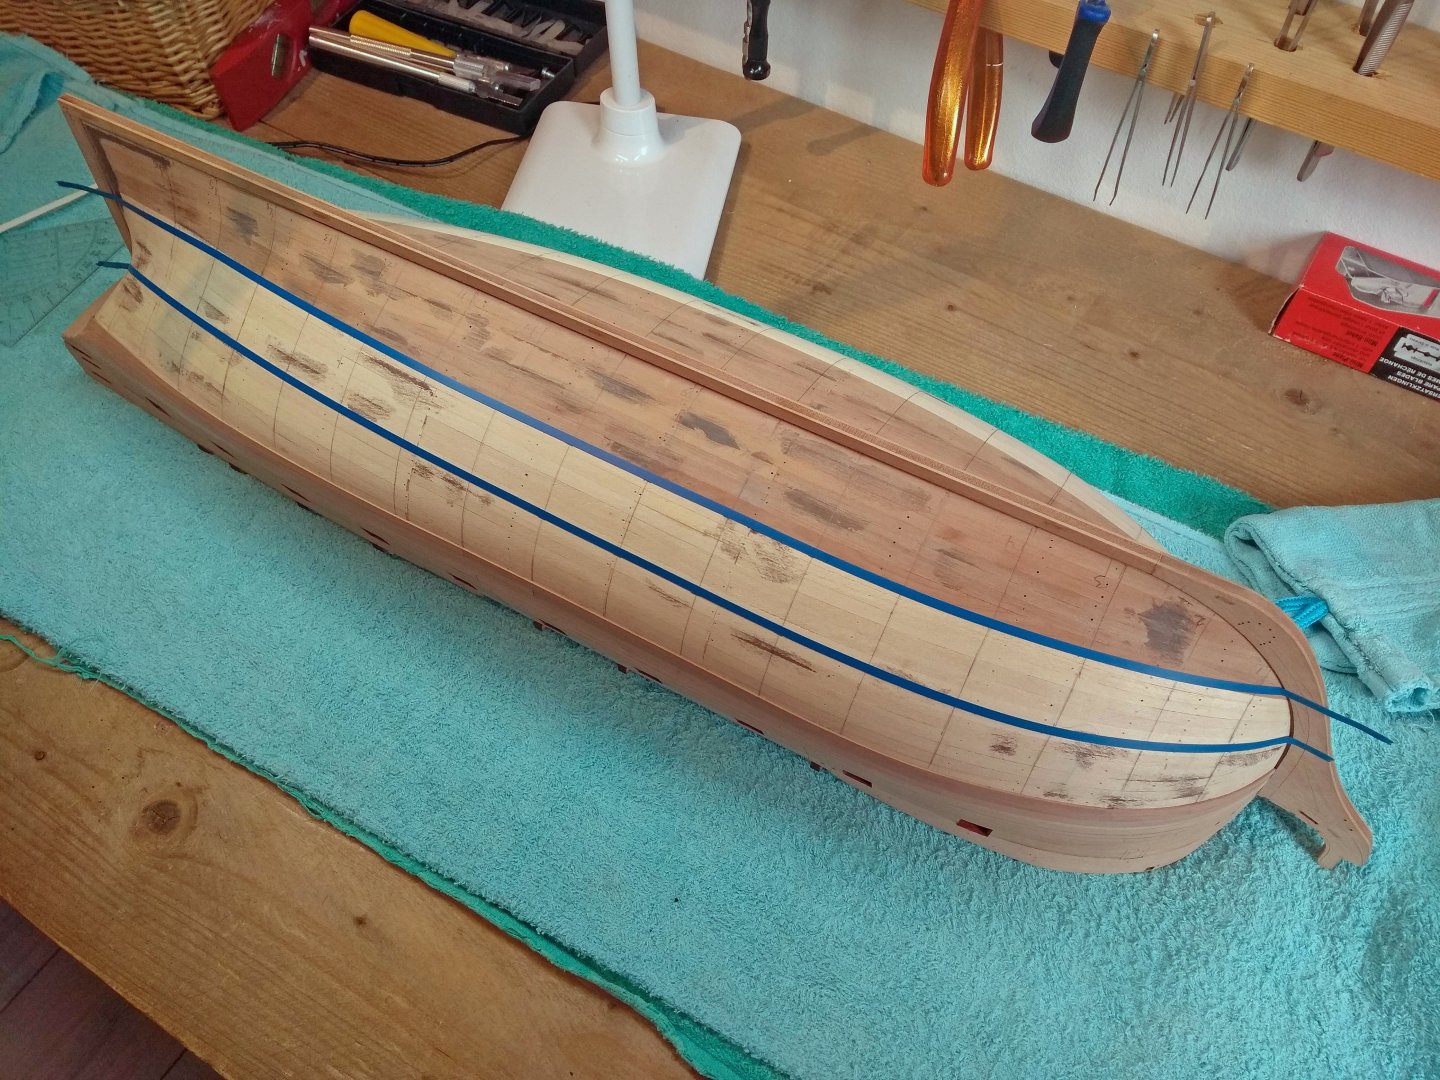
I think this is it...flow looks nice everywhere, and symmetrical. It's a bit of guesswork and we will see if it was the right guess

-
Thank you and everyone else for the likes and compliments! Yes I do have a electric plank bender and used it in combination with a Amati plank bender (a kind of pliers) to shape the stern planks. It works great...no need for soaking and waiting. Below is the Amati plank bender...I use it quite a lot, it works fast and simple
-
Thanks! I use planks with a length of 12cm. I sort of calculated/measured that from the original planking plan, in a 3 shift plank pattern.
-
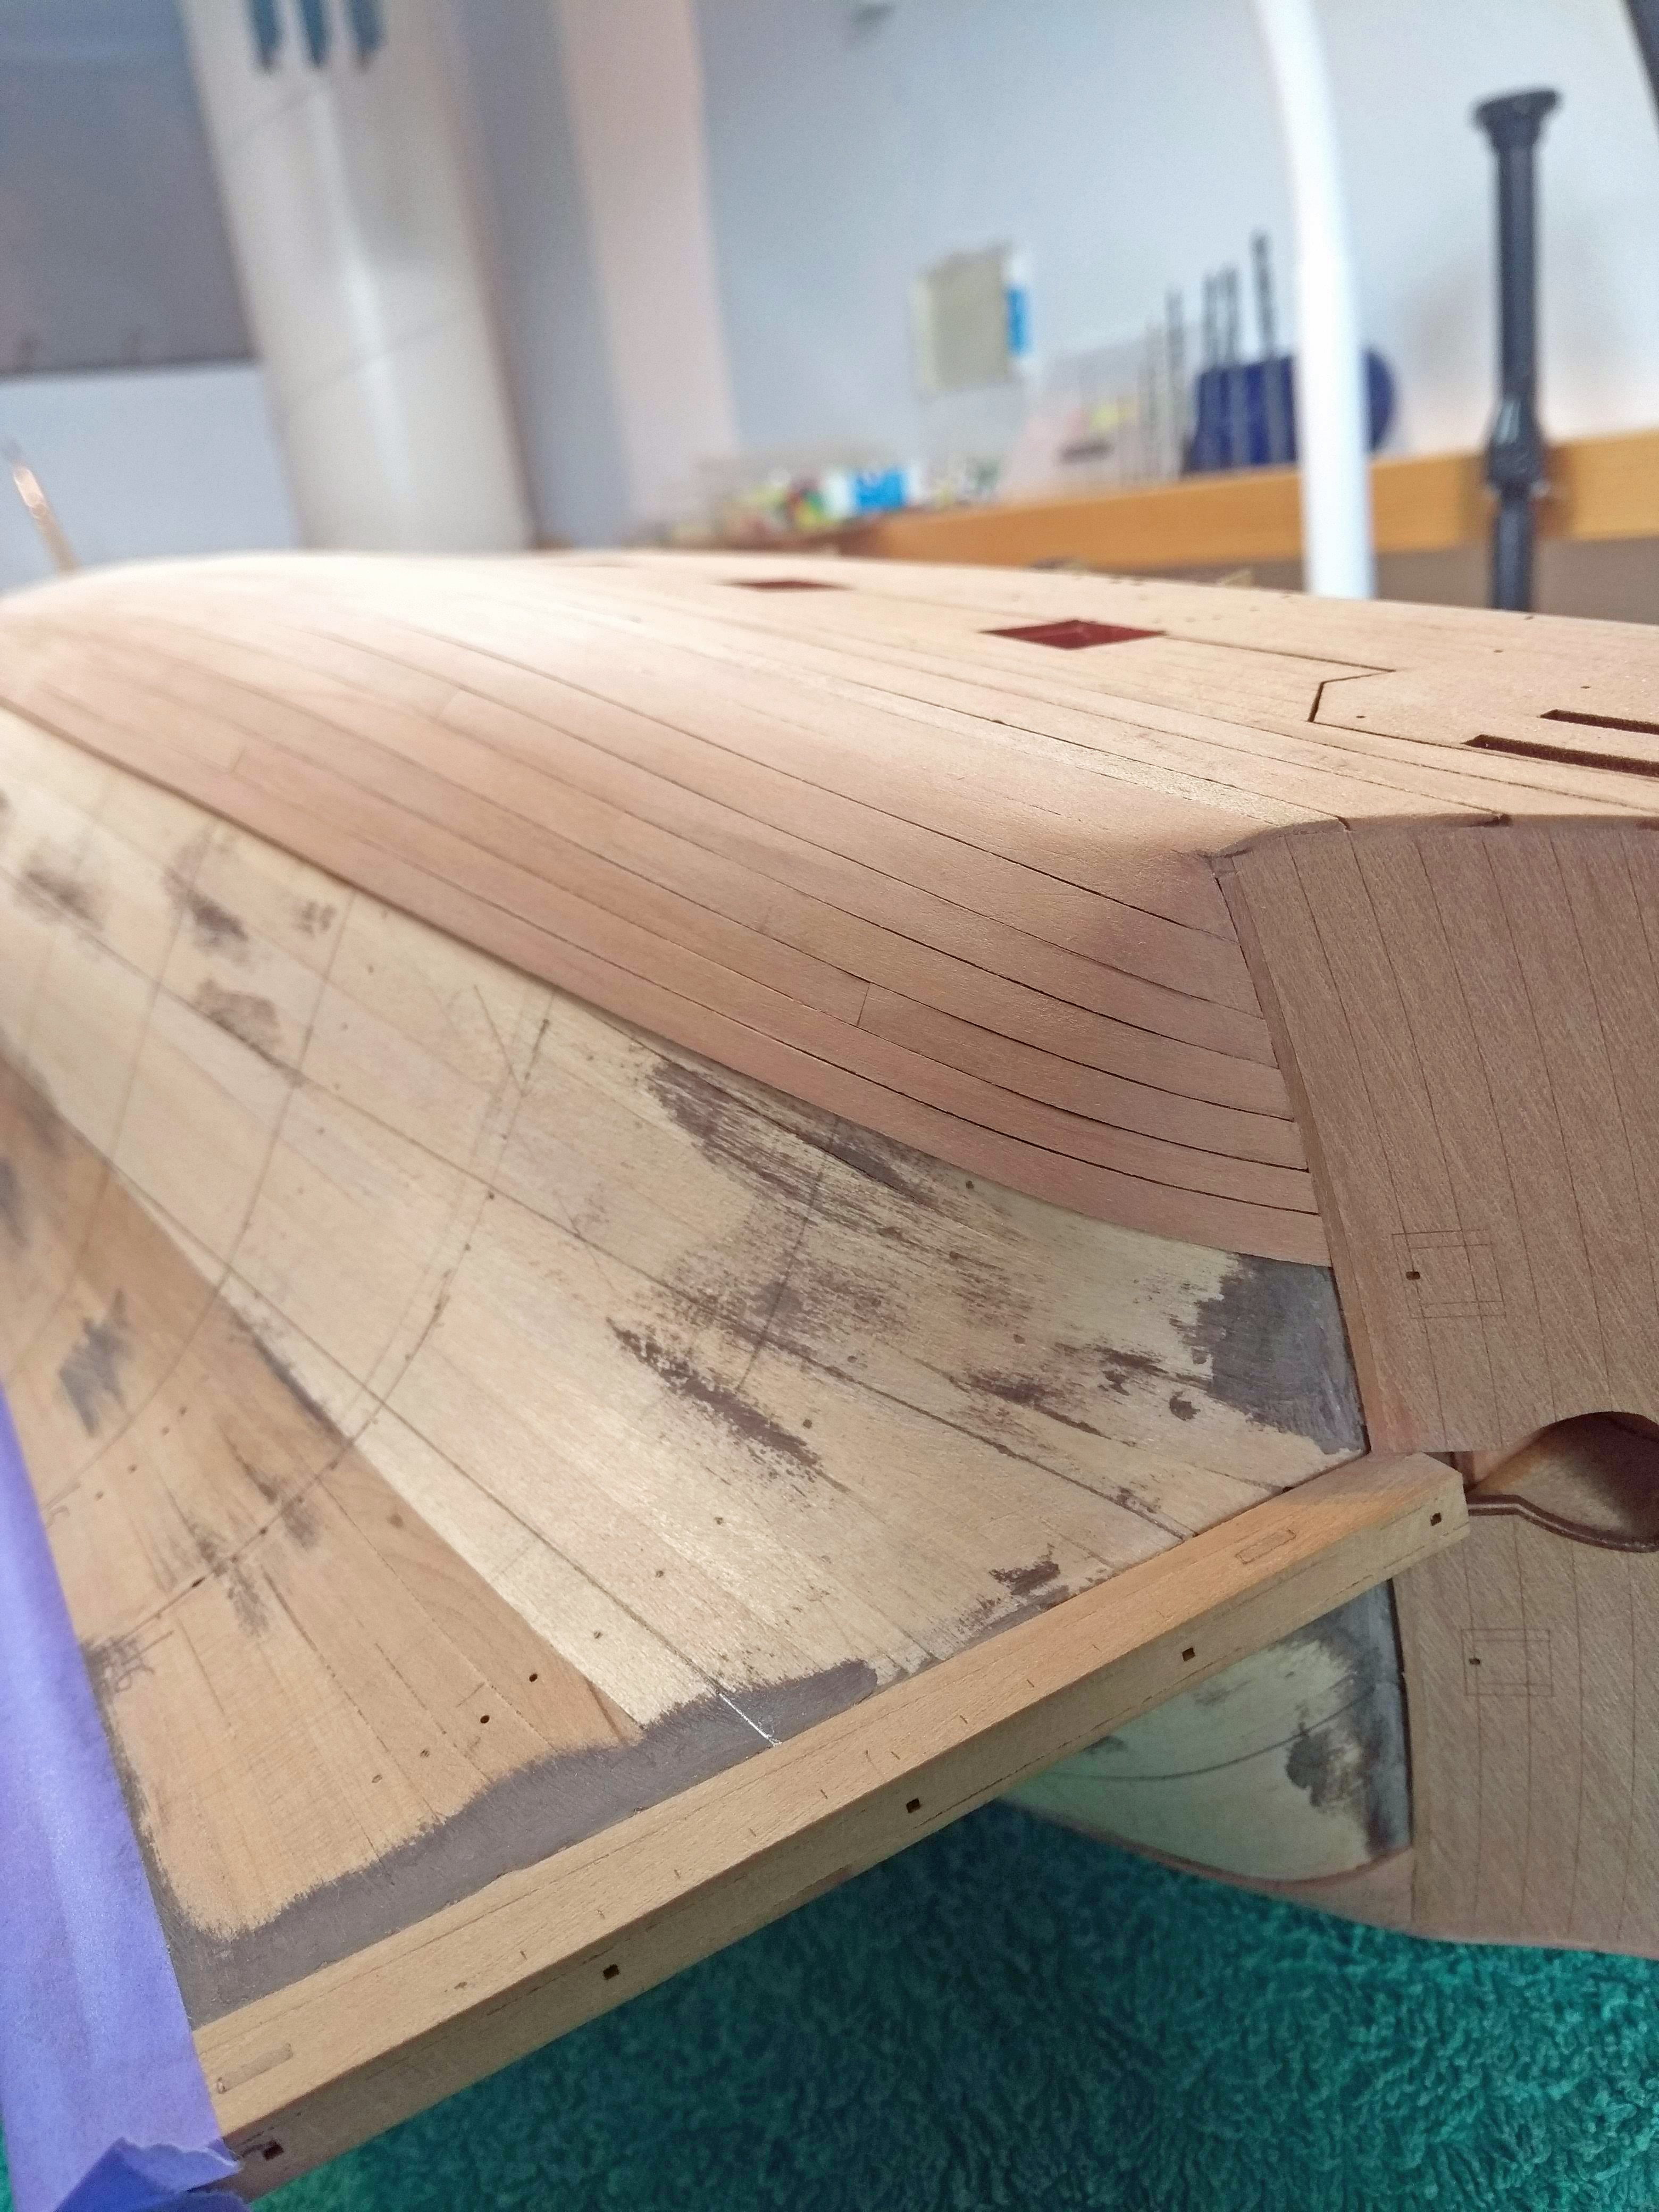
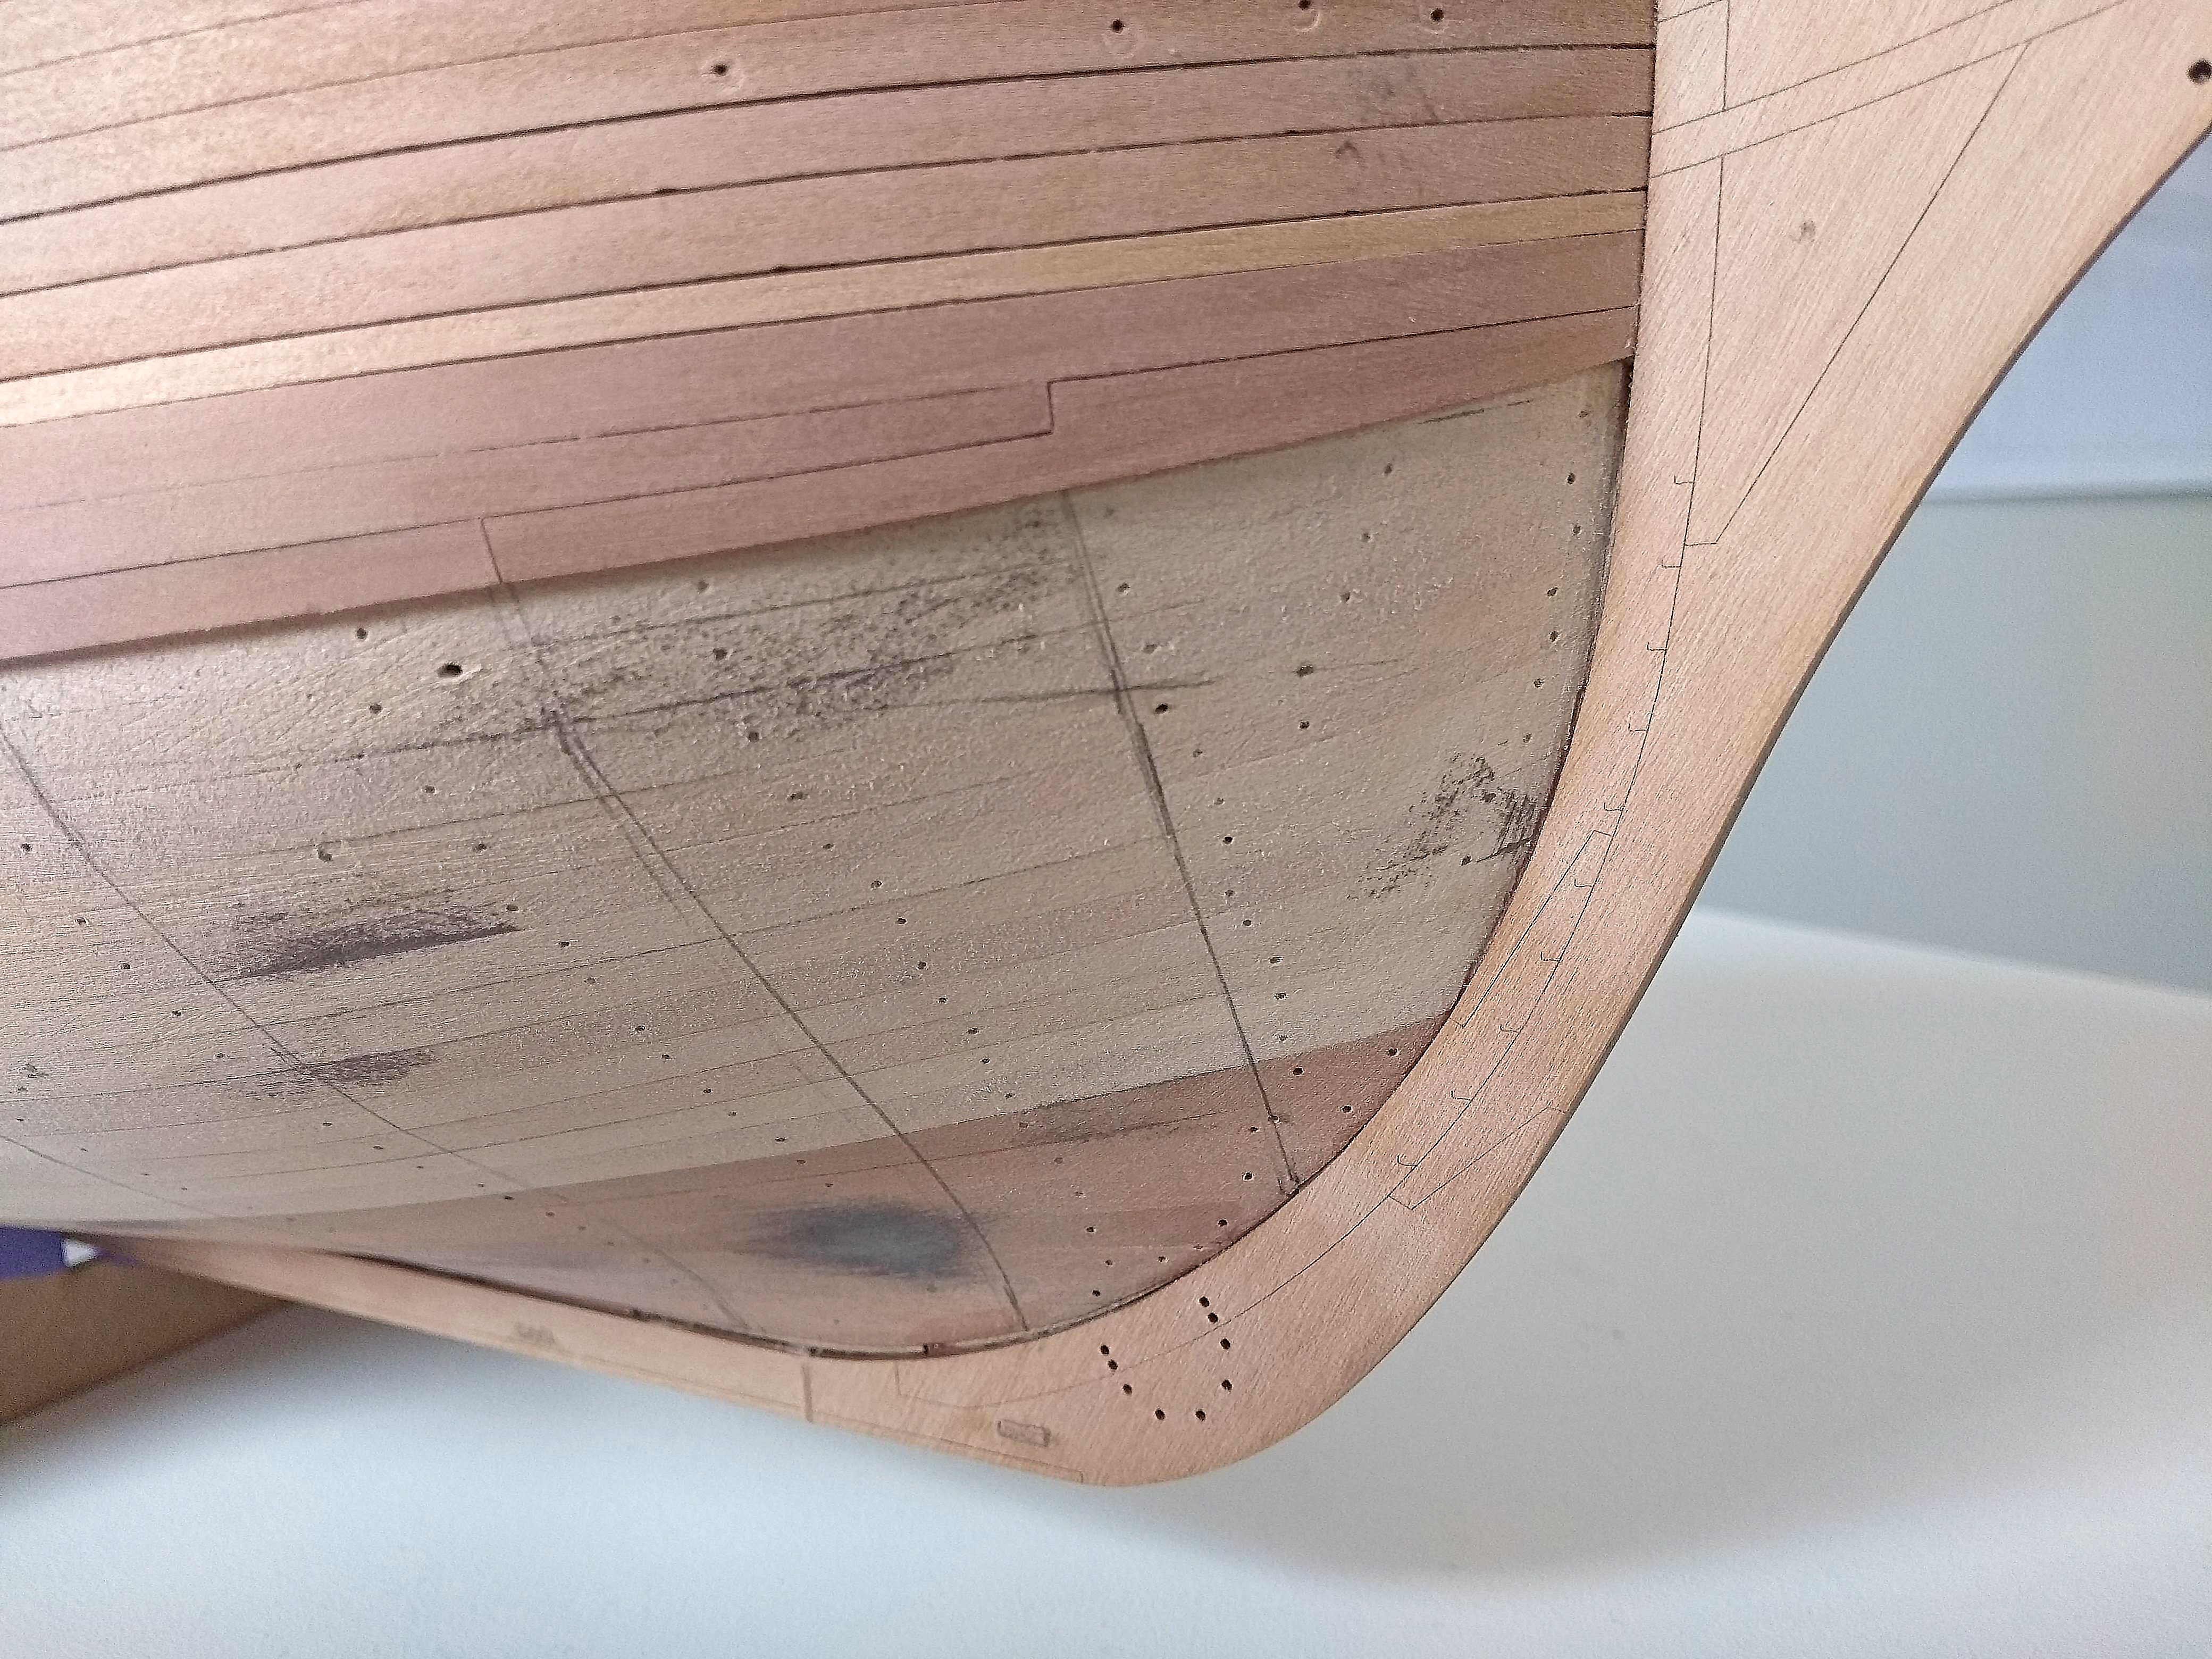
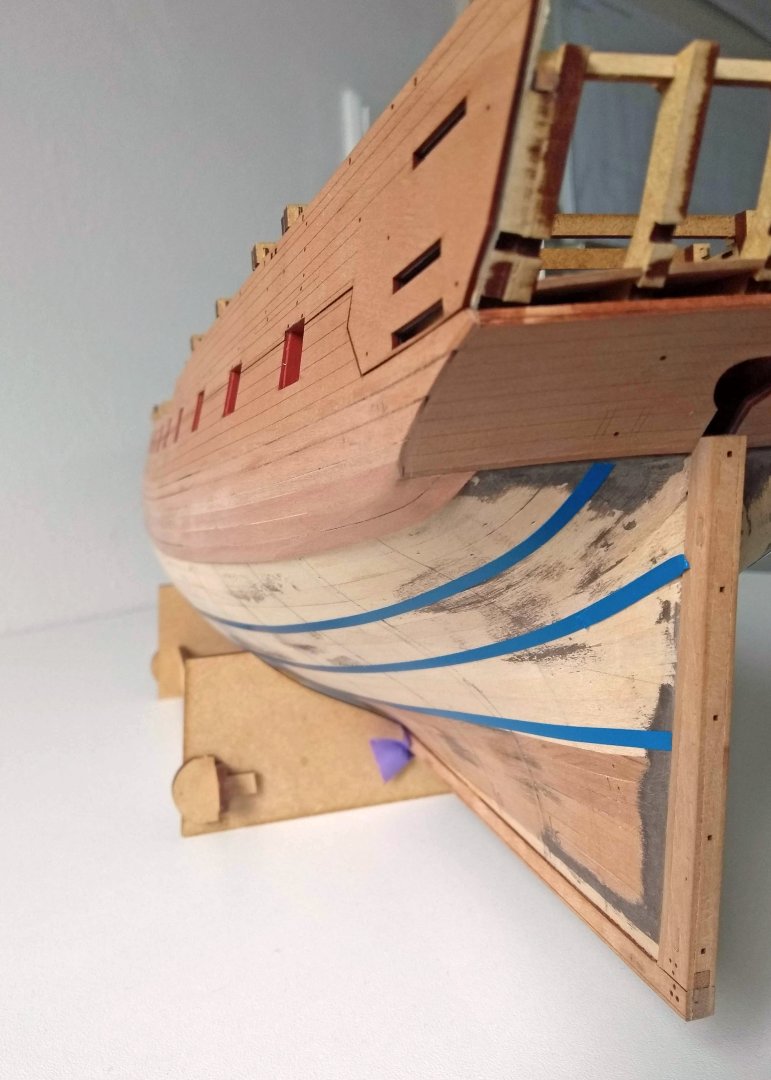
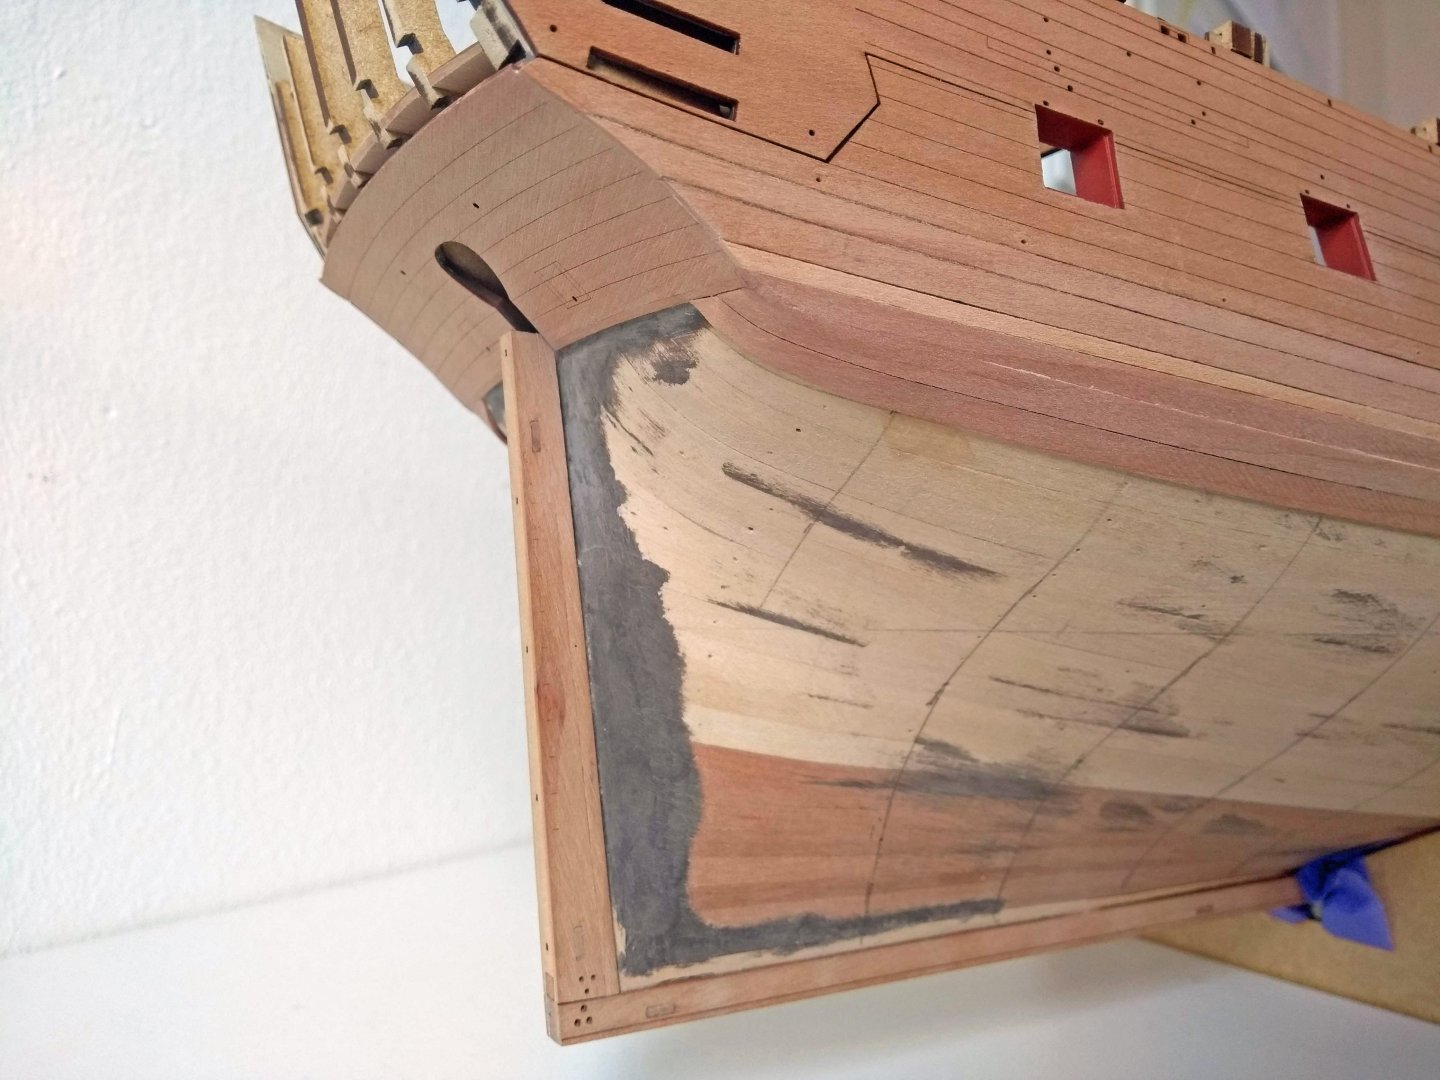
Update: I wanted to do 2 strakes with the dropplank at the bow and that difficult corner at the stern before I going to line off the hull. So I did these yesterday and I am quite happy with the results for a first try. Found it challenging and didn't really know what I was doing regarding the drop plank, but it looks okay to me. It needs a bit of sanding, but for now it's good. For the stern part...I had a really small gap there and gave myself permission to use some glue and sawdust to fill that up It sits against the lowerside of the wales...so it won't be seen anyway Now trying to line off the hull...still feels a bit uncertain if it's right or not, but you don't know if you don't try . Glad the tape does stick to the hull...did have great difficulty to stick it onto the MDF frames, but this goes well. I shall study a bit more the contemperary models to see the run of the planks.

-
Exciting stuff again!