Ronald-V
-
Posts
1,934 -
Joined
-
Last visited
Content Type
Profiles
Forums
Gallery
Events
Everything posted by Ronald-V
-
Chairs! Let’s see your chairs.
Ronald-V replied to Desertanimal's topic in Modeling tools and Workshop Equipment
I'm with you! I like to have a more active posture and it's easier to stand up and sitting down on these things. Mine: -
Good progress! And yes i'm with you on the pear wood...it really is nice wood to work with. Lovely dog btw!
-
That really looks amazing! And a nice space for her to display without to many distractions. Superb!
- 527 replies
-
- 1
-

-
- caldercraft
- victory
- (and 1 more)
-
Looks really great! And a lot of work, well done!
-
Stunning model! Congratulations with finishing her and ofcourse with your birthday! Looking forward to the final pictures
-
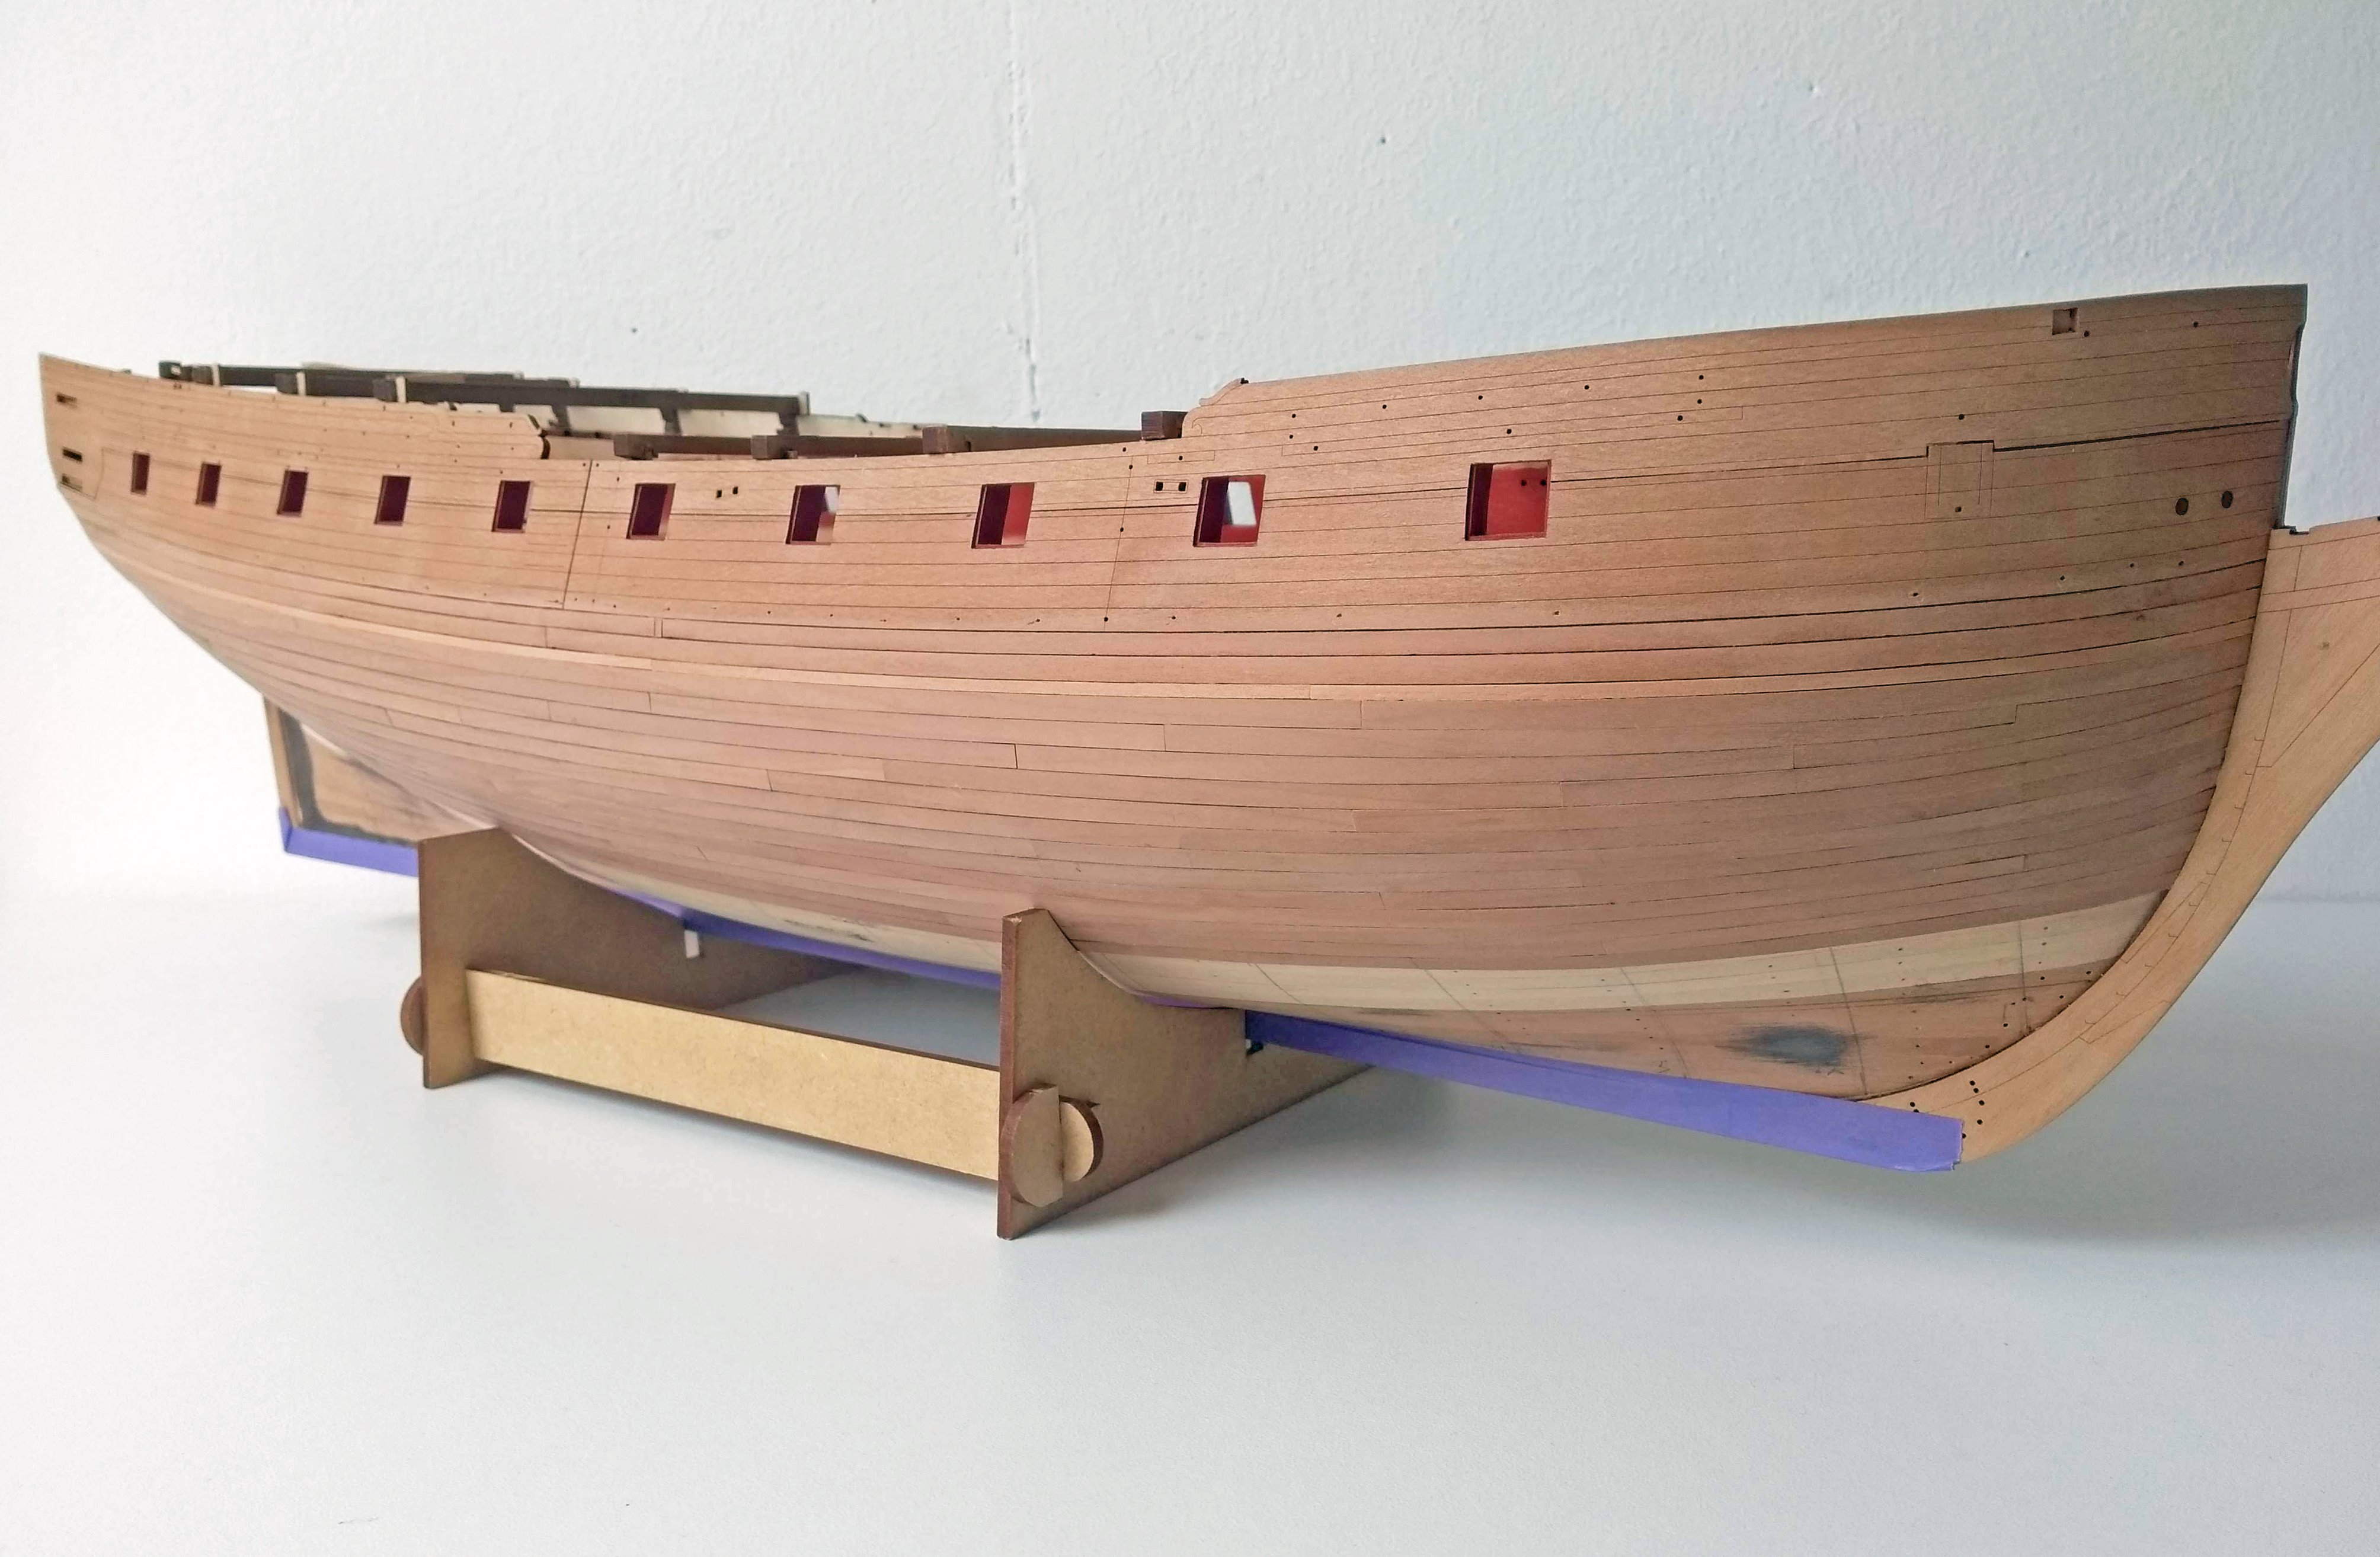
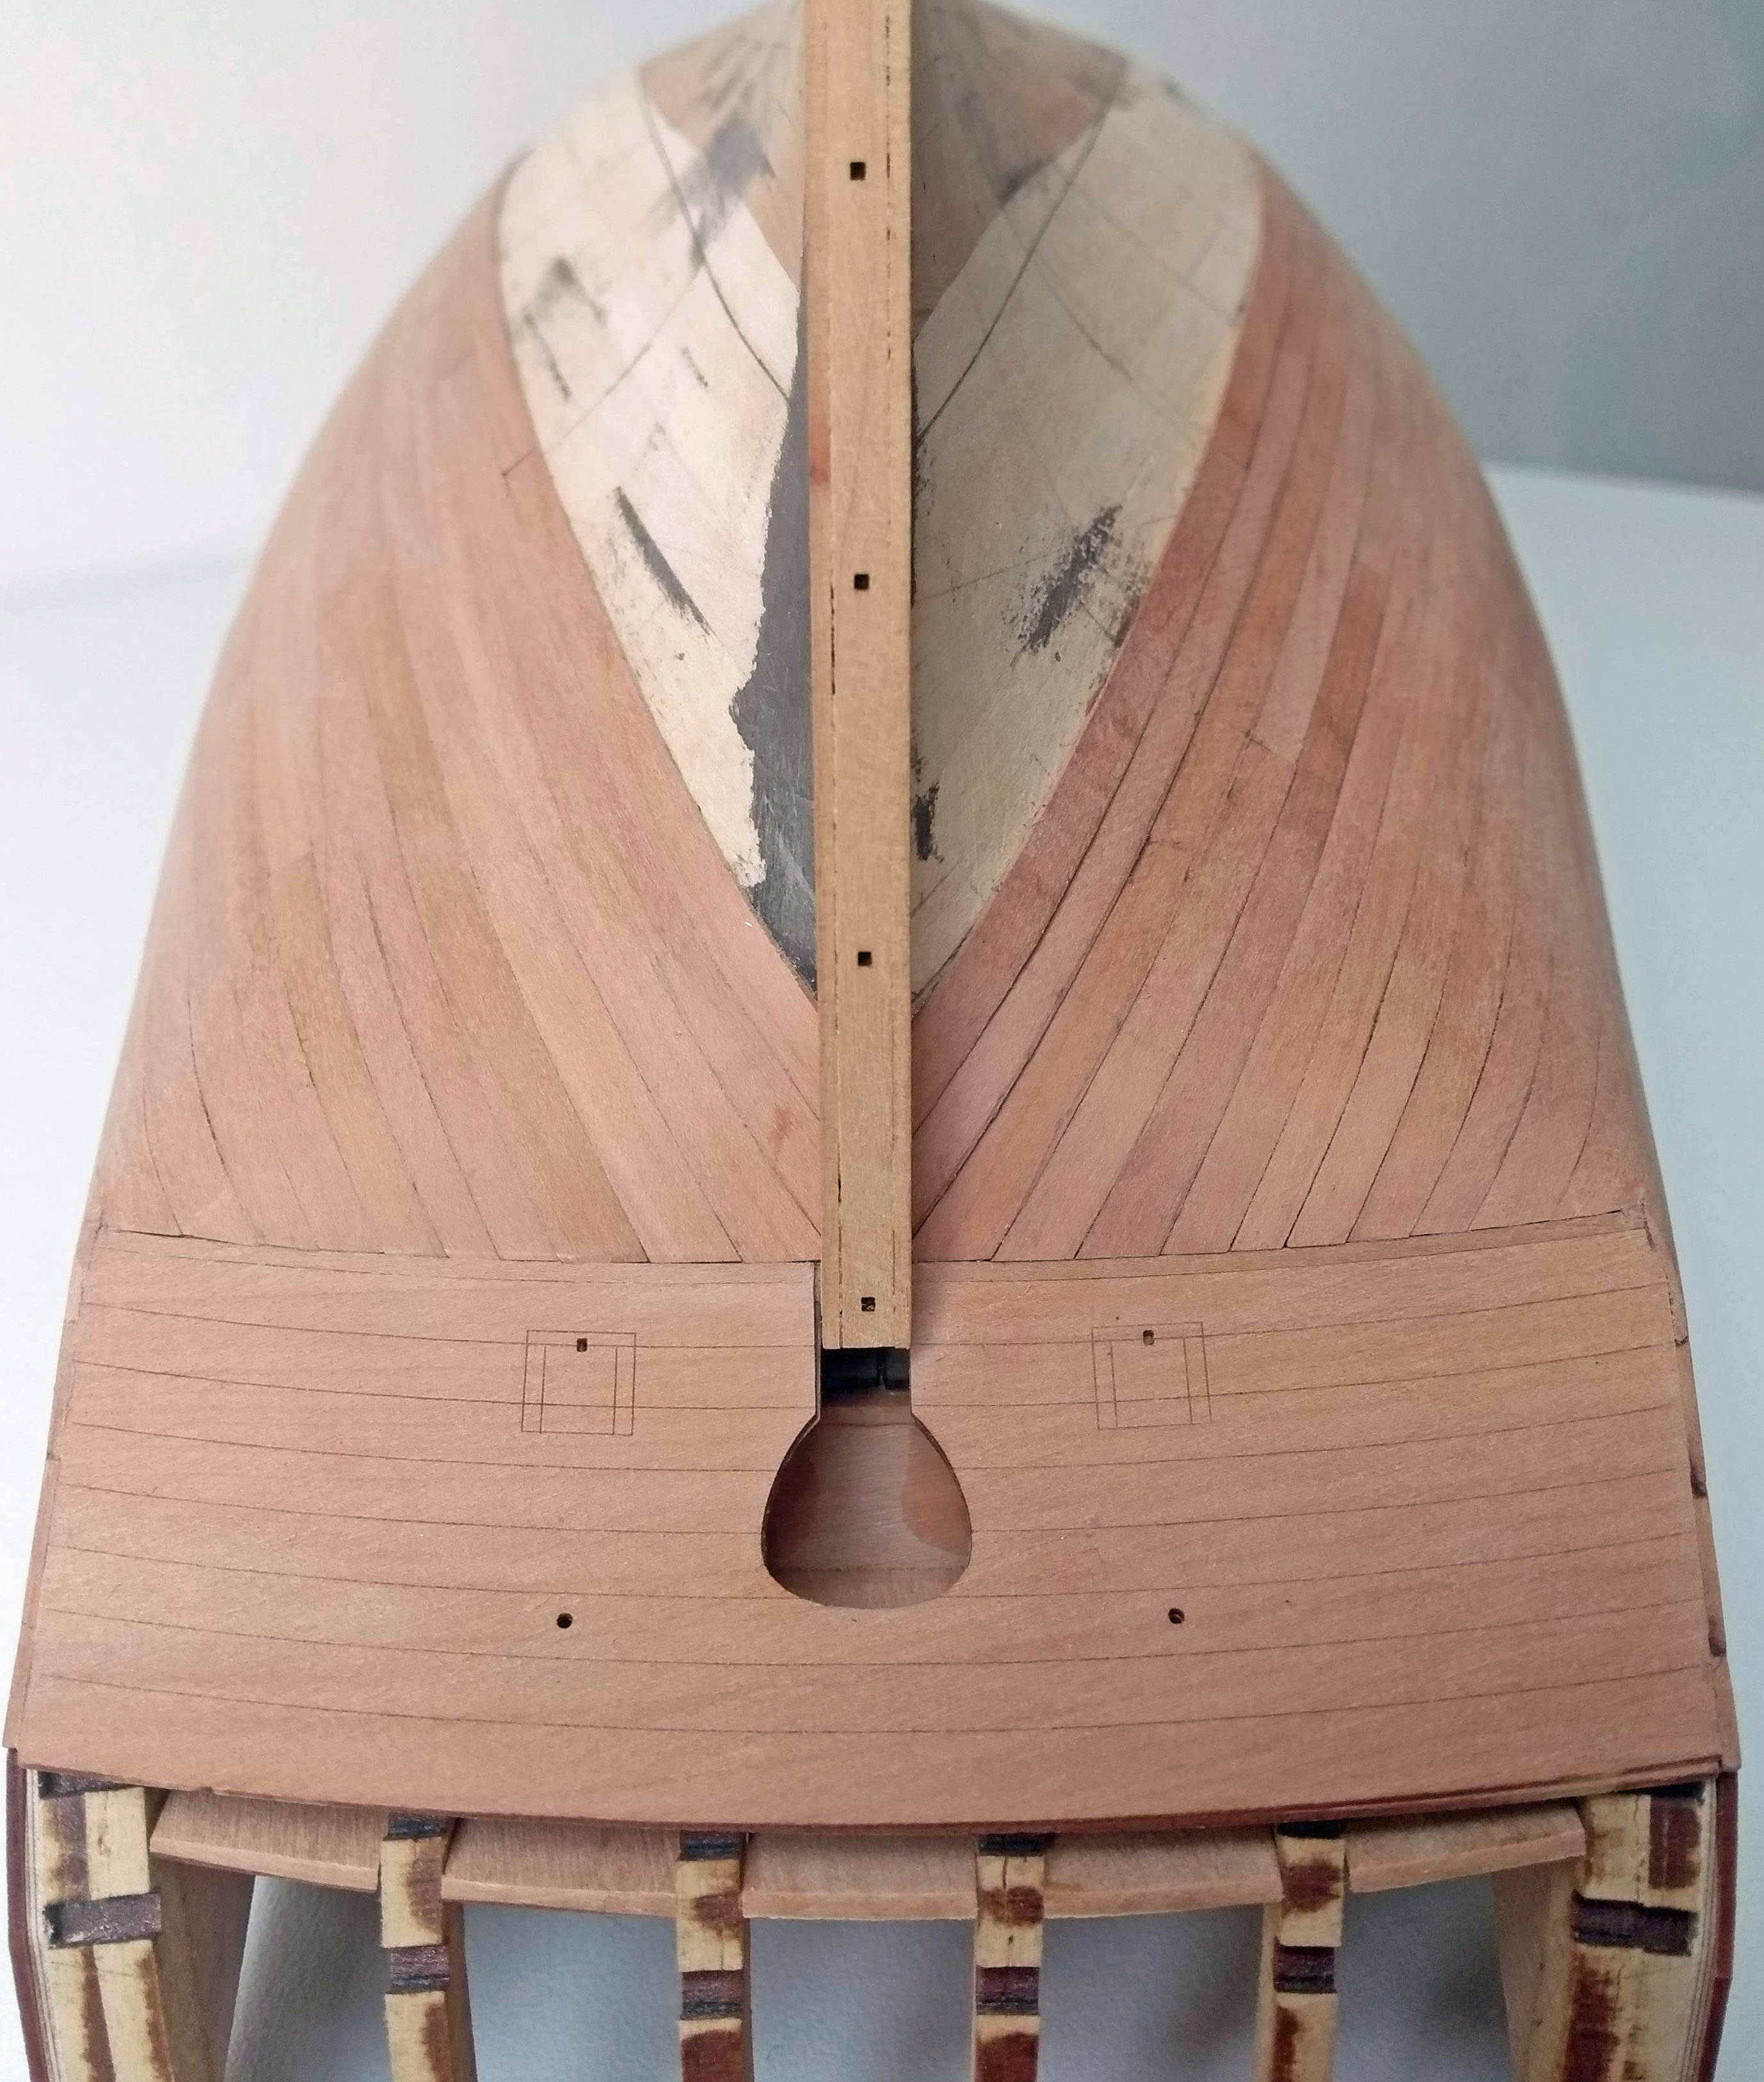
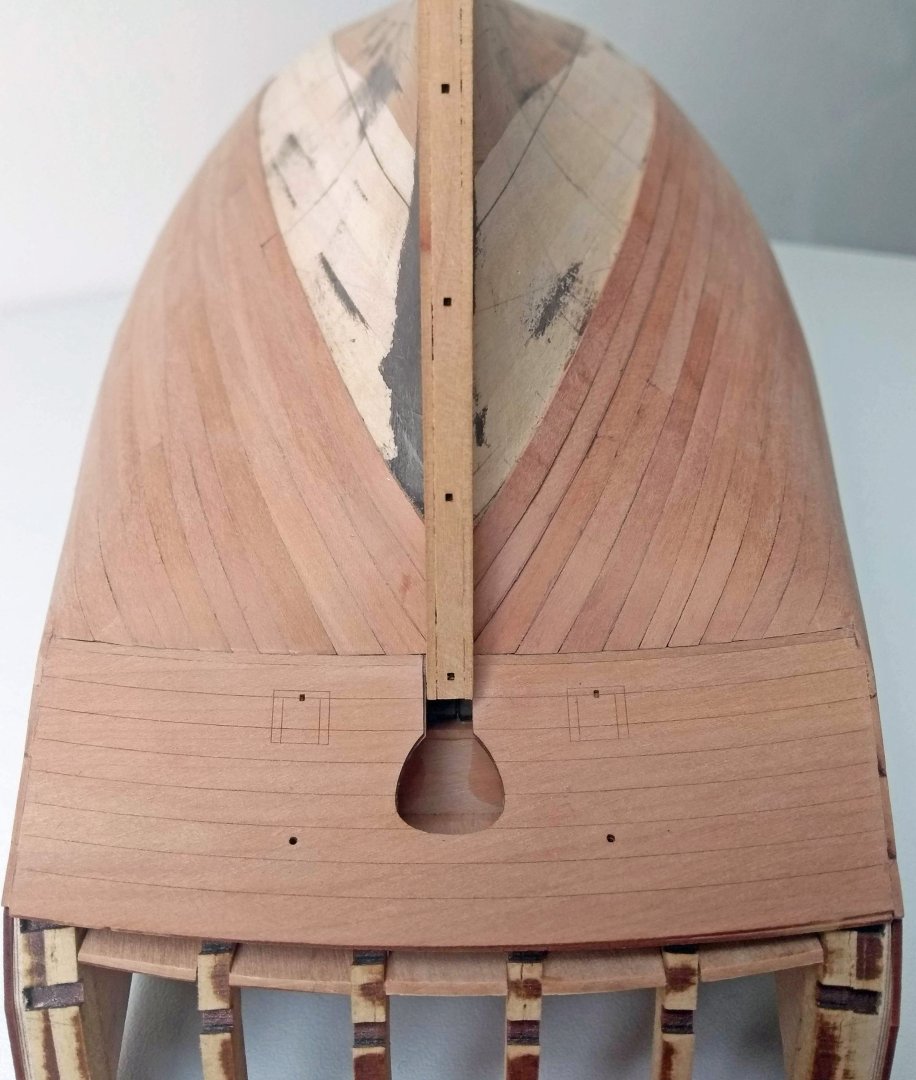
Regarding not planking the deadwood...I don't know if you are going to paint the hull white, then it really doesn't matter, but the "facings" that cover the stern post are 1mm thick and the supplied planking is 0.8mm thick. So if you want to level that out then it would be handy to cover a bit of the deadwood and sand it back to the required thickness that would level everything out in the end result. I used some filler afterwards because I also didn't plank the deadwood, but saw later the thickness differences in the wood. Hope my store makes a bit sense lol. Great planking by the way! Nice base for the second layer.
-
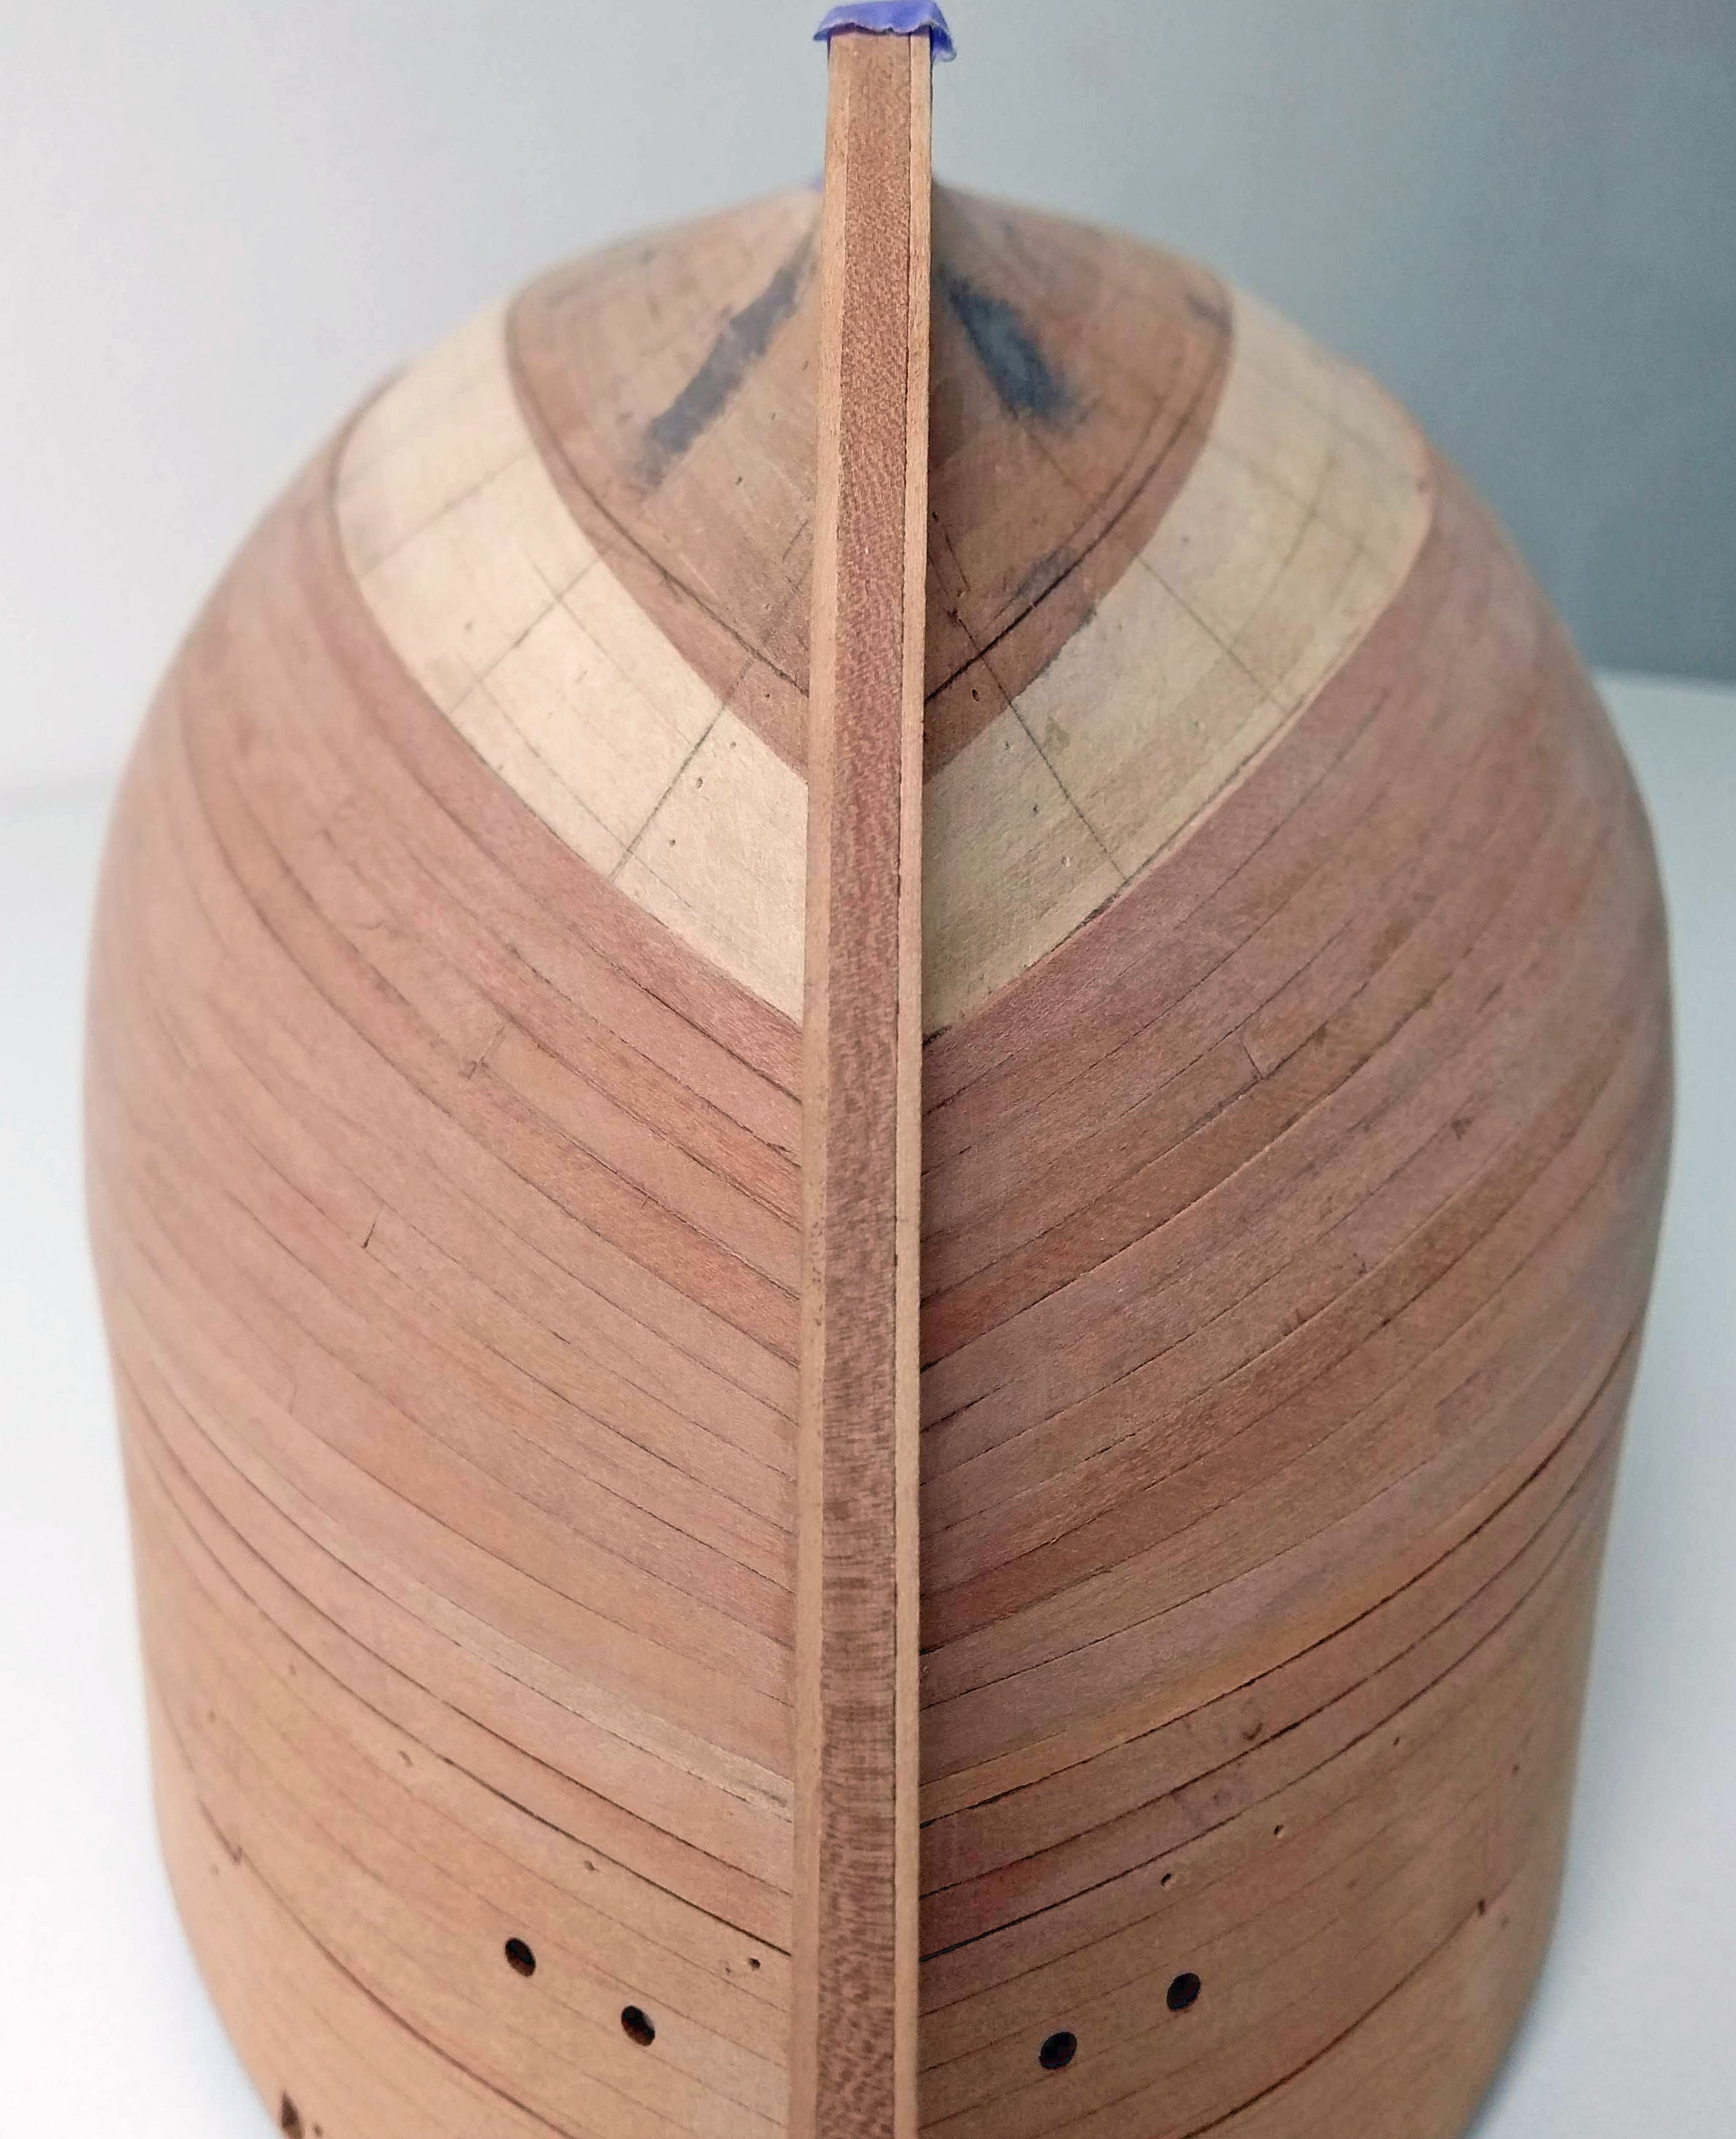
Update: Closed the second band on both sides, so now i'm about the halfway point of the hull. Progress feels really slow, but I thought I needed about a half year for the hull planking, but i'm nearly 2 months underway, so that's a faster then I expected. I think I have the more difficult strakes behind me, apart from the garboard strake. But who knows...maybe there are some difficult planks here and there...we will see. I'm still having fun with planking! By the way...it needs to see a piece of sanding paper yet.


-
Welcome! That's already a nice result! I encourage you to start a build log so people can follow your build
-
by the way...2 years with hiatus....still really fast 😮 I assume you still have a day job James?
- 488 replies
-
- 3
-
-
- Indefatigable
- Vanguard Models
- (and 1 more)
-
Really cool! Would be a nice addition to my Sphinx build
-
Interesting method indeed...your doing a great job, pretty fast also
- 62 replies
-
- 2
-
-
- belle poule
- OcCre
- (and 1 more)
-
Congratulations....you did a wonderful job with this kit! Lovely!
-
Welcome! And have fun here on the forum
-
Lovely! I wouldn't want to be without my disc sander ever again...so handy, and fast!
-
Wish you all the best with this new project! Will be a interesting one
- 62 replies
-
- 4
-
-
- belle poule
- OcCre
- (and 1 more)
-
My condolences for your loss... Wish you all the best with this new build. It looks magnificent, and will be interesting to follow
-
Such an impressive display when it's rigged...wonderful!
- 587 replies
-
- 1
-
-
- Indefatigable
- Vanguard Models
- (and 1 more)
-
That's amazing! My guess this will be a top seller
-
I must say...that white does look really good. Maybe even for my own build. Not sure what the correct colors would be in that time, but this looks really nice.
-
New member and brand new (Paper) modeller!
Ronald-V replied to Marcel1981's topic in New member Introductions
Welkom! -
If I would do it by hand...it would be pretty easy with a good set of masking tape?