Ronald-V
-
Posts
1,934 -
Joined
-
Last visited
Content Type
Profiles
Forums
Gallery
Events
Everything posted by Ronald-V
-
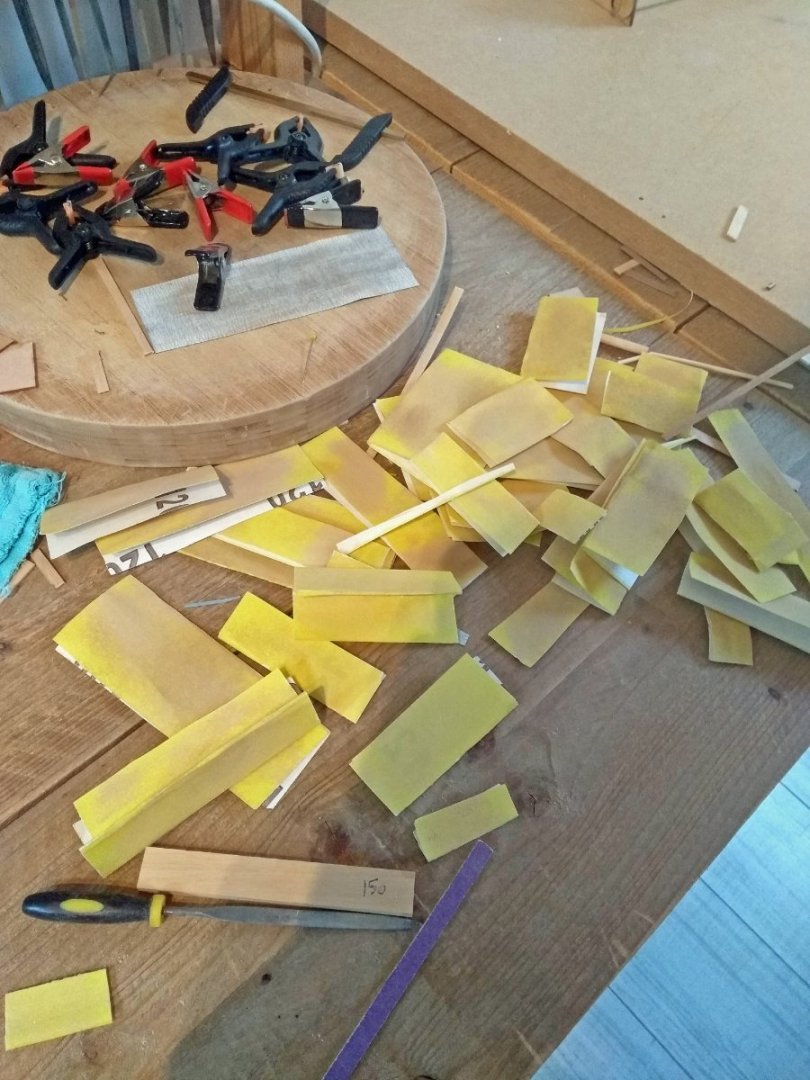
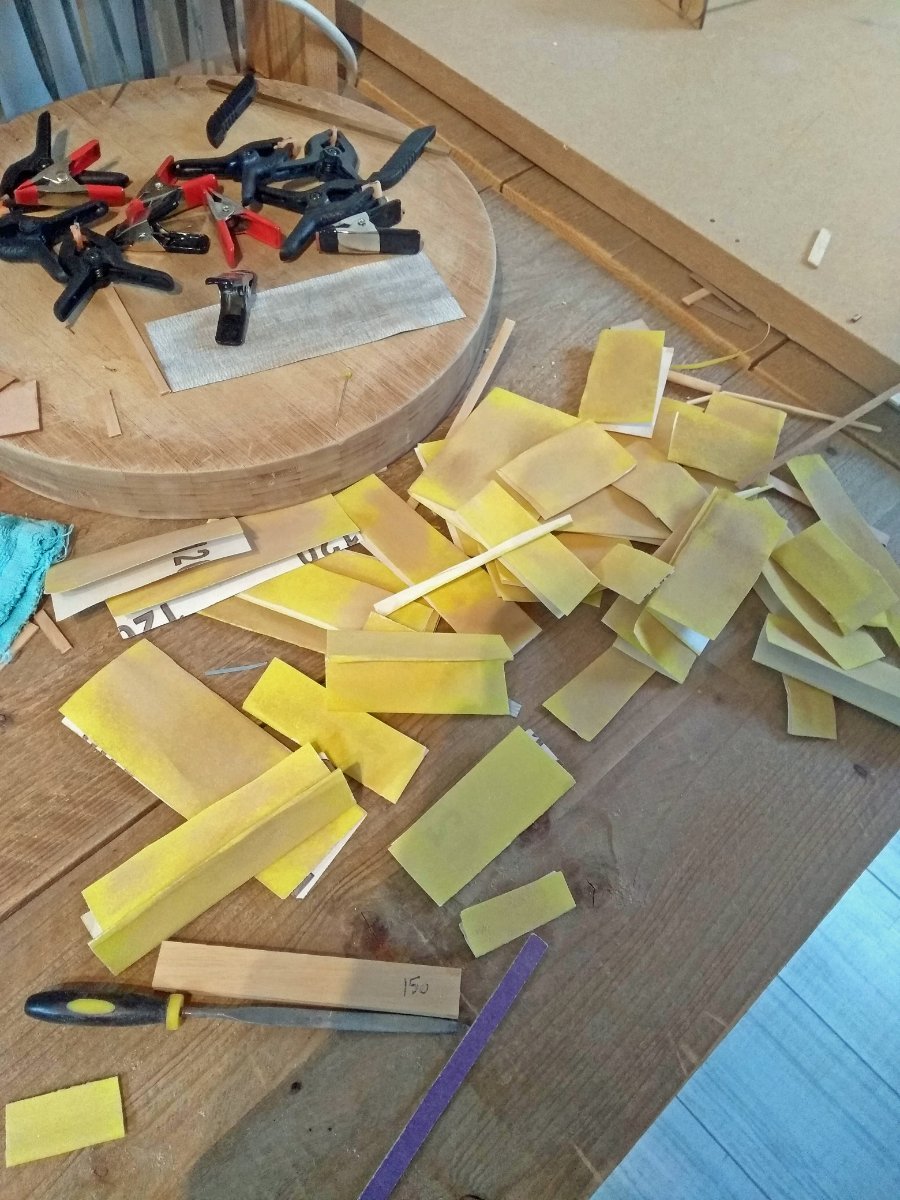
 Finisht with lining off the hull...I actually wanted to take a little longer for this process, but the tape didn't stick that great on the MDF bulkheads, so I rushed a bit through it because it was quite annoying when the tape constantly fell off. I do think it will stick way better on the first layer of wood when that is ready, due to the larger sticking surface and less porous wood. And that being said...lining of the hull for the first layer is just practice, it doesn't have to be perfect and it's more the experience I gain with just doing it. Lining off the hull doesn't look like a exact science and looks more something that you are getting better at through just doing it, and learn from it. So now I began filling up the first band

-
Combination of heat and a plank bender from Amati. You can use ofcourse also water and soak the plank first. Most important is that you use a plank that is longer then the finisht one. So overextending with a few centimeters/inch will make the bending process much easier. (same as for edge bending) And patience....so take your time to get the curve you need....it doesn't have to be in one bend, but a bit further everytime. Otherwise it will just split. And a bit of CA glue at the tip will hold the plank down. Rest of the plank just PVA. Thanks everyone for the likes! Much appreciated
-
That looks real good!
-
Thanks James! It took some time to figure that out, and i'm happy how it turned out
-
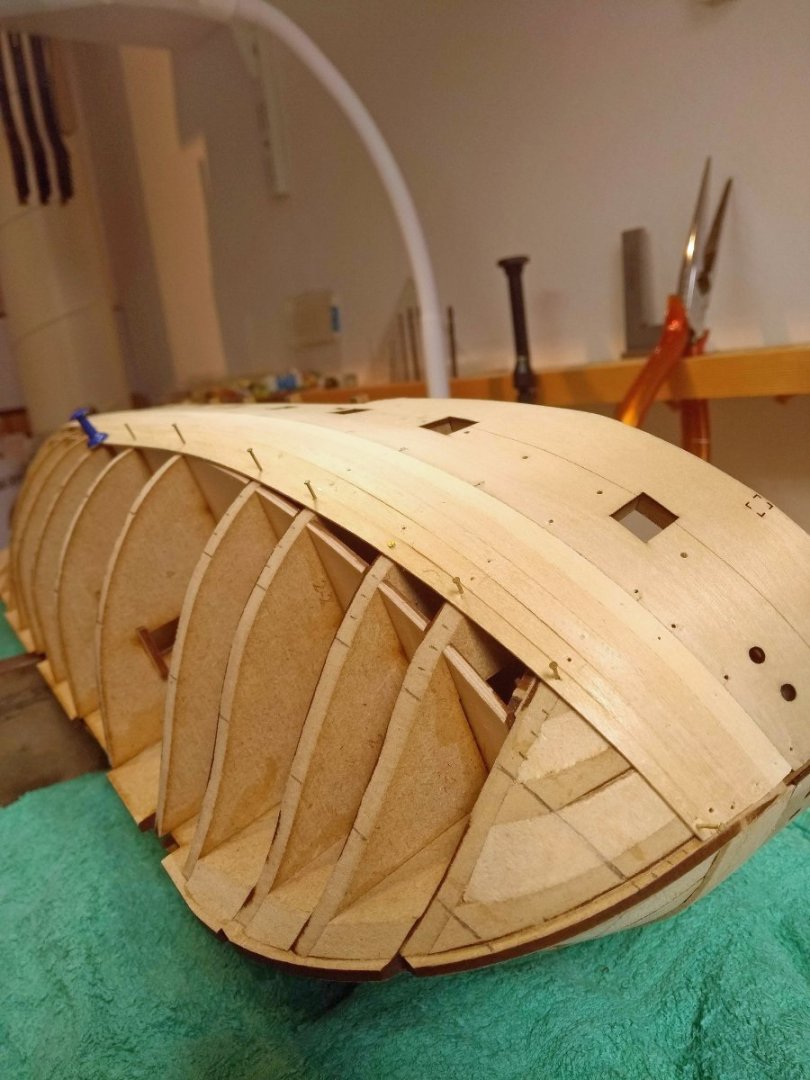
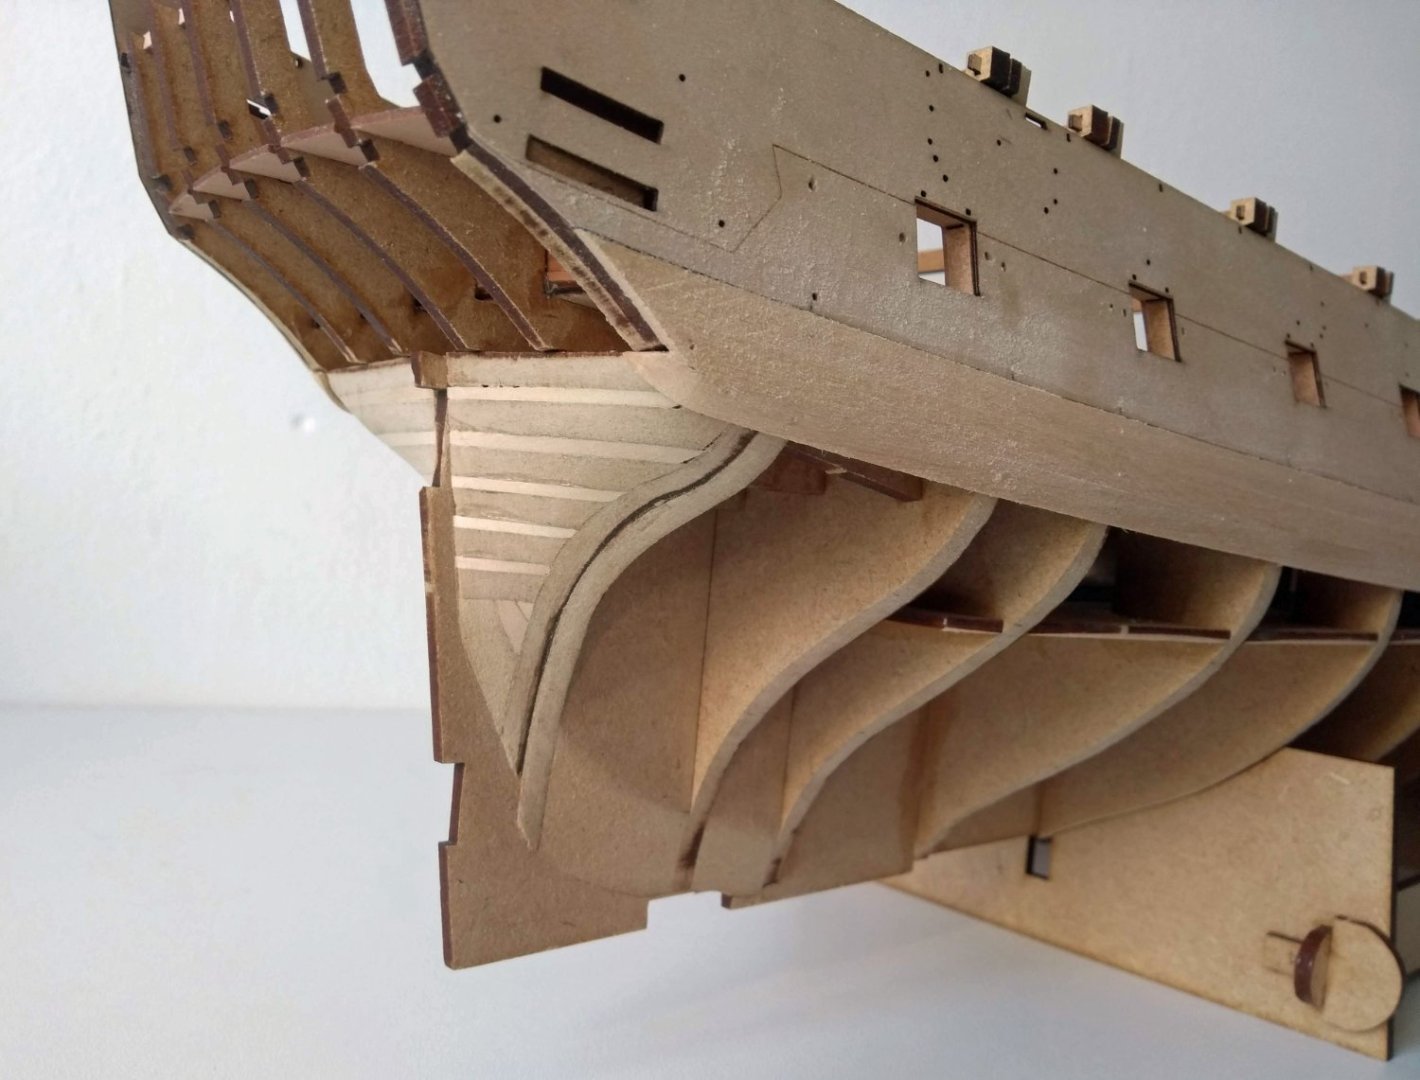
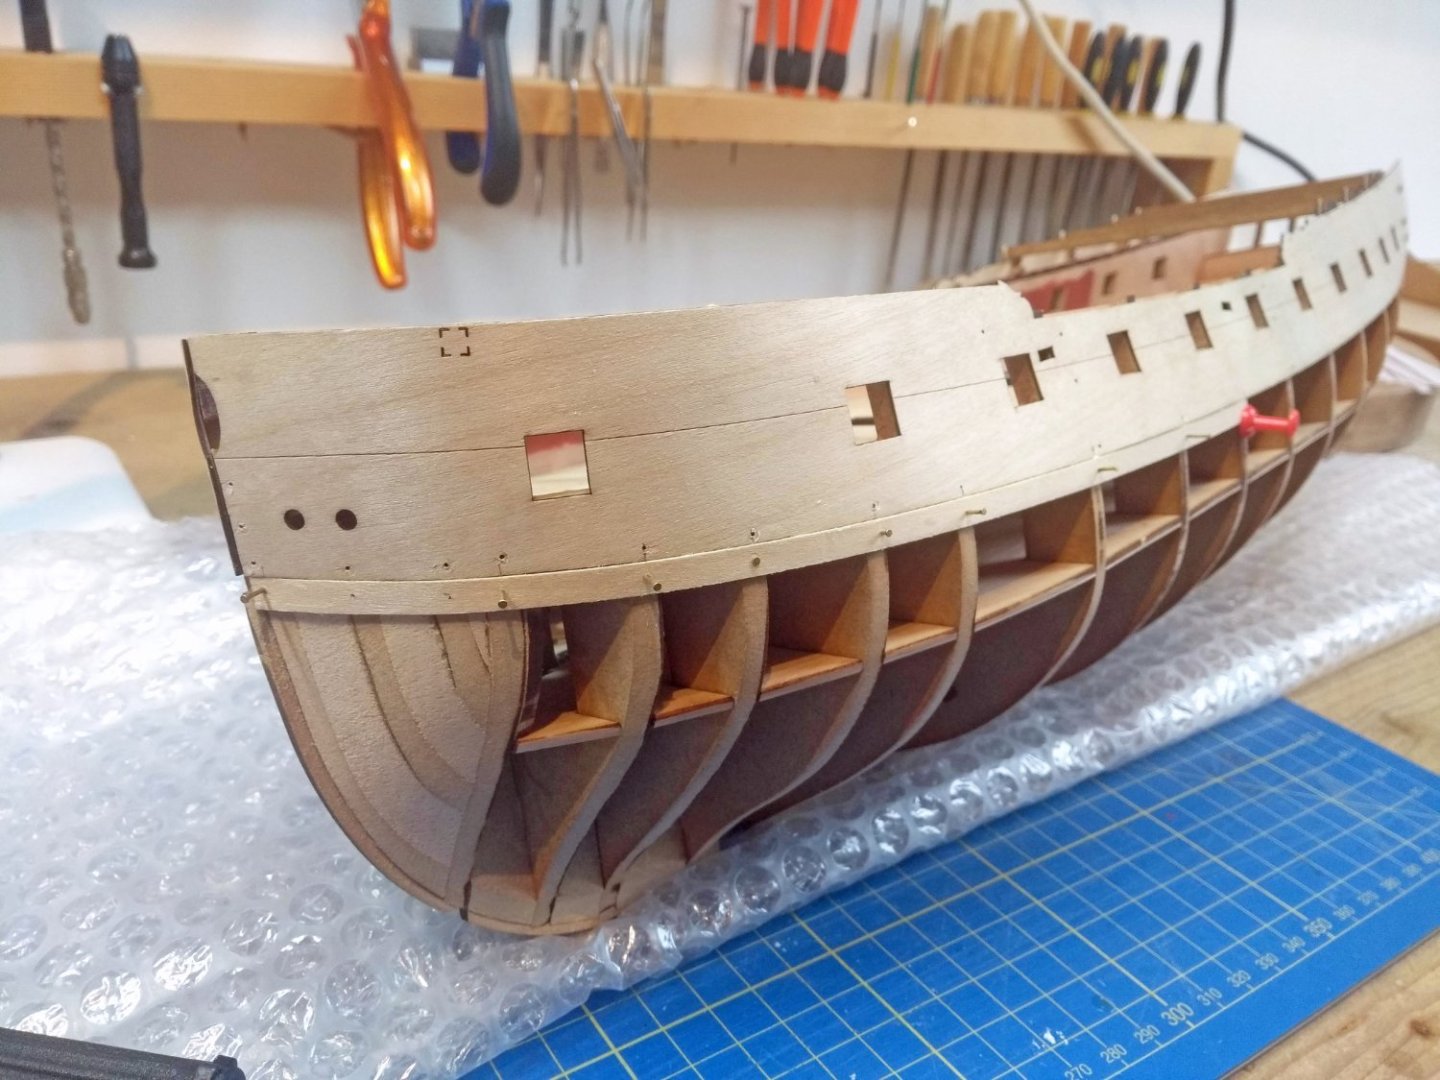
First three untapered strakes...gave them a light sand afterwards. When I was working on the bottom one, I noticed that the fairing of the stern was insufficient. It's one of the more difficult corners in my experience and was a bit conservative there with the previous fairing proces. So I spended quite some time yesterday afternoon to really get an idea how the stern needed to be shaped to have a nice flow in planking. Studying Chuck's build log of the Winchelsea and some contemporary models gave me a good impression how the end result should look like. So I spended quite some time sanding the stern piece...to I believe it's final shape. We shall see when planking proceeds... Now it's time for lining off the hull

-
Great first post, and a serious project ahead! I always liked the "Wappen von Hamburg" but never dared to buy it, because of all the reasons you said...and I just don't like the Corel kits in general due to their quality. But in your capable hands i'm really curious how this is going to turn out! Your Xebec is just magnificent! Succes!
- 30 replies
-
- 1
-

-
- Corel
- wappen von hamburg
- (and 1 more)
-
Wonderful model! Congratulations with the finishing of this project!
-
Thanks B.E.! Yeah the fillers helped me a lot with determine the final shape.
-
Yay! First plank of the first planking layer glued on the ship. After glueing the outer gunport patterns it's time for some planking. Looking forward to sharpen my skills regarding planking, because it's not there yet where I want it to be Plan is to approach the first layer as if it was the final pear layer (with some liberties, because I have just one size of planks) to practice and refine my skills. Especially lining of the hull etc. The ultimate goal is to leave the pear planking natural (really liked the look of Blue Ensign his Sphinx), but that all depends if i'm happy enough with the final layer. But there is ofcourse always the possibility to paint the hull white, which I also like...but a natural hull has my preference now. First three strakes will be just straight without tapering, measurement, whatever...this is somewhat the position of the wale so from there I will line of the hull and measuring etc.
-
That looks great!
-
HMS SUSSEX by KarenM - FINISHED - 1:48
Ronald-V replied to KarenM's topic in - Build logs for subjects built 1501 - 1750
Really outstanding craftmanship! Well done! -
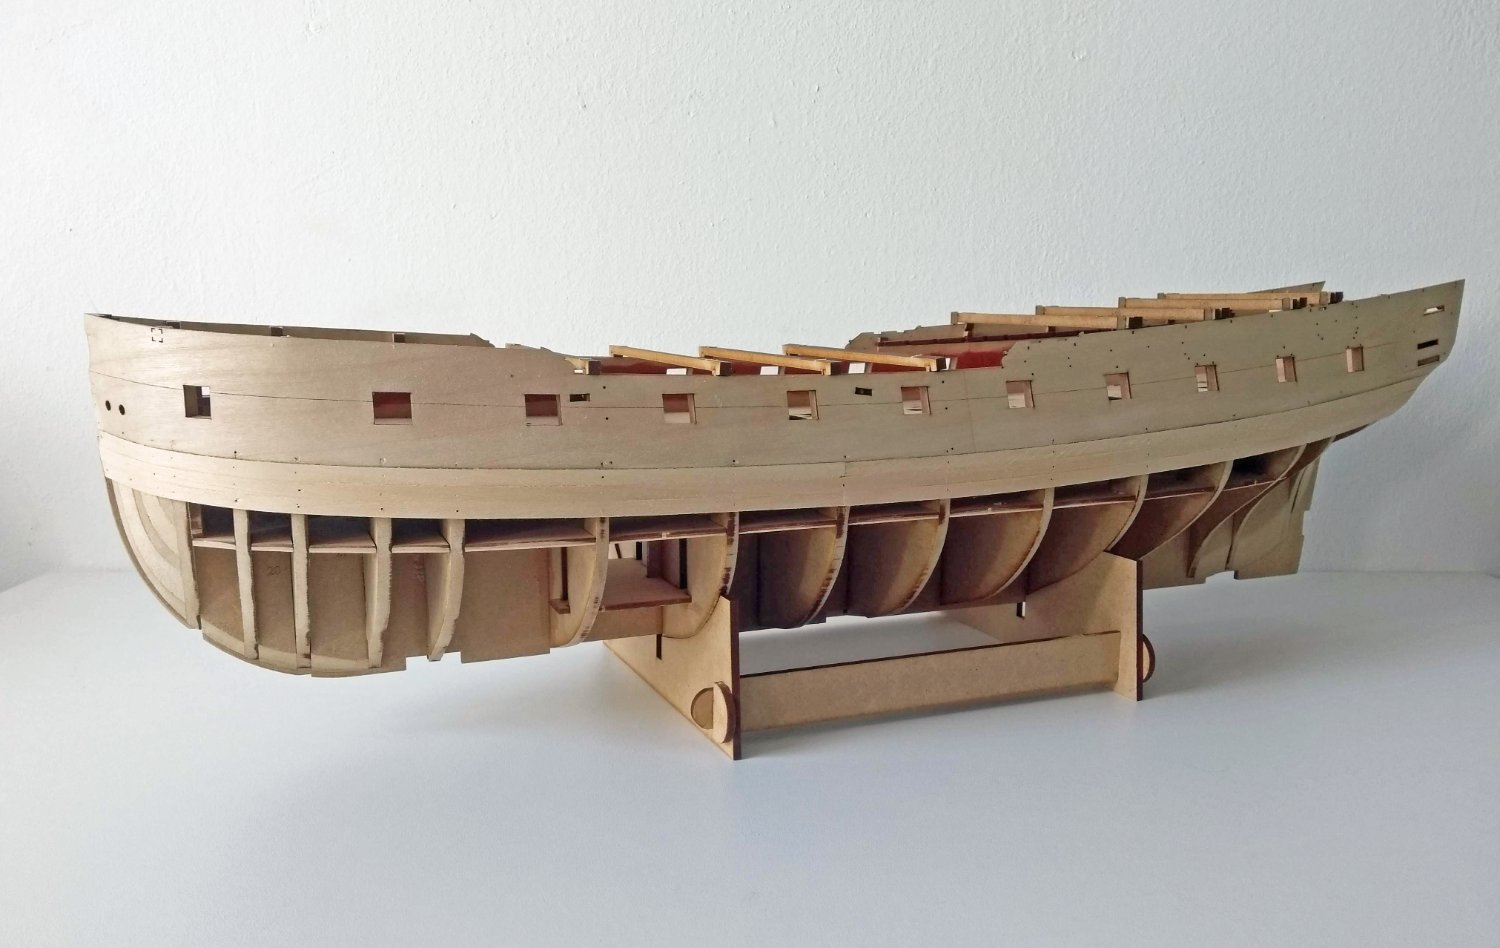
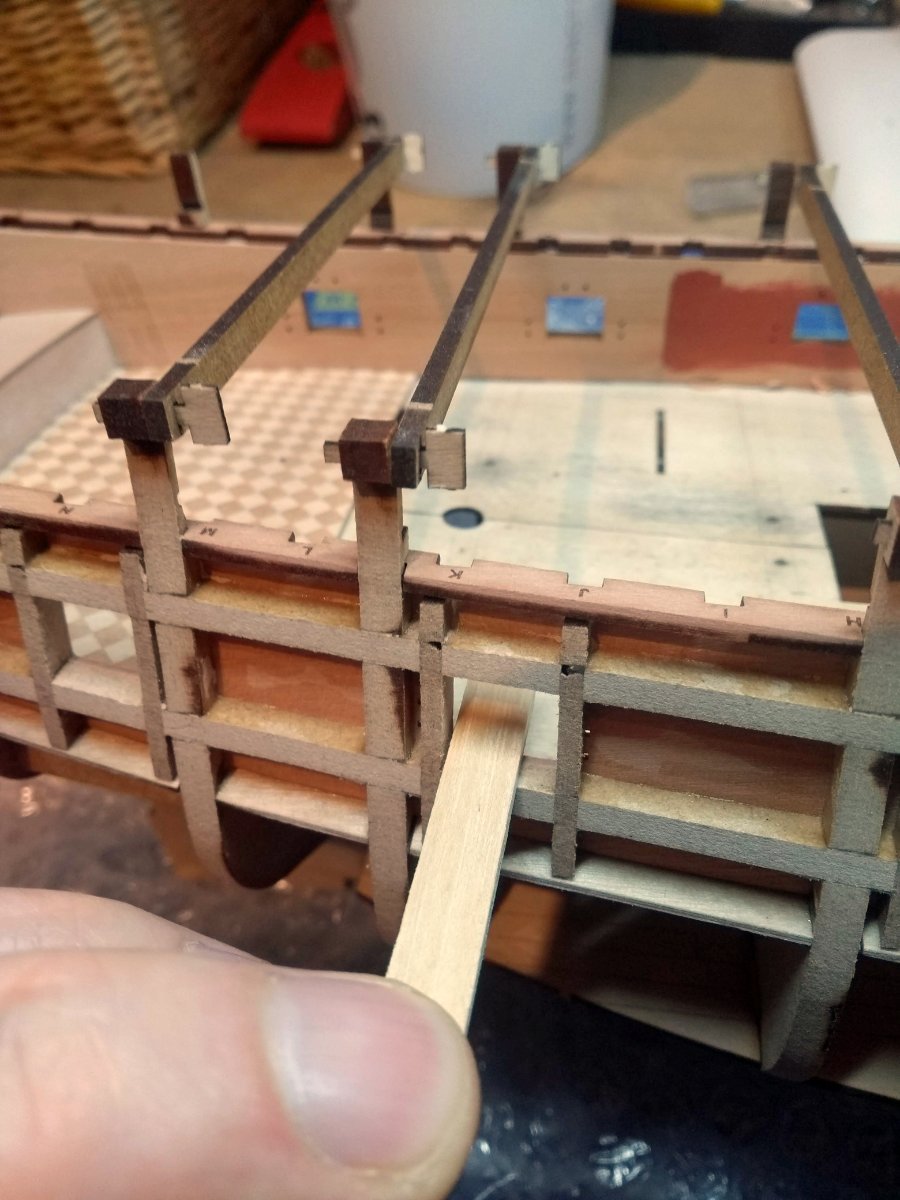
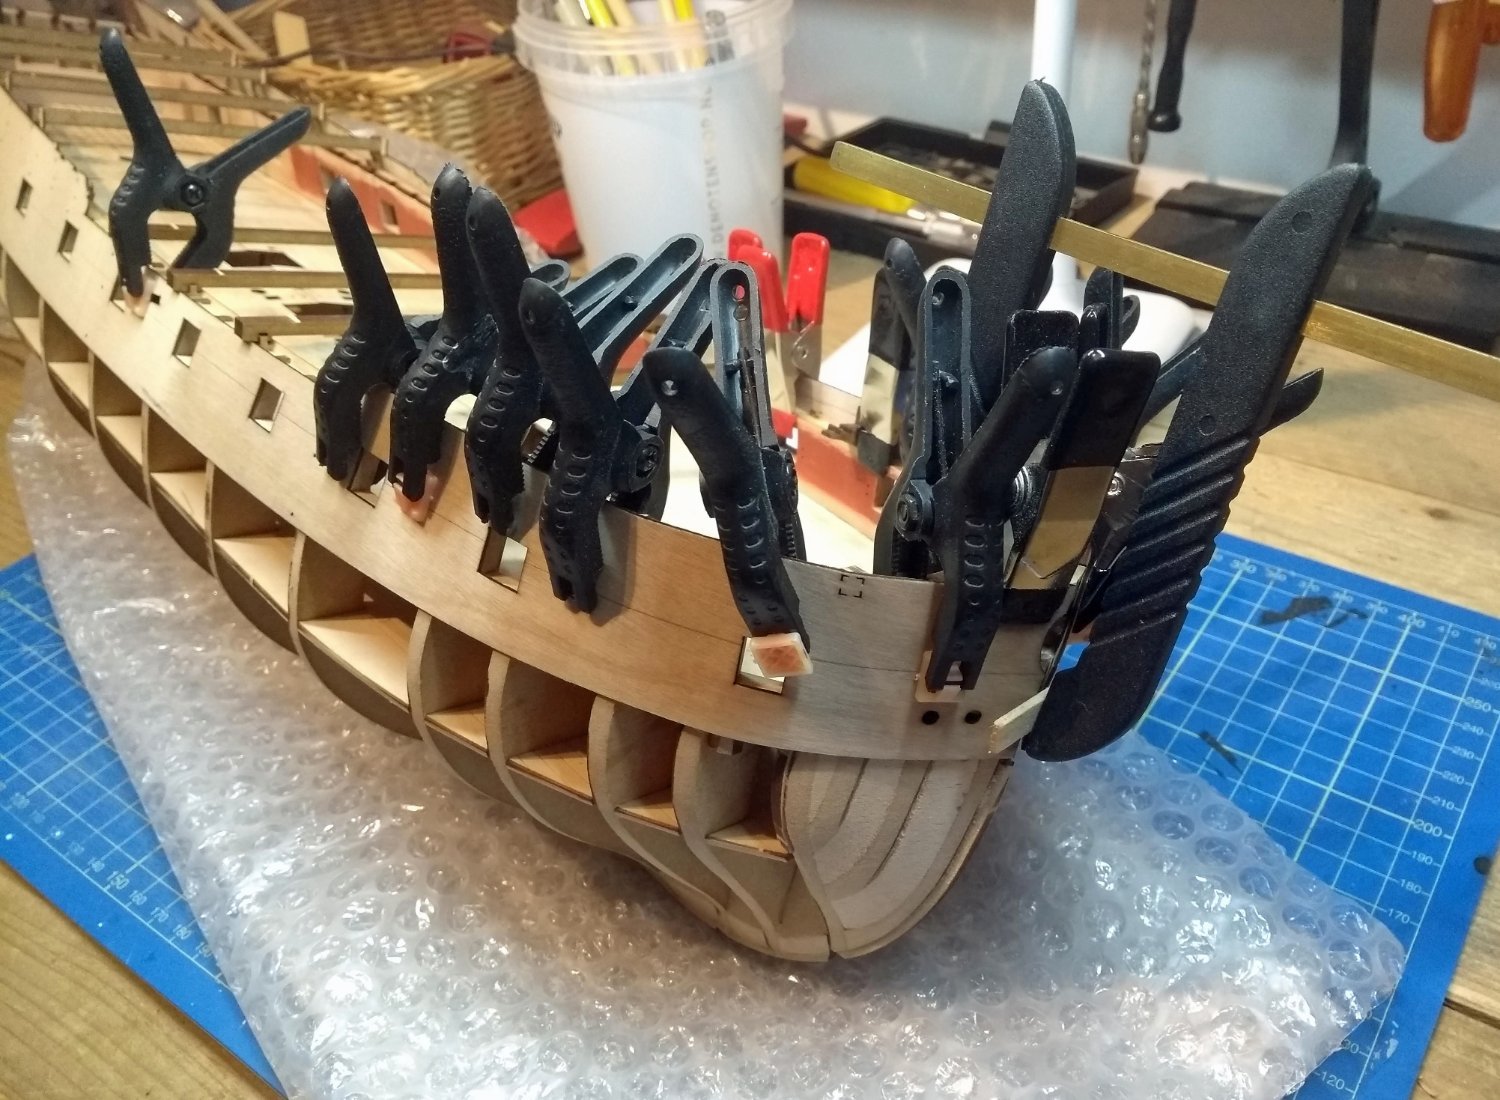
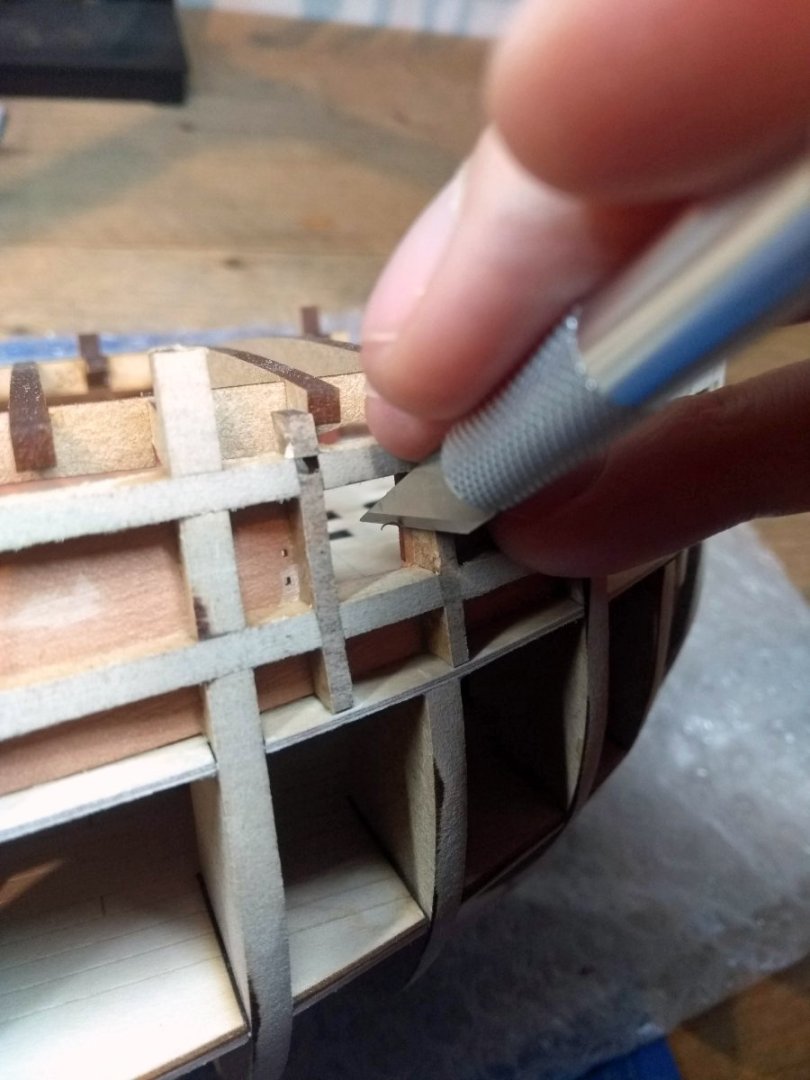
Very little update...30 degrees here in the Netherlands and melting away in my hobby room. I made the inner gunports square. These where left a little bit smaller then the MDF frame so you have a bit of wiggle room. I removed the bulk of the material with a knife and sanded it flush to the frame with a sanding stick. Not difficult, but pretty time consuming, I really took my time with this...because nothing more annoying then gunports that don't look square And today dryfitted the outer gunport patterns, soaked them first for 45 min and then a lot of clamping. Will see tomorrow if all the curves are there (including the slight vertical curve). Otherwise will just another soak fix that. The outer gunport patterns really give the ship some "body", nice to see.

-
Lovely deck furniture! Looking good and enjoy your trip!
- 587 replies
-
- 2
-

-
-
- Indefatigable
- Vanguard Models
- (and 1 more)
-
That is an impressive result! Even in 1/72 it looks like a monster! Really nice!
-
Welcome and have fun here on the forum! Groet, Ronald
-
Man that looks really sharp! You did a mega job on that little boat! It's so small!
-
Haha but you have experience with it! That's all that matters Thanks everyone for all the likes!
-
Thanks Mike! Yeah I stored the Pegasus in the attick, so I can always return to that. But this kit is indeed so different then everything else. It just feels like play, how everything connects and clicks. Don't get me wrong, you still need skill to get a neat and tidy result, but it's a lot of fun working on it.
-
Thanks! That's encouraging
-
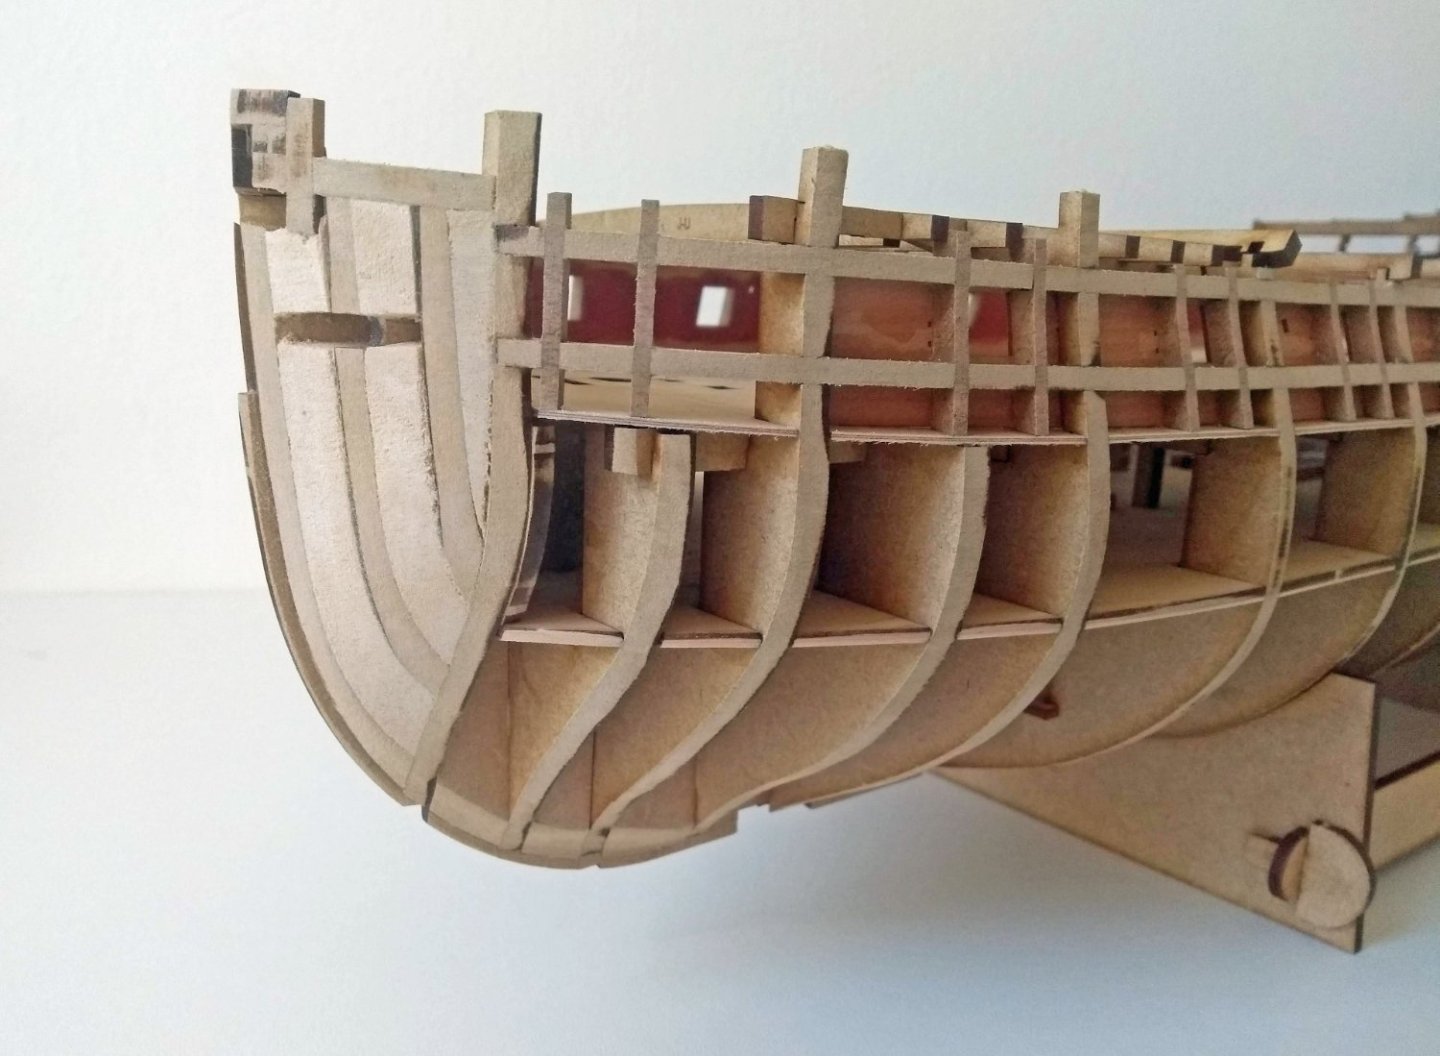
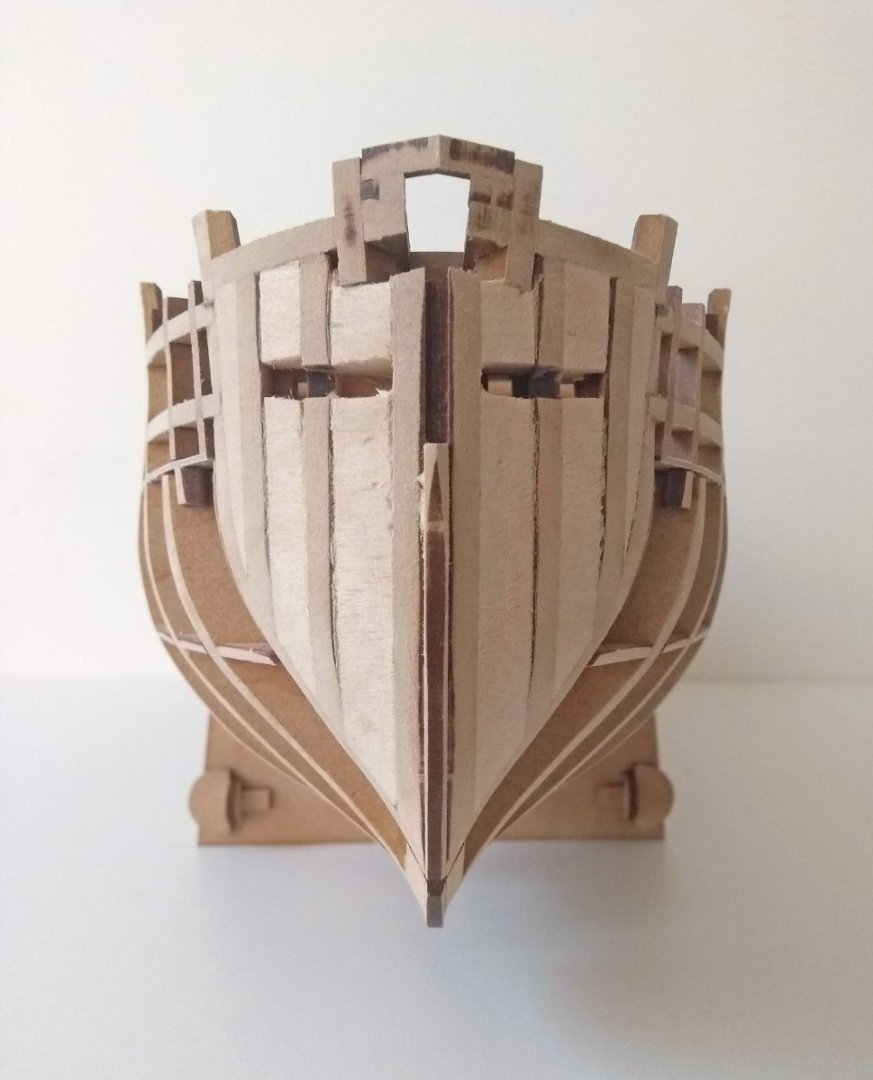
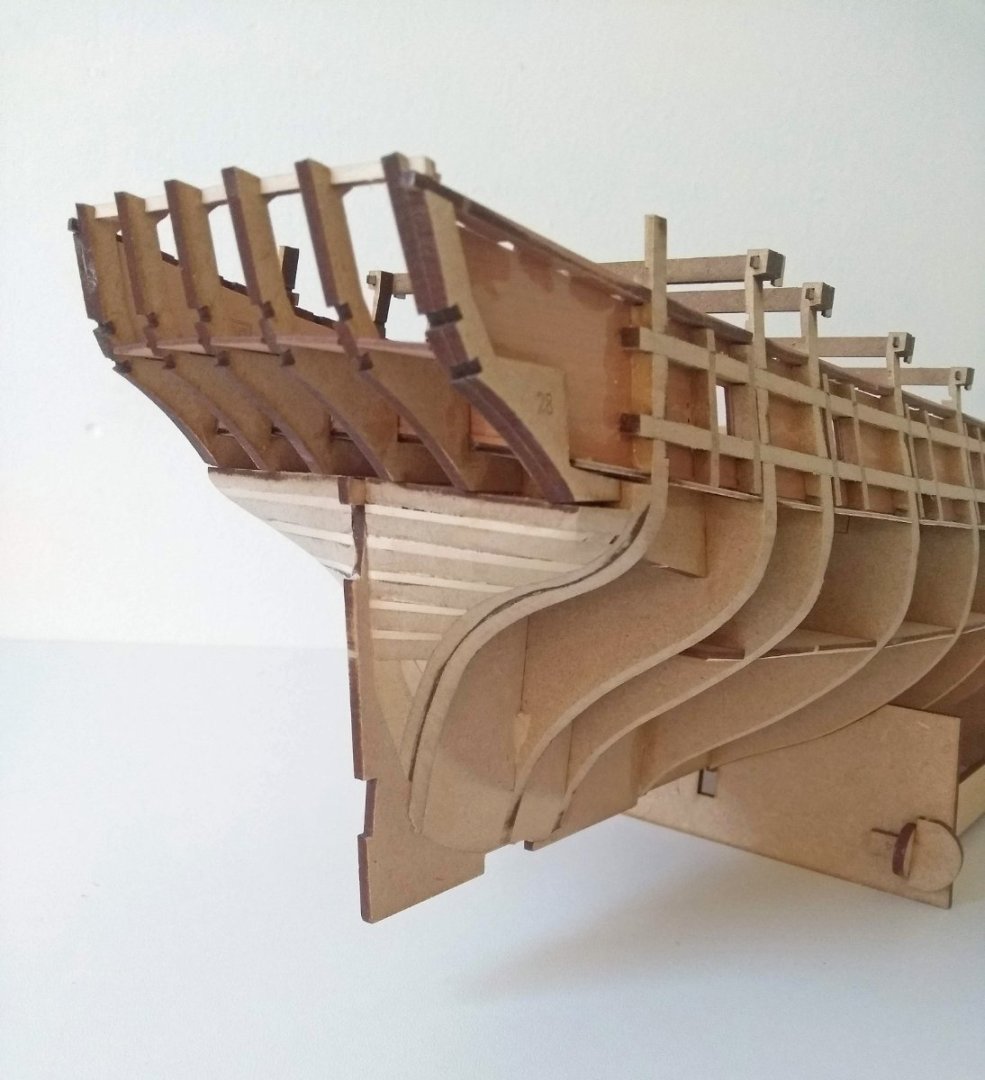
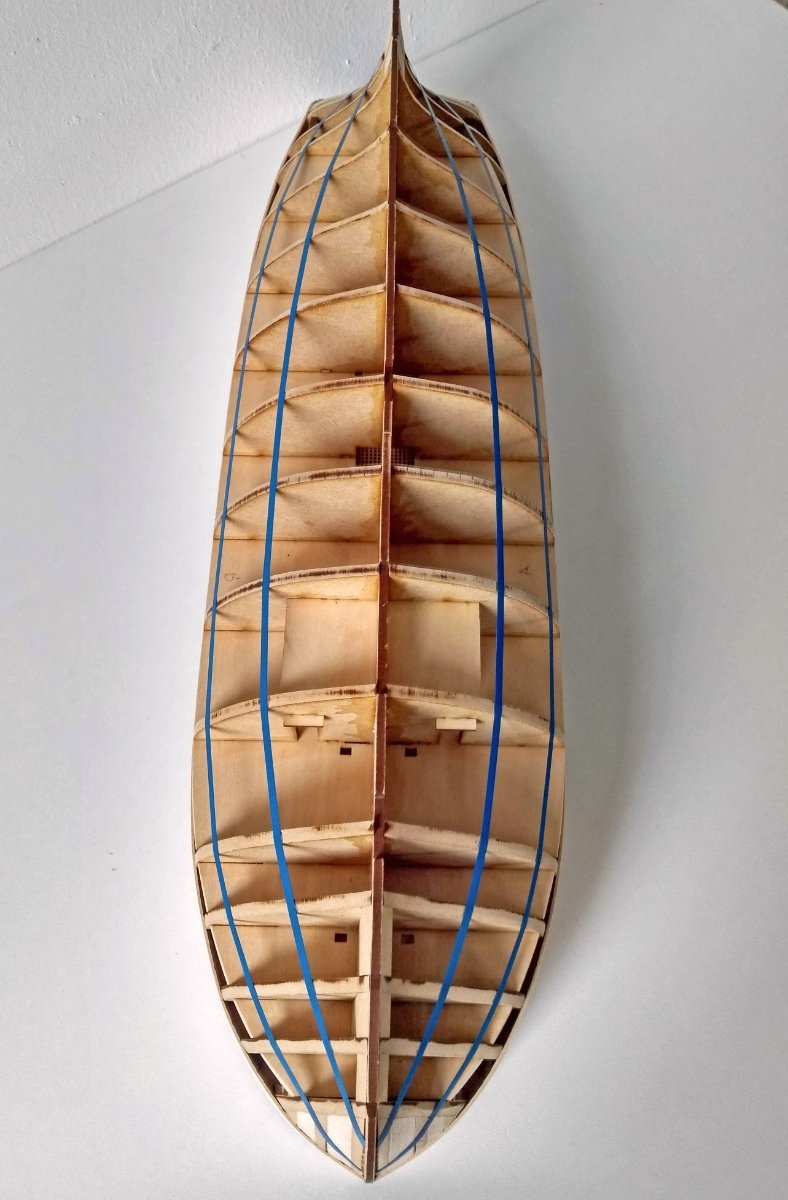
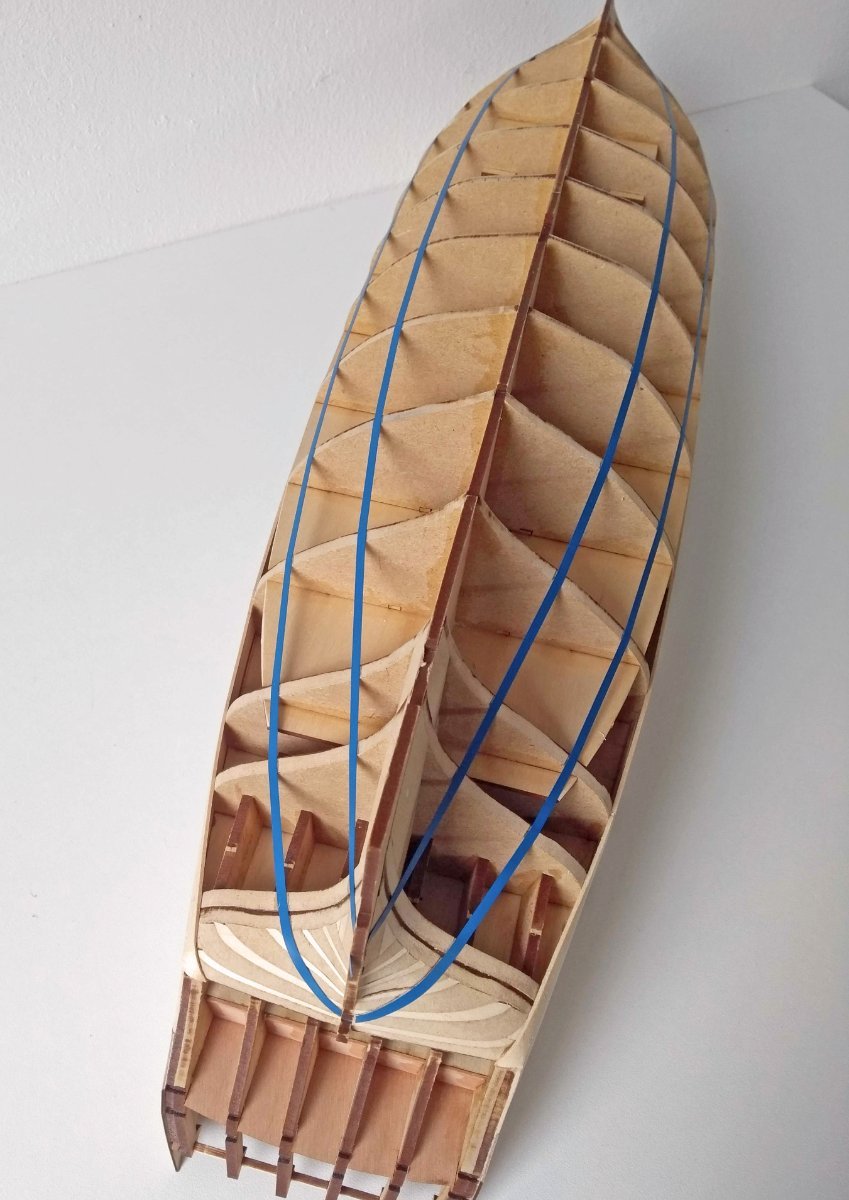
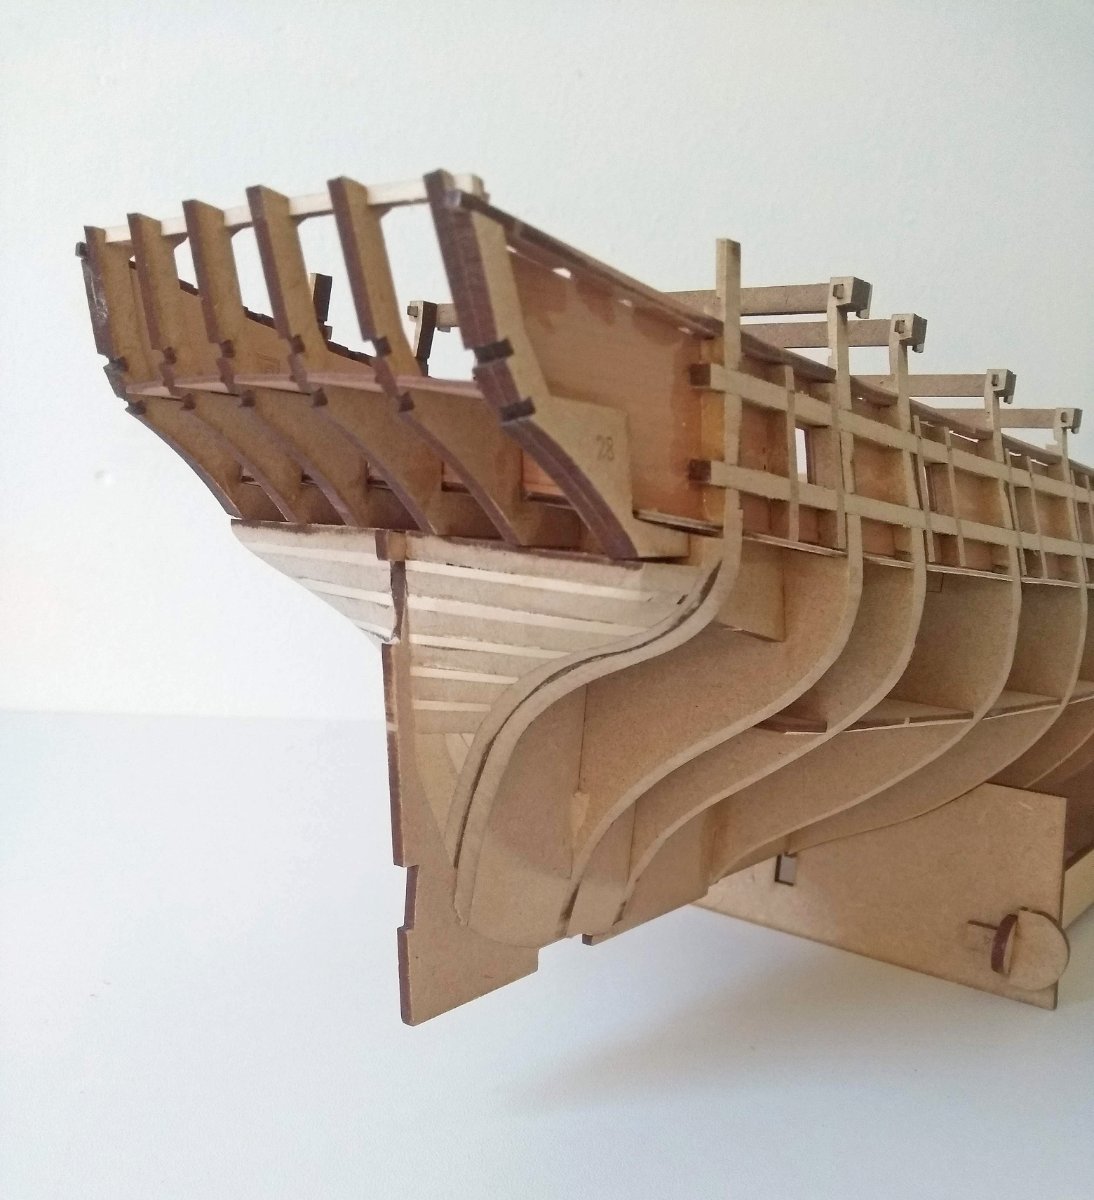
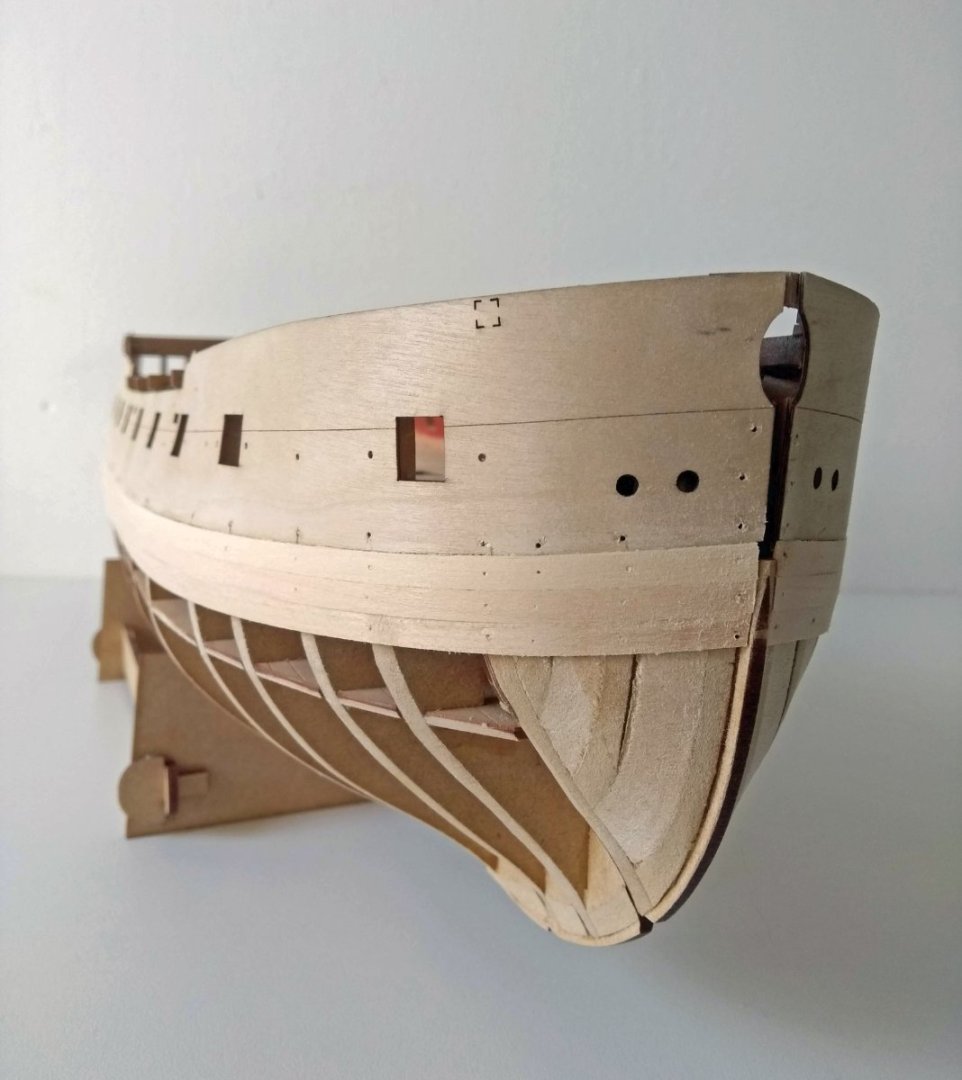
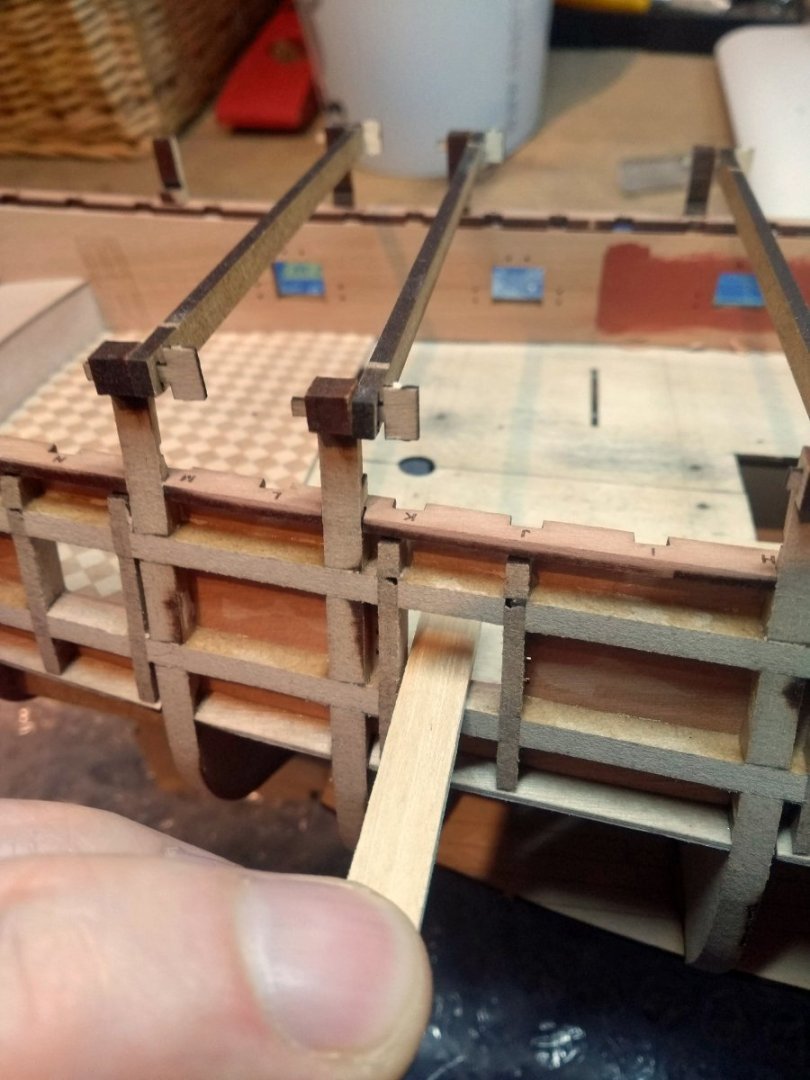
I think I reached the point that the hull has her final shape after fairing. It's for me a bit of a uncertain point...because you always think...is this enough, is this her shape? Did I sanded too much or too little...and reading through other build logs, I'm not the only one experiencing these thought in his building process. But there comes a point in which you say....I think this is it I found it a enjoyable process to see her lines slowly emerge out of the rough shape. So after a lot of sanding, producing a big heap of sanding paper this is the result, and i'm looking forward to the next stage