HOLIDAY DONATION DRIVE - SUPPORT MSW - DO YOUR PART TO KEEP THIS GREAT FORUM GOING! (Only 13 donations so far - C'mon guys!)
×


Ronald-V
-
Posts
1,805 -
Joined
-
Last visited
Content Type
Profiles
Forums
Gallery
Events
Everything posted by Ronald-V
-
 Great job! I found it difficult to finish these little ships...without rushing to fast. Have you already decided if you are going for the Speedy?
 -
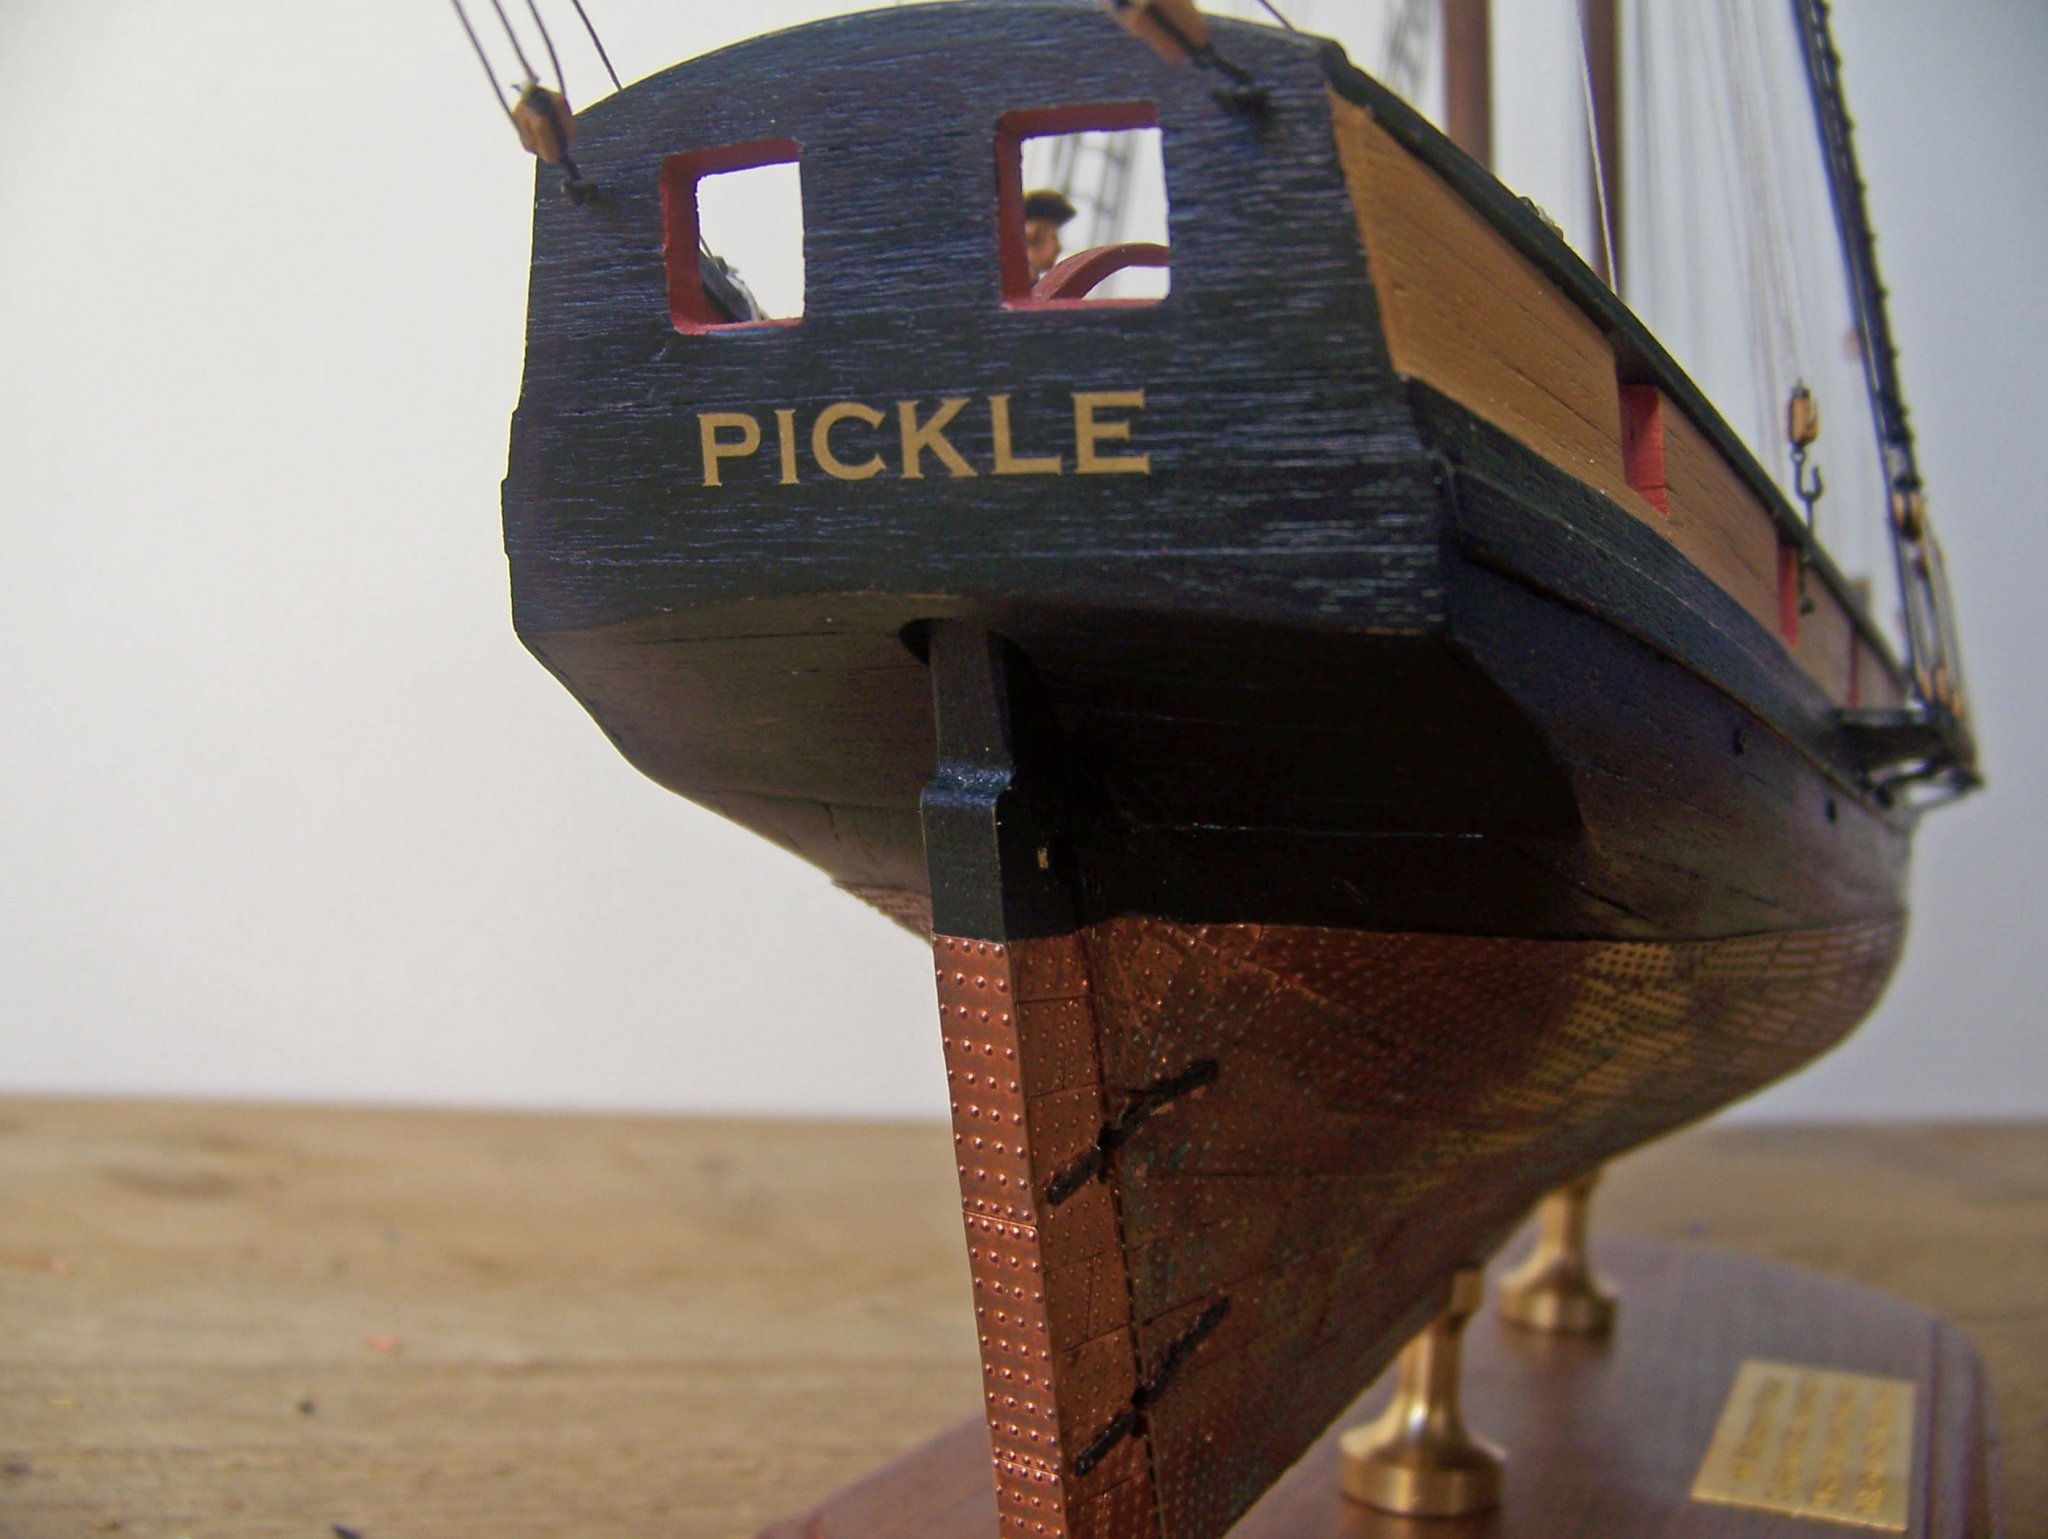
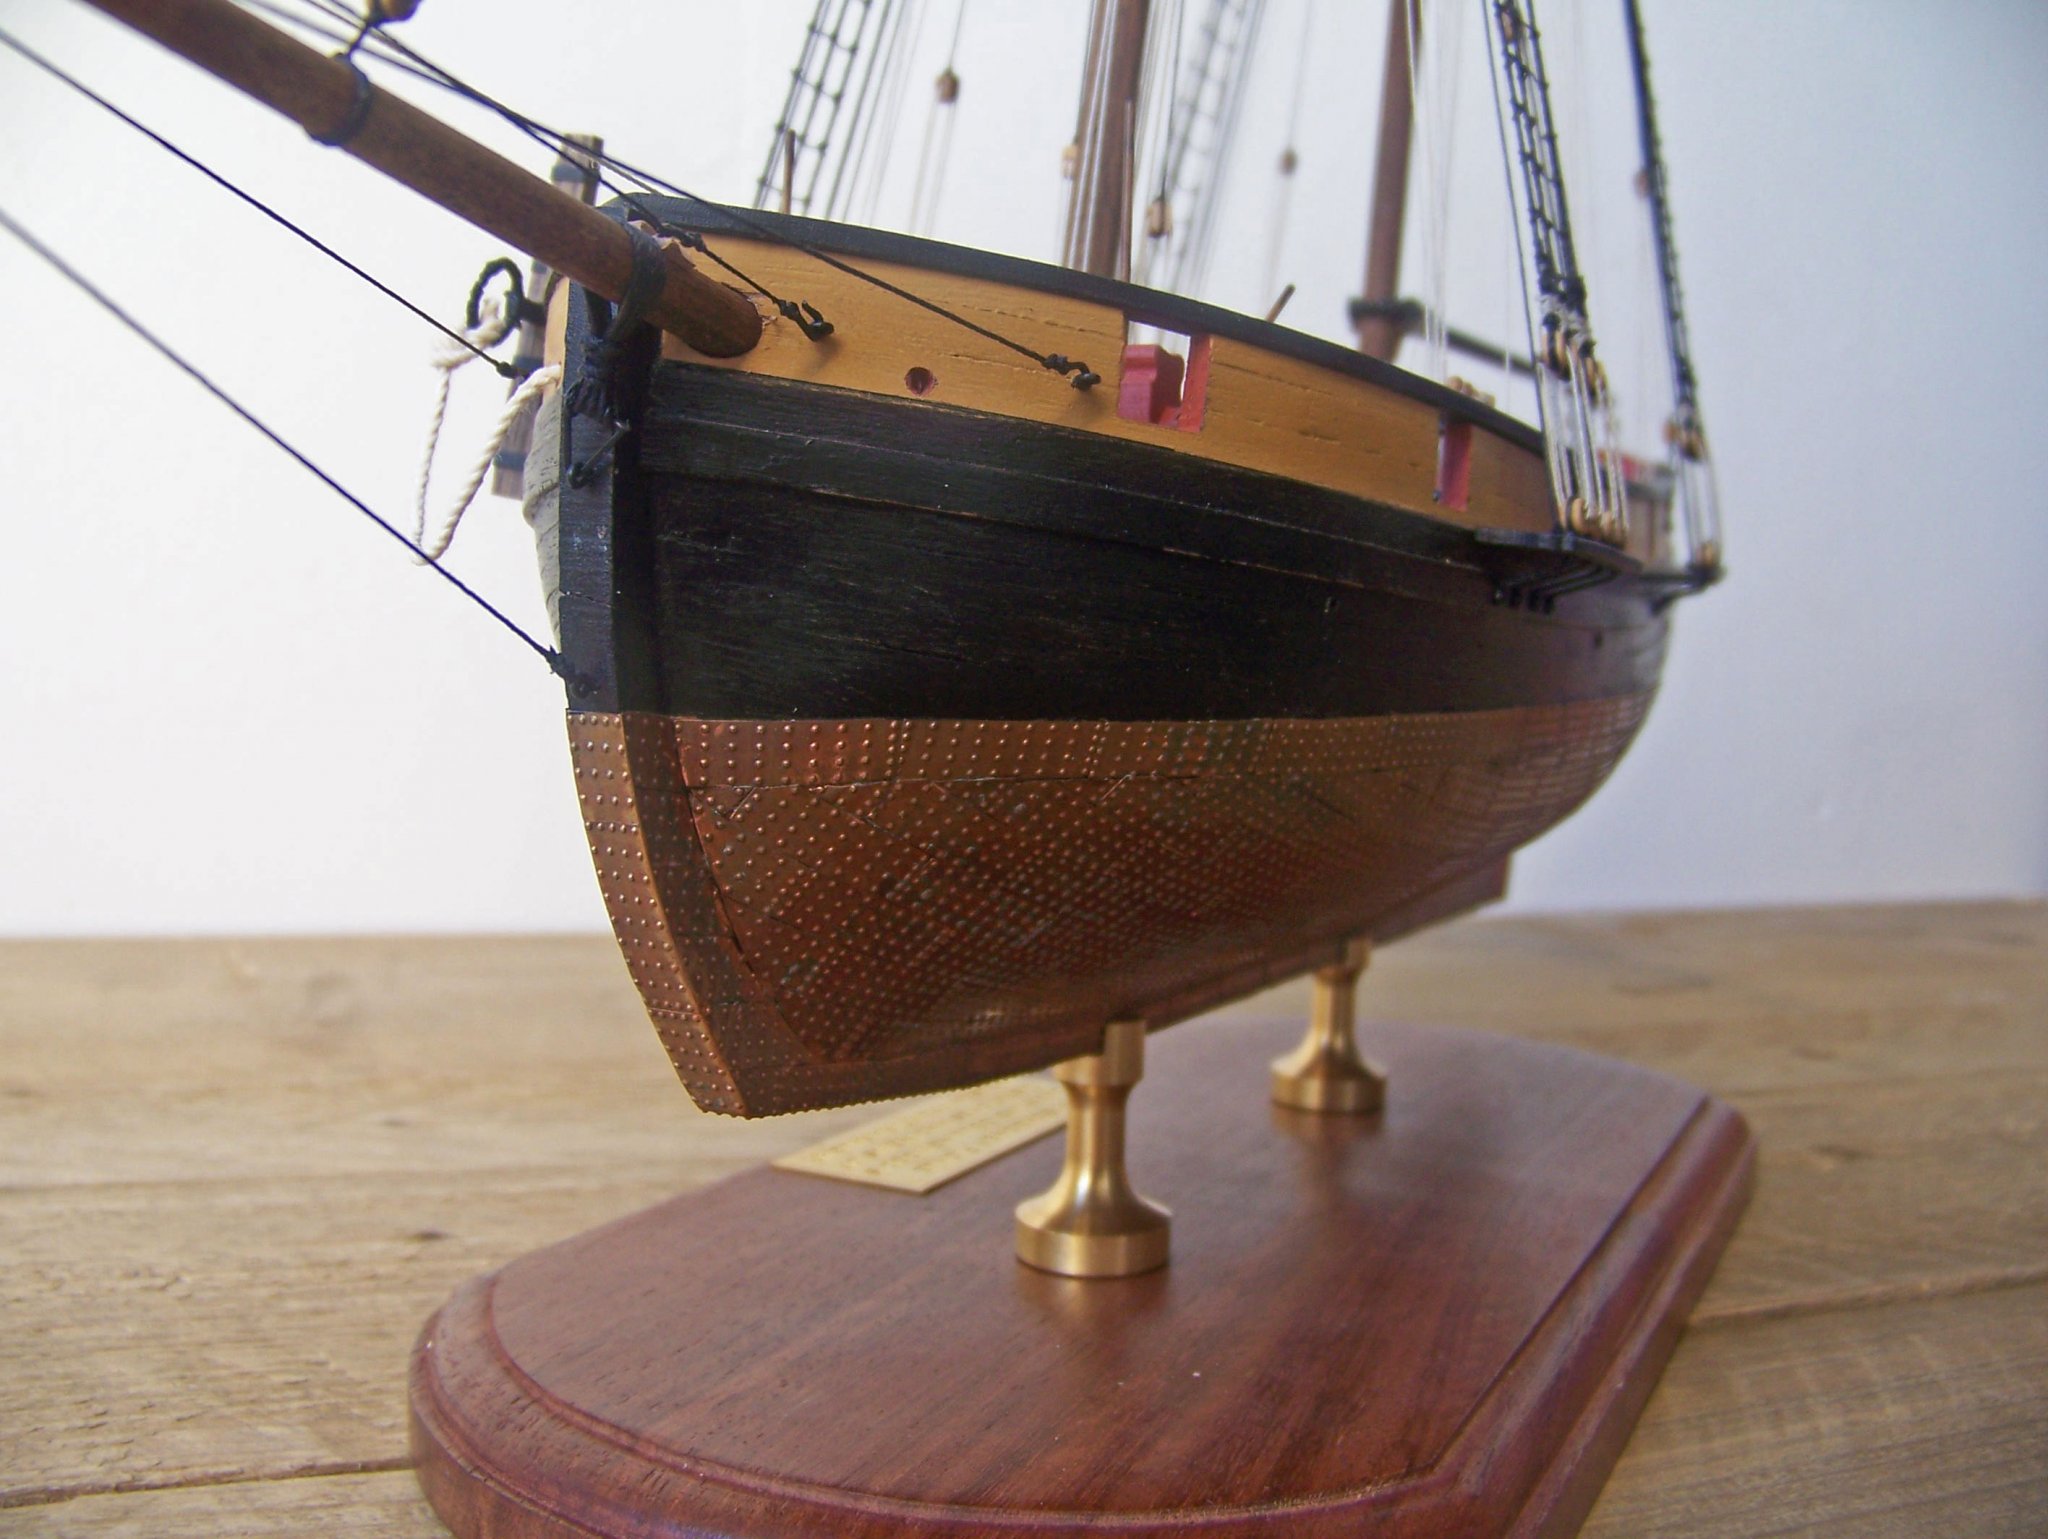
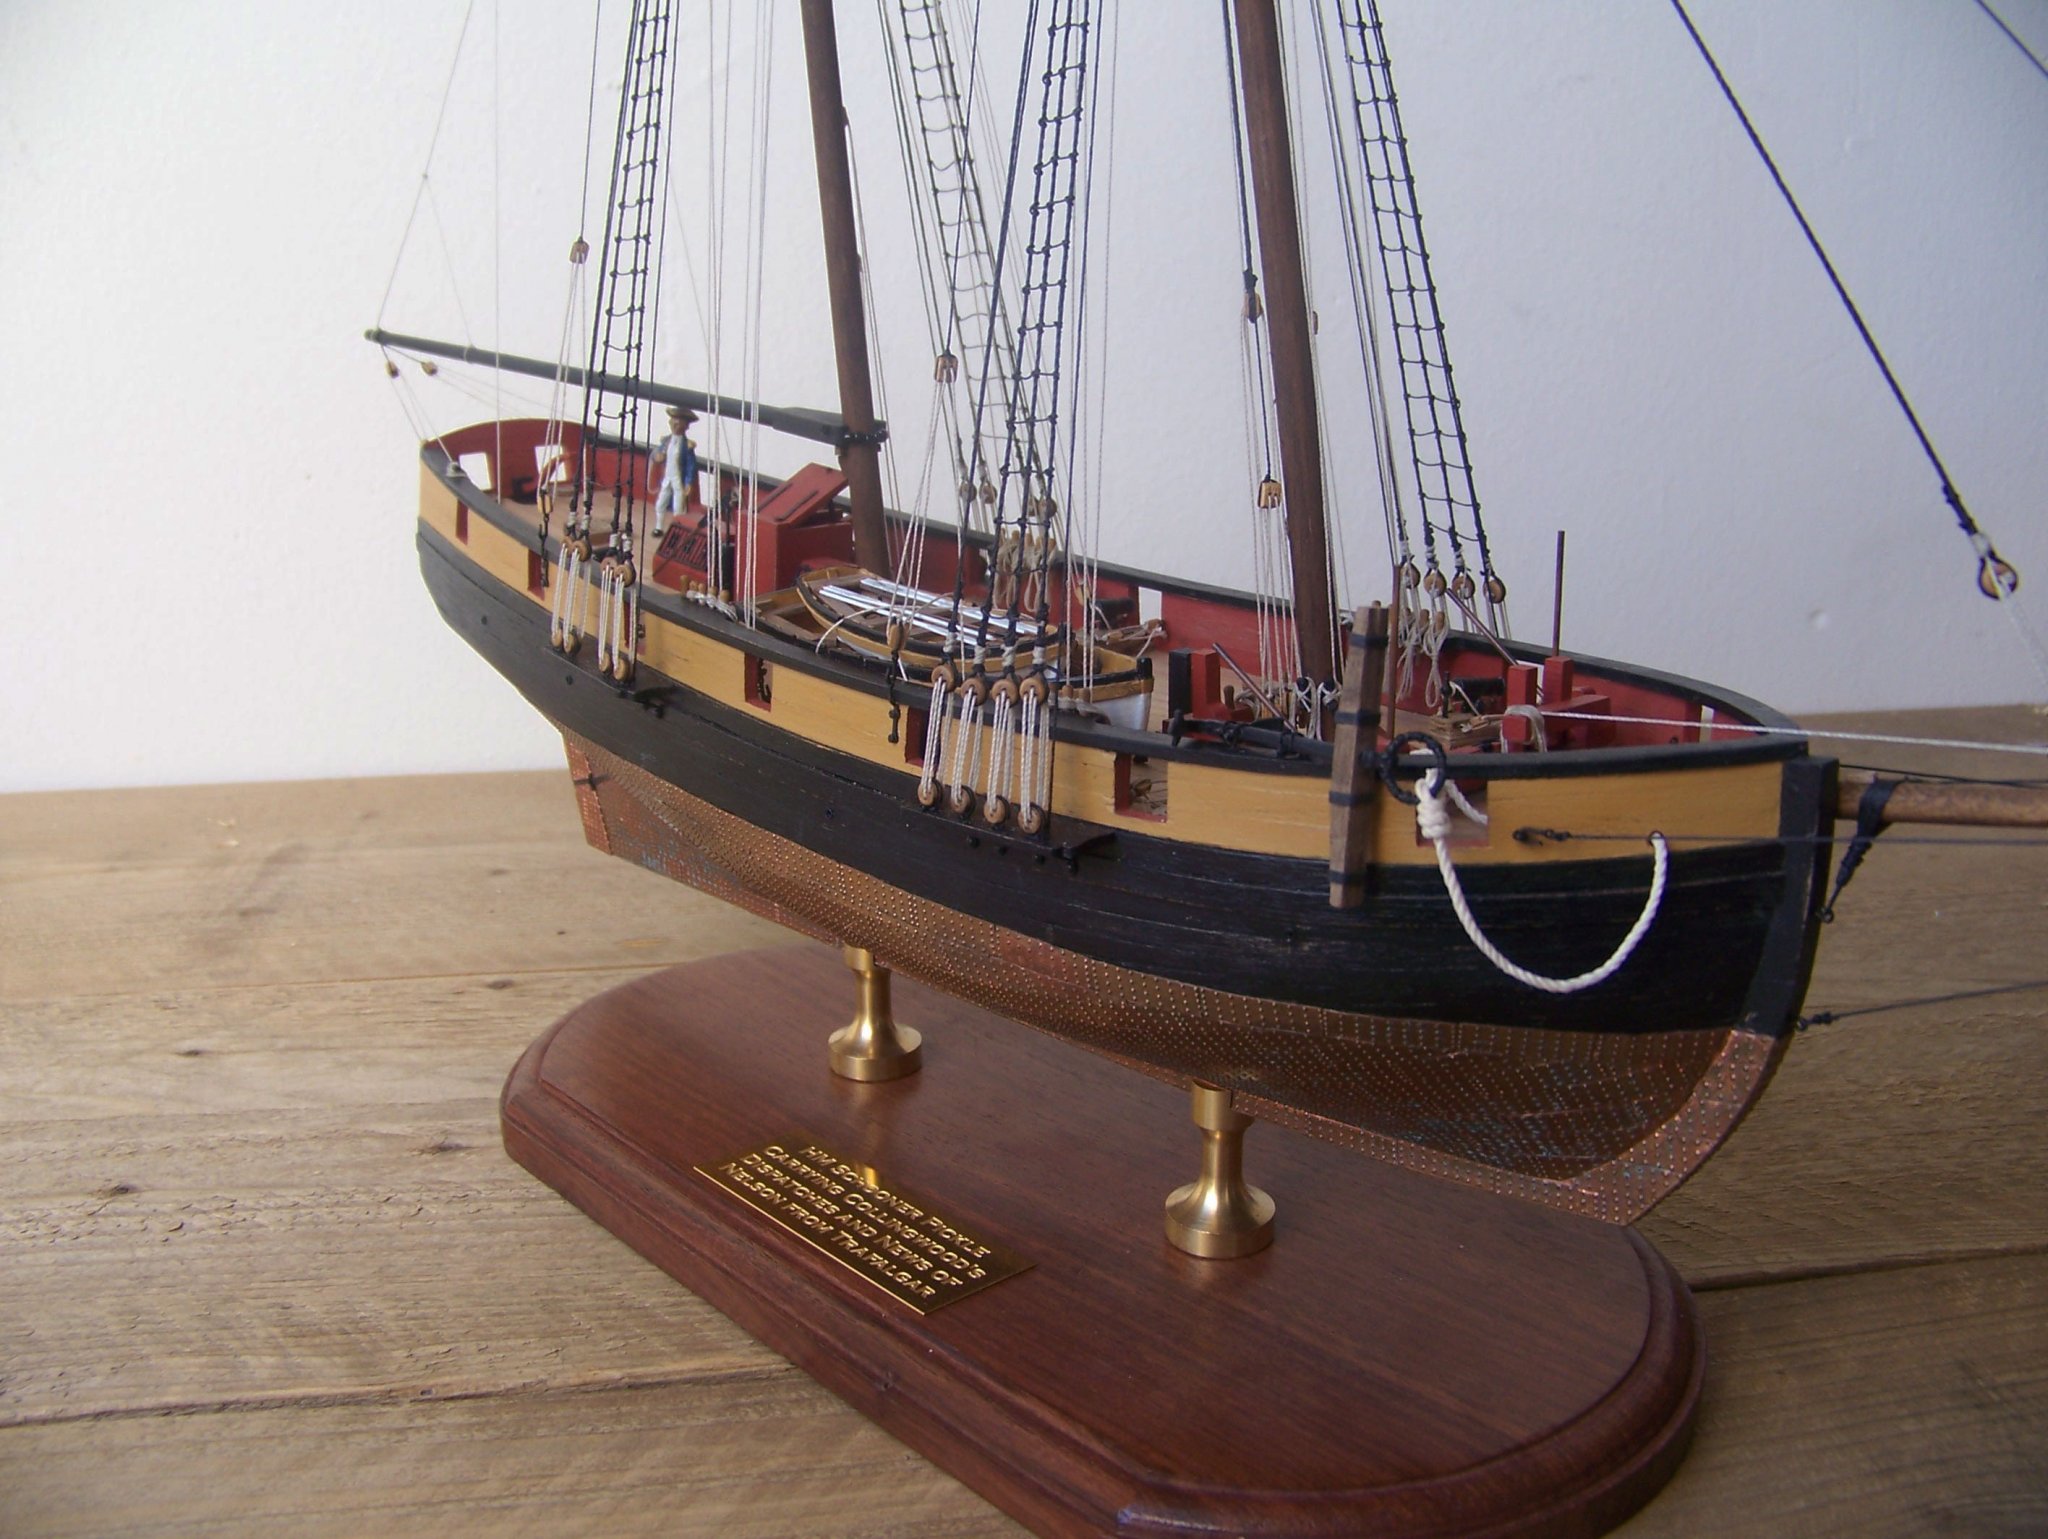
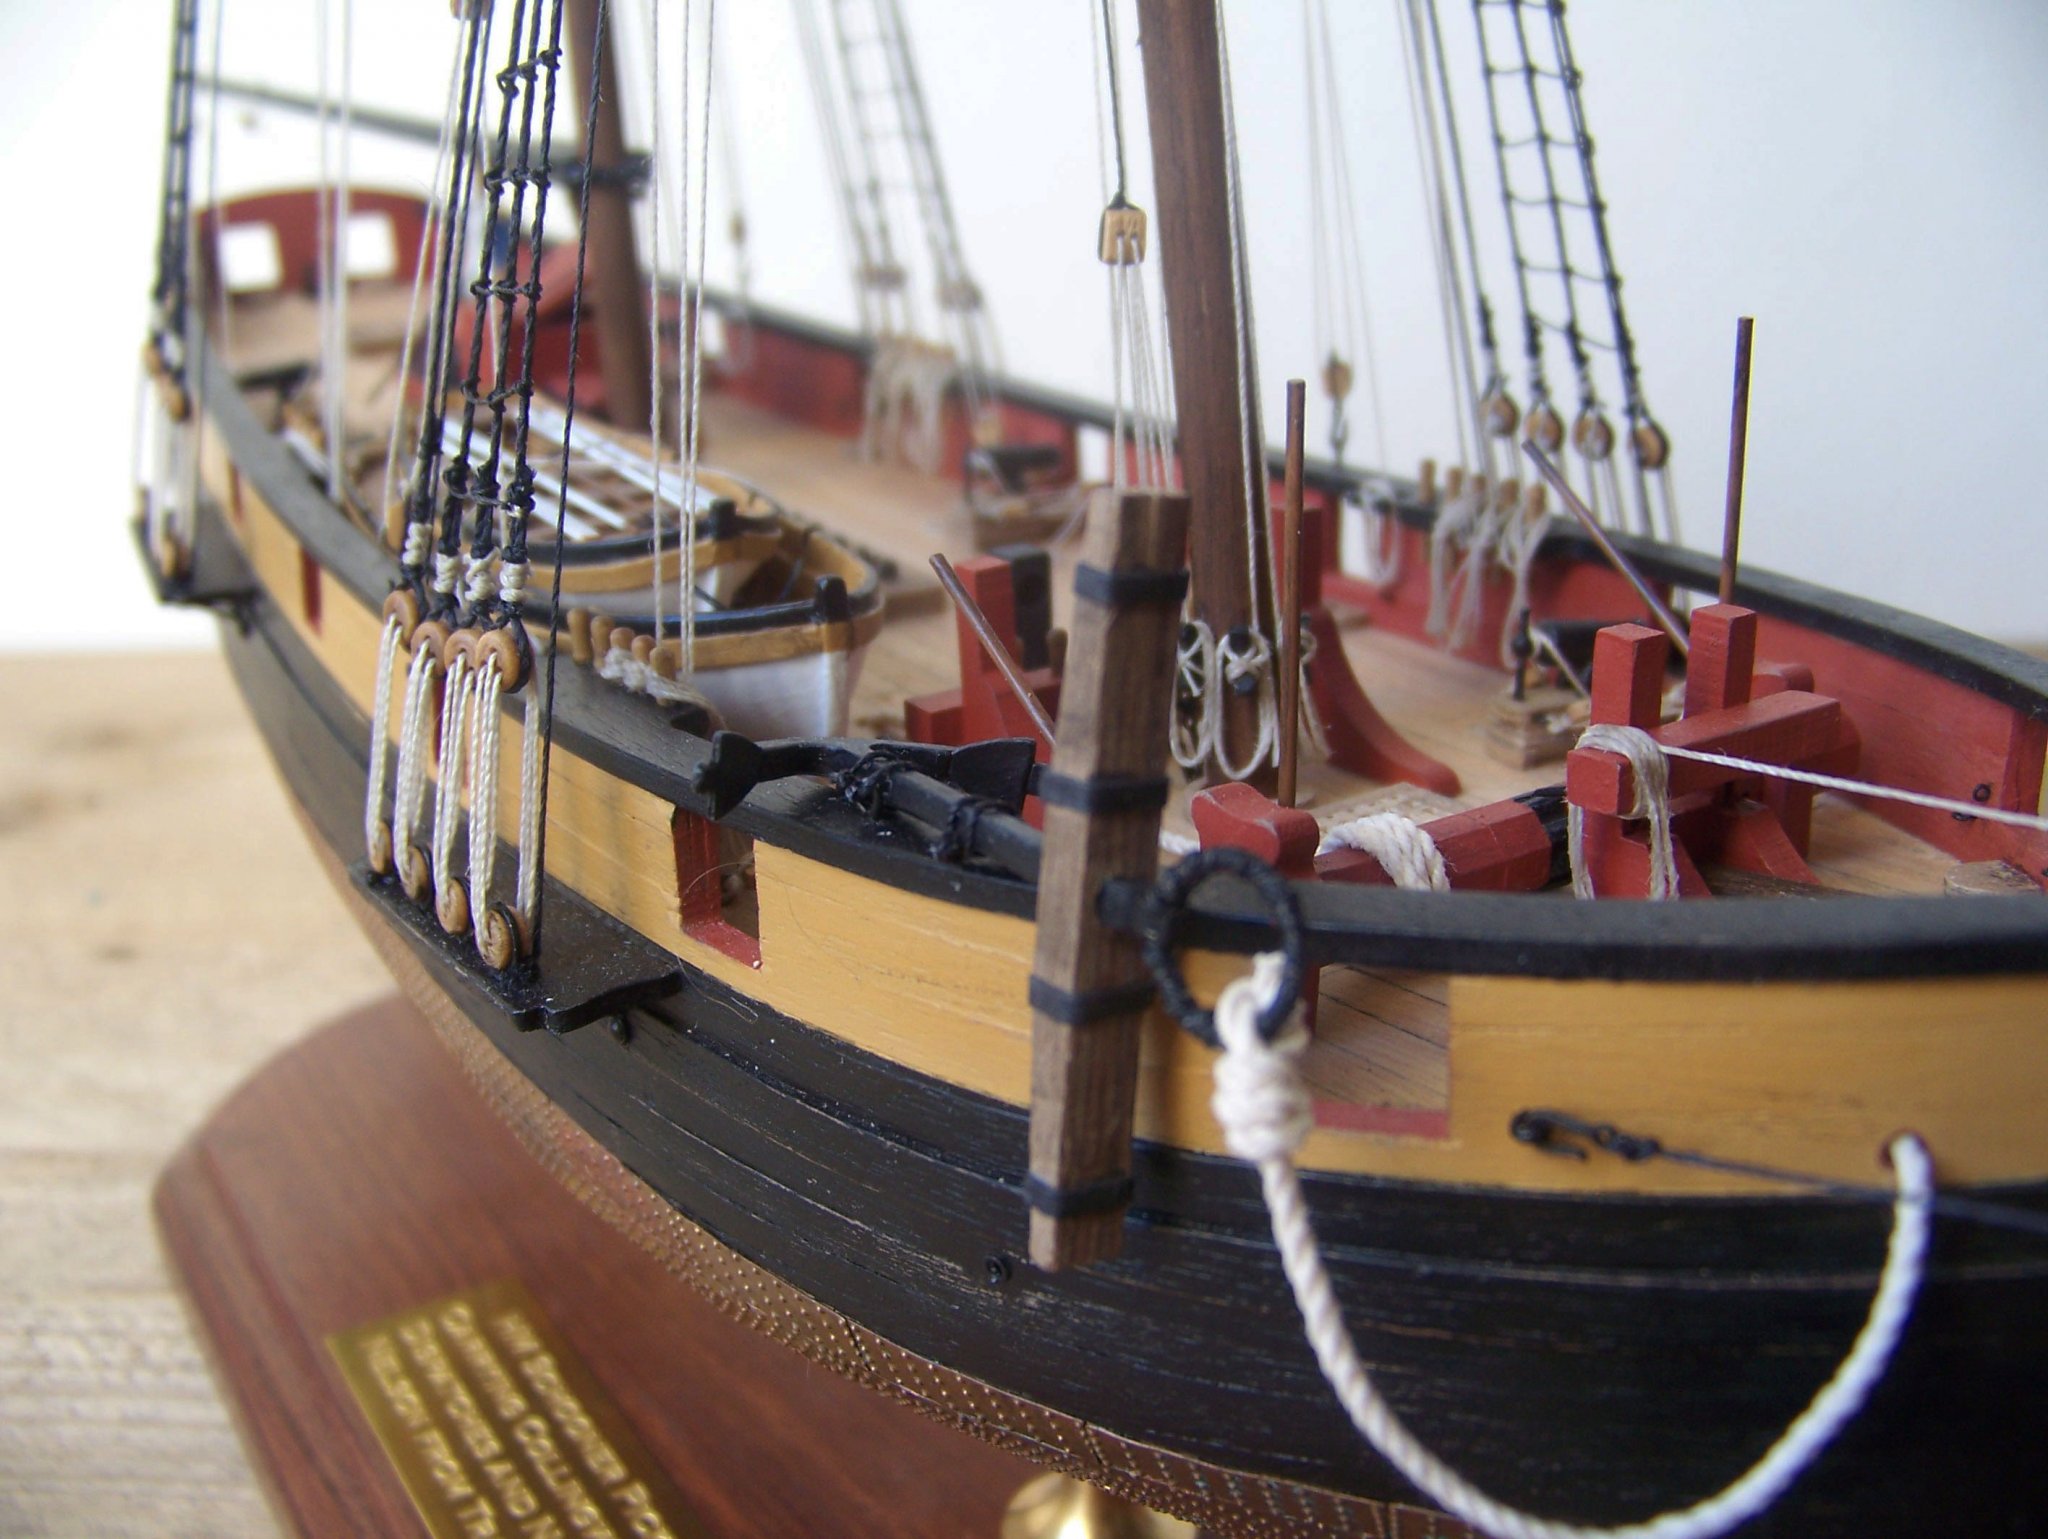
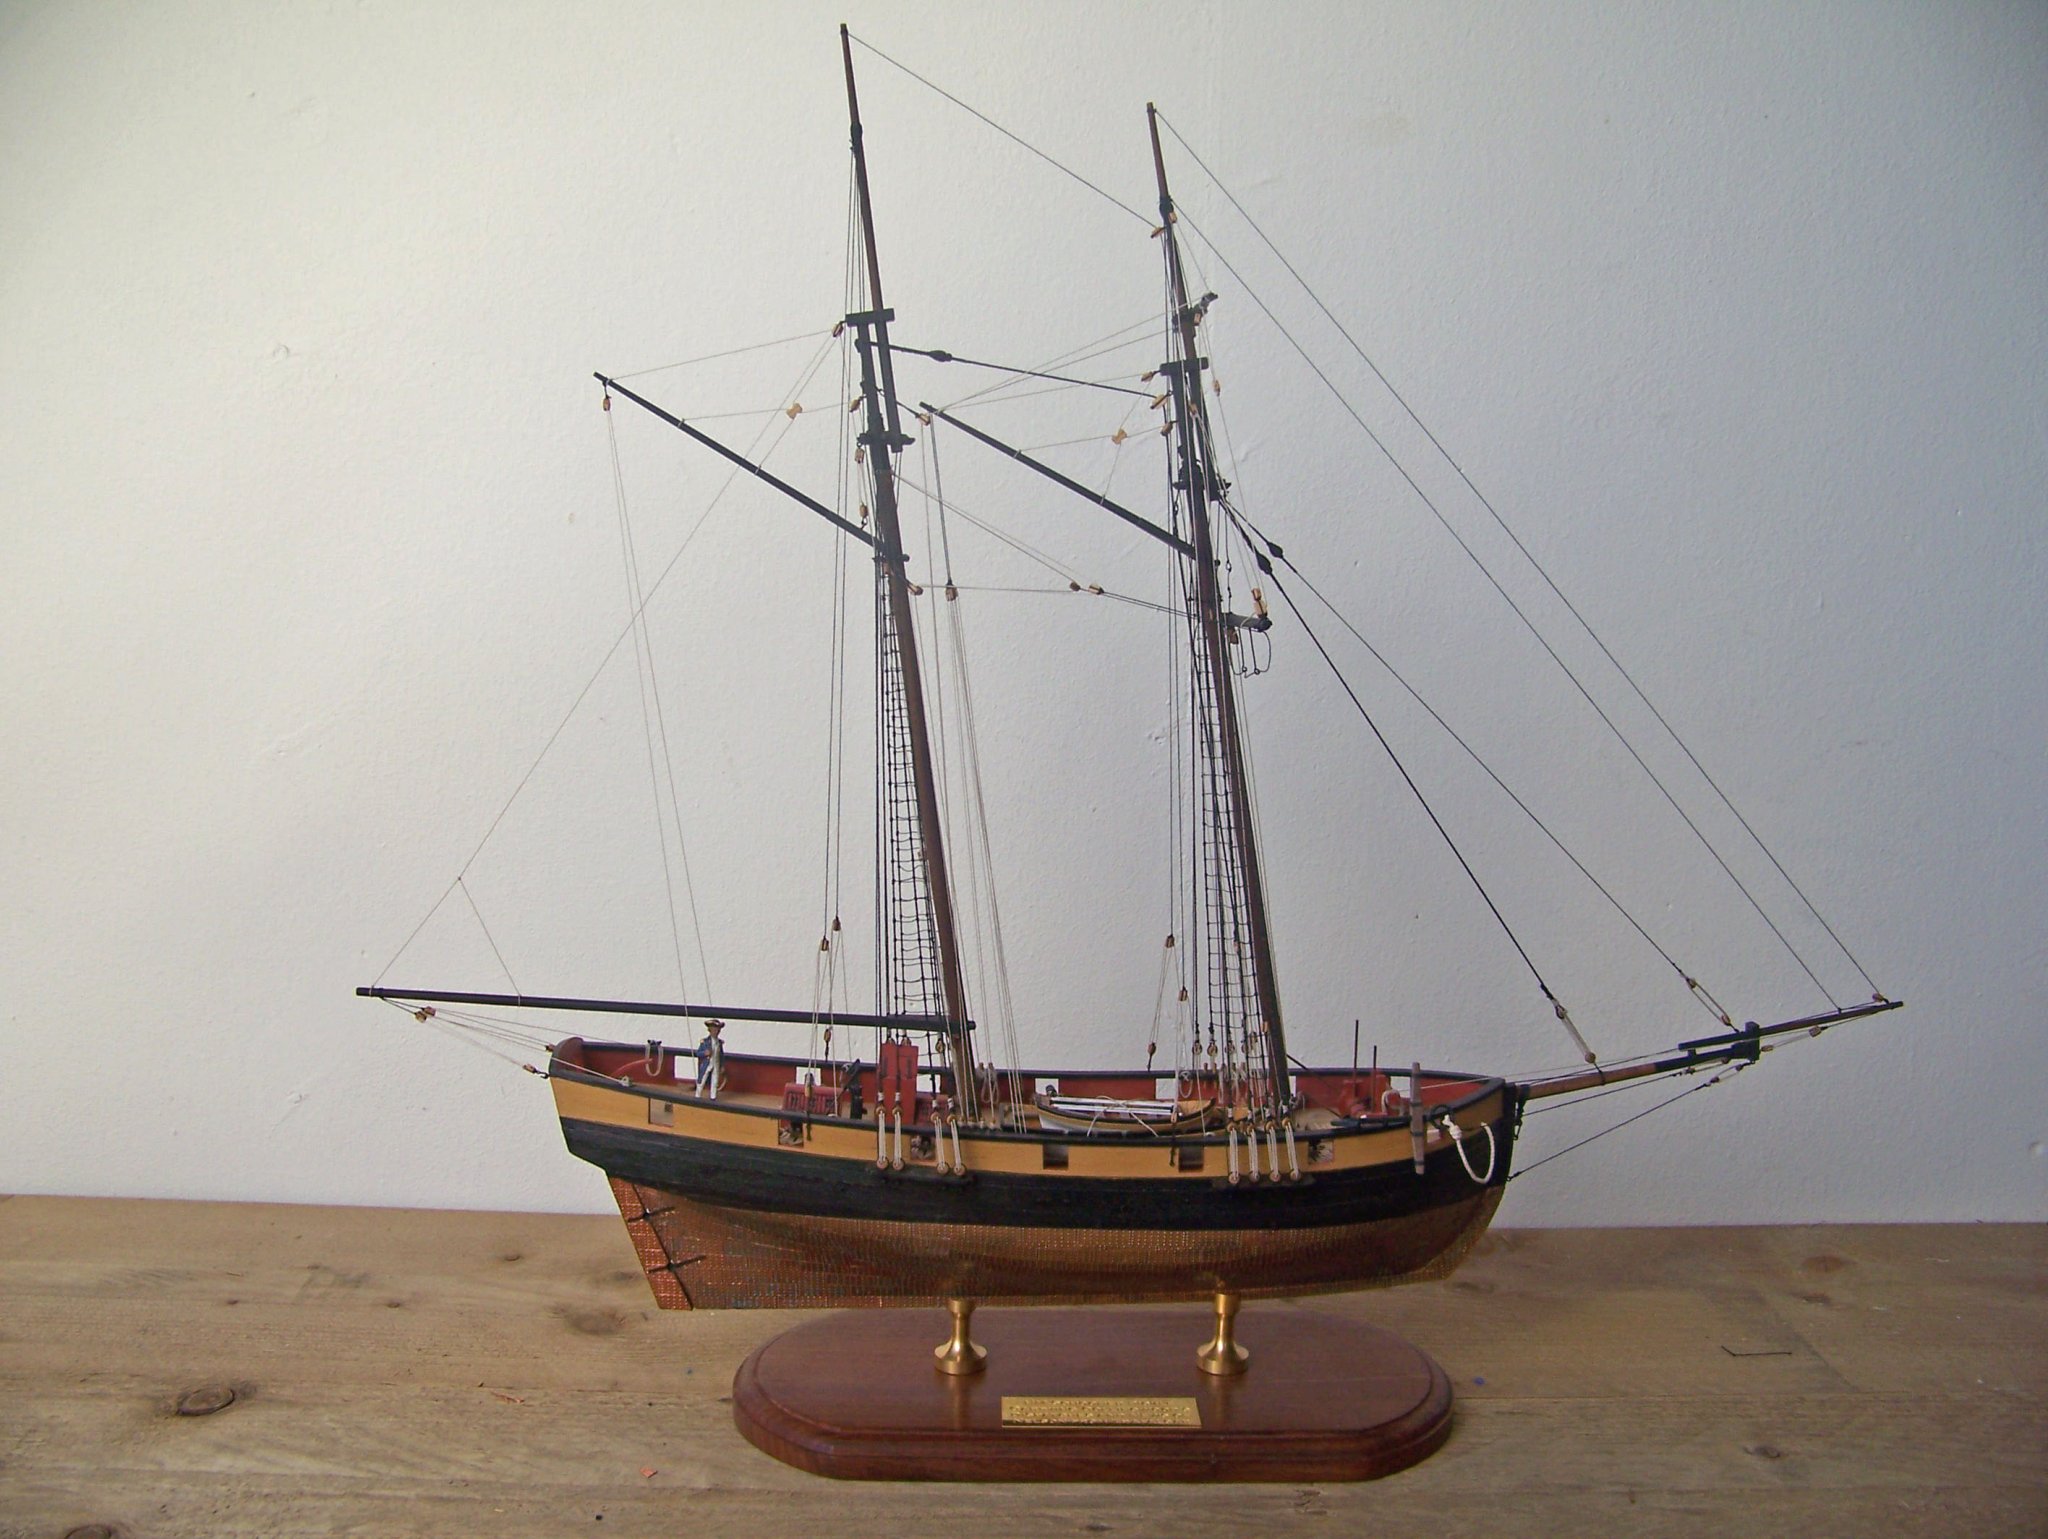
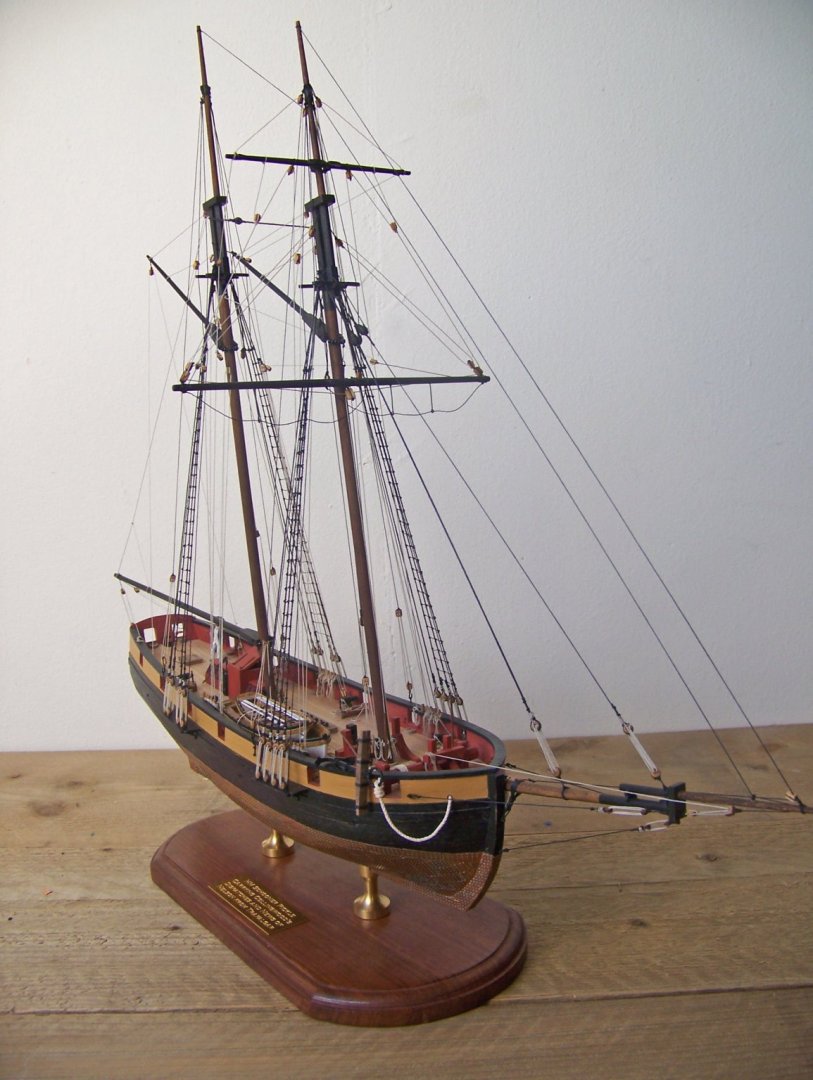
The base plate that I used https://www.cornwallmodelboats.co.uk/acatalog/Occre-Model-Boat-Fittings-19102-Display-Stand-130x265mm-OC19102.html#SID=1691 And the colums are from Amati indeed https://www.cornwallmodelboats.co.uk/acatalog/5690-35-Turned-Brass-Column-35mm-A5690_35.html#SID=1579 I used two of the same dimensions, but filed one slot deeper so the ships keel lays in the correct angle. At first I thought it was a good idea to use 2 different dimensions, so one shorter colum...but that looked horrible haha, because the thickness is also reduced with the smaller height.
-
Thanks to everybody who followed this log, and thanks for all the compliments, likes and help!
-
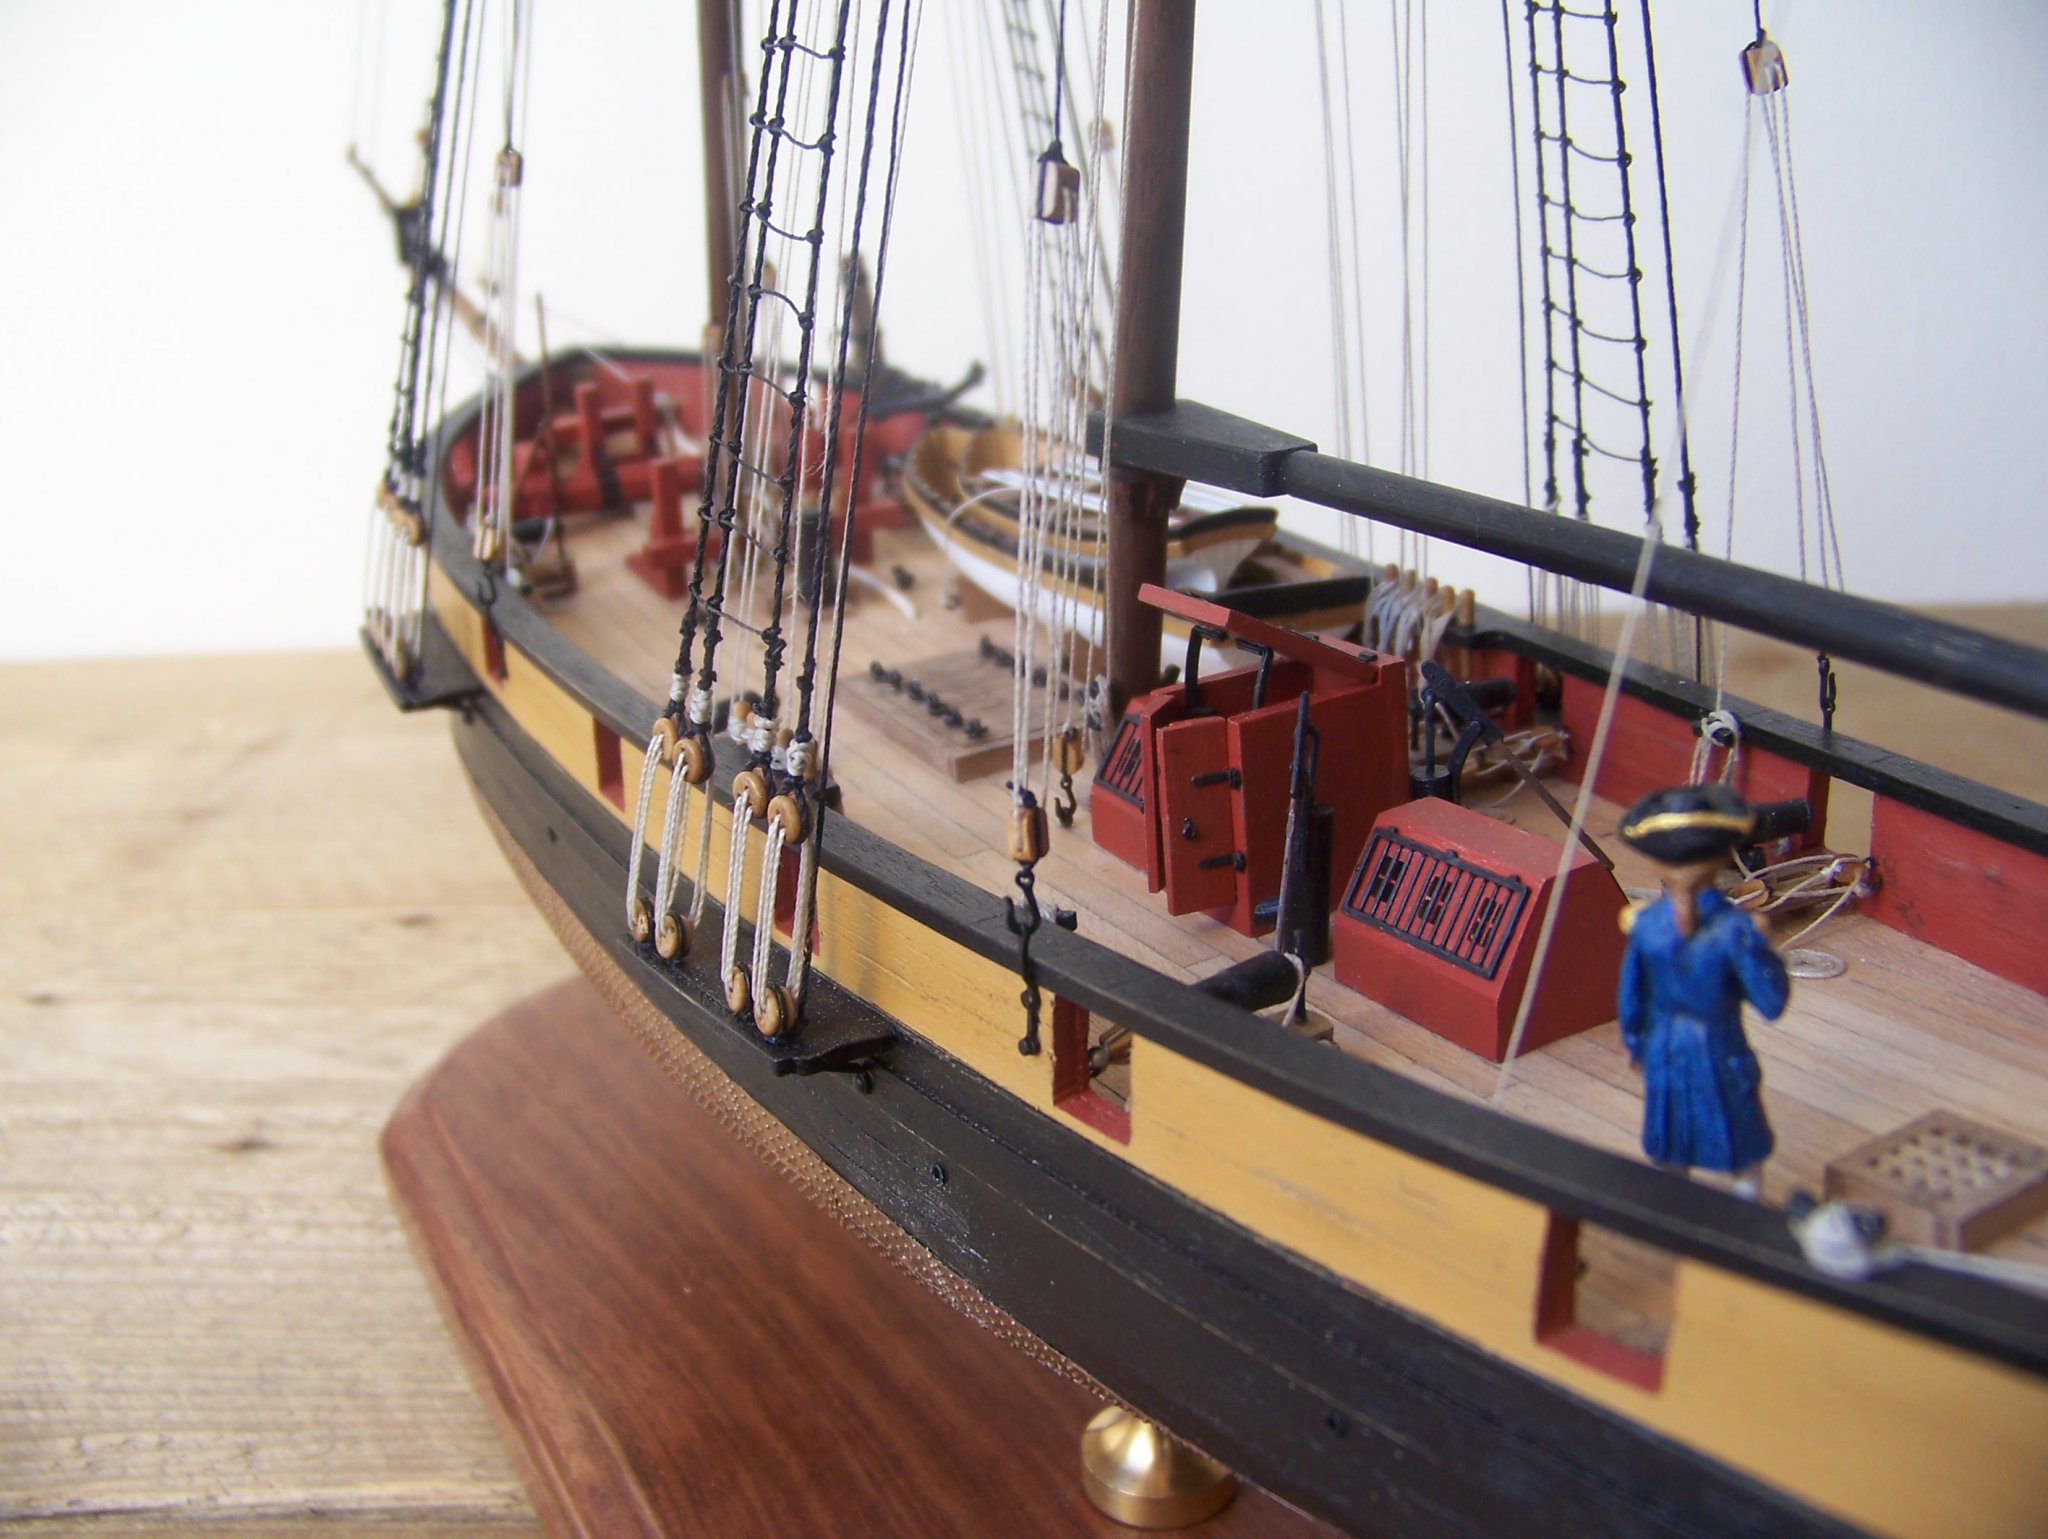
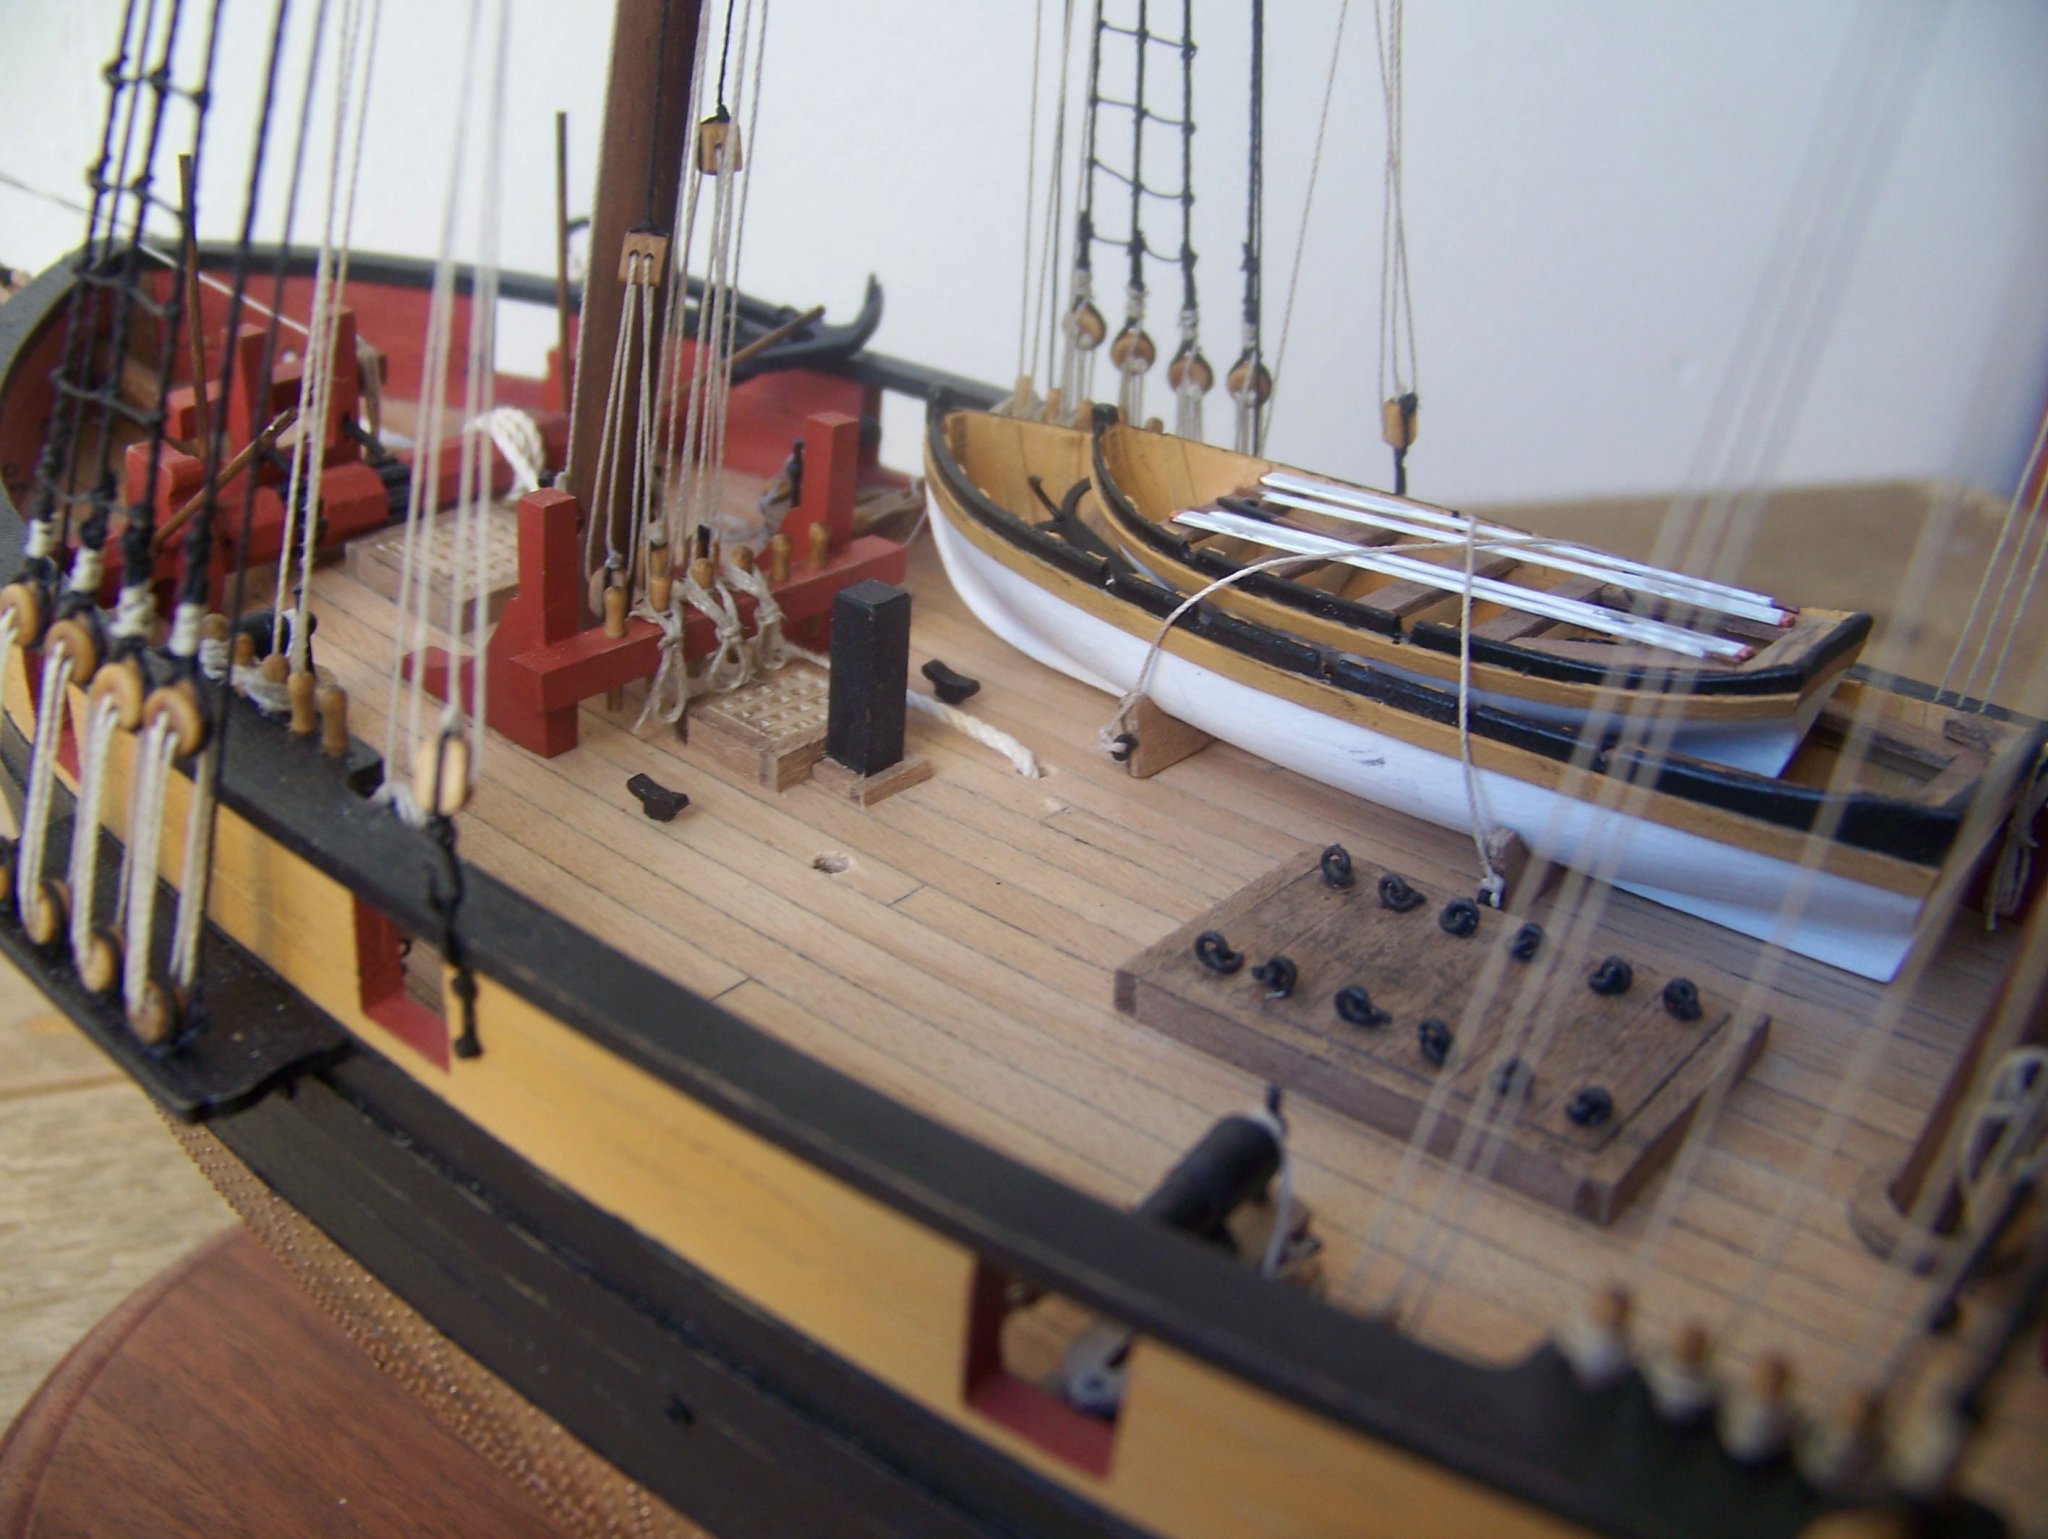
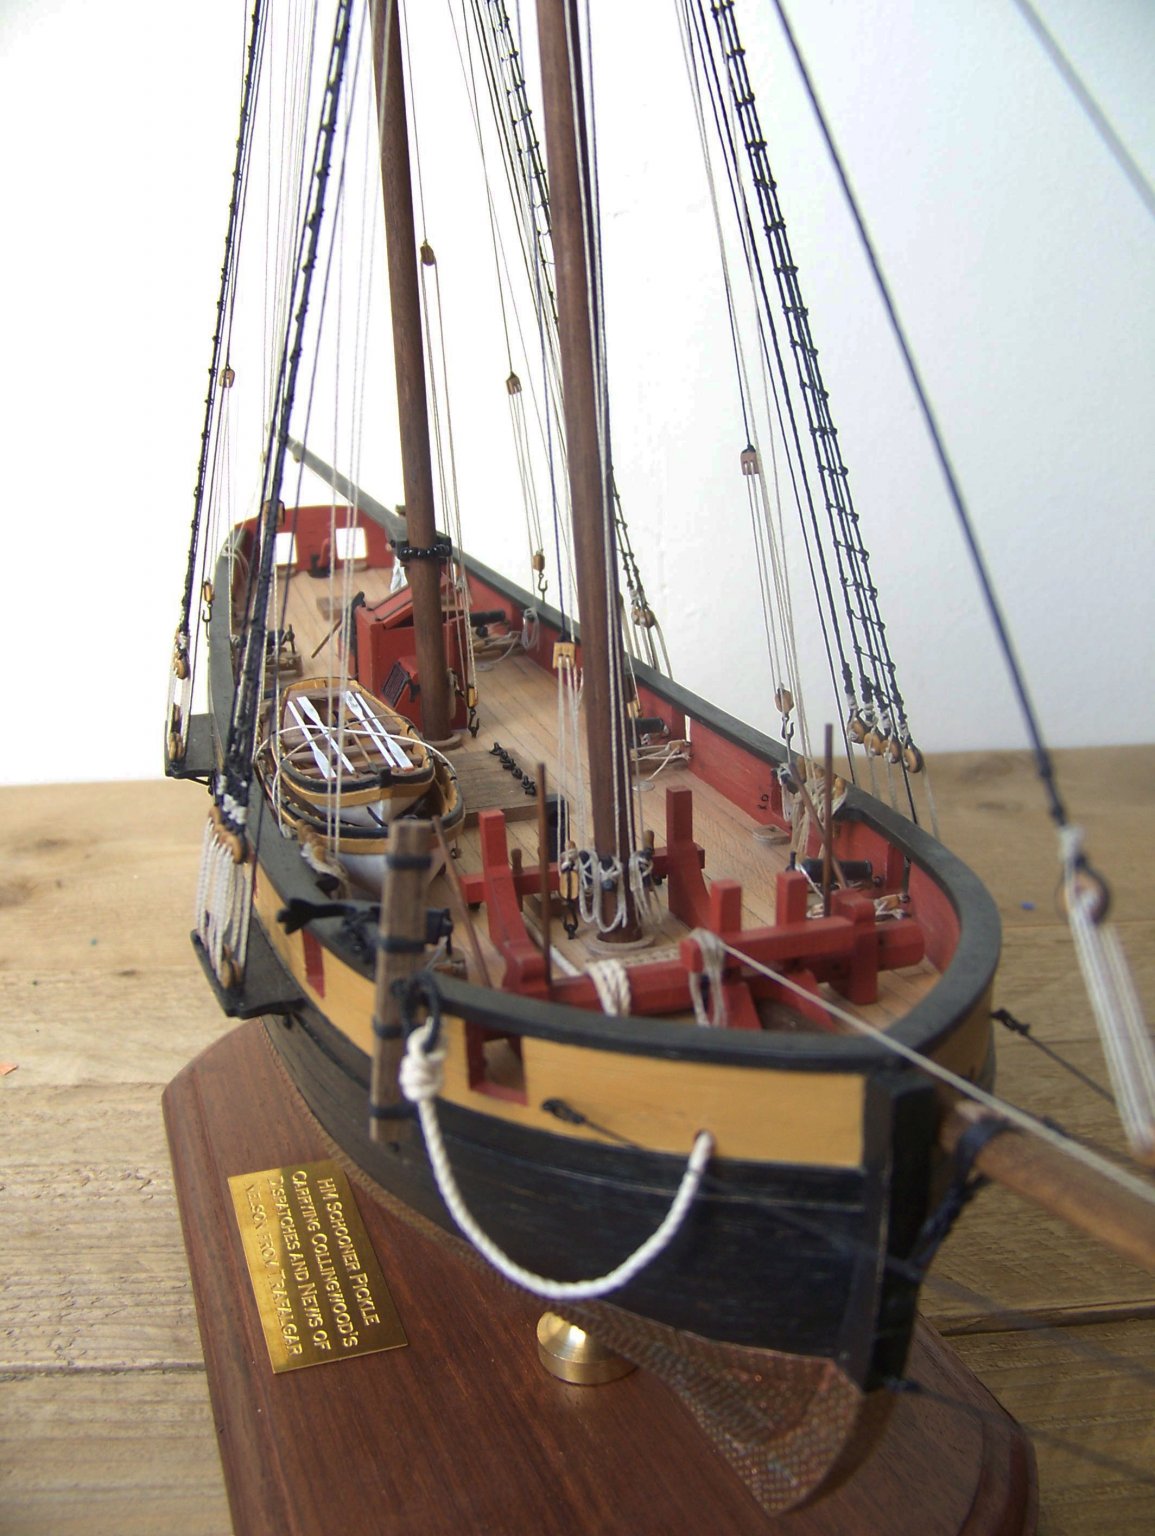
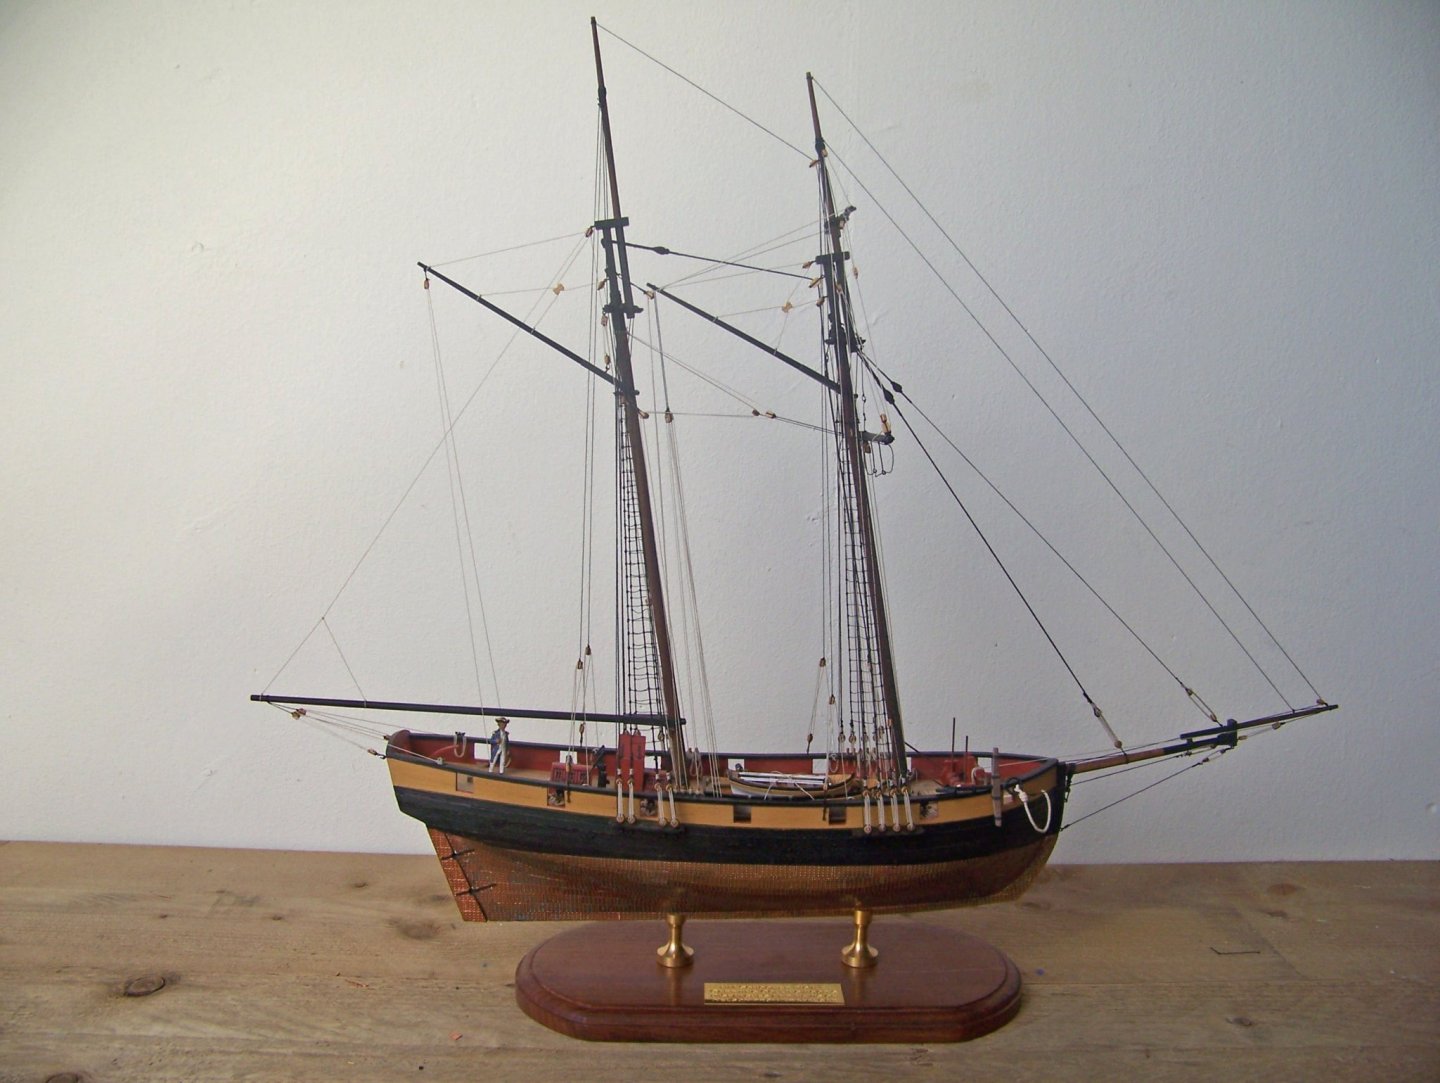
Okay! So I finished the ship I didn't take pictures of the last stage. Was a bit busy and worked for very short bouts on the ship. The end was a bit difficult because I wanted to finish it, so there were sometimes moments that I rushed through the build. That needs some attention for the next time...that I take the time and patience to give everything the attention that is deserves, but that is just a part of the learning curve. I enjoyed this build a lot and learned a ton in the process. Offcourse skills wise with the wood etc, but even more mentally. For me it was difficult to actually finish something that takes this amount of time, so i'm very proud of that. And i'm very proud of the end result! I builded it right out of the box with almost no modifications. The most important thing for me was to actually finish it! And in the future there will be more modification/adventure
- 271 replies
-
- 11
-

-
As I see it...the laser engraved deck is a good template for planking the deck myself with prefered wood. But it's al just a matter of taste in my opinion.
-
Great job on everything...i'm going a bit slow now...so you are almost as far as me
-
Good job Norway. It was something I didn't look forward also, but you get in some sort of rythm in the end...and just take your time. Only work on it when you want.
-
Amazing job!
-
Swan class 3D model in progress
Ronald-V replied to dvm27's topic in CAD and 3D Modelling/Drafting Plans with Software
That's amazing! Keep us posted on the progress and maybe when it goes to sale- 141 replies
-
- 1
-
-
- pof swan series
- swan
- (and 1 more)
-
Nothing to do with ship building, but fun to post...I also like to draw as a hobby, so this is a project i'm working on now.
-
Beautiful indeed! I asume this is kit modified? Or is this kit so detailed?
-
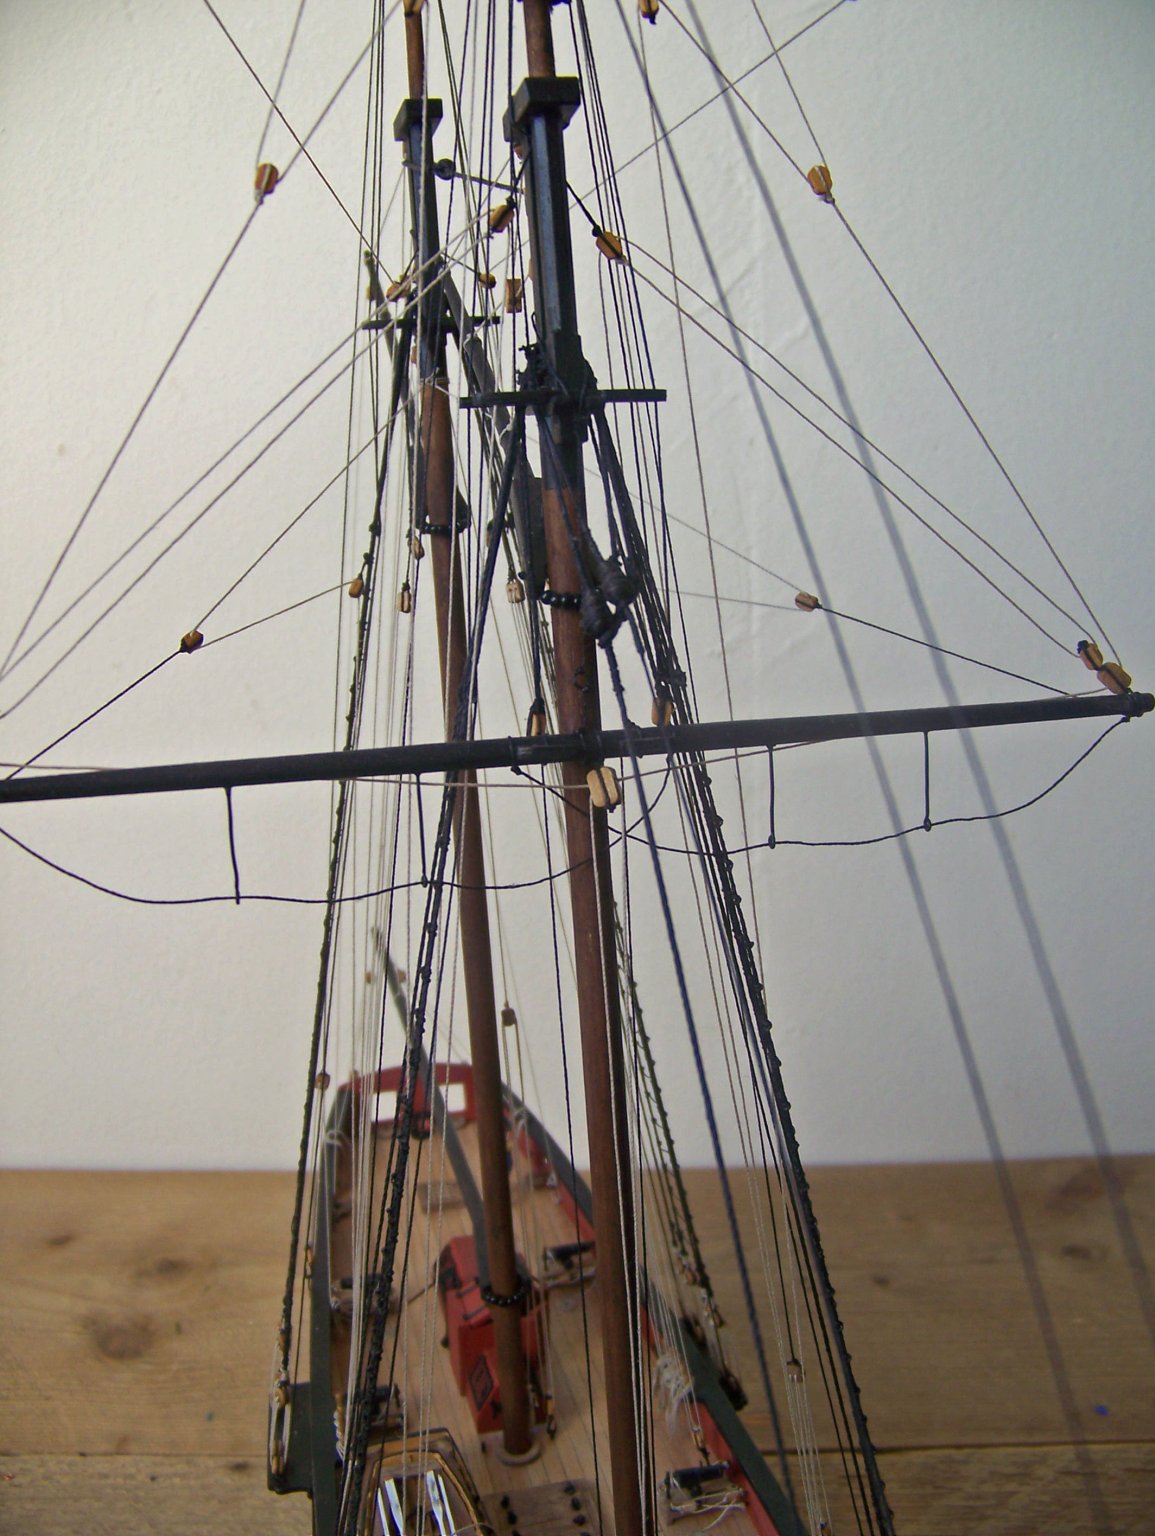
You did a wonderful job with the rigging!
-
What a nice light color has this walnut. I will check mine if it's also that light. First I thought I would replace it with pear. But now i'm doubting if i look at your great result 😁
-
Nice build so far! What kind of wood did you use? And no coppering?
-
Oh that's great, because the Pegasus is my next project. It would be nice to see more build logs of this ship.
-
Much succes with the build! It's a very nice model!
- 21 replies
-
- 1
-
-
- mercury
- victory models
- (and 1 more)
-
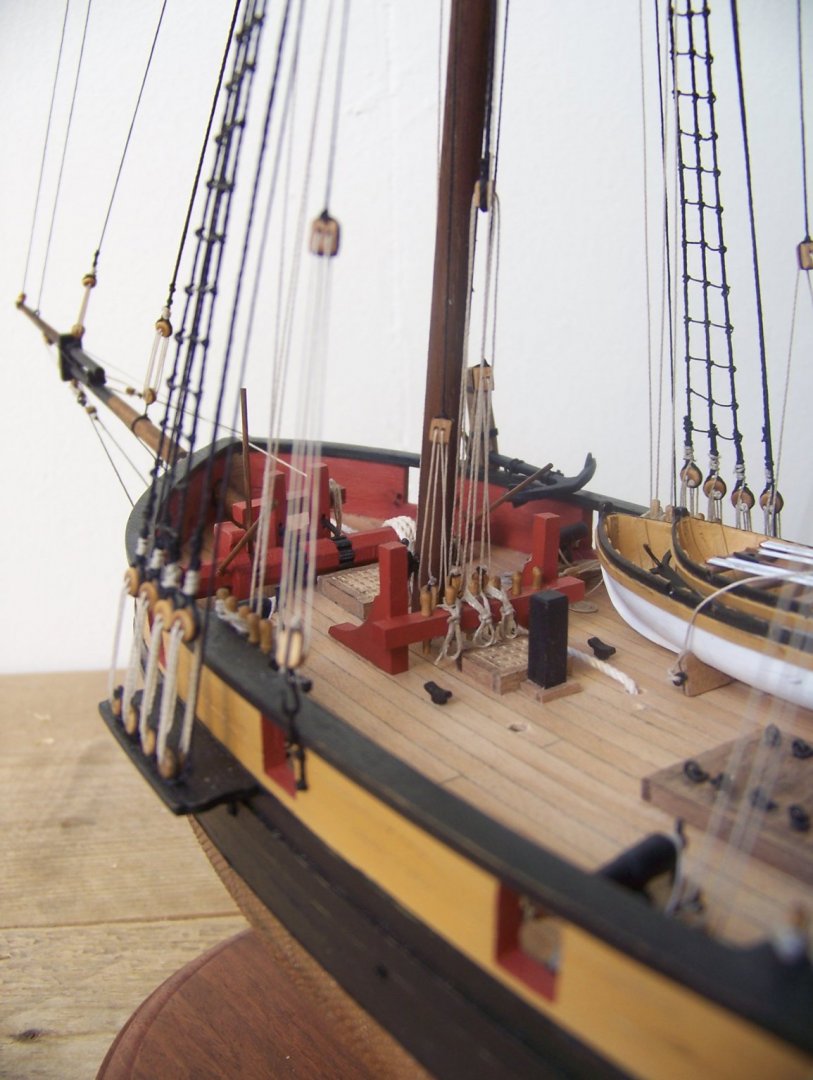
I did not serve rope. Only a small part around the mouse. It's not authentic, but I did not have enough knowledge to do it correct like in real practice. But I have learned a lot from other logs and have an idea now what needs to be served. With the next ship I will go further with perfecting the rigging and serve the line. And I would buy a serving machine, like Chuck Passaro's one. That looks much easier and more enjoyable.
-
That would be a great idea!