-
Posts
418 -
Joined
-
Last visited
Content Type
Profiles
Forums
Gallery
Events
Everything posted by bdgiantman2
-
My guess is that the planks would butt against the keelson, that is what happens in the other ships. Great building project, this is looking great. Brian D
- 99 replies
-
- ancre
- La Mahonesa
-
(and 1 more)
Tagged with:
-
Saw this and thought of your blog on here. I hope this is approved https://www.facebook.com/photo/?fbid=1062011819046190&set=a.523280112919366
- 438 replies
-
- minesweeper
- Cape
-
(and 1 more)
Tagged with:
-
More the one long piece, but either way is doable.
- 438 replies
-
- minesweeper
- Cape
-
(and 1 more)
Tagged with:
-
If I understand you correctly, I would think it would be a lot easier fitting a block of wood at the base between each of your bulkheads as your garboard, starting at bulkhead 1 and continuing to bulkhead 15 as you are showing us with the red highlighted areas and having it run slightly beneath each bulkhead as well then sand to the desired shape underneath. The middle six or seven bulkheads show the same shape of the garboard to my eyes so that ought to make shaping a bit easier. Brian D
- 438 replies
-
- minesweeper
- Cape
-
(and 1 more)
Tagged with:
-
Your stern-wheeler looks about 50ft to 60ft length. I tried to include a picture from another site of a slightly longer boat with bridge in front but wouldn't let me include the link. The side view provided gives good details for the main deck. Can still have car riding in middle of boat. Also I was just noticing that the paddle in first picture is a chain drive and not steam powered although there probably was some kind of a small boiler under bridge. Interesting projects that you are working on, keep it up. Found these as other ideas for you: https://cmdboats.com/plan/River Belle 40 https://www.oldoregonphotos.com/small-sternwheeler-restless-near-gardiner-c-1895.html Brian D
- 732 replies
-
- Lula
- sternwheeler
-
(and 1 more)
Tagged with:
-

Pewter Cannons
bdgiantman2 replied to bdgiantman2's topic in Metal Work, Soldering and Metal Fittings
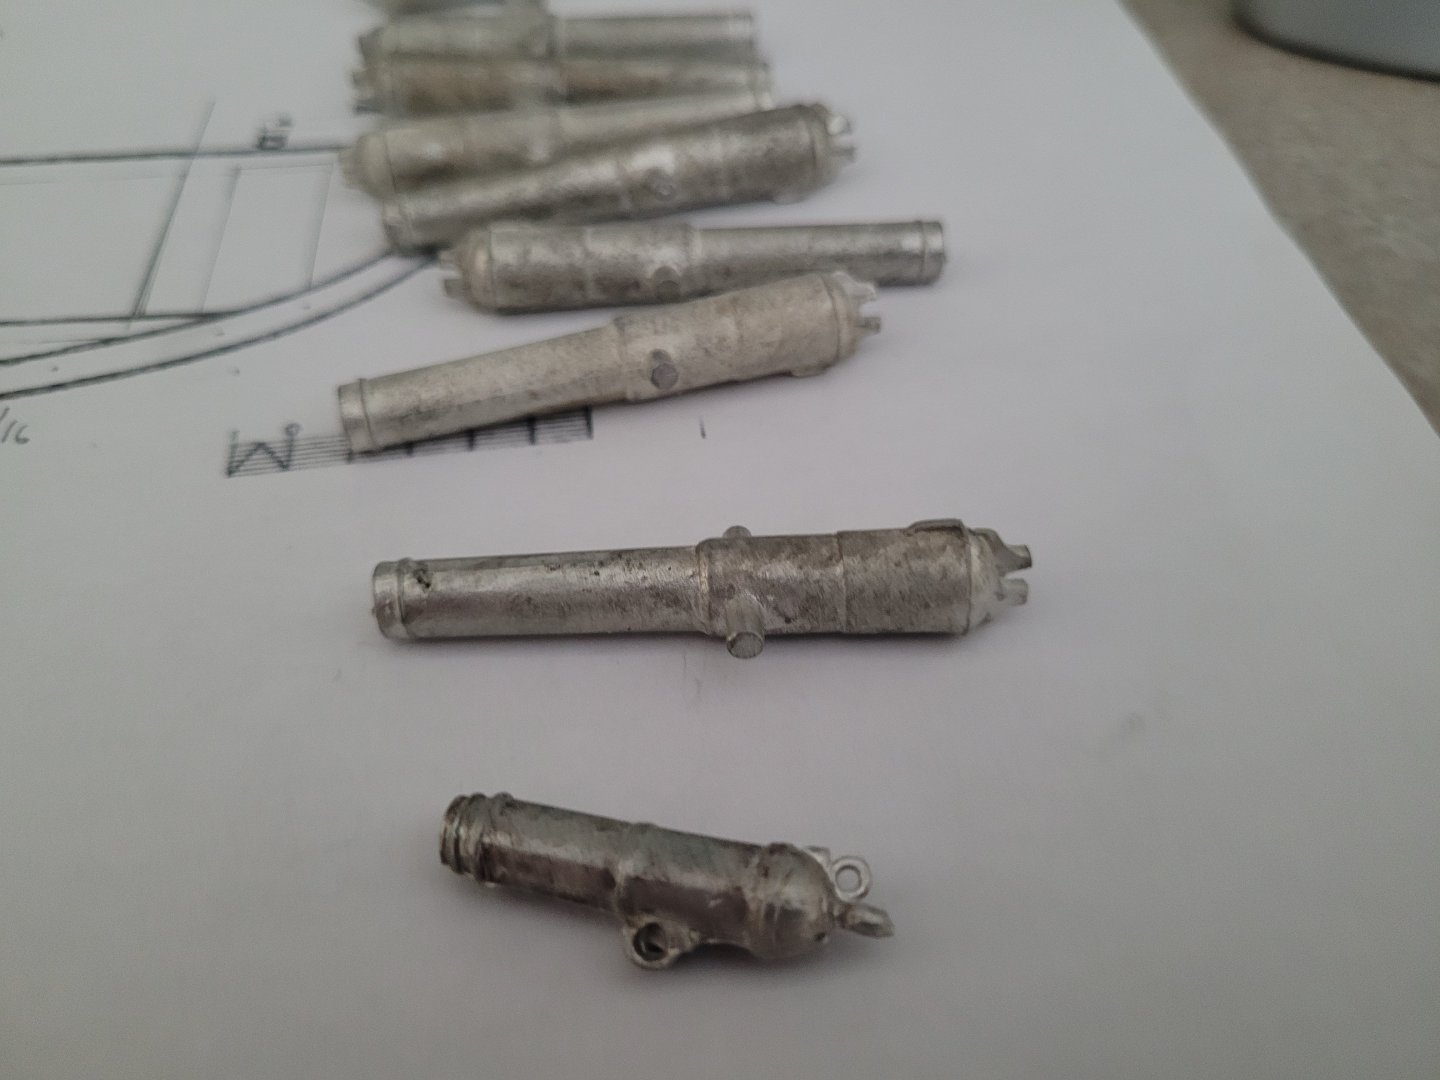
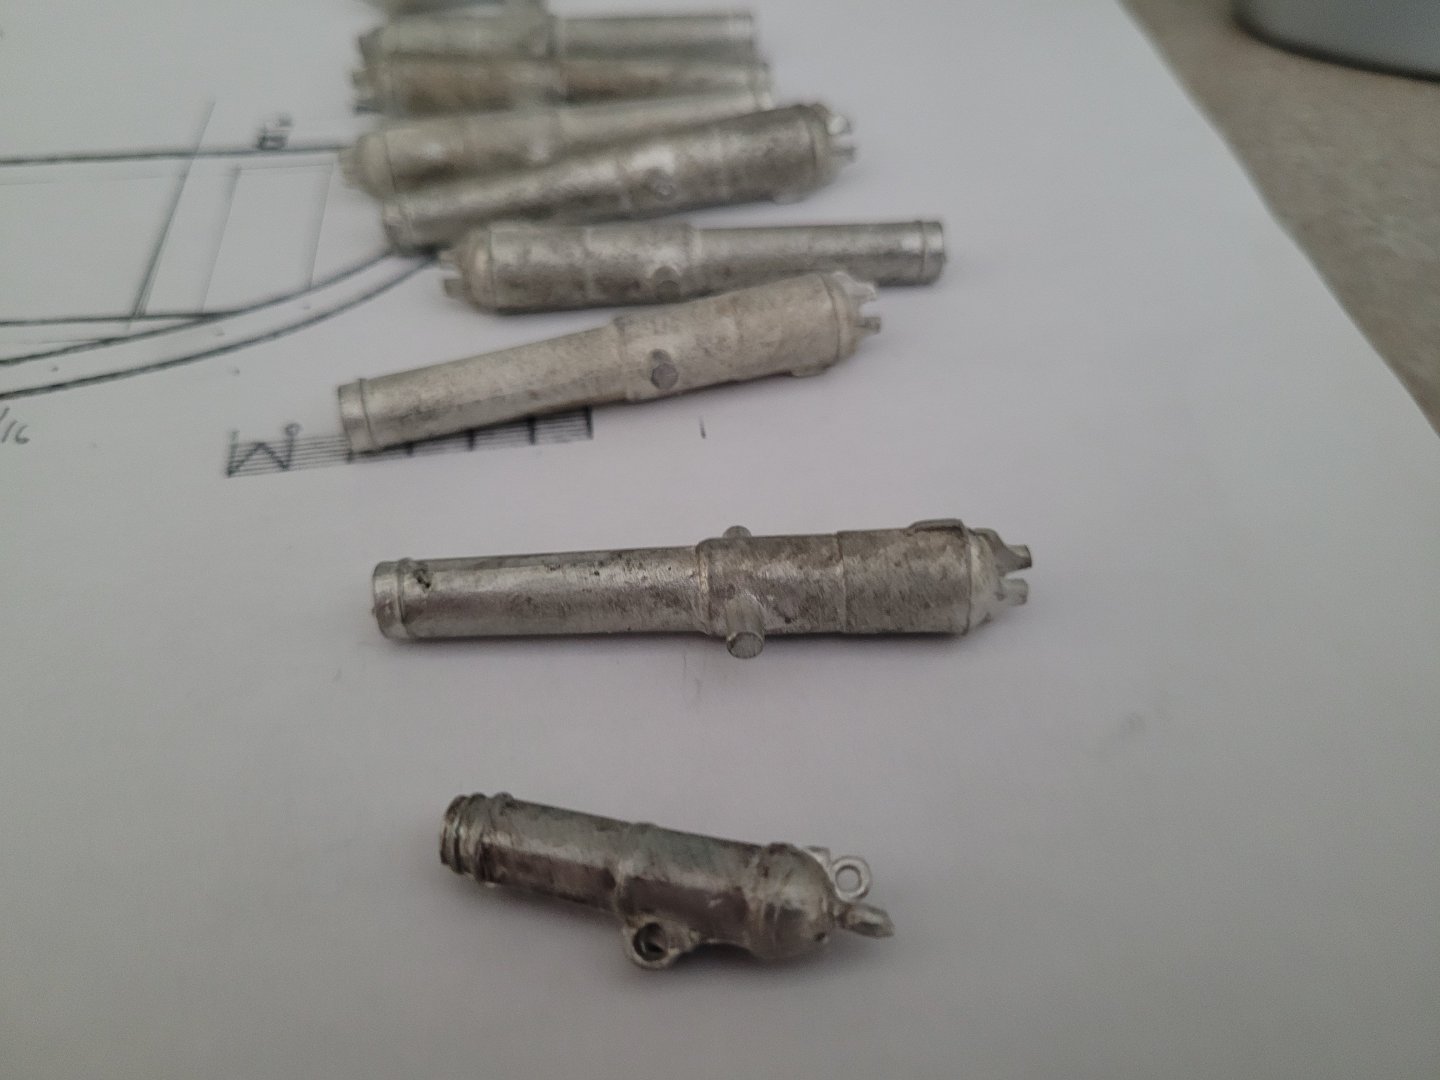
Hello Wefalck, thank you for your post on this thread. I am currently building Brig Eagle from 1814, she was built on and sailed on Lake Champlain. Everything I have seen for regular cannons of that time period still have the traditional cascabel on back end of cannon. These cannons as well as the carronades were purchased from Blue Jacket. Brian D -
Hello friends, I am looking again for suggestions from those of you who know more than I do. I should have noted this a lot sooner, but I've found out that the pewter cannons I purchased were not made correctly. None of the eight long cannons have the proper cascabel ball like supposed to. Does anyone on here have experience working with pewter and can give recommendations for fixing this? I have never personally tried doing any casting previously let alone do work with pewter before this project and have no clue what to do. Thank you in advance. Brian D.
-
You're developing or thinking about an even bigger design? Oh snaaaaaaaaaaaaap!! Must be one of the 3rd rates, but could be something bigger. Your engineering skills are impressive. I can tell you and Mr. Passaro think very similarly.
-
She may be a beast, but I am impressed with your scratch-building this whole thing the way you are. Portland is coming along very nicely, keep it up Brian D
-
Take at look at Blue Jacket, I saw a 5-blade prop on there you can buy. Not sure the scale. https://www.bluejacketinc.com/shop/fittings/under-water/propellers/5-blade/f0918-1-1-2-dia-rh/
- 438 replies
-
- minesweeper
- Cape
-
(and 1 more)
Tagged with:
-
boat model looks great, even though I am not much of a seafood fan. Unique construction method but has come out well. Brian D
- 201 replies
-
- Oyster Sharpie
- first scratch build
-
(and 1 more)
Tagged with:
-
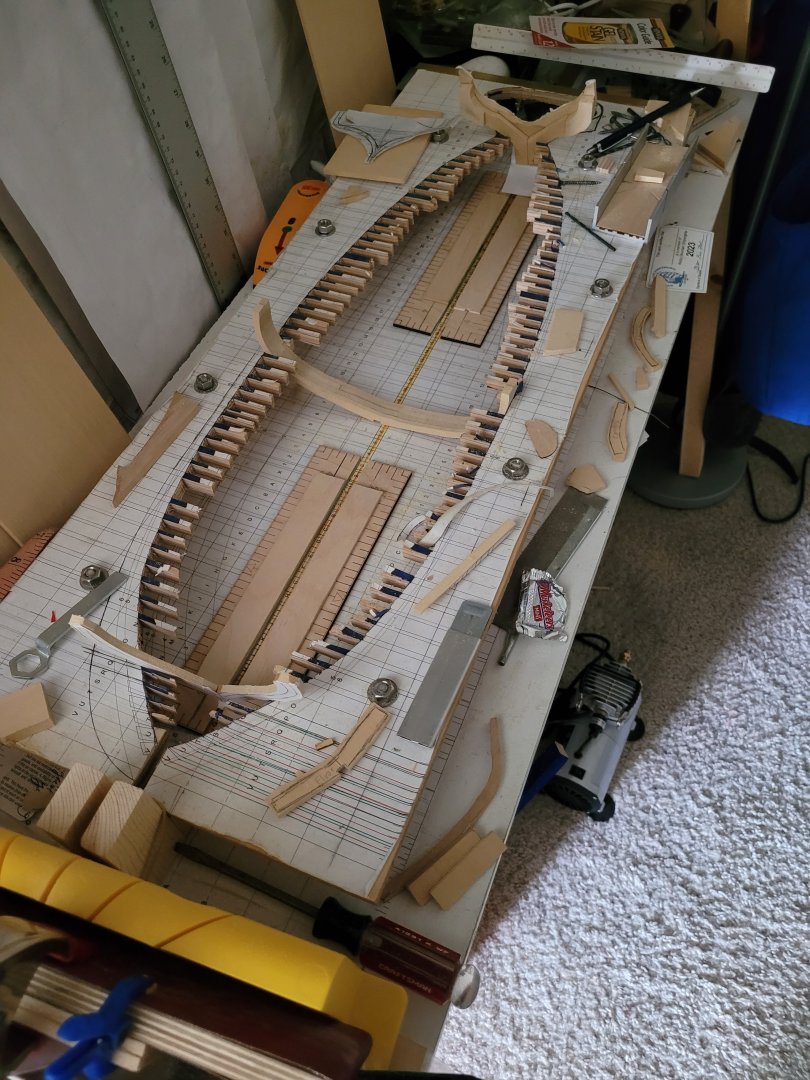
Another quick update. I am slowly continuing to shape frames. As had mentioned in post 39 (April 2023 *gasp*) I had even started experimenting with hawse frames. Today I cut out the excess wood around the first hawse timbers for both port and starboard. I know lots of thinning and trimming remains, and many frames still to make. Feels good to feel sawdust again.
-
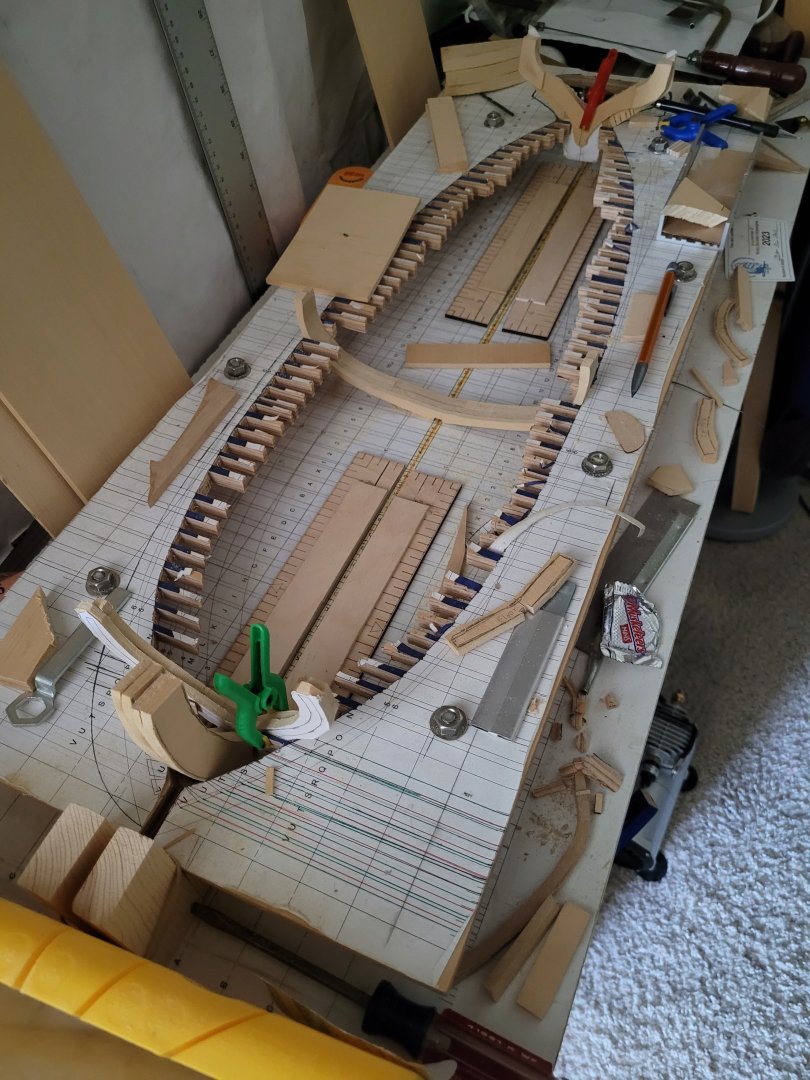
With the weather remaining nice here, I have been attempting to make new progress despite limitations involving certain power tools. Currently working on several more of Eagles rib frames in addition to more on the guns from my last post. Using a giant sanding block a member of my local guild gave to me, I thinned down the two widest frames on Eagle and have them sitting in position (Frames 7 and 8 on the jig plan). The frames of identical shape immediately behind are being shaped up and will be constructed hopefully soon. Also been attempting some other rib construction both in bow and stern (Frame P in the bow and Frame 36 which is sternpost). In the photo you will also see the keel guides I have made but haven't yet screwed into place yet. Brian D
-

Gunboat Philadelphia 1776 by tmj
bdgiantman2 replied to tmj's topic in - Build logs for subjects built 1751 - 1800
You and Mr. Ribbits have done a great job. Carry on!! -
Hamilton - I've been following your build quietly and you have overall done a great job on this cross-section. Is this just me, or in the picture looking straight down over the model, it looks like the aft wall of the pumphouse is off center too far to the right?? I am sure that I would have made that same mistake myself making such items. Brian D
-
Pretty vessel, I can see why someone would convert into a personal yacht. Thank you so much for your service, I will follow this blog with interest. Brian D
- 438 replies
-
- minesweeper
- Cape
-
(and 1 more)
Tagged with:
About us
Modelshipworld - Advancing Ship Modeling through Research
SSL Secured
Your security is important for us so this Website is SSL-Secured
NRG Mailing Address
Nautical Research Guild
237 South Lincoln Street
Westmont IL, 60559-1917
Model Ship World ® and the MSW logo are Registered Trademarks, and belong to the Nautical Research Guild (United States Patent and Trademark Office: No. 6,929,264 & No. 6,929,274, registered Dec. 20, 2022)
Helpful Links
About the NRG
If you enjoy building ship models that are historically accurate as well as beautiful, then The Nautical Research Guild (NRG) is just right for you.
The Guild is a non-profit educational organization whose mission is to “Advance Ship Modeling Through Research”. We provide support to our members in their efforts to raise the quality of their model ships.
The Nautical Research Guild has published our world-renowned quarterly magazine, The Nautical Research Journal, since 1955. The pages of the Journal are full of articles by accomplished ship modelers who show you how they create those exquisite details on their models, and by maritime historians who show you the correct details to build. The Journal is available in both print and digital editions. Go to the NRG web site (www.thenrg.org) to download a complimentary digital copy of the Journal. The NRG also publishes plan sets, books and compilations of back issues of the Journal and the former Ships in Scale and Model Ship Builder magazines.


