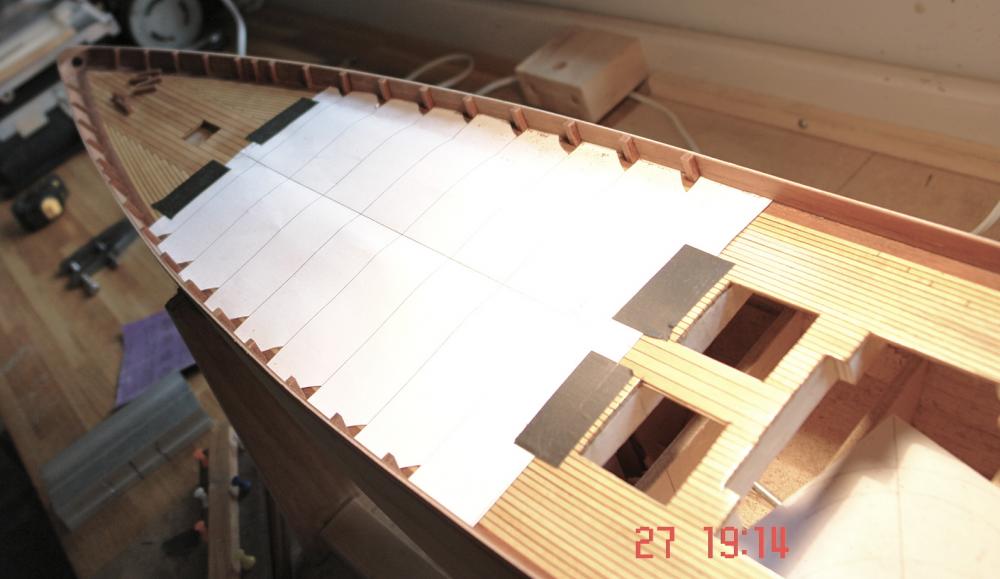
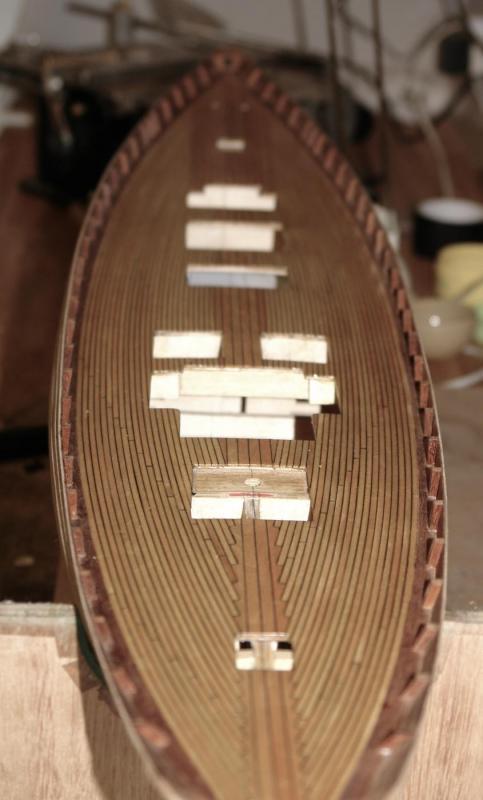
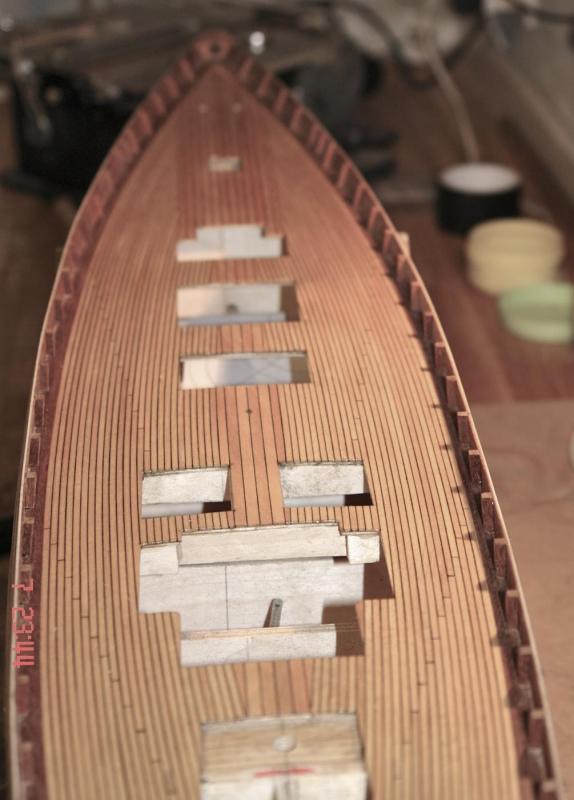
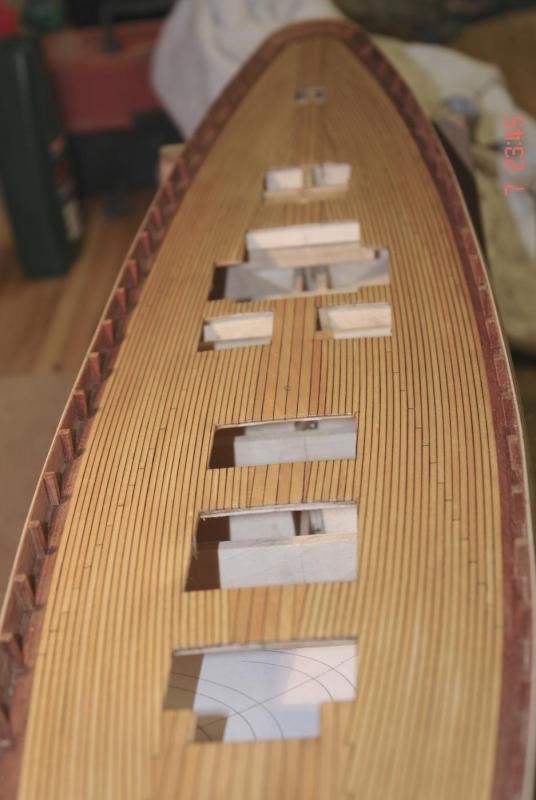
-
Posts
3,273 -
Joined
-
Last visited
Content Type
Profiles
Forums
Gallery
Events
Everything posted by KeithAug
-

Ship lettering
KeithAug replied to piperck's topic in Building, Framing, Planking and plating a ships hull and deck
Chris - prompted by Marks comment I found photo etched brass letters at Cornwall Model Boats - I know they ship to the USA. http://www.cornwallmodelboats.co.uk/acatalog/scalelink-Letters.html -

Ship lettering
KeithAug replied to piperck's topic in Building, Framing, Planking and plating a ships hull and deck
Hello Chris You may find something here - http://www.becc.co.uk -
Hello Tom Thanks for the feed-back. I plan to paint the plywood bulwarks, and a waterline strip in white. The hull between the bulwarks and the waterline and below the waterline will be left as mahogany - probably finished in satin poly. I have to force myself to find time for Altair - usually after 10pm when my wife goes to bed. Toby looks like a character!
-
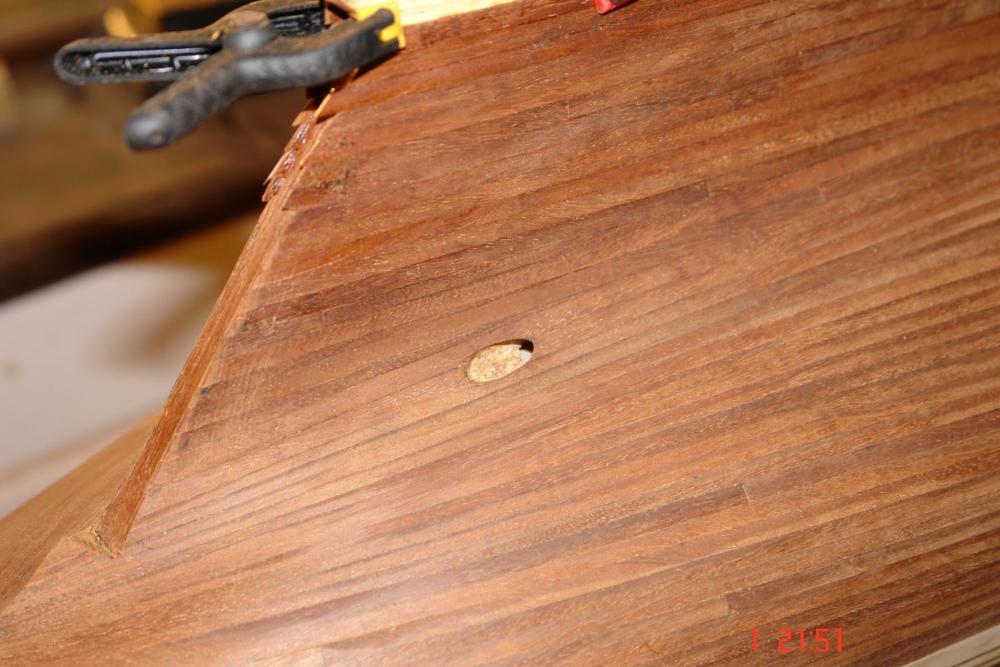
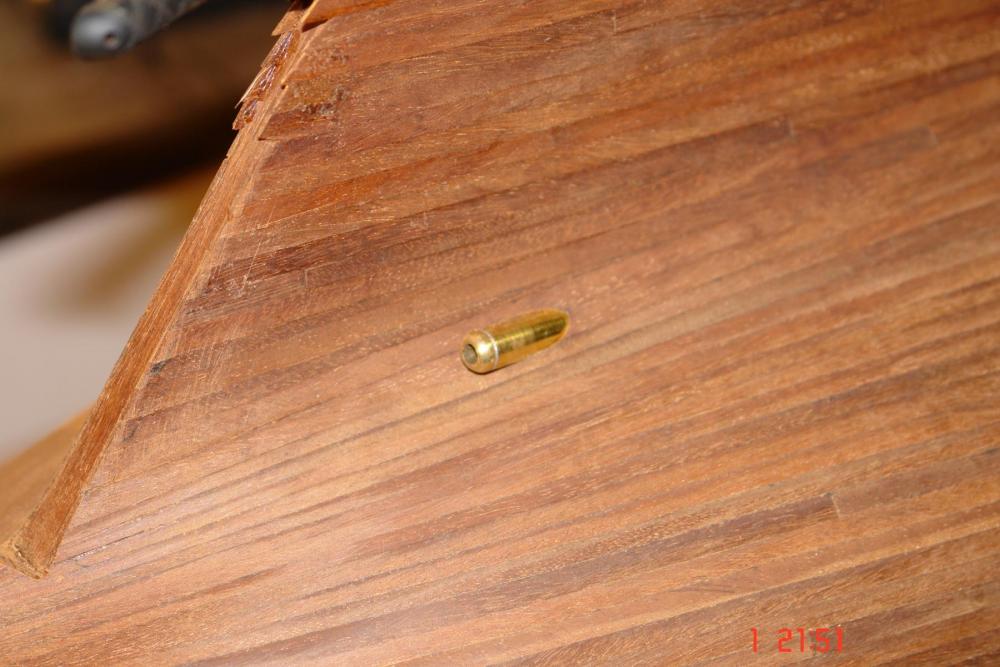
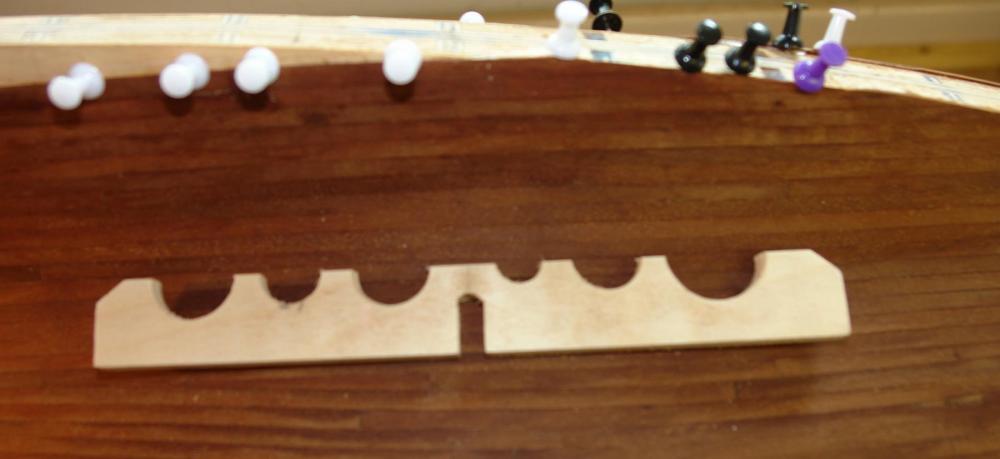
Thank you Mark. A couple of bits of minor progress before returning to house repairs for a while. Planking around the hole where the prop shaft exits the hull was always going to be a bit tricky and I wanted to get it right. Some very gentle filing with a circular metal file was necessary but it turned out well. I also thought I needed a profile gauge for getting the bulb of the keel correctly shaped. I drilled a series of different sized holes in a scrap of ply and slit through the centre. Here are the jobs for the next few weeks:- Daughters flat:- Rebuild the steps down to the kitchen. Replace skirting boards in 2nd bedroom, prepare for painting and paint. Prepare hall for painting and paint. Replace ceiling lights and light switches. Lift floor coverings in preparation for replacement. Home. Dig and install a new land drain to protect annex from water ingress. Treat all woodwork with preservative. Replace joists and floorboards in ground floor. Lay new bamboo floor. Sons house. Replaster damp damaged areas in second bedroom. Redecorate. I sometimes wonder why I retired. I have gone from a reasonably well paid job in industry to become a jobbing builder!!!!!!!!!
-

ancre La Salamandre by tadheus - 1:24
KeithAug replied to tadheus's topic in - Build logs for subjects built 1751 - 1800
Pawel Your photographs are very clear - what camera do you use? Very realistic work. -
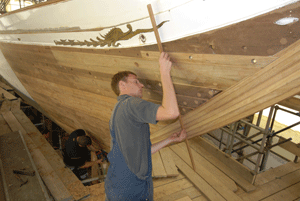
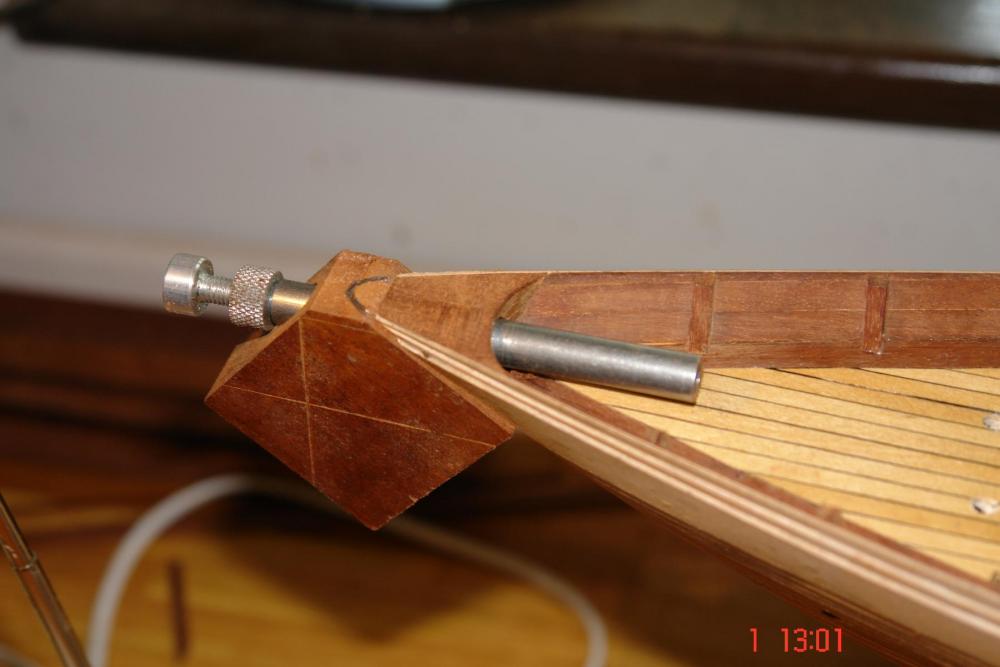
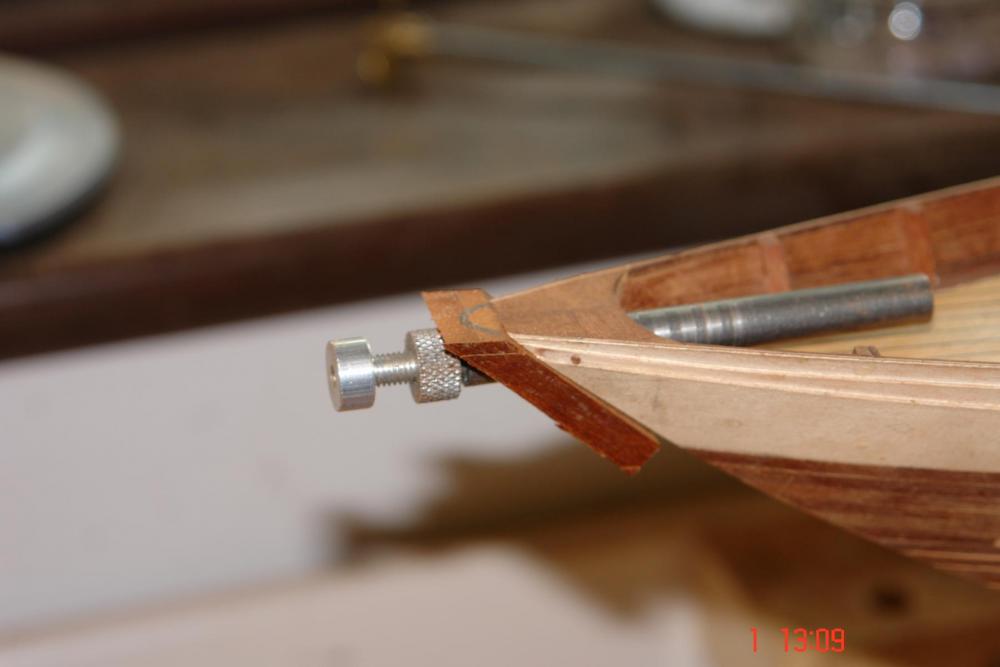
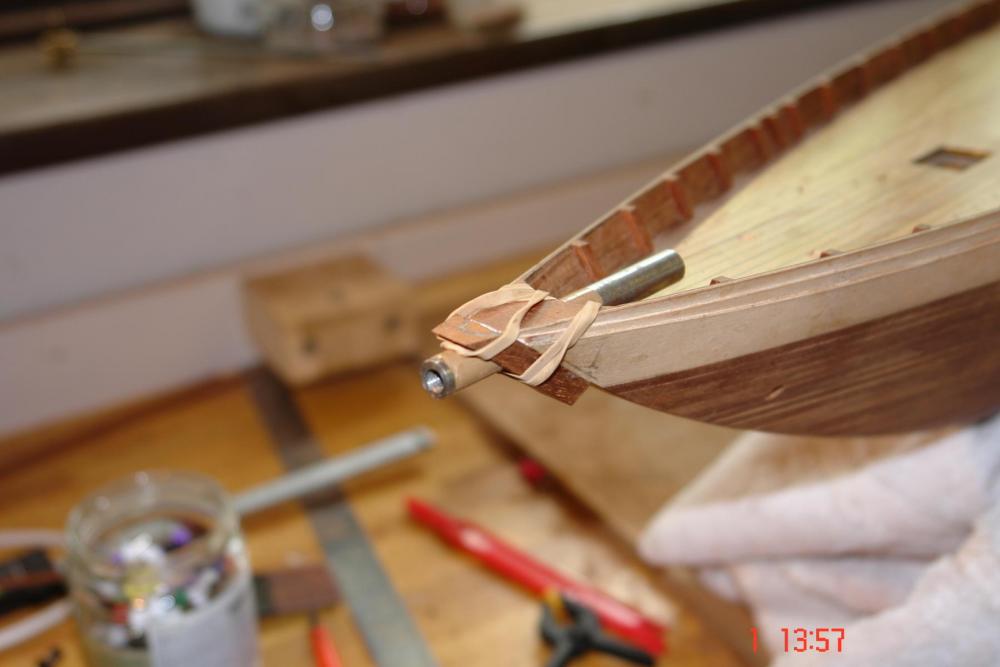
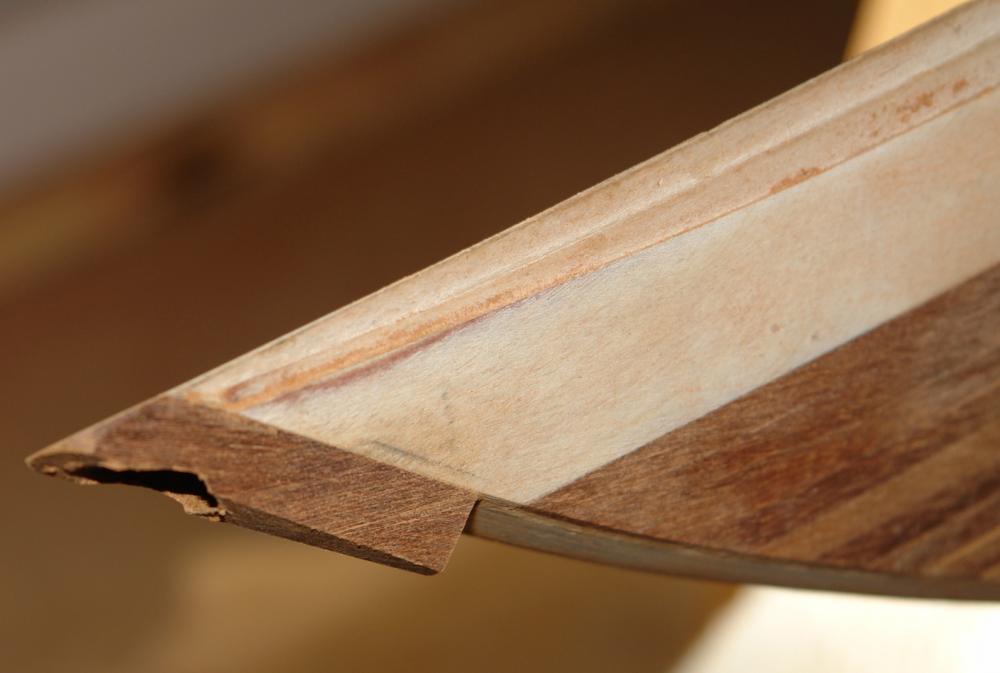
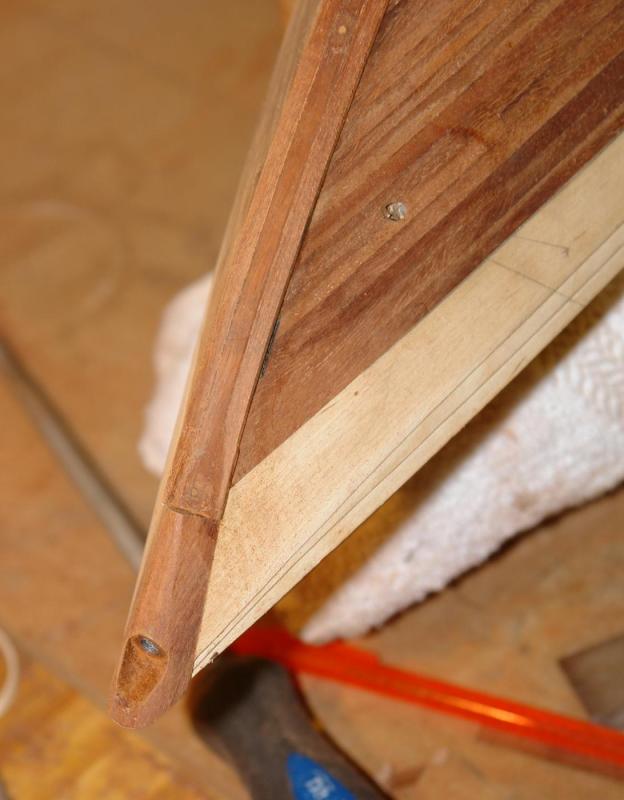
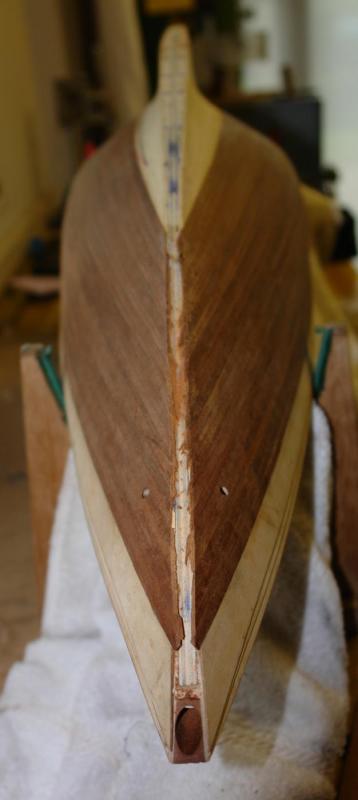
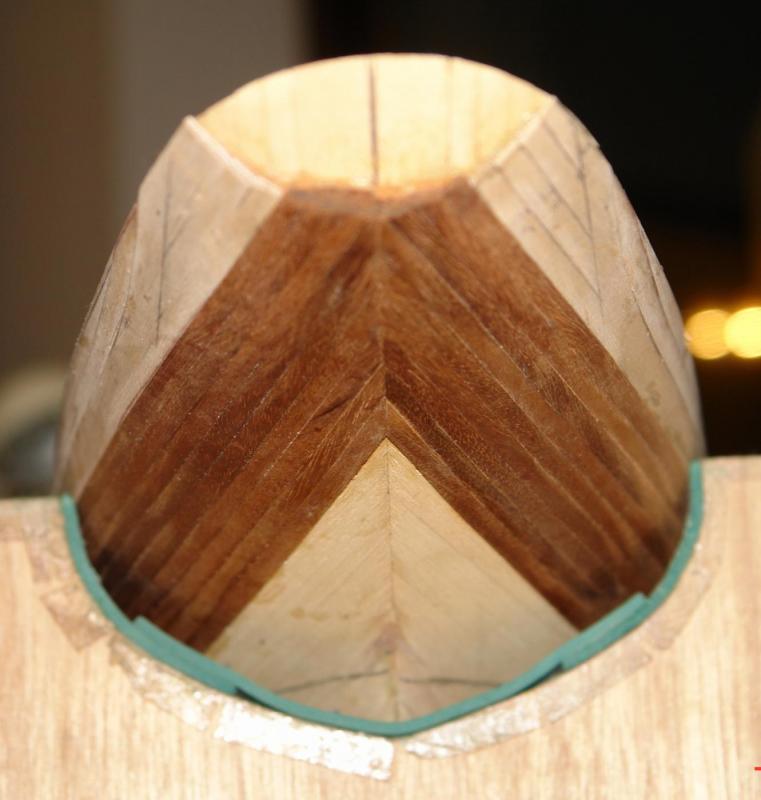
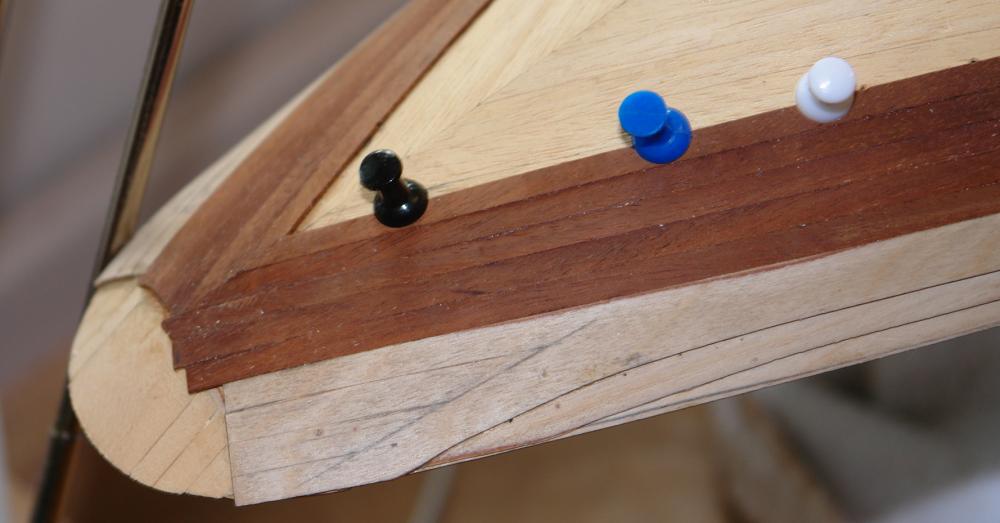
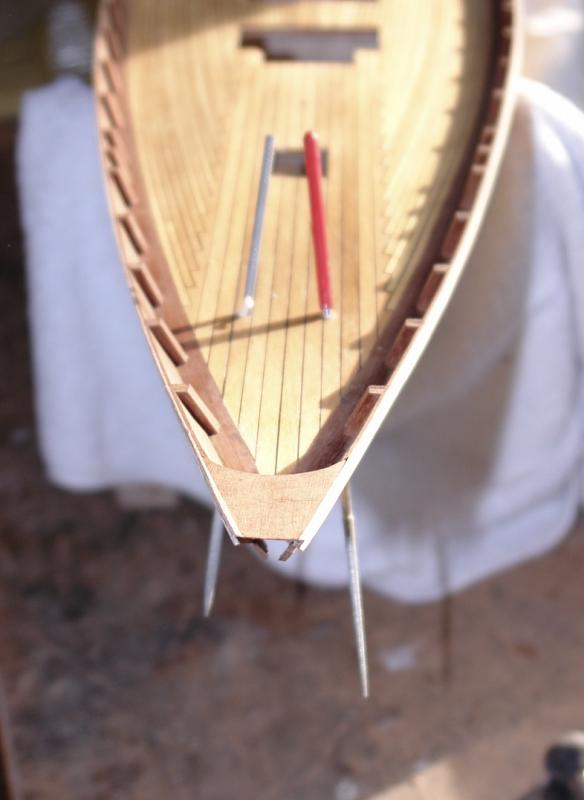
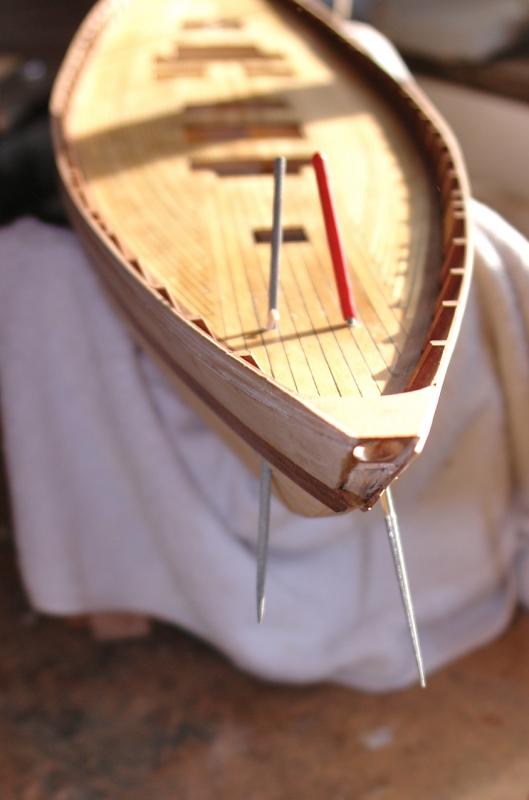
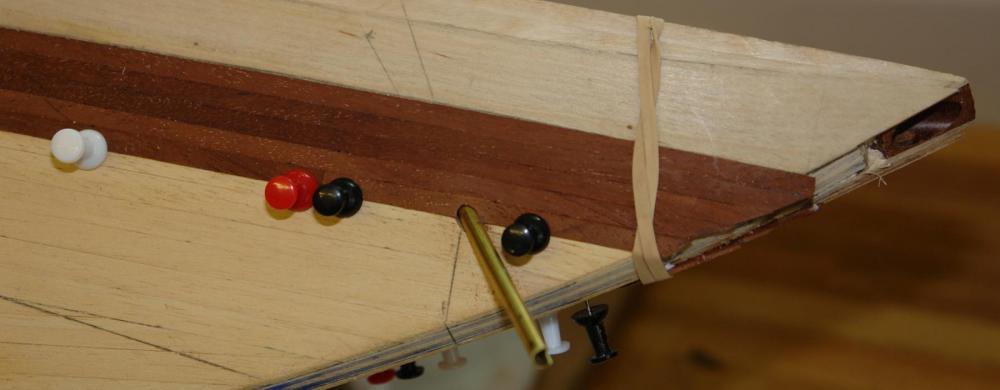
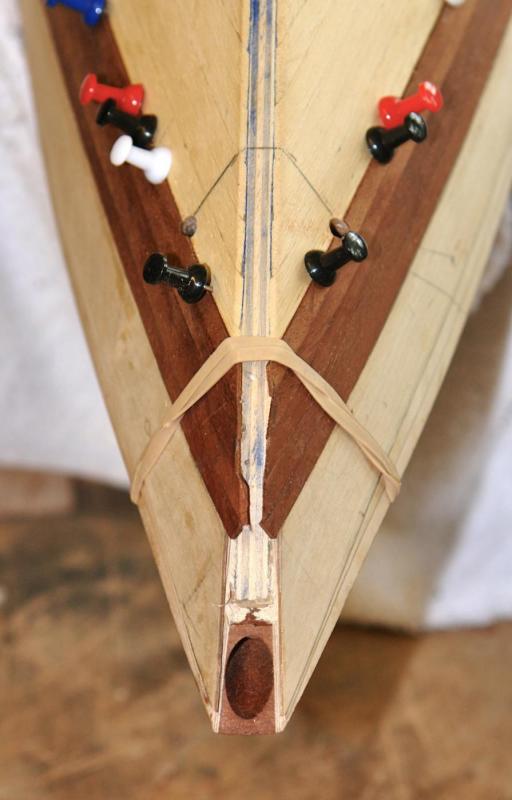
For a while I have been thinking about giving Altair a nose and today was the big day. But first of all a photo of the real thing. Also worth noting how the stem planks run along the keel. I had already bored a 10mm hole through the "stub" nose and I needed the holes in the stub nose and the nose to align perfectly. So I took an off-cut of mahogany, cut the correct angle to mach the stub nose and bored a 10mm hole. the photo shows the block in place with a steel bar to give the hole alignment. I then cut away the excess with a saw and disc sander and glued it in place. The nose was then sanded to blend with the hull. I also made a start on the keel planks and finished shaping the nose. The hull is starting to look satisfyingly sleek.
-
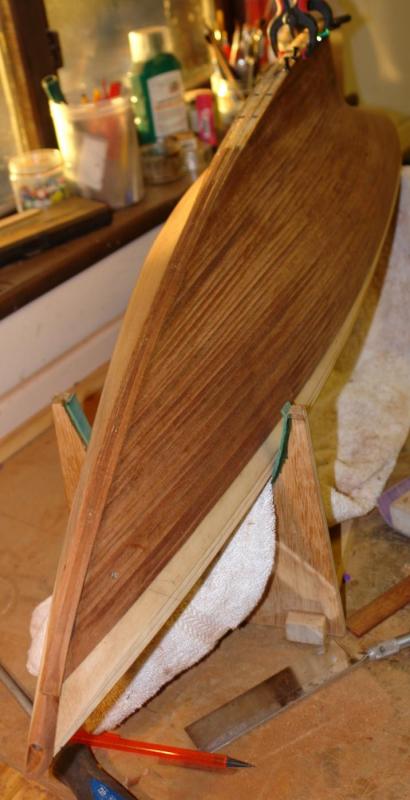
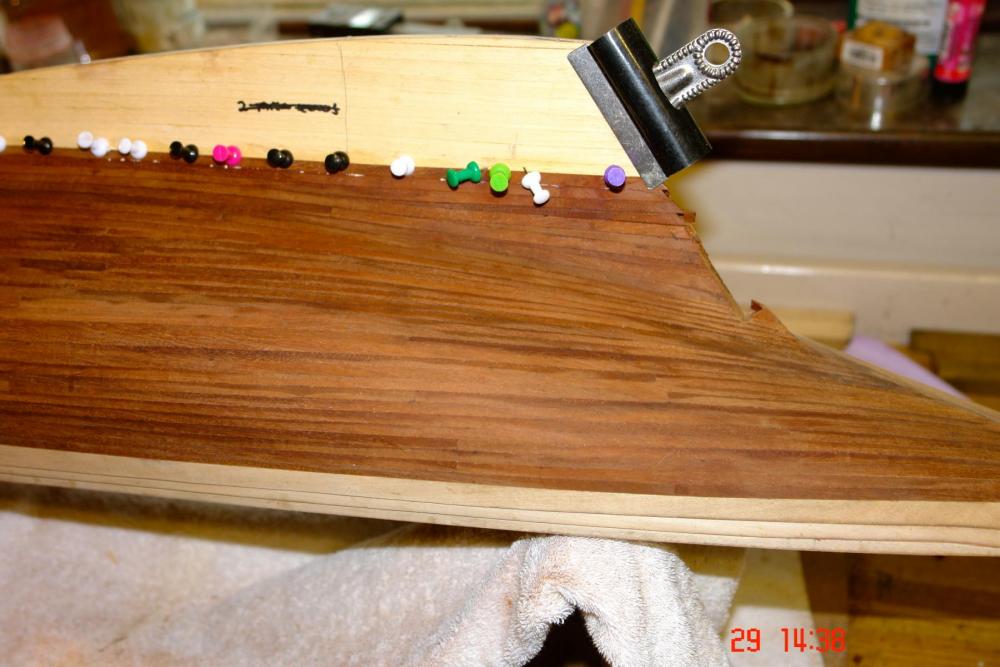
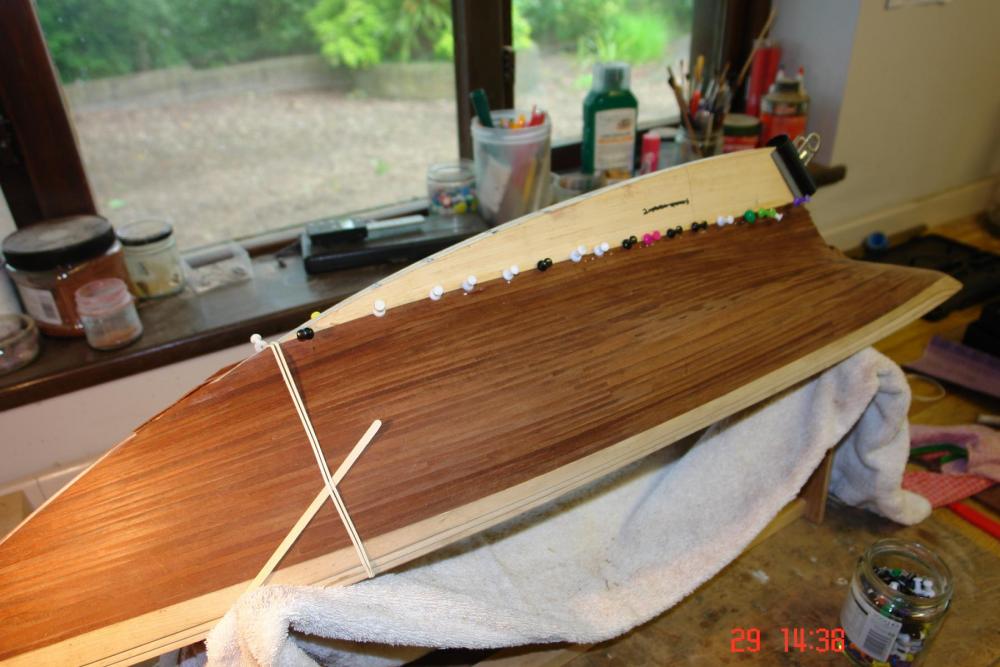
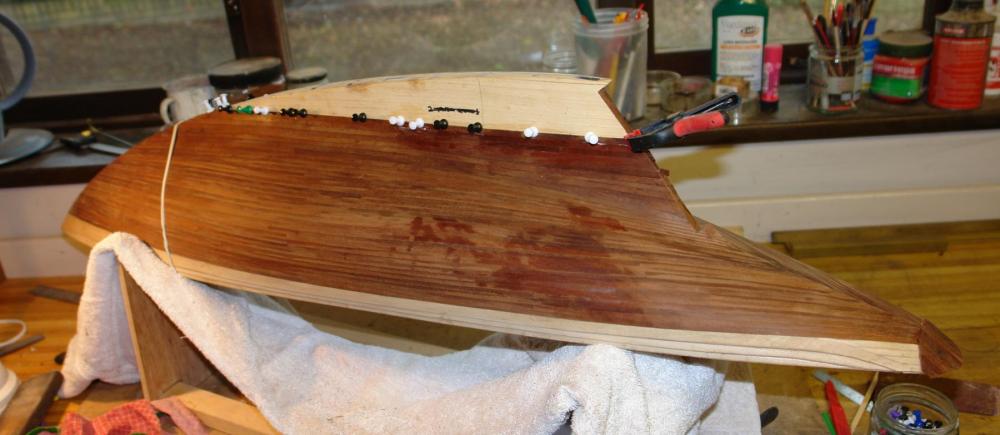
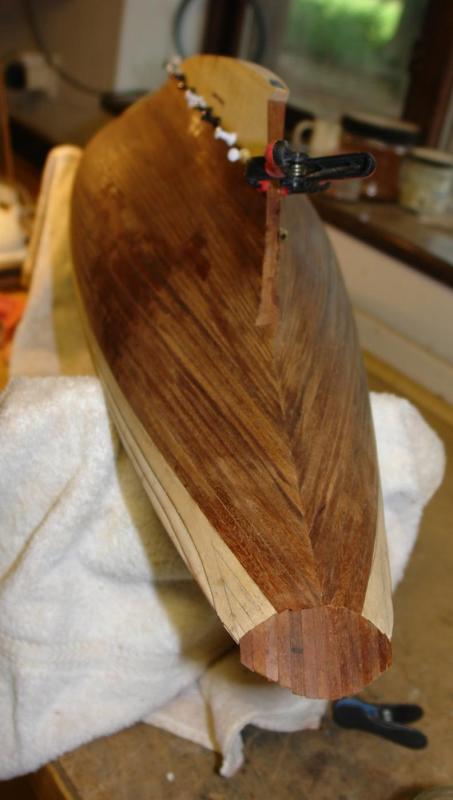
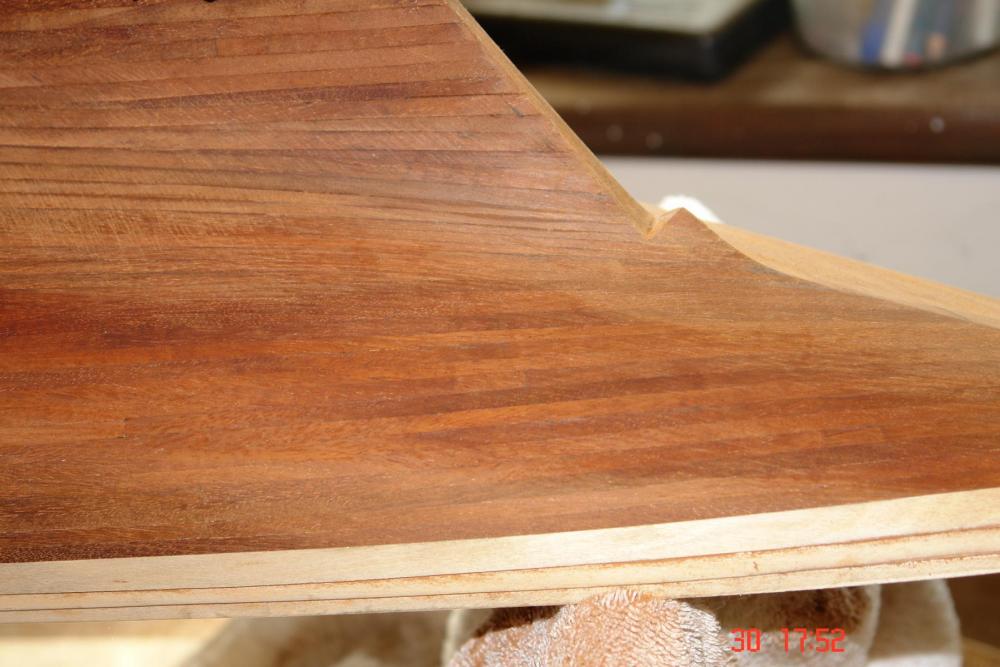
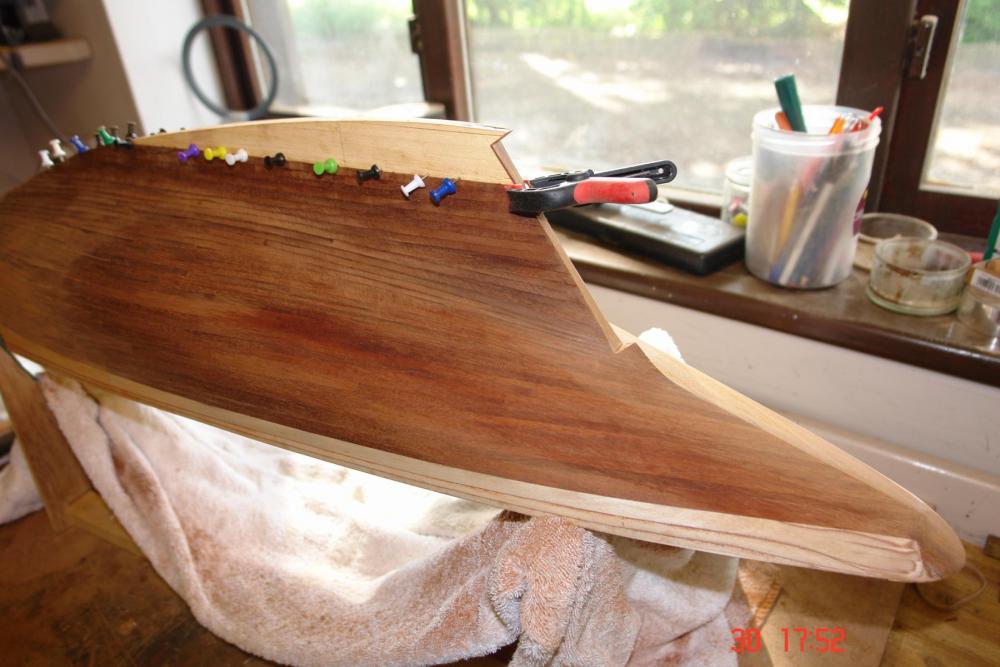
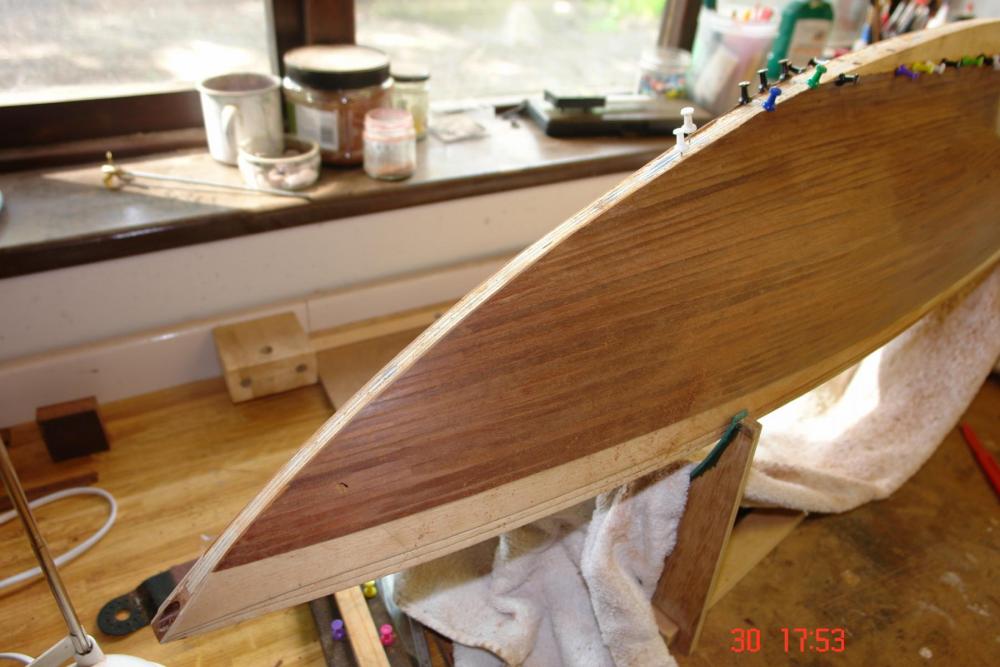
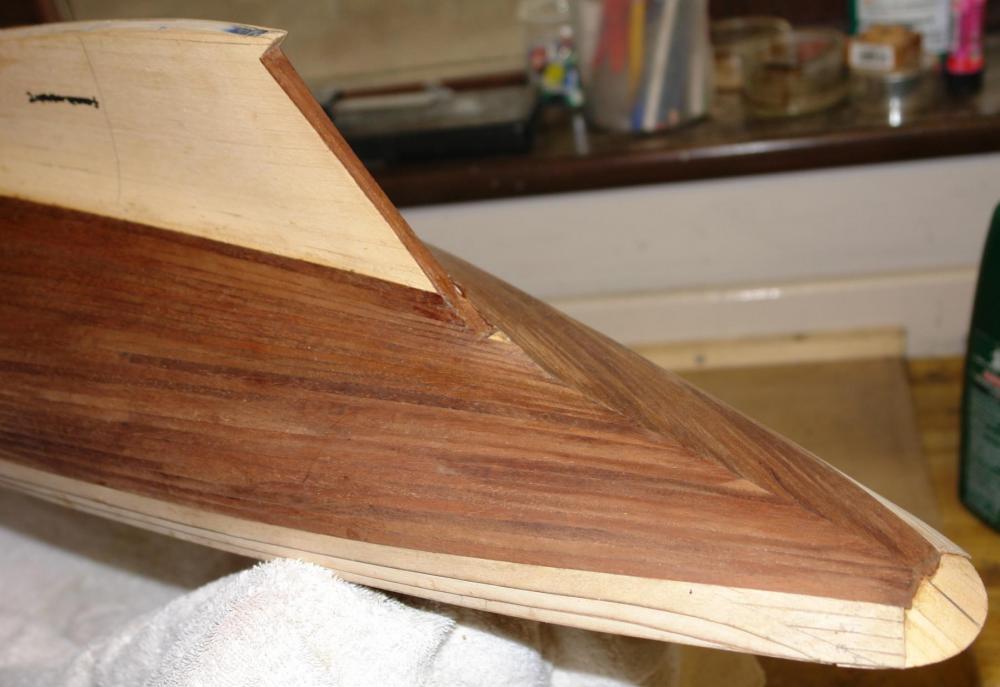
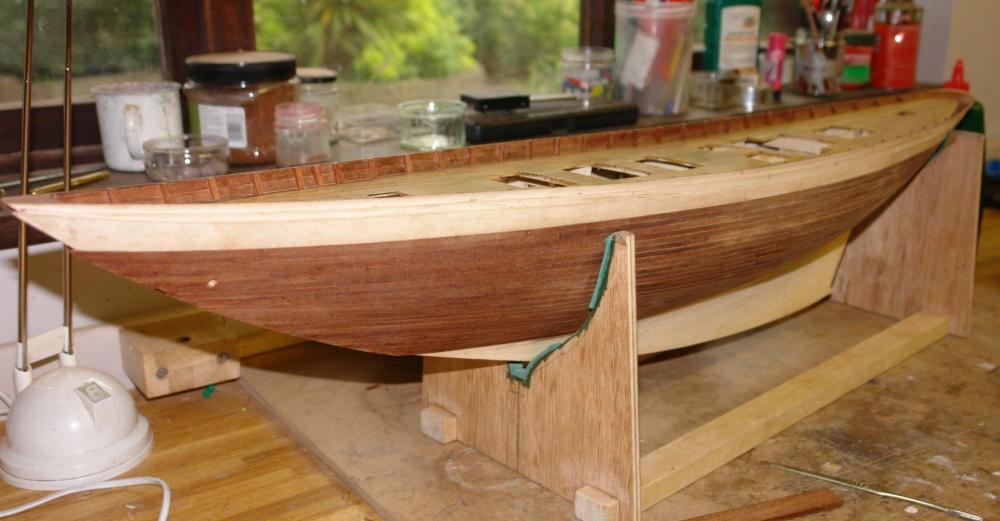
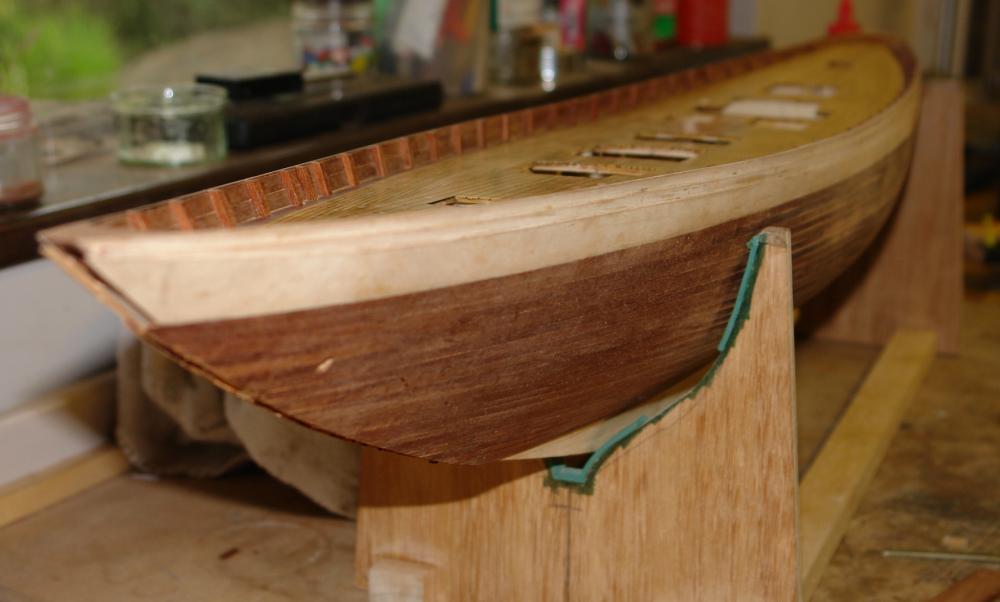
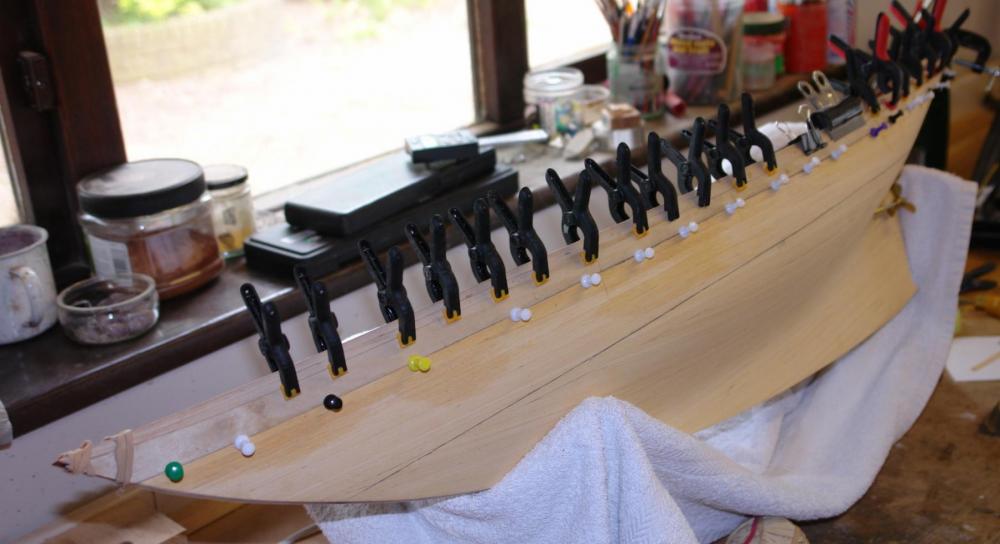
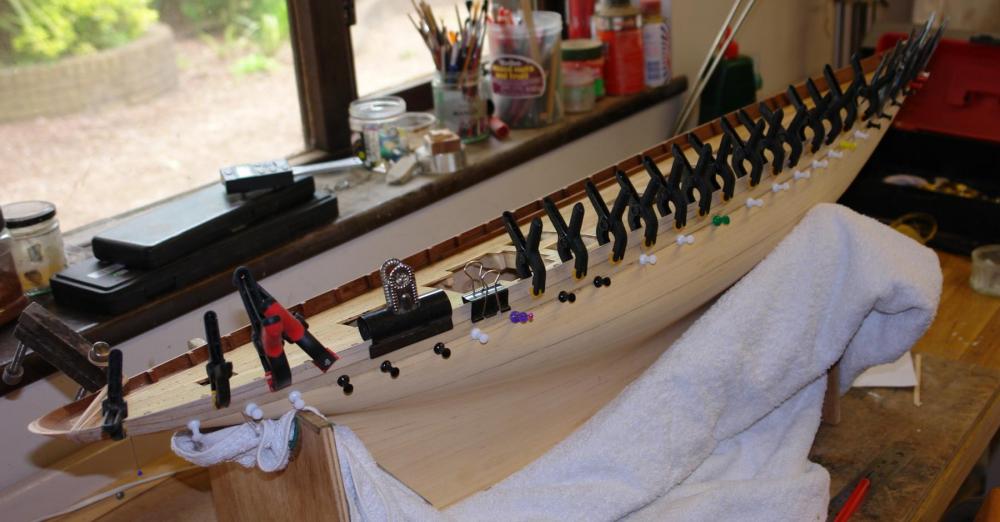
I am nearing completion of the hull second planking so a few photos to show progress. By this stage all the remaining planks are parallel so the job is becoming much easier. You can see that I have had to add a couple of wedge pieces to fill out the back of the keel. I have started looking for fill in jobs while the glue dries on the last plank. Here I have planked the stern. I have also started doing a bit of rough sanding to get the hull planks smooth. I also sanded the stem ready to lay up the longitudinal planks from which stem profile is shaped. Only about 8 planks to go before the hull planking is complete.
-
Hello Brian The plans were bought from Cornwall Model Boats. www.cornwallmodelboats.co.uk. They sell a wide range of model boat plans and ship worldwide. Thank you for the positive comments.
-

ancre La Salamandre by tadheus - 1:24
KeithAug replied to tadheus's topic in - Build logs for subjects built 1751 - 1800
Tadheus lovely work and very realistic. -
Tom, Yes hand tools only. Power tools were limited to a mini craft drill, a Black and Decker hand drill and a soldering iron. I didn't even have a power sander. I managed to make a lot of the circular parts out of nesting brass tubes - I got a huge bag of offcuts from a local model shop. What little turning I needed to do was done with the black and decker and various files. I bought the frigates props / shafts / rudders but apart from that all the other metalwork was hand made. That said I don't think I would ever want to do without a lathe and mill now. Both were bought 4 years ago and I rely on them a lot. I did buy planking pre cut - but this was an expensive option and now I cut my own - as illustrated earlier in my build log. I have now adopted a policy of if If I need a power tool I buy it or make it, life as a result is much easier. Tom / Jorgen Thank you for your kind comments.
-
Hello Julie welcome back. Having completed the balsa backing I sanded it level with the deck frames. I did the first planking working from deck level to keel. I then fitted and glued the deck in place. I then fitted the deck edge plank. I then sanded the 1st planking. The edges of the plywood deck and deck edge plank being sanded as I sanded the hull planking. I then did the 2nd planking. The advantage of this sequence is that the second planking comes all the way up to deck level and covers the edges of the plywood and deck edge plank. I think you could adopt the above sequence and use the first plank to correct your dip by sitting the deck on the plank locally with a bit of shimming on top of the frames to support it.
-
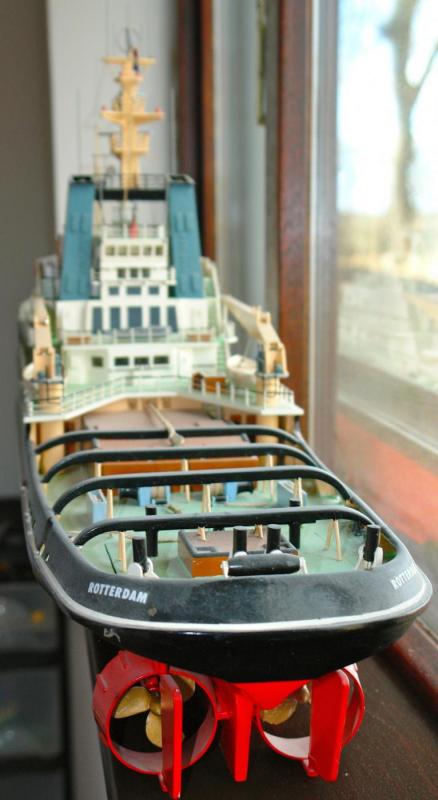
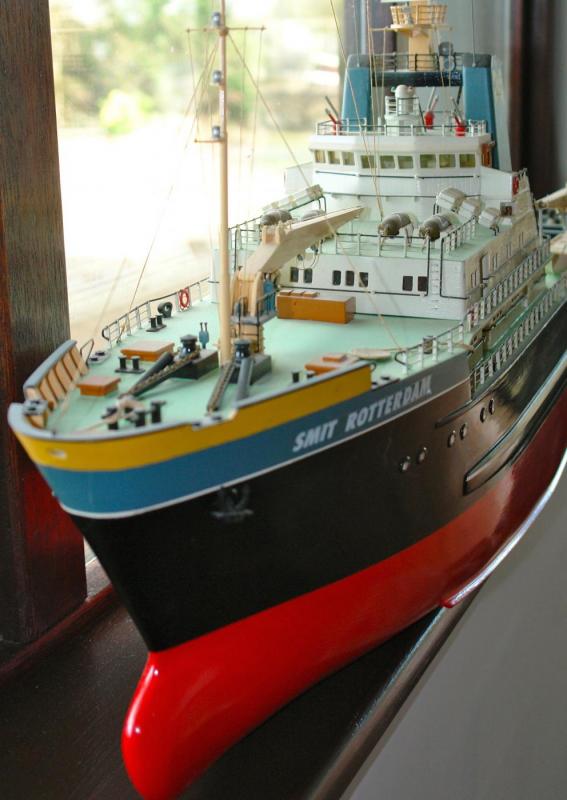
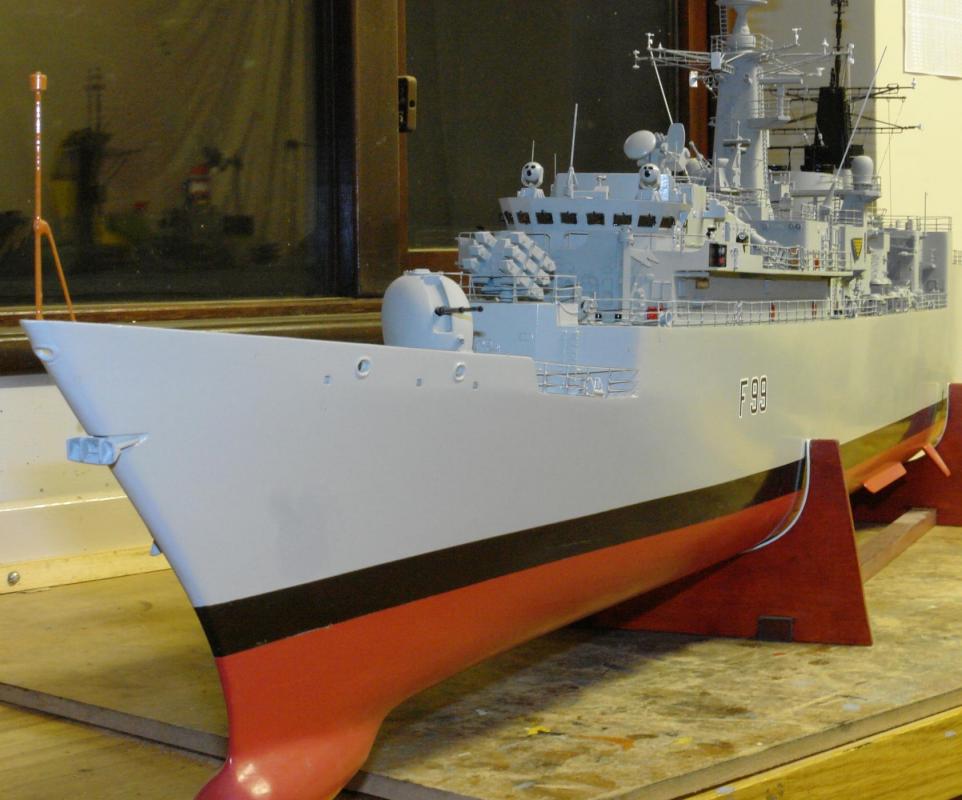
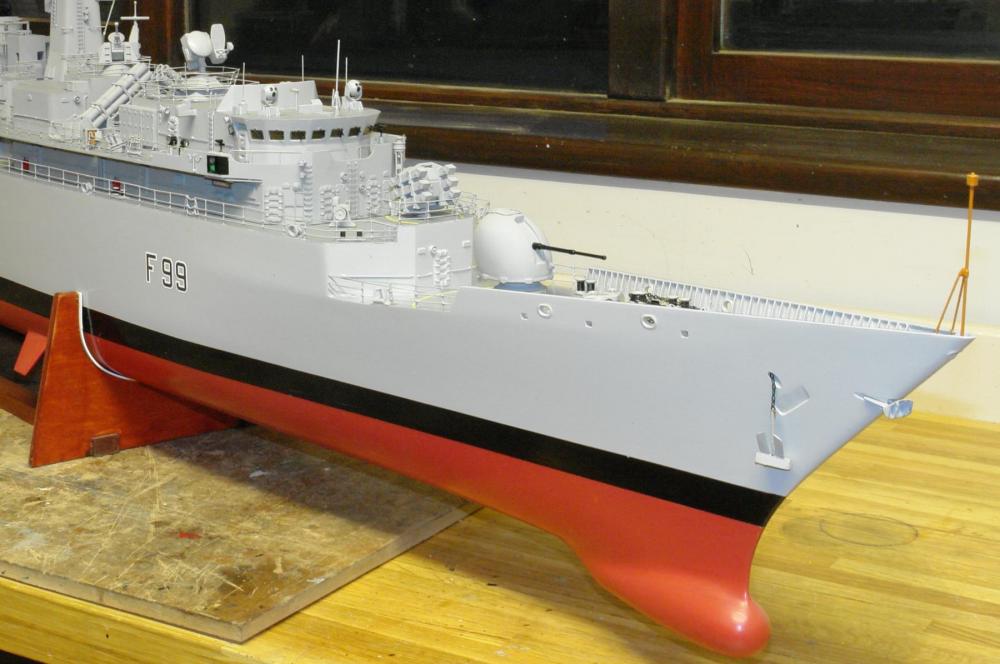
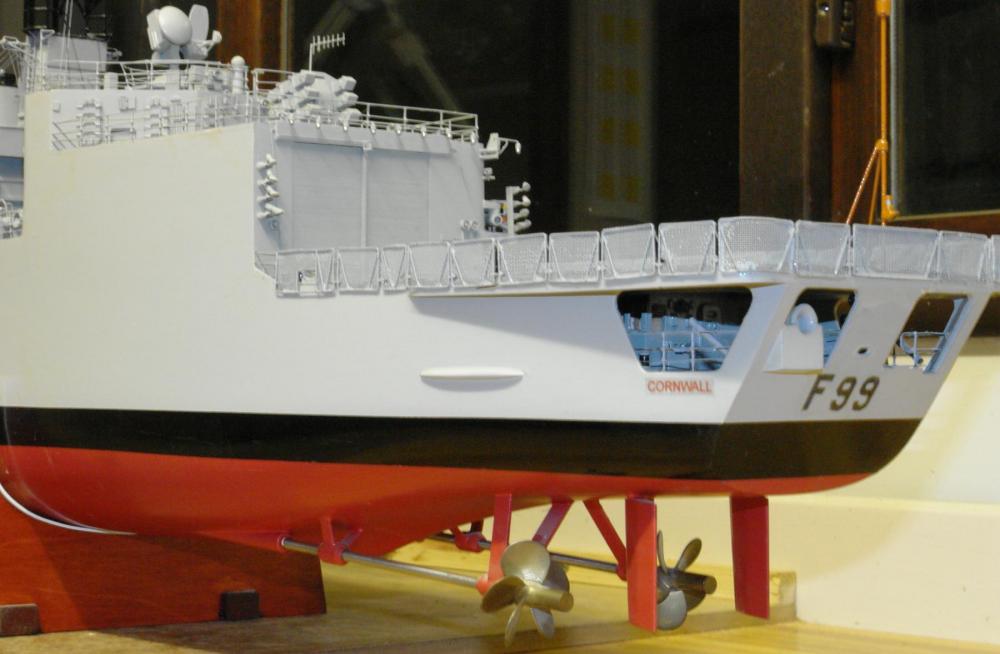
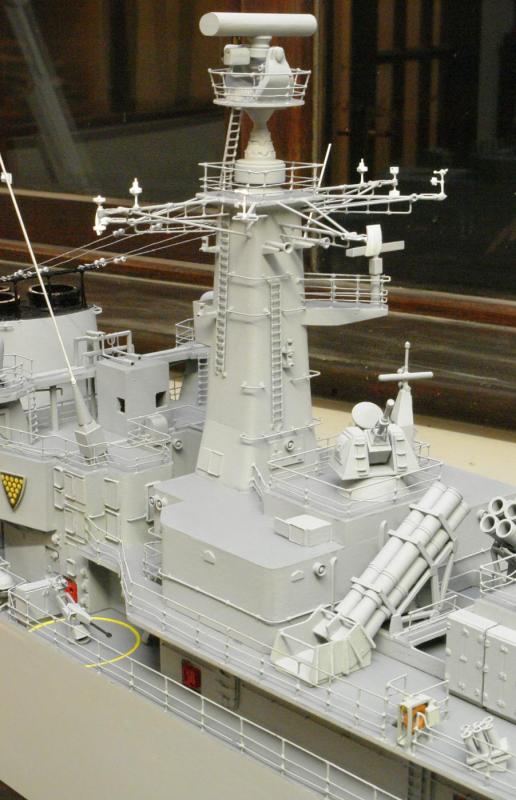
Hi Jorgen Thanks of the feedback. You clearly have skill - with practice you will be soon be achieving the quality of work you aspire to. For many years I had relatively simple tools - here are a couple of models I produced with only hand tools and a model makers hand drill. The tug was my first model - a kit. The frigate was my second - scratch build
-
Hi Thomas (or is it Boyd?) Thank you for the positive comment. I'm in the slow build phase at the moment but I should improve pace as we move towards autumn.
-
Jorgen Sometimes its easier to work at large scale. I thought your build was excellent given the scale challenges.
-
Hello Bedford Thank you for the comments on the planking. Its nice to get positive feedback from someone who knows a thing or two about planking. Keith
-
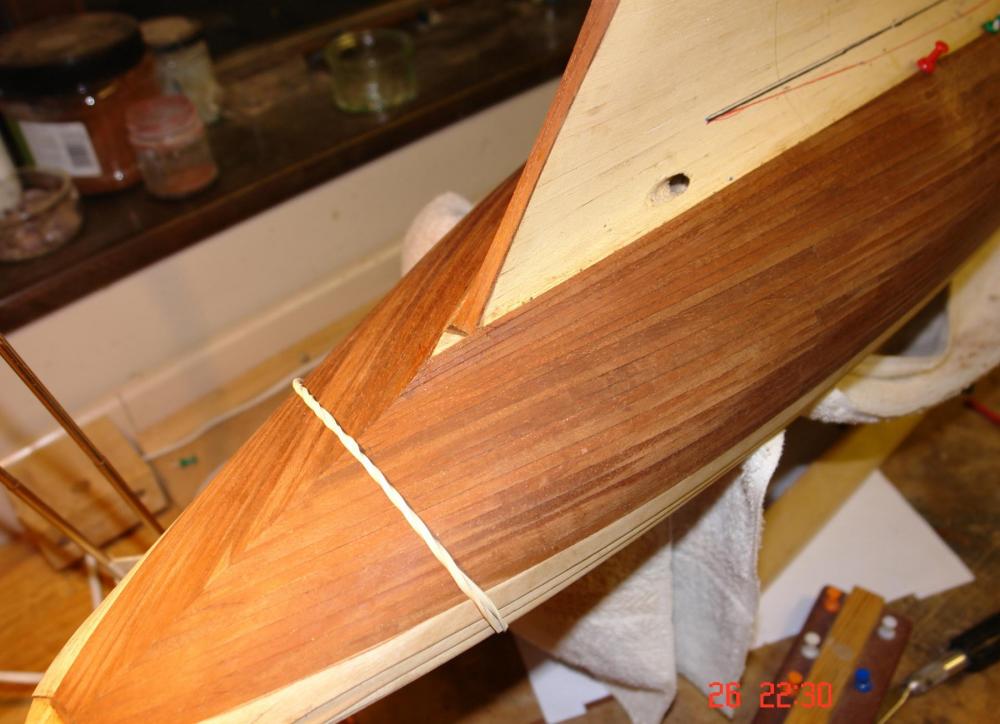
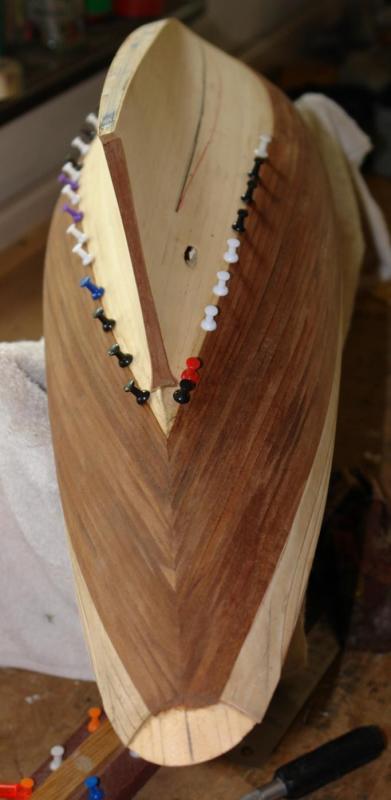
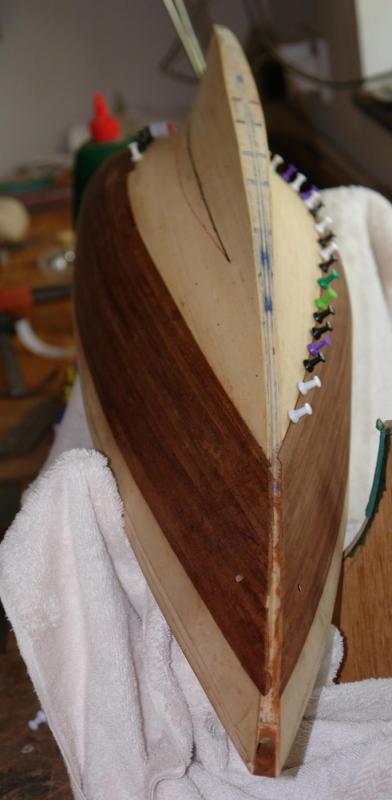
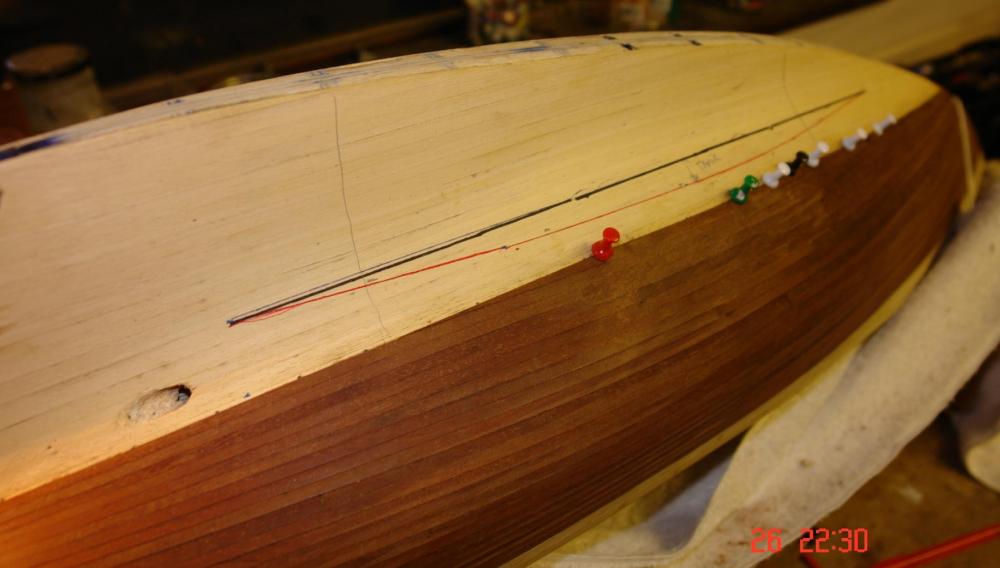
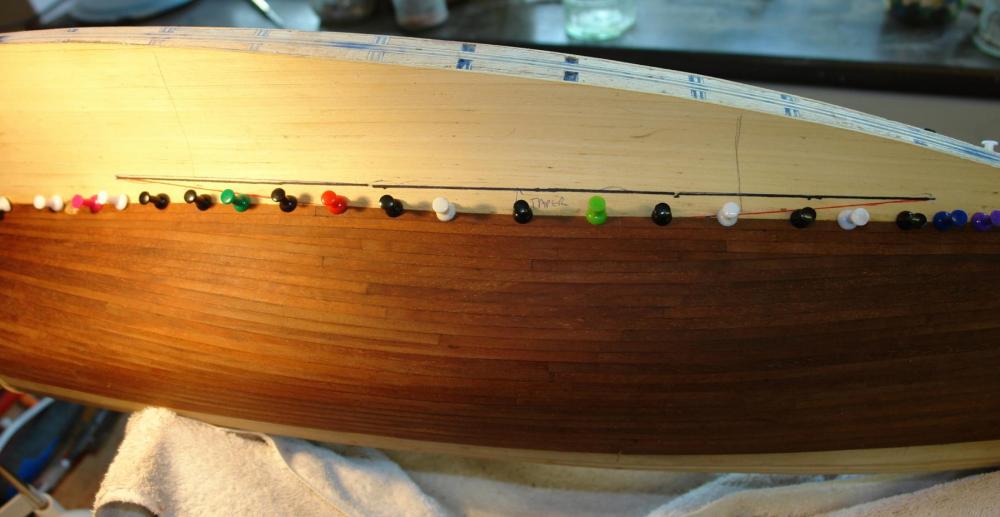
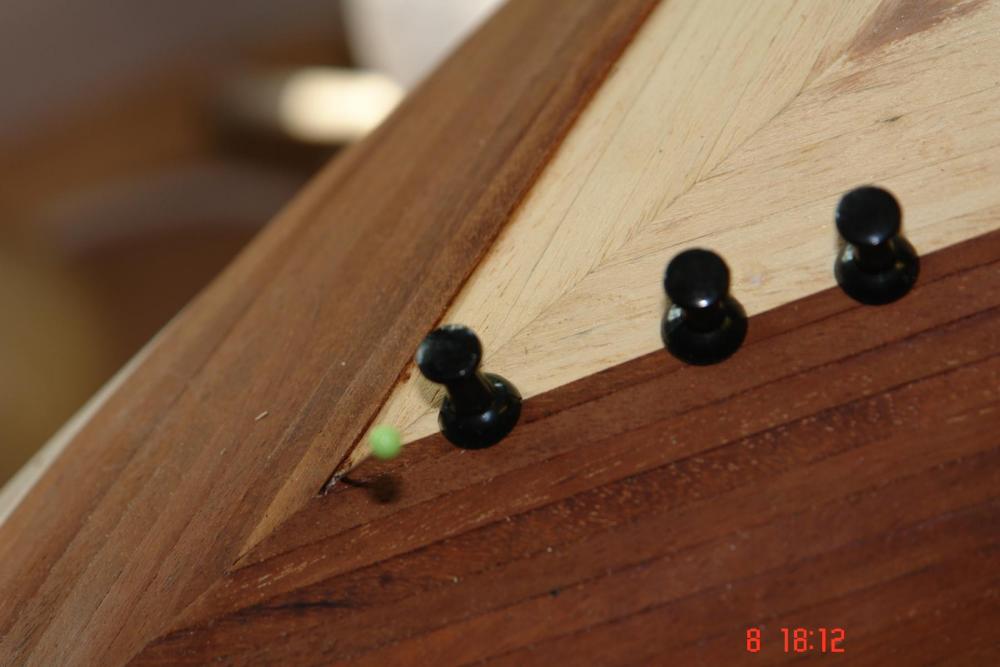
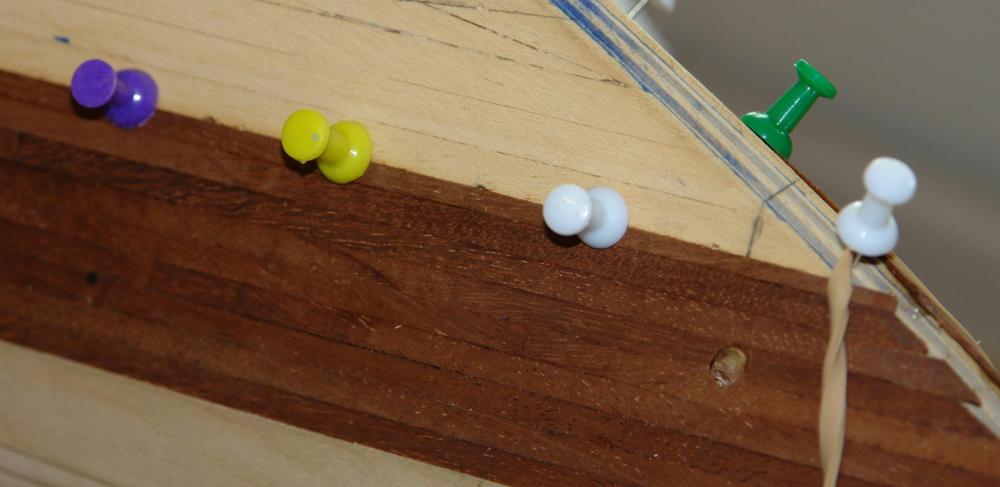
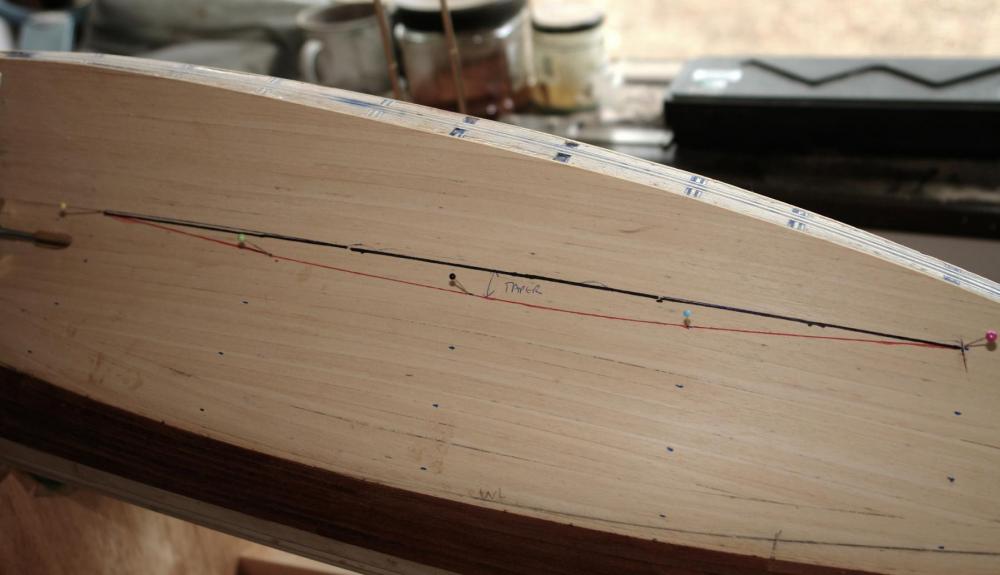
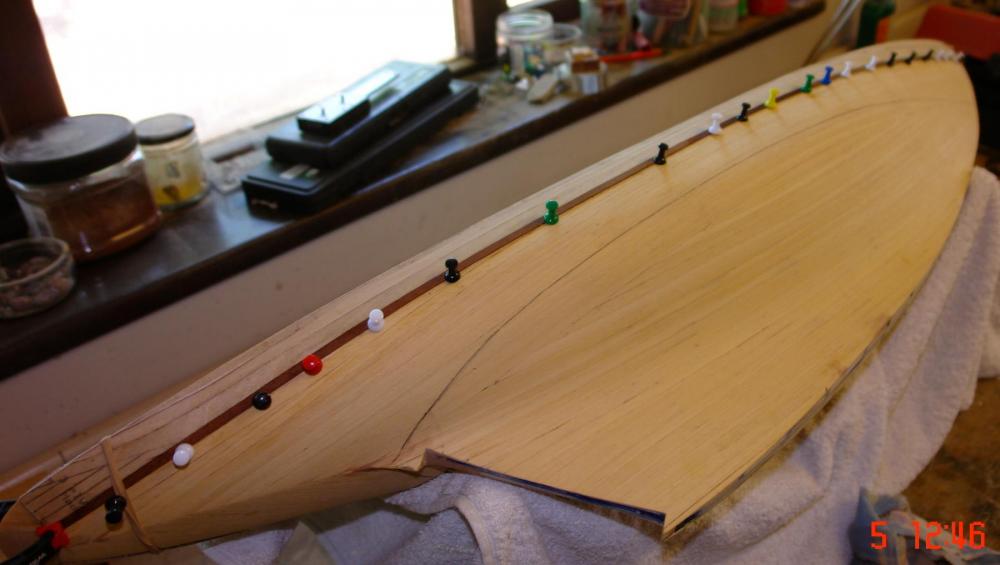
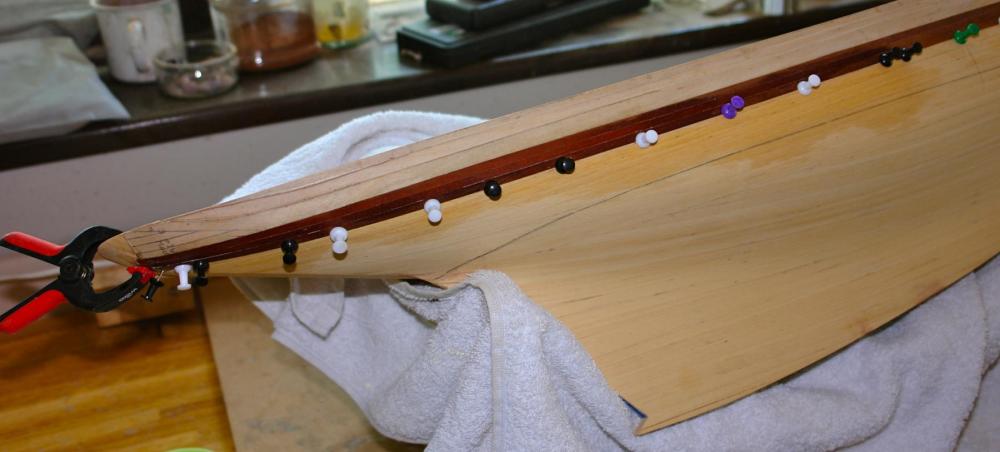
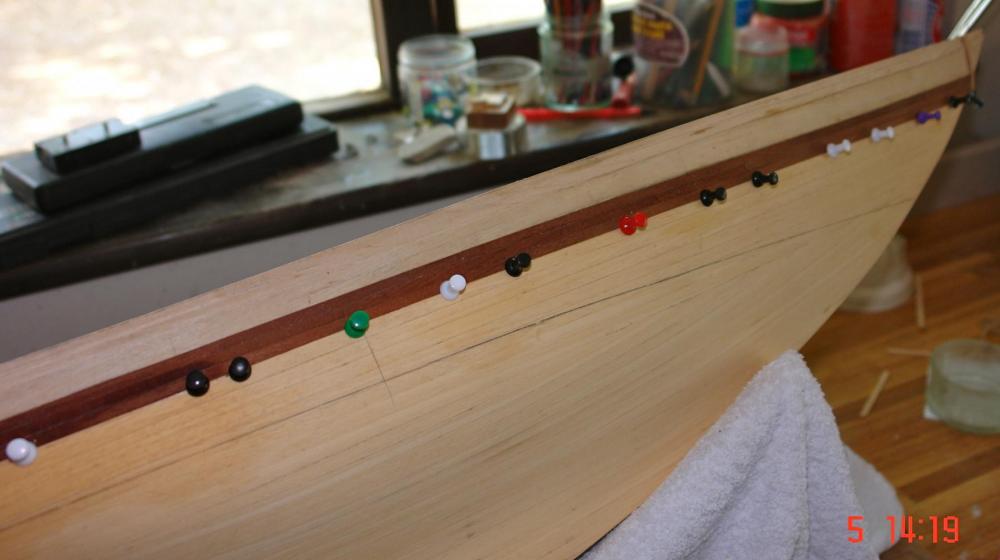
Appart from doing other stuff I have found a bit of time to progress the planking. On my last post I had started attaching the taper planks. I progressed the taper planks which started having the desired effect of filling the area of maximum beam while limiting the degree of bending in the stiff direction of the plank. I also planked the end of the keel in front of the rudder position. You may remember form a previous post I had marked the hull and identified where i would get to if I had pressed on with parallel planking (red line). Also you may recall that i wanted to end up at the black line. The plan worked reasonably well as illustrated by the photographs. I did have to do a fairly complicated adjustment by letting in a fillet pieces at one position on each side. See 4th plank down on the next photo. Much of the tricky planking is now done and most of the remaining planks will parallel, supplemented by finely tapered wedges to fill out the rear of keel.
-
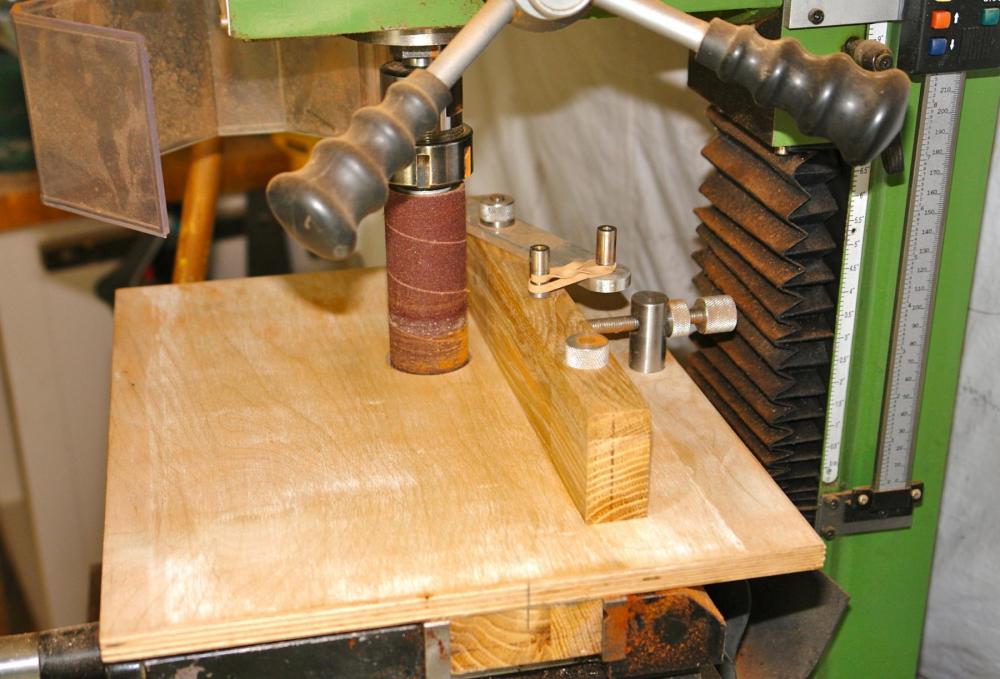
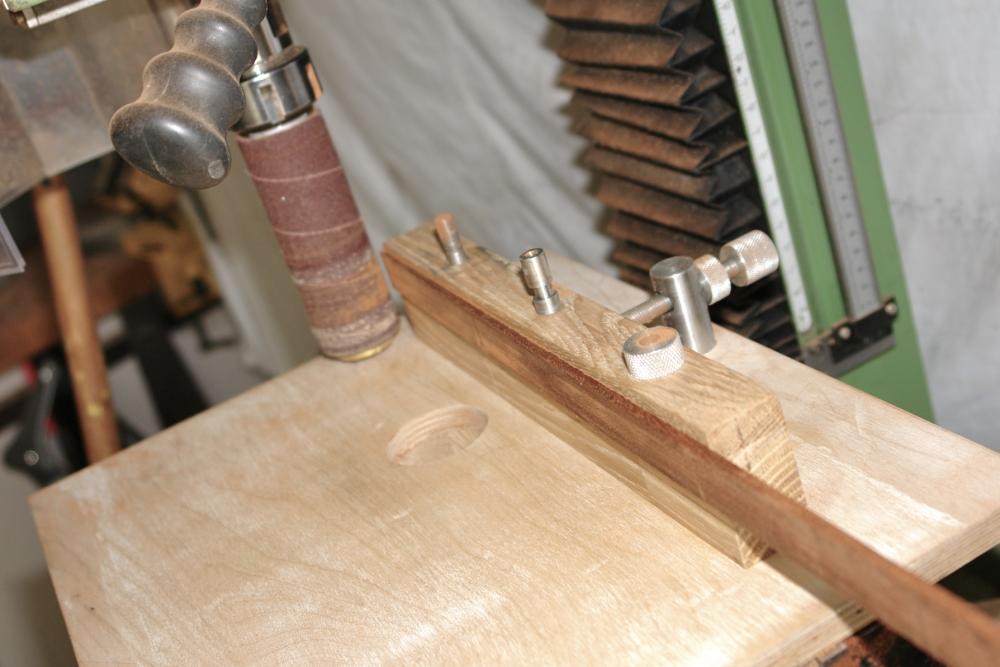
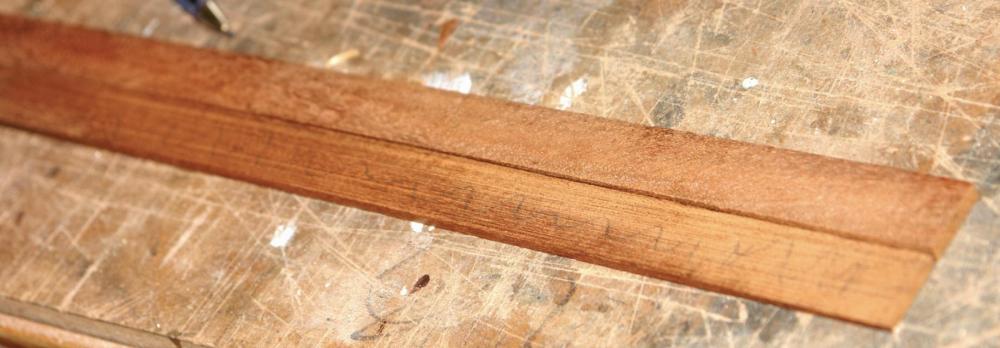
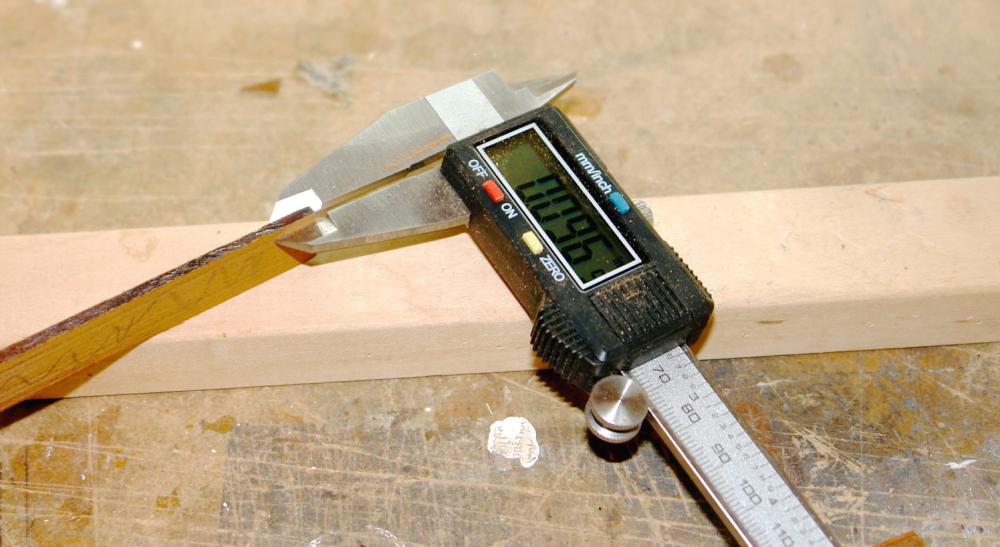
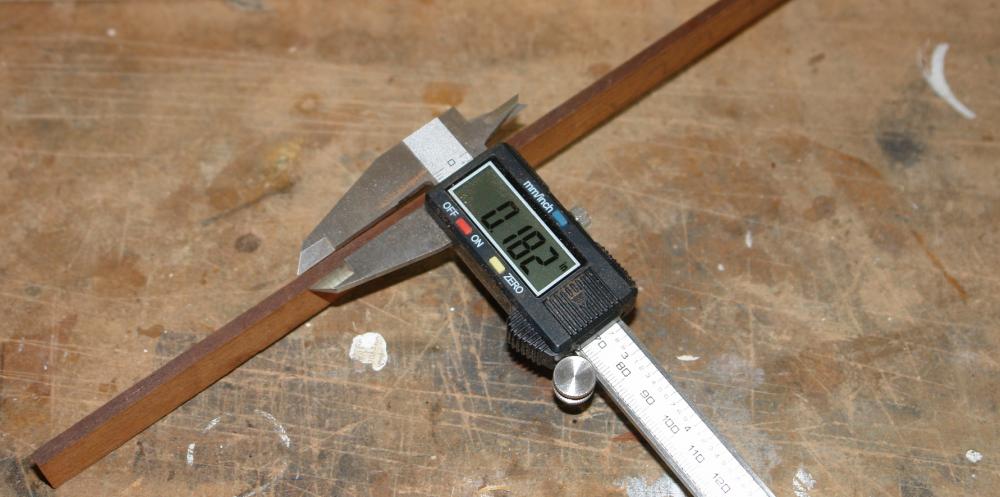
So here is my solution to creating uniform shallow taper planks. I have a home made thickness sander attachment for my milling machine as follows:- The oak plank up-stand is pivoted about the end towards the front of the photo with coarse adjustment being achieved by the screw adjuster to the right of the oak plank. Fine adjustment down to thousands of an inch is achieved by using the mill table adjustment. It all works very well for sanding parallel planks. I realised I could use the thickness sander to taper sand by setting the oak plank at the desired angle and sticking the workpiece to the the oak plank using double sided tape. Then by traversing the workpiece past the sanding drum (using the mill table) I was able taper sand the workpiece. I should explain that the final planks were going to be slit from the tapered workpiece using the table saw. I wanted a taper of about 1/3 of a degree over the 15 inch length of the workpiece - which equates to the narrow end being about 1/2 the thickness of the wide end. This photo shows the tapered workpiece laid alongside a parallel workpiece. And the dimensions achieved. The final photos show the tapered planks being attached to the hull.
-
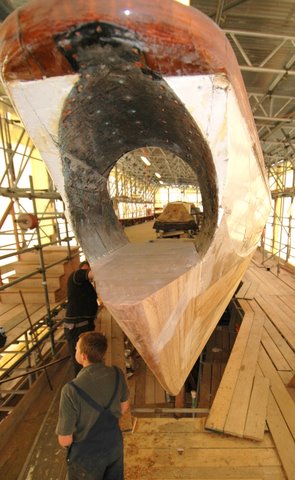
For interest - here is what the real thing looks like. Hopefully the model will do the original justice.
-
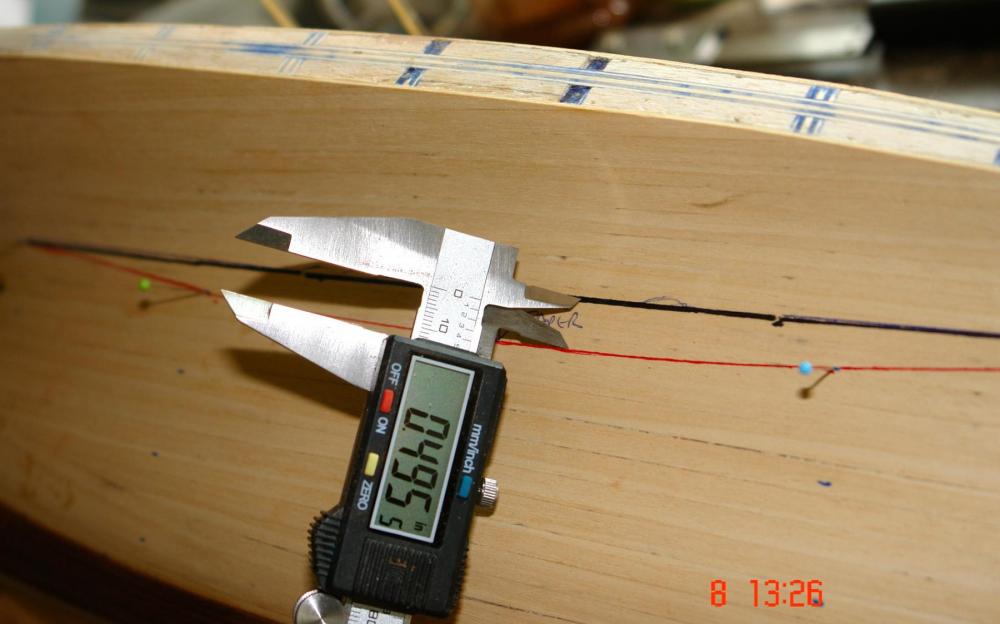
Thank you Mark and John for your supportive comments. I have been progressed a little with the hull 2nd planking. I find it is quite easy to over think the planking and I prefer to just get on with it and let the planks tell me when they are finding it difficult to follow one another. In this case this started to occur after the 8th / 9th parallel plank. At this stage I marked off the hull as though I would continue with parallel planks. This produced the red line on the photo. I concluded that planking to the red line (even if it was possible) would produce a quite unrealistic planking effect on the keel so I drew the black line to represent where I wanted the planks to fall. Measuring the space between the lines gave me an indication of how much "extra" planking width I would have to find at the waist - .495 inch (about 3 plank widths) in this case. I now need a cunning plan for manufacturing a reasonable number of accurately formed taper planks. I feel a bit of experimenting coming on.
-
Hello Kees she is not not the sleekest of yachts (a bit on the beamy side). But never the less she has curves in all the right places.
-
Before getting too far into the 2nd planking I needed to drill the holes to take the hawse pipes (one on either side of the bow). These are at a compound angle flaring outward and forward as they descend through hull. Three options were available for drilling as follows:- 1, Drill from the deck and exit the drill through the hull. 2, Drill from the hull and exit the drill through the deck. 3, Drill half way from the deck and half way from the hull - meeting in the middle!!!!! Option 3 would appear to be bonkers however............ Options 1 and 2 have the potential for the exit holes to be out of position - which I thought would look awful. So option 3 it was! I marked guide lines on the hull at the correct angle and used my hand held drill carefully judging the correct angle. By using a smaller drill than the final hole size and enlarging it with a circular needle file I did manage to make the holes join up. I finished with a 0.16" (4mm reamer to clean up the holes so the hawse pipe would fit snugly.
-
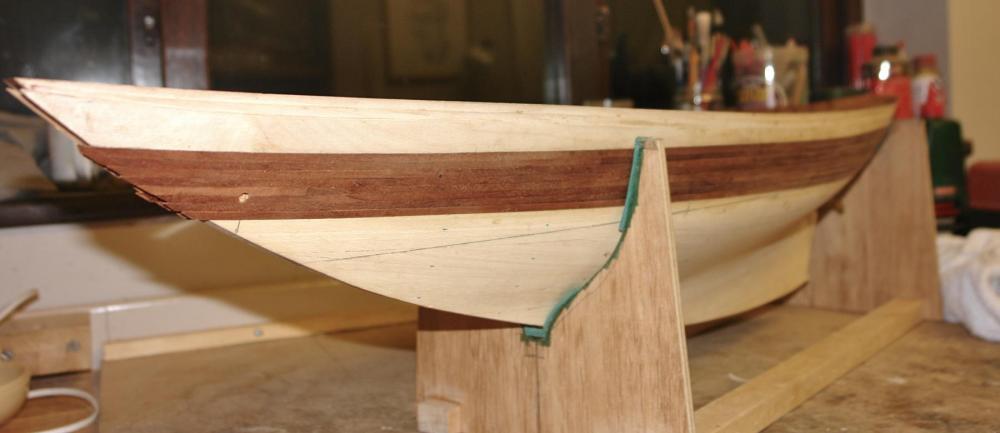
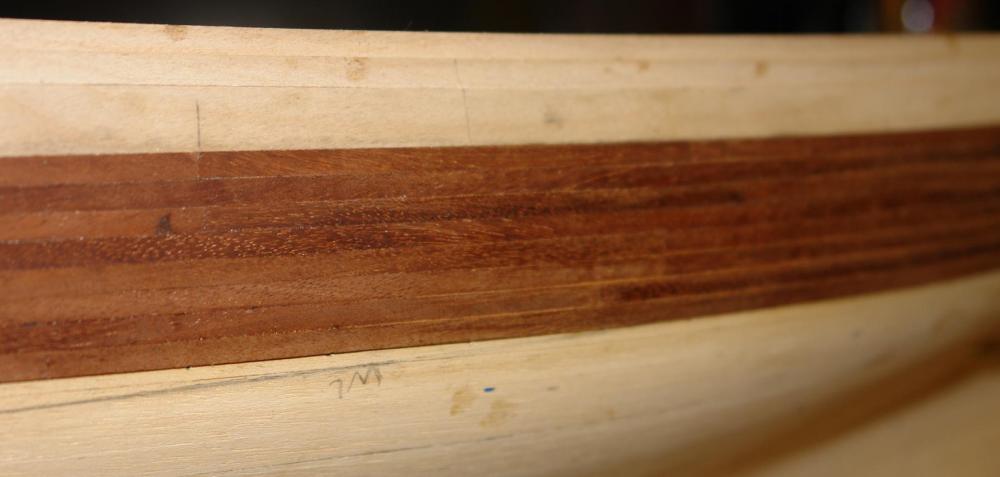
Having completed the ribs I decided to attach the 3rd of the profiled 1/32 inch (actually .036') plywood layers that went to create the profile at the upper edge of the hull. With this in place it was time to commence the second mahogany planking. This was cut from the old table top mentioned earlier. The planks were .036" x .180" x 15 inch. The first plank went on butting up to the step created by the 3rd plywood layer. the bulwarks have turned out well and are very solid - testament to the strength of layers of laminated plywood. 3 layers of planking now in place. so far, so good. I should probably explain at this stage that the plywood will be painted white while and I am considering leaving the mahogany visible - probably satin poly.
-
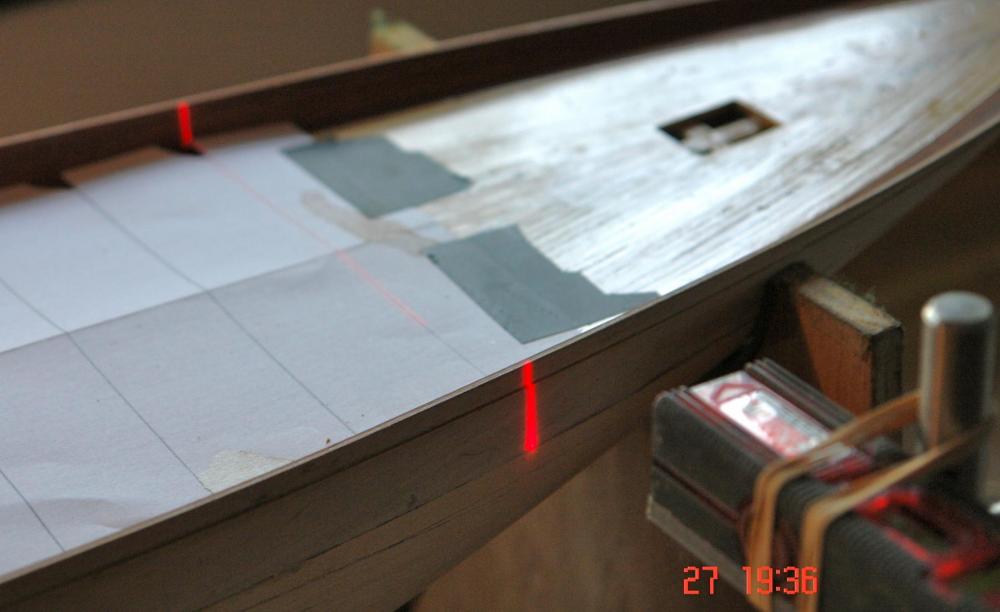
I managed to get enough time to complete the ribs. I was struggling a bit to see the laser line until I realised the batteries were about 10 years old. the new ones improved matters greatly......... With all the ribs attached I used a flexible dowel (zero kerf) pull saw to trim them back to the height of the bulwark.
About us
Modelshipworld - Advancing Ship Modeling through Research
SSL Secured
Your security is important for us so this Website is SSL-Secured
NRG Mailing Address
Nautical Research Guild
237 South Lincoln Street
Westmont IL, 60559-1917
Model Ship World ® and the MSW logo are Registered Trademarks, and belong to the Nautical Research Guild (United States Patent and Trademark Office: No. 6,929,264 & No. 6,929,274, registered Dec. 20, 2022)
Helpful Links
About the NRG
If you enjoy building ship models that are historically accurate as well as beautiful, then The Nautical Research Guild (NRG) is just right for you.
The Guild is a non-profit educational organization whose mission is to “Advance Ship Modeling Through Research”. We provide support to our members in their efforts to raise the quality of their model ships.
The Nautical Research Guild has published our world-renowned quarterly magazine, The Nautical Research Journal, since 1955. The pages of the Journal are full of articles by accomplished ship modelers who show you how they create those exquisite details on their models, and by maritime historians who show you the correct details to build. The Journal is available in both print and digital editions. Go to the NRG web site (www.thenrg.org) to download a complimentary digital copy of the Journal. The NRG also publishes plan sets, books and compilations of back issues of the Journal and the former Ships in Scale and Model Ship Builder magazines.


