Supplies of the Ship Modeler's Handbook are running out. Get your copy NOW before they are gone! Click on photo to order.
×


KeithAug
-
Posts
3,867 -
Joined
-
Last visited
Content Type
Profiles
Forums
Gallery
Events
Everything posted by KeithAug
-
 Yes, that seemed to be sensible to me Greg. However a symmetrical design for a display model is much more aesthetically pleasing.
- 288 replies
-
- 3
-

-
- Santos Dumont No. 18
- hydroplane
- (and 1 more)
-
😕 Lovely little stove pipe Gary.
-
Greg. It would be interesting to understand what the angle of the centre line of the engine is relative to the centre line of the hull. Clearly with it being mounted so high the tendency would be for the moment of force to push the bow lower in the water. This of course could be counteracted by angling the front of the engine up relative to the hull. Also the torque reaction is going to force one of the sponsons down and the other one up. This could be counteracted by moving the centre of gravity of the engine to one side. I can't tell from the phots whether Santos took any of these points into account. Do you have insights?
- 288 replies
-
- 4
-
-
- Santos Dumont No. 18
- hydroplane
- (and 1 more)
-
Greg - I have to agree with previous comments - much better. Black just hides the detail.
- 288 replies
-
- 5
-
-
- Santos Dumont No. 18
- hydroplane
- (and 1 more)
-
Brian - Re your last photo showing the painted steps. I note the background with interest - your workspace looks a bit like mine - just not quite as untidy.🙂 You have been busy - great progress.
-
What is the plan for the fore deck Keith. It looks like a great space for stack of piles.
- 732 replies
-
- 4
-
-
- Lula
- sternwheeler
- (and 1 more)
-
Beautiful little boat exquisitely finished Paul.
- 201 replies
-
- 5
-
-

-
- Oyster Sharpie
- first scratch build
- (and 1 more)
-
Magnificent - but my problem would be putting stuff back in the right place.
-
Possible Planking Clamp?
KeithAug replied to Thunder's topic in Modeling tools and Workshop Equipment
Ouch! -
It is going to be very delicate once finished. I think it will need a case.
- 288 replies
-
- 4
-
-
- Santos Dumont No. 18
- hydroplane
- (and 1 more)
-
The aerodynamics of the prop leaves a lot to be desired. It looks like they made it out of some left over canoe paddles. It is surprising how light weight the framework is. Are you planning to install the bracing wires Greg? I think you are right about the colour of the frame.
- 288 replies
-
- 3
-
-
- Santos Dumont No. 18
- hydroplane
- (and 1 more)
-
In my experience annealed brass looks like brass. The silvering is a bit unusual. As for the shackles I find that I can get reasonably consistent shackles if I always start with a straight piece of wire cut to the finished length. The ends are bent round the tip of quite fine round nosed pliers, making sure the ring is centred on the straight section. (Most round nosed pliers tend to have jaws which are too big). The straight with hoops at both ends is then bent to create the U shape. The build is coming along quite nicely.
- 312 replies
-
- 5
-
-
- Chile
- Latin America
- (and 6 more)
-
Ah! I now understand, you are building the debugged version.🙂
- 732 replies
-
- 6
-
-

-
- Lula
- sternwheeler
- (and 1 more)
-
Eberhard - I wasn't aware of that but I did find an interesting youtube video. Thanks for the suggestion. Just pushed one against the other Keith.🙂 No - just a cup of tea Tony. Thank you Andy, Phil, Craig, Druxey.
-
Not withstanding the angle debate, the stairs are very nicely made but on the photo of Lula they go up the side of the deckhouse. I have clearly misundersood something along the way.😕
- 732 replies
-
- 3
-
-
-
- Lula
- sternwheeler
- (and 1 more)
-
My Craig you have been busy. The internal detail contuse to impress. Old mahogany is so much better that the stuff on sale today and old furniture is a very cost effective source. I still have over half the mahogany dining table I paid £30 for 10 years ago. My guesses that it will see me out.
-
I like the engineering approach to the hull construction. Very workmanlike.
-
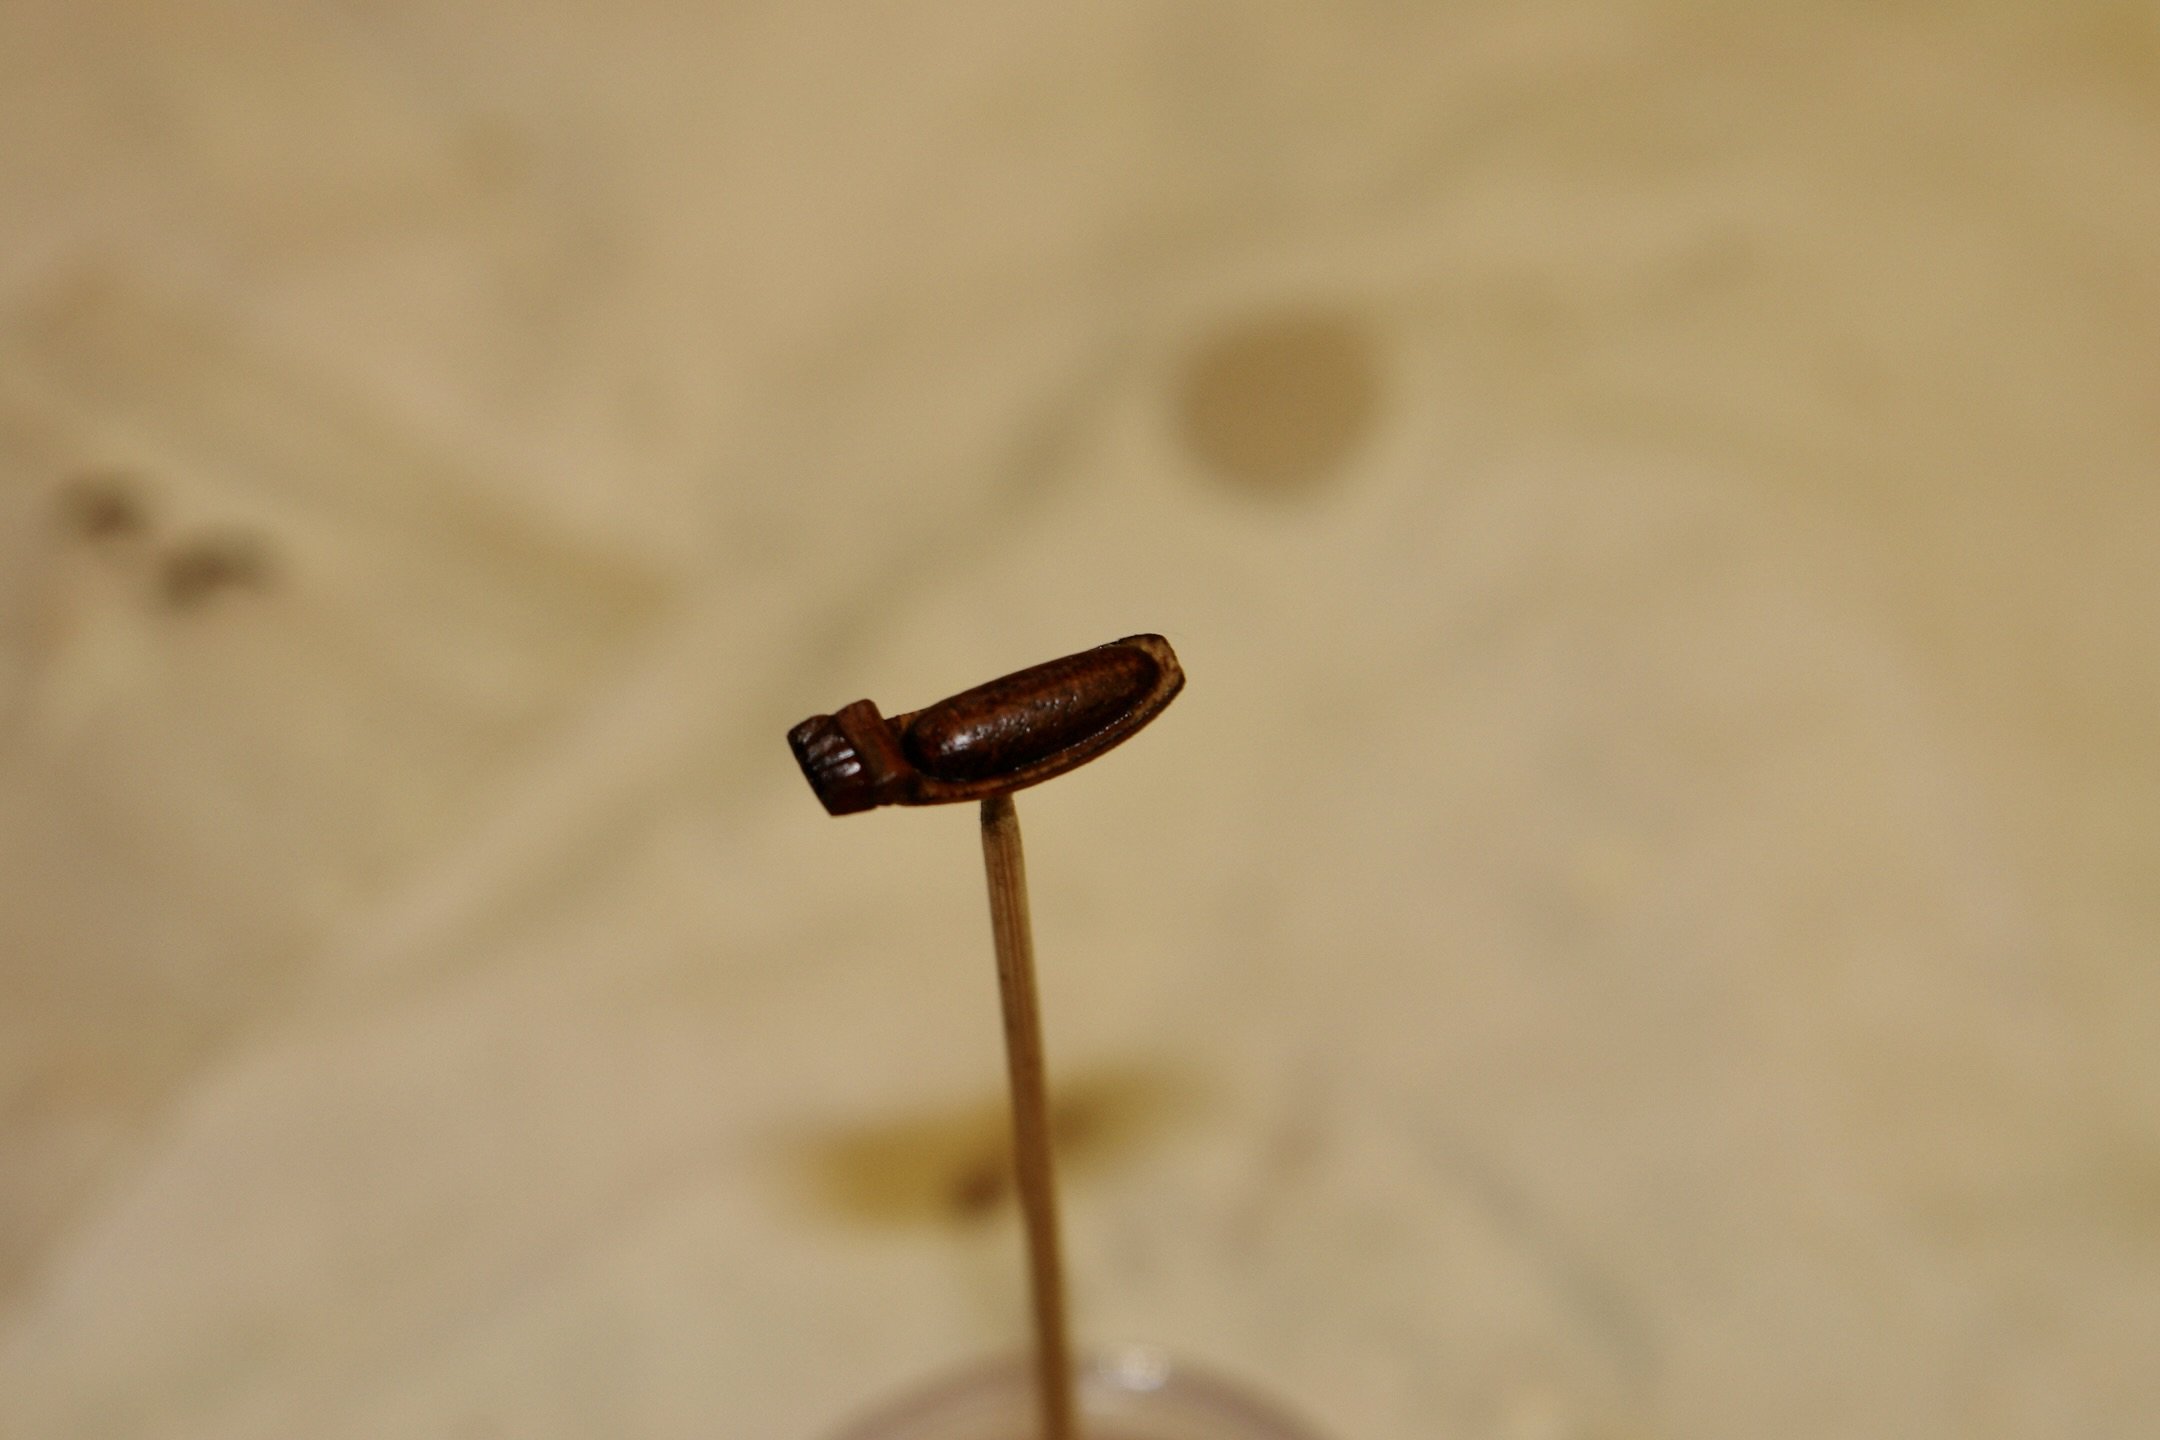
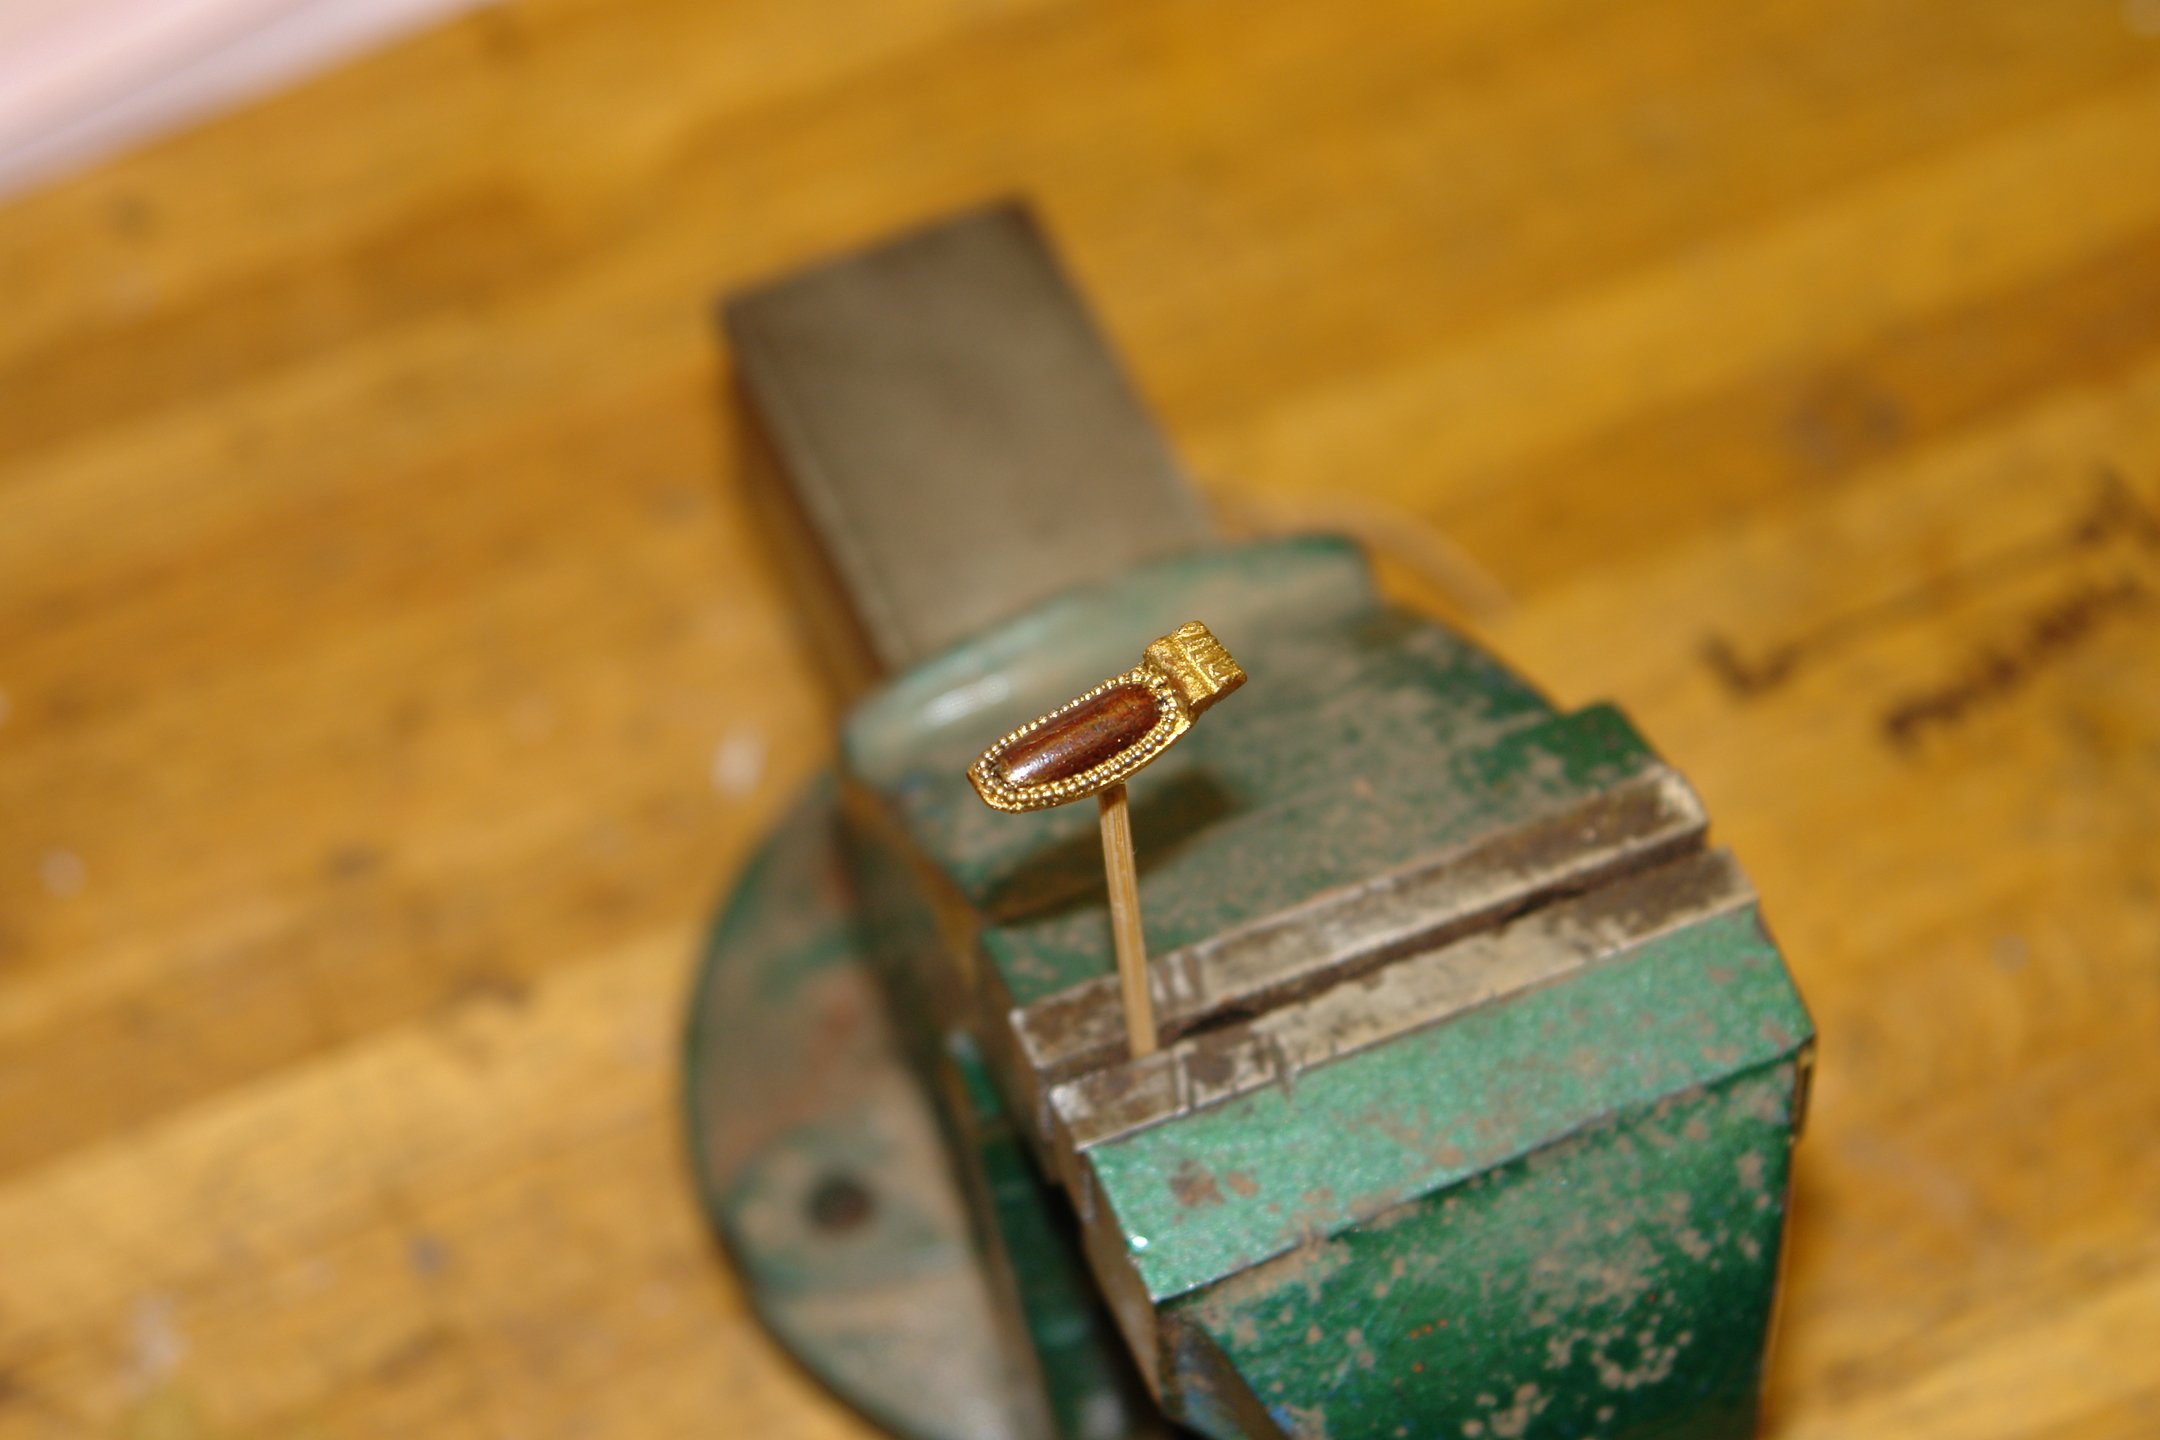
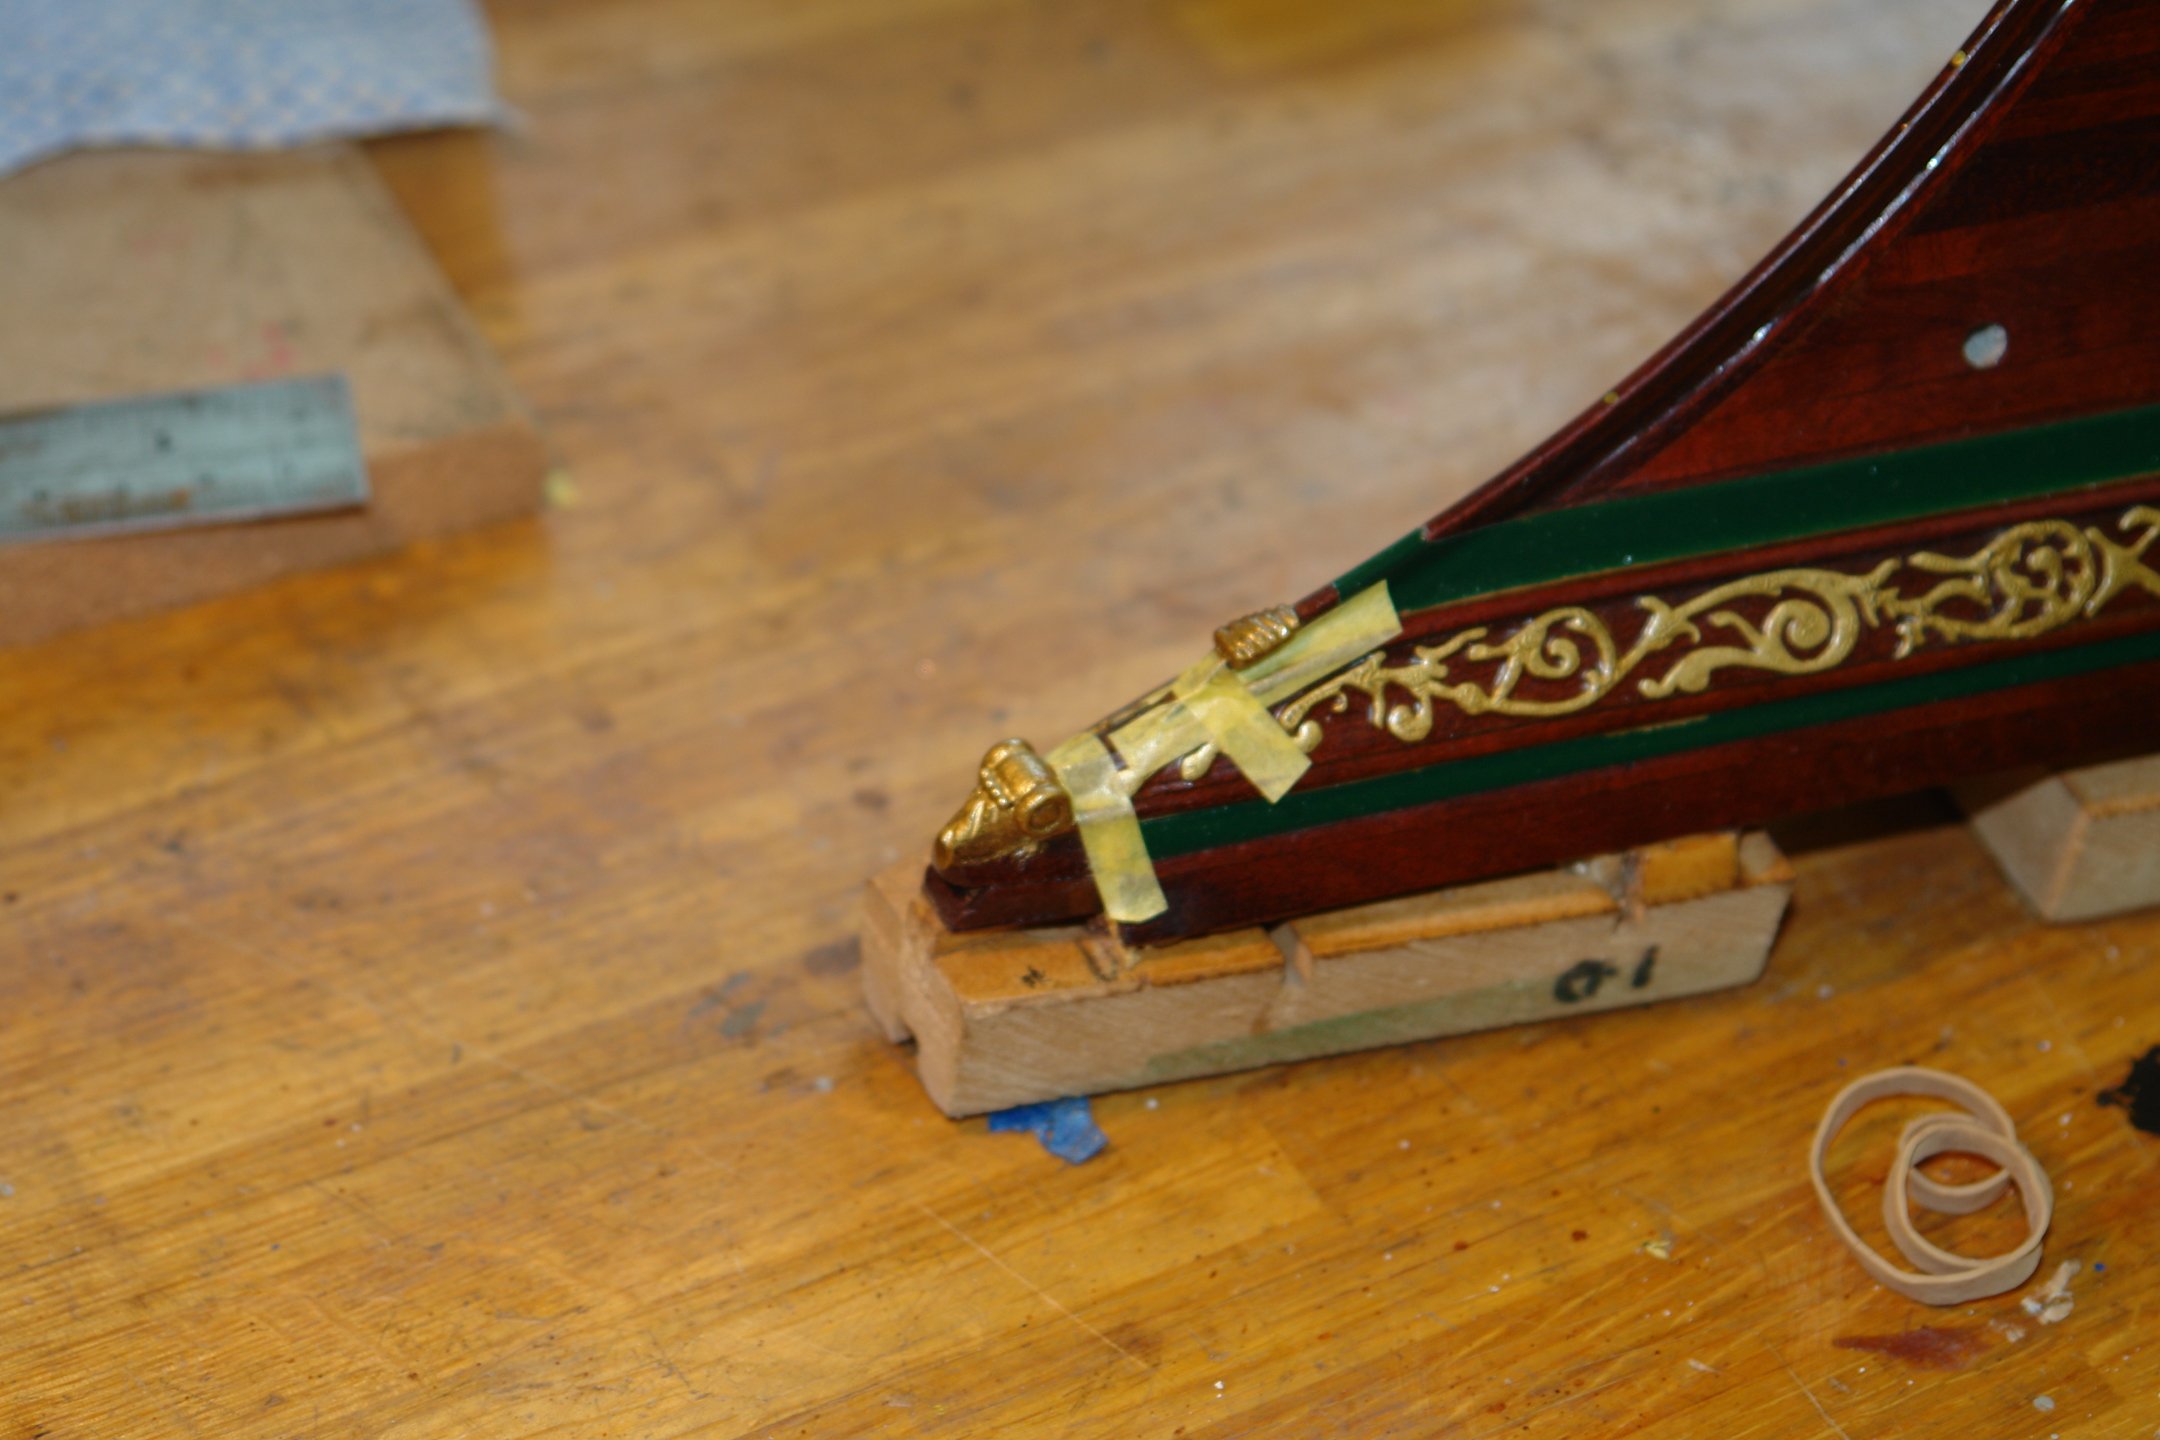
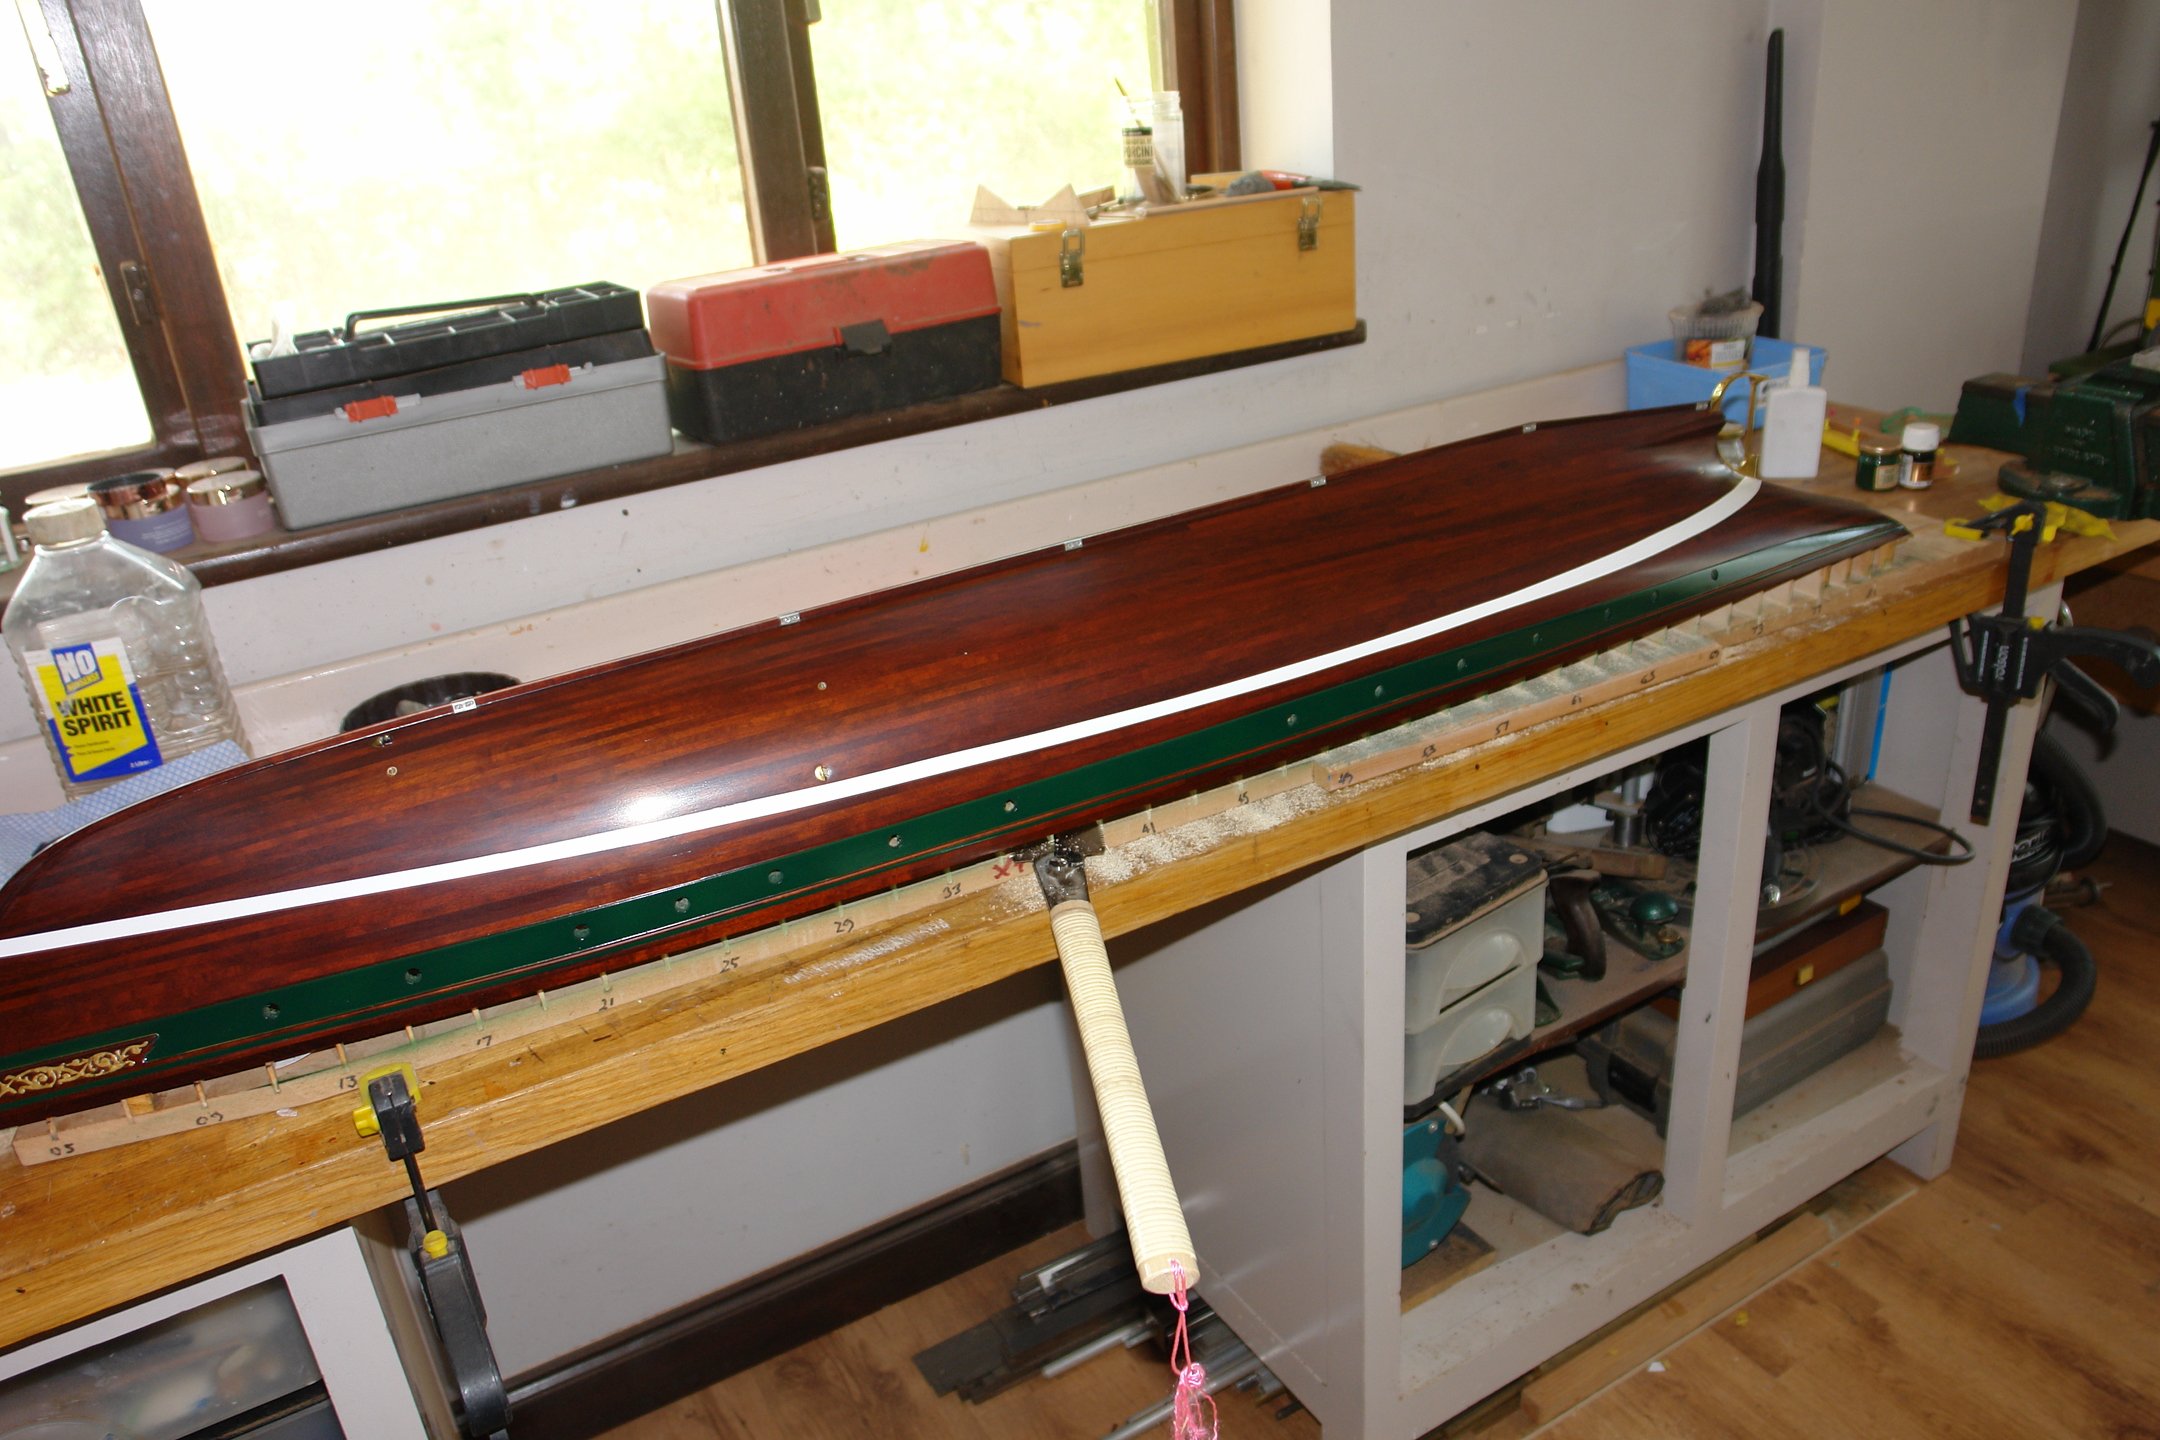
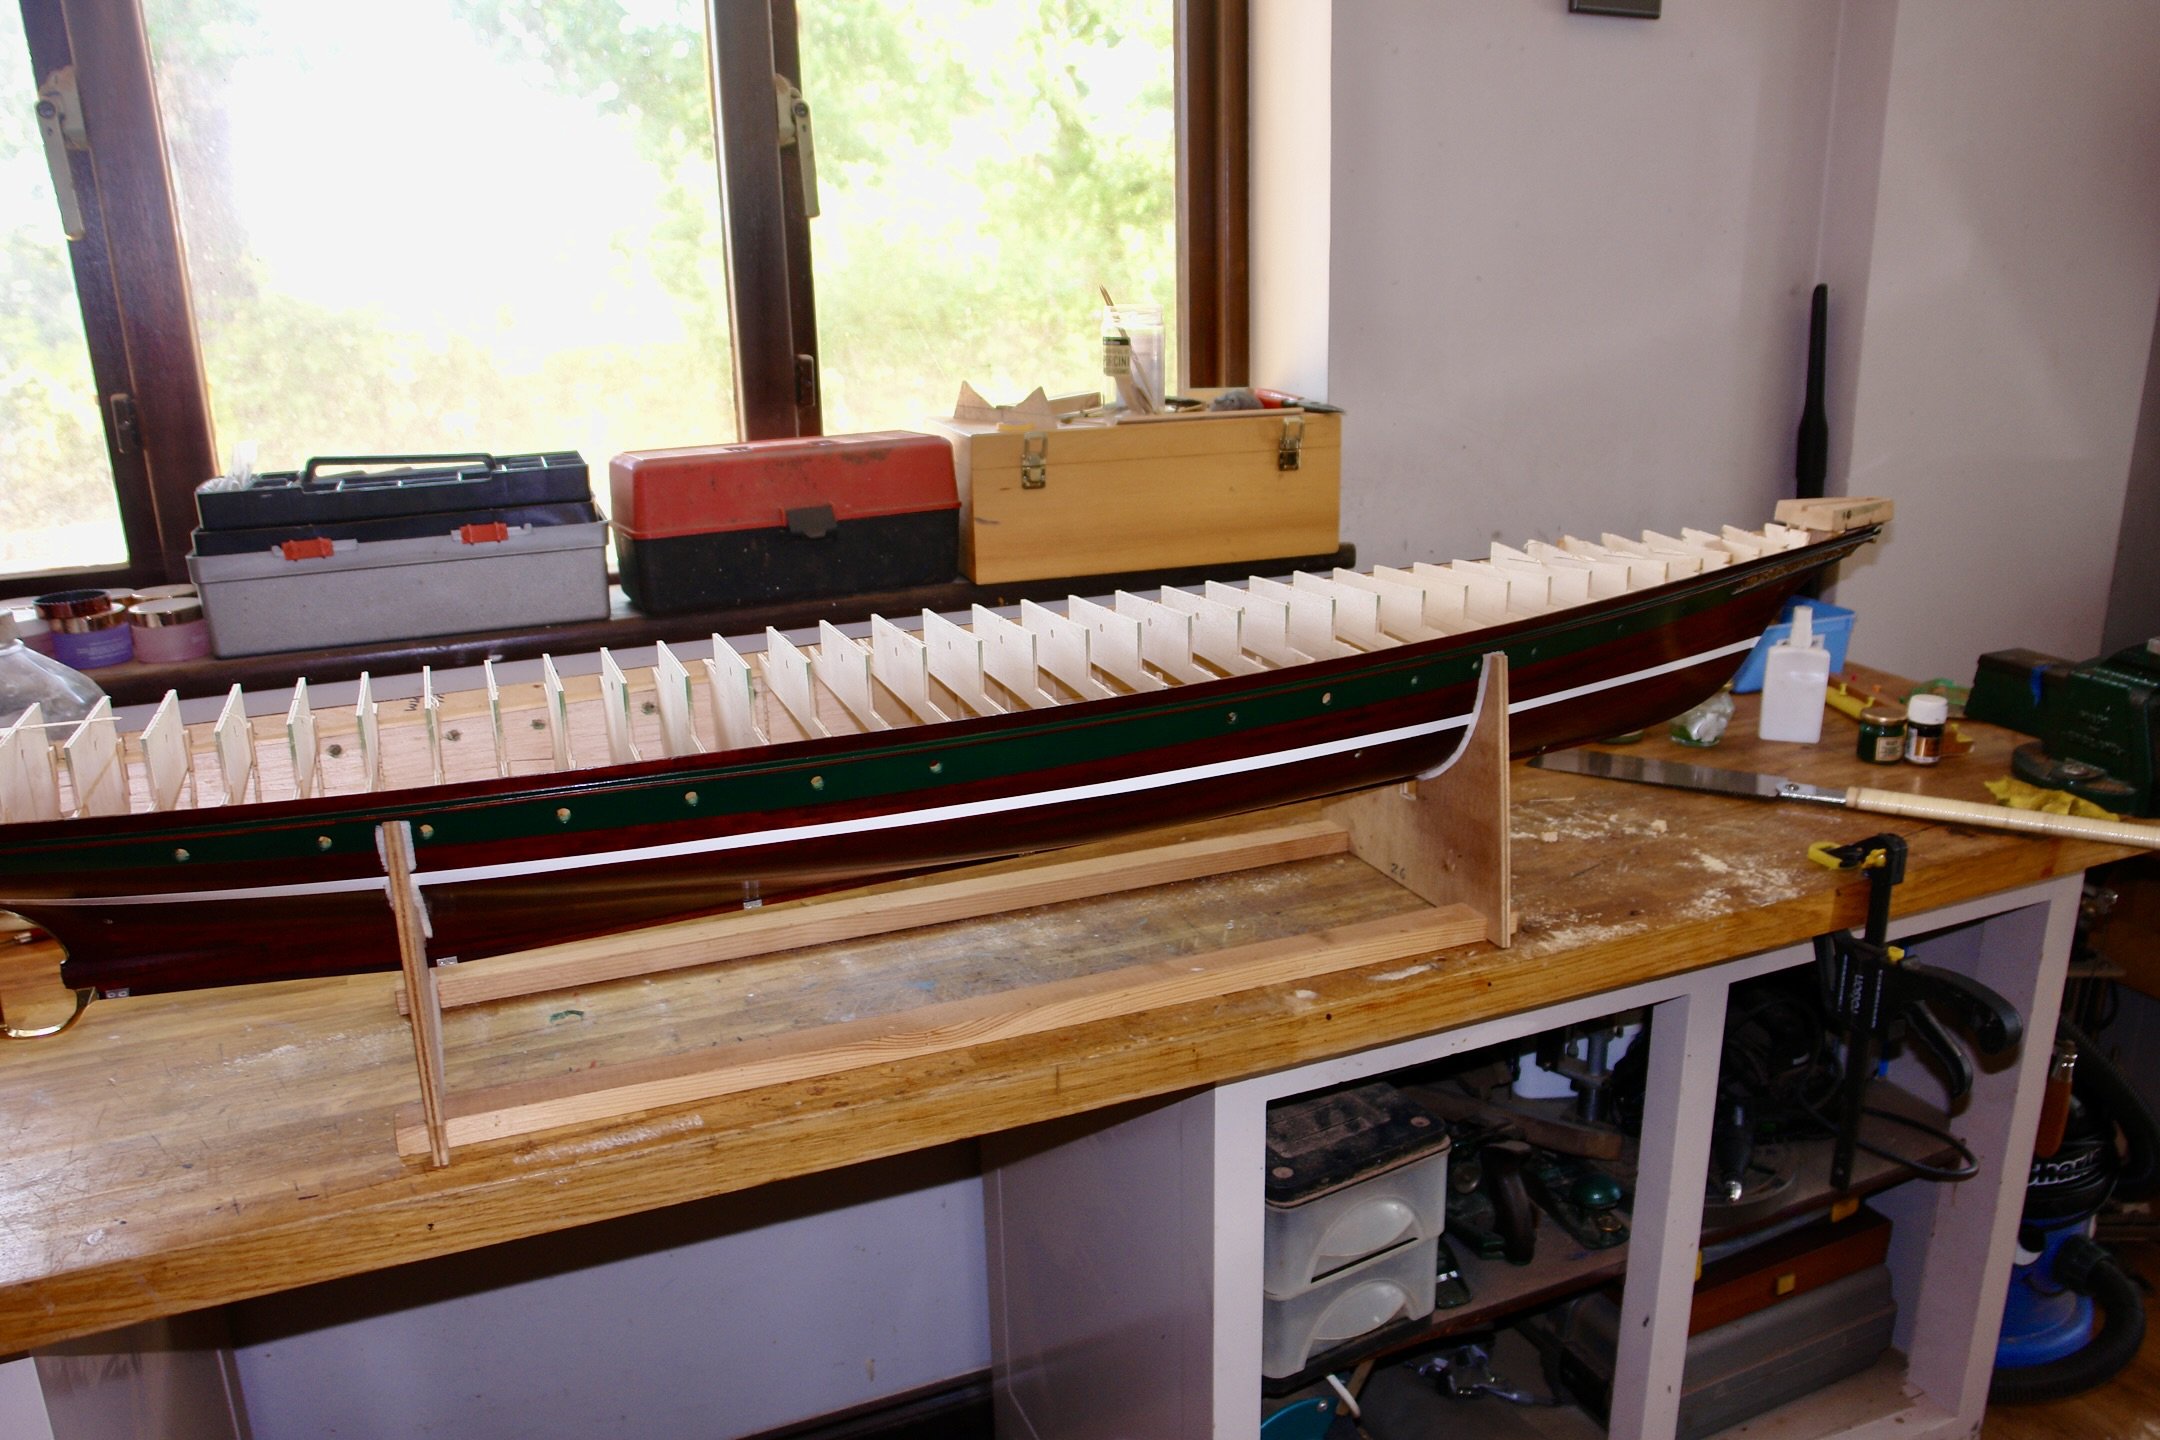
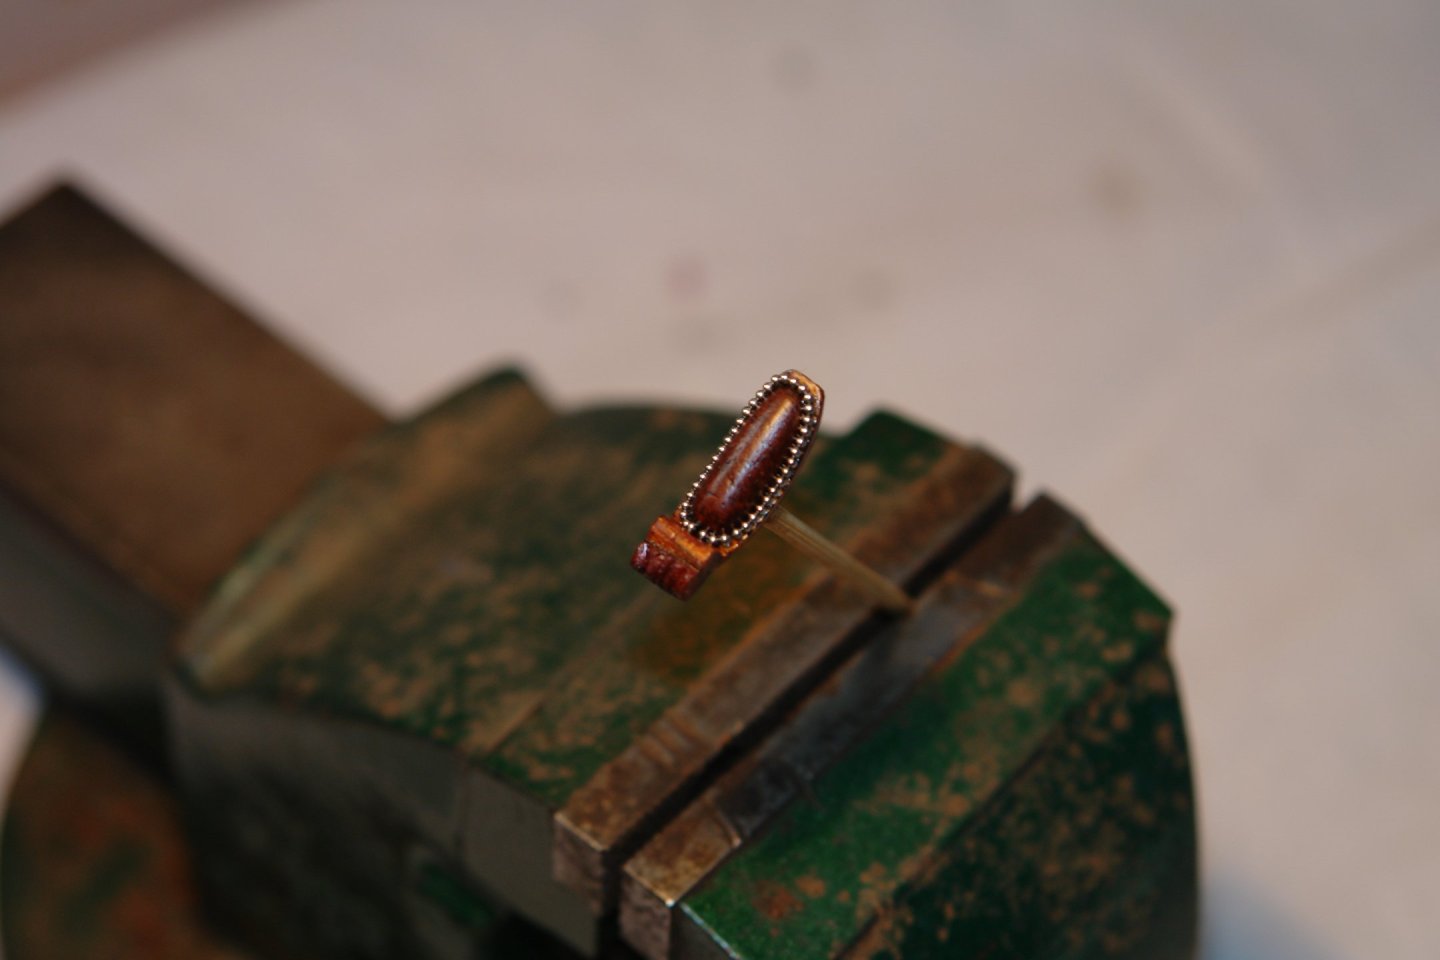
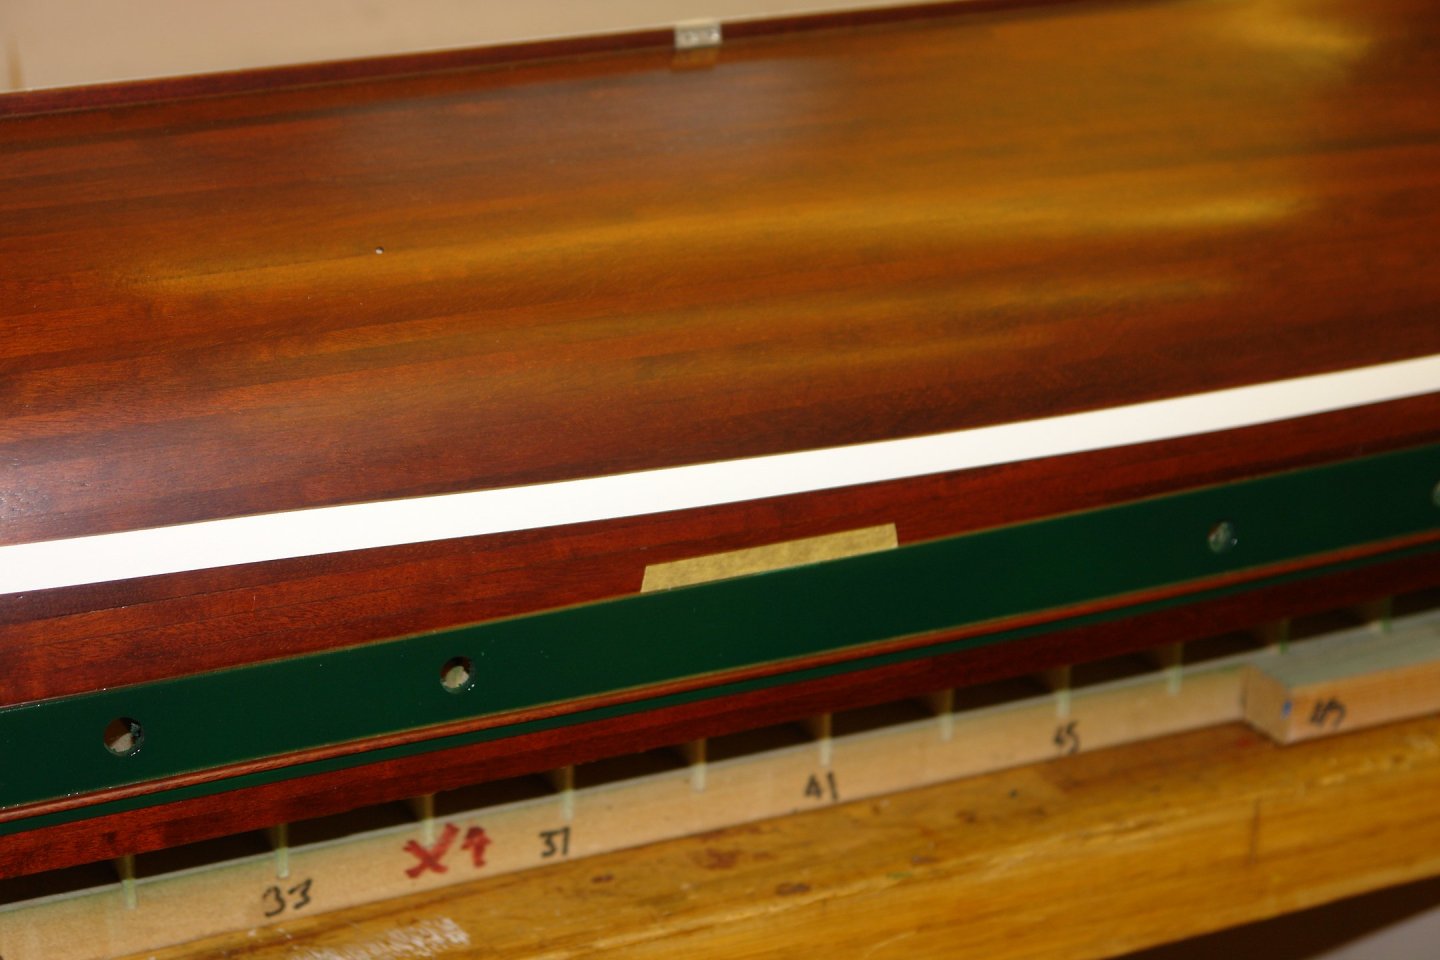
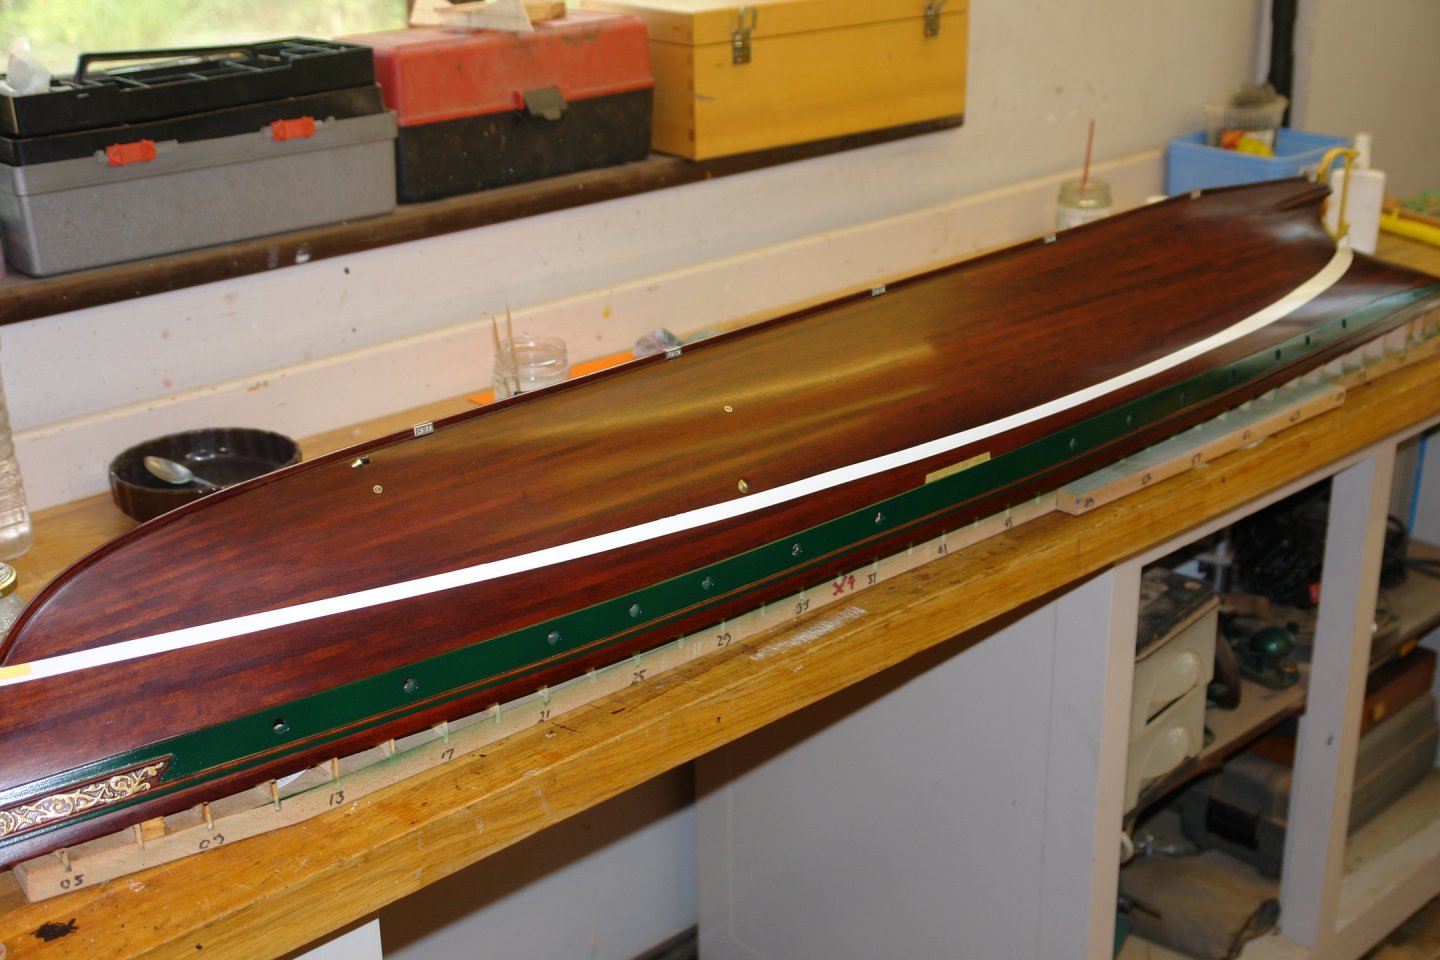
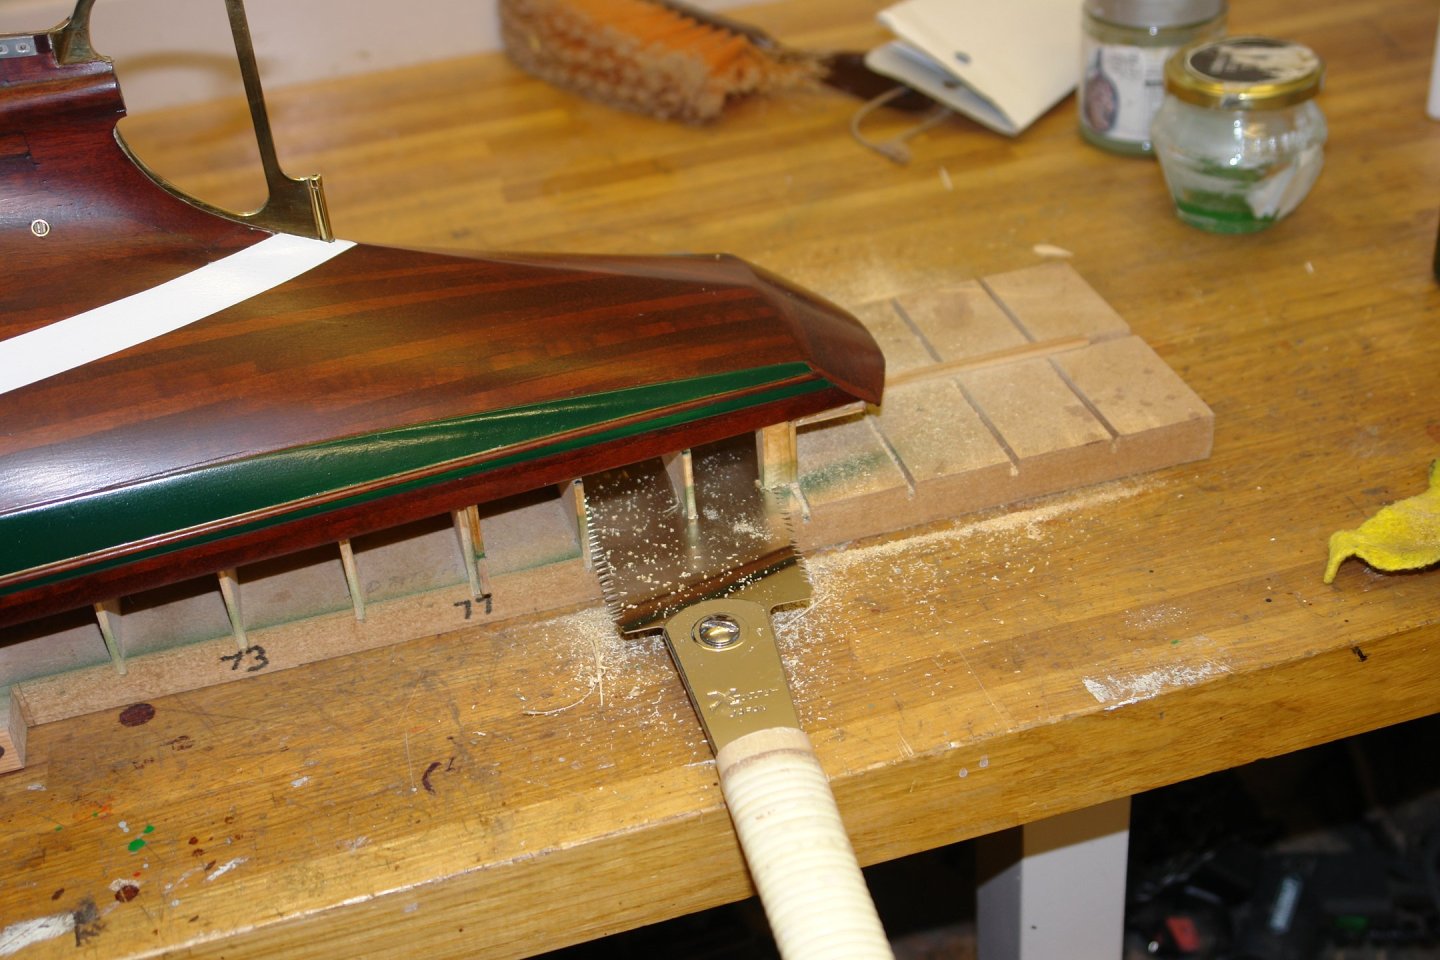
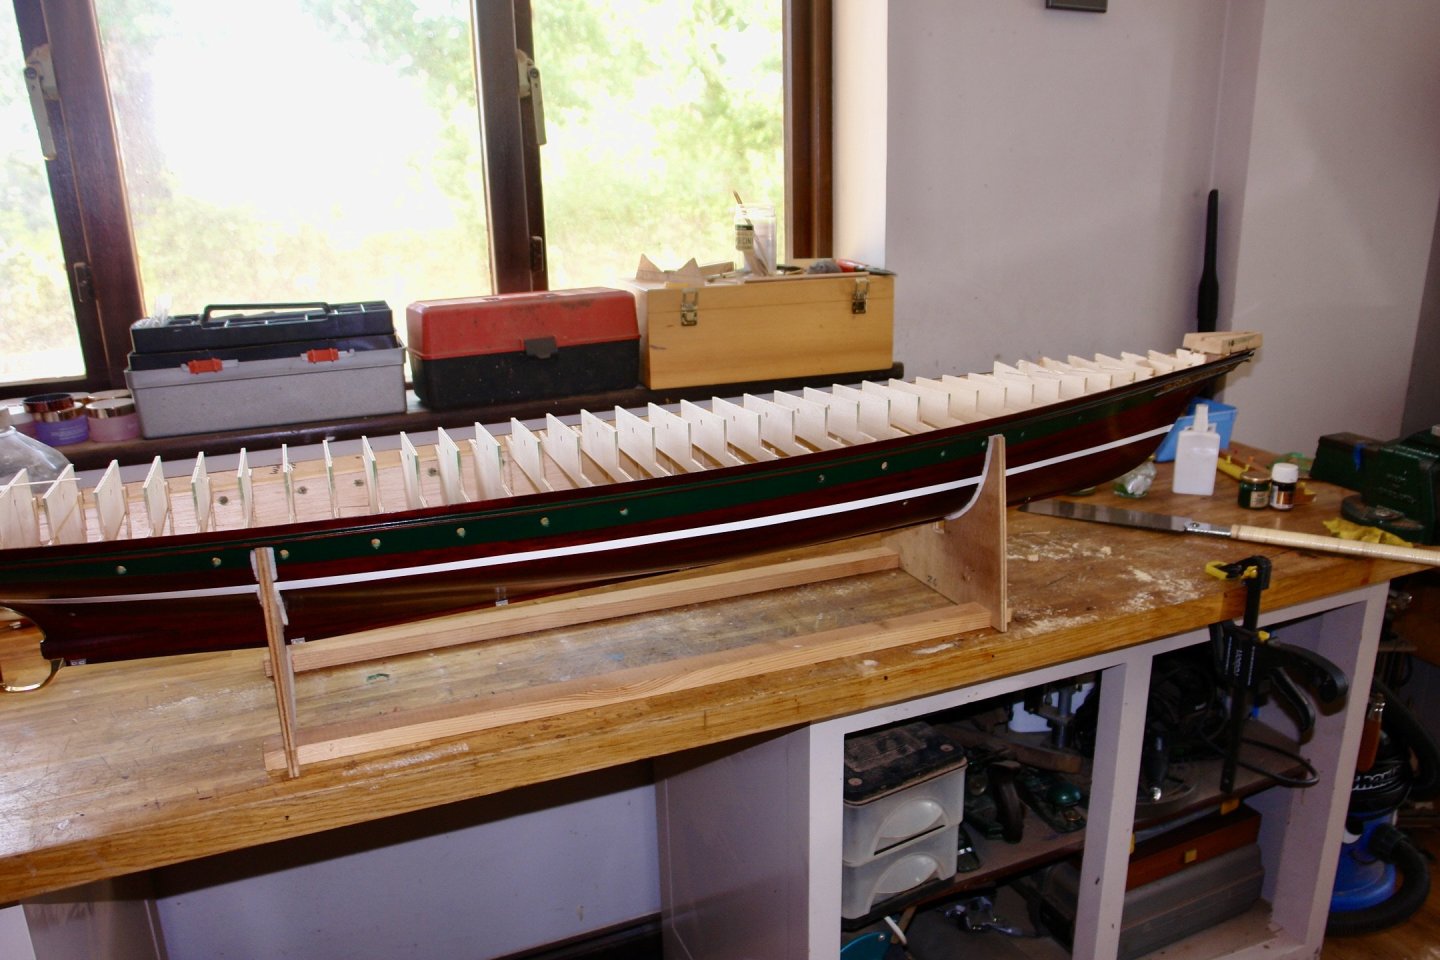
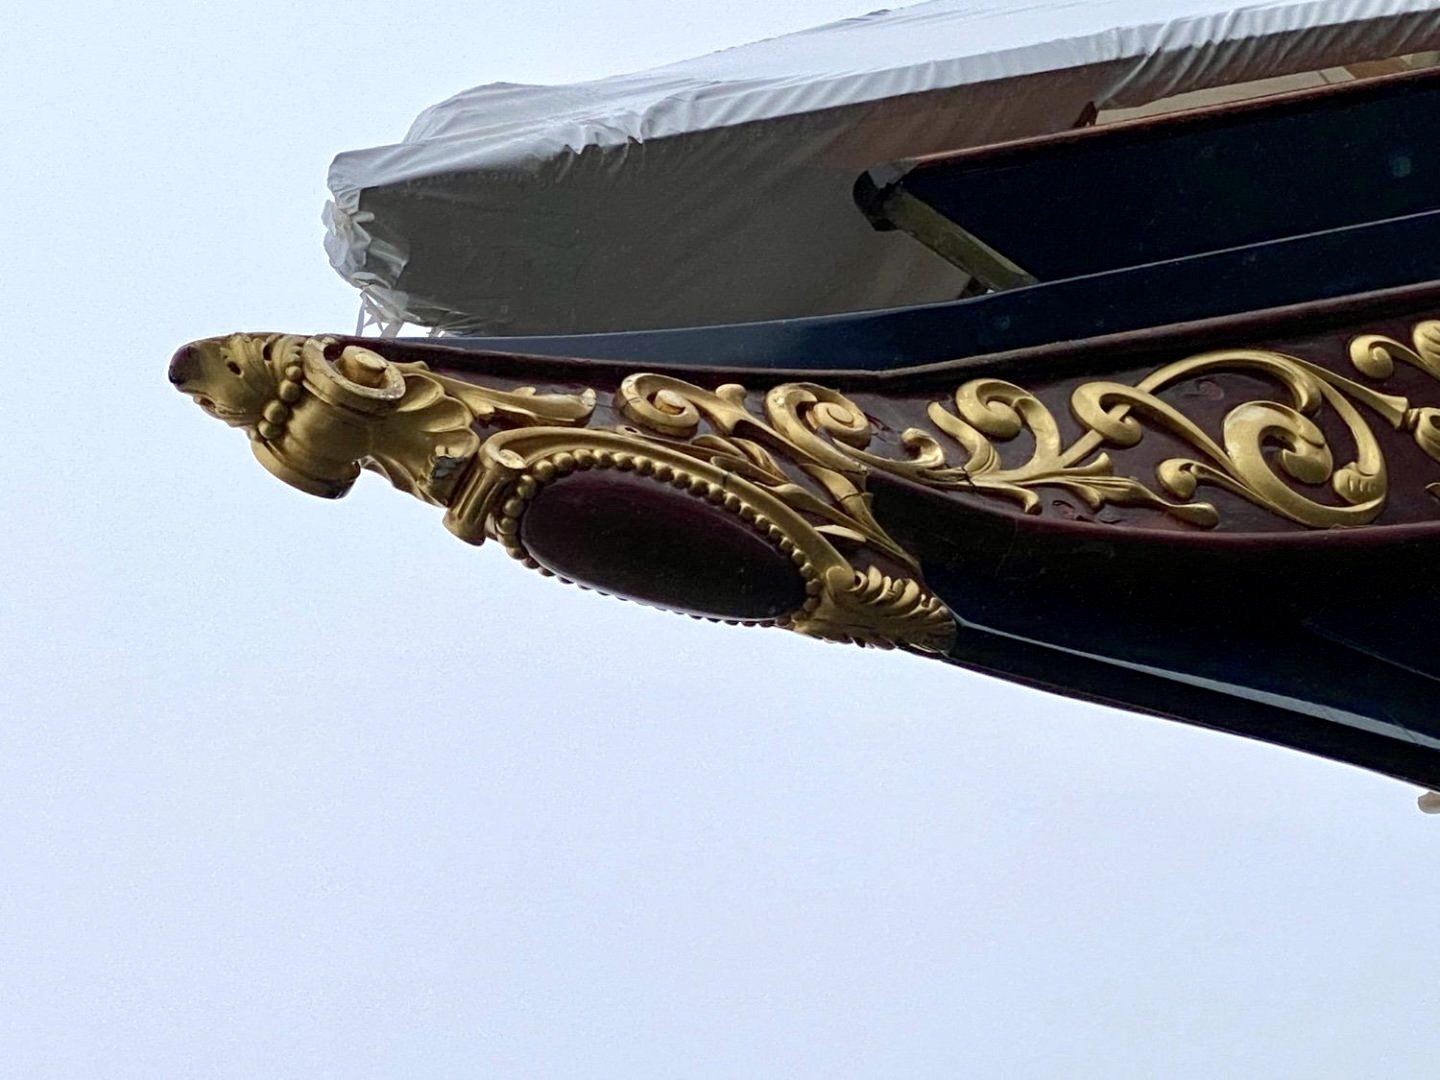
Glen, Rick, Keith, MCB, Ian, Eberhard, Pat - thank you all for your continuing support and thanks to everyone for all the likes and visits. Eberhard, I don't get very stressed about paint it's drilling holes in the hull that traumatises me. I have been making a bit of progress with the ships bow decoration. I had previously made the oval feature. I bought some .04" bearings to create the fringe. They were fixed in position with clear varnish. I then applied 3 coats of gold paint. I masked the carvings on the bow and painted them gold. I also did a bit of repair work to the paint. In one position the masking tape had covered the very edge of the reinforcing plate. I applied a further piece of tape and painted the edge by hand with a very fine brush. Then it was time to cut the hull from its building board. I used my pull saw to cut each frame in turn. It took a while but eventually the hull was free and in its building cradle. I now need to cut all the up-stands off.


-
Great looking crew.
-
Excellent Gary
-
George - sorry the visit wasn't more productive from a career point of view, I am glad however that you visit wasn't entirely wasted.
-
Yes Phil, things like that can be a problem. I once had to accompany a visitor on to a regulated nuclear site. His surname was Baranovich. I had hell of a job getting him through security.
- 273 replies
-
- 2
-
-
- minesweeper
- Cape
- (and 1 more)
-
Cold-hearted orb that rules the night Removes the colours from our sight Red is grey is yellow white But we decide which is right And which is an illusion
- 732 replies
-
- 6
-
-
- Lula
- sternwheeler
- (and 1 more)